When inspiration hits...

Cyberdactyl

Misfit Multirotor Monkey
If you have different boom thicknesses at the drilled holes, you could try shims such as drilled 1/2" x 1/2" squares of old credit card, index card, etc.
 

jhitesma

Some guy in the desert
Mentor
If you have different boom thicknesses at the drilled holes, you could try shims such as 1/2"x1/2" squares of old credit card, index card, etc.

Yeah, I thought about that but it would have been too much of a pain. Since I still had 3 blank replacement arms that match the two I had replaced Friday night and all of those don't have a taper I figured that was my best bet.

But still, even with all 4 arms flat and even I still get this warp in the plates when I tighten it all down. But the screws are snug in the plate holes (and the plates are identical when I made them I put screws into the holes as I drilled them so they didn't shift at all and were both drilled at the same time.) I think the big problem is the holes in the arms just aren't accurate enough and I need some slop in the plate holes to help accomodate the inaccuracy in the arm holes.

I really miss having a drill press. Almost bought a new one two weeks ago but missed out on the deal :( I really think the big problem right now is just that my screw holes in the arms aren't 100% straight and accurately positioned. A drill press with some stop blocks setup to make it consistent would be the way to go.
 

Cyberdactyl

Misfit Multirotor Monkey
Yea, I had to use a caliper on my wood hex frame and my current mini-quad for the entire length of the clamped boom edges.

For the CF on the mini, I cut about 0.5mm larger and worked and tweaked it down to size on those edges. Not near as critical when I cut the plywood booms, but I found getting the tolerance +/- ~0.1mm was critical with the carbon fiber, or the clamped edge had gaps.

In almost all other cases, multi-rotors are clamping a flat plate of known machined thickness, pre-cut square wood or pultruded square CF.

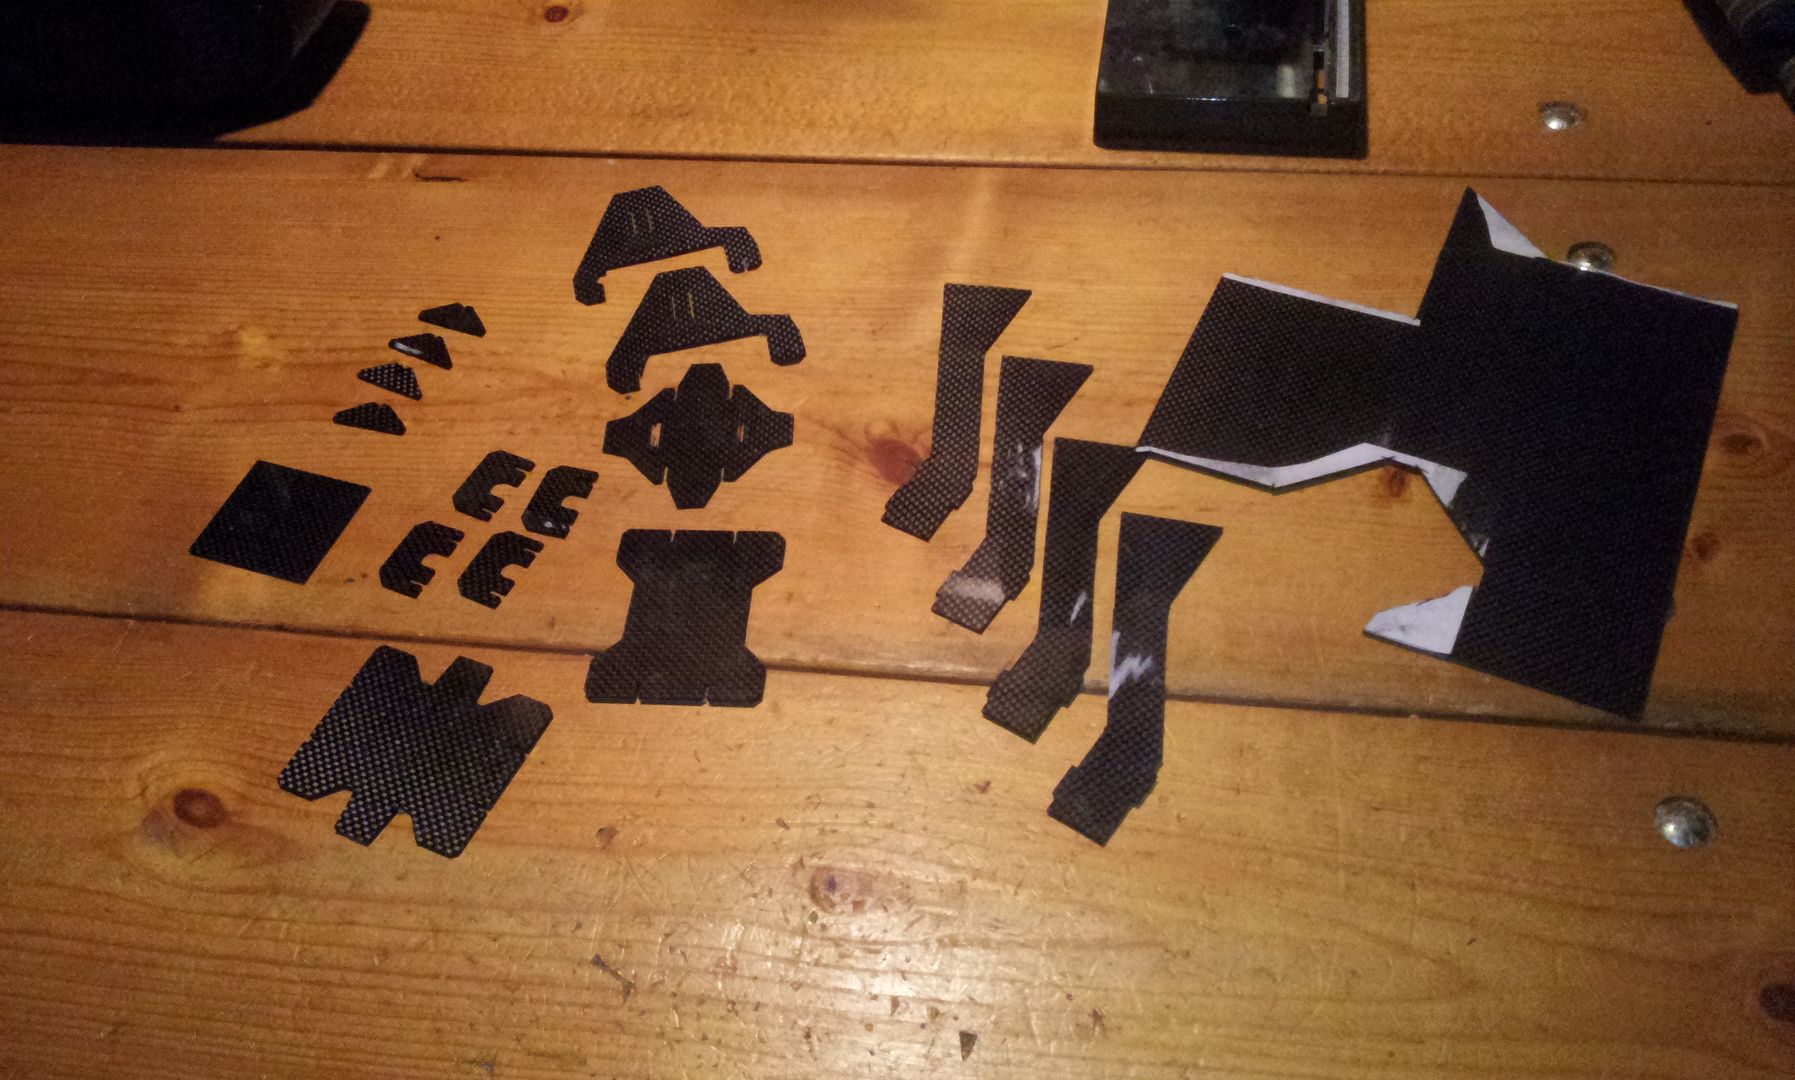
This was about halfway through cutting the CF where I had only located the slots and had yet to fit them together. Of course a CNC would be highly accurate, and do what I did in an hour of actual cutting, and I may get one ...eventually...

20140720_194826.jpg
 

jhitesma

Some guy in the desert
Mentor
Yeah, the big problem on my first arms was I meant to just sand down the rough edges from drilling the mounting holes...but wasn't very careful with the sander and ended up putting a bit of a taper in them by mistake. The new arms I left them unsanded to avoid that (well, I left the faces unsanded, I hit the corners with the sander since on the first arms I had some heat shrink split when it shrunk over the sharp corner of the wood boom.)

I think the remaining warp is due to my holes just not being 100% accurate in the arms. I'm horrible at drilling straight holes by hand and with my drill press gone that's my only option. So I think what's happening now is when I snug up the screws/nuts the misalignment between the plate holes and the arm holes is causing the screws to skew and that's causing the warp. I'm going to try opening up the holes in the plates just a bit so they can shift and align. I suspect that will solve the final slight warping.

It was flying much better this morning than it did yesterday evening. Yesterday with the mix of old and new arms when I did a yaw spin it would wobble. Today it was nice and level again. But after one harsh landing today the frame twisted again.

I love the look of this Lexan but I'm not convinced it's the best material for the plates on a budget mini like this.
 

jhitesma

Some guy in the desert
Mentor
Ok, gothelirc.com has impressed me. Ordered some props yesterday morning...got home at lunch and they were waiting for me already! I didn't get a jolly rancher with this order...but I'll take next day delivery for <$3 over a bit of candy anyday :D

The 6030 HQ props seem pretty nice. I was only hitting about 115F on the motors with them after a little playing in the front yard which is only a few degrees more than I see with 5030 gemfans but there's a LOT more power.

Unfortunately I'm still having a heck of a time getting this frame to unwarp and the quad is still a bit goofy in the air as a result.

But it sounds like Twitchity is going to have the actual frame these bits are intended for on it's way to me so I'm probably not going to put a whole lot more effort into trying to get this budget frame to play nice. At least...not right now...too many other things popping up on my plate ;)
 

Twitchity

Senior Member
I note that the more on your plate the better we all eat here on FT. :)

I second this. I'm interested to see what you have up your sleeve with this quad you'll be getting soon. Just a fair warning, it's a little difficult getting the two frame pieces to clamp together due to the 3 bolts on the arms. I didn't file/drill out the holes on the PDB I sent you, but it may be required... Mine was a really tight fit.
 

jhitesma

Some guy in the desert
Mentor
Thanks guys, got some fun plans for upcoming projects ;) Wish I had the time and money to do more but thankfully I just can't seem to do much of anything without sharing it :D

Can't wait to get my hands on the Twitchity frame...I'll watch for the holes on the PDB, I'd rather it be a tight fit than a loose fit. Lot esier to drill/file than to put material back on!

FWIW - The budget frame works...just not as well as I'd hoped. Maybe I'll come back to it at some point, I suspect the big issue is I just didn't measure/drill things accurately enough. Really want to find myself a new drill press before I tackle it again. It doesn't self-align like the knuckle design does. But it does take crashes fairly well!
 

Tritium

Amateur Extra Class K5TWM
Can't wait to get my hands on the Twitchity frame...

You and me both! T. tells me Saturday is the day but the Rural USPO is not open Saturday so I am going to town tomorrow and talk to my Multirotor Friendly Postmaster and get him to take my package home with him if it does hit there on Saturday. Then I can pick it up at his house and not have to agonize till Monday Morning. :applause:

Thurmond
 

jhitesma

Some guy in the desert
Mentor
I wish my postmaster was that friendly :D I never know which mailman I'm going to get, we have one who's really good and another who's horrible and another 3-4 who are a mixed bag. When I first moved in here it was the really good one every day for the first few years. But the past two years or so he's been on other routes or something most of the time and we've had some who do things that just leave me shaking my head.

I'm really looking forward to seeing if it solves the tumble off hover issues I'm experiencing. If the issues follow me to the Twitchity frame then I'll know it must be my tune. If the issues go away then I'll know that the ubmq frame needs more R&D :D

For now I'm just crossing my fingers that USPS doesn't screw up....the resistors I ordered to populate the Twitchity PDB left LA on the 7th and haven't been heard from since :( Looks like I may be taking some off a damaged LED strip instead at this point.
 

Cyberdactyl

Misfit Multirotor Monkey
Going back to inspiration and Kydex.

I found some ultra thin Kydex! :applause:

And very resonable to boot. I ordered some.

Now "mass produced" looking, highly aerodynamic, easy to shape, inexpensive, complex canopies are possible for the 'little guy'. :cool: :D
 

jhitesma

Some guy in the desert
Mentor
Very curious to see how your experiments go! I've been wanting to build a vacuum forming table for a long time...just never had enough of a cause to follow through. Might have to think about that this winter when it's woodworking time for me again :D

As for my build...today was it's last day. I tried a few more tune options but none of them solved the issues I'm having with it suddenly falling out of the sky :( The frame these parts were initially intended for should be here tomorrow so this frame is going to be abandoned for now. I may come back to it at some point in the future as I do have a few more ideas on how to possibly correct the problems I'm having. But for now...it's just too hard to build square and accurately despite being a simple frame. I was really hoping it would be cheap and easy for beginners...it is cheap but there are too many little things that can go wrong and make it hard to fly to be suitable for beginners.

Tomorrow I'll probably be starting a new thread for the twitchity frame with PDB build. And I've got a few more interesting projects lining up after that ... should be an interesting month or two around here ;)
 

Cyberdactyl

Misfit Multirotor Monkey

Well, here's what's possible with Kydex of three or four times the thickness.

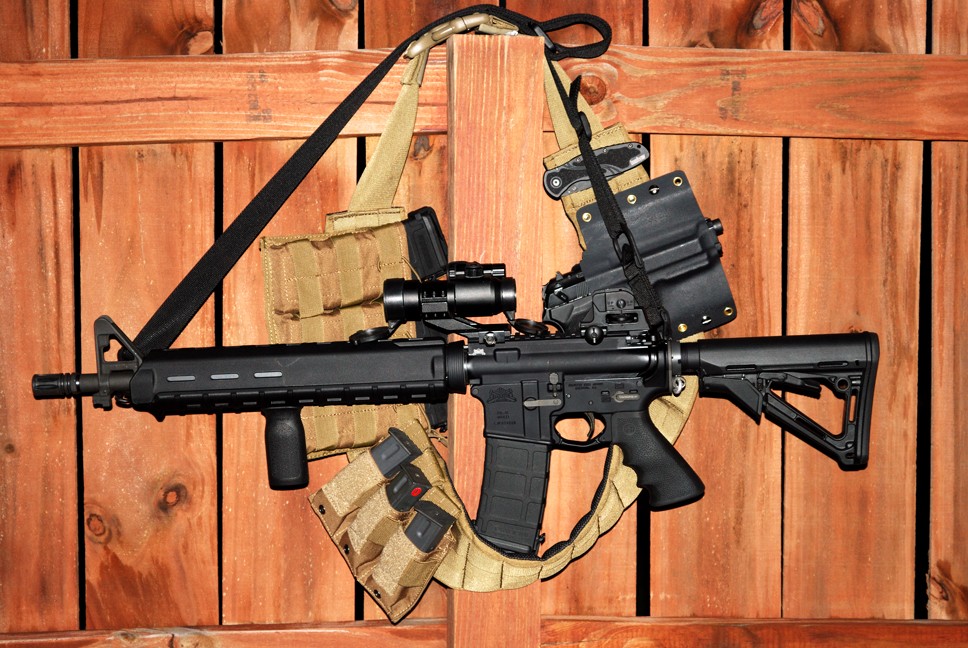
giffon-w-glock.jpg

Holsters generally use .090-.125". I was reluctant to get any because the thinnest I could find up until yesterday was .060". About twice as thick for what I have in mind. I'm thinking a cheap modeling clay that is baked, or if more strength is needed to get extra crisp angles and bends, an epoxy compound for the mold.

Of course Kydex will have no where near the stiffness strength of a similar CF shell, but if it is even moderately supported underneath, that will be plenty for the wind speeds or rigors of a quad, even a fast one. Plus Kydex will deform and not crack, and it is in the neighborhood of CF weight of similar thickness. Oh. . did I mention it's really cheap. ;)
 
Last edited:

cranialrectosis

Faster than a speeding face plant!
Mentor
I prefer leather myself. Are you telling me that holster is home made by a 'little guy'?

Sorry, the show me challenge was to say, show me something awesome you can make with Kydex. :)
 

Cyberdactyl

Misfit Multirotor Monkey
Heh, I was showing the shape molding of the thermoplastic. I didn't do that holster. That some stock photo. I'm curious how well .028" can take complex 3D shape. From the little I've seen shaped, I'm hoping it will be very easy to shape.
 

jhitesma

Some guy in the desert
Mentor
USPS is showing my package from Twitchity as out for delivery, so I started doing a bit of a tear-down/post-morterm on the ubmq attempt.

In doing so I'm kind of wishing I had enough parts to keep this frame alive as I may have found the root of the problems I've been having since switching to the polycarbonate plates. Not sure how it happened but apparently one of the plates got rotated 90 degrees. And due to the inaccuracies in this design from how I made it that threw off the screw holes in that plate. I had marked the plates to keep them aligned, but the mark on that lower plate seems to have rubbed off - I could have sworn it was still there when I assembled it all...but I was in a rush and must have made a slip up :(

Here's the plates as they were installed:
10631614_10152224362566805_1835321300_o.jpg

And here's how they were meant to be installed:
10631691_10152224362986805_1440757927_o.jpg


Doh! No wonder it twisted so badly when I torqued down the nuts! Look how far off those holes were. In the correct alignment a few of them look off but that's just a trick of the camera and lighting on the clear material. Trust me, in that second photo every screw slides right in with no slop.

I just re-assembled the bare frame without any electronics and it now sits perfectly flat and square with no warp. No wonder it was so much worse with the poly plates compared to the plywood plates! Looking at the brightside...now I know what a warped frame acts like in the air :D

Someday I'd really like to revisit this idea - I would make a template on the computer for the center plates though to make sure they're square and symmetrical. I'd also try to find or rig up a drill press for drilling the arms to reduce error there. I suspect that these plates would work a lot better installed correctly, but one of the holes has wallowed out, another one is spider webbed with stress fractures, and the

Of course - the problem of tumbling off hover existed right from the start and I've yet to work out what's causing that. Still really hoping the new frame solves that.


One thing I had planned to share in this thread but never got around to are weights of individual components. I was pretty anal about weighing everything as I worked on this and wanted to document how much all the bits weighed to help find places to reduce weight. I did one last round of measurements during disassembly so here they are at least :D If anyone is interested in any of the pre-build weights let me know and I can dig them up, but since this project is going into the "Let's not call it a failure, it was a learning experience" pile I just don't feel like spending the time to share all those details until I revisit this idea - since I do want to revisit it now that I found this major problem.


Everything but the frame (ESC's, motors, wire loom, afromini, spektrum sat)
10639221_10152224369466805_1711400045_o.jpg

And all of the frame bits:
10621229_10152224369811805_1643164066_o.jpg

Hardware alone was 30g - switching to aluminum could probably drop almost 20g here:
10612417_10152224370316805_682653227_o.jpg

Arms come in just under 40g - not sure there's much that could be done here to make these any lighter without significantly reducing their strength. Then again all failures were at the two mounting holes, the larger central hole under the motors never had any issues despite some hard hits that dented the wood at the ends around the holes. So maybe some holes to remove material would be ok....experiment for another day or someone else:
10614567_10152224371151805_1269809584_o.jpg

Polycarbonate sheets came in at 40g, I was quite disappointed by this. I can't find the original plywood plates and didn't photograph their weigh in...but they were about 9g lighter. The polycarbonate should be stronger, and being able to see the LED's on the board and the programming holes was very nice. But if you're going for lightest weight I'd stick with ply, it's ugly but it's lighter and plenty strong for this use:
10612231_10152224371786805_65375974_o.jpg

My motor mounts were a big win from this I think. Only 10g most of which is the SS screws. With double lamination they proved VERY strong and barely flexed even when the screws where tightened WAY down. At first I was thinking if I did this again I'd go with shorter screws and something thinner for the straps...but seeing how well these worked I've changed my mind and would do them almost identically. Big thing I'd do differently is I'd scratch up the plastic cards before gluing them to the ply as a few did delaminate and they lost a lot of strength when they did.
10612231_10152224371501805_454323012_o.jpg

I even measured the 3M tape I used to mount the ESC's (2 pieces stacked on top of each other for padding on each ESC). Didn't expect it to even register but apparently I was using 2g worth of tape. Hmmm:
10639097_10152224385086805_649287427_o.jpg


I can't really call this frame a success...but I did learn quite a lot from it. The plywood hotel room key laminate material really impressed me for it's strength. I'm half tempted to try making an entire quad out of it just to do it :D The afromini I've been really happy with - though the lack of USB does make it somewhat more tedious to tune which resulted in me doing less experimenting than I had hoped to. I also learned a lot of things not to do (Don't sand the arms unless you can do it in a way that keeps them all even!) and better ways to do things. So as a learning experience this has been 100% worth it. And it did fly and fly fairly well. It was very acrobatic and with not unreasonably high rates was able to do ridiculous flips. It doesn't have the speed or durability of the warp I was flying but for about 1/3rd the cost it still put a nice smile on my face. That said, there's something to be said about a quad that comes home in one piece even after way too many epic crashes and I do miss the warp speed - not that I really need it yet at my skill level. Build this with 2204 motors and I suspect it would have been a lot closer to the warp in speed and performance. Add some KISS esc's and it could really be a lot of fun - but then the whole budget thing kind of goes out the window! Though if I had the choice between a warp with BS12's or one of these with KISS esc's....I'd go for this and the KISS by far.

A $3 frame (though I didn't really spend anything on mine at first since it was made out of bits I had laying around.) can hold it's own against a $100 frame if the parts installed on them are equal. But the $100 frame will give a lot less frustration and keep you in the air longer by surviving far more crashes. Personally if I could afford it I'd go with the warp frame. I can't afford it right now though so it's kind of speculative question for me :D
 

Mustang7302

Senior Member
I've worked with Kydex to make a couple of holsters, around two years ago I think:

cPPlvae.jpg


That is .060" Kydex which picked up the hard lines of the Baretta 92A1 very well. Going down to .028" will be able to pick up just about all of the definition you could hope for, it just takes enough heat and pressure during the forming process.
 

Cyberdactyl

Misfit Multirotor Monkey
J, make sure you stack the two plates on top of each other when you drill instead of measuring and drilling independently.

Looks good Mustang. I don't envision needing Kydex to imprint fine detail, but you never know what will come to mind once I have some and get to thinking about it. Mostly I want it to be light, take a form and be able to 'wrap' around an aerodynamic negative. Not sure if I would even use a foam press. I may just work it by hand. I've worked with heat forming PVC pipe, so my first idea was to use milk jug material, but I didn't want to be quite that cheap. :rolleyes:
 
Last edited:

jhitesma

Some guy in the desert
Mentor
J, make sure you stack the two plates on top of each other when you drill instead of measuring and drilling independently.

I did. I even put the screws and nuts in each hole as I drilled them. Then sanded the outsides while they were bolted together. Then I put a black line down the center of one side before unbolting them.

But apparently that black line got rubbed off and/or I forgot about it during assembly and managed to rotate one of the plates.

When/if I do it again instead of just using my plywood quick and dirty pieces as a template I'd actually measure and mark out the holes on a template on the computer and then stick that to the lexan to guide me so things are symetrical and flipping one wouldn't matter since they should all be the same anyway.


My package from Twitchity came a little bit ago though so I'm working on assembling and documenting the project these bits were originally intended for now :D