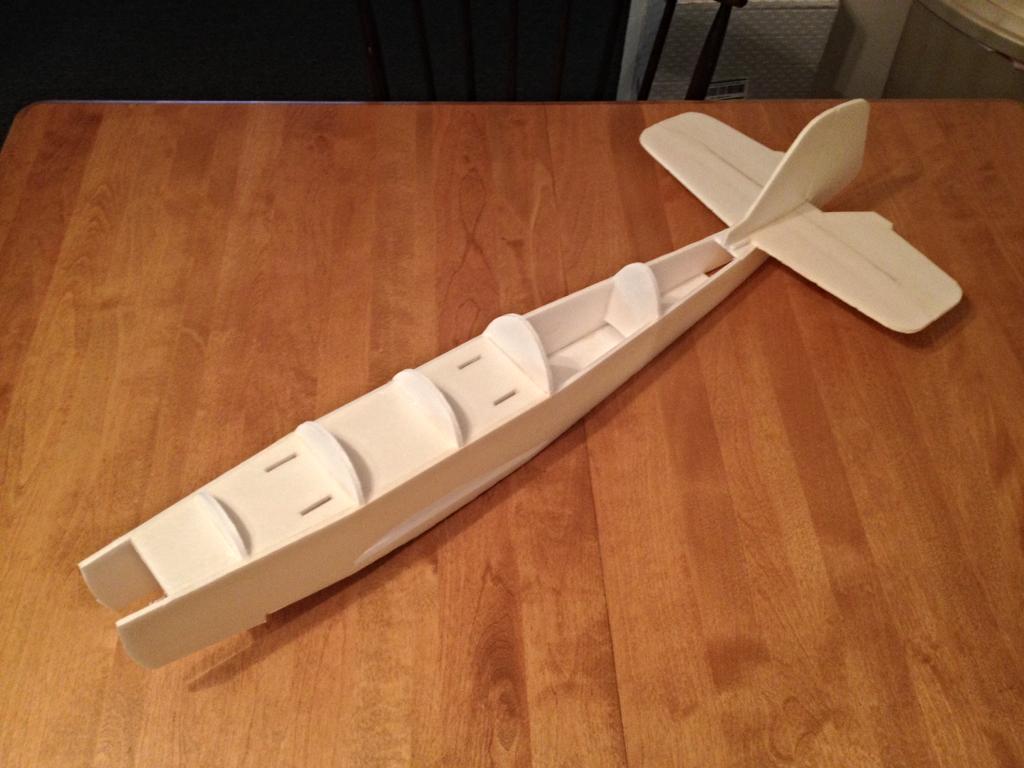
Instead of saying, "still no servos," I'm just going to post some progress pics. The fuse is built with the tail mounted.
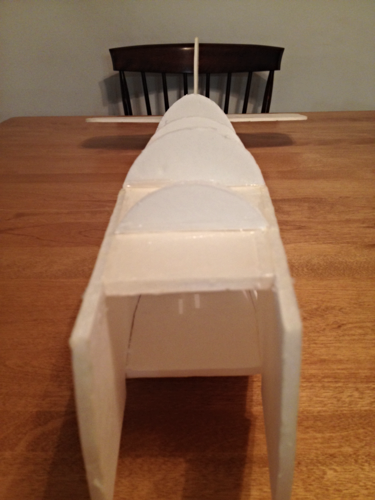
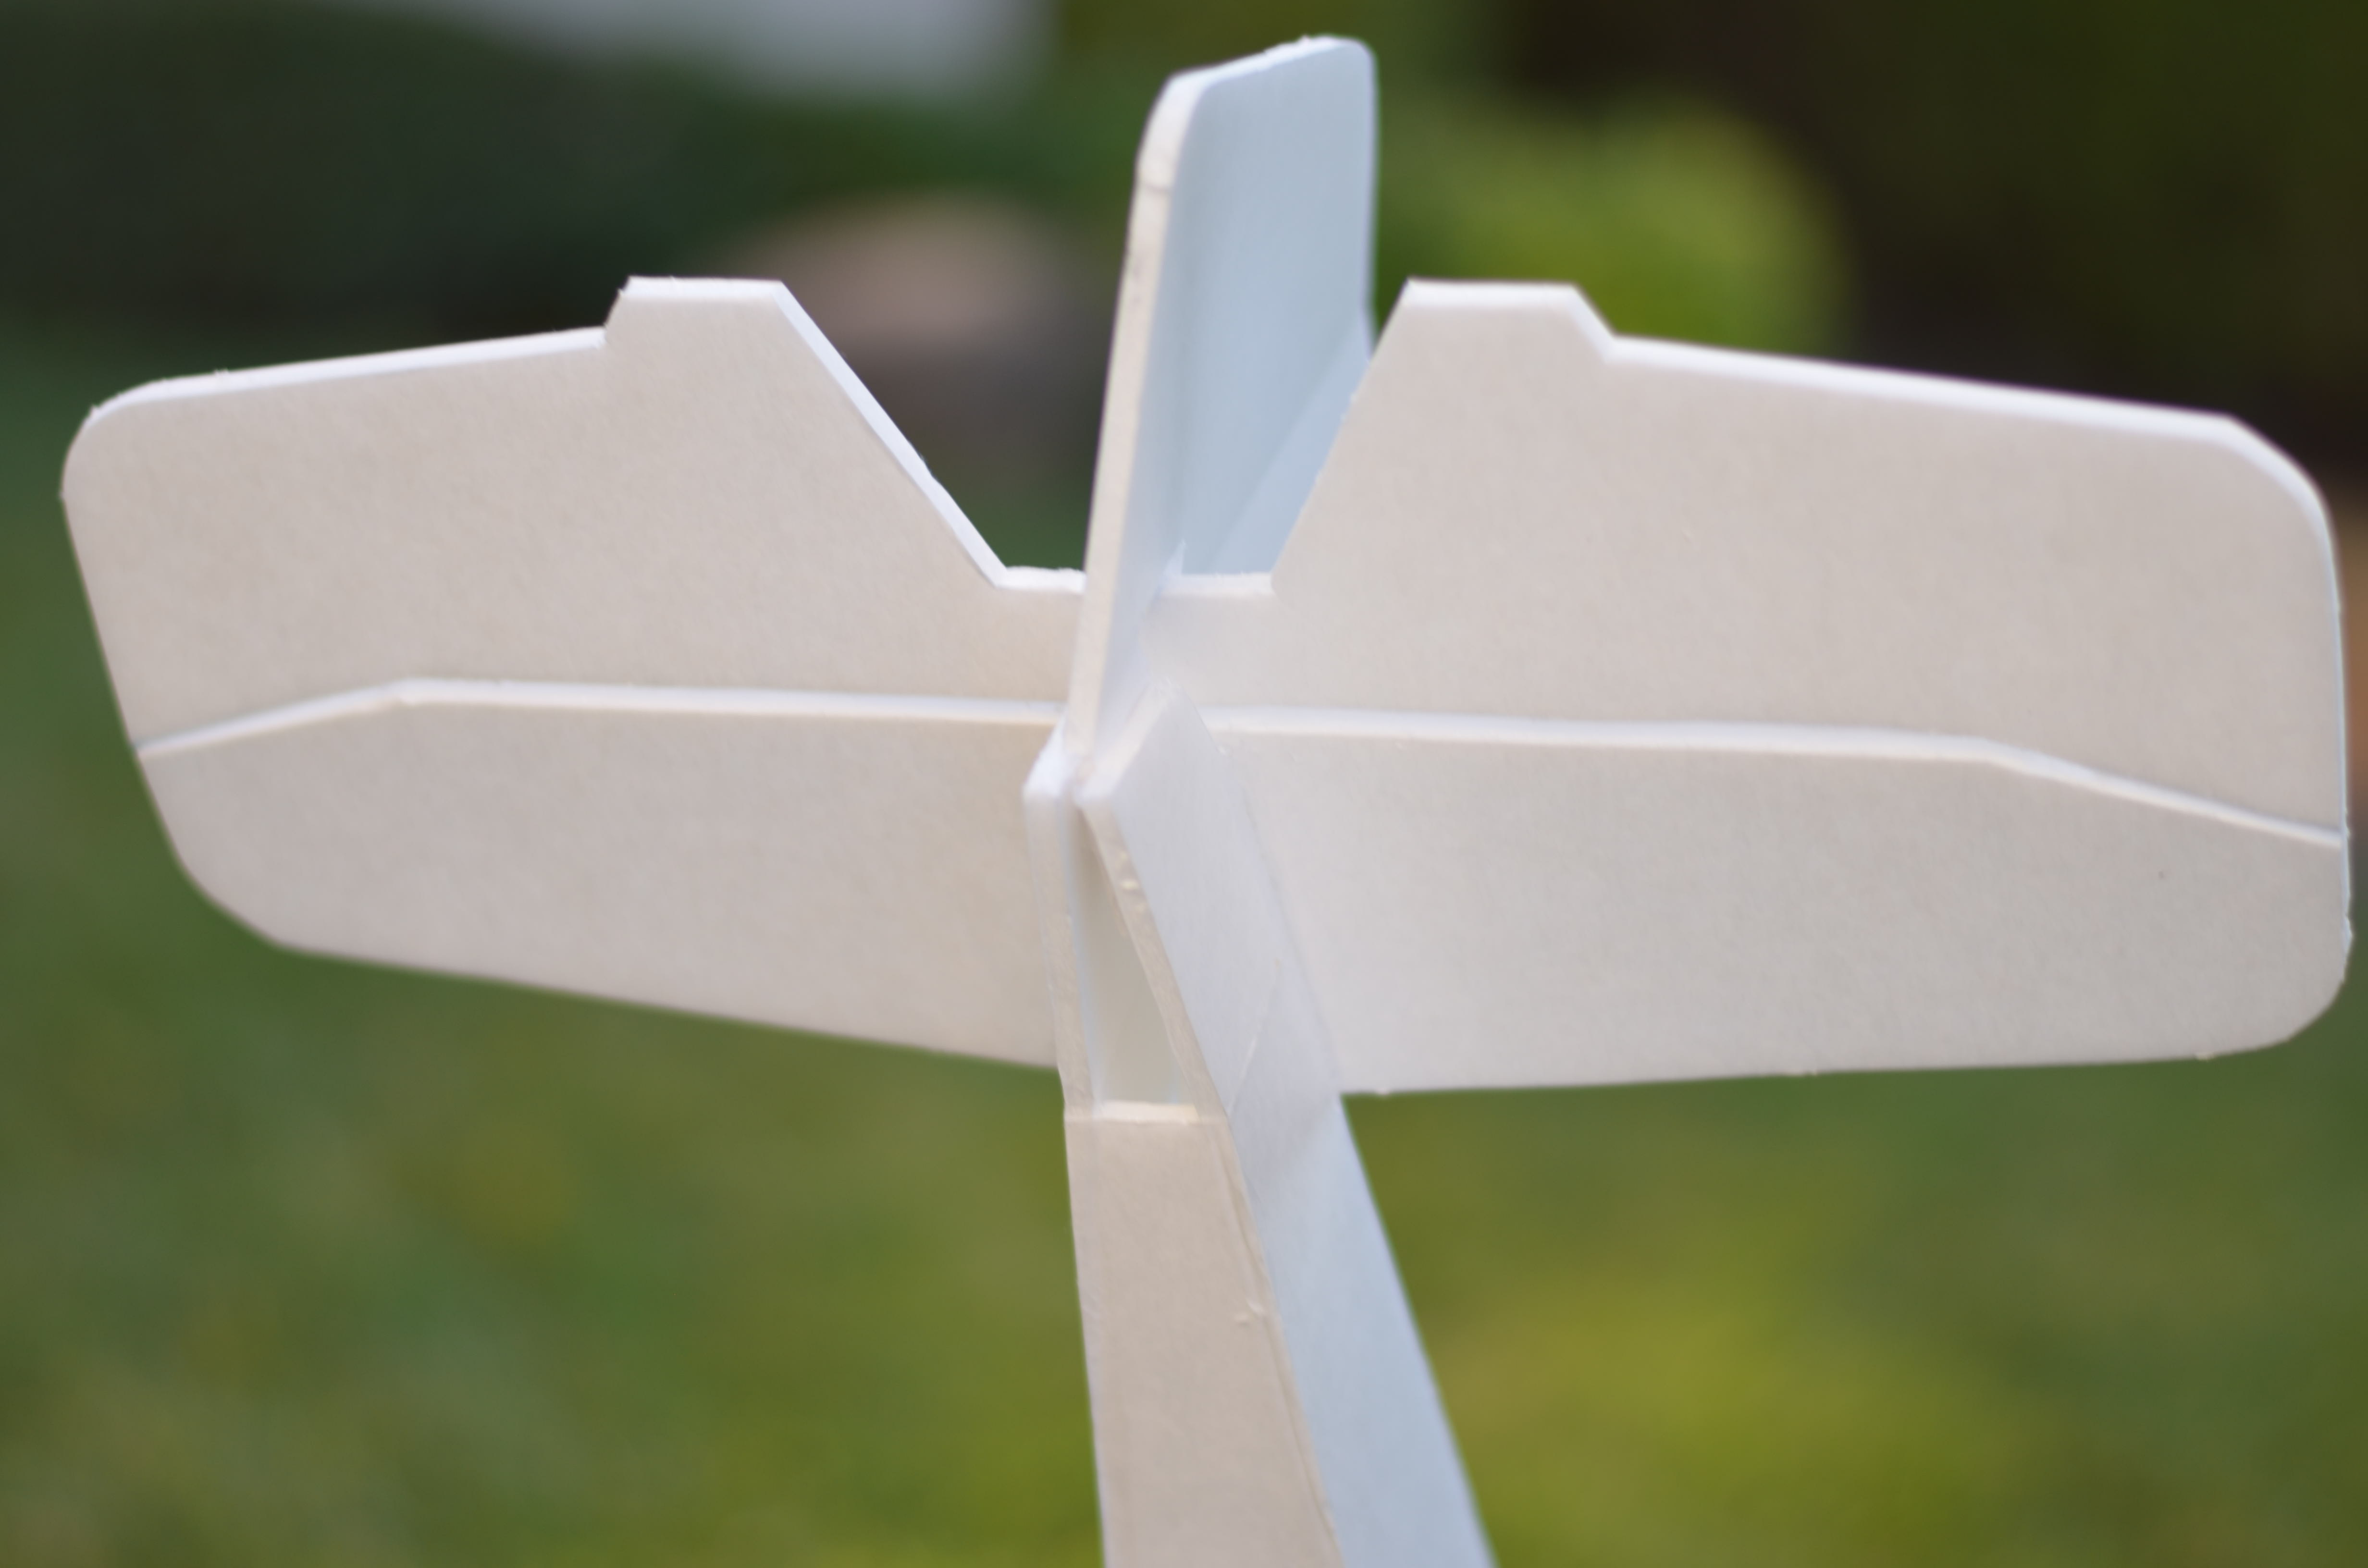
First time through I incorrectly assumed the rear of the plane was level. I should have used my 90 degree piece. I can't explain why I didn't. Foolishness. I glued it down tight before I realized it was sitting at a pretty bad angle. I cut through the glue carefully about half way and fashioned a shim at about half the thickness of a normal sheet of foamboard. Lifted the tail, wedged it in and we're good to go.
So far, it has been pretty straight forward. The bottom piece from the plans I used went all the way to the tip of the tail and prevented the fuse from squeezing the lower rudder mount so I cut off about 5 inches.
I also noticed you used a joining piece on top under the tail so I measured and cut my own based on the taper of the fuse after accounting for the thickness of the rudder mount. The fuse is definitely solid.
That shim did the trick!

")