ergomir
Junior Member
Hi guys/gals:
I want to show you this plane i made from Scratch, a C-27J Spartan, i hope you like it and find the step by step interesting.
Here is the first flight:
But before i get to that, this was the process:
The plane was made with a full cargo deck free of any obstacle in mind, so inside it is square but outside is rounded, this few advantages: all the cables and other stuff could be installed on the sides and make them invisible from outside. Also gives s lot of strength to the fuselage and extra support for the landing gear.
Here is a view of the full length cargo hull, the two bulkheads are there just to help to keep the sides 90° , later will be removed.

The inner fuselaje is like this, and the tail section is little bit upward to sit the horizontal stabilizer on top of it.

Fuselaje semi-bulkheads, lots of them!


Horizontal stabilizer made of two 5mm sheets of depron, with a plywood spar.

I love to try many times the look of the plane, here with the wing under construction. Balsa/plywood/depron spars.


Vertical fin builded in the same way as the stabilizers, one servo is hidden by the fuselaje "double skin" , and cargo door servo as well, later.

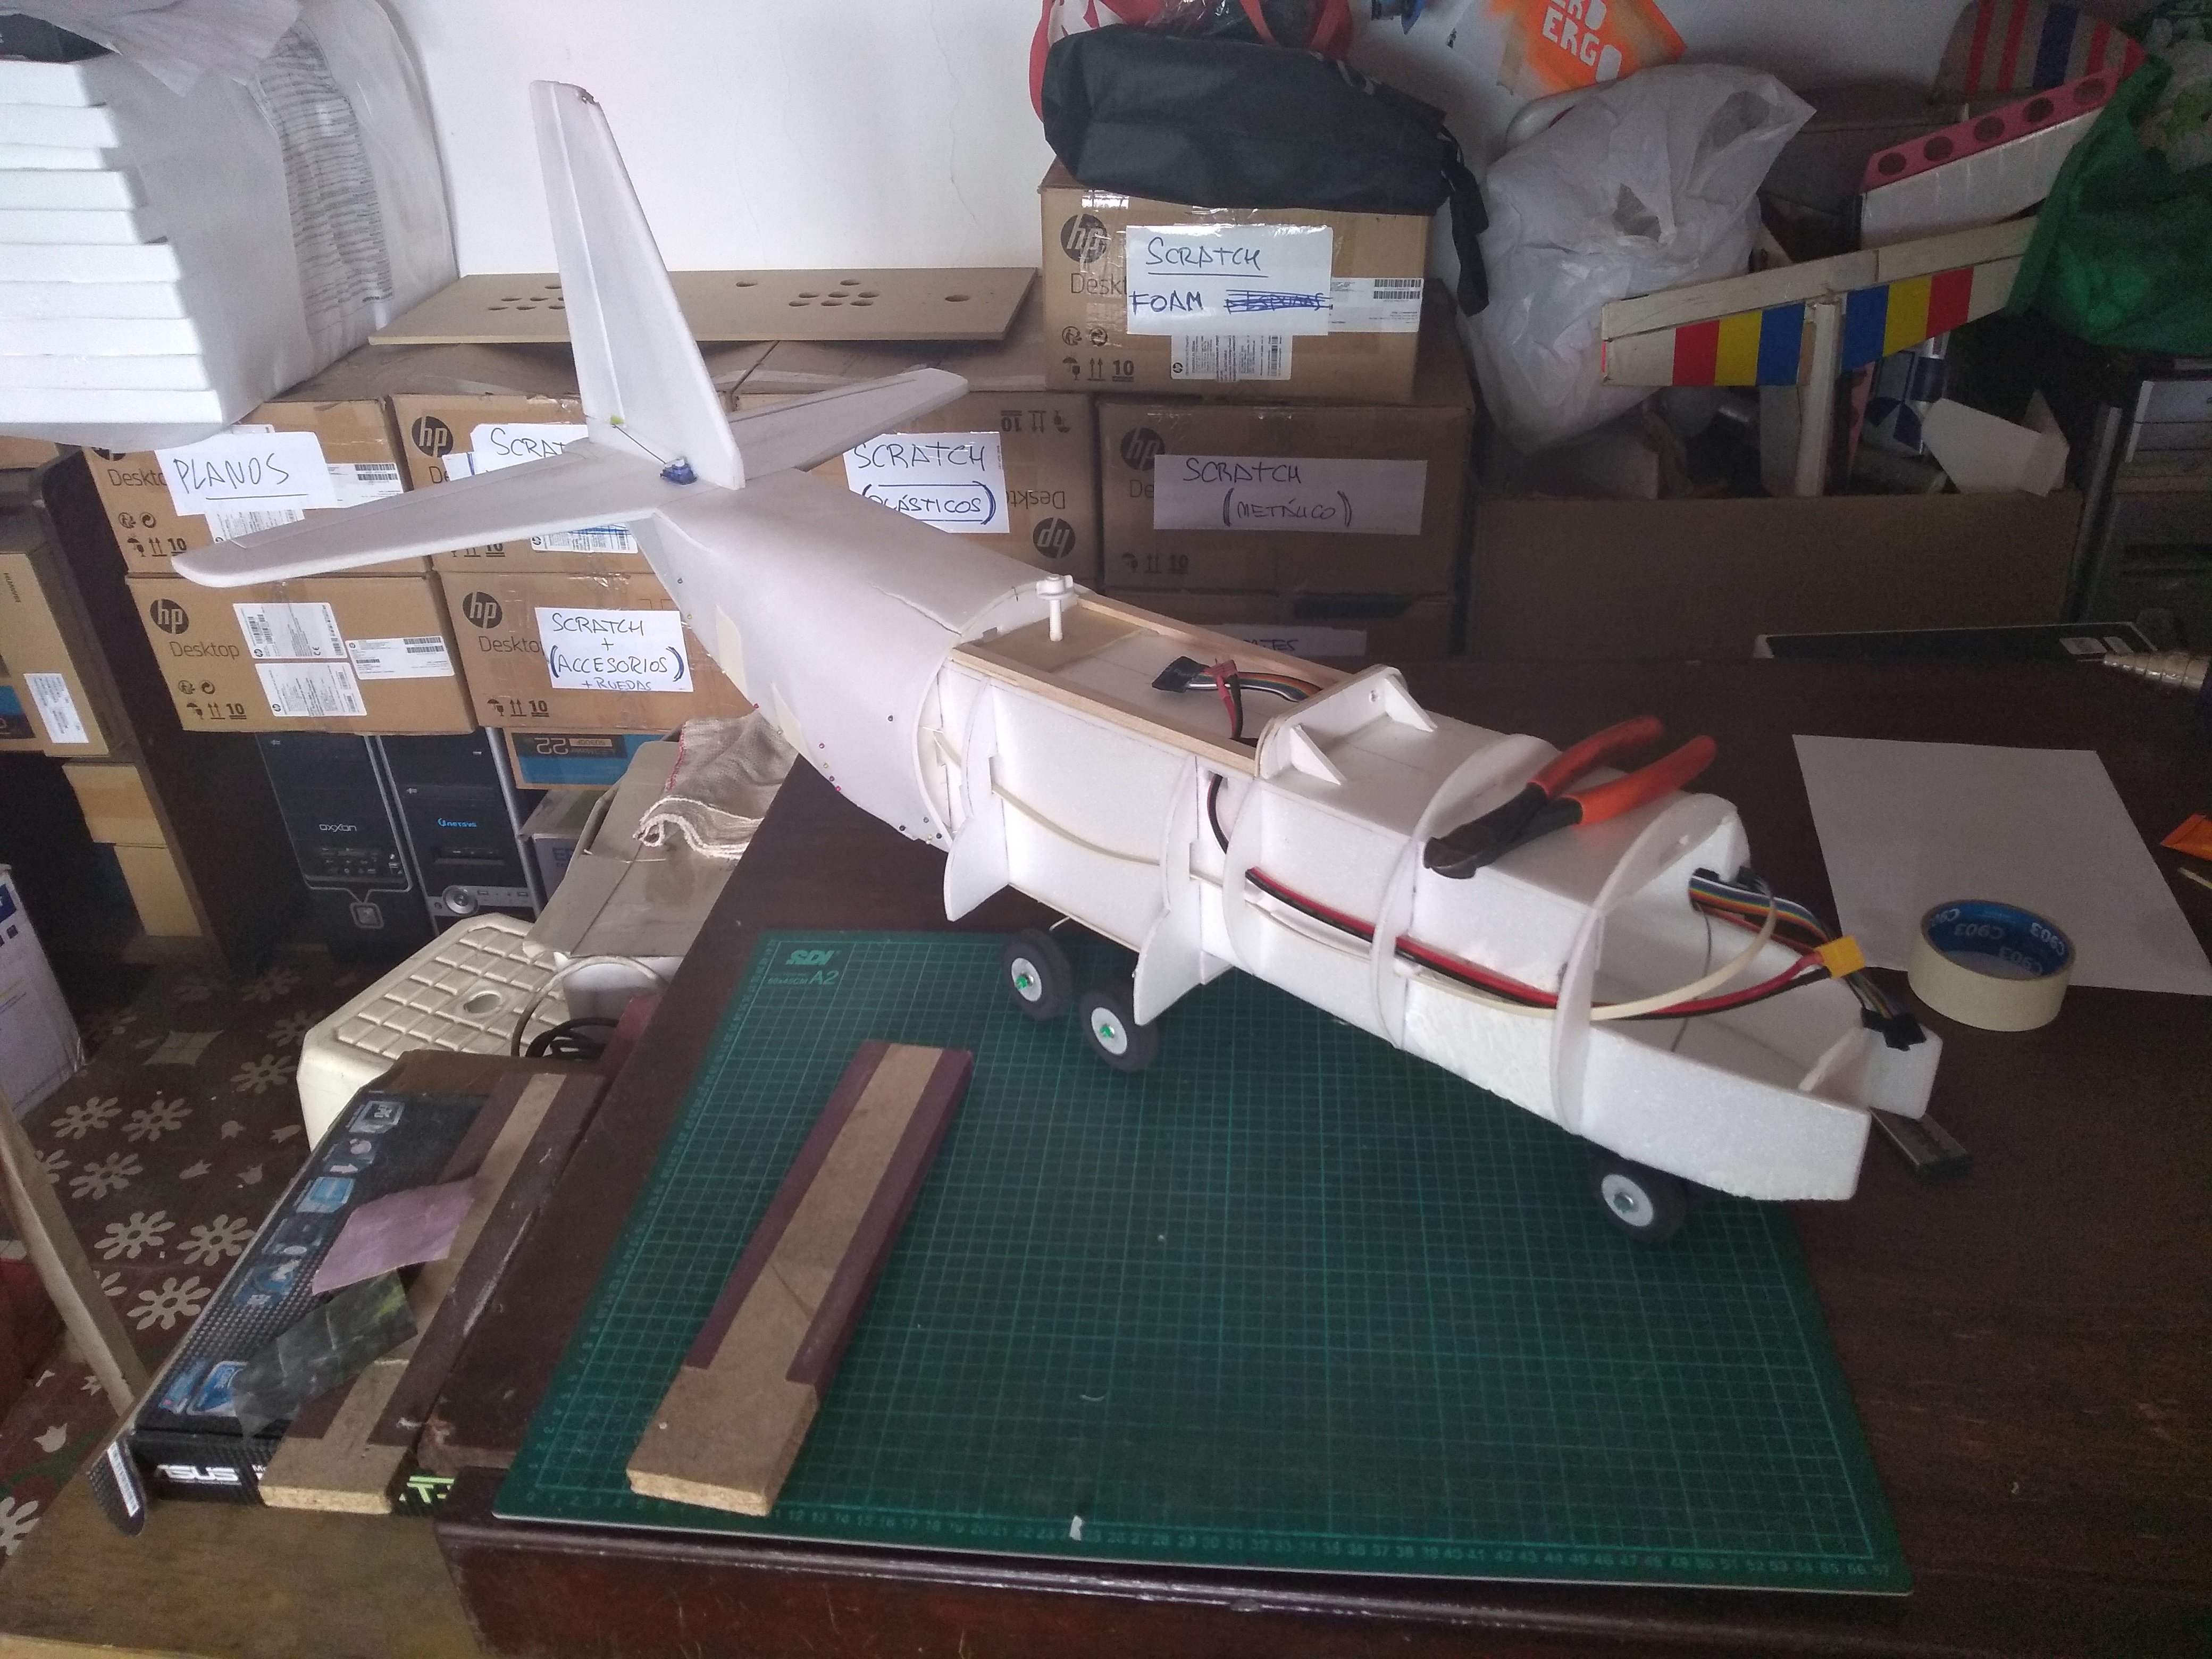
You can see here how the wing is mounted with a nylon screw and two plywood sticks who get in a plywood bulkhead. All the power cables for the motor will fit inside the wing middle channel.

Landing geat installation, the wheels are made from EVA foam. Forget the servo, does not belong there!

Now is time to cover the fuselaje, 5mm depron also. The cracks will be fixed later.

Lowe nose detail, a cone of foam, a los of sand paper and a suspension system that i remove later. Just i don´t feel comfortable with it.

Belly covering...

Now it looks like a plane!

Now with finished cockpit, and few hours of more sand paper...

The engine nacelles are made in the same way i use to make cockpits, with plastic bottles and a heat gun.

It´s time to paint job!, At least few days more to get it airborne!


After the acrylic paint, two hands of Minwax or similar

The paint scheme chosen by the future owner was a "Operation Musketeer" style.

This is the view from the cargo door, you can see the hatch to access the servos.

Now the final details, some stickers and the cockpit windows.

Here i am with the plane, no so small!, full specs in the previous video.

Here some pics of the maiden flight day. The plane flies flawlessly, just few upward trim and nothing more. I hope the owner fly it again soon so i can get more pics and videos!


I hope you found this thread useful, let me know if you want more of this kind of projects and if you want to support my effort just go and sub on my youtube channel. I will be grateful !
I want to show you this plane i made from Scratch, a C-27J Spartan, i hope you like it and find the step by step interesting.
Here is the first flight:
The plane was made with a full cargo deck free of any obstacle in mind, so inside it is square but outside is rounded, this few advantages: all the cables and other stuff could be installed on the sides and make them invisible from outside. Also gives s lot of strength to the fuselage and extra support for the landing gear.
Here is a view of the full length cargo hull, the two bulkheads are there just to help to keep the sides 90° , later will be removed.
The inner fuselaje is like this, and the tail section is little bit upward to sit the horizontal stabilizer on top of it.
Fuselaje semi-bulkheads, lots of them!
Horizontal stabilizer made of two 5mm sheets of depron, with a plywood spar.
I love to try many times the look of the plane, here with the wing under construction. Balsa/plywood/depron spars.
Vertical fin builded in the same way as the stabilizers, one servo is hidden by the fuselaje "double skin" , and cargo door servo as well, later.
You can see here how the wing is mounted with a nylon screw and two plywood sticks who get in a plywood bulkhead. All the power cables for the motor will fit inside the wing middle channel.
Landing geat installation, the wheels are made from EVA foam. Forget the servo, does not belong there!
Now is time to cover the fuselaje, 5mm depron also. The cracks will be fixed later.
Lowe nose detail, a cone of foam, a los of sand paper and a suspension system that i remove later. Just i don´t feel comfortable with it.
Belly covering...
Now it looks like a plane!
Now with finished cockpit, and few hours of more sand paper...
The engine nacelles are made in the same way i use to make cockpits, with plastic bottles and a heat gun.
It´s time to paint job!, At least few days more to get it airborne!
After the acrylic paint, two hands of Minwax or similar
The paint scheme chosen by the future owner was a "Operation Musketeer" style.
This is the view from the cargo door, you can see the hatch to access the servos.
Now the final details, some stickers and the cockpit windows.
Here i am with the plane, no so small!, full specs in the previous video.
Here some pics of the maiden flight day. The plane flies flawlessly, just few upward trim and nothing more. I hope the owner fly it again soon so i can get more pics and videos!
I hope you found this thread useful, let me know if you want more of this kind of projects and if you want to support my effort just go and sub on my youtube channel. I will be grateful !