Floor project

nhk750

Aviation Enthusiast
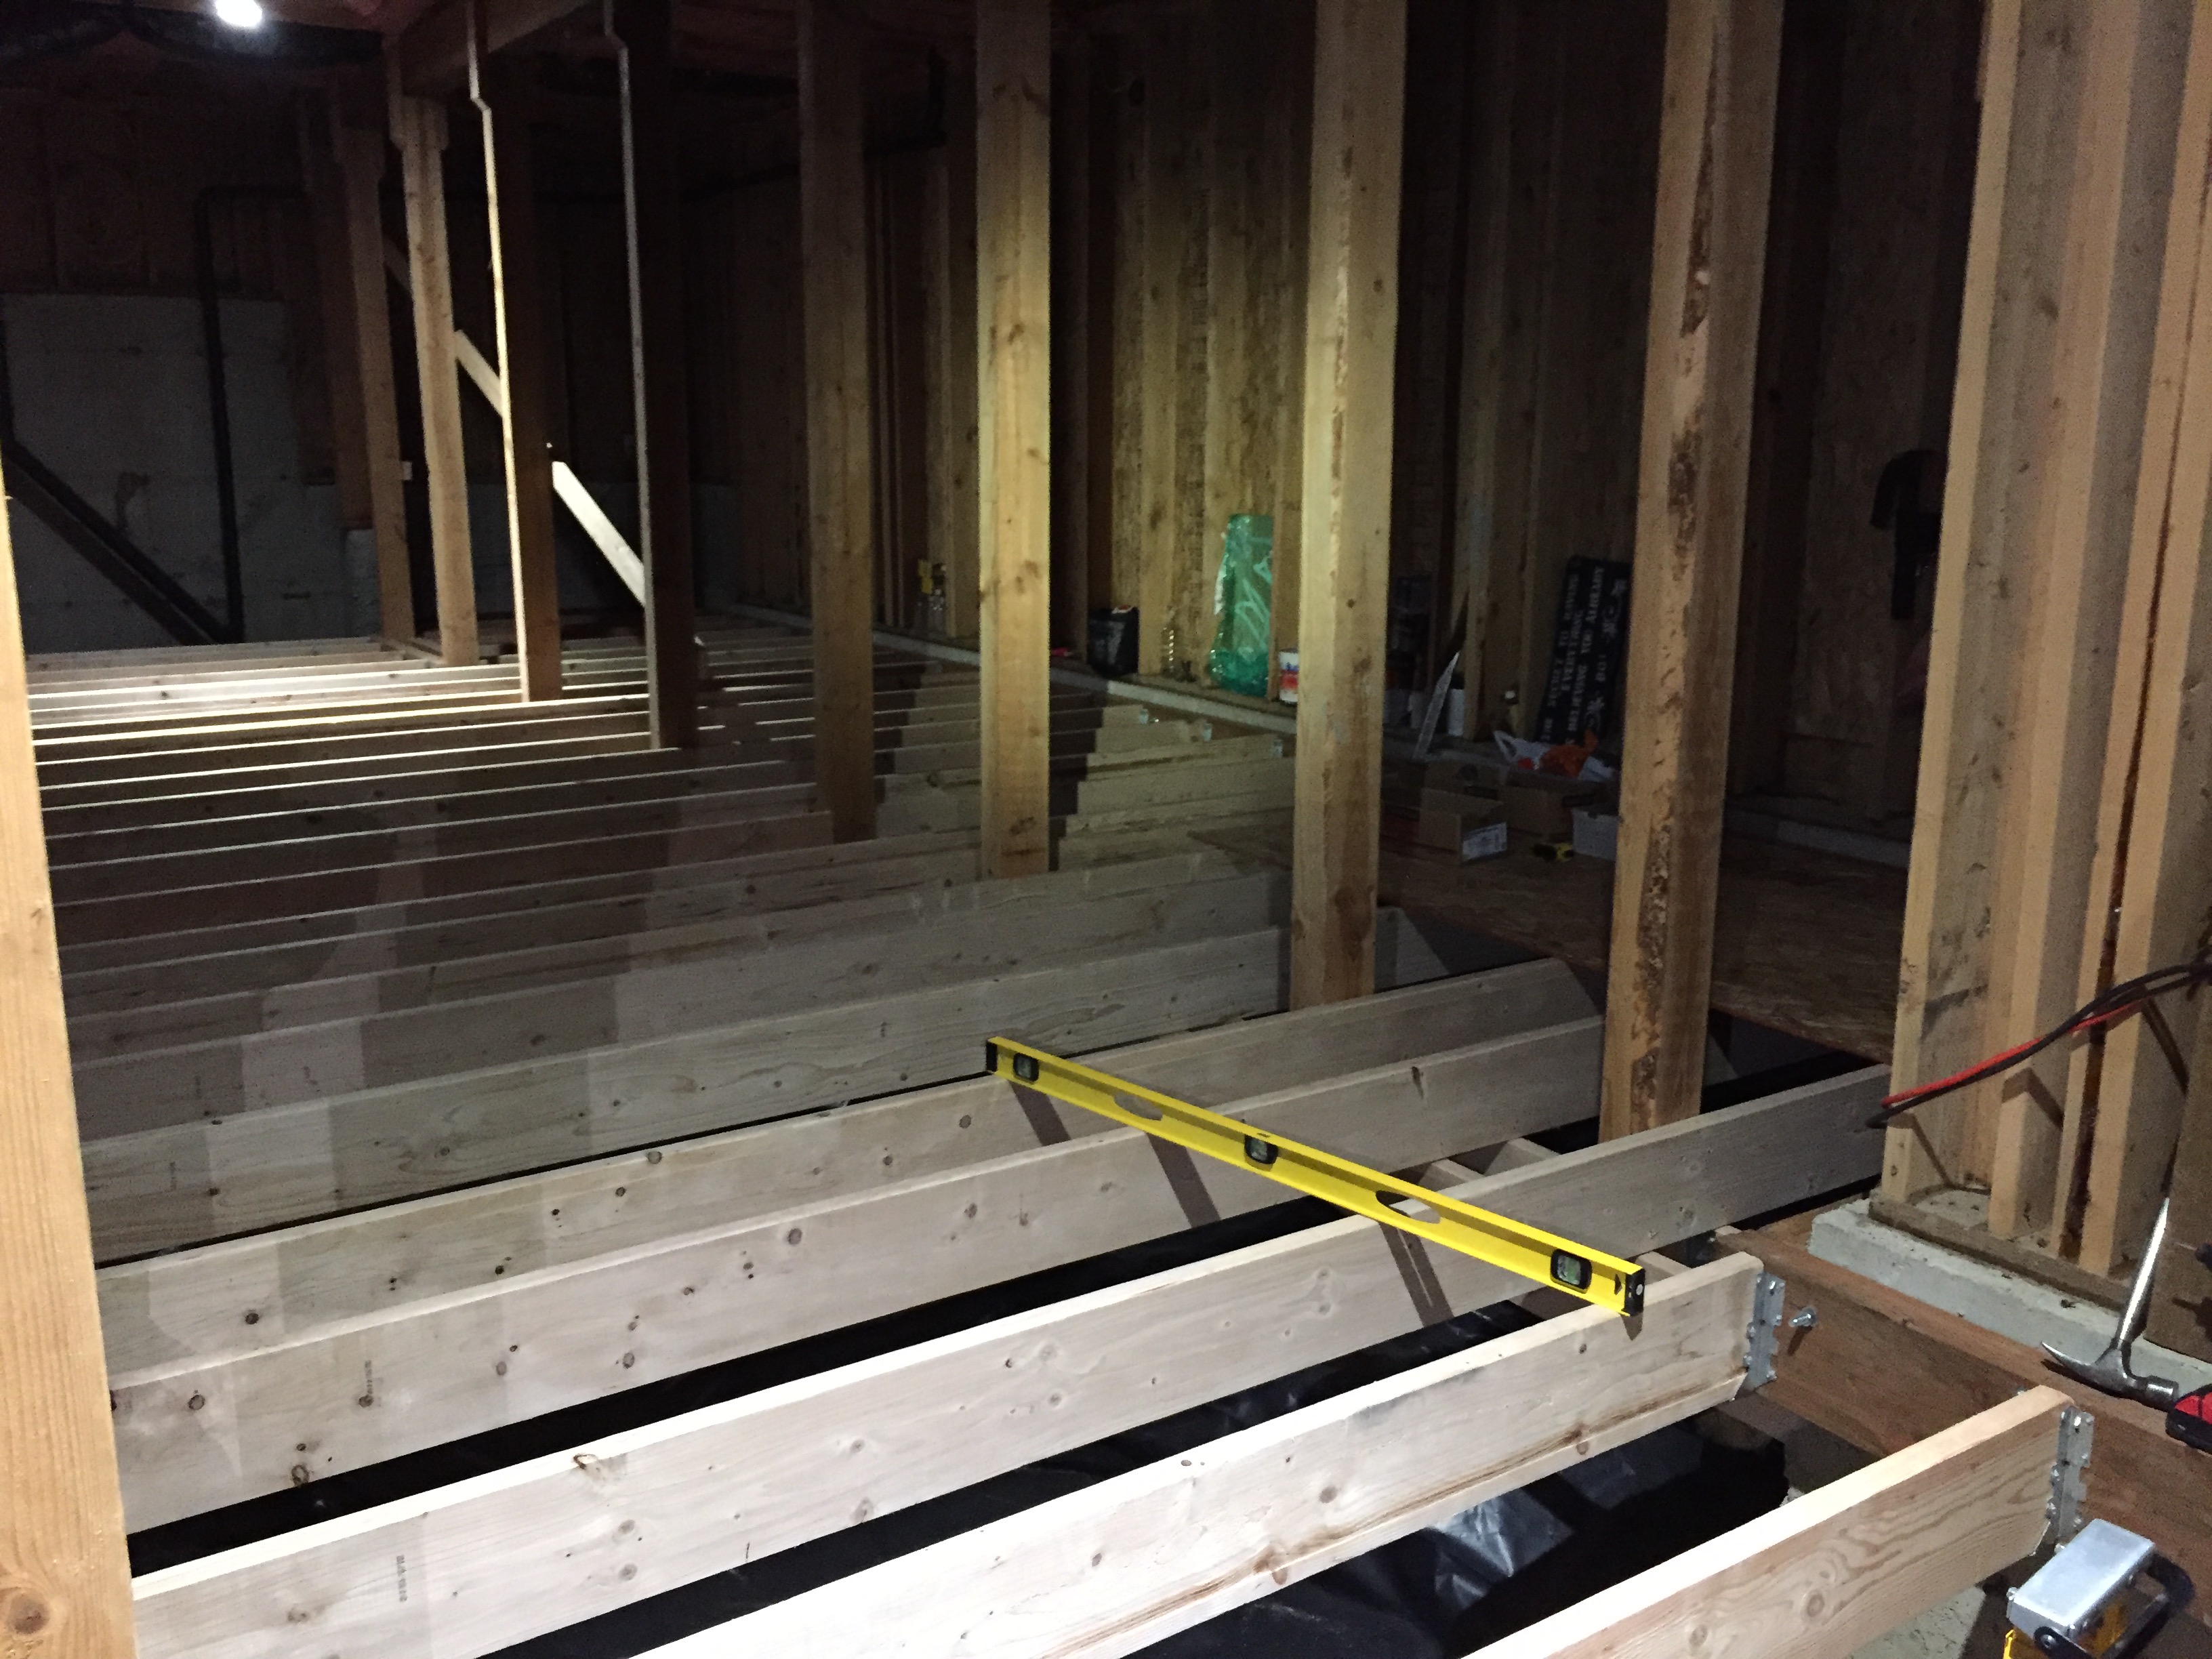
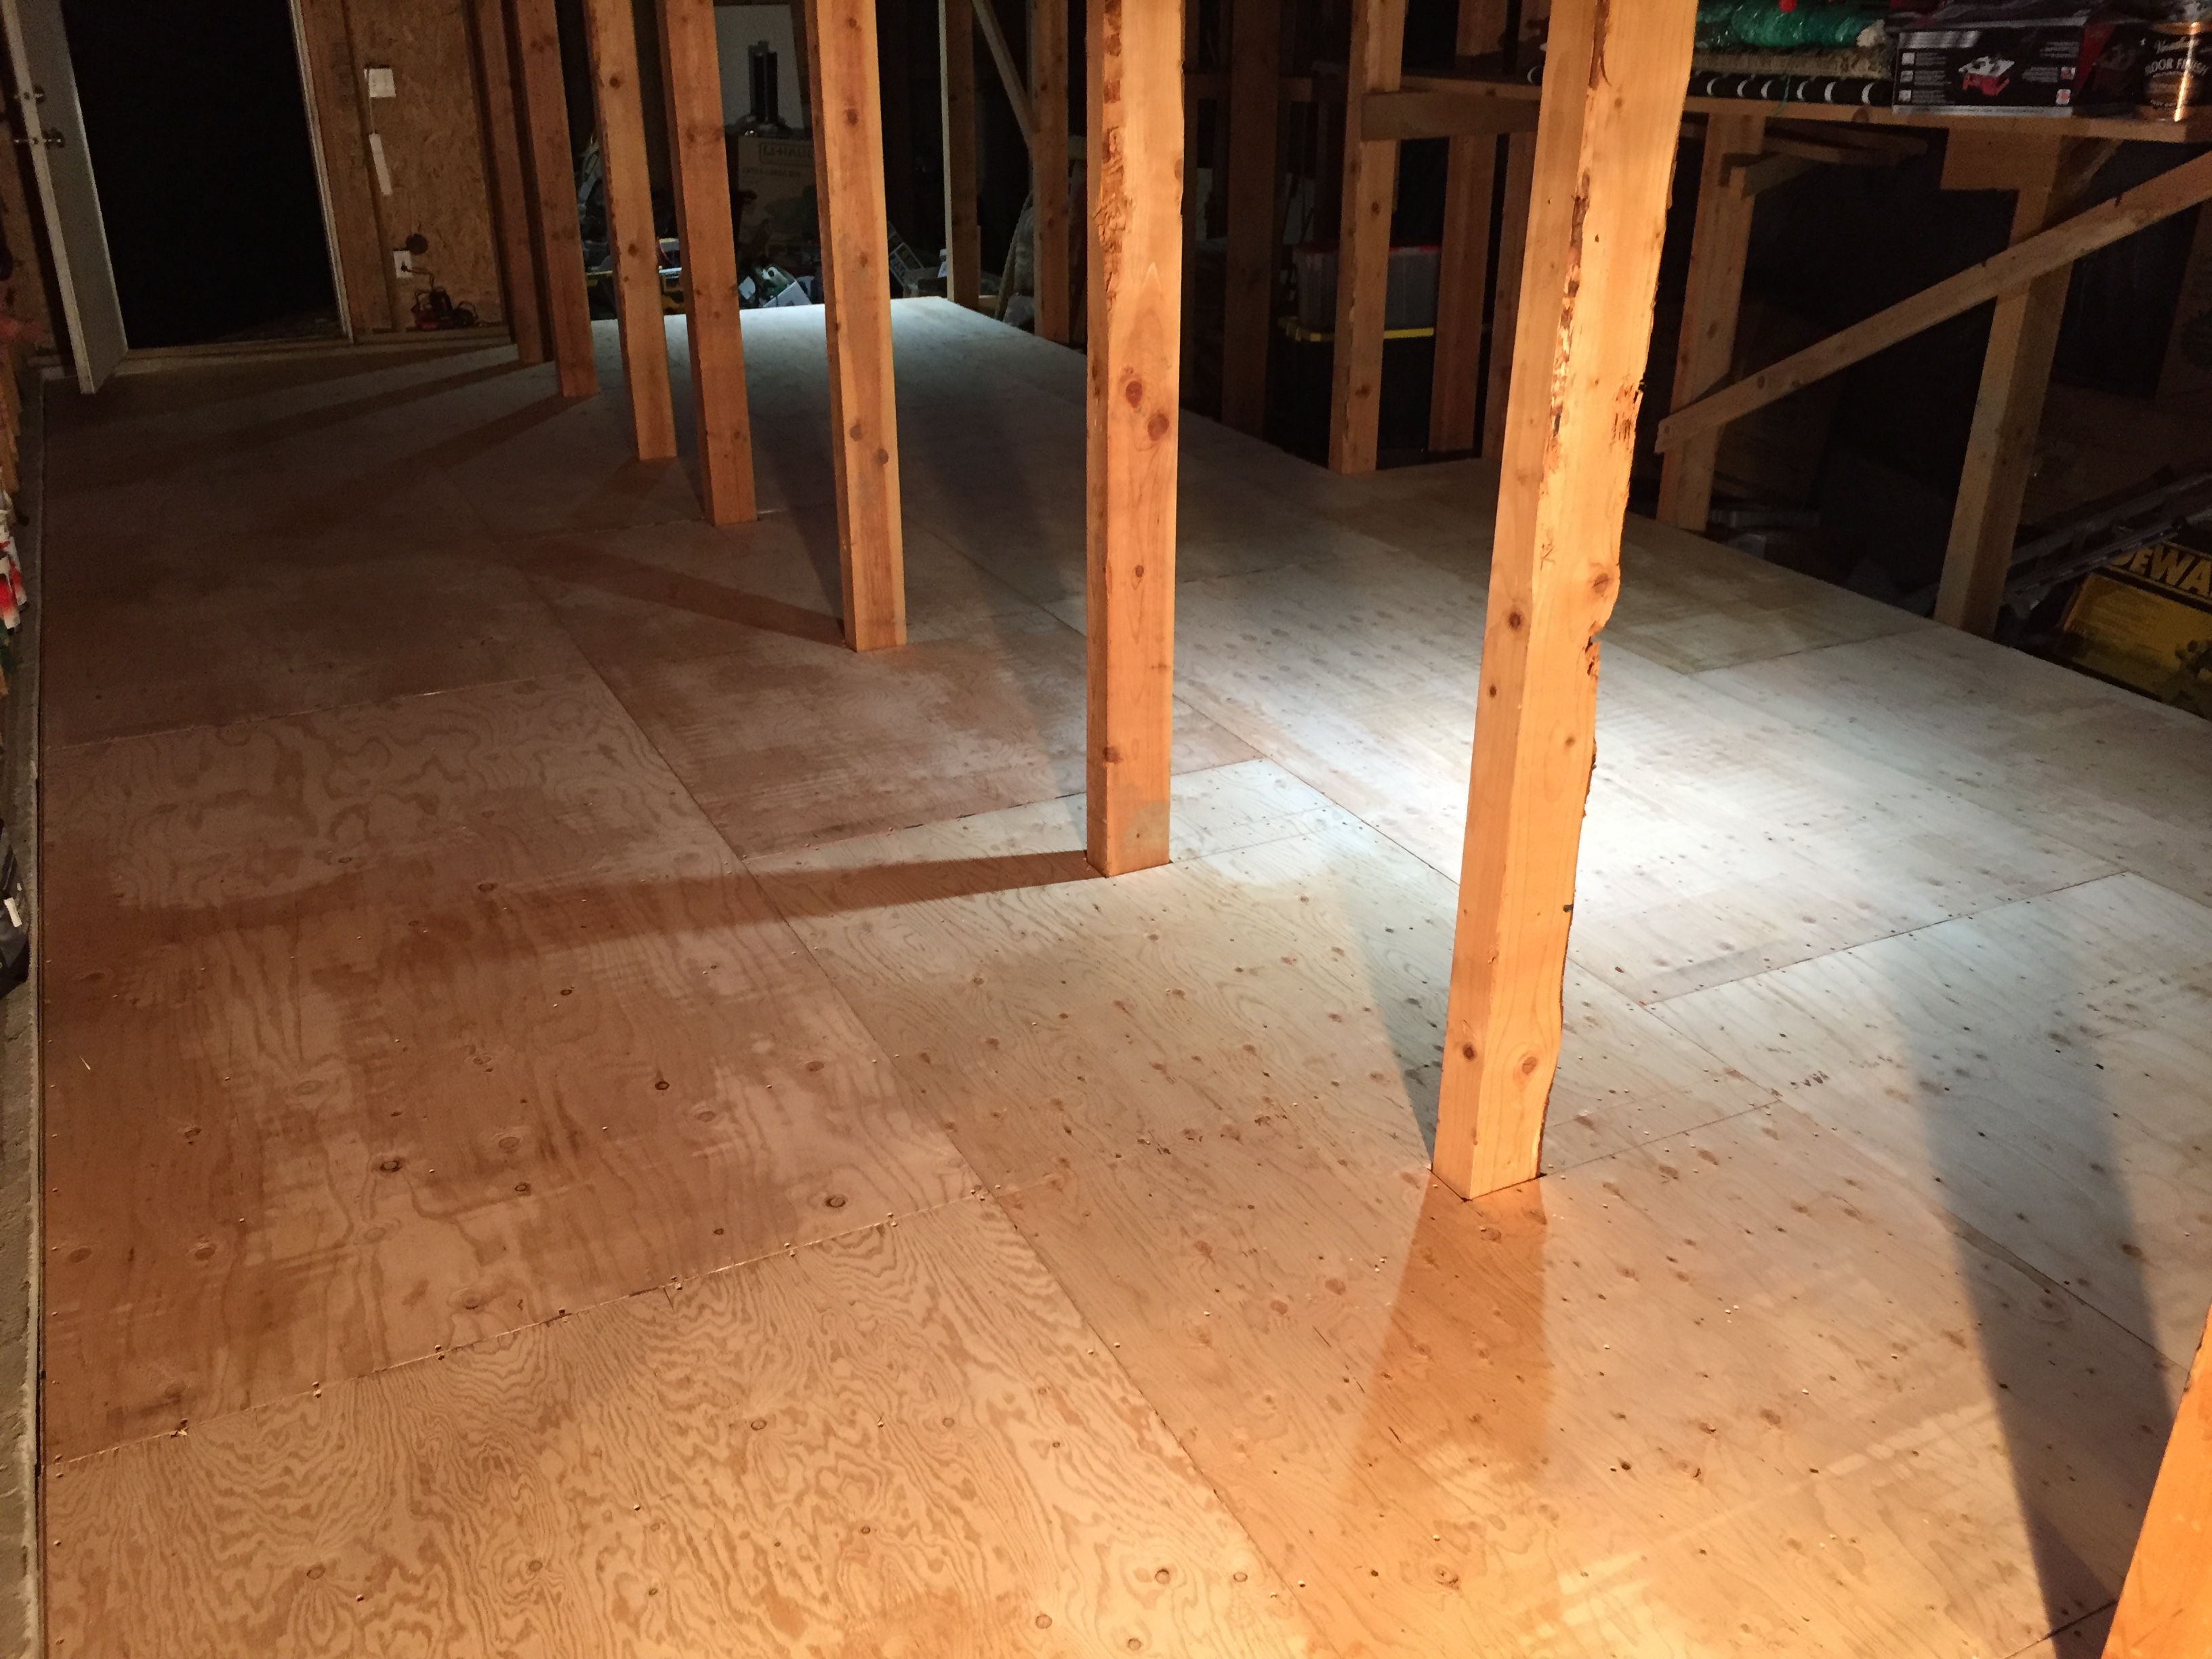
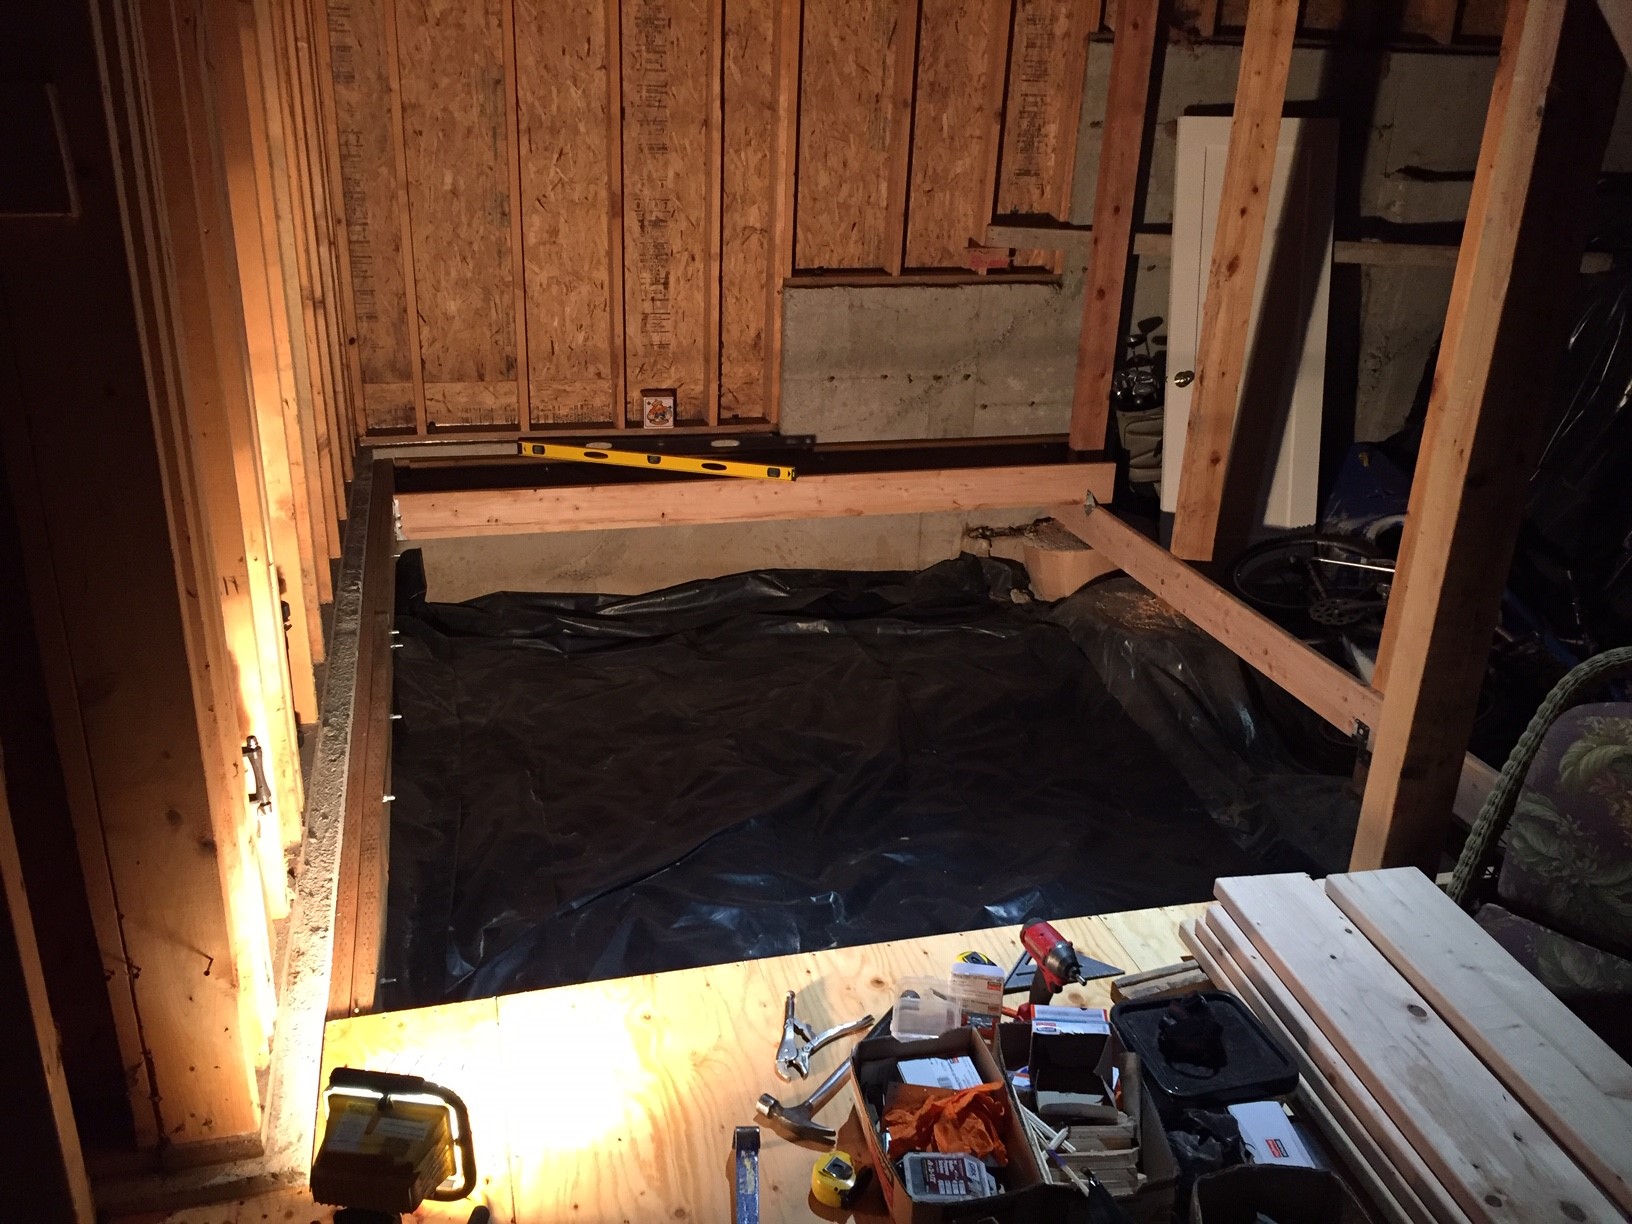
I’m not sure the section to post this, but it will be an addition to my hobby building and storage when done...along with extra storage for the wife's stuff. We bought a house earlier this year and under it was a crawl space with an 11 foot ceiling and it was used for storage. I decided to build a wood floor down there and make around 600 sq feet of storage and shop area. So, instead of building airplanes and other stuff I am building a floor. It is taking all my spare time and is one heck of a challenge as I’m a mechanic and not a contractor, but my airplane building skills are helping a lot, along with the internet. So far it’s very level, up to code and actually way over engineered as I don't want any sag, bounce, or squeaks.
 

Attachments

  • 3E0BC1CA-9B9B-4A7A-879A-B73F4007A626.jpeg
    3E0BC1CA-9B9B-4A7A-879A-B73F4007A626.jpeg
    1.3 MB · Views: 0
  • E277C7C1-4A8A-4E63-8549-33C9F51A2A81.jpeg
    E277C7C1-4A8A-4E63-8549-33C9F51A2A81.jpeg
    1.3 MB · Views: 0
  • 329DE1BB-1F29-4100-AF59-9EA2C3590A42.jpeg
    329DE1BB-1F29-4100-AF59-9EA2C3590A42.jpeg
    1.6 MB · Views: 0

nhk750

Aviation Enthusiast
The main part is mostly framed up now. There is still a 12x10’ space behind me in this pic I need to frame, but I will sheet the main section first. I think it’s pretty good for my first floor job. I had to space some of the joists a little wider than 16 oc because of the support posts. It’s way overbuilt as is though and can handle a lot more weight than will ever be placed on it. I’m exhausted doing this solo and tossing around 16’ 2x8” boards everyday after work.
 

Attachments

  • 4CBCF5FD-45E4-4A82-992F-C9E56AC54AD5.jpeg
    4CBCF5FD-45E4-4A82-992F-C9E56AC54AD5.jpeg
    1.4 MB · Views: 0

nhk750

Aviation Enthusiast
Stage 1 complete. Im just about dead but it’s a Christmas miracle, I finished the first part. I just have a 13x10’ section in the back to frame and sheet, but thats an easy section and the main section is ready for storage!
I’m coating with some polyurethane and it looks good so far.
 

Attachments

  • 5962CA8F-249F-49A6-B2DA-BDBA1EF2FC91.jpeg
    5962CA8F-249F-49A6-B2DA-BDBA1EF2FC91.jpeg
    1.7 MB · Views: 0
  • 50B30866-0C36-4D1D-BFFC-0985ABA6FB31.jpeg
    50B30866-0C36-4D1D-BFFC-0985ABA6FB31.jpeg
    1.2 MB · Views: 0

mach1 rc

Master member
Stage 1 complete. Im just about dead but it’s a Christmas miracle, I finished the first part. I just have a 13x10’ section in the back to frame and sheet, but thats an easy section and the main section is ready for storage!
I’m coating with some polyurethane and it looks good so far.
Looks really well done 👋👋
 

nhk750

Aviation Enthusiast
The posts hold the house up, so I just have to work around them. Work bench in the middle is an interesting idea though.
 

nhk750

Aviation Enthusiast
The floor project is done, I finished stage 2 and 3 and also applied the Polyurethane, although the last pic doesn't show the application. Total build time is 1 1/2 months and 575 sq ft of floor space for shop and storage. Now I can move back to hobby building while I build a workbench and mount my drill press and scroll saw, insulate, ect...
I found a picture of my Hog Bipe build from a few years ago now and am inspired to get back to building.
 

Attachments

  • fl2.jpg
    fl2.jpg
    431.1 KB · Views: 0
  • fl1.jpg
    fl1.jpg
    435.8 KB · Views: 0
  • Hog Bipe.JPG
    Hog Bipe.JPG
    1.5 MB · Views: 0
  • FLOOR.jpg
    FLOOR.jpg
    1.7 MB · Views: 0
  • fl3.jpg
    fl3.jpg
    360.6 KB · Views: 0