It's here! The FT Tiny Trainer is finally available and ready for flight.
This step-by-step tutorial will show you everything you need to build your FT Tiny Trainer Speed Build Kit.

The speed build kit is available in our online store and the the build plans are available for those of you who want to scratch build this versatile foamboard Mighty Mini.
You'll want to put together your mini power pod first!
More details available in the power pod article here:
http://flitetest.com/articles/mighty-minis-power-pod-build
FREE PLANS
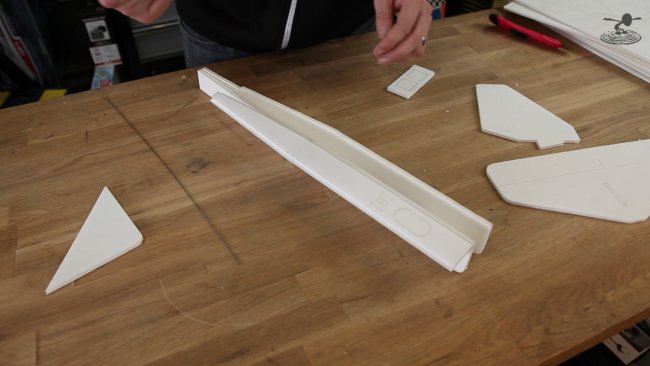
A solid plane starts with a solid fuselage. Always take your time and wait for the glue to dry completely before moving on.
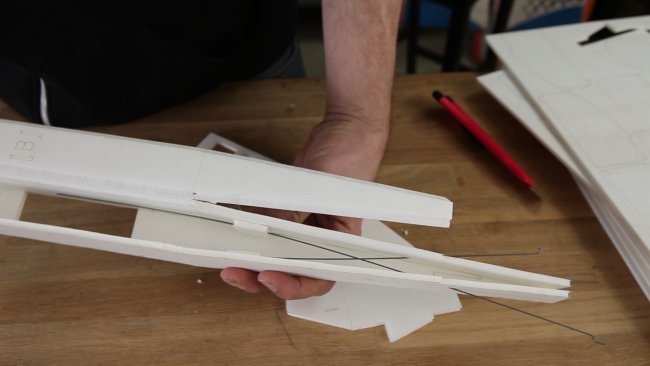
Be sure to have the push rods cross and go out to the control horns without binding along the way.
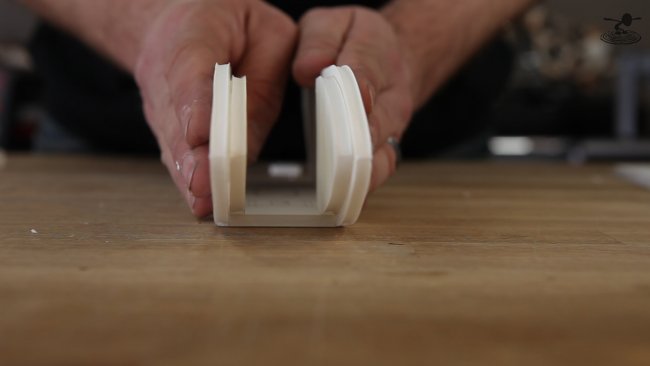
Both noses feature doublers, to help reinforce and strengthen the plane for any situation. With this, a beginner should be able to take a few hits and continue flying, if they didn't break a prop of course.
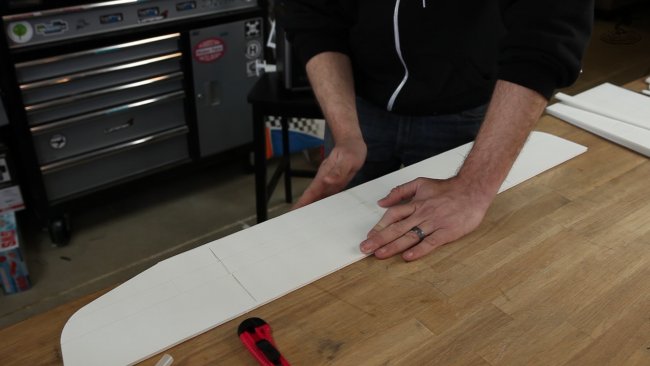
Be gentle when forming your wing. You shouldn't have to force it to much, and be patient with the glue.
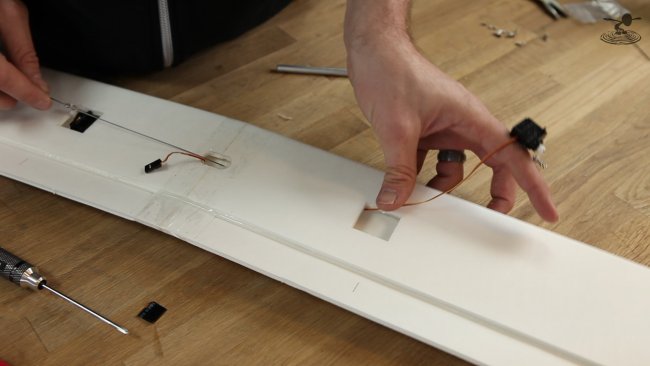
Use some spare wire to feed the servos through the wing after its closed up.
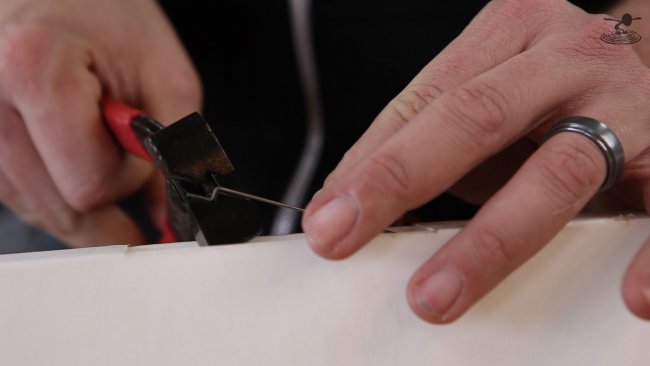
You can create your own Z-Bends with a pair of Z-Bend Pliers: Available Here!
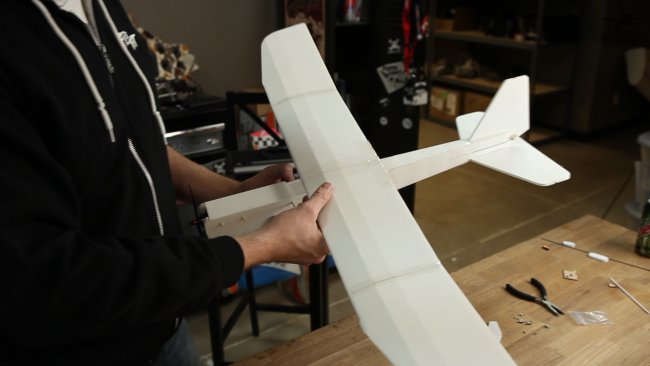
With the plane nearly done, all thats left is strapping the wing down, and testing your controls.

We can't wait to see how your FT Tiny Trainer build turns out!
Be sure to share with photos, articles and comments! Thank you for all of your support and input with speed build kits like this!
Let us know what you'd like to see as a speed build kit!
The FT Tiny Trainer is part of our Mighty Minis Series and are powered with our Power Pack A (Minis) electronics setup available in our online store!
New to the R/C hobby?
Here's some resources to help get you up to speed!
Beginner Series: WATCH HERE!
Electronics Setup: WATCH HERE!
First Flight Quick Tips: WATCH HERE!
Got glue?? Get Some Here!
FREE PLANS
Learn more about the FT Tiny Trainer here: SPECS AND OTHER DETAILS!


