FTFC20 Carl Goldberg Ranger 30 designed by Jon Carlsen

TooJung2Die

Master member
Good timing for the Challenge. I just finished a balsa airplane (Guillow's Lancer) so that means it is time to take a break and build a foamy. The Ranger 30 designed by Carl Goldberg has great memories for me. It was my favorite free-flight airplane when I was a boy. The kit was inexpensive. The build was easy. It flew great and was tough enough to survive many rooftop and treetop landings.

There is another thread I started back in 2015 for this airplane (Ranger 30). With a lot of help from this community we built several great flying 'A' pack 3 channel and 4 channel Rangers. It was built using Flite Test techniques. This time the build will go in a different direction. I want to build it as if the foam was balsa sheet. Since the original airplane is all balsa sheet this should be a natural for foam board. All paper will be removed. I'm going for an indoor venue ultra-light. Carbon fiber or balsa may be added for strength.

Link to the Challenge: FTFC20 Classic to Modern Forum Challenge!

Jon

A nice example of the original balsa wood kit:

Ranger 30 ..jpg


Original instructions and balsa templates:
 

Attachments

  • Ranger 30 instructions and parts tracing.pdf
    842.2 KB · Views: 0
Last edited:

TooJung2Die

Master member
More Ranger 30 plans.
I don't remember where I found this file. It was created by a Ron Schneider in 2002. It contains the original balsa kit assembly instructions and full size tracings of all the original wood parts. The templates I attached in Post#1 are not good copies of the original parts so I replaced it with this file. If you were to cut them out as drawn and tried to assemble the airplane you would find that many parts don't fit together. Ron Schneider's tracings of the original parts, while not perfect, are better representations of the original kit parts.

I hoped to actually build another balsa Ranger 30 someday. Looks like that build would be a bigger challenge than I expected.

Jon
 

Attachments

  • Ranger 30 instructions and tracing.pdf
    842.2 KB · Views: 0
Last edited:

TooJung2Die

Master member
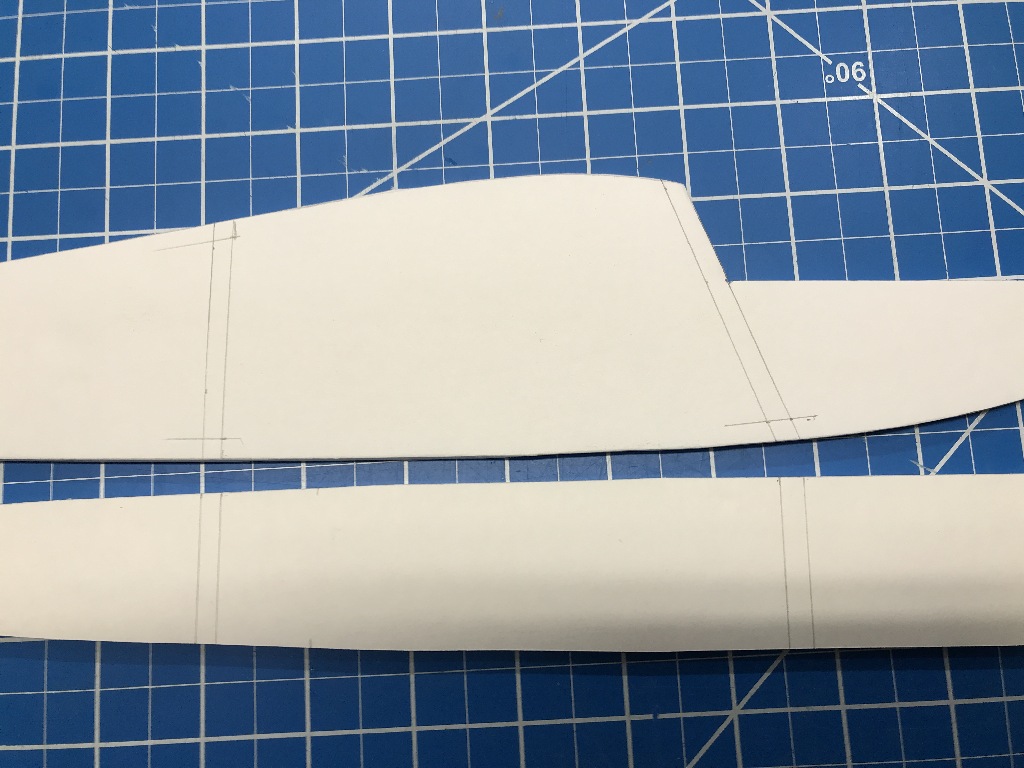
The cutting has commenced. Hows this template for confusion? Many balsa parts were made of two or more pieces glued together to make a larger sheet. I think it was to save money and fit it all in a small box. Each wing half was two balsa sheets glued together. The bottom fuselage sheet was 4 balsa pieces glued together.

IMG_1211.JPG


It's tricky to get the pieces on the template lined up on the foam board so you can cut it out as one piece. But it can be done. When you have one side of a two part piece like the fuselage cut out, use the first part as the template for the second side so you have two exact mirror image parts.

IMG_1212.JPG


Just a few more pieces to cut and the assembly can begin. I'm going to cut another vertical stabilizer. I remember now that the original size is too small to be effective with a rudder. I'll redraw it about 30% taller.

I love how quick and easy it is to build with foam board. Build a few balsa airplanes and then go back and build a foamy. You'll see.

Jon
 
Last edited:

TooJung2Die

Master member
Wing assembly. I know there are many experienced builders on this forum. I am going to describe this as if you never saw this before. Spray the paper on the foam board with alcohol and wait a moment. The paper peels off without effort or tearing. Remove both sides. Remember this when using alcohol around FT foam board when you don't want the paper to come off!

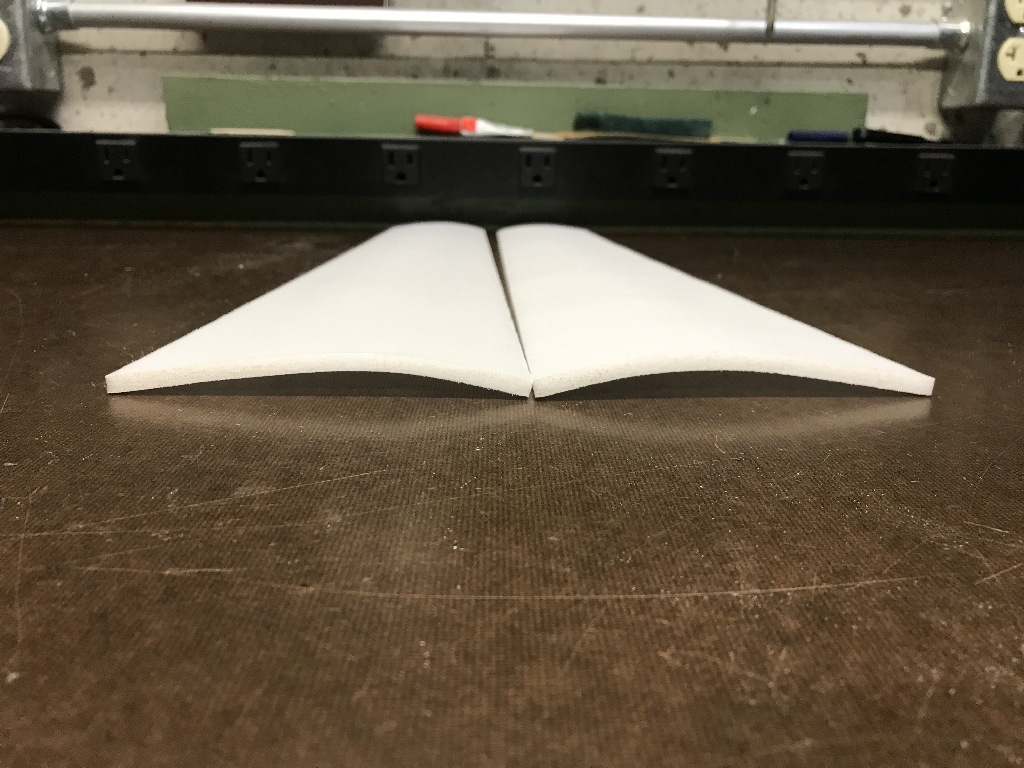
Rub the underside of the wing on a rounded table edge to create the undercamber airfoil.

IMG_1214.JPG


Resulting airfoil.

IMG_1215.JPG


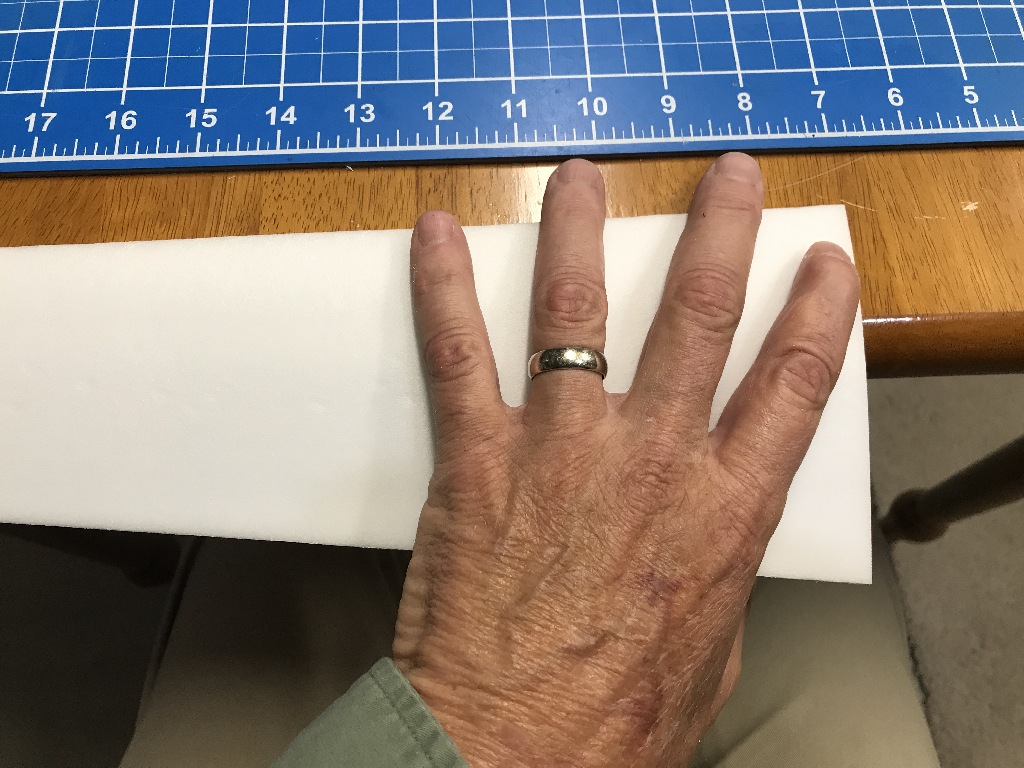
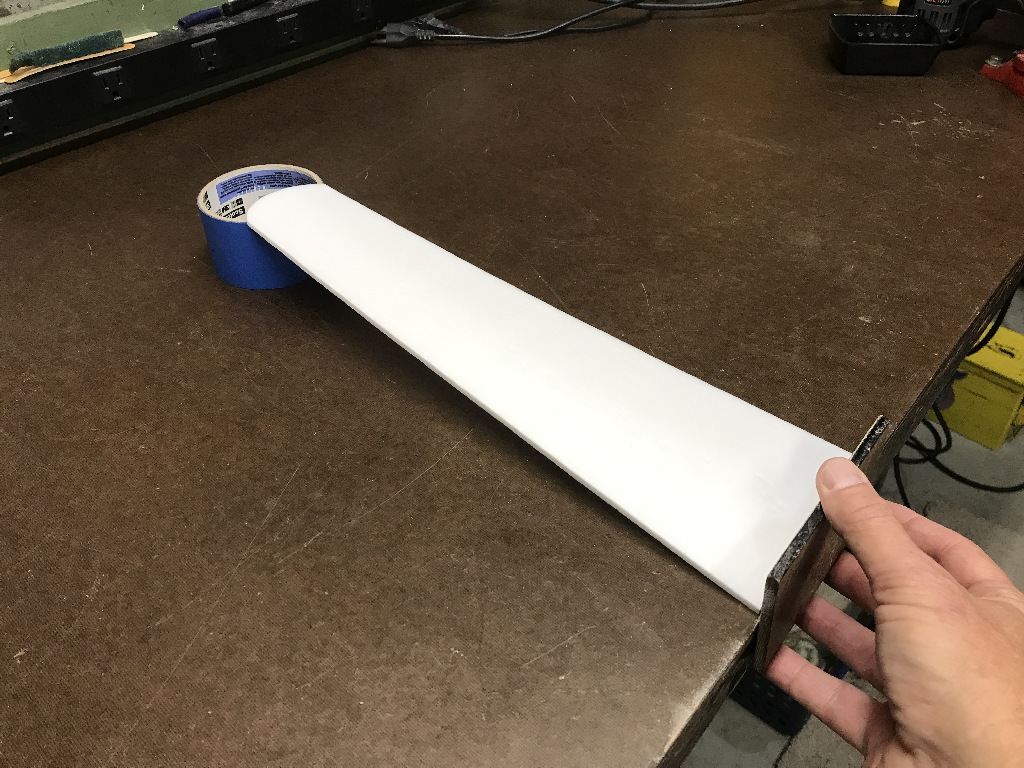
Plans call for 2.5" dihedral on each wingtip. I have several rolls of 2" tape so that's what the dihedral will be. Put the tip of the wing on the gauge and the root of the wing at the table edge. Hold a sanding block vertical and sand the root edge.

IMG_1216.JPG


Perfect fit.

IMG_1217.JPG


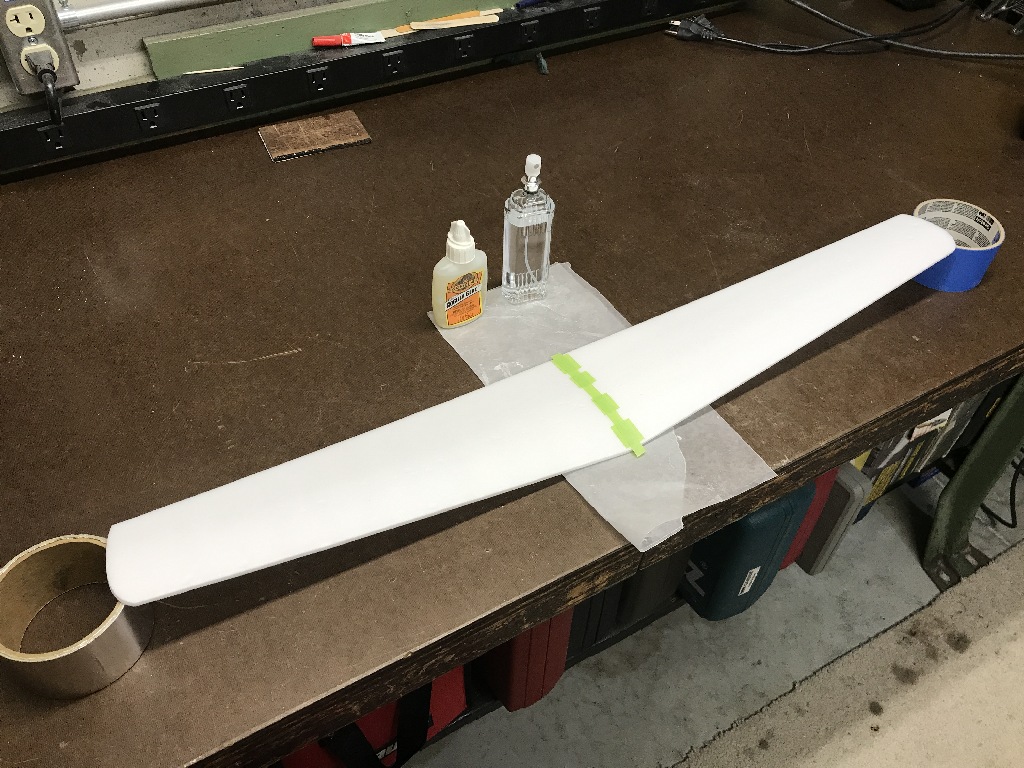
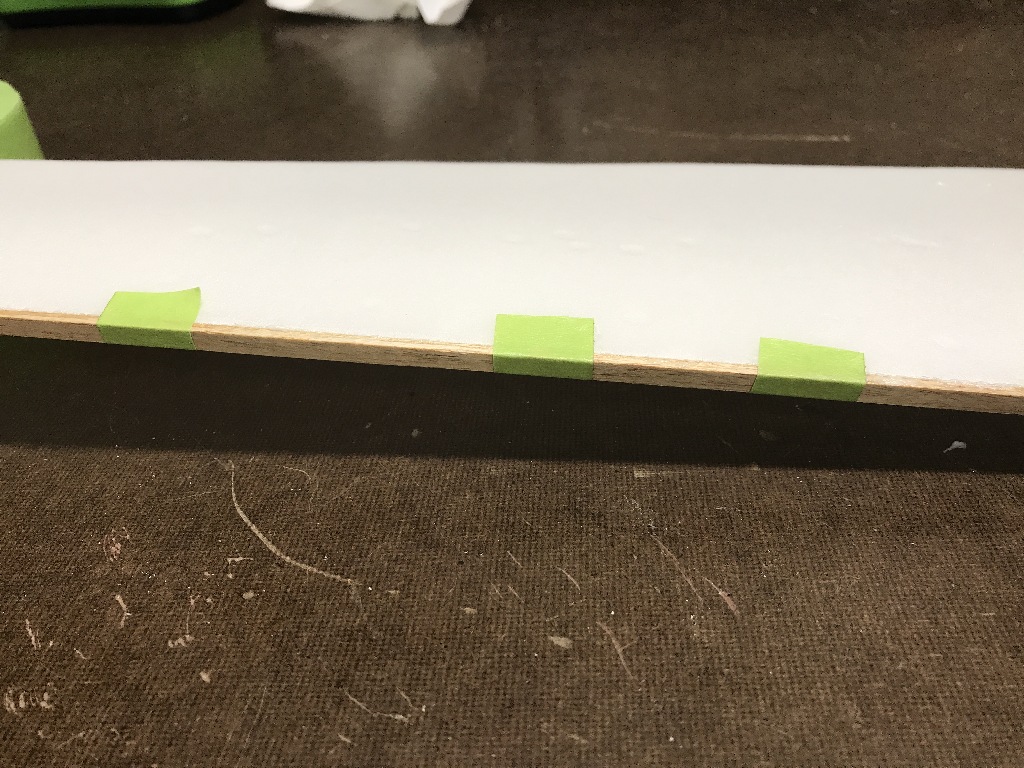
I'm using white Gorilla Glue for most of this build. It could be assembled with hot glue but it's heavier. The little spray bottle is my water spritzer to activate the glue. Painter's tape the top of the glue joint to hold the pieces together and keep the glue from foaming out the top.

IMG_1221.JPG


Let it set up overnight.

Jon
 

PoorManRC

Master member
Awesome Build!! I'm glad you showed the process...
I may be an experienced builder in a few aspects, but have never built in this way before. It's something I'd definitely love to try!! 👍👍
Beautiful, simple LOOKING Aircraft! I say it that way, knowing that simple looking, usually doesn't mean simple construction! 😲
 

TooJung2Die

Master member
Awesome Build!! I'm glad you showed the process...
Thank you. In that case I will carry on.
Paperless foam board is very weak and floppy. This wing needs something to stiffen it. Carbon fiber is probably the best material to use here but I believe in use what you got so balsa will be used. I cut a 3/16" wide strip from some 3/32" balsa sheet. I glued it to the leading edge of the wing using Gorilla glue. Painters tape to hold it in place. Scrape off the glue foam as it oozes out and while it is still soft like melted marshmallow. Gorilla glue foams and expands. A lot. If you put on what you think is enough glue... You put on too much. :)

IMG_1222.JPG


After the glue dries sand the leading edge round.

IMG_1225.JPG


Using the top of the fuselage where the wing mounts as a template I made a rib to hold the airfoil shape. I didn't get to the melted marshmallow in time so it hardened. It won't be seen under there.

IMG_1224.JPG


Jon
 

PoorManRC

Master member
NICE, and good to know! I've been using White Gorilla Wood Glue. It's basically a better Elmer's Construction Glue...

I'm about to try the Expanding Gorilla Glue, and I will keep the "growth" in mind! 😉
 

TooJung2Die

Master member
Fuselage assembly. Our club's August fun fly was today. The local hobby store, Kranzel's, is always a supporter with gifts and prizes so I like to buy there whenever I can. I saw this foam safe glue and bought it. It dries clear, no messy foaming like white Gorilla Glue. You just put it on and let it dry. Or, you can put the pieces together, pull them apart for several minutes to let the glue dry, and then stick it back together to speed things up. I am going to use this new (to me) glue for the rest of the build.

Do you assemble the sides of the fuselage first and then put in the bulkheads or do you put in the bulkheads and put on the remaining sides? If it was a balsa build it would be bulkheads first. Bulkheads are going at the front and back of the wing mount.

IMG_1228.JPG


I'm making the bulkheads by copying the dimensions of the lines I drew on the fuselage. Calipers make transferring dimensions to the foam board to be cut easy. You aren't concerned with the inch measurement, just copying the distance from one place to another.

IMG_1230.JPG


Paper peeled off all the parts and the bulkheads are glued on.

IMG_1232.JPG


We'll wait a bit for that to dry.

Jon
 

TooJung2Die

Master member
Other side of the fuselage glued on. Bottom section formed over a table edge to fit.

IMG_1234.JPG


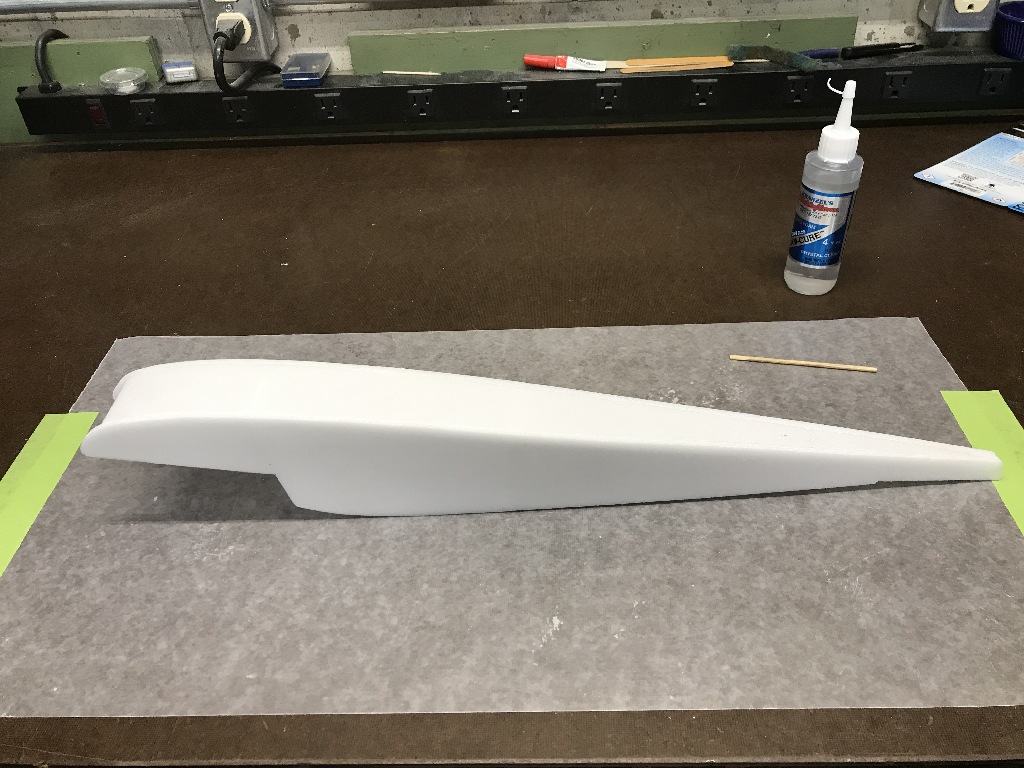
Bottom sheet glued in. I'm beginning to wonder why I ever used white Gorilla glue. This Foam-Cure glue is good. When you use the technique of pulling apart, letting the glue dry a few minutes, and then stick it back together it really sticks. There will be no repositioning. It's practically invisible.

IMG_1238.JPG


After peeling the paper off the horizontal stabilizer it became very floppy. I made a tape hinge using full width thin packing tape. The hinge tape on both sides gave the elevator plenty enough stiffness with negligible weight.

IMG_1239.JPG


Tape hinge method:

tape_hinge.jpg


Jon
 

jaredstrees

Well-known member
Yeah, I love that foam cure. I still tend to use gorilla glue in the majority of my builds, but find that to be better where I don’t want marshmallows to be seen! And it is my go to when I need to do a repair on an ARF foamie, great stuff.
 

TooJung2Die

Master member
I still tend to use gorilla glue in the majority of my builds, but find that to be better where I don’t want marshmallows to be seen!
Agreed. I'm not going to give up the Gorilla. There are places where the expanding foam is needed. Foam-Cure will have it's place in my builds from now on just like CA, epoxy, Titebond, Elmers, hot glue, etc... Each one has an application where it works best.
 

bracesport

Legendary member
@TooJung2Die - does the water spray also work on the yellow gorilla glue? I noticed when I vac bagged the GG the glue was much slower to go off (no moisture I guess)!
 

TooJung2Die

Master member
does the water spray also work on the yellow gorilla glue?
Yes, the original Gorilla glue which is amber (or yellow) is a water activated glue. The manufacturer's description says, "The water activated polyurethane formula expands into materials to form an incredibly strong bond."
 

TooJung2Die

Master member
Electronics. The motor. T1811-1800KV works with a 5" to 7" propeller for airplanes under 200 grams. I think this build will easily achieve the under 200 gram goal. Motor, propeller and connectors weigh 10 grams.

IMG_1241.JPG


Next is getting the electronics sorted out and installed in the fuselage.

Jon
 
Last edited: