
You are using an out of date browser. It may not display this or other websites correctly.
You should upgrade or use an alternative browser.
You should upgrade or use an alternative browser.
GREAT PLANES EXTRA 300S, 60 SIZE, ELECTRIC CONVERSION, 2019 BUILD ALONG
- Thread starter nhk750
- Start date
TooJung2Die
Master member

nhk750
Aviation Enthusiast
Someday I will get back to finishing the Extra, but for now we are still getting settled in the new house. Today I procured a new piece of cold rolled 16 gauge steel for my build table and made a little headway with shelving in the closet. I went from a 60” steel piece to a full sized 72” piece. I also extended my airplane rack to the ceiling. I probably should have started a different thread...build the build room thread.
Attachments


bracesport
Legendary member
nhk750
Aviation Enthusiast
I use the Bix 3 for fpv flying. So far I have had it up to 2,000ft and about a mile away before I lost control and luckily the Spectrum stuff got reception again and I brought her home. That was before all the crazy rules and laws we have these days...Now I just fly it once in a while around my father in laws field while he watches as I can never find anyone to spot for me.
nhk750
Aviation Enthusiast
See new thread Build Room 2.0


nhk750
Aviation Enthusiast
Back to work on the Extra, up on the build table is the fuse for battery tray design, fabrication and installation. I think I have the basic idea figured out and just need to cut out the strap slots and drill a few lightening holes. I’m never sure about lightening holes as I don't want to weaken the tray to much. The battery is nicely lined up with the thrust line of the motor and that should help with balance greatly.
Attachments


nhk750
Aviation Enthusiast
I decided against drilling lightening holes in the ply tray as it is spanning a long distance across the fuse and I was afraid to weaken it. So, I cut out the strap slots, finished some trimming then epoxied it in. The weight of the tray with the straps was 47grams so pretty light. After the epoxy cures I will add a few pieces of tri-stock underneath in a few spots to reinforce the bond to the fuse. The battery weighs 701grams, so this tray needs to be strong for rough landings.
Attachments


nhk750
Aviation Enthusiast
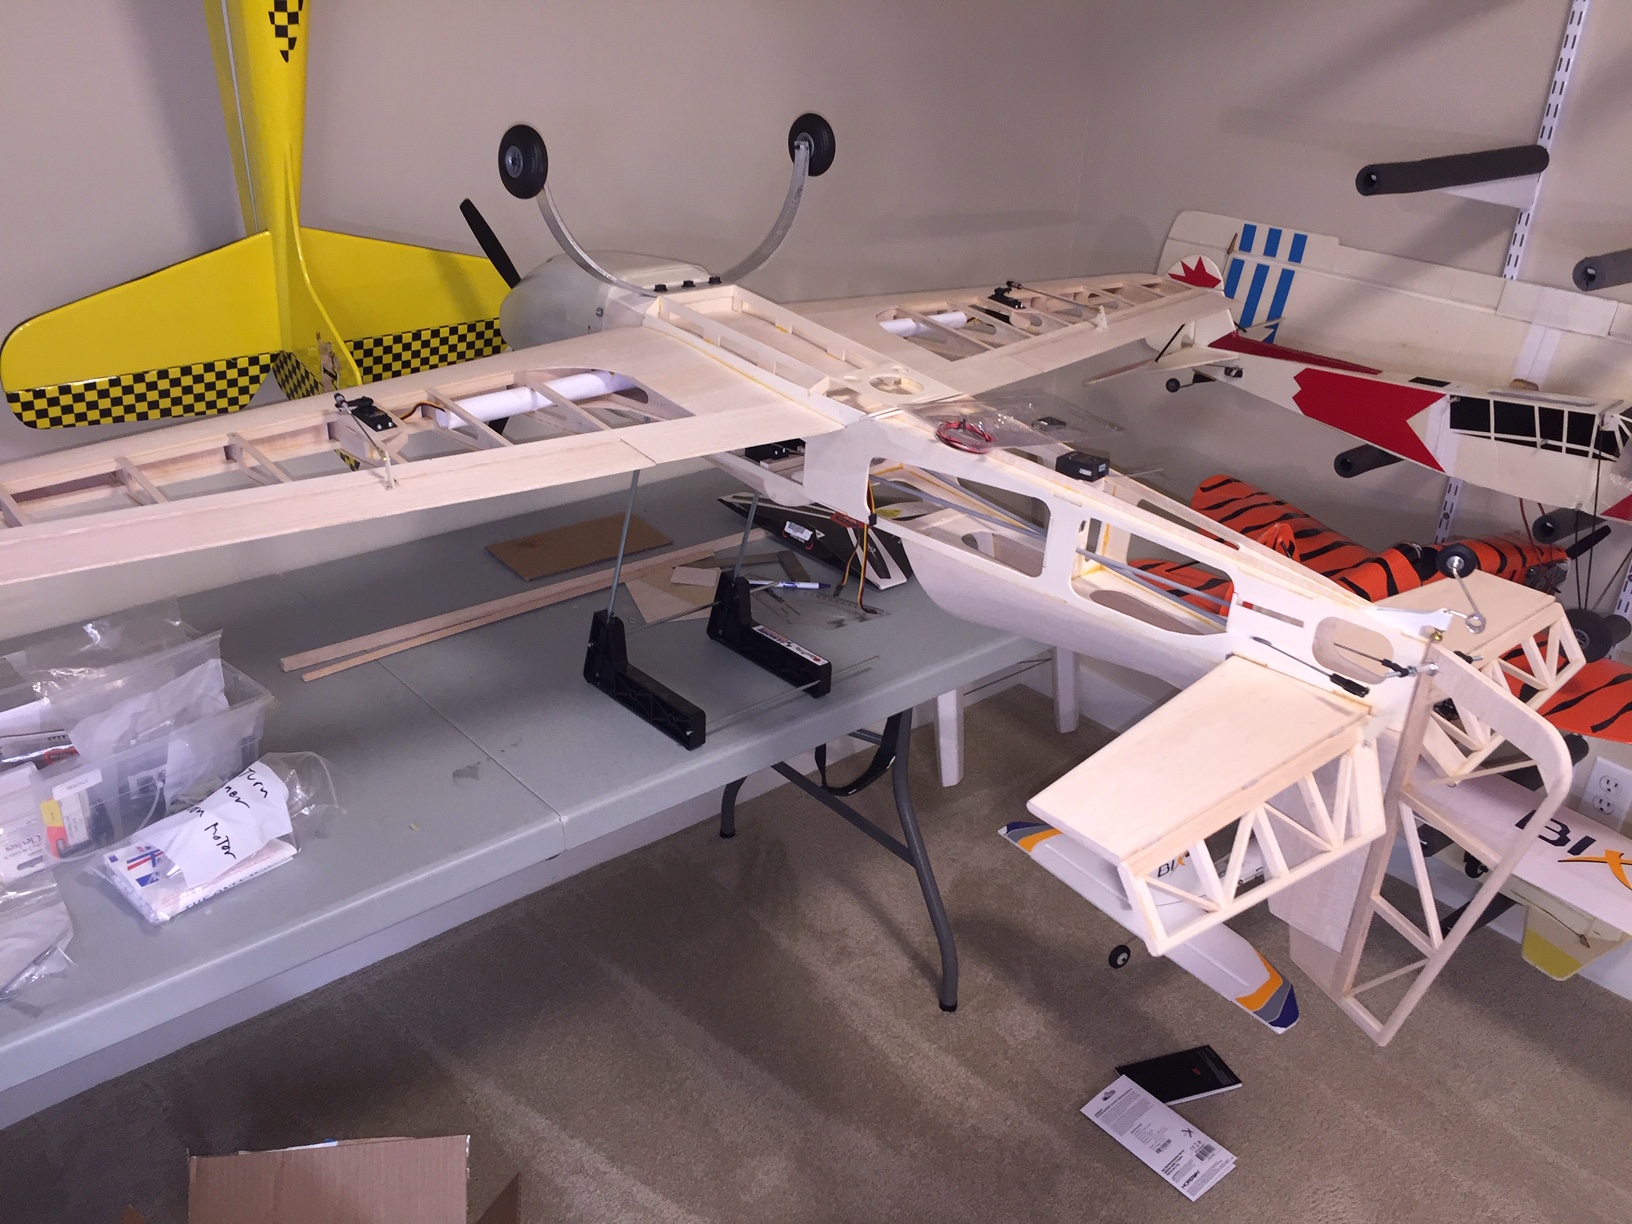
I realized, after installing the battery tray, that I needed to reassemble the entire aircraft and check the CG balance before I cover and paint. I set the Great Planes CG machine at 4 1/8", per instructions, and set the plane upside down on the pads. To my amazment the plane was almost balanced but nose heavy, so I set the radio gear, package and all, on the tail and it balanced perfectly. I did not have the canopy or battery cover on, so I belive they may add weight towards the tail too. Also, once it's covered, painted and hinges epoxied in, that should add tail weight.
So, I like to put the radio gear towards the tail away from the motor, esc and servos, but this may make the plane too tail heavy, but I'm thinking it wont be anything drastic since it's balancing so well at this point. I think it's time to start the final sanding and finishing process. I also have the room to shift the battery 1" forward for a total of 2" fwd or aft of adjustment.
My battery tray design left a nice gap between the wing and tray for the aileron servo wires.
Attachments


Last edited:
nhk750
Aviation Enthusiast
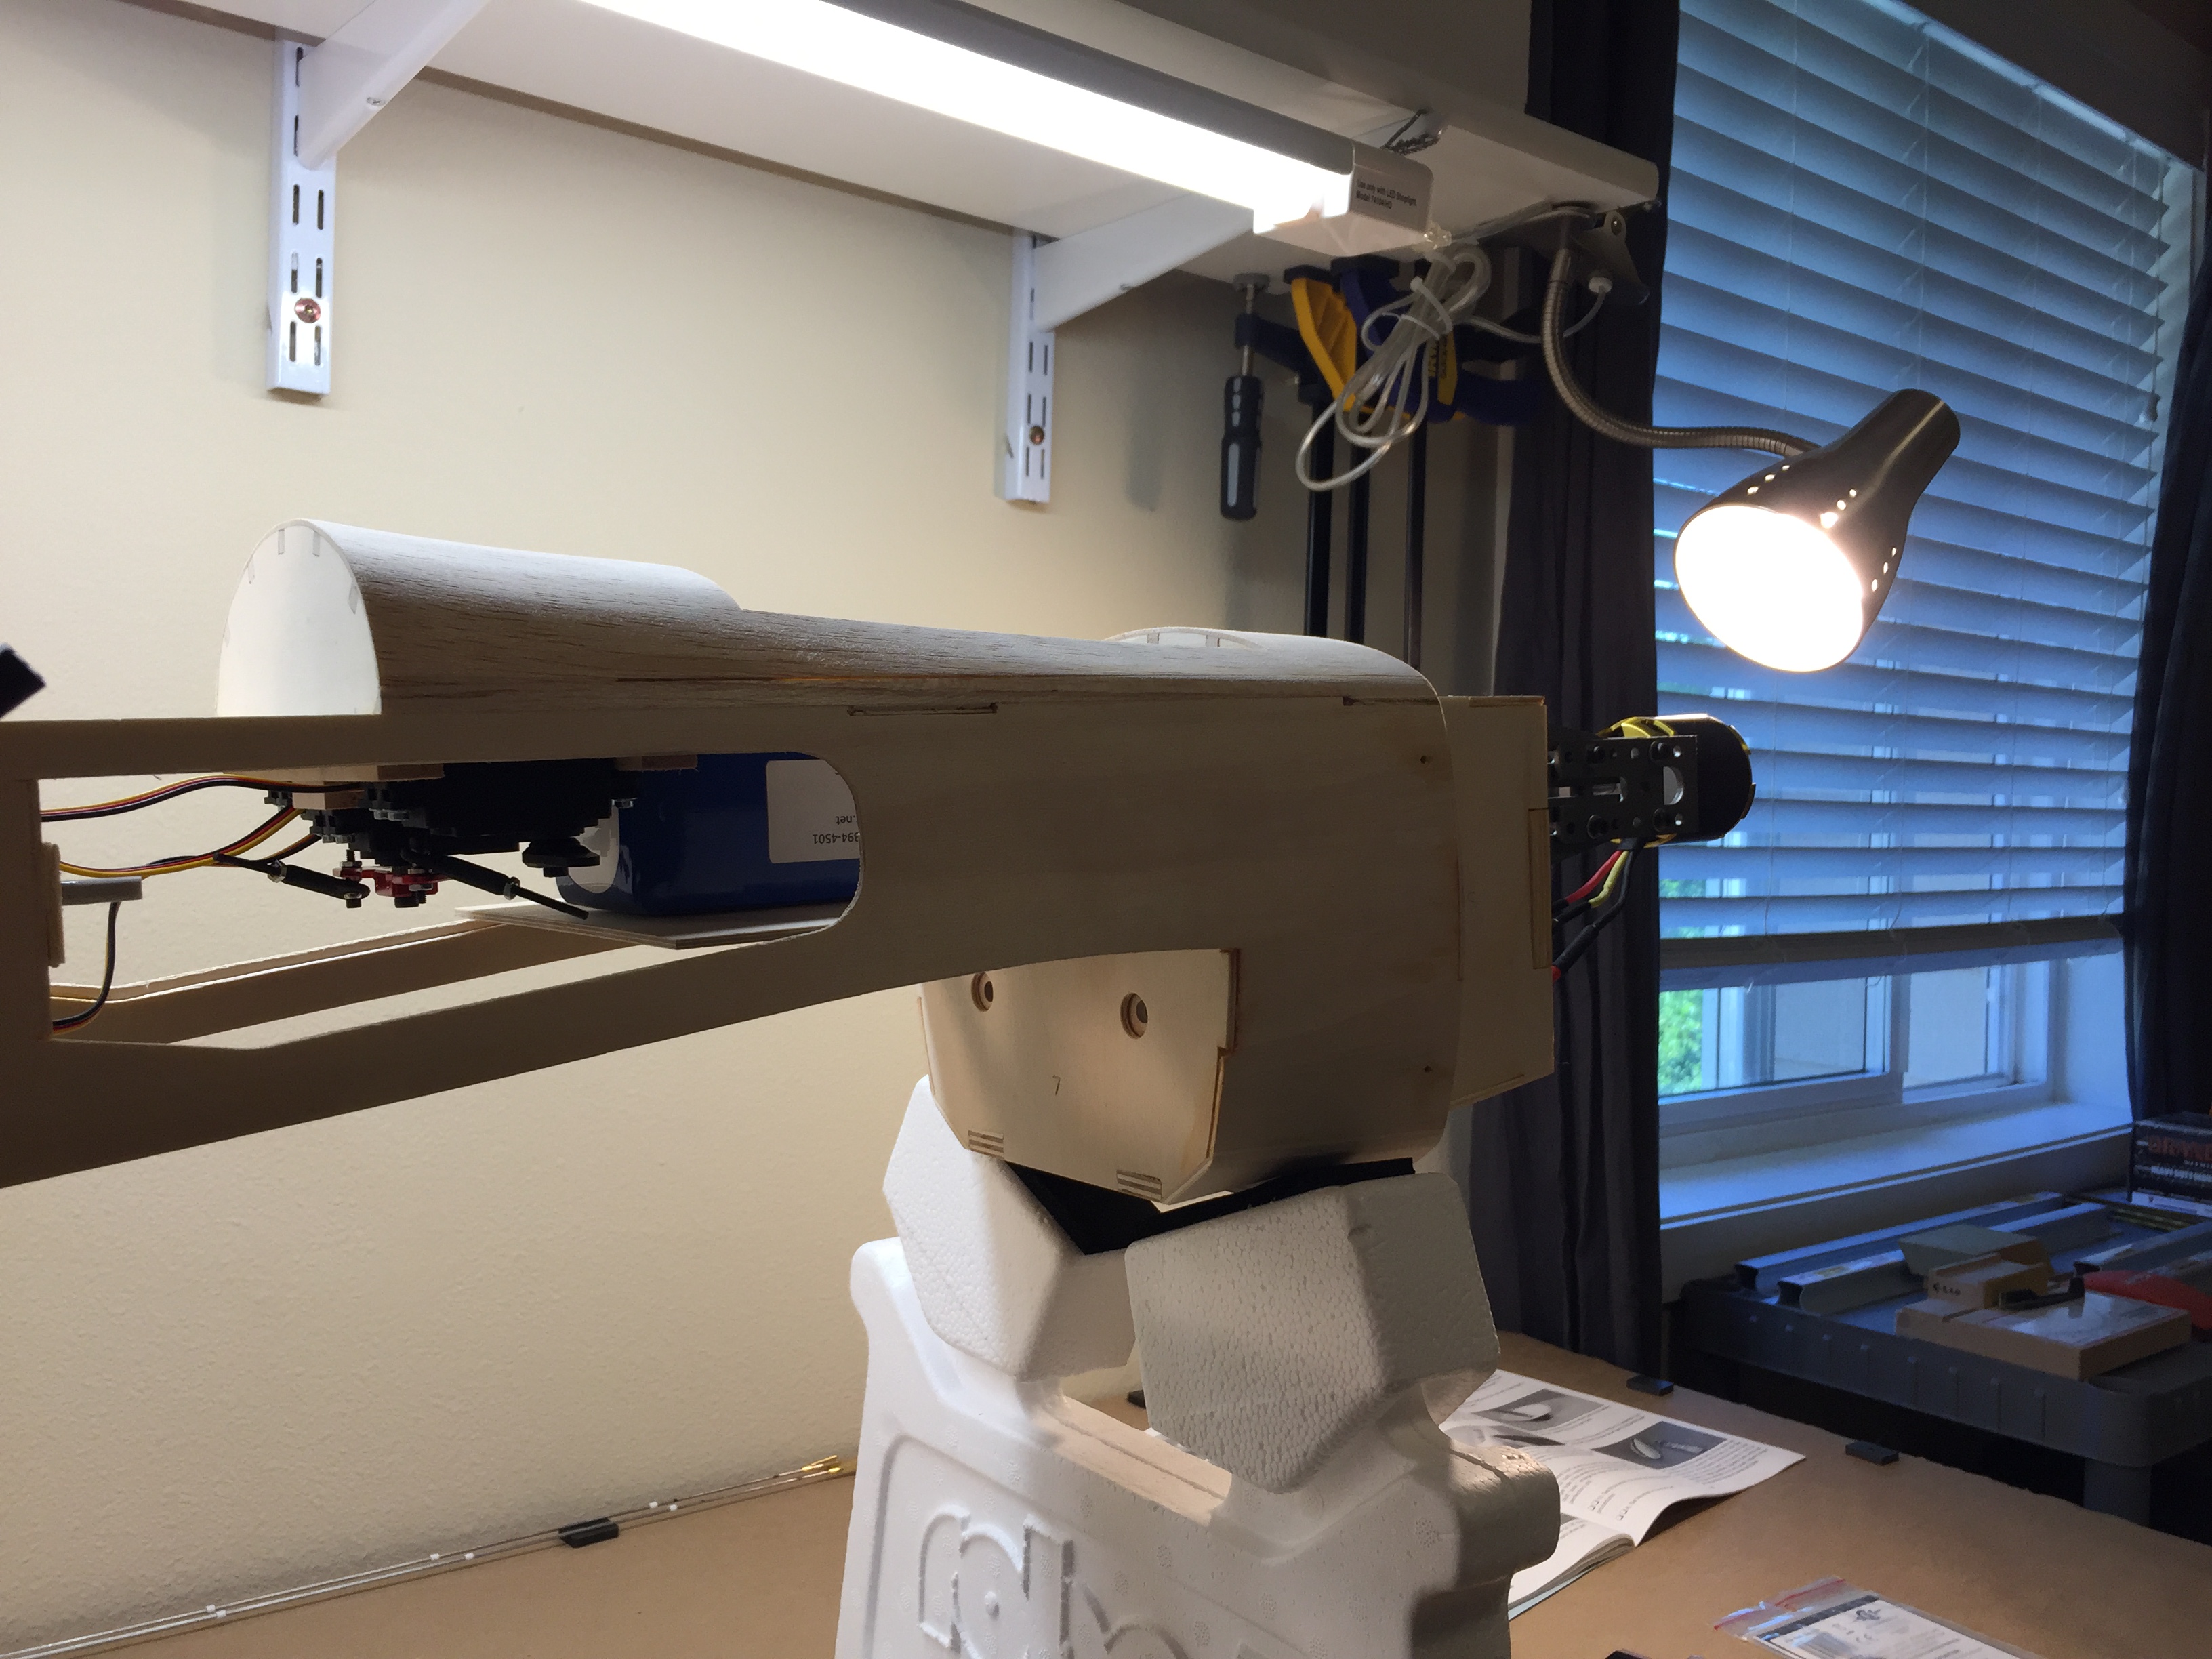
I decided to make an access cover to mount the receiver and also double as a cooling vents for the rear of the plane. I couldn't figure out how to make cooling holes anywhere on the plane that would look good, so I took a page from the ARF planes that have this style of cooling vents and used that idea. I also like to have my radios in the rear of the plane for maximum reception and this plan worked perfectly, plus it will be easily accessible when I need to perform maintenance or changes. The weight gain was about 10 grams for the hatch assembly. I used 1/32" ply with a couple of 1/4" balsa sticks to stiffen it, then two basswood rails in the fuse to support and screw the hatch into. I weighed different plywood and found the 1/32" reinforced was lighter than going with thicker ply that did not need reinforcement. The receiver is simply Velcro'd on.
Attachments


Jackson T
Elite member
Yeah, the covering isn't exactly the most exciting partI cant get motivated to start painting and covering, so I’m working on the wiring and programming the ESC, BEC, and Telemetry Link with Castle link software tonight.

TooJung2Die
Master member
I cant get motivated to start painting and covering, so I’m working on the wiring and programming the ESC, BEC, and Telemetry Link with Castle link software tonight.
Finishing is the most important and tedious part. No matter how well you built everything underneath the only part everyone sees first is the covering. What kind of ESC do you use? The only thing I calibrate is the throttle and maybe set the brake. What else can you do?
Similar threads
- Replies
- 38
- Views
- 5K
- Replies
- 41
- Views
- 4K
- Replies
- 14
- Views
- 741
- Replies
- 3
- Views
- 871