crvgeiro1898
New member
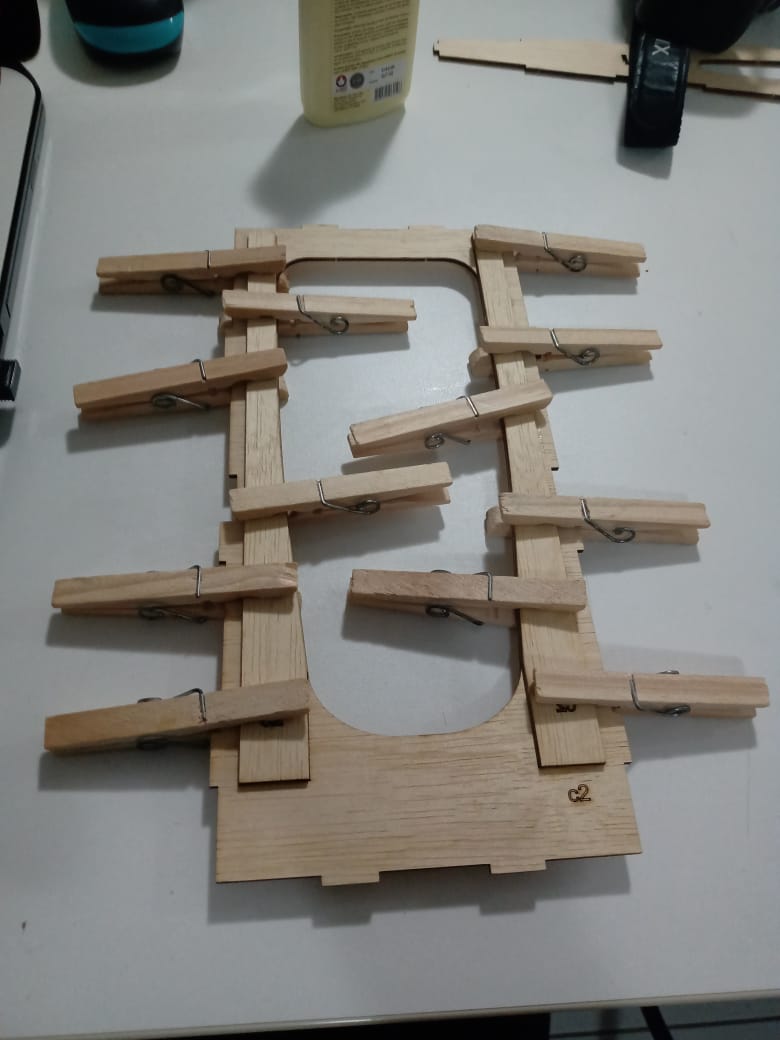
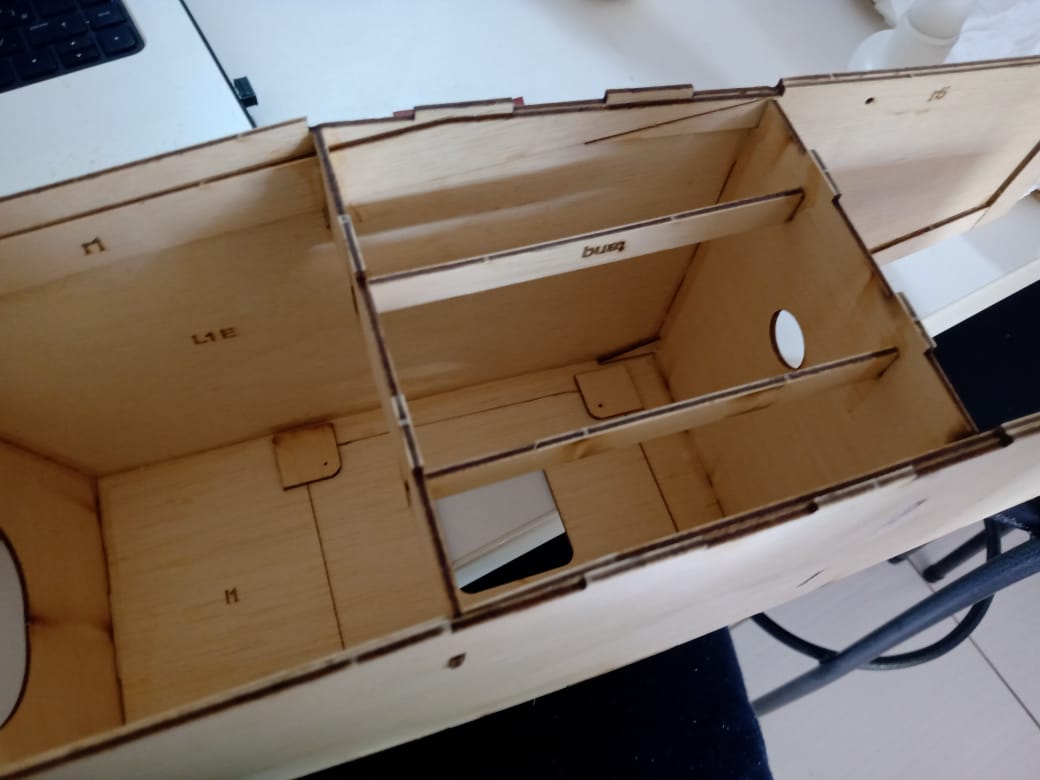
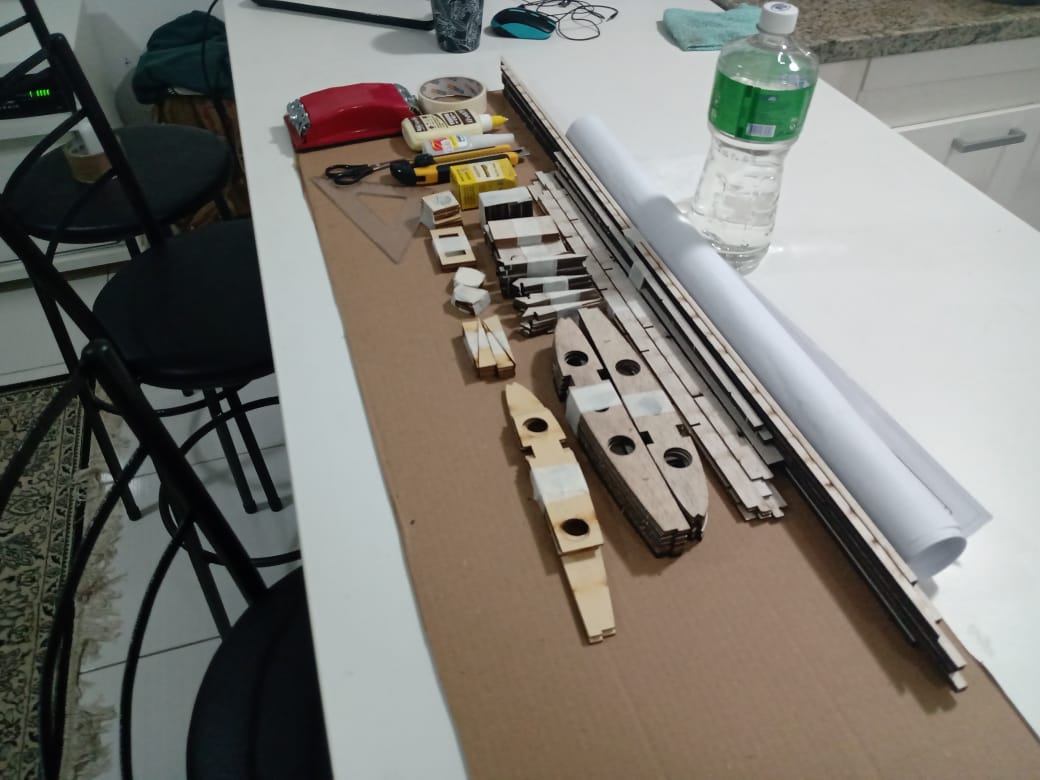
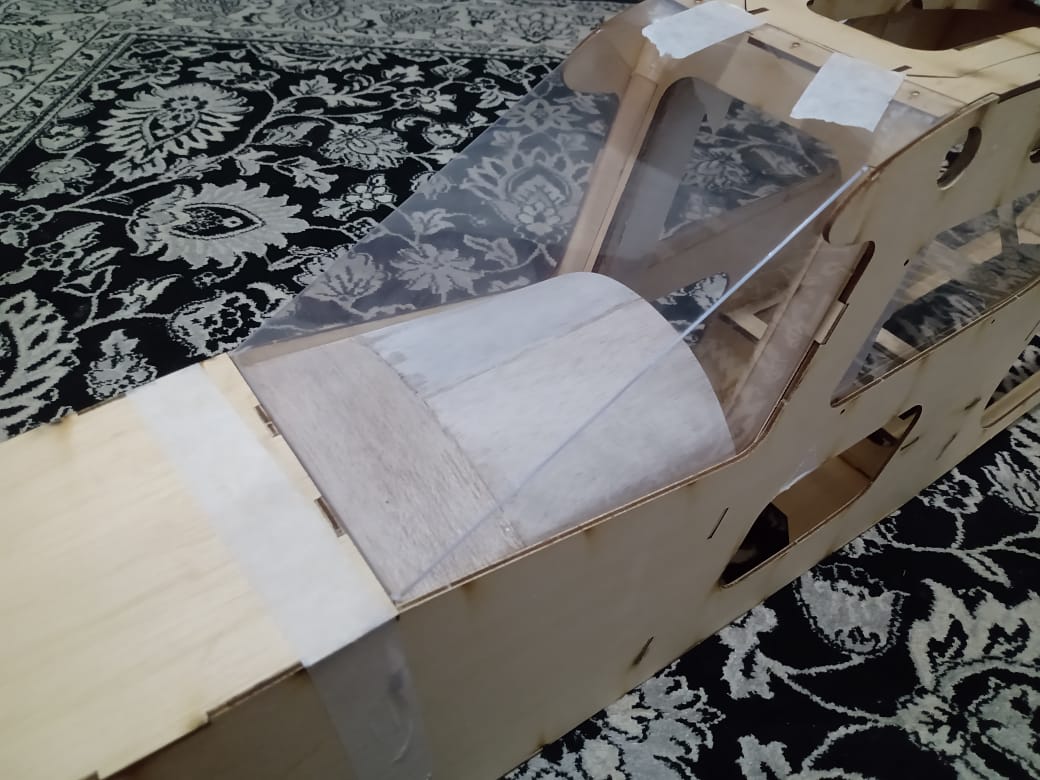
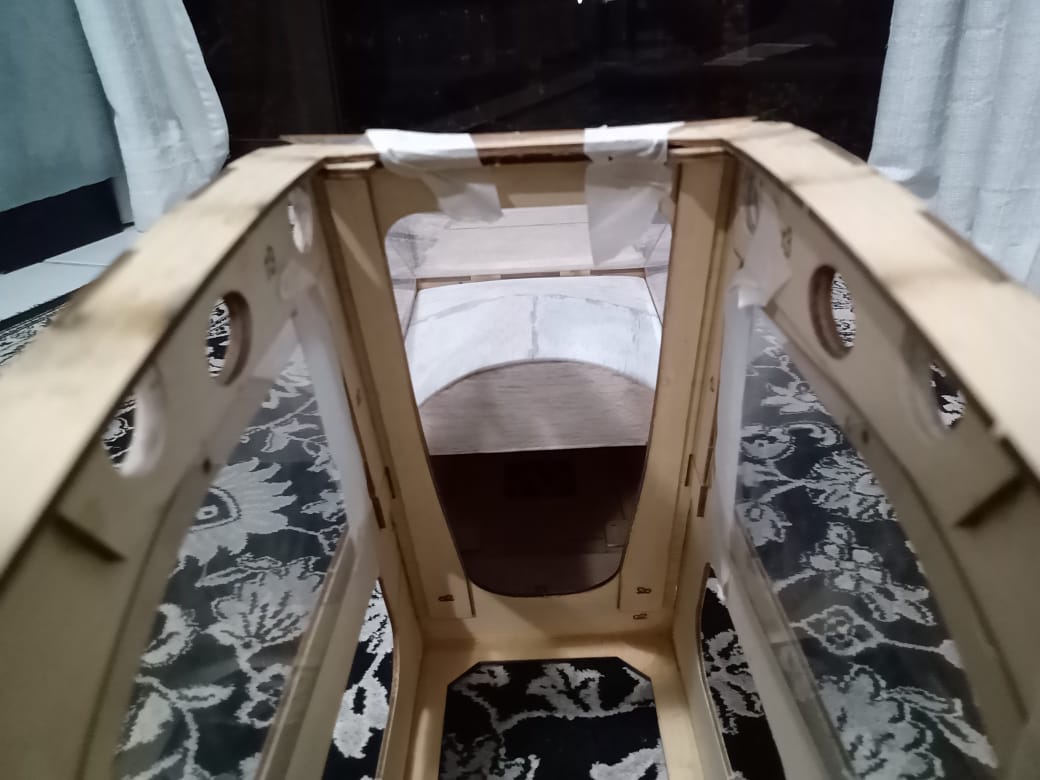
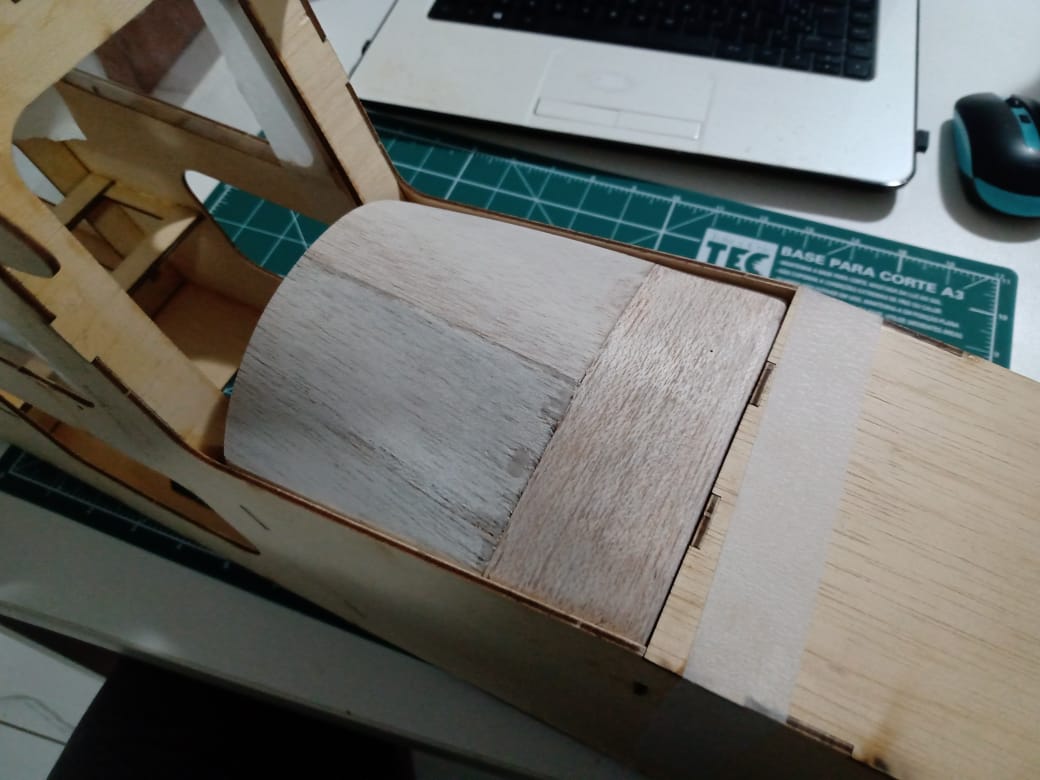
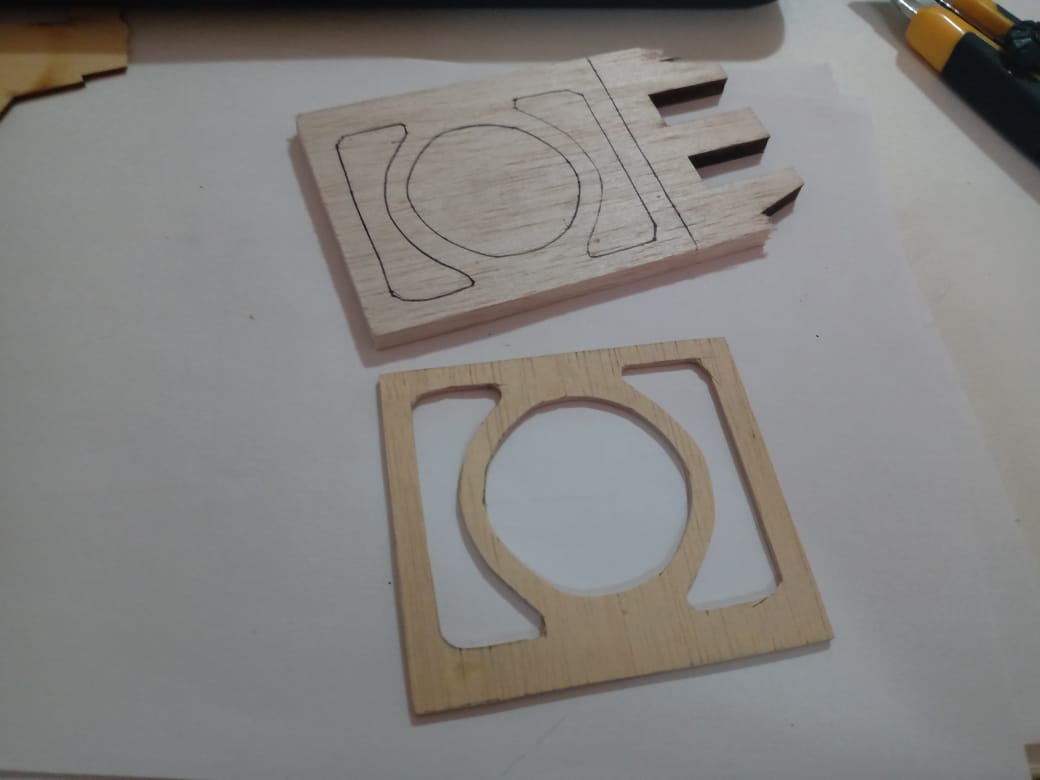
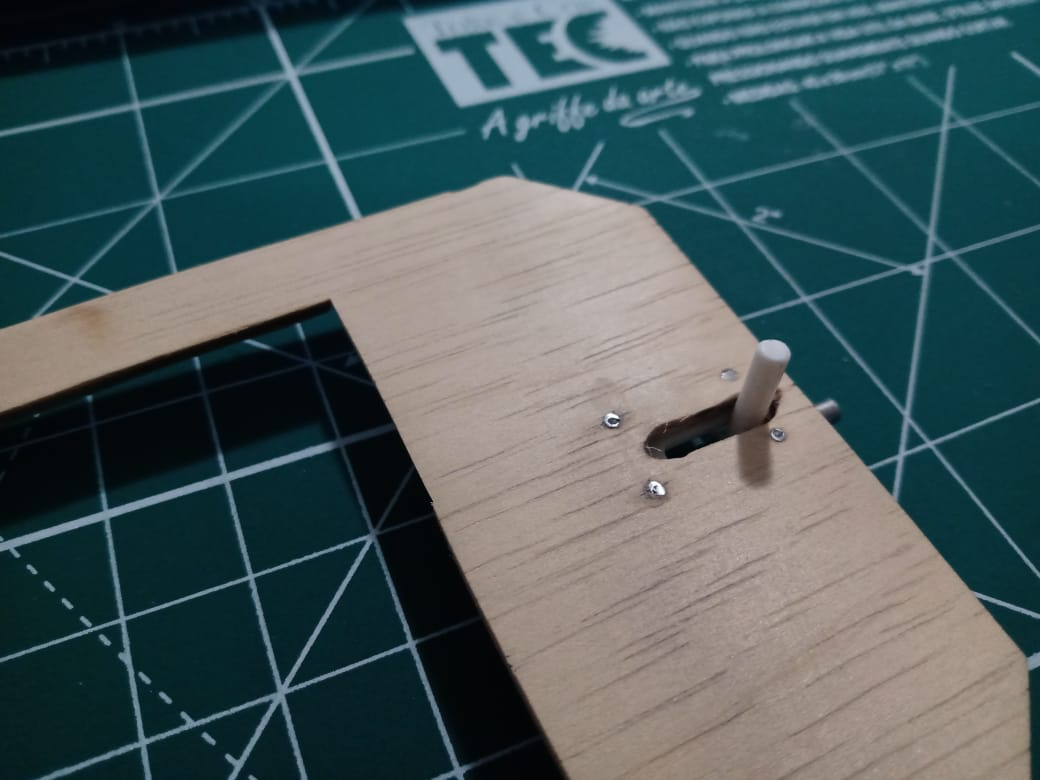
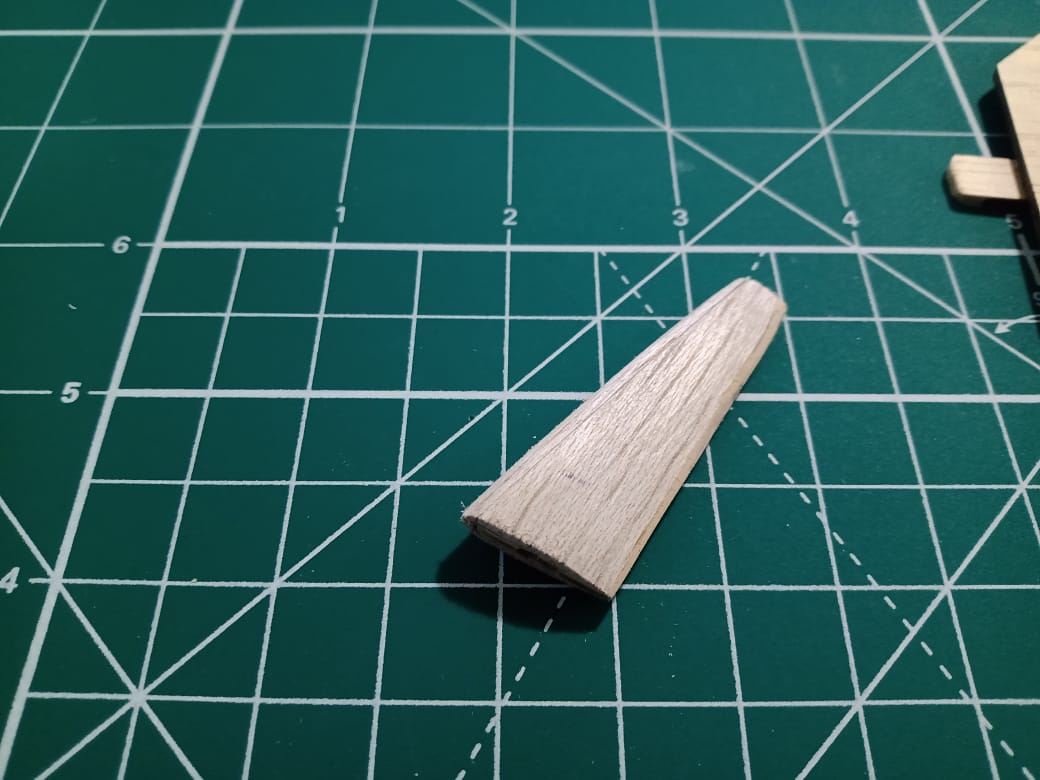
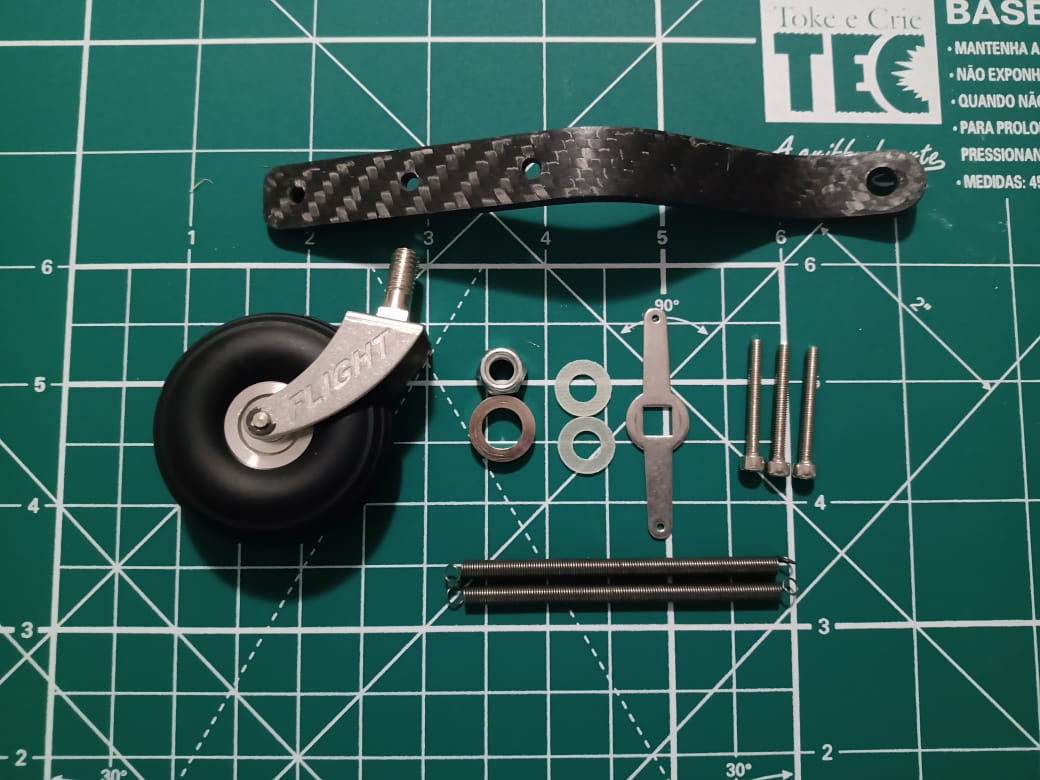
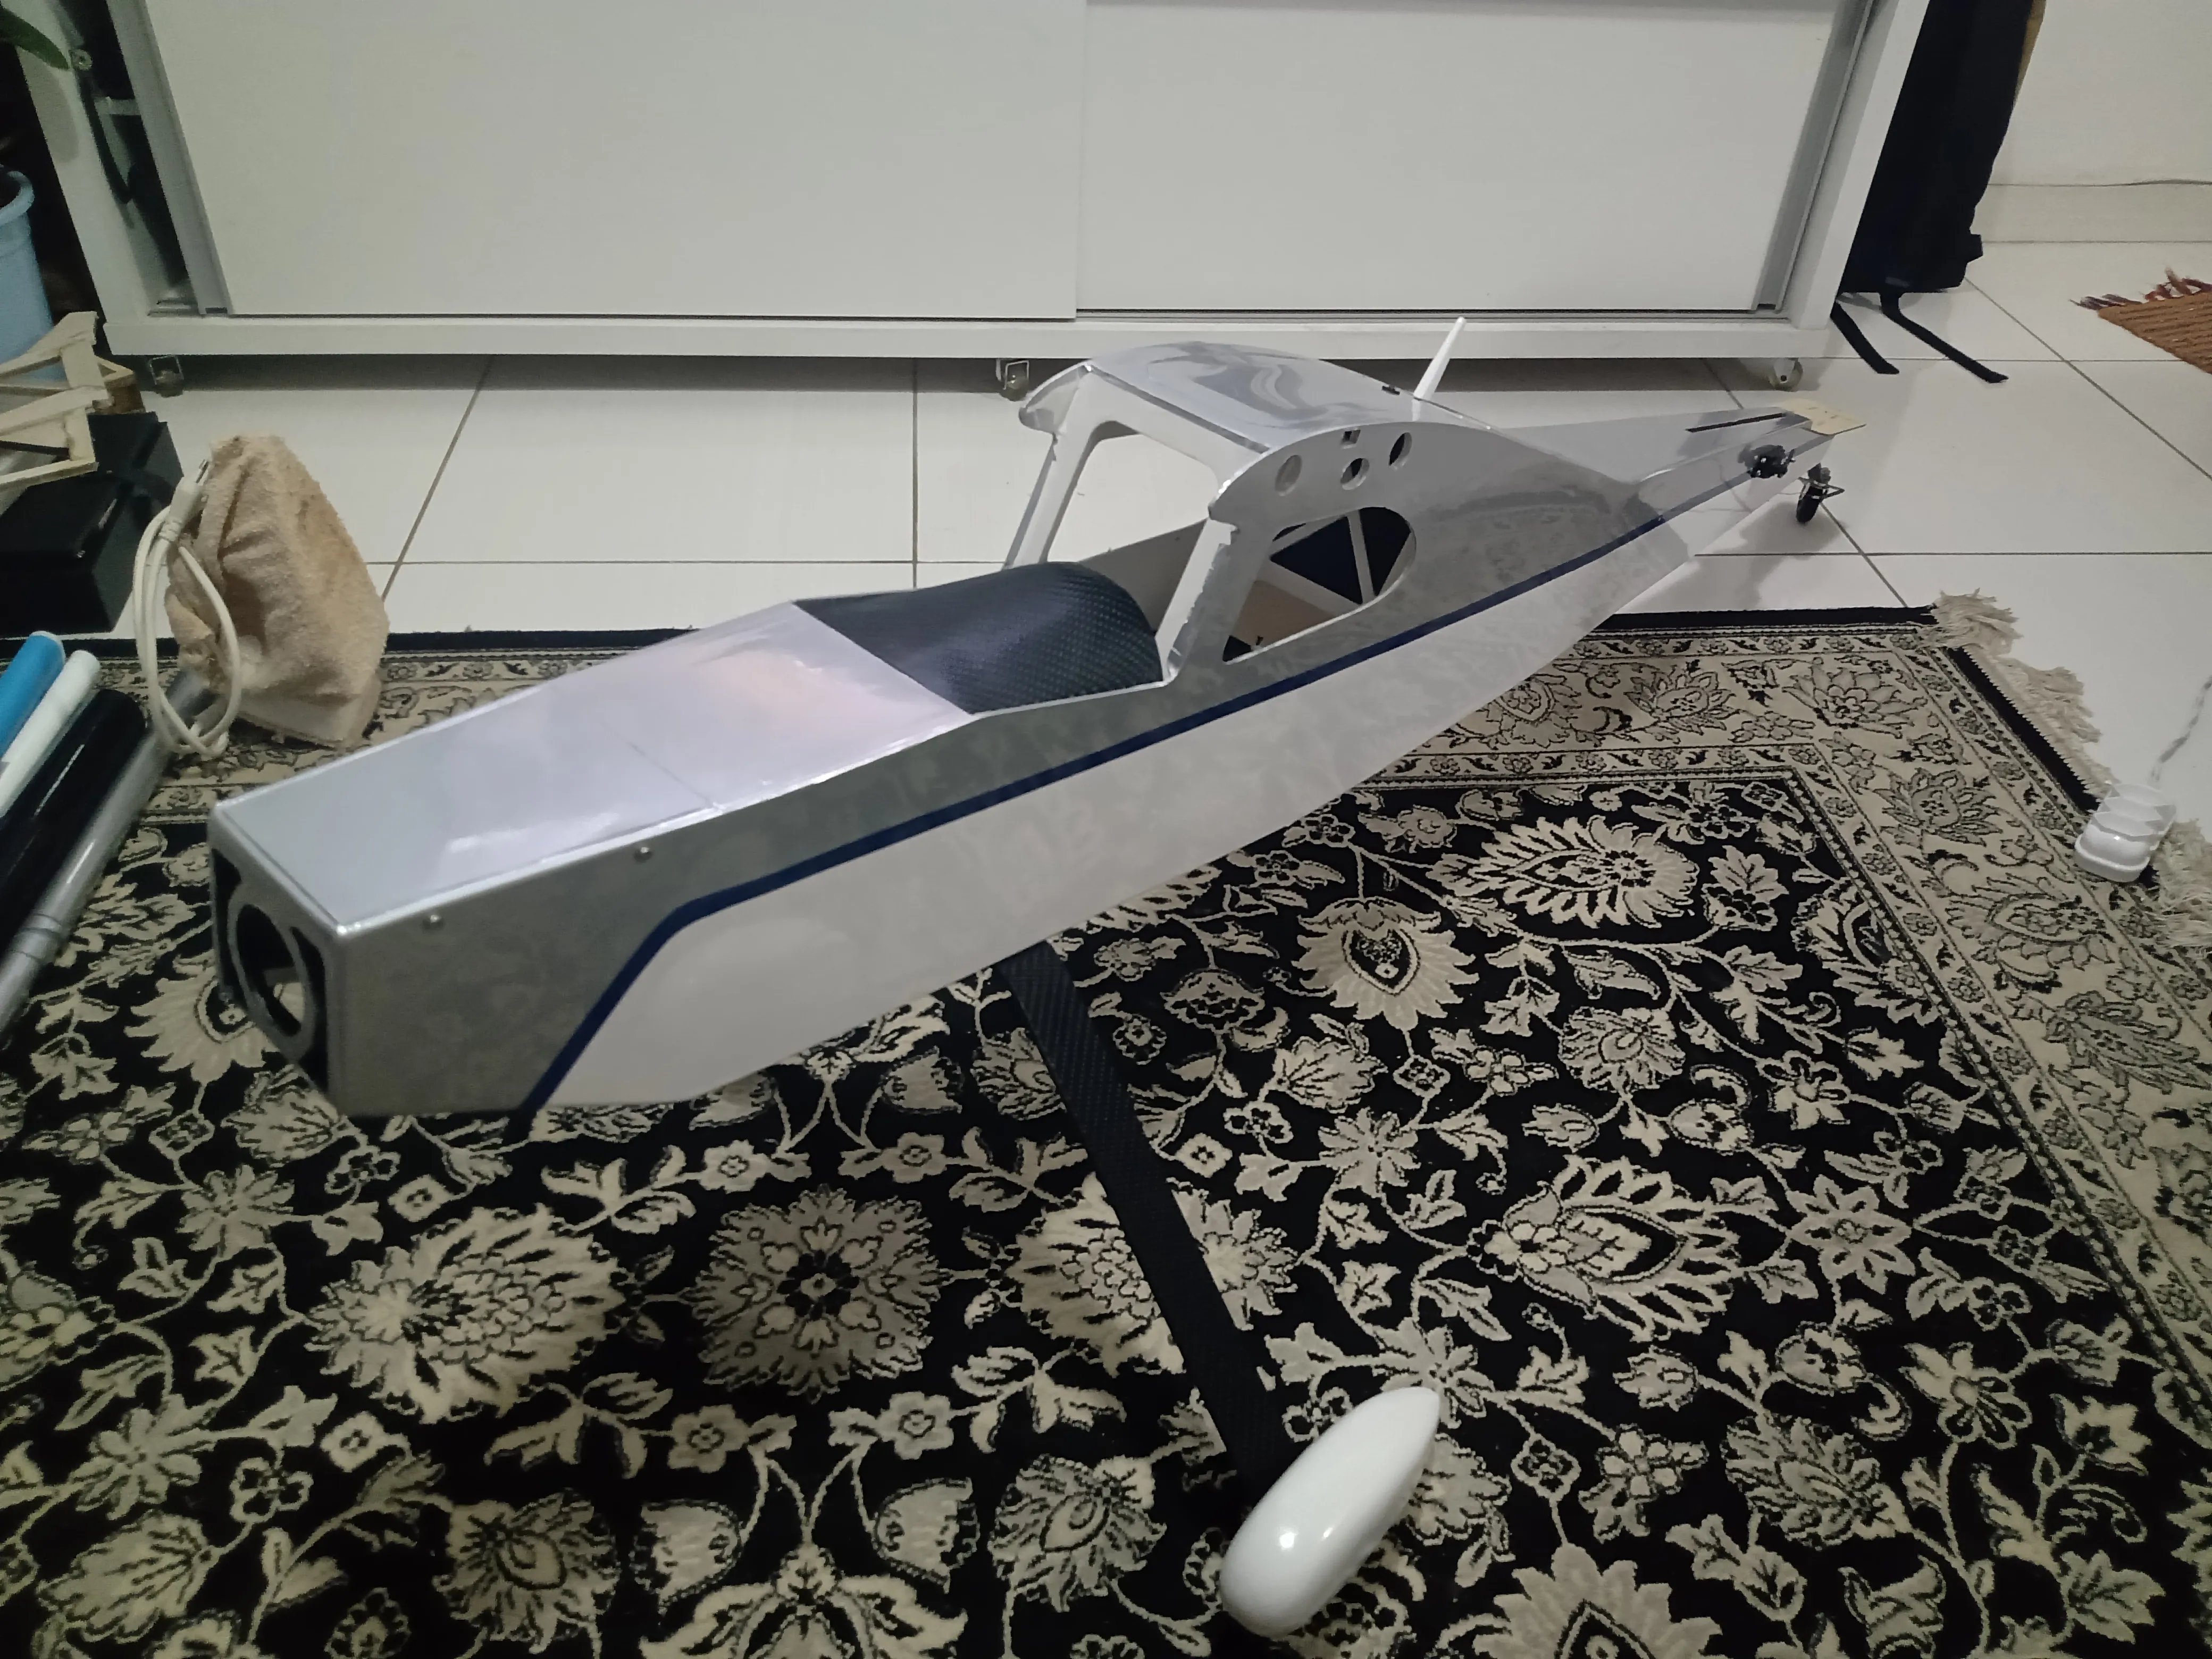
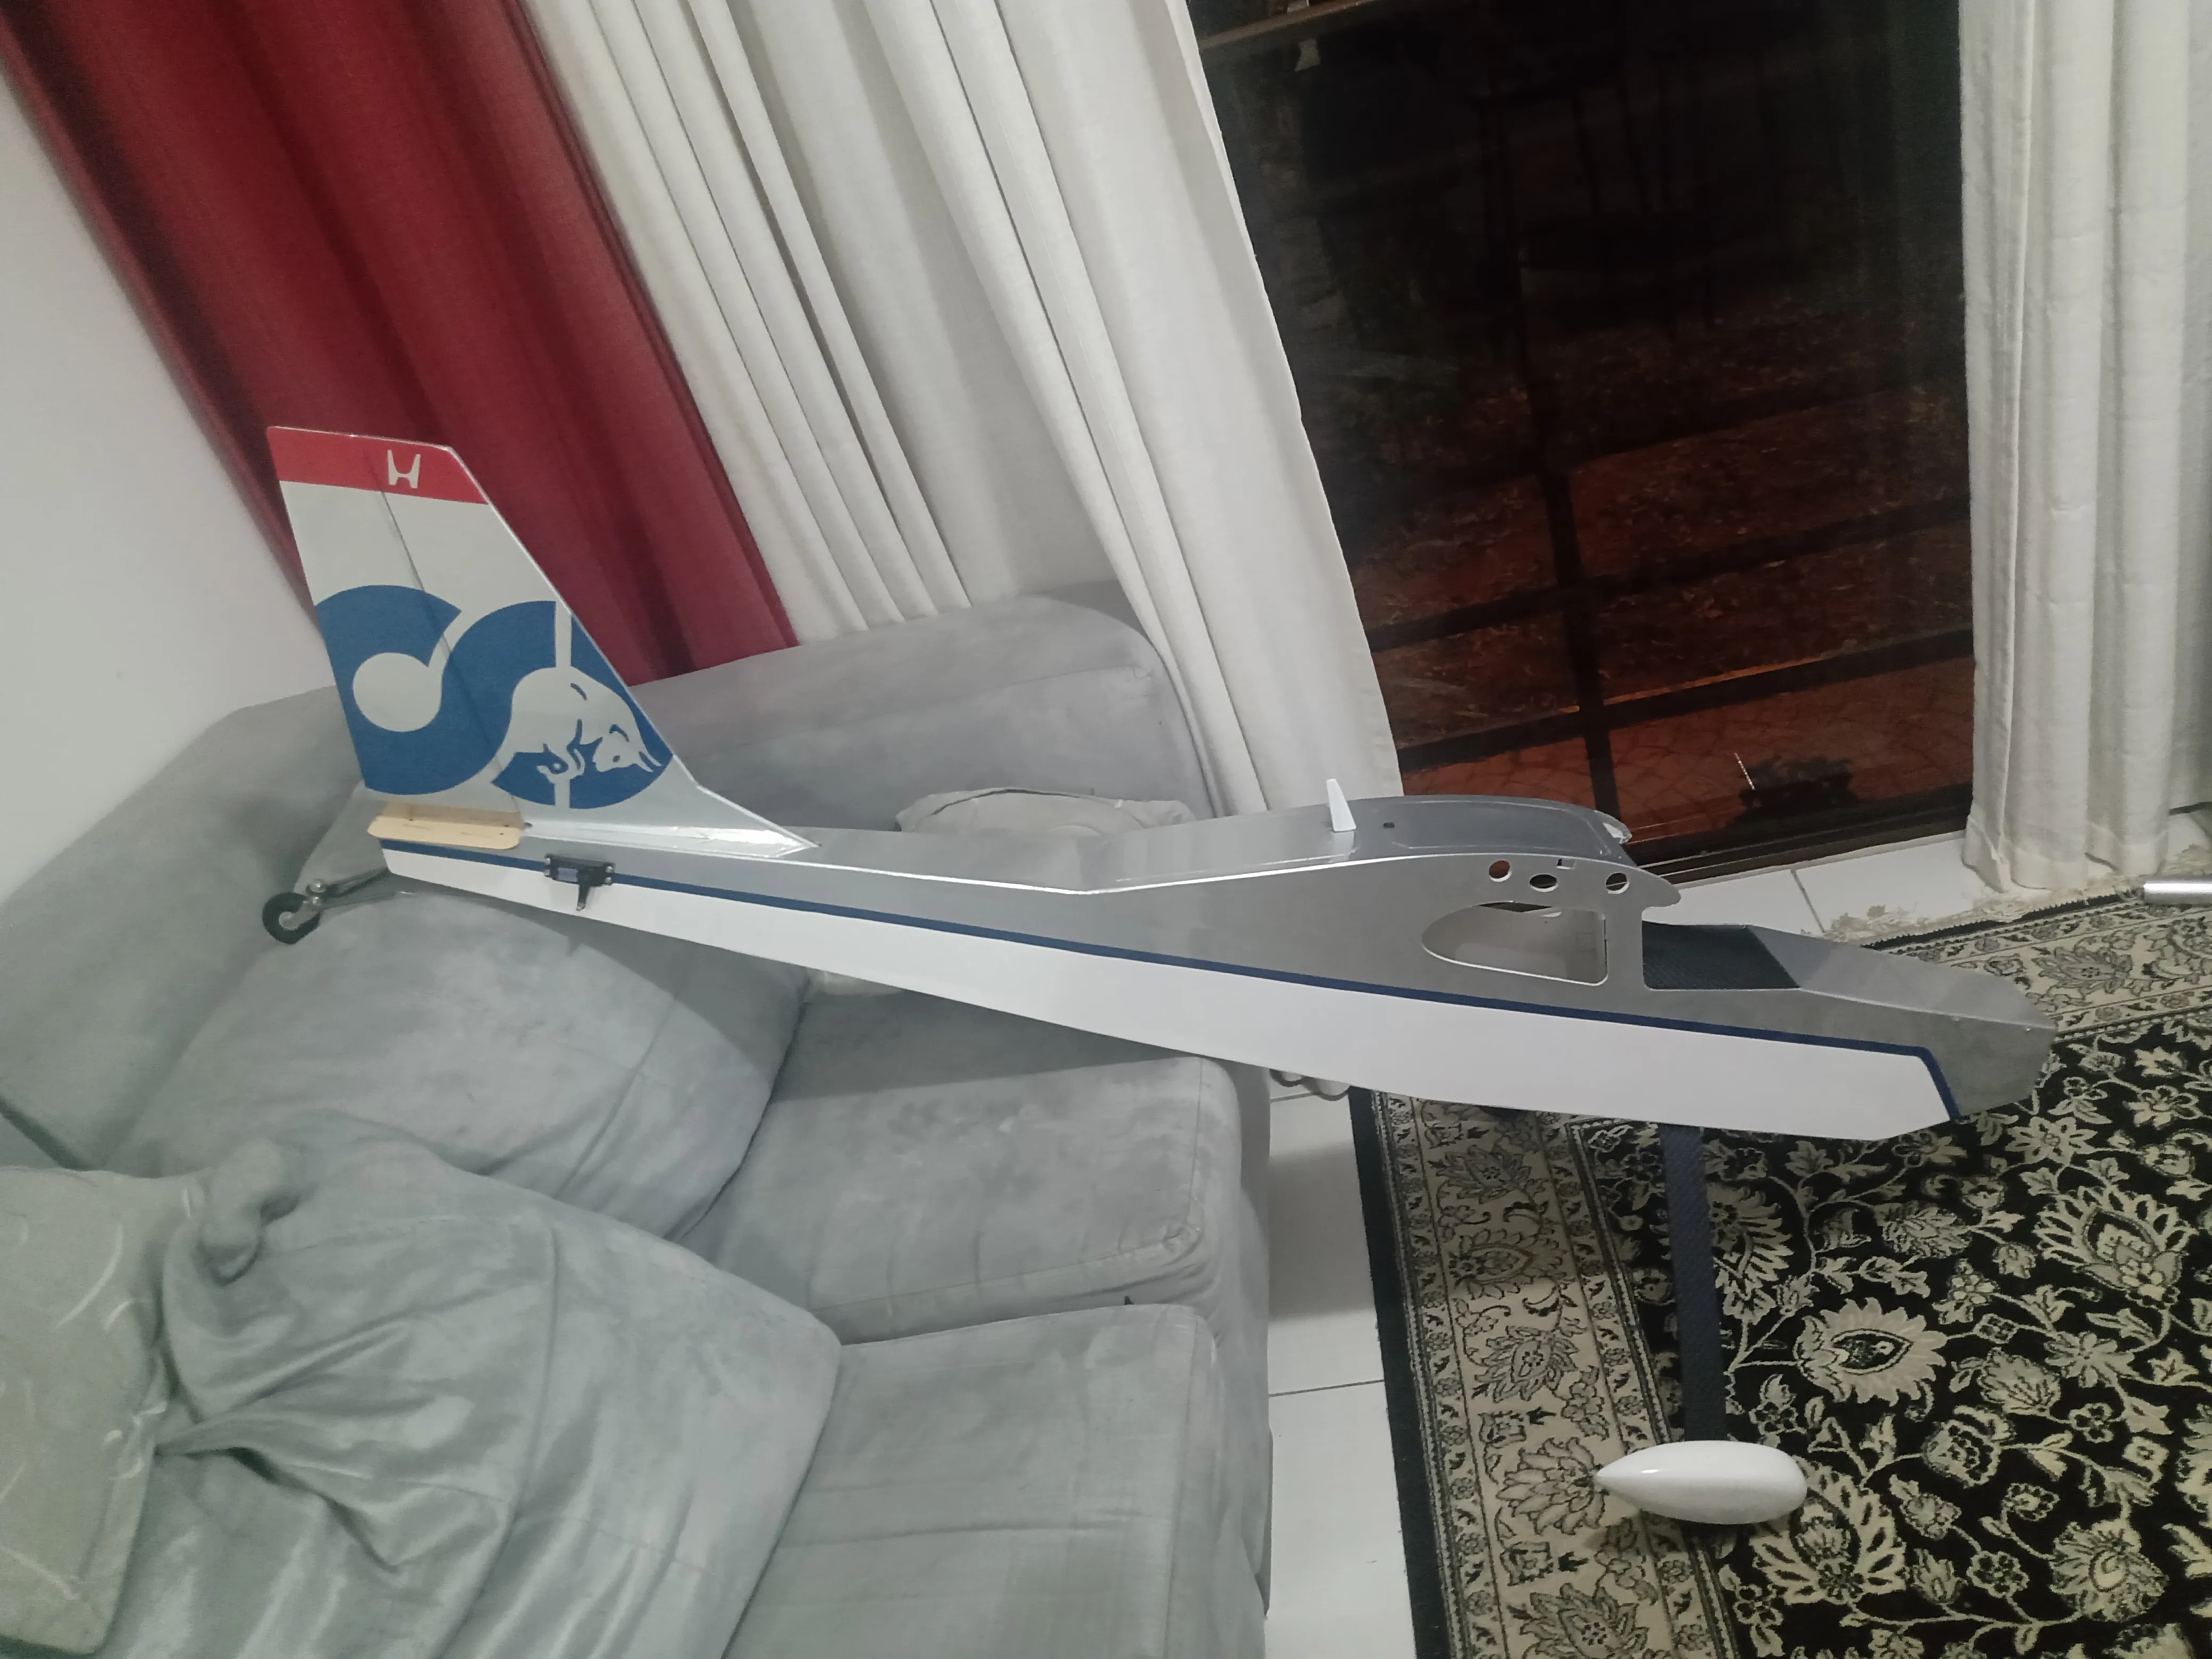
Hello guys! I'm finishing a project and decided to post it here to share with you.
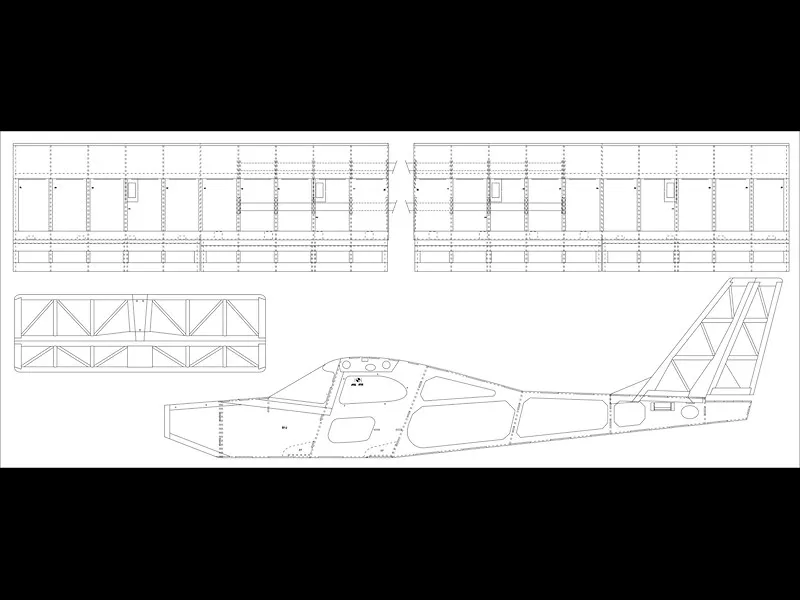
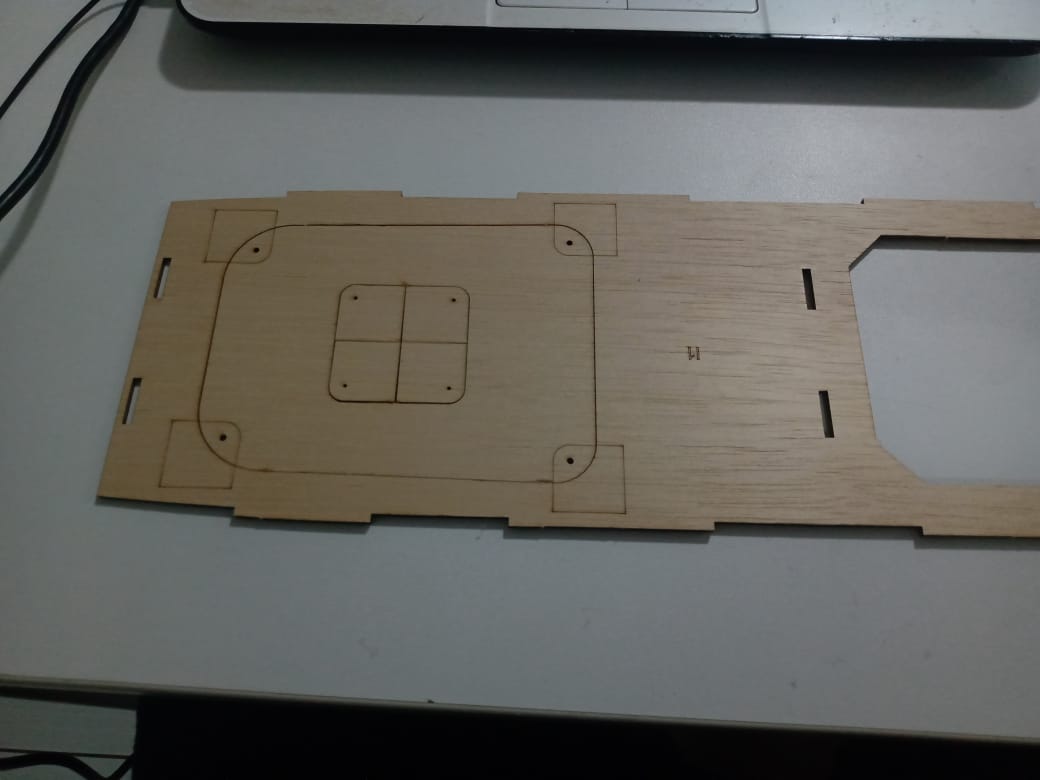
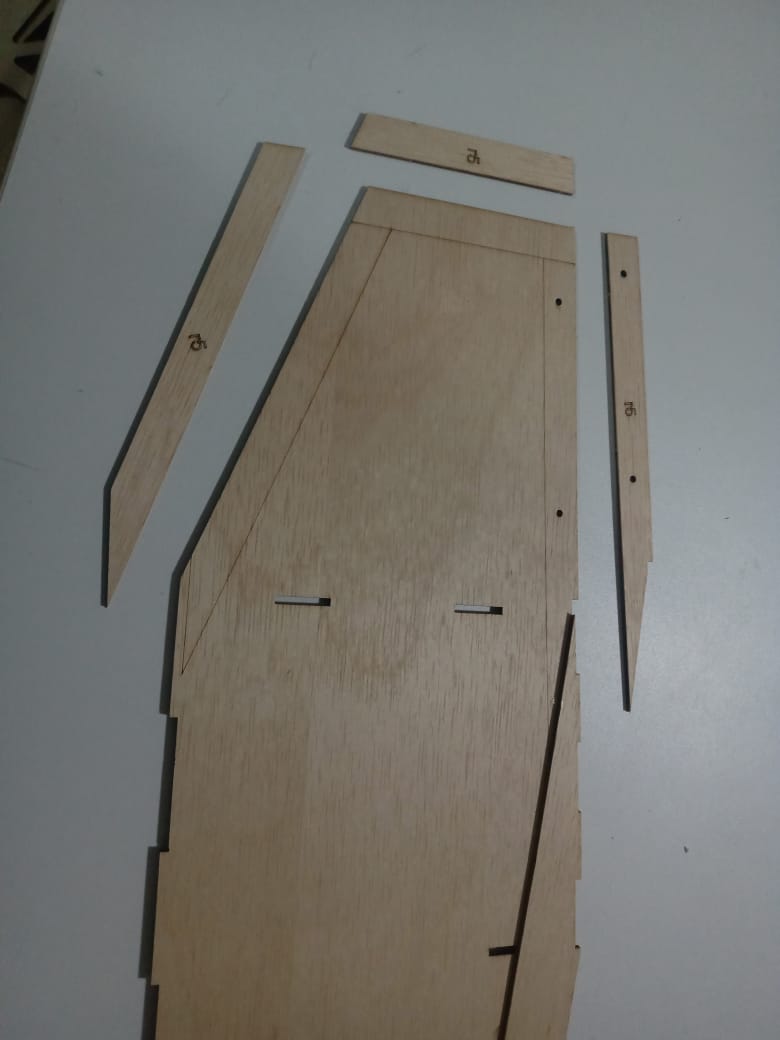
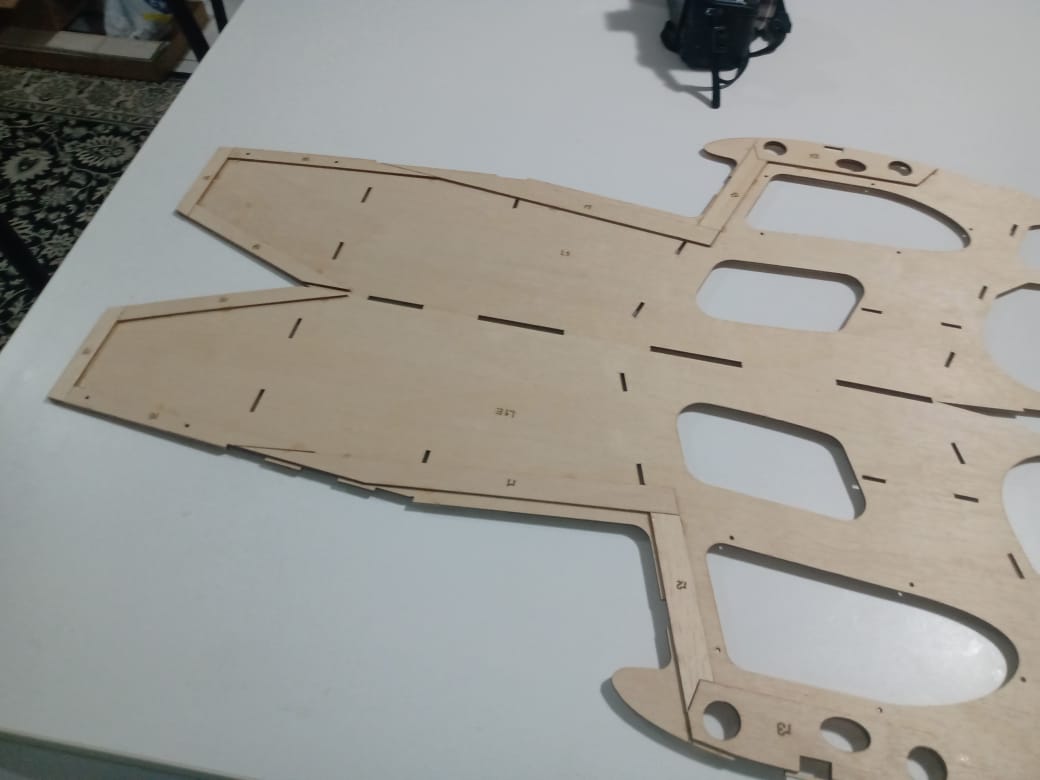
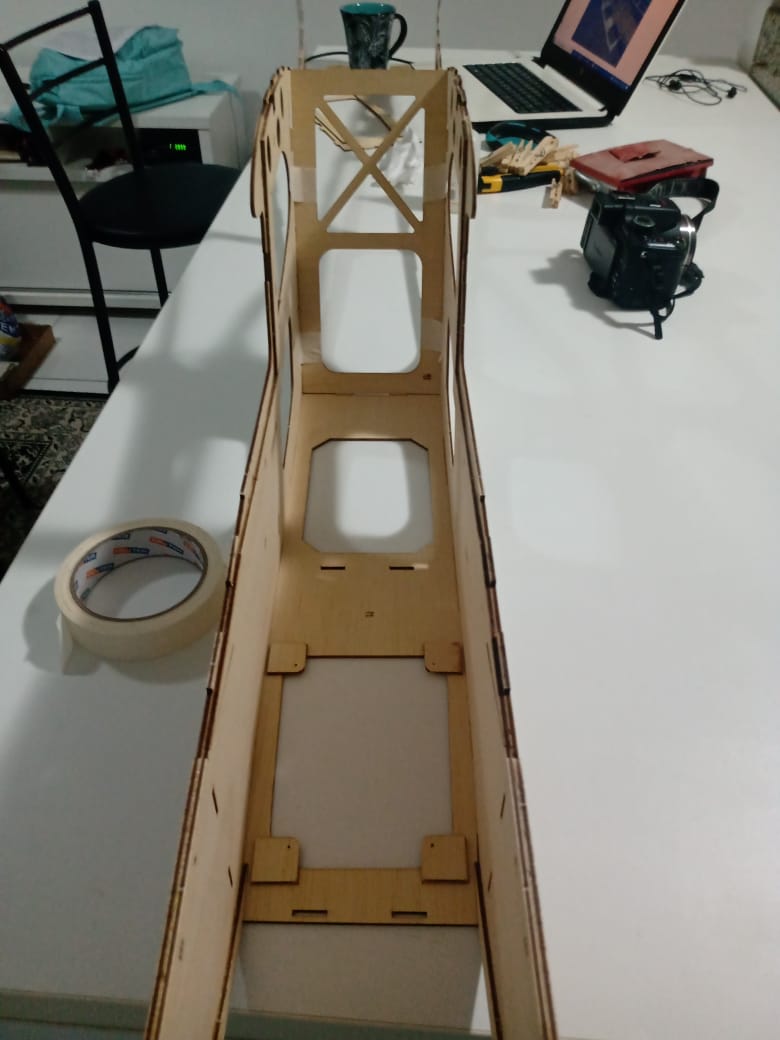
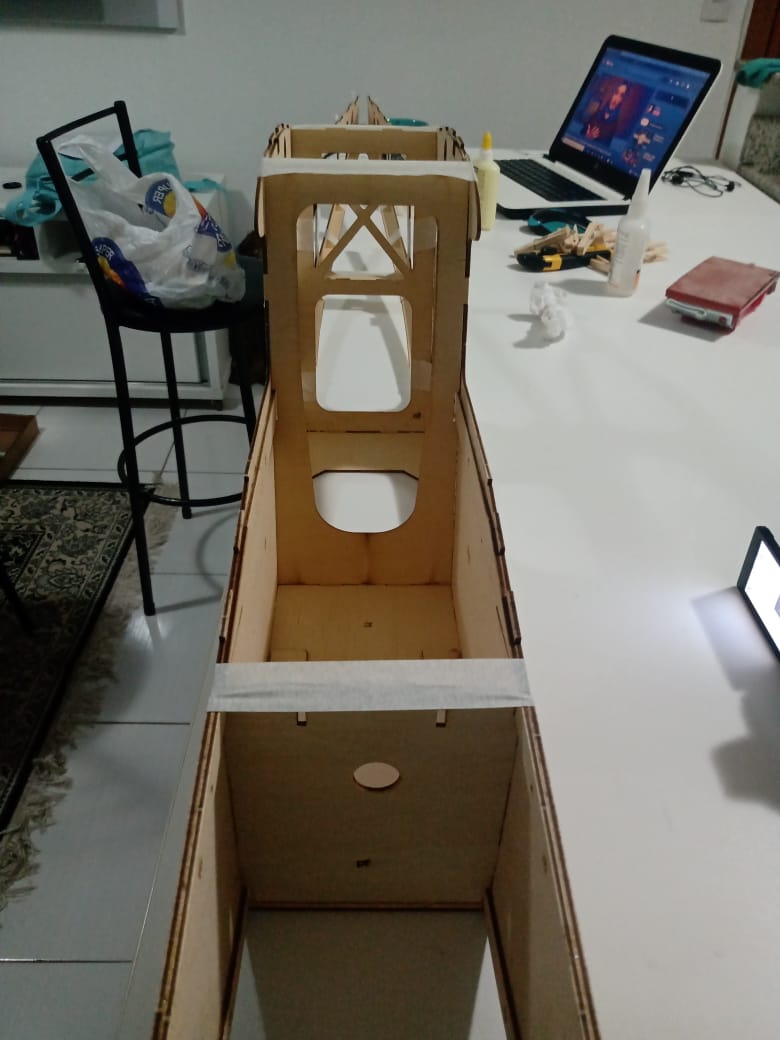
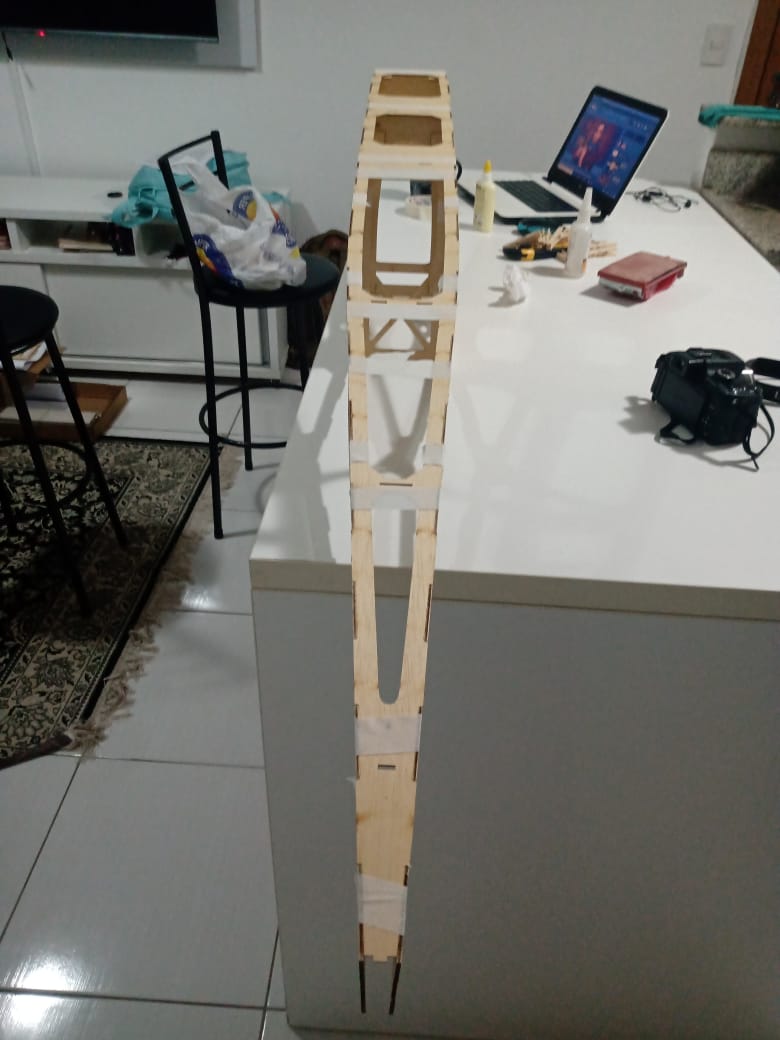
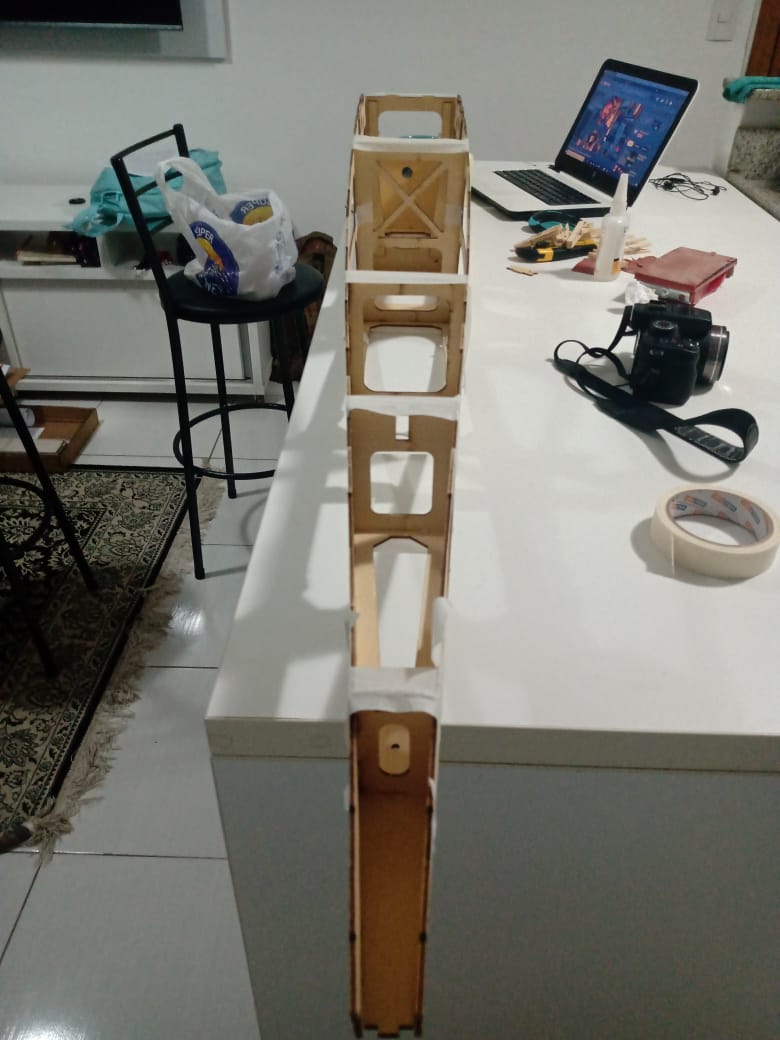
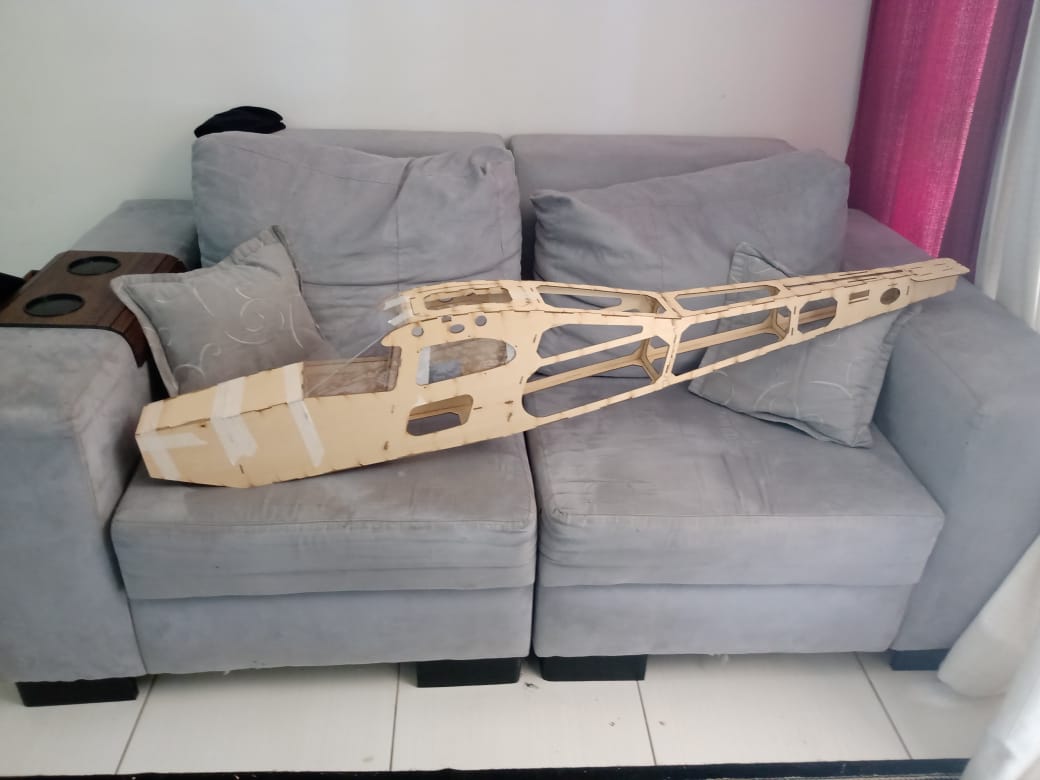
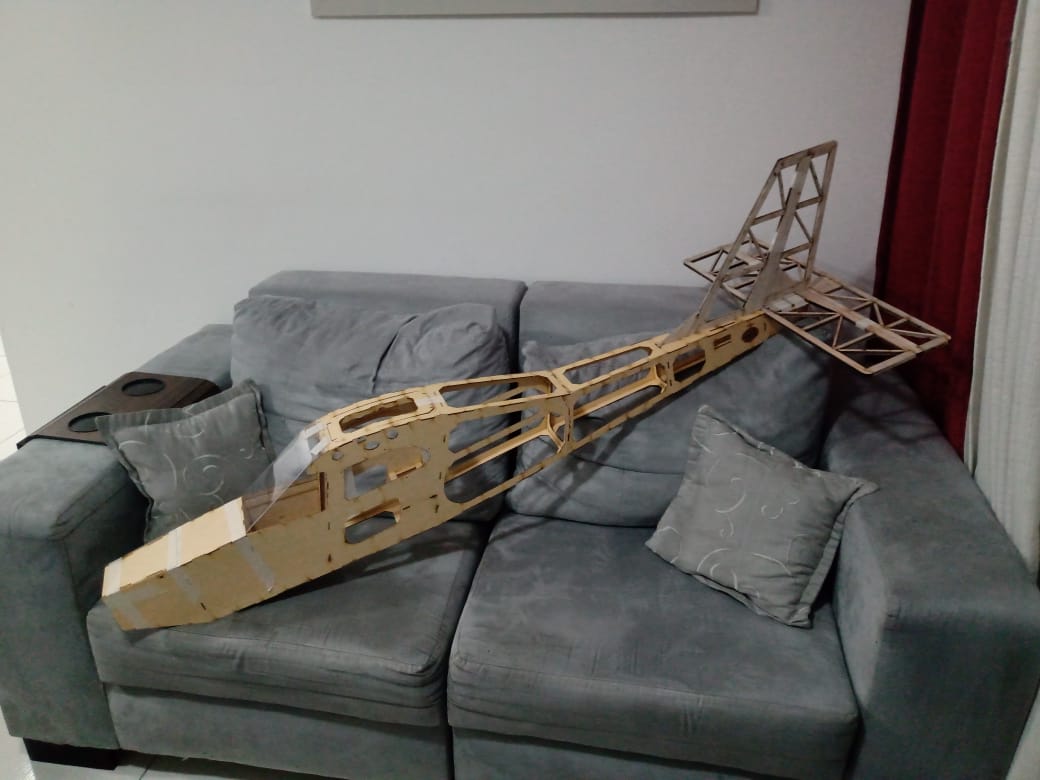
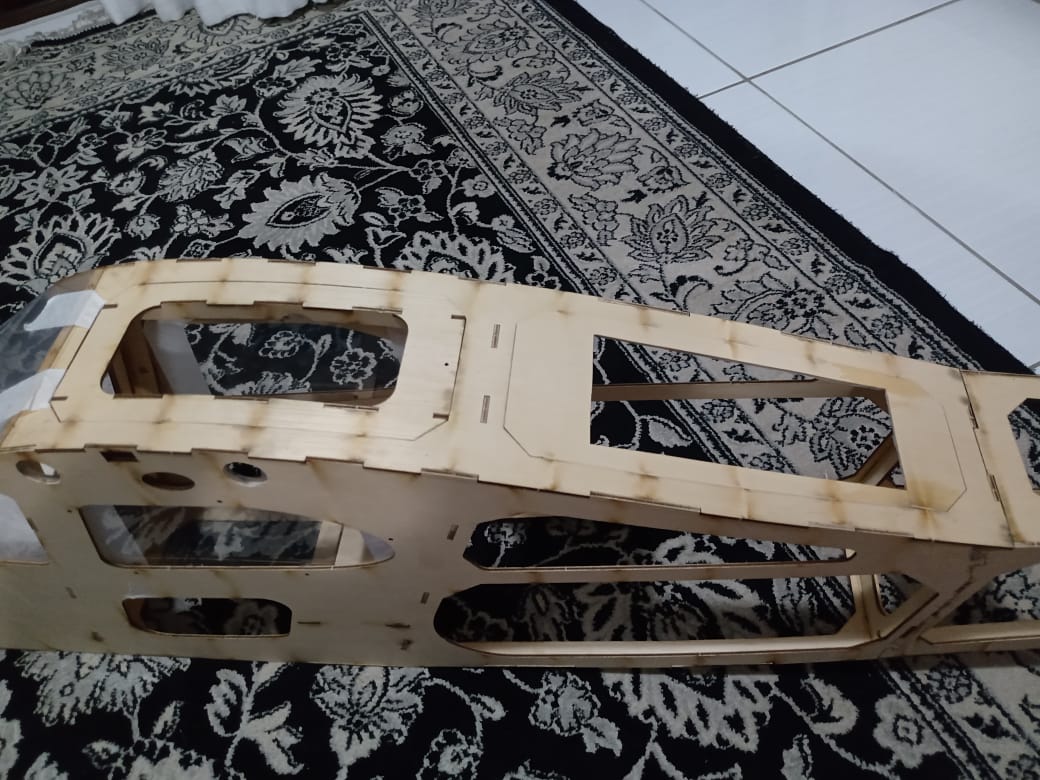
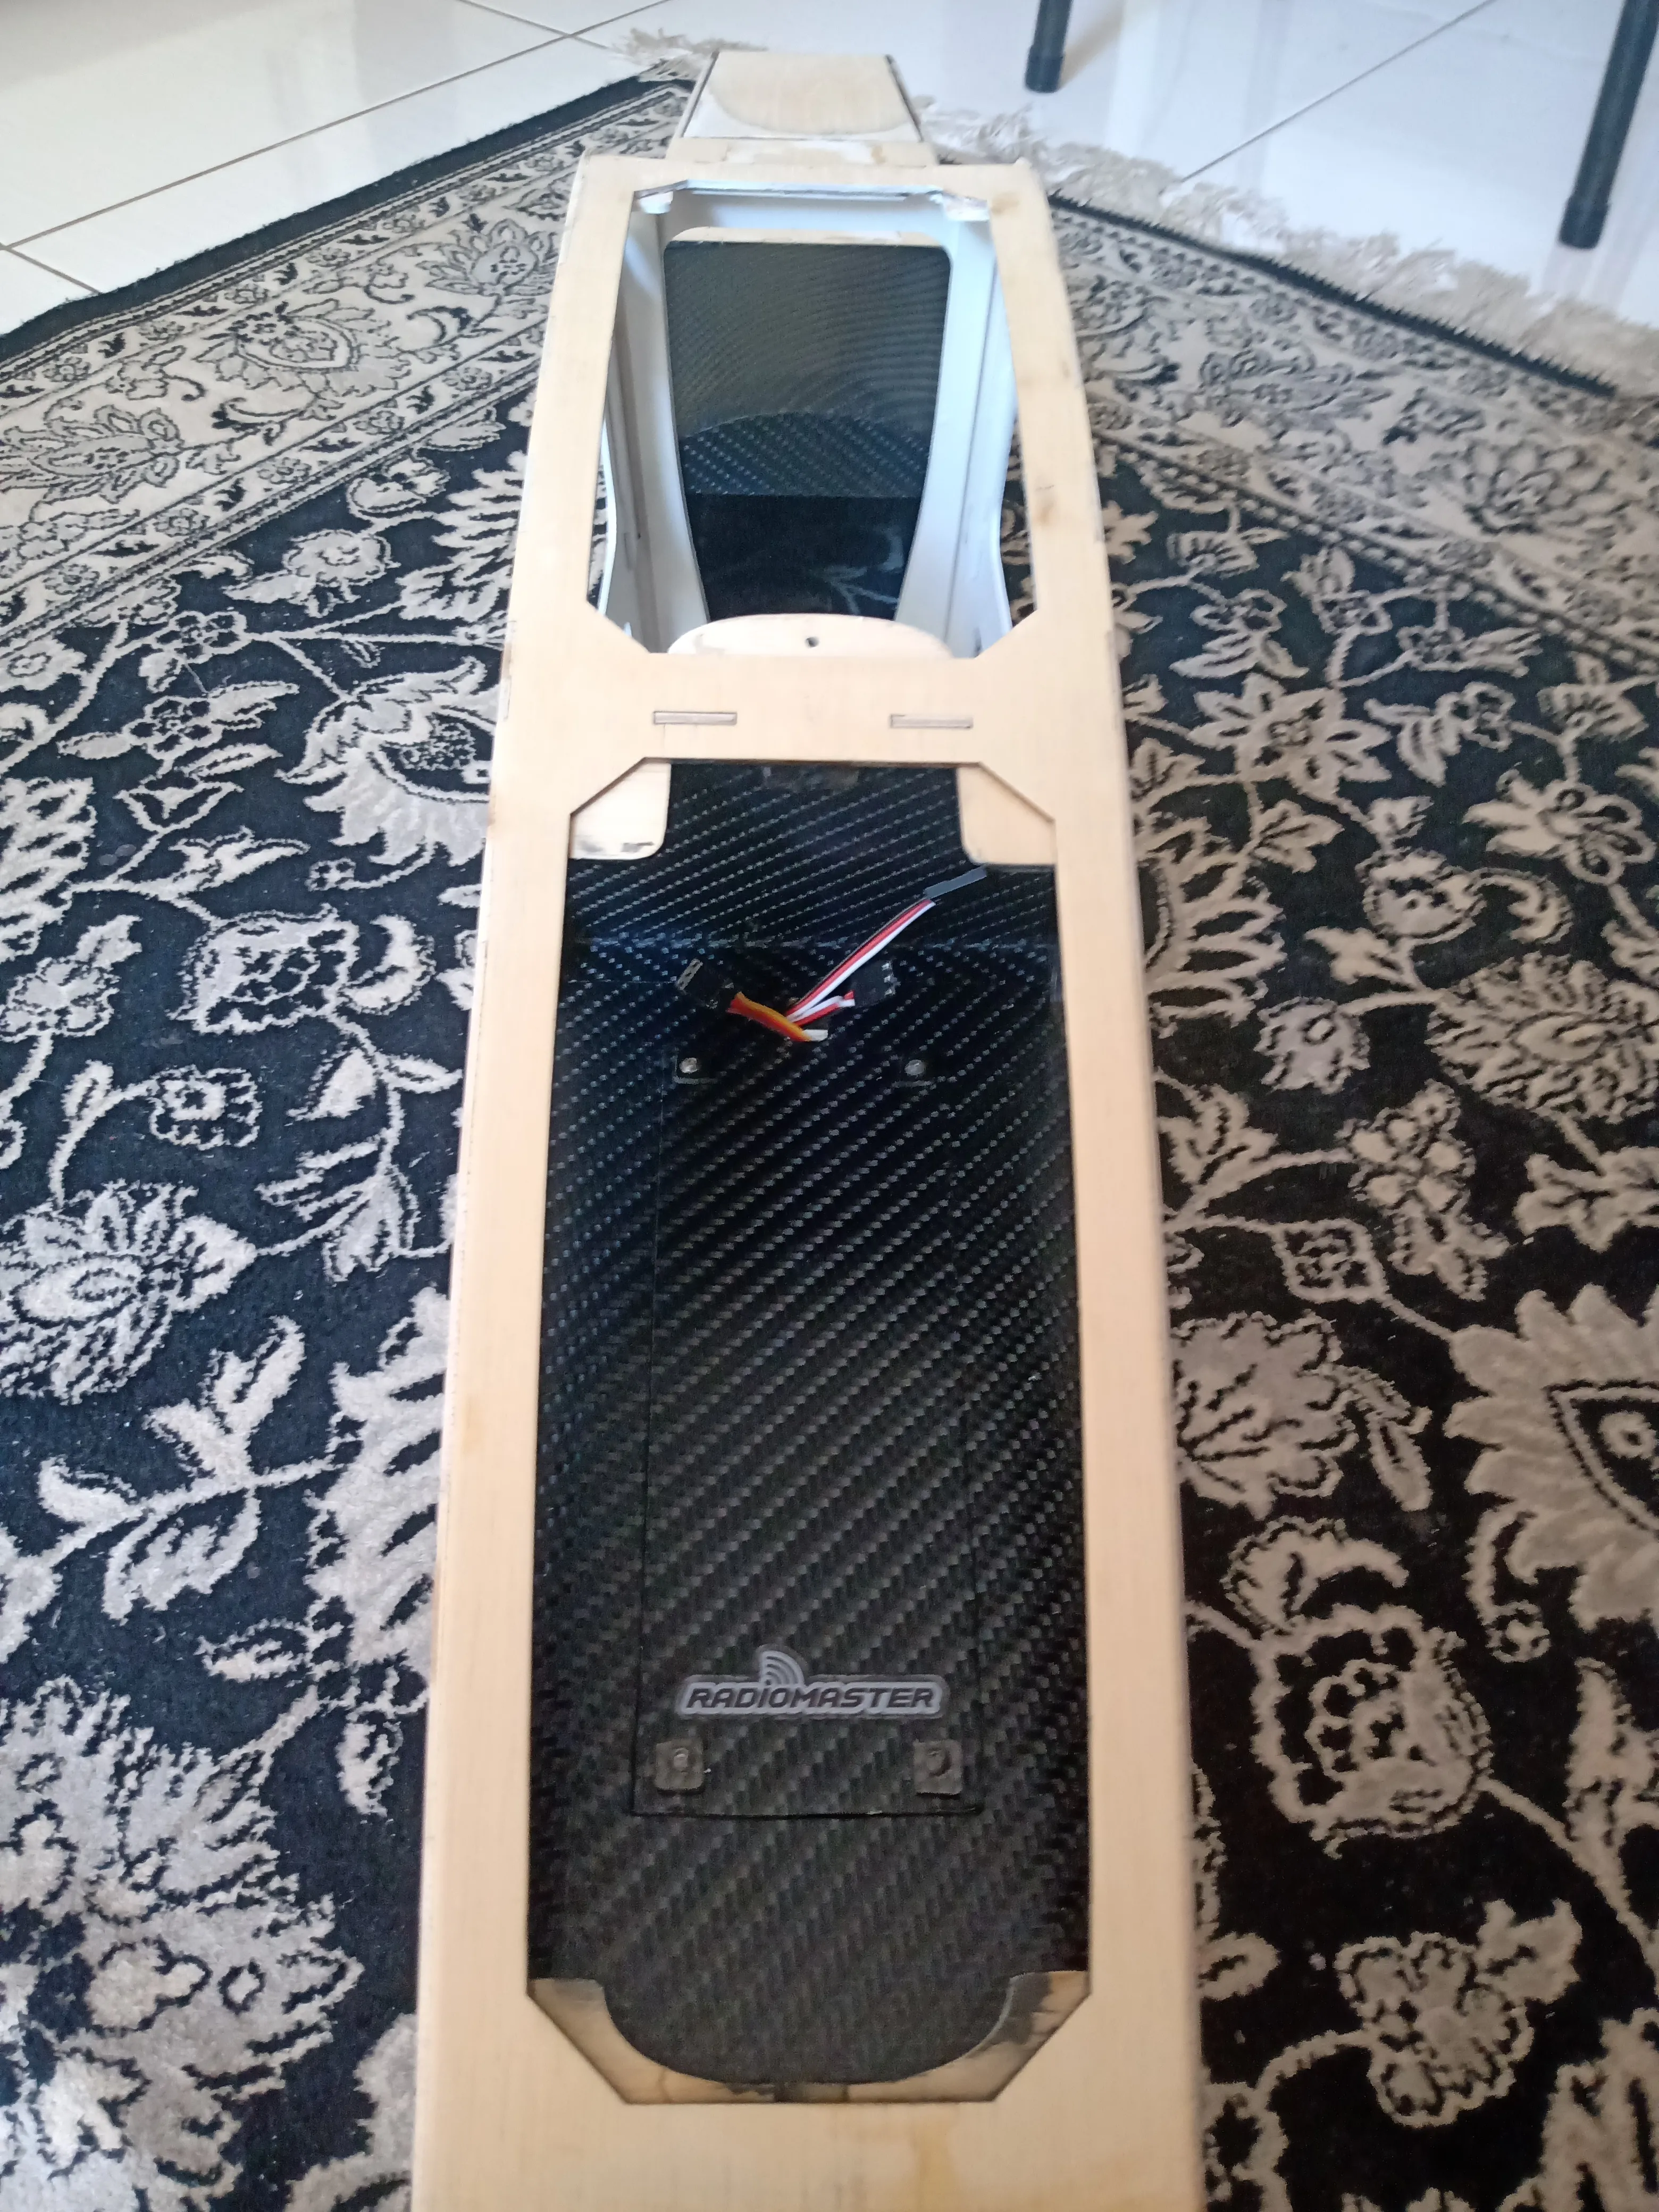
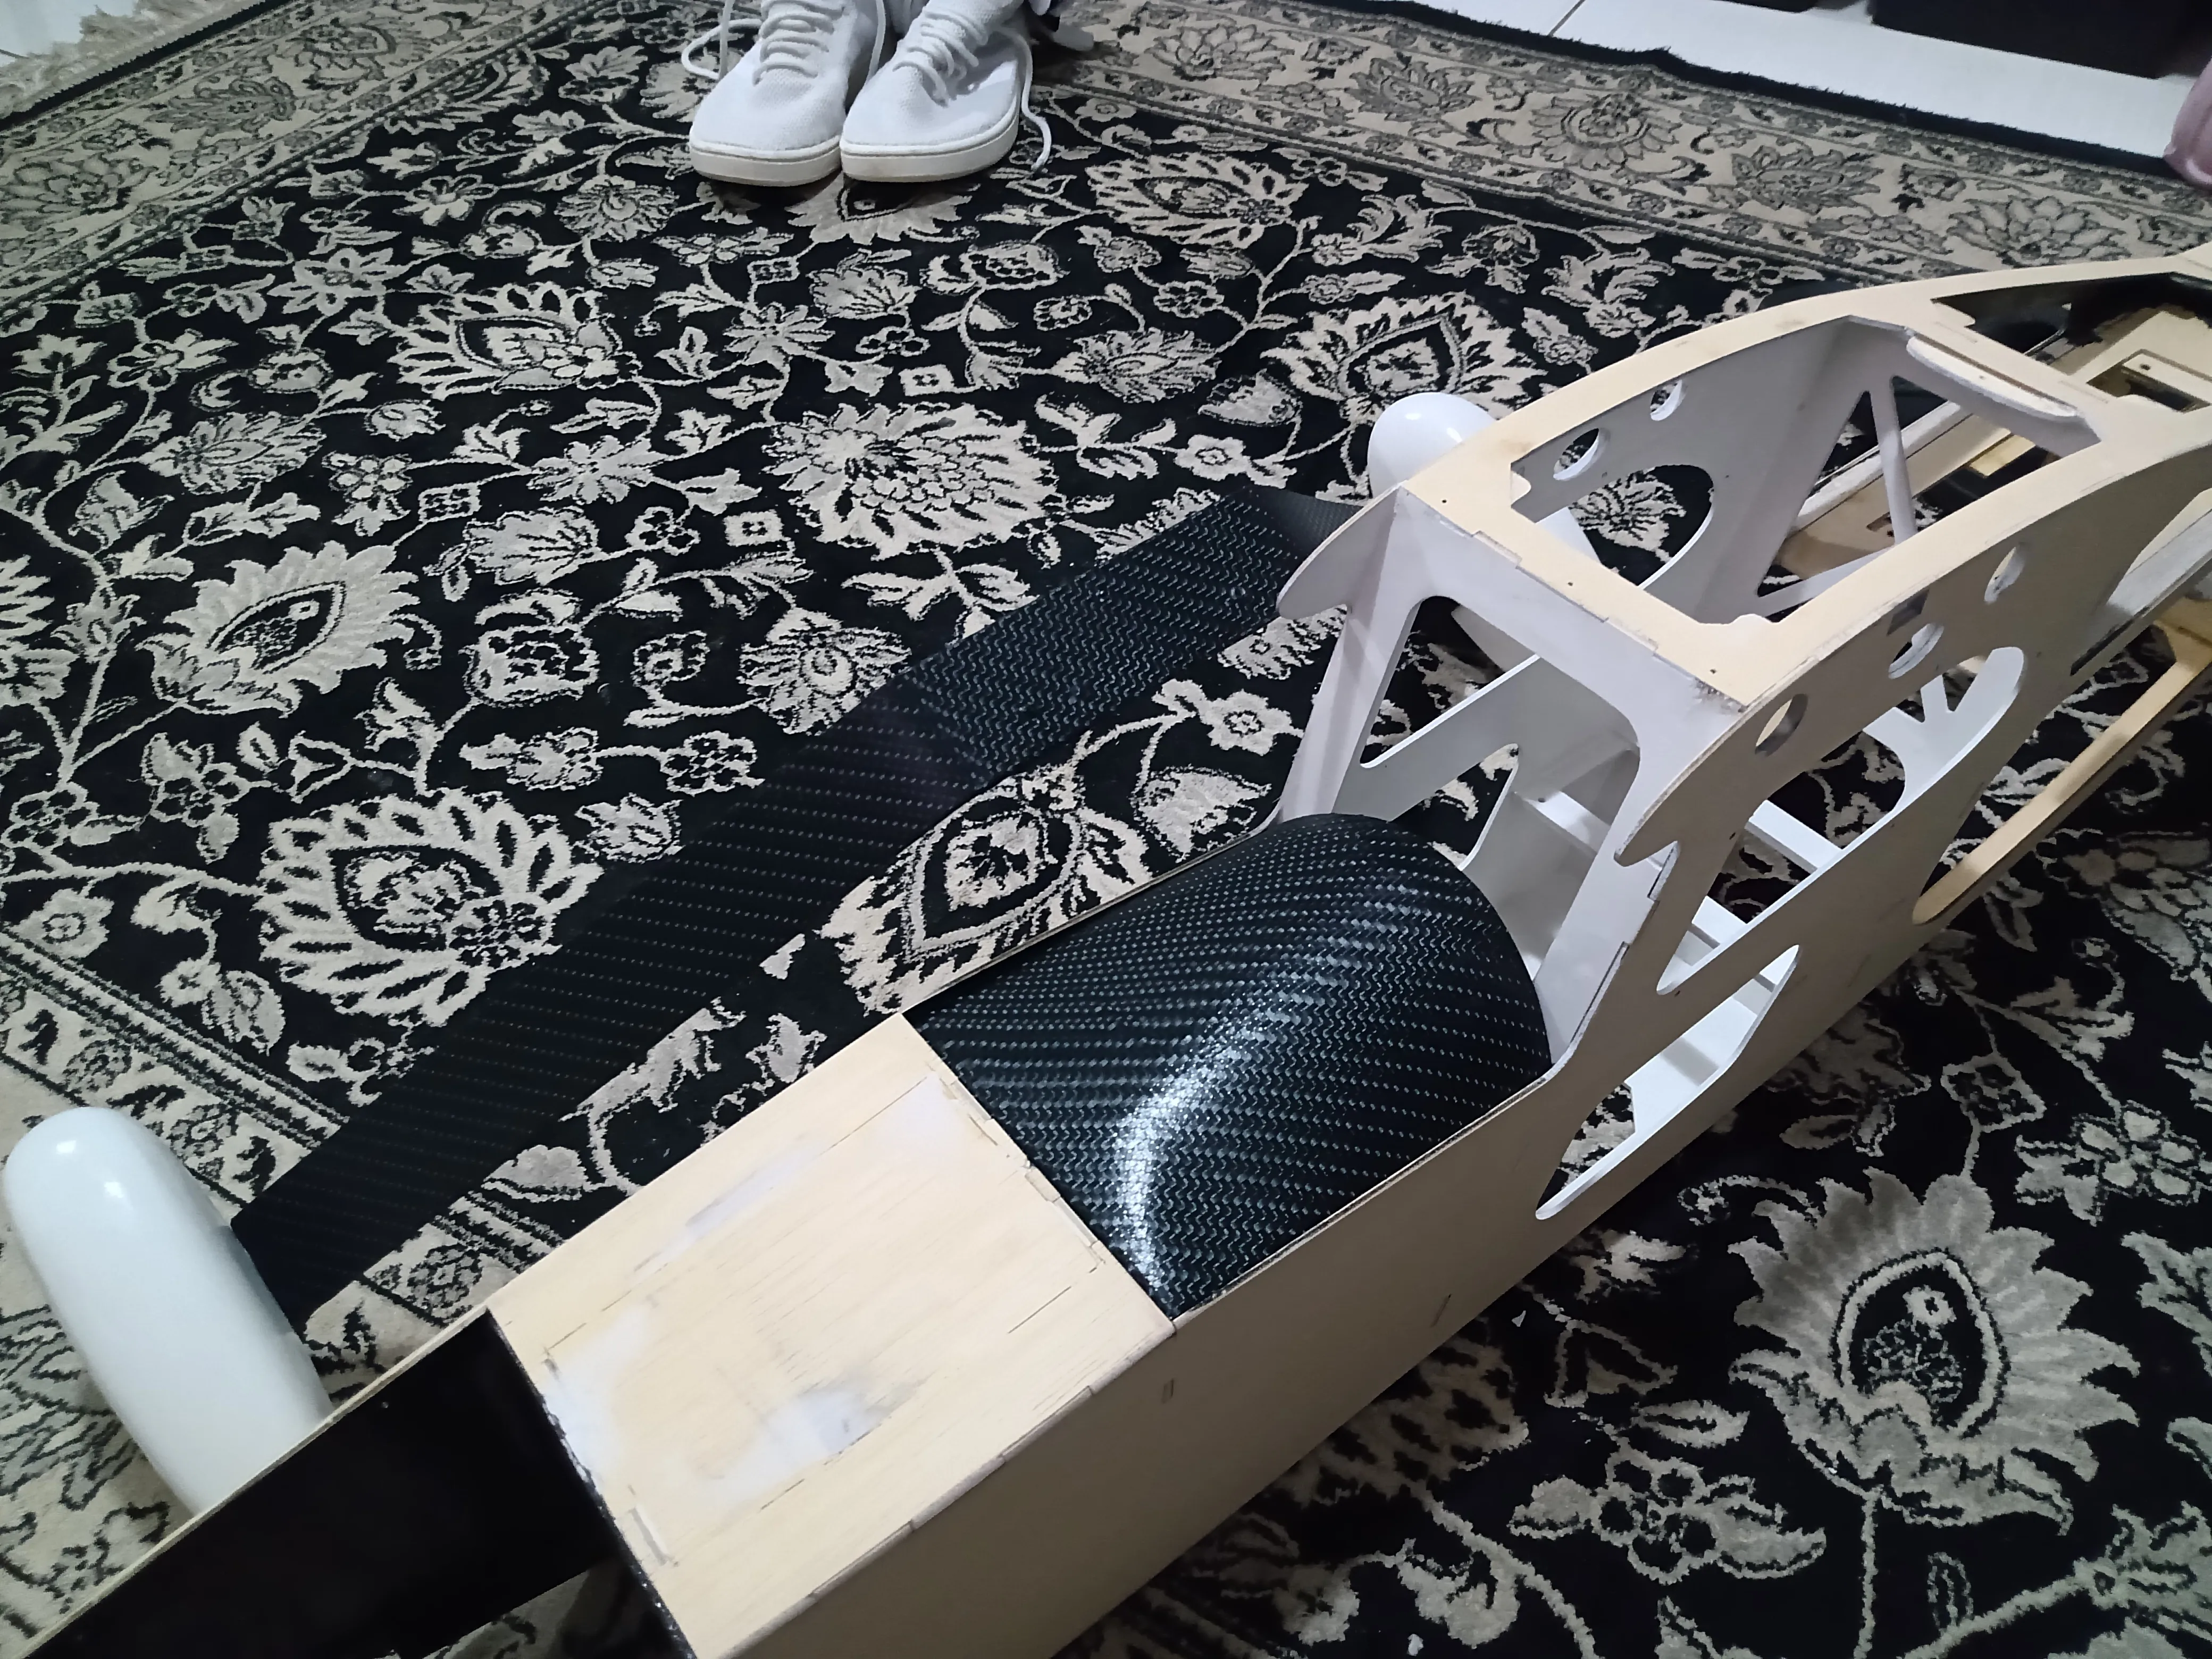
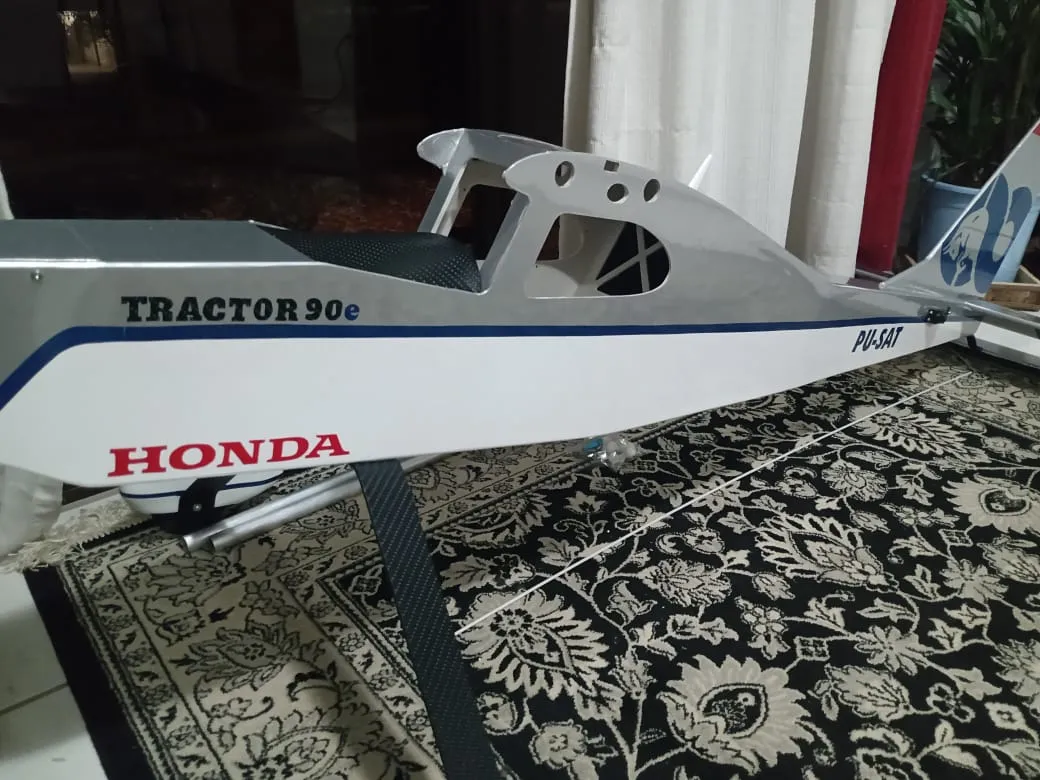
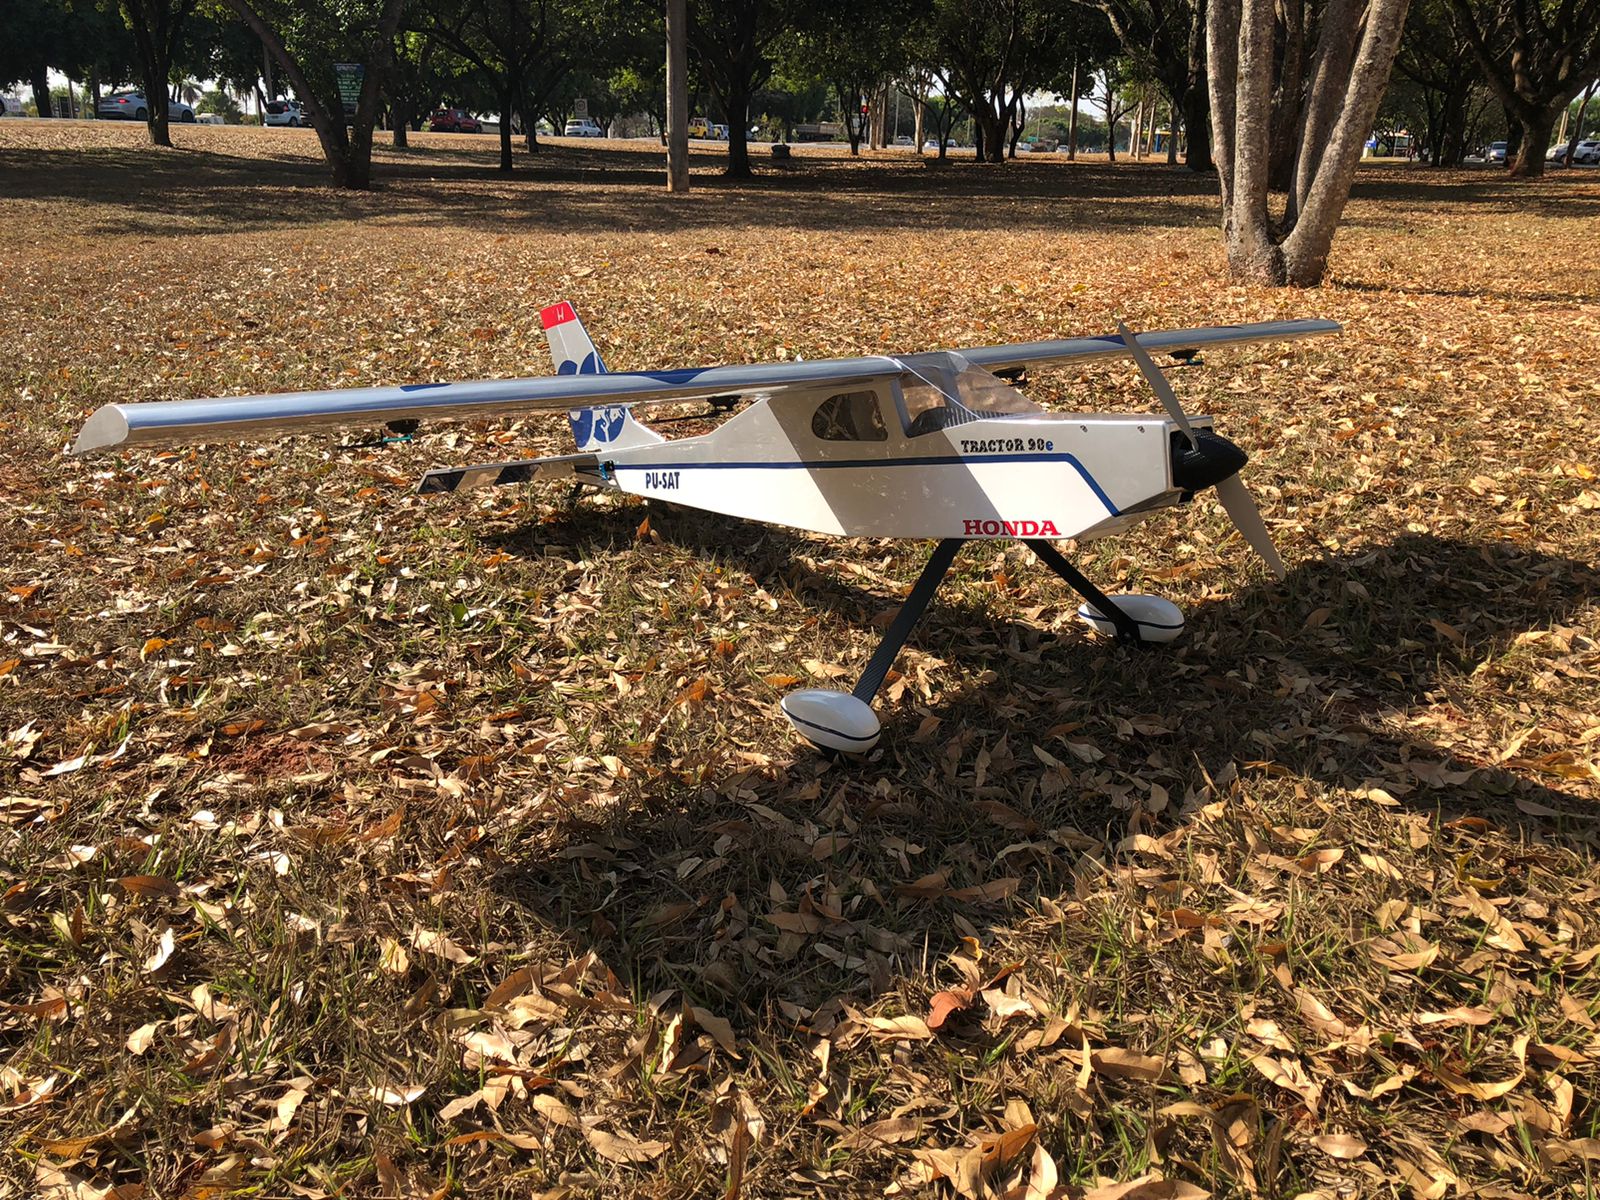
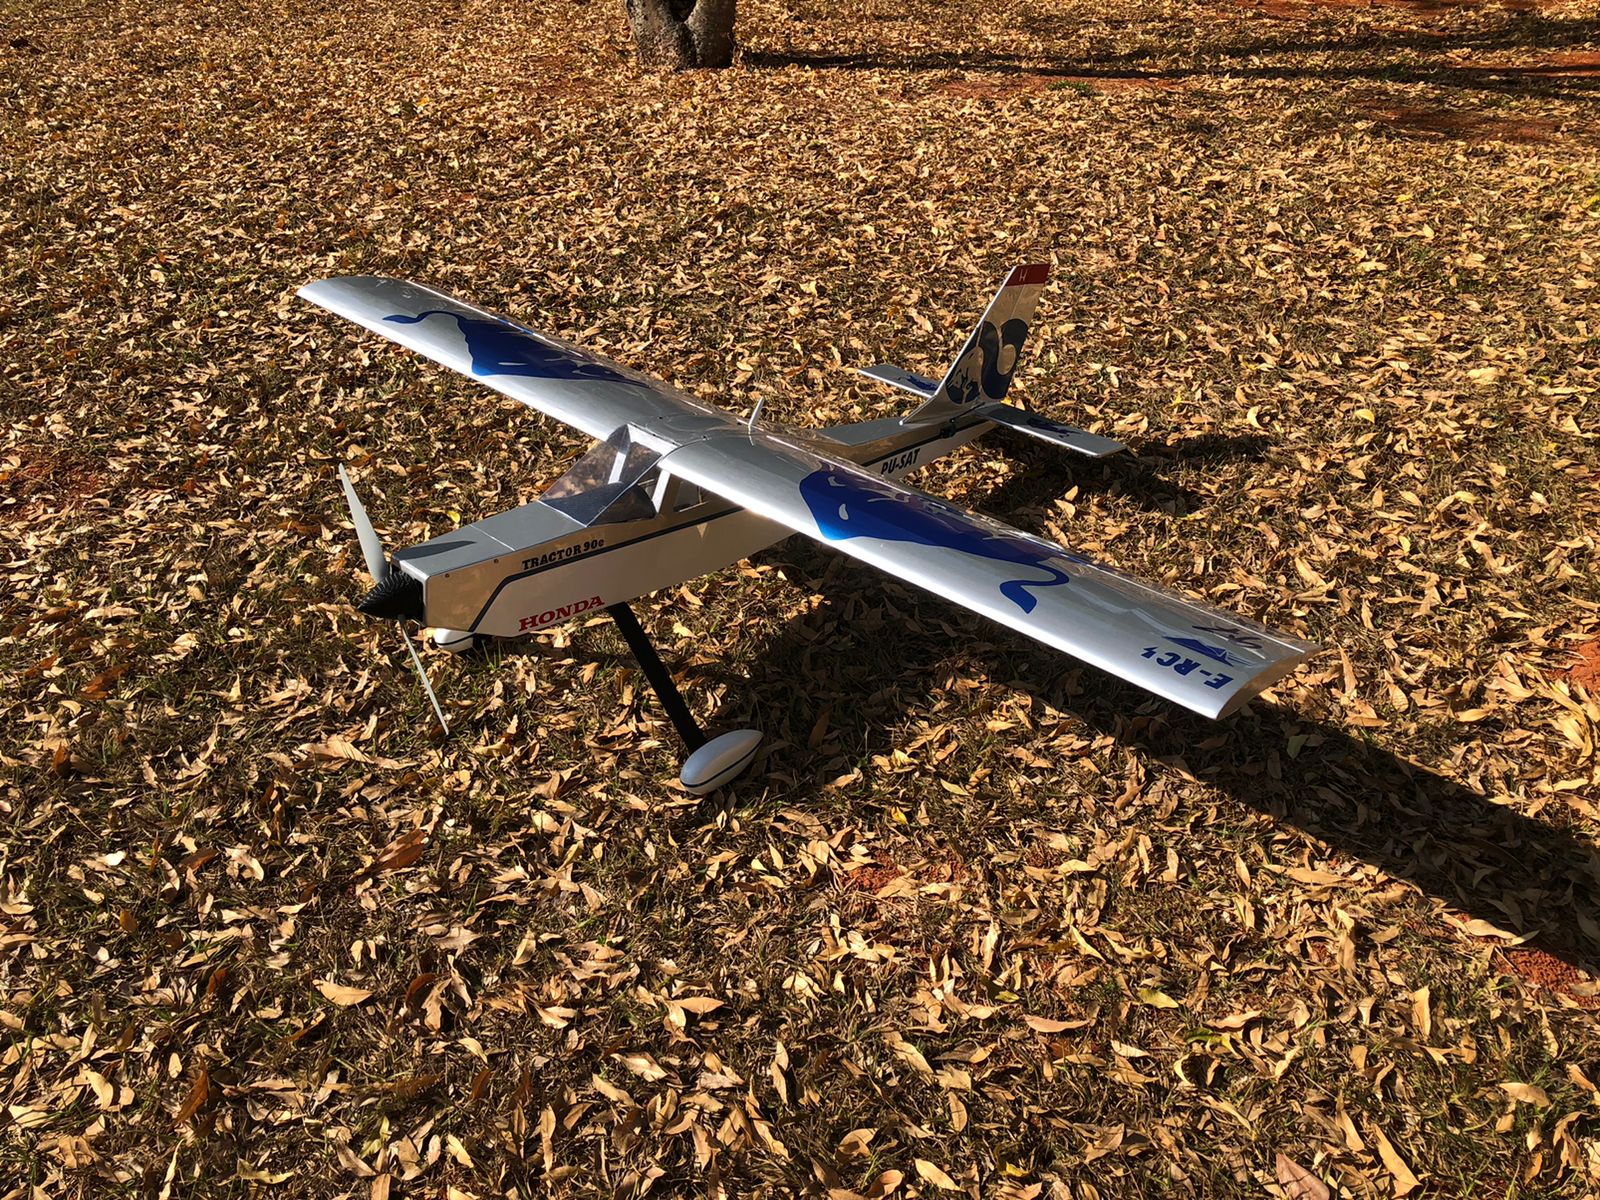
I have seen that in the United States the electric planes with 20cc-size have become popular. But here in Brazil, gas planes still dominate without threats to their dominance. That's why I decided to build a giant electric plane. I chose the "Tractor 90", from the Brazilian company "Flying Circus". It is a trainer designed for .60 to .90 glow engines. But the most common here in Brazil is the assembly with 15 to 20cc gasoline engines.
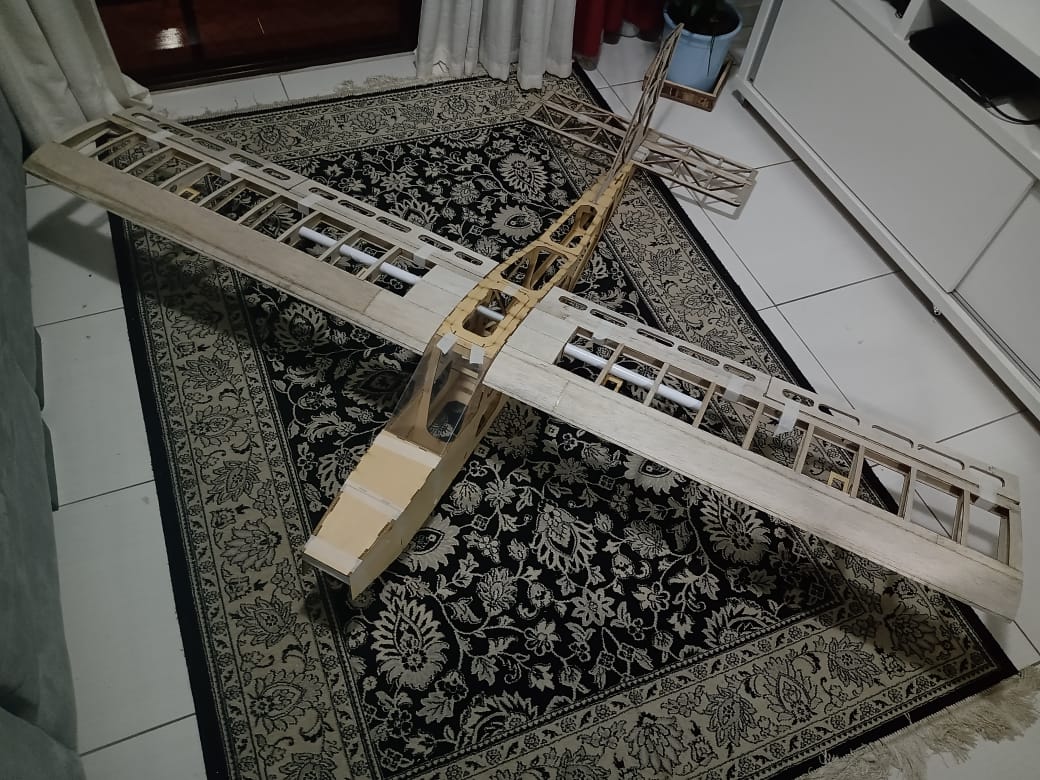
Plane dimensions:
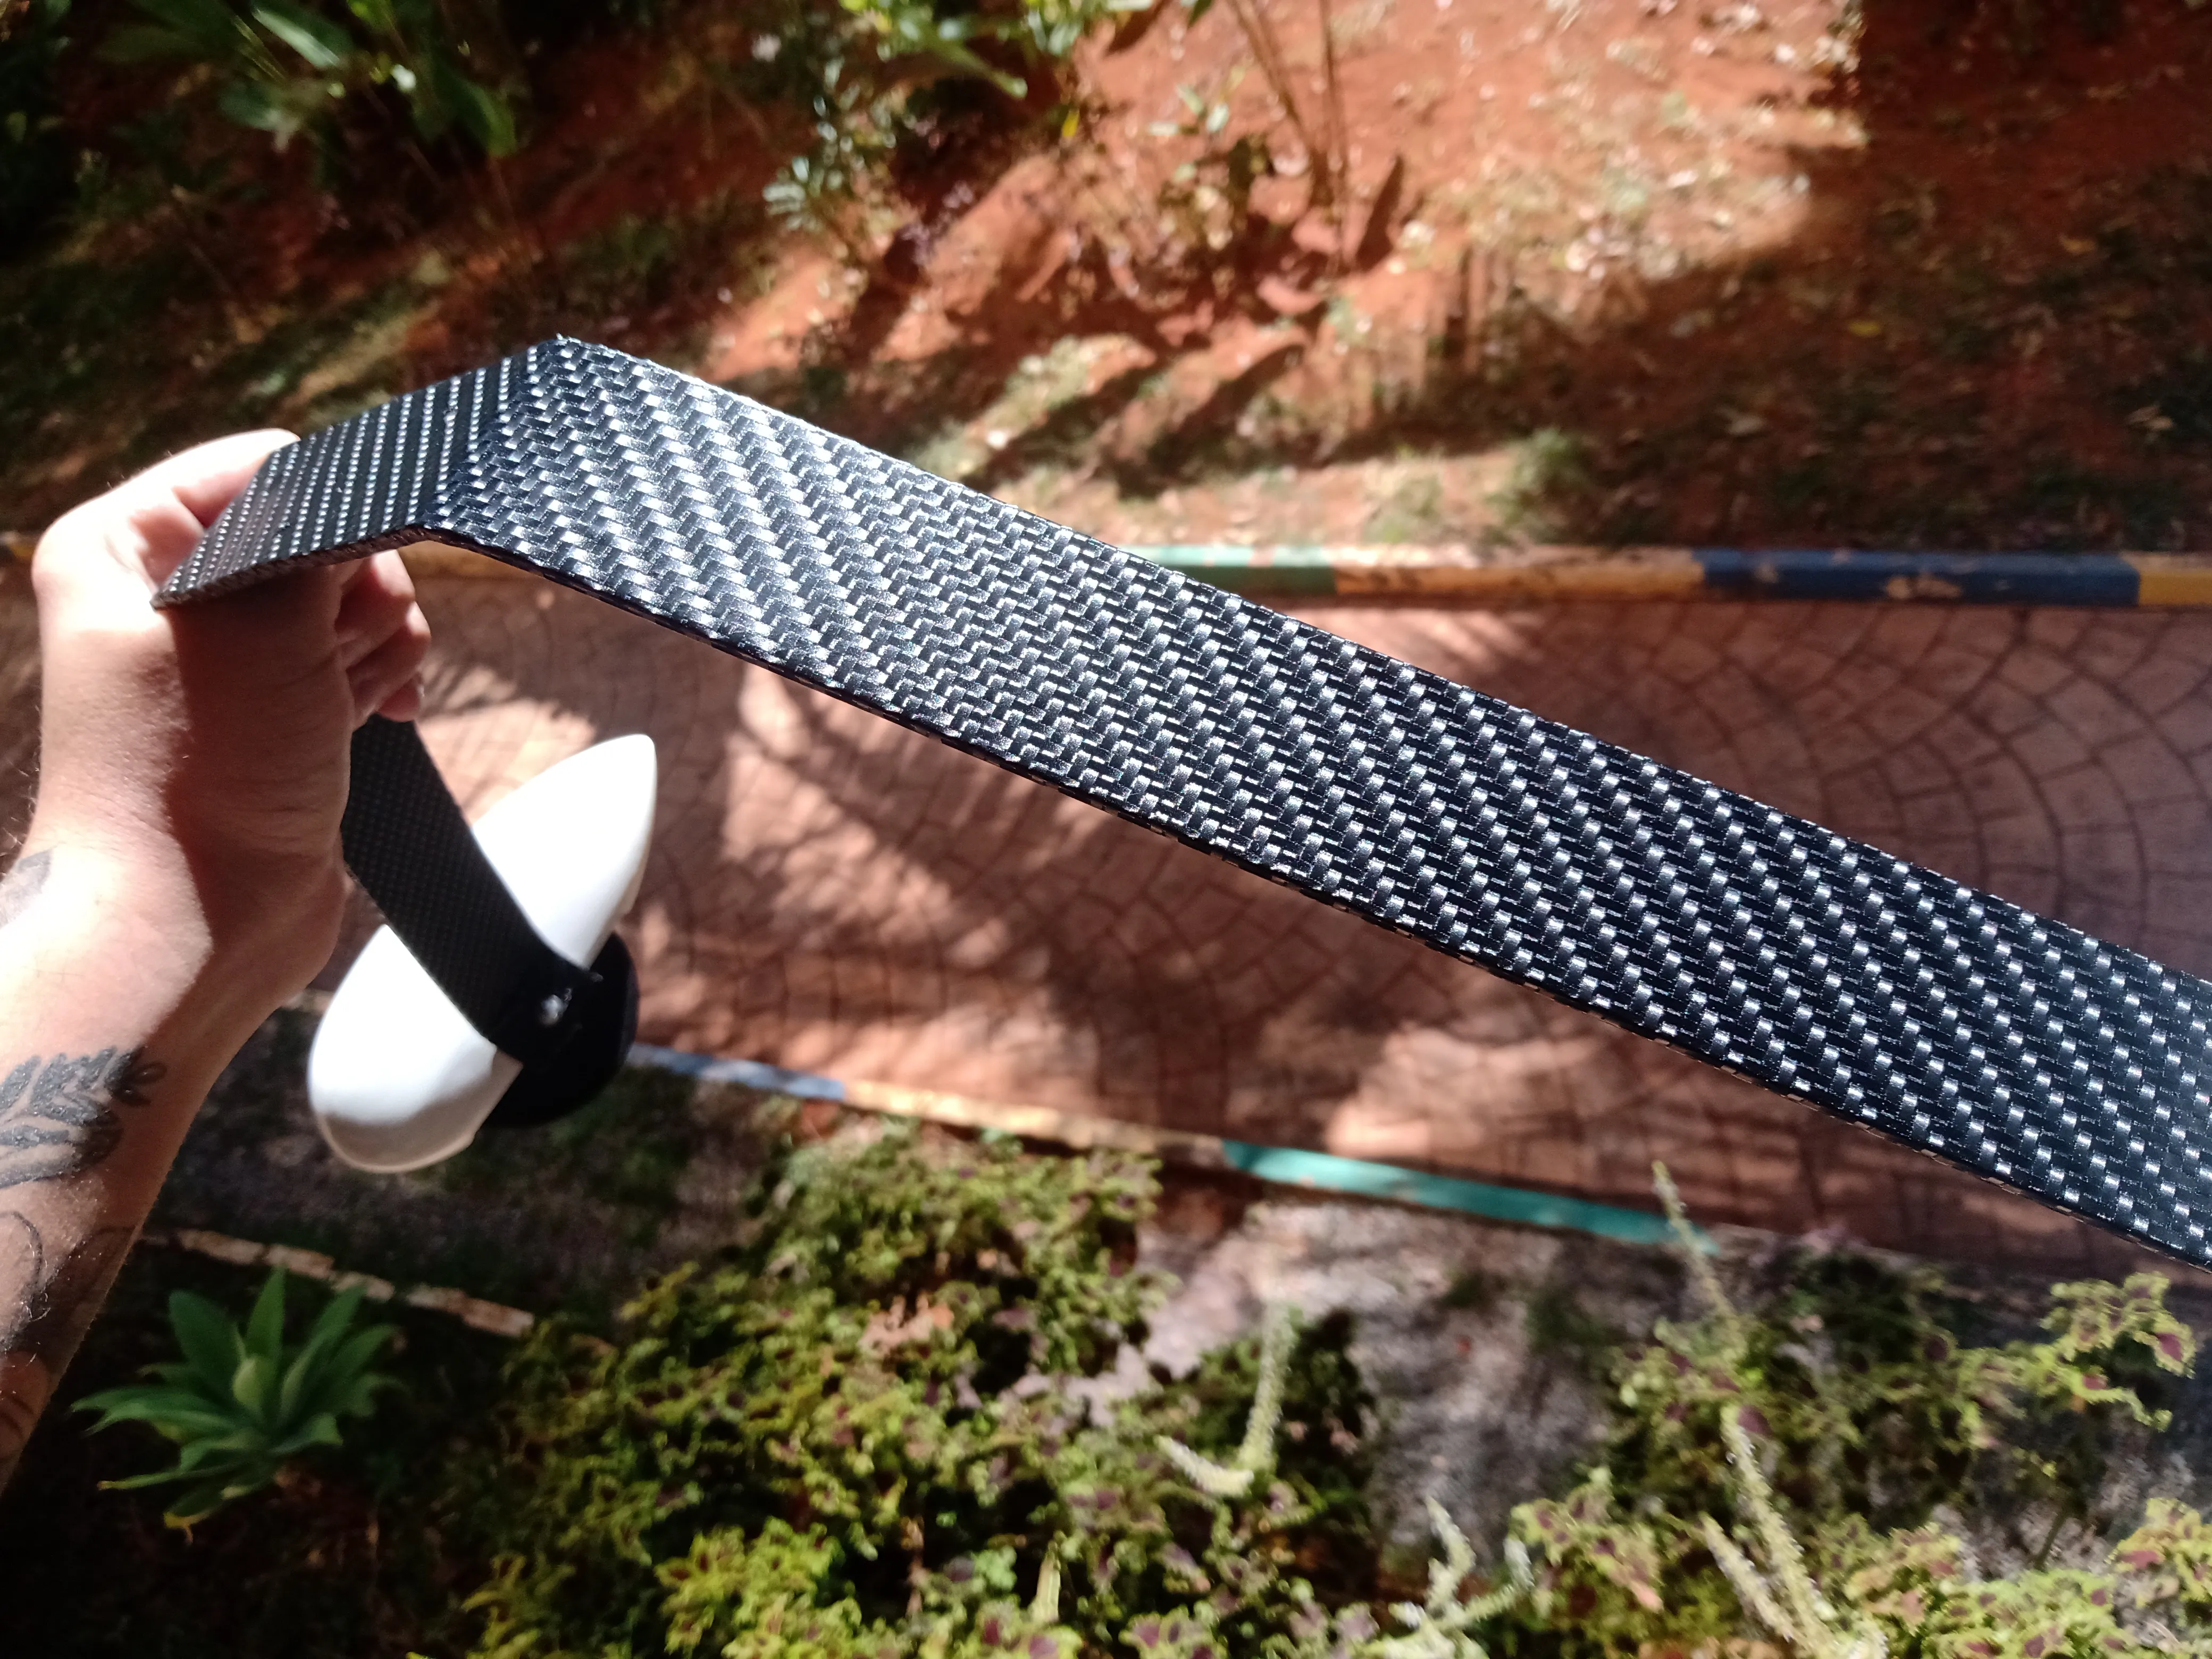
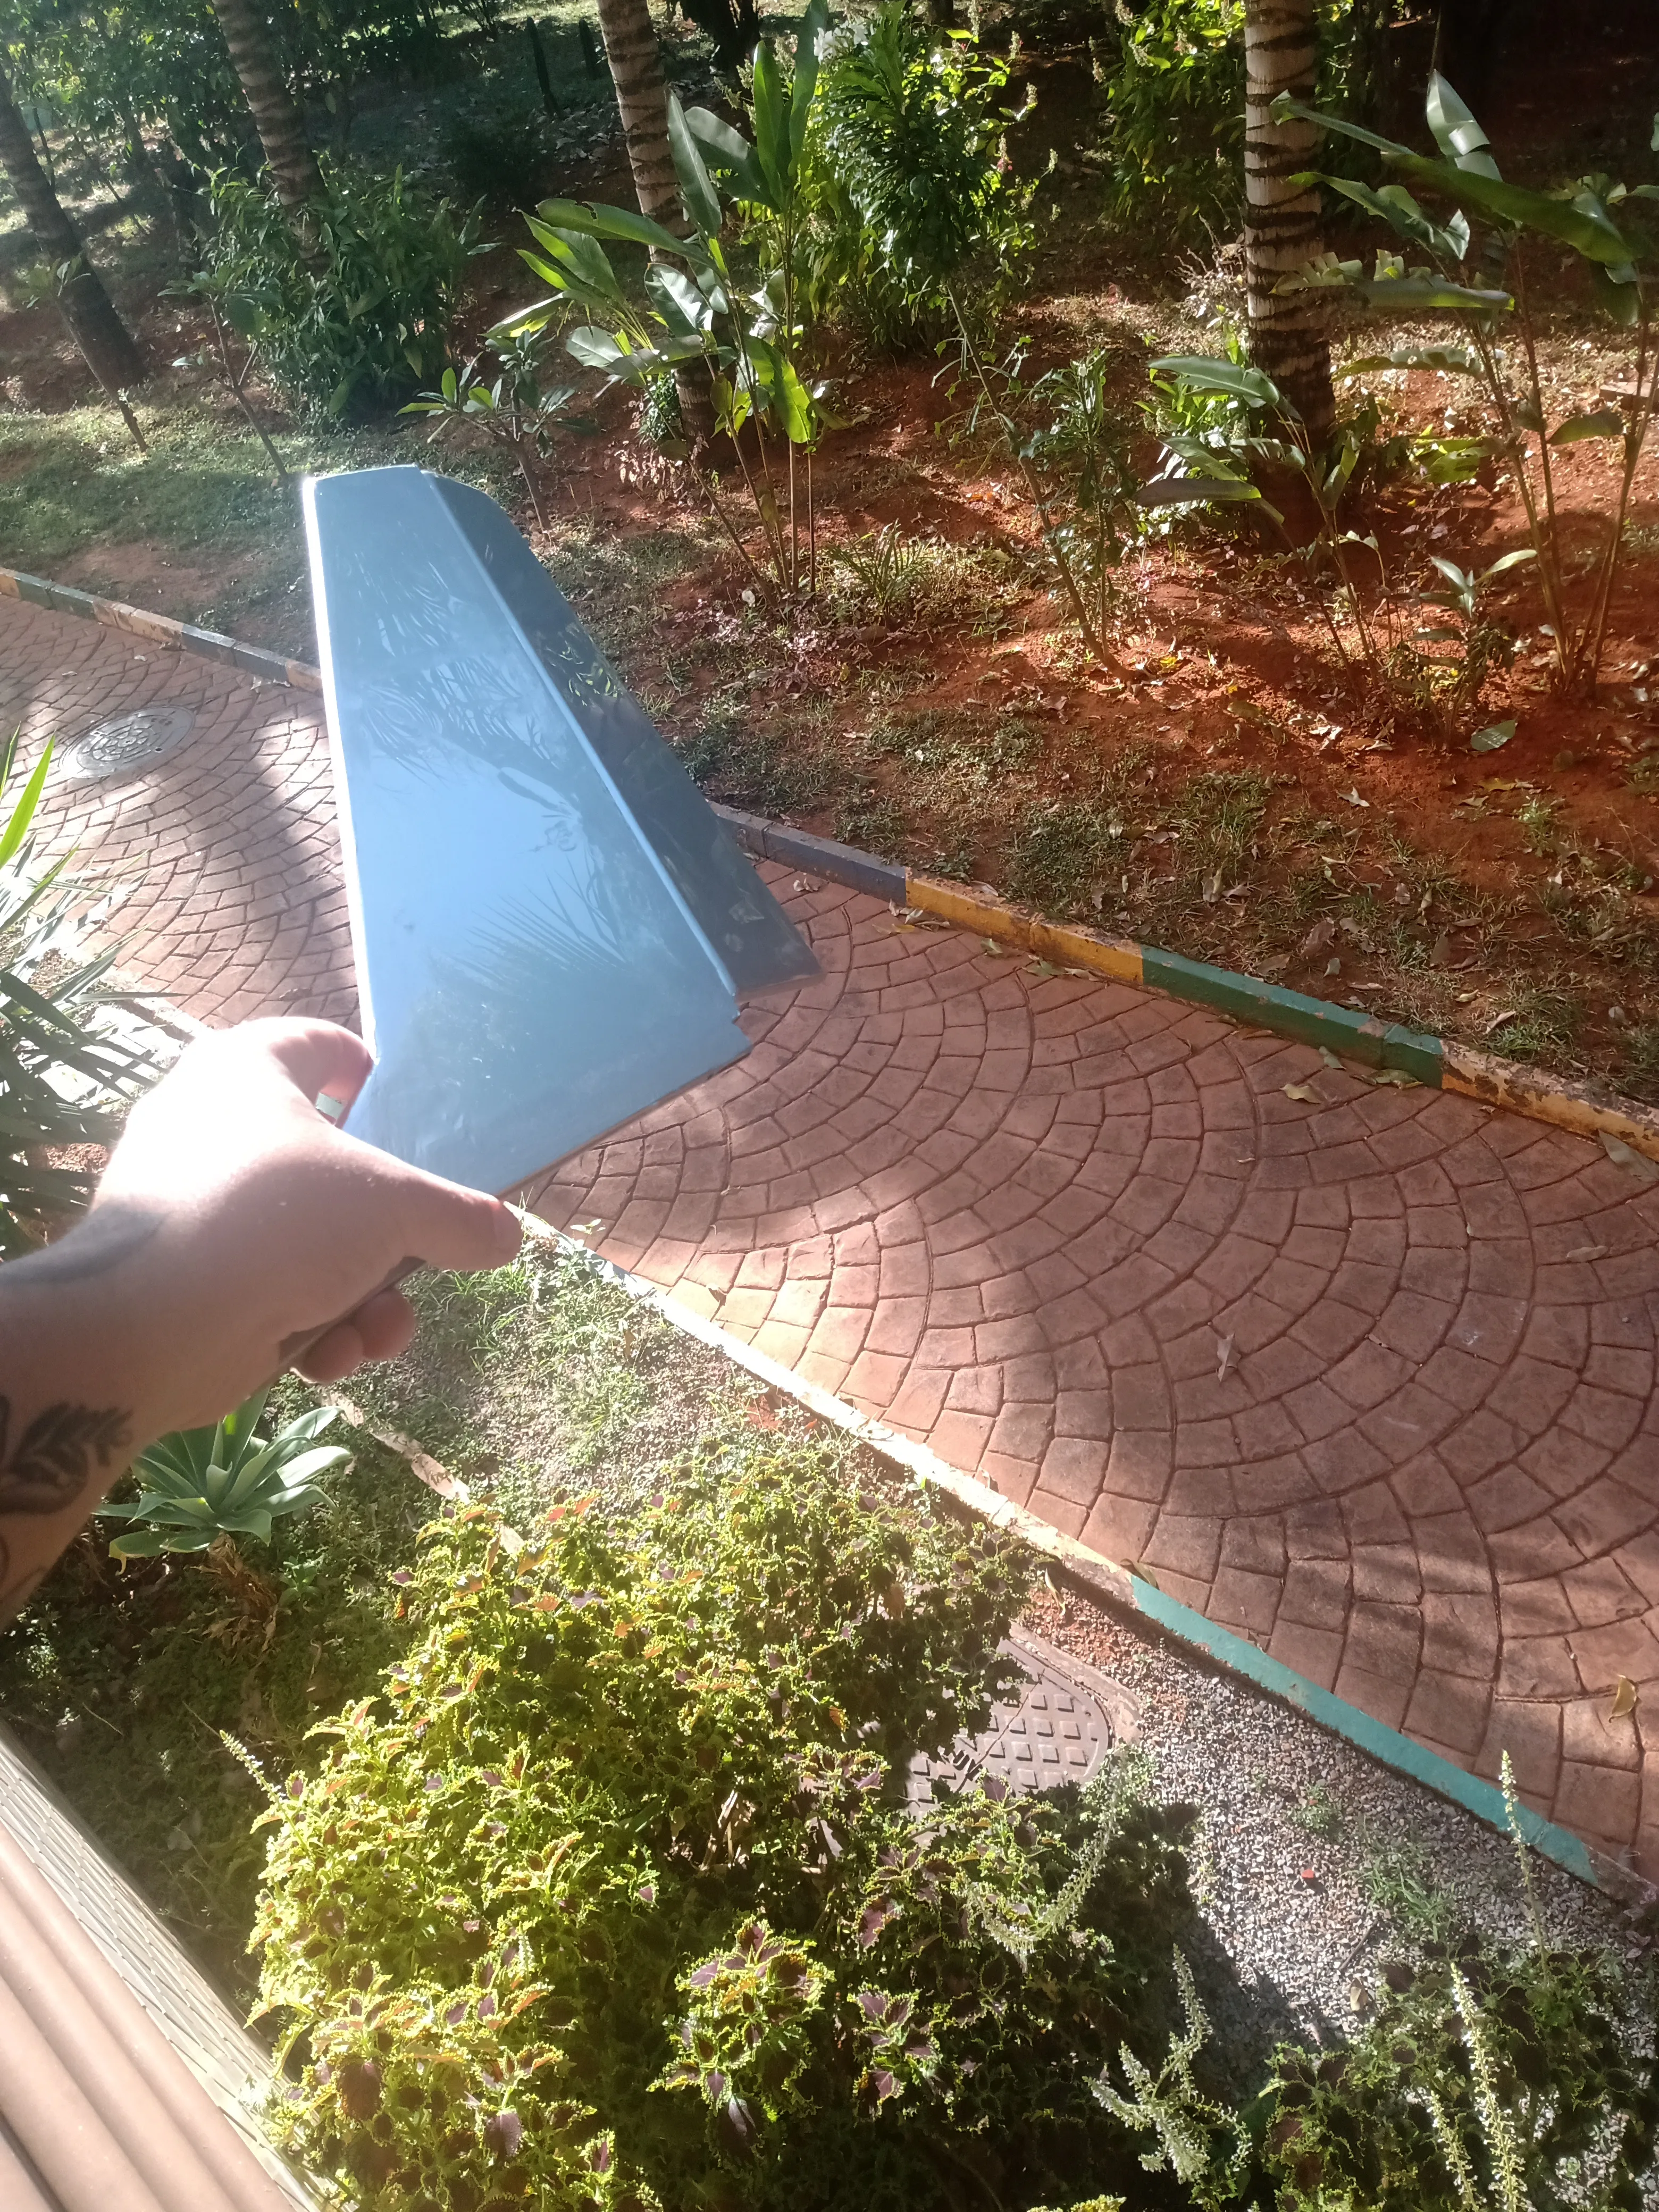
Span: 200 cm;
Length 160 cm (including engine);
Wing area: 60 dm2;
Weight: 4600g with .90 glow engine (4800g with DLE 20cc RA)

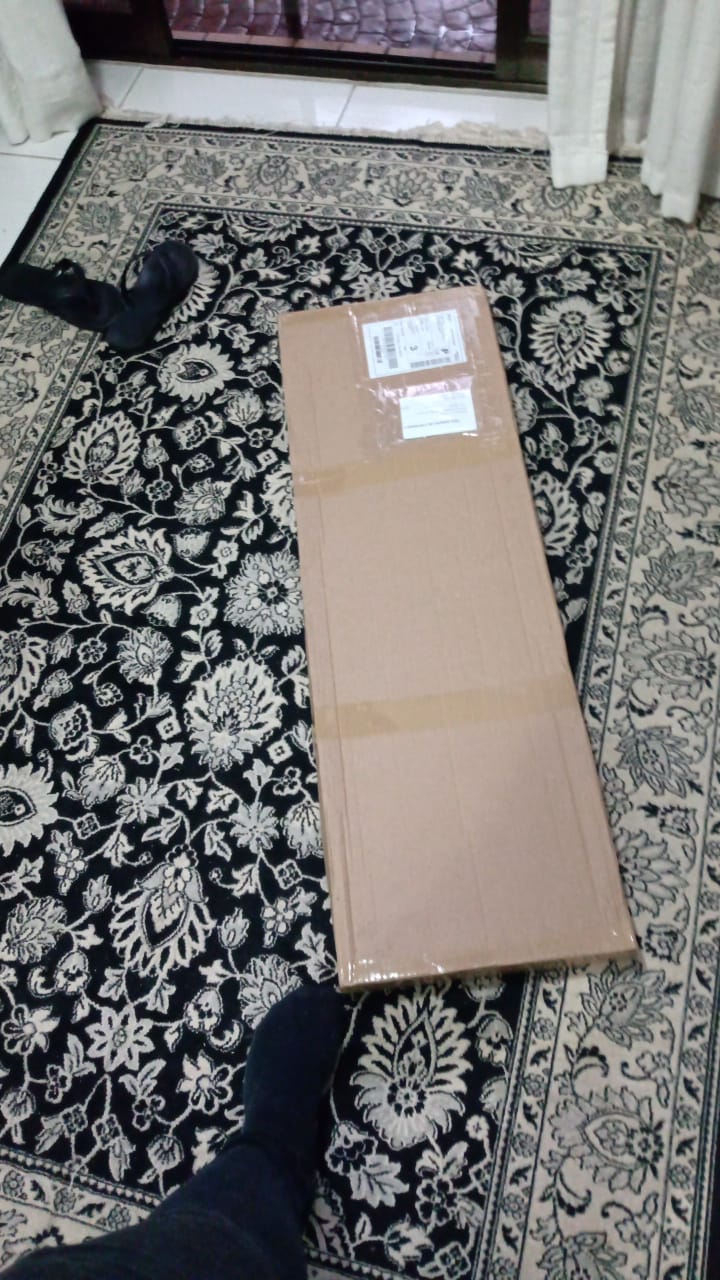
It is sold as a assemble kit and costs R$508.25 (something close to U$97.65 in direct conversion with the current US dollar rate in my country).
Setup:
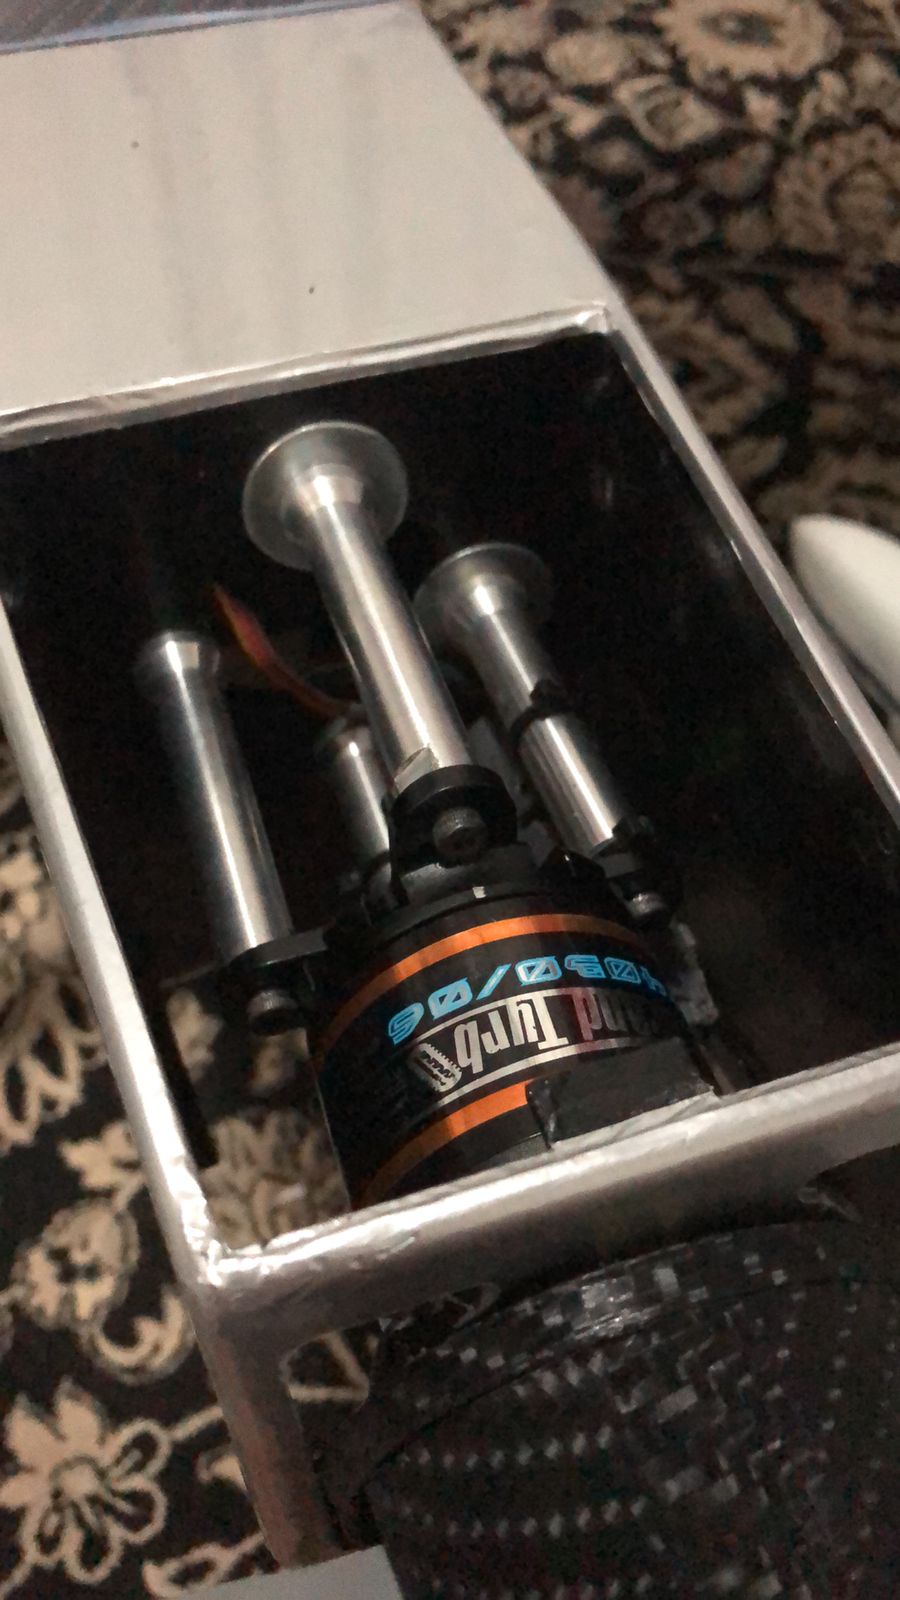
Powertrain:
Motor: EMAX GT4030/06 420KV
ESC: Castle Talon 90
Battery: 1x Lion Power 6s 3300mAh 40C
Propeller: APC 16x8
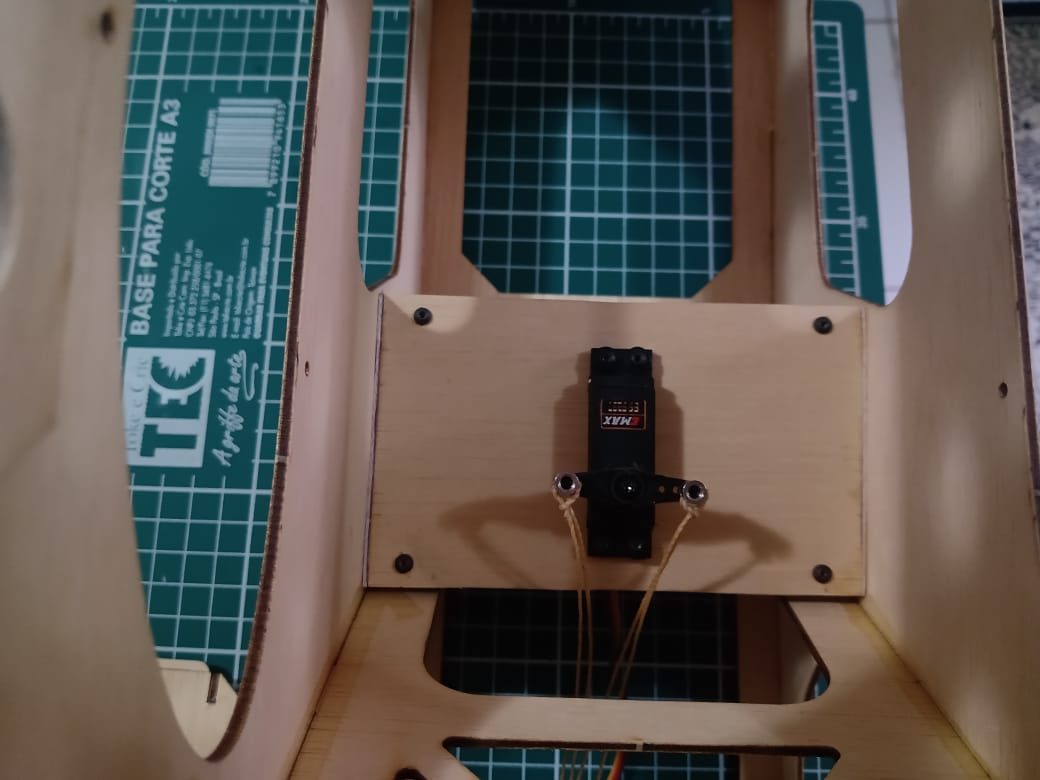
Servos:
Ailerons: Align DS610
Elevator: Align DS610
Rudder: Align DS610
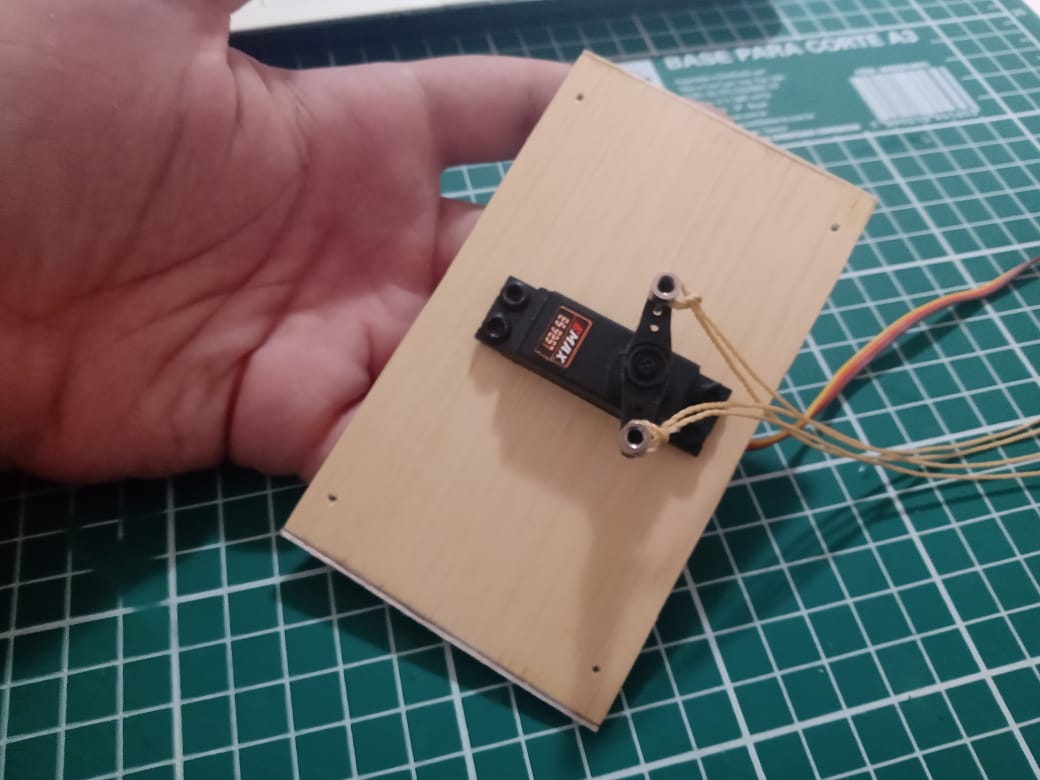
Tailwheel: EMAX ES9257
Flaps: Tower Pro SG5010
Radio System:
TX: Radiomaster TX16S
RX: FrSky X8R
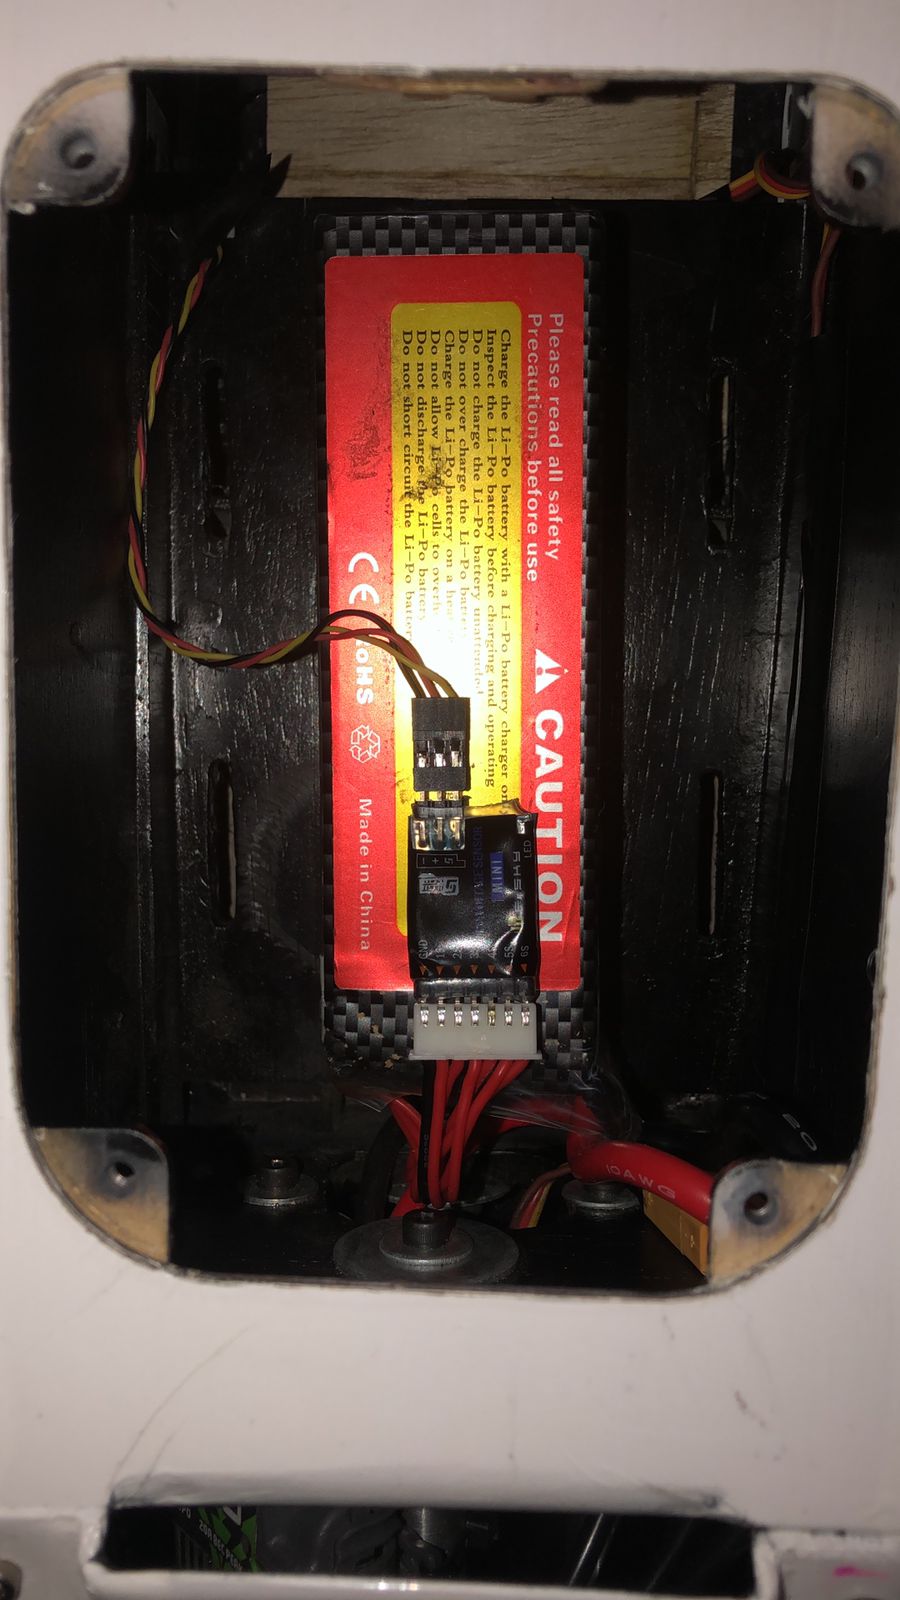
Telemetry: FrSky MLVSS
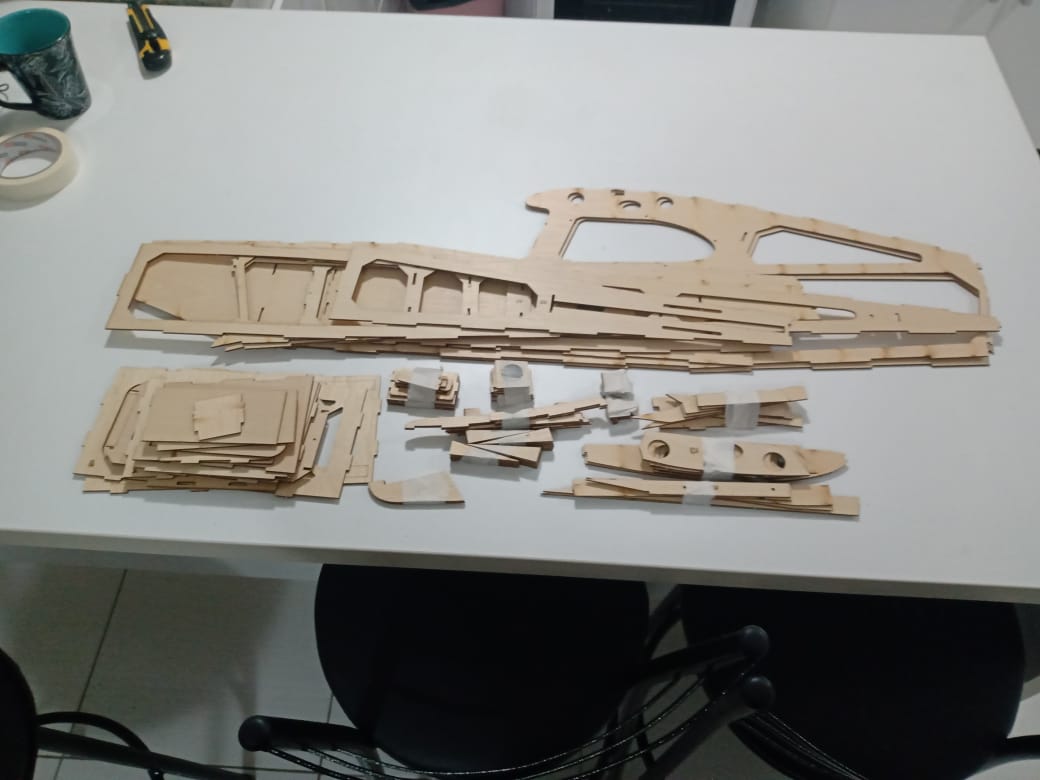
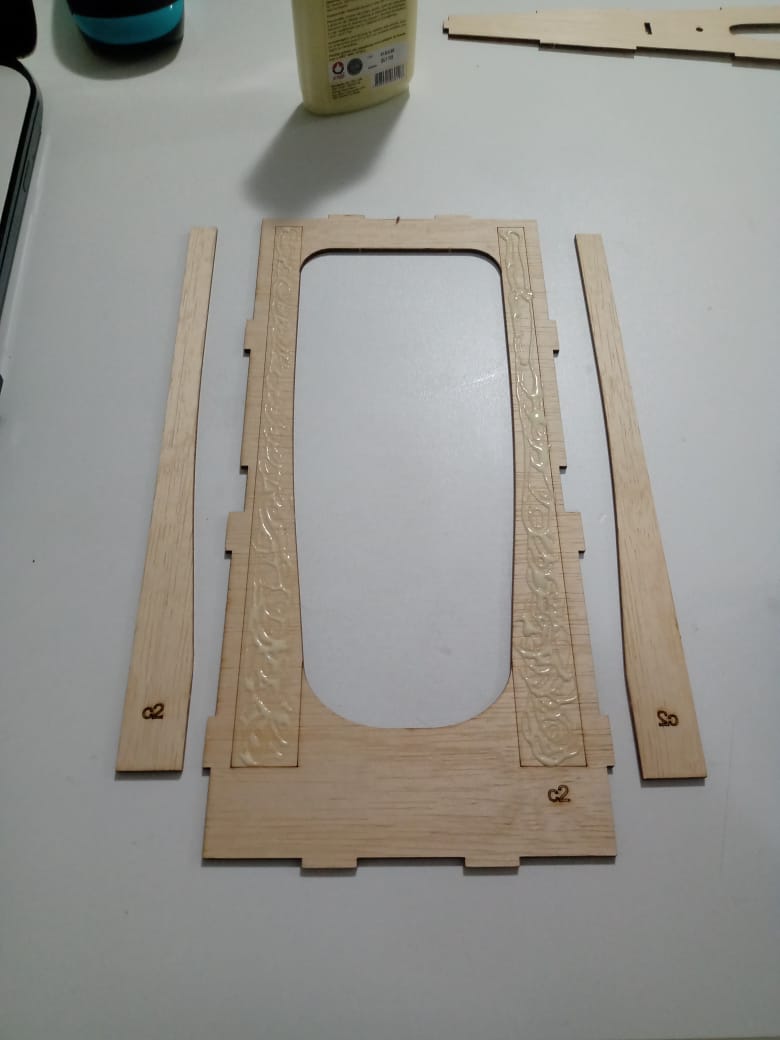
I started this project on April 16th and finished it yesterday, August 27th. I don't know the American reality, but here in Brazil it is unfortunately an expensive project. Cost increases time.
I have seen that in the United States the electric planes with 20cc-size have become popular. But here in Brazil, gas planes still dominate without threats to their dominance. That's why I decided to build a giant electric plane. I chose the "Tractor 90", from the Brazilian company "Flying Circus". It is a trainer designed for .60 to .90 glow engines. But the most common here in Brazil is the assembly with 15 to 20cc gasoline engines.
Plane dimensions:
Span: 200 cm;
Length 160 cm (including engine);
Wing area: 60 dm2;
Weight: 4600g with .90 glow engine (4800g with DLE 20cc RA)
It is sold as a assemble kit and costs R$508.25 (something close to U$97.65 in direct conversion with the current US dollar rate in my country).
Setup:
Powertrain:
Motor: EMAX GT4030/06 420KV
ESC: Castle Talon 90
Battery: 1x Lion Power 6s 3300mAh 40C
Propeller: APC 16x8
Servos:
Ailerons: Align DS610
Elevator: Align DS610
Rudder: Align DS610
Tailwheel: EMAX ES9257
Flaps: Tower Pro SG5010
Radio System:
TX: Radiomaster TX16S
RX: FrSky X8R
Telemetry: FrSky MLVSS
I started this project on April 16th and finished it yesterday, August 27th. I don't know the American reality, but here in Brazil it is unfortunately an expensive project. Cost increases time.