Mini Edge 540 Build

mayan

Legendary member
Let’s all get on the same page. I recently built and flown the FT Edge 540 and find it a extremely fun and strong airframe, prefect for me to practice my aerobatics with. You can read more about that experience here:
Yesterday I went to the field with my wife to show her how the parachute TT hatch modification that I made works. She too was amazed like I was to see how nicely it all worked out. I also took the time to practice flying the TT with the sports wing set, and felt more in control of the plane, unlike in the last time that I was flying it.

Although the highlight of the day was the first maiden of the FT Edge 540. What say that again?! The highlight of the day was the first maiden of the FT Edge 540! I was flying it with a BL2215 motor, 10x7 prop, 30A ESC, and a 1600mah 3S battery. The model itself flys great. It needs you to be very gentle with the controls if you want to fly it without aerobatics manuvers. I had a bit of an issue launching it a few times but once you get the hang of it, it's not an issue anymore. The build itself takes time espicially if you are scratch building and need to cut out all the pieces. Andrew designed this plane with a lot of thought and made re-enforcements in the exactly right places, which made it durable to my crashes, which were mainly caused from lost of orientation. At the end of the day with a few minor fixes the FT Edge 540 can go back in the air again when the weather allows it.

There was a moment during my crap check that my heart dropped. After I attached the prop I asked my wife to hold the plane so I can check everything once last time before maiden and that included the motor pull factor (something that helps me understand if there is a point to toss it in the air or not). At some point the motor shaft disconnected and the prop with the motor shaft flew off at full speed. Luckily none of us were in the way and the prop flew directly into drive side of the car. I found it and reconnected it, making sure to strengthen it extra. Did the crap check again and everything worked fine.

Here is a video only of the first maiden of the FT Edge, check it out.

And here is the video of the entire day.

Enjoy... :)

However it’s hard for me to take it to the field and requires that I have an empty car :(. So I have decided to try build myself a Mini FT Edge 540. The first version I have built and flown was 60% scale of the original plans which lines up prefect with 3mm FB. In size it was very similar to the FT Mini Scout but definitely not on weight, as it was weighing 341g. Had a exilrating experience and decided to make this my new trainer plane instead of the TT. The prop, motor, ESC combo wasn’t talking to each other and I burnt the ESC and possibly also damaged the motor. You can read more about here:
Good morning everybody. Let me clarify this mornings post.
This morning I went flying after some time in which I didn't get a chance to because of the rainy weather. What was I flying? Well I wanted to fly the FT Edge 540 and the Mini FT Edge 540 (60% scale version custom built). The plan was to start the day with the full scaled version of the FT Edge 540 but instead I decided to go with the scaled down version first. I was just to earger to check if it will fly or not and couldn't wait any more, and to be honest that was one good decission that I took. Why? Because the field was darn wet and every crash/landing into the field made the plane wet too, not something that is good when your FB is not water resistant.

The first attempt to maiden it didn't go well. After the launch it dived straight into the ground. At first I thought that the plane might have been nose heavy, but just before I wanted to toss again into the air it hit me. Maybe it's not a nose heavy issue so much as an underpower issue. Maybe like I thought the prop wasn't creating enough thrust to be able to keep the plane in the air. I stopped and went to change a prop from a 6x4.5 to a 7x5, and gave it another try. This time I could feel that the plane had more power, on both prop tests I was using a 3S 800mah battery.

I tossed the plane into the air once more and gave it another try. This time the plane had more thrust to stay air born, but I was still not happy with the results. The plane didn't fly far before it crashed again into the ground, this time though it was my fault I wasn't able to level it fast enough. Well I never did know how hard it was to fly when it was super cold outside, and I guess it was time to find out being a hobby addict :).
I warmed up my fingers, took a deap breath, and gave it another try, this thrid try was successful! The plane went up nice and level, I was able to quite quickly figure out at what throttle level I was comfortable and was right for me to fly with, and sticked to it. I did some nice fly bys, a few rolls and nearly cut off my head too. That by the way was my last successful try, the other two didn't go well and brought the plane to this status.

View attachment 124500

This is the video filmed from my GoPro:

And this is the one that my wife filmed from my iPhone:

I still have to check why the motor is not working when I get back from work, and really do hope it's just a cable that got disconnected and not something else... Any how no matter if I am able to repair the damage or not I am defenatly am building a new one for more practice and a better finish. I will try to document this build because I do want to make some minor changes to the original plans to make things work better. I might also decide to make the final version a 75% scale of the original plan instead of 60% which was prefect scale to make the build out of 3mm FB but not so good for battery options.
View attachment 124506

P.S. The plane with the electronics excluding the battery was wieghing 341g.
View attachment 124501

Since the first version needed improvements and the fact that I wanted a slightly bigger model I have decided to build myself a new version at 75% scale; and then find the right prop, motor, ESC combo once I happy with the size of the airframe. I already started the build process for the 75% scaled version and decided to document the process so that any one that’s wants will be able to mimic this and have fun like I’d did. So more to come later today.
 
Last edited:

mayan

Legendary member
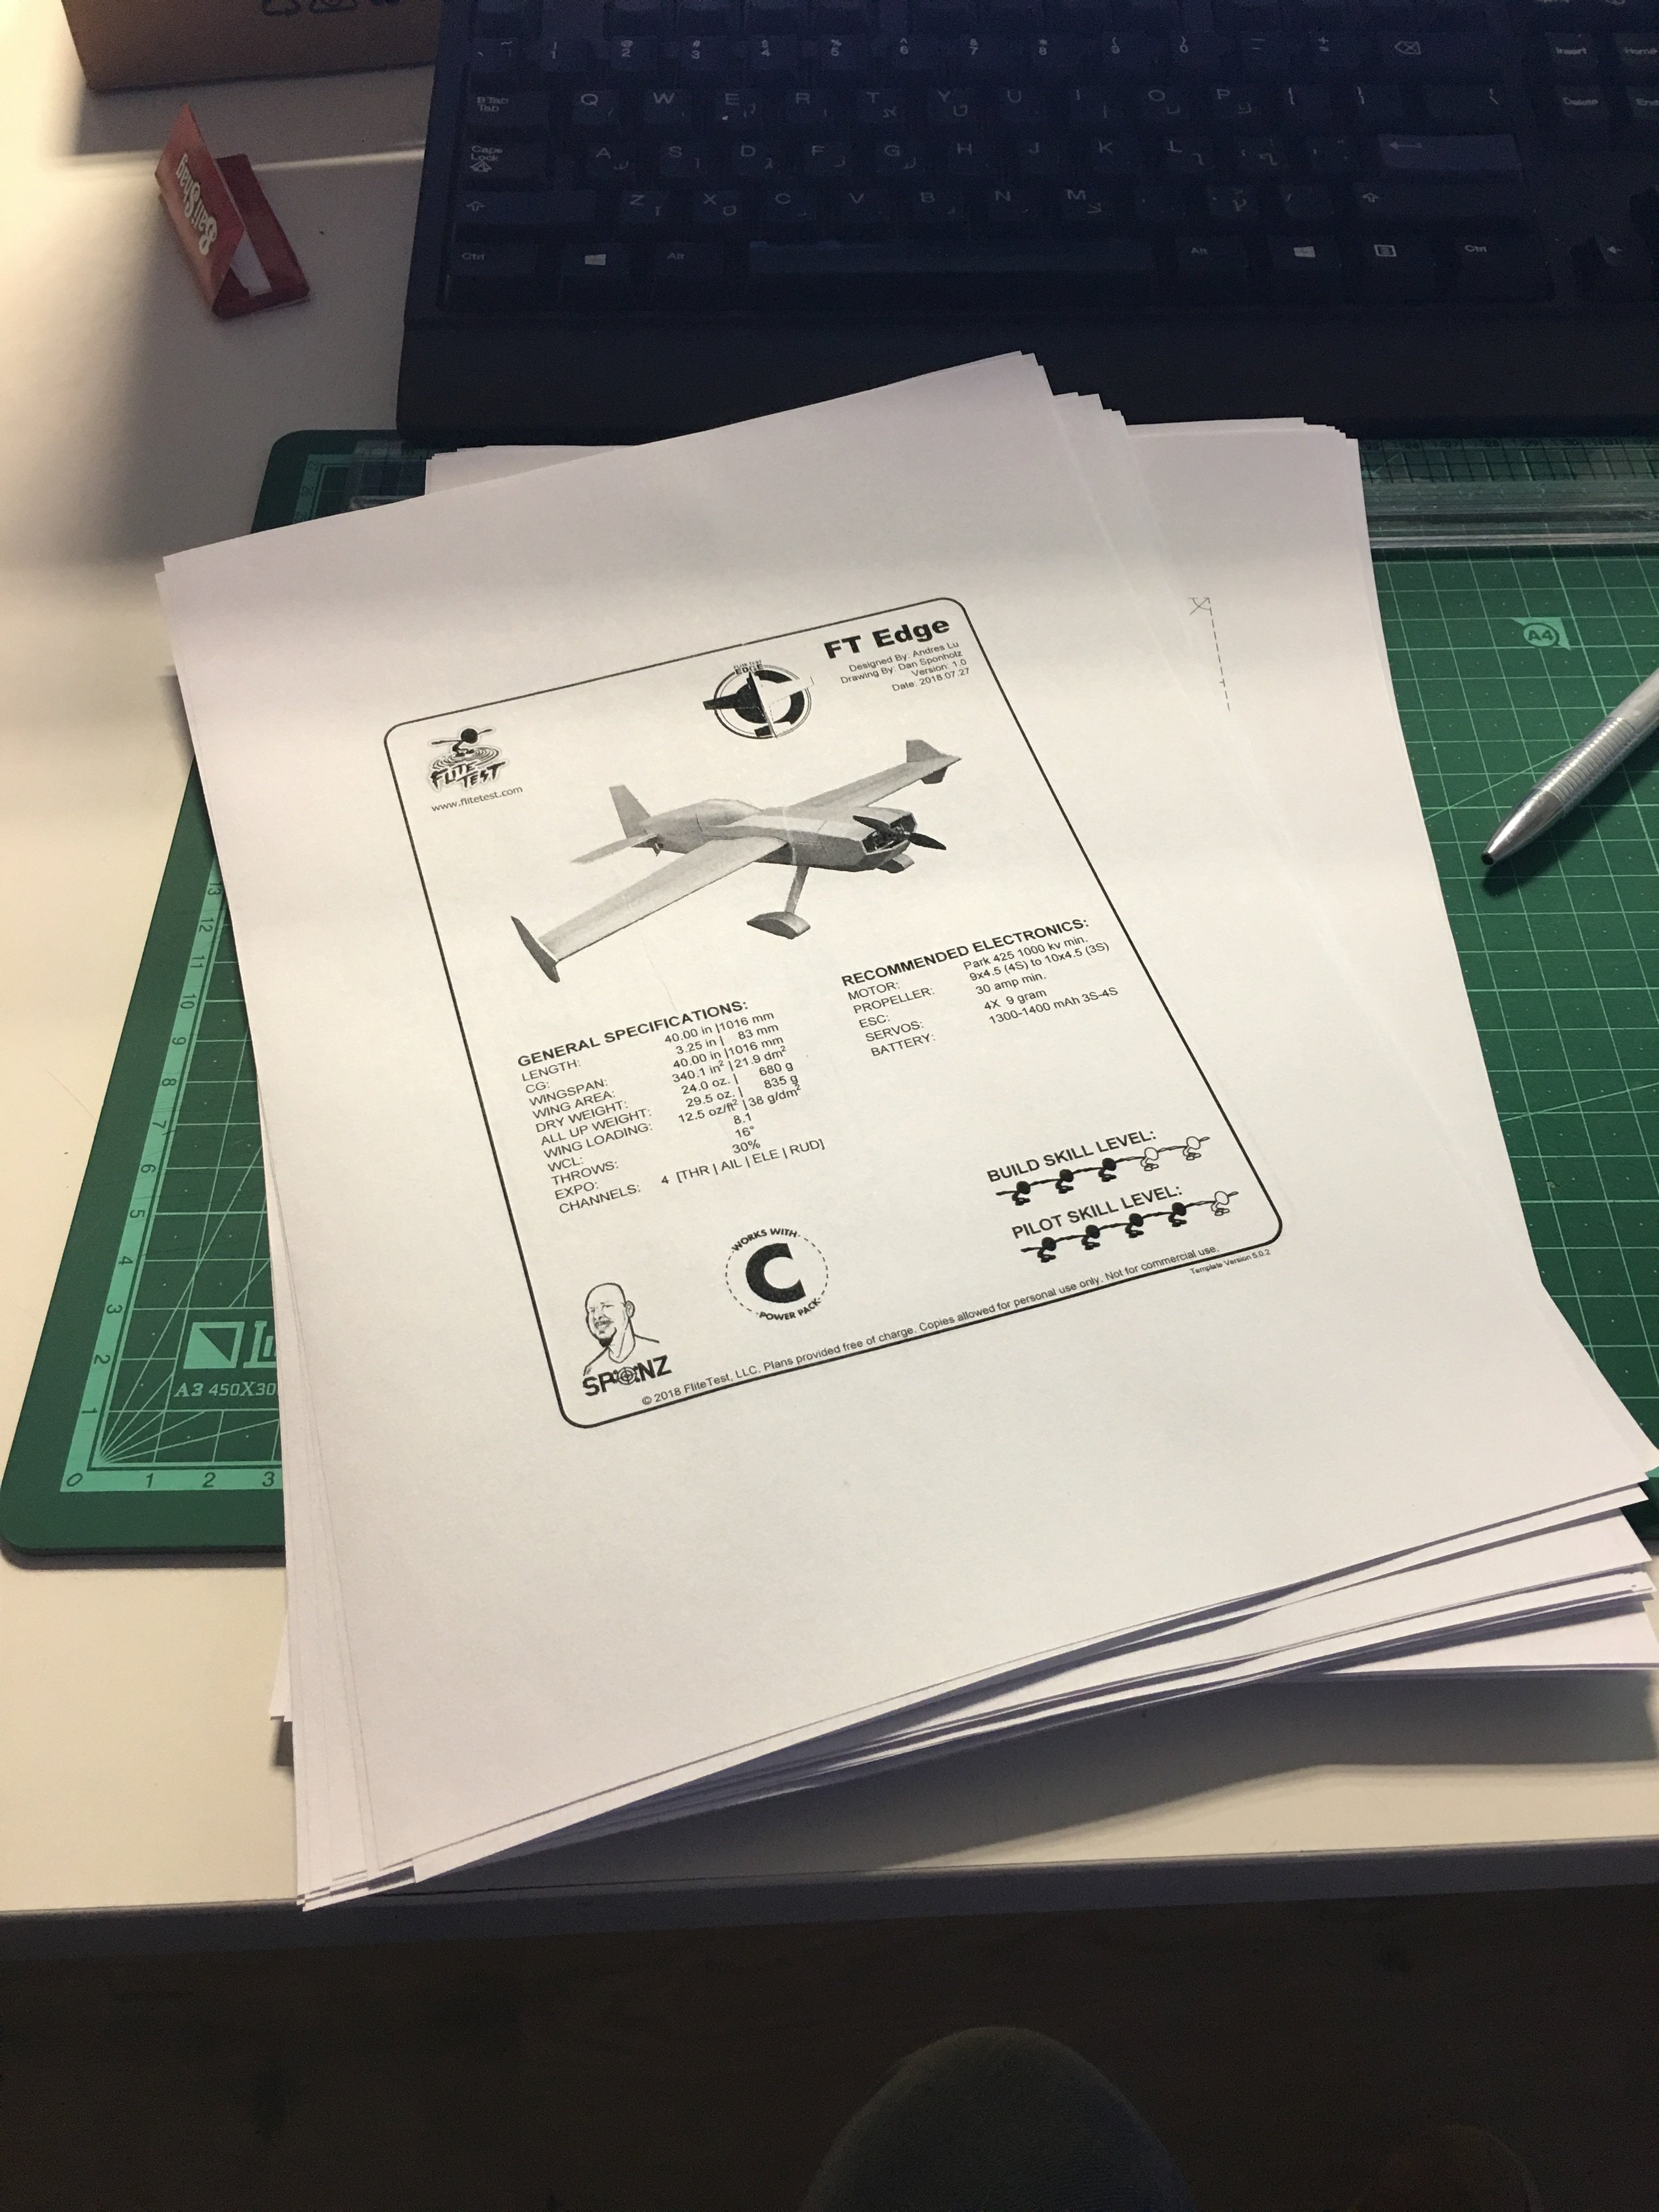
First thing to do when starting any build is to print out the plans. Since I am building at a 75% scale, I set the printer to print at 75% of the original plans.
A42D3373-1991-47CF-B272-8EF29490F92A.jpeg


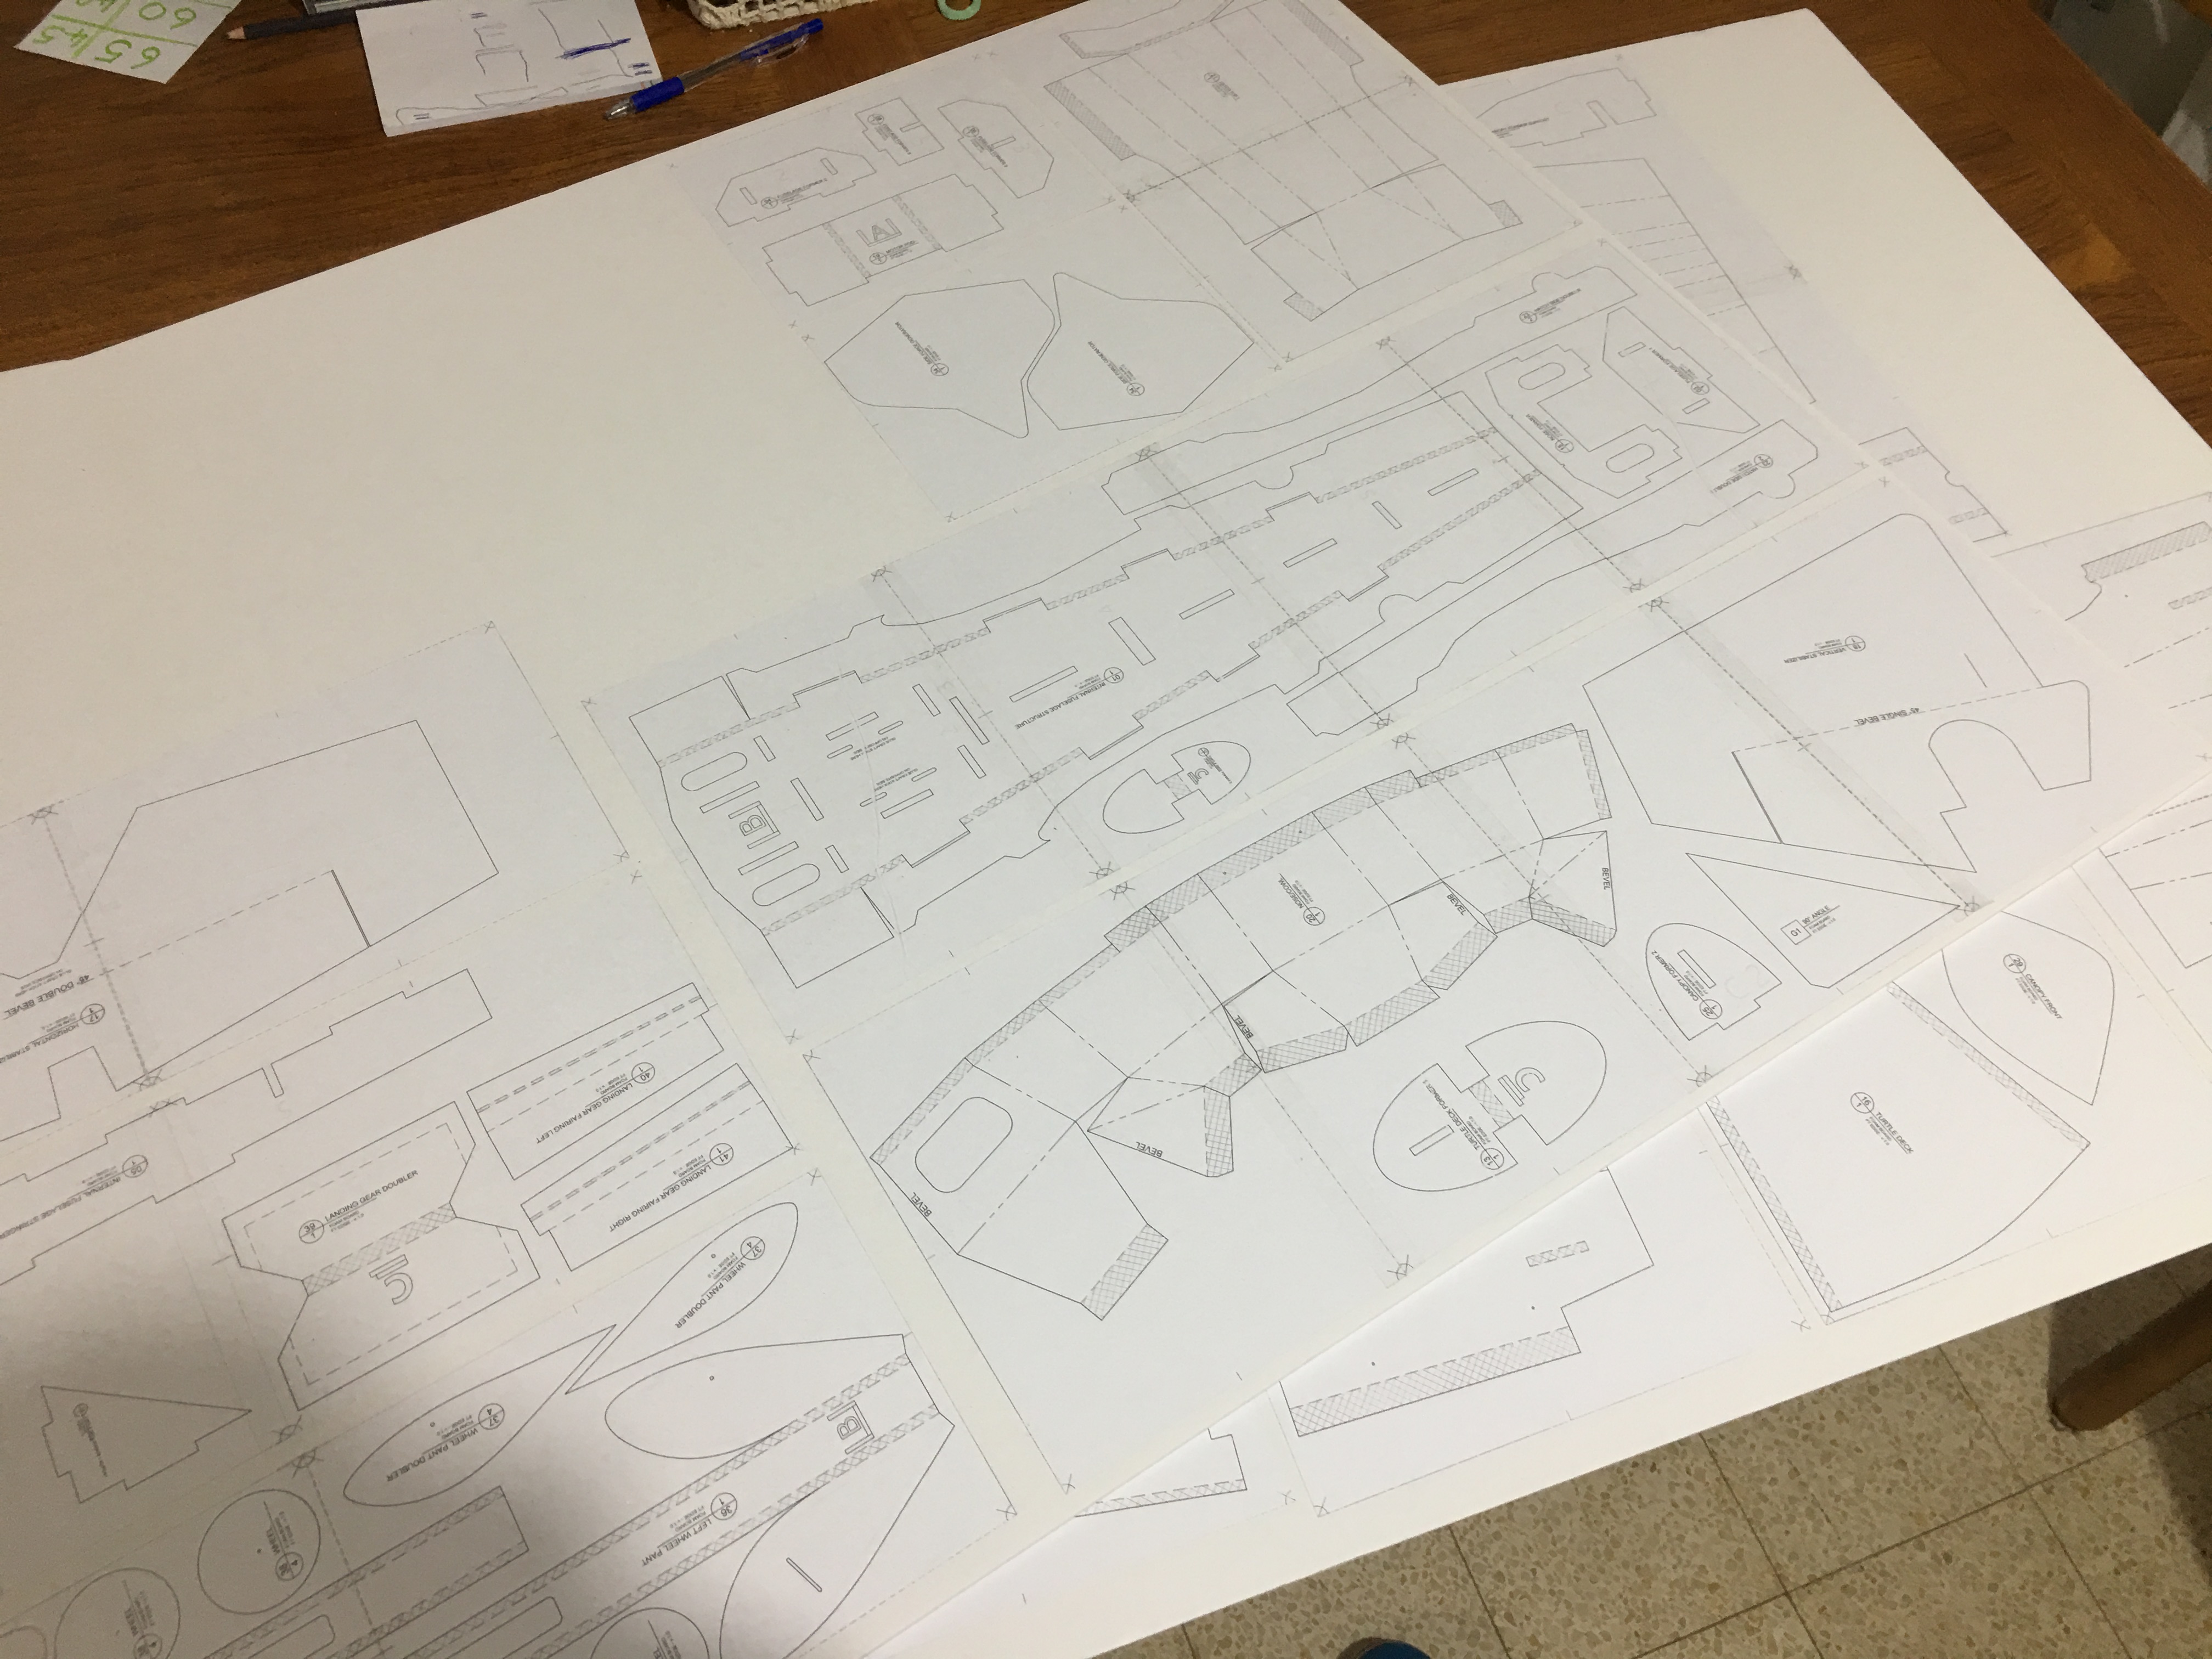
Since I am printing the titled A version of the plans I have to cut off the borders before connecting the pages. Once the pages are connected you have a few options to go on and cut the pieces. I have two methods that I use one fast where the plans are not reusable and the other slow but allows you to reuse the plans. The fast way to do it is to spray Super 77 on the plans and then glue them directly on to the FB. Then cut the FB according to the plans that are right there for you. The slow way and what I use most of the time is to spray Super 77 on the plans and then glue them to poster board. Cut the poster board and mark the score cuts, you then have plans that can be traced into FB and cut out.

I am still playing around not sure what size the final version will be I didn’t want to make the long term plans and use the slow way so used the fast way instead.

I spread the plans out on the FB first to try and use the most of my FB.
DCFF6B87-F529-4A1E-9697-A288D41A923C.jpeg


After which I used Super 77 to glue the plans directly to the FB.
184E1FA6-794F-4ECE-B6AD-E47BB26C655F.jpeg


What I did next is cut the FB into smaller pieces, still not on the lines of the plan just in between. This allows me to take the plans to work but most importantly work on them with more ease.
F103E5F3-4B14-4770-B7A2-B766E3B3FF1A.jpeg


Which allowed me to take this to work and continue working on it there. What I usually do next is cut out the pieces and only after that score them and that’s what I did. While working on cutting the pieces using a ruler and a razor blade I didn’t realize that my finger was in the way and I accidentally did this.

A0A79C23-2C89-4395-ABB0-D941760509DC.jpeg


Did that stop me? It should have but it didn’t, I bandaged myself up and continued on. Now I have a puzzle to build :).
340030D6-AF28-48A2-ADCB-21DC62D9F8A3.jpeg


I might have to wait a few days though first because my finger is really hurting me :(.
 
Last edited:

mayan

Legendary member
Reserved for additional re-enforcements to the airframe for newbies like me that still experience unexpected crashes :).

EDIT:
Having known the build process and the deficulties I’ve faced I decided to cut out some re-enforcements ahead of time.
B37757BE-0D96-47BE-A2AE-B67D8BADBA85.jpeg


These are the areas that I will re-enforce during the build process. During the build process I’ll also explain why I am re-enforcing this area.

Tonight I’ve also created firewalls. Now missing only the control horns to have the full set of the puzzle required for me to build my Mini FT Edge 540 75% scale test version number 2.

Hope to start building tomorrow...
 
Last edited:

Michael9865

Elite member
Hopefully for a quick healing. What thickness of foam board are you using for this 75% build? Where did you purchase the 3mm foam board you used on the 60 percent Edge? What motor did you use on your 60 percent Edge?
 

mayan

Legendary member
Hopefully for a quick healing. What thickness of foam board are you using for this 75% build? Where did you purchase the 3mm foam board you used on the 60 percent Edge? What motor did you use on your 60 percent Edge?
Thanks. The 60% scaled version was using 3mm FB and so will the 75% scale version. It’s sold in art shops here in Israel a few not far from were I live. The 60% scaled version was using an F power pack motor with a 15a ESC and 7x5 CCW prop. Tried using a 6x4.5 prop but that didn’t create enough thrust. Putting a higher amp ESC wouldn’t help because the motor copper wires started changing colors and becoming darker which leads me to think that this combo won’t work. Thus I’ll need a bigger motor one that can swing a prop of 8-10x.... aiming towards a B power pack motor.

EDIT: because I want it to be based on the FT power packs that way anyone flying FT models might have such a motor in stock.

Hope this answers your question :).
 
Last edited:

buzzbomb

I know nothing!
I didn’t realize that my finger was in the way and I accidentally did this.
Firstly let let me wish you a quick and uneventful healing. Secondly, welcome to my world my friend! :p My last big gaff that involved building and physical pain, I had to elevate my hand for a few days. I don't want to talk about how many bandaids I've gone through. I might just be a little on the distracted and clumsy side. Hmmm. :unsure:

I am glad you decided to give this build its own thread and document it. Not only do I think it deserves it, I think you are right. It should definitely become a resource for others. I'm really looking forward to following the progress.
 

Paracodespoder

Elite member
Quick recoveries to you! I’ve been fortunate enough to have only done that once so far, but it wasn’t that bad, good luck with the build!
 

mayan

Legendary member
That's it my build is almost done. I left some parts of the build for later because I had to decide what prop, motor, ESC combo to use before hand.
IMG_0197.JPG


I am not going to talk much about the build process because it is exactly like that shown by Andrew on his build video. However I do want to put down a few words about the re-enforments that I have decided to add a head of time based on the expreince that I had with the original model and my first test version, the 60% scaled version.

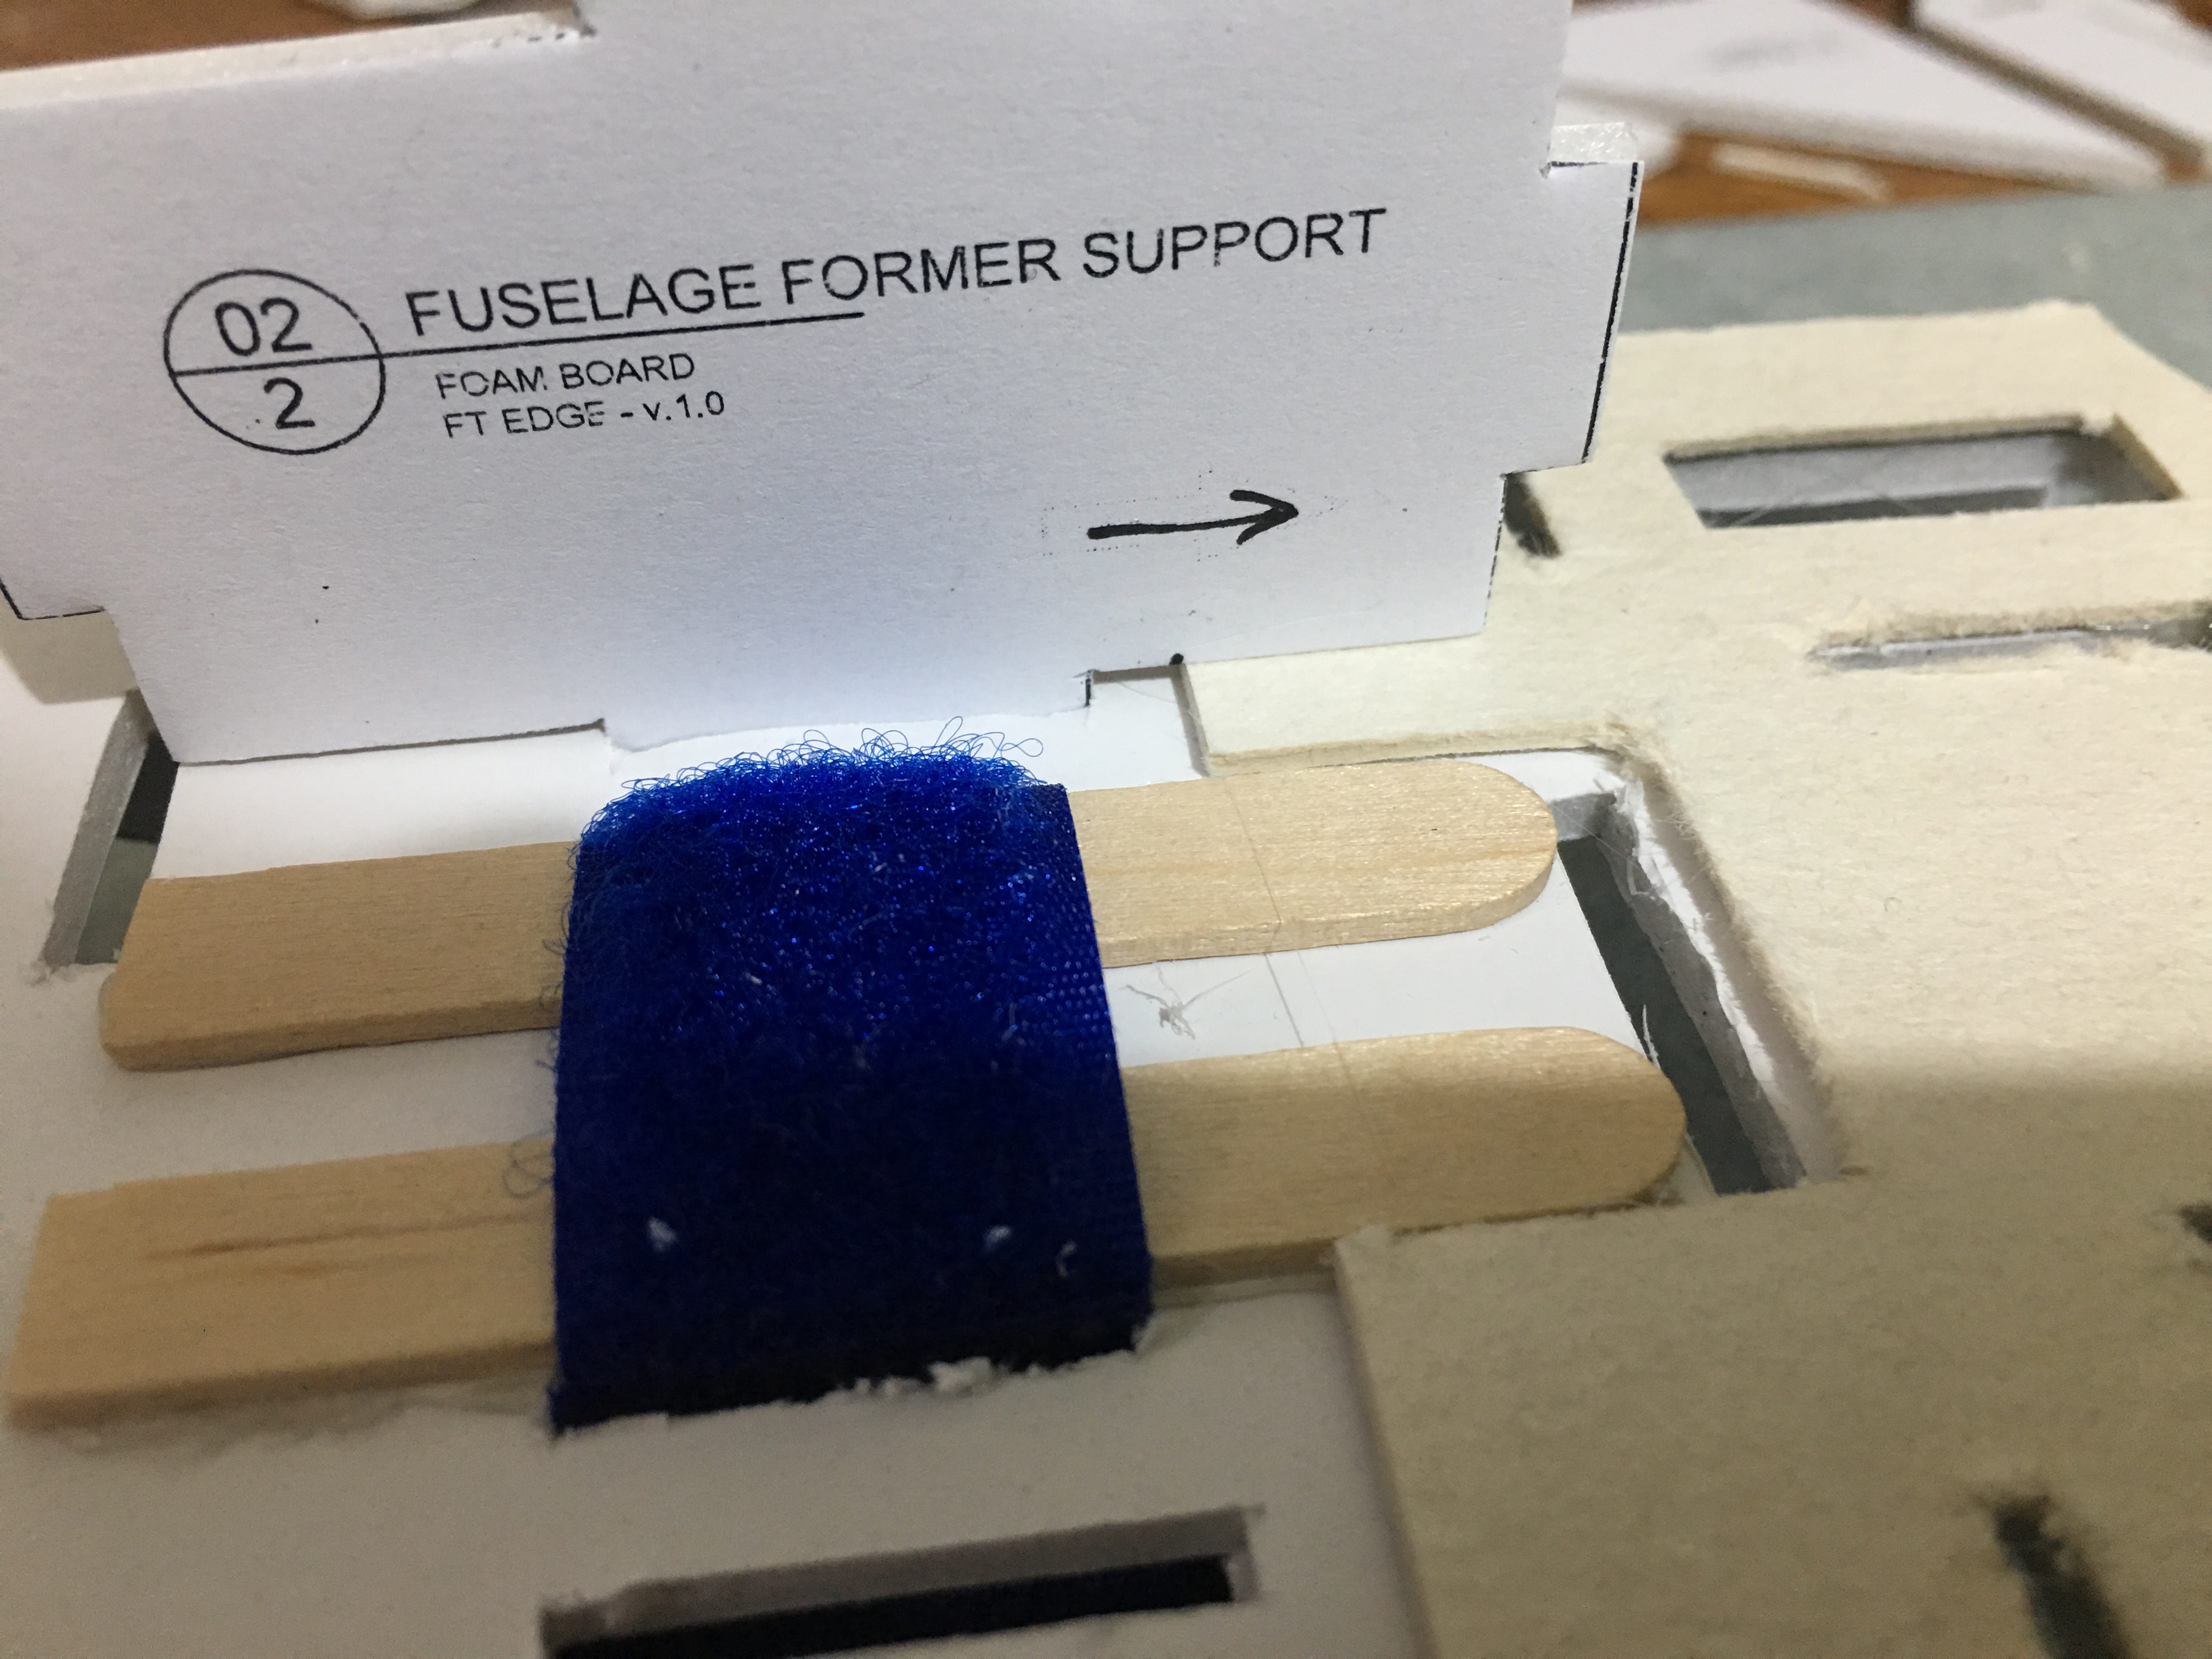
The short flights and crashes that I have had with this model made me decide to re-enforce 2 areas both of which are connected to the motors mount area. The first is under the main section of fuselage on which the motor pod sits. What I have realized over time is that the FB holding the motor pod loses strength and starts to bend downward making the motor drop down a bit compared to it original position. This is what I added to the build to try and solve that problem.
700E1EE8-C46D-4930-A1BE-BA73C5D3CCD4.jpeg

19614963-996D-41A6-A5A1-20EA048D6928.jpeg


The next place that I decided to re-enforce is the wall holding the power pod from moving forward. This wall got a few beatings on my crashes and ripped making it impossible to continue flying. To try help with that I added this piece of cardboard.
63EC3CA3-8466-4166-8B7F-F67ED308AE27.jpeg


This re-enforcement also gives the motor pod some more meat to hold on too.

More about my choice for prop, motor, ESC combo on a different post...

EDIT: I forgot to mention this re-enforcement which is where the BBQ skewers for holding down the hatch goes.
E16C4DF7-EA31-4CFE-9E61-60332A522A92.jpeg
 
Last edited:

mayan

Legendary member
After doing some thinking and advising with @Hai-Lee I have decided to go with this power setup.
Motor: EMAX 2213-935 (b power pack motor)
ESC: Emax BLHeli 30a
Prop: 9x4.7 (for slower flying) / 8x6 (for faster flying)
Battery: I was suggested to try a 3S 1300mah however I am going to try all the following batteries: 3S 800mah / 3S 1000mah / 3S 1300mah. Since I know the battery can greatly effect the flying experience.

And so I started connecting the electronics...
11310E53-DEE1-4031-85D5-A9FAE114E9AF.jpeg


EDIT: since I don’t have the exact power pack b motor I will be using something similar to it a multistar 2212-920 motor. That’s until my order arrives.
 
Last edited:

mayan

Legendary member
Looks like you enjoy building as much as me
I do and what I like most about FT, FB planes is that it’s cheap and easy to build. I recently also started expreimenting with builds and power systems. Last version that I built (60% scale of the original FT Edge) cost me a ESC :(.
 

mayan

Legendary member
Amazing I have a problem storing and traveling with the larger builds. Which is why I minied the Edge.
 

mayan

Legendary member
Ok so I hooked up my electronics and like I thought I have a problem with the prop and the front nose part, the prop hits it. You could do a prop trim the hardcore way, power up the motor and hit full throttle :). But that's too dangerous and not worth the time spent on the planning and building to trash the plane a second before it's first maiden.

At this point I have two options.
1) To some how push the motor out a bit, using spacers of some sort. I am trying to look for a motor mount of some sort first.
2) To take out the power pod, and modify it a bit, so that it will be a little more out kinda make it a bit longer.

I am hoping that option number one will work well and save me the removing of the power pod, but if it doesn't I'll take it apart.