
DETAILS
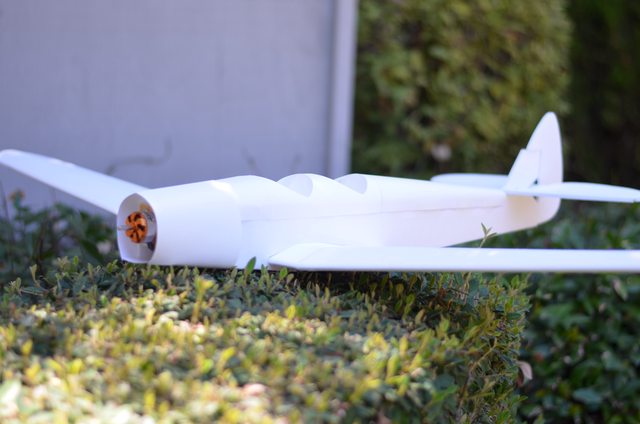
The design and build process of my nnBucker Bu 180 is going really well. I am enjoying the entire process and plan to continue making more planes going forward. My current goal is to make plans for some less common birds, ones that you don't see that often, that don't really have any plans available, especially designed for DTFB.
With that being said the Moth Minor was suggested to me by JohnRambozo and nagromnewo as it is similar to the Bucker. I like the look and I might be able to borrow a lot of the work I already put into the Bucker so I figured why not.

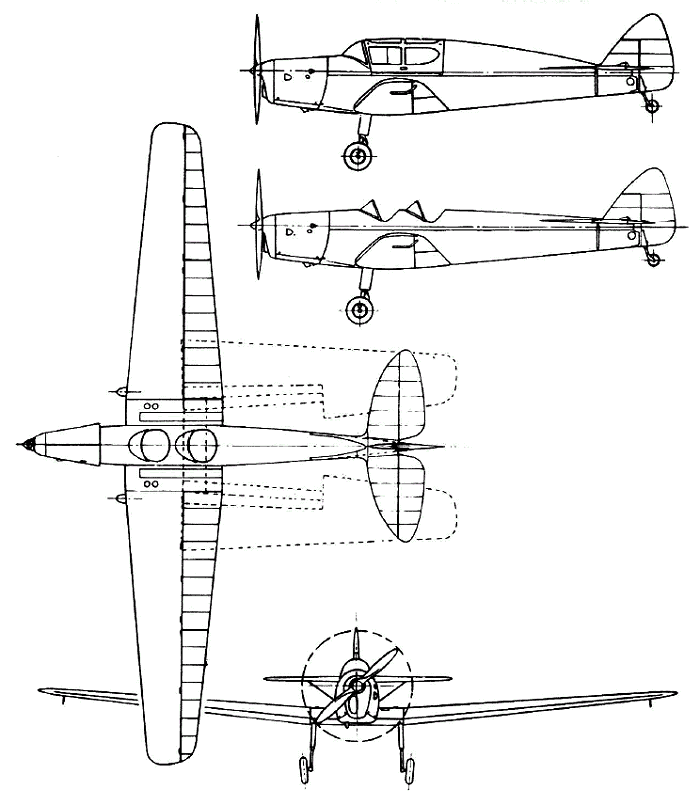
What others planes would you guys like to see built? I currently have on my to do list: Corsair, P-66, J-29 Tunnan (EDF), Schleicher ASK-18, MIG 3, I-16, Caudron C.714, DHC-1 Chipmunk, Stuka, and C-130
If you like this design then perhaps you’ll like some of my others as well.
|
|
|

|
|
|
FAQ
Will this plane work with the standard FT powerpod and electronics?
Yes. The Beef package/park 425 or greater will work just fine. I will be testing a few different set ups and will note how each performs.
Will the plans be available for free so I can build one too?
Yes.
Will there be a build video?
I am planning a build video for the nnMoth Minor but it won't be available for a bit. The design is overall simple but the nose can be tricky so if you have any questions in the mean time let me know. While you wait for the build video please review the FT Mustang video, it covers most of the build techniques used. http://flitetest.com/articles/ft-mustang-build
You list a 2000mah battery in the electronics section, is that the only size that will work?
Nope. I've flown my nnMoth Minor with a 1500mah 3S all the way up to a 3700mah 3S with no issues. I'm sure you could fit even more if you wanted. The extra weight even helped keep everything stable in the wind.
No landing gear? What gives?
I fly in a large grass field and normal sized wheels don't work well. I didn't want to include landing gear that I wouldn't be able to properly test, so for now you'll need to experiment on your own.
Can I use a different size motor than what's listed in the specs section?
Yes! As a minimum I would not go under 200 watts as you need around 700g of thrust for a decent flight experience. 500 watts is a good ceiling.
You list two popsicle sticks in your materials list and I noticed you had some glued to the top of your wing in the maiden video, what am I supposed to do with them?
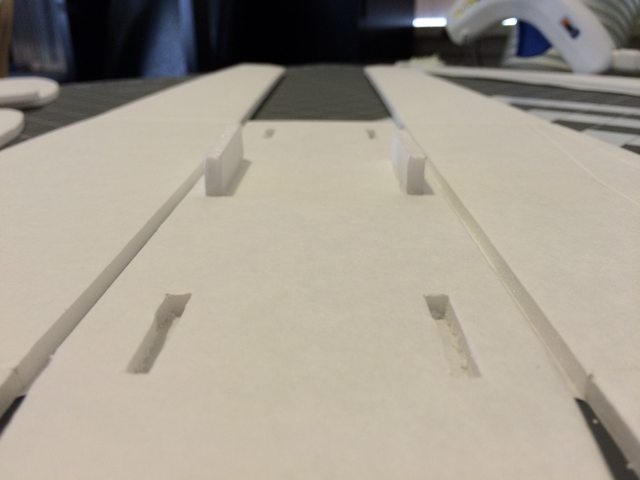
Because of the large wingspan and not having the fuse surrounding the glue joint like a normal wing, it can come out a little bendy without some reinforcement. You can use any material you'd like but popsicle sticks are cheap and light and do the job just fine. For a more clean look you can put the popsicle sticks inside the wing 1) between the spars at the wing joint 2) glued to the side of the spars at the wing joint. This will prevent any unwanted joint flex or wing issues later on.
Can I use a smaller prop than 9"?
Yes. I have tested an 8" prop with no issues. You could also use a larger prop and have no issues.
SPECS
WINGSPAN | 52.5in |
FUSE | 30in |
CHANNELS | 4 |
WEIGHT | Airframe - 340g AUW - 690g |
ELECTRONICS | MOTOR - Turnigy D3530/14 1100kv 73g 315w 22a PROP - 9x6 APC ESC - HobbyKing Blue 30a BATTERY - 2000mah 3S SERVOS - 4x HobbyKing 9g |
BUILD DIFFICULTY | Intermediate to advanced |
MATERIALS | 3 sheets of DTFB 1 sheet of poster board 3 BBQ skewer 2 Popsicle sticks 1 FT PowerPod |
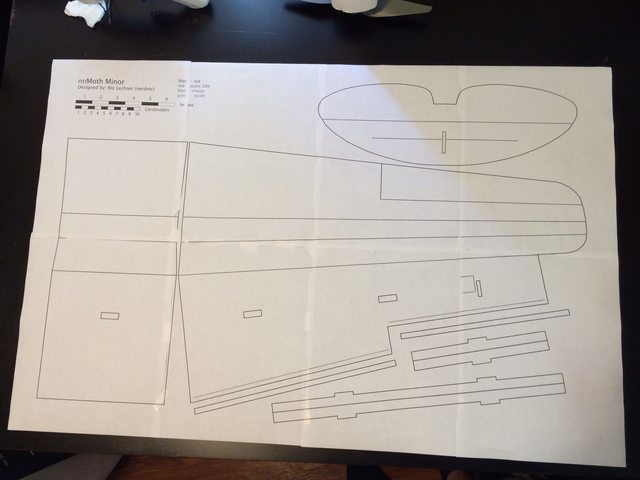
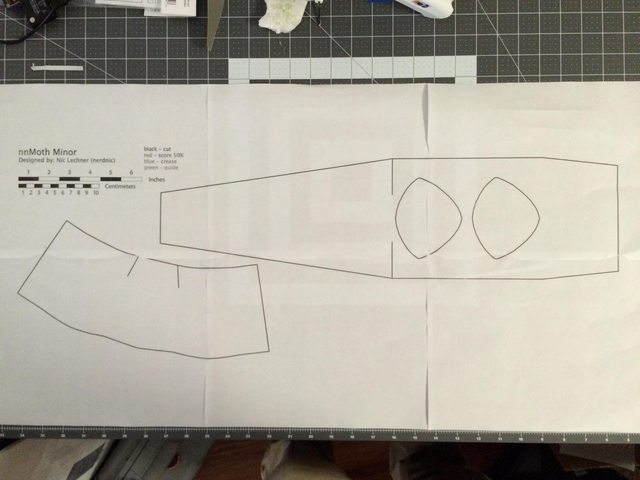
PLANS
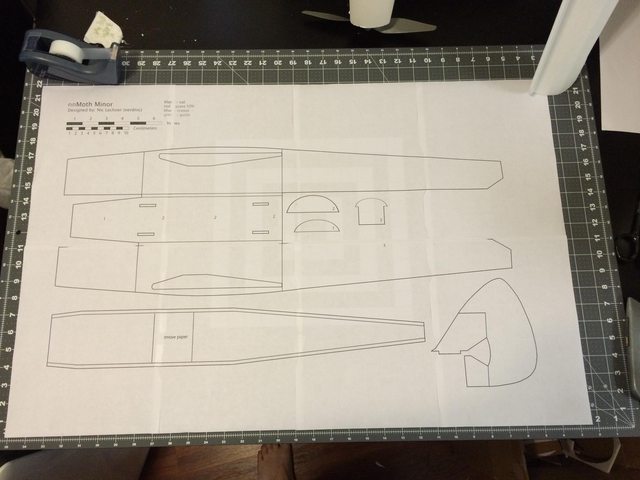
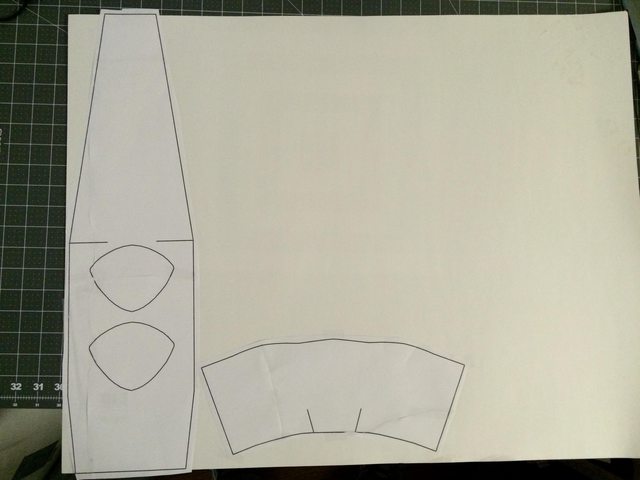
I will be adding each version of the plans here and also include a change log for each release. In addition to the below plans you'll also need the FliteTest Powerpod for this bulid.
nnMoth Minor
BETA 1
August 7th 2014
NOTE: These plans have not been tested, build at your own risk. Beta 1 plans do not include any poster board, I will be adding this to the beta 2 plans.
BETA 2
August 21st 2014
Change log
-Wing
--Removed 1cm from trailing edge bottom
--Removed long spacer spar
--Tapered spar
--Recessed servo
-Middle wing
--Trimmed trailing edge of bottom by 1cm
--Reduced dihedral
--Added servo hole
--Moved spar location
--Added center line for wing alignment
-Fuse
--Shorten fuse length at nose
--Added center line for wing alignment
--Reduced wing cut out length
--Increased size of paper removal from belly
--Changed angle of cut in vertical stabilizer where the horizontal stabilizer swings
--Shorten tip of vertical stabilizer
--Added side nose former
--Added power pod skewer hole location
--Added nose plate
-Poster
--Added nose poster board and adjusted size
--Added cockpit and rear tail poster board
NOTE: These plans have not been flown yet, build at your own risk. Beta 2 plans have been built and everything goes together smooth.
VERSION 1
August 27th 2014
Change log
-Wing
--Added CG mark
--Added dihedral gauge
-Middle wing
--No change
-Fuse
--Added elevator and rudder servo placement plate
--Added tail support former 5
--Added BBQ skewer hole reinforcement guide line
-Poster Board
--Added tail ridge
--Added windshield
-Wing
--Added CG mark
--Added dihedral gauge
-Middle wing
--No change
-Fuse
--Added elevator and rudder servo placement plate
--Added tail support former 5
--Added BBQ skewer hole reinforcement guide line
-Poster Board
--Added tail ridge
--Added windshield
NOTE: These plans have been built and flight tested.
BUILD LOG BETA 1
August 9th 2014
NOTE: All the changes I mention below will be added to the next version of the plans.
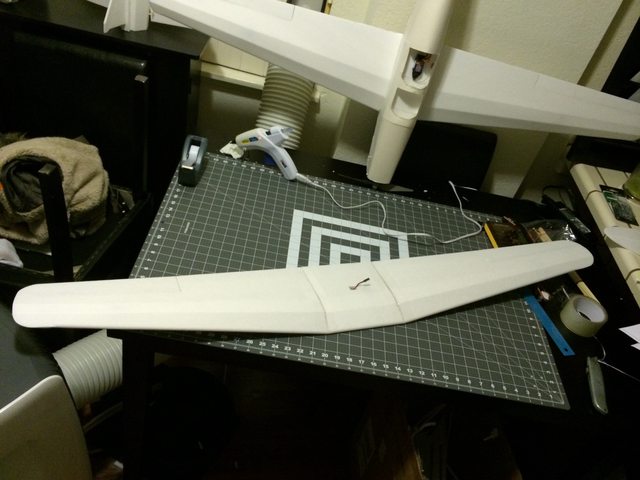
Plans are all printed out and it's time to start cutting!
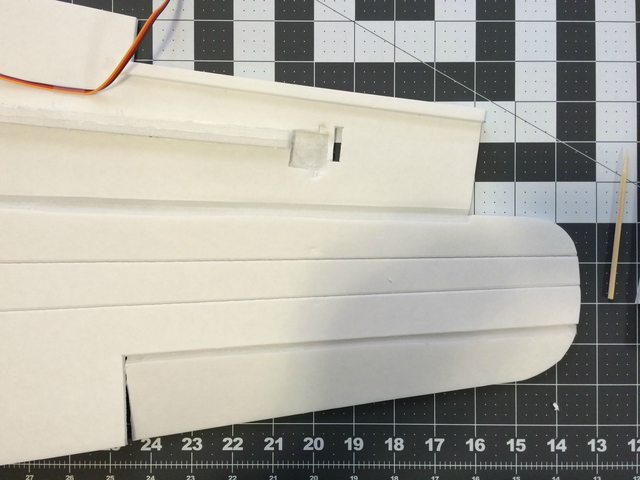
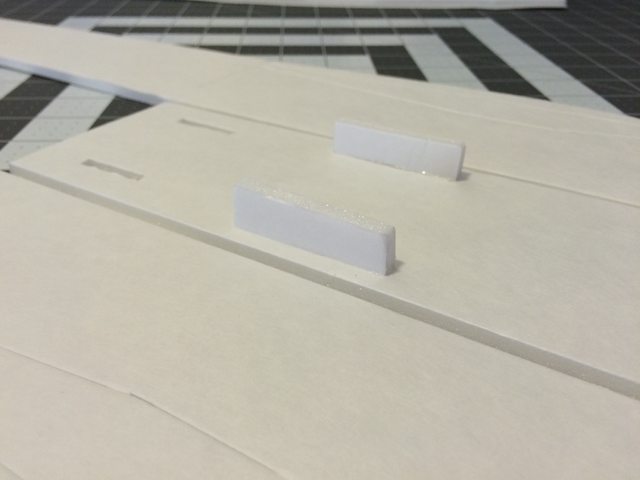
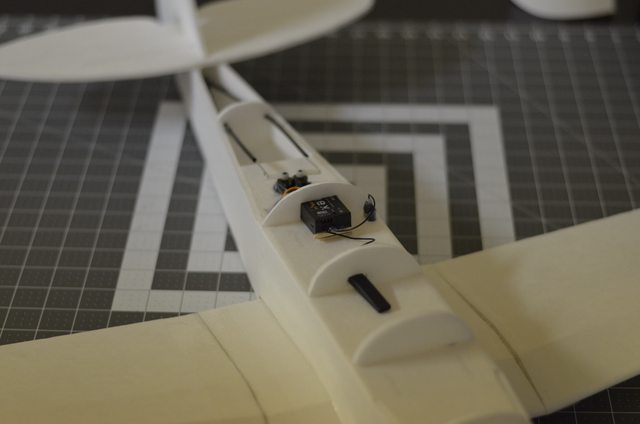
Everything cut out fine but right away I noticed some pesky bugs. The wing is not tall enough near the tip to allow for the servo to sit properly in the airfoil. To get passed this I had to countersink the servo. Cutting the paper and then picking out the foam worked well.
The middle piece of the wing is a tad big.
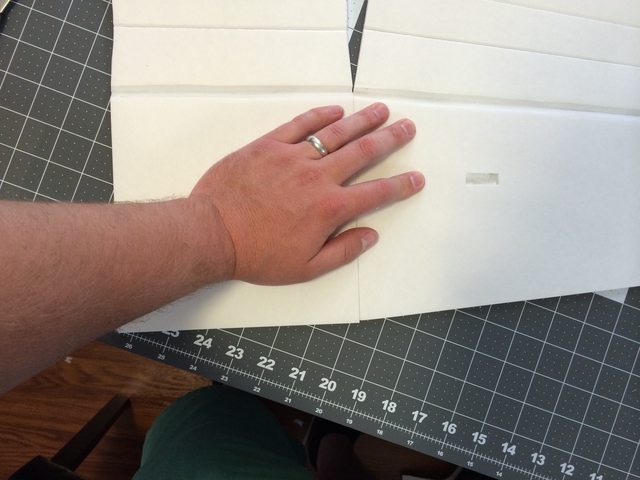
Even with lowering the servo into the bottom of the wing I didn't end up with the right trailing edge seem like I was hoping for. To fix this I removed 1cm of foam from the trailing edge off the bottom of the wing and also tapered the spar. This allows for a clean, gradual airfoil and also a nice flat contact between the top and bottom of the wings trailing edge.
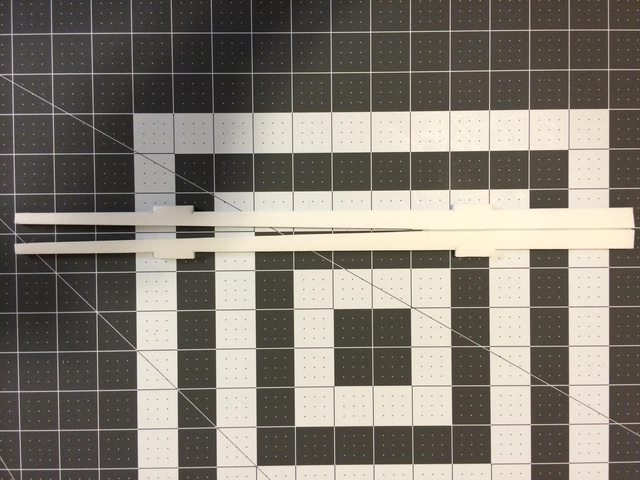
One wing half glued.

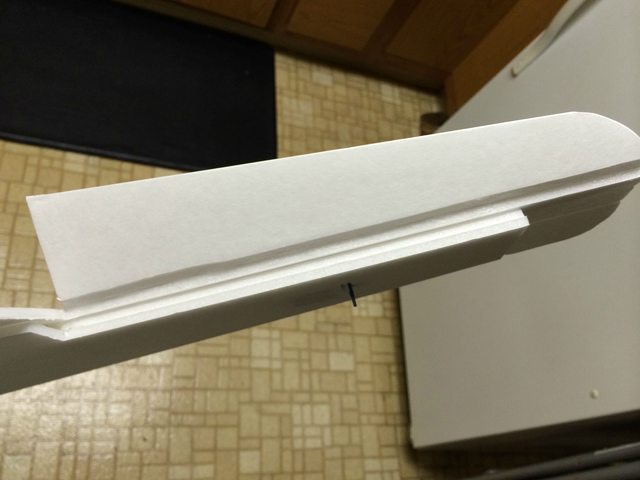
All finished.
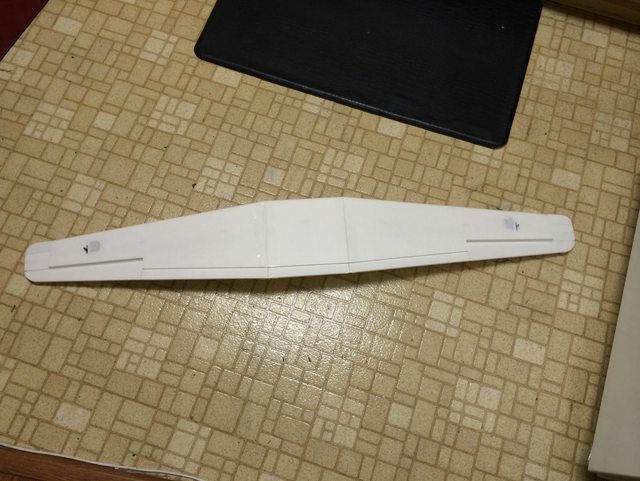
The wing went together nice. I have a dozen or so changes that I made during the build that will be added to the beta 2 plans.
I will be working on the fuse and tail feathers next. Let me know if you guys have any questions!
August 19th 2014
NOTE: All the changes I mention below will be added to the next version of the plans.
Plans printed and taped up.
Taped to the foam board and ready to cut.
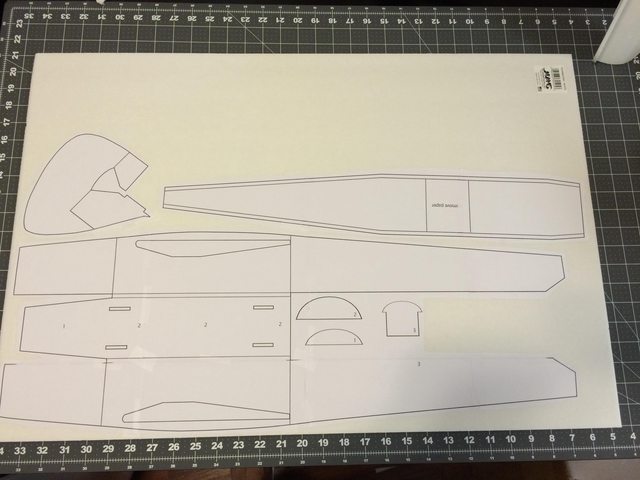
Everything cut out.
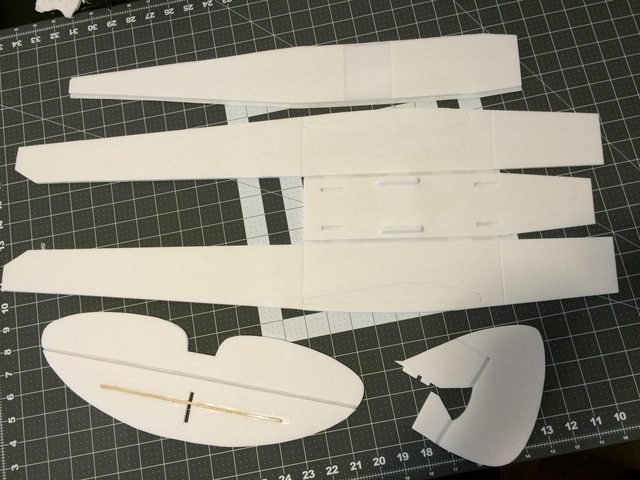
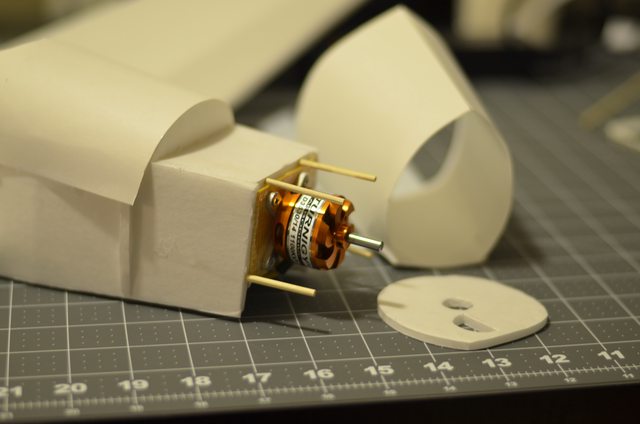
I decided to try something new. In my nnBucker the power pod can be a pain to line up because the fuse is actually wider than the power pod. To help with ailment I added some 'guide rails.'
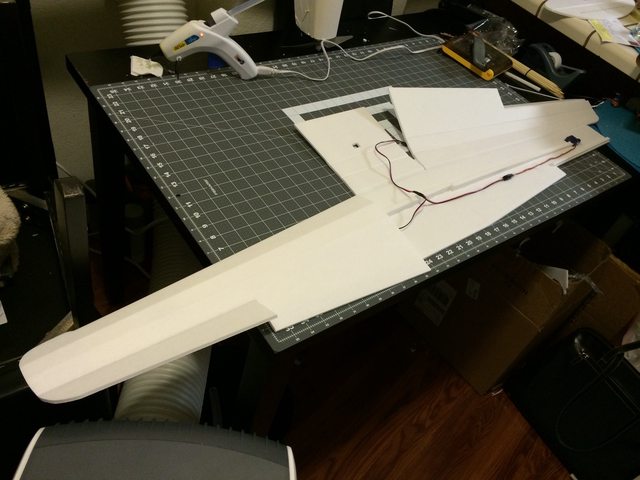
Wing installed great, and formers went on with no issues.
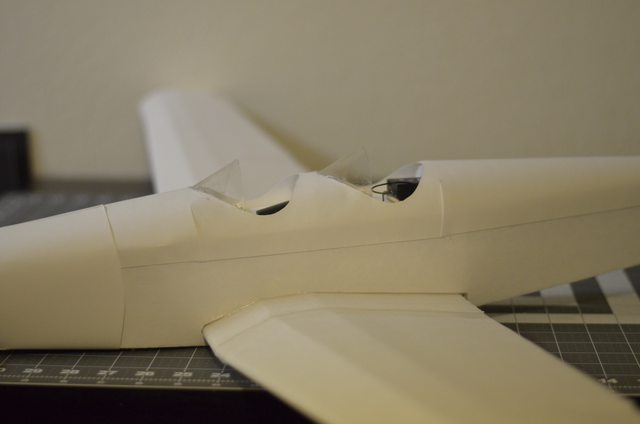
The fuse nose sidewall area is purposely short. The top plate is where the power pod will rest and I will be designing a poster board nose that will extend the fuse nose length a few more inches. Hopefully it will look great.
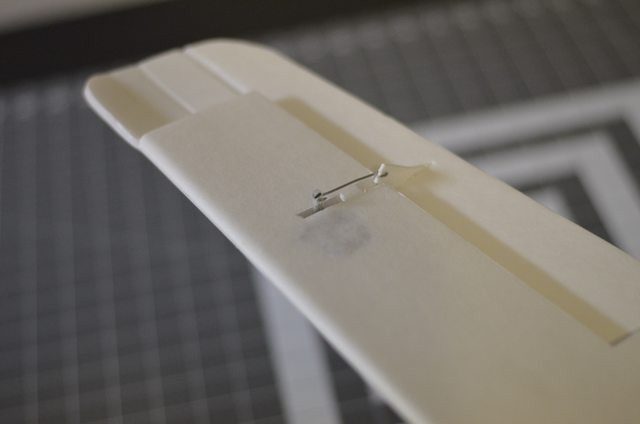
Tail section all lined up perfectly. Rudder has plenty of space to move and the fuse sidewalls and belly piece are the right angle.
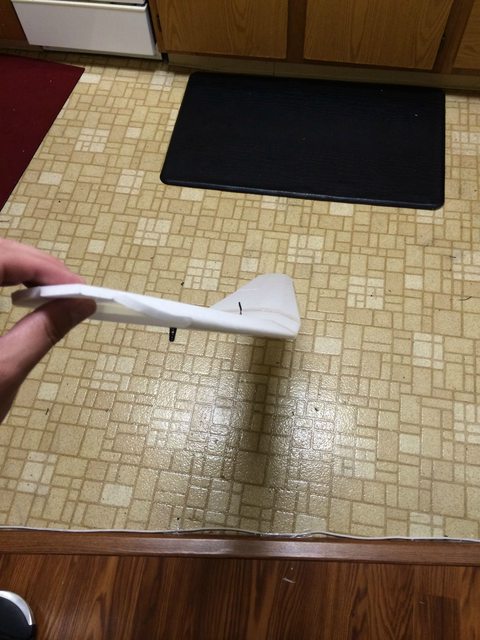
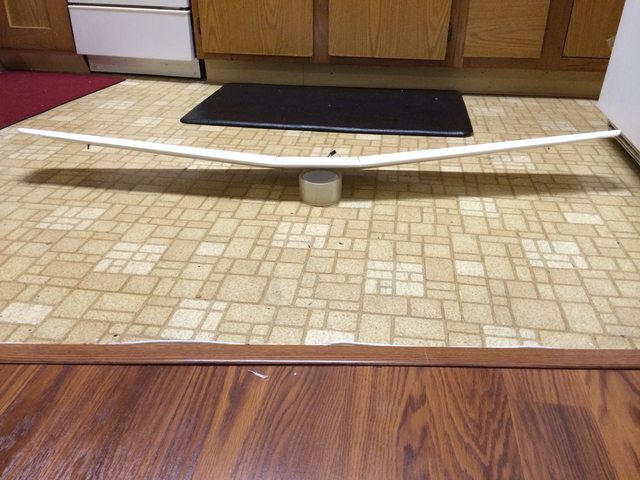
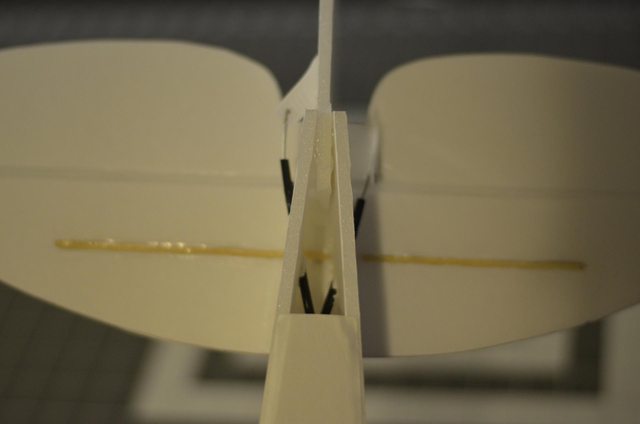
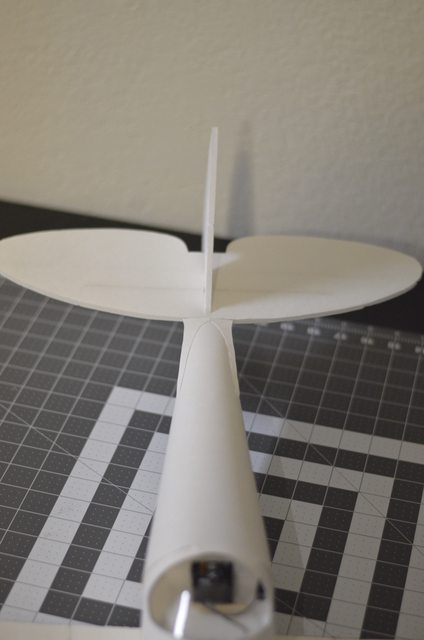
The amount of dihedral is still too extreme. The wing tips should raise roughly to the height of the elevator. As you can see here, the wing tips are much taller than the elevator. I will need to reduce the dihedral even more.
August 21st 2014
NOTE: All the changes I mention below will be added to the next version of the plans.
I worked on the nose portion quite a bit and I am happy with how it's coming along.
Plans printed out
Perfect fit

Please ignore the crude tape job. I don't do a clean hot glue finish until I finish the development/tweaking stage of the poster board.
I am trying to finish the front plate of the nose tonight and will post pictures when I'm done. Let me know what you guys think!
UPDATE - August 21st 2014
I spent another few hours designing the nnMoth Minor nose and even though I'm not 100% in love with the way it turned out, I am happy to say it's done. This build took me considerably longer than I had anticipated and overall it feels good to be done, however I still have to maiden her.. My work may not be done yet
")
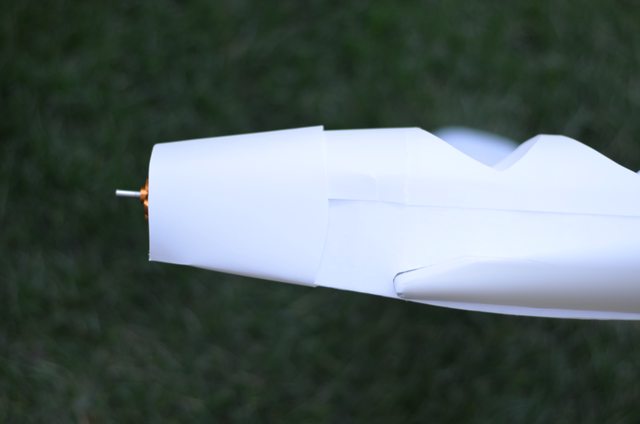
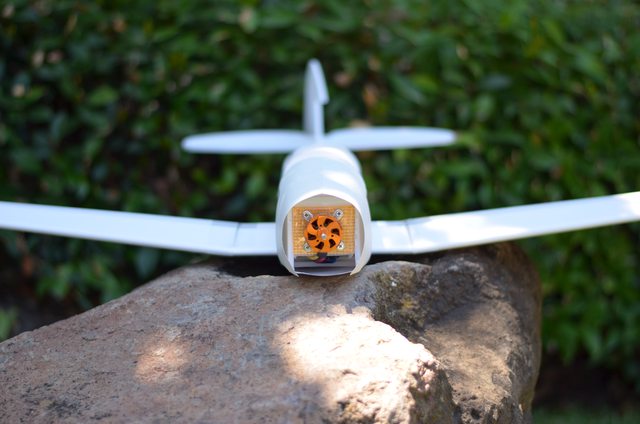
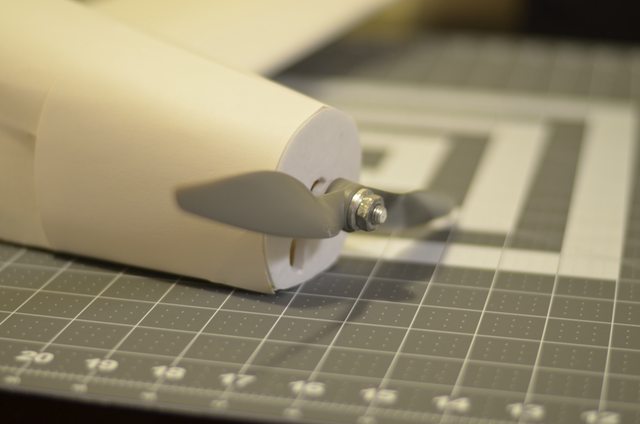
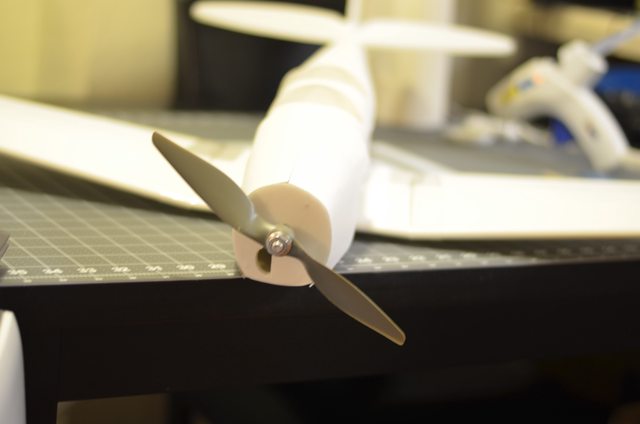
NOTE: The poster board nose piece can be made wider or longer to accommodate any motor size so you'll need to play around with it. The motor used here is a 30 can length.
So here it is!
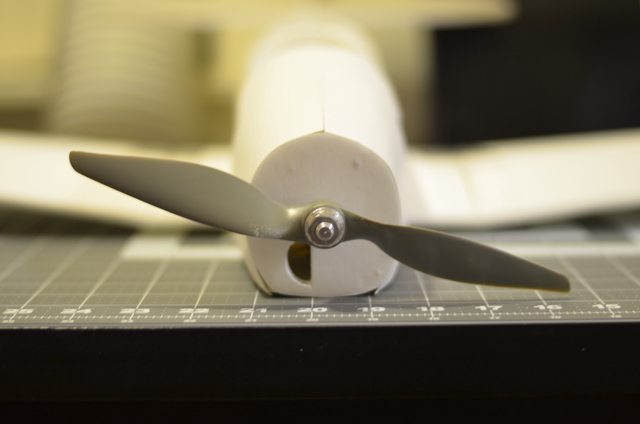
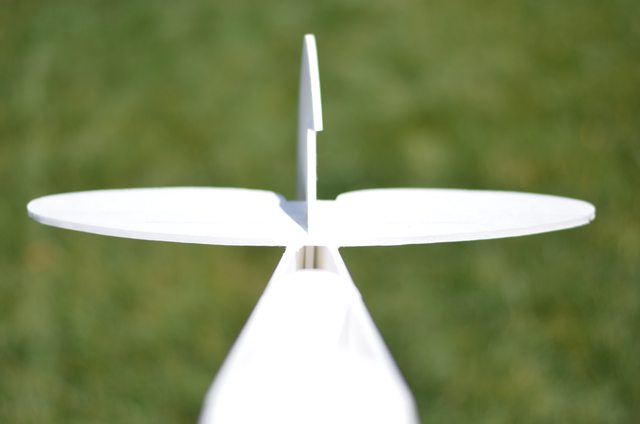
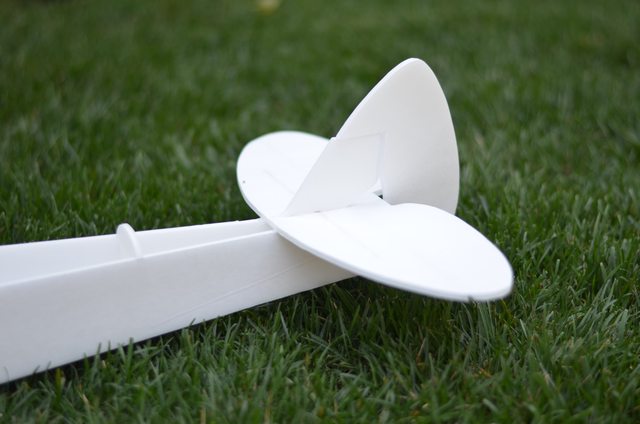
There are 3 nose design options.
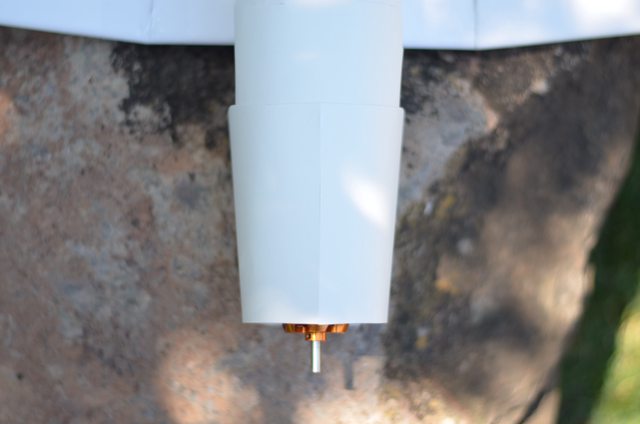
Option 1
Nose plate comes off and skewers are glued in:
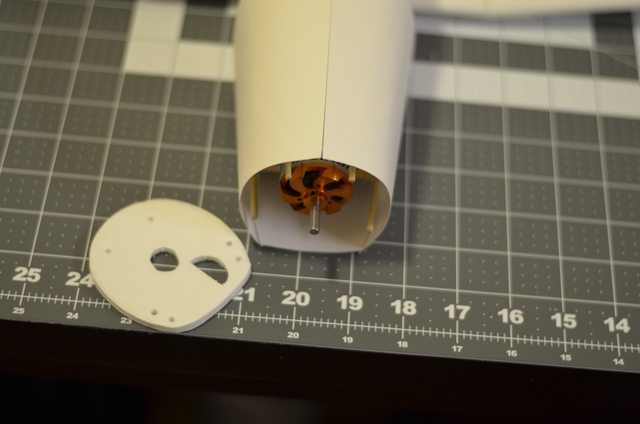
With option 1 you can actually have the poster board nose come off as well:
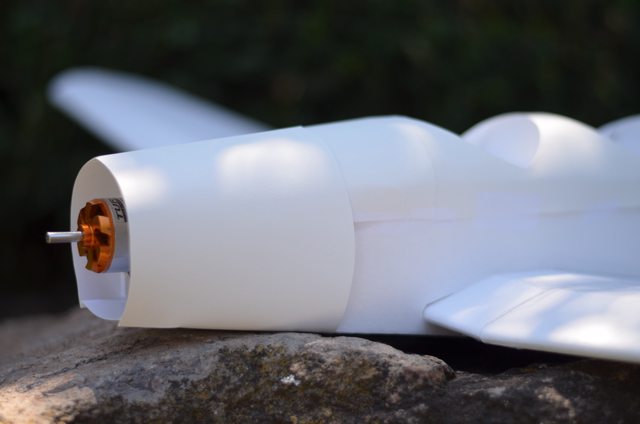
Option 2
Your skewers stay glued but the nose plate and nose poster are glued together and the whole nose comes off in one piece. Note that option 1 and 2 require prop removal to take the power pod out.
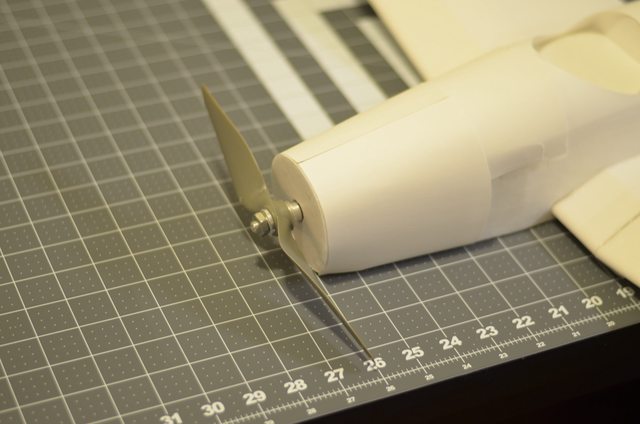
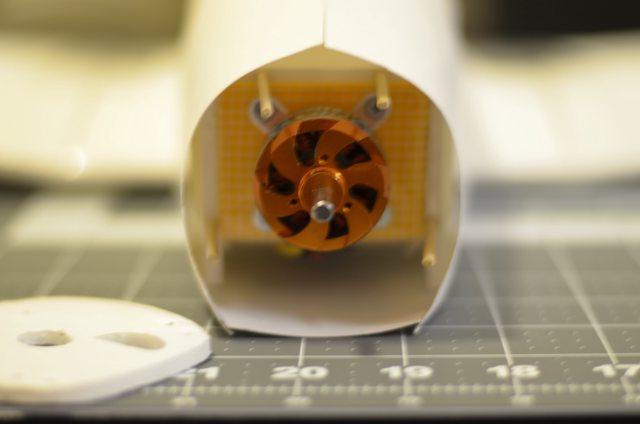
Option 3
If you don't want to remove your prop then you can leave the nose plate and skewers out of the build and have the nose open.
You can't go wrong with any option because the design is simple enough that it offers flexibility while still looking great. Even though this is the beta 1 build log I have included all the changes made in the beta 2 plans.
August 26th 2014
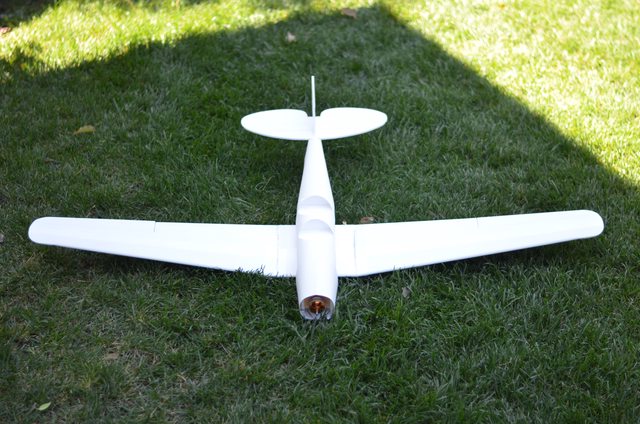
Servos installed, everything is trimmed out and programmed into my taranis and she's ready to go!

Windshields went on great and I will add the template to the plans.
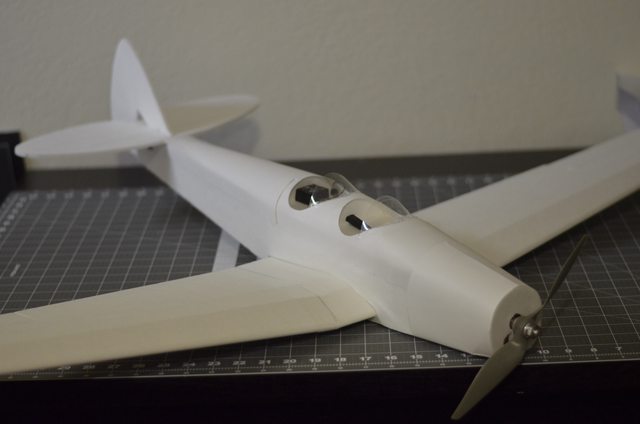
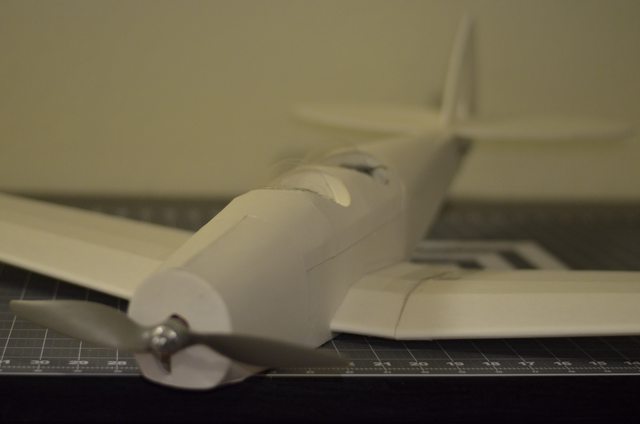
Finalized the nose plate

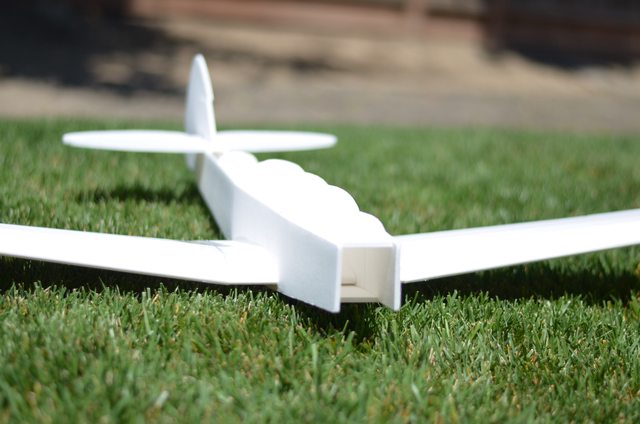
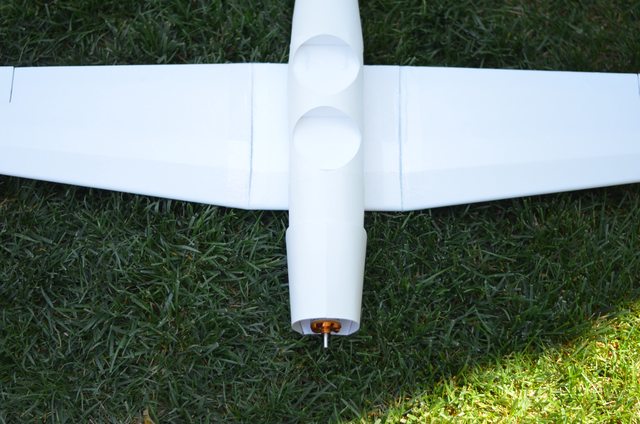
I really love the look of the side slit, it really pops in person and adds a finished touch to the design. It's amazing what you can do with DTFB, poster board, and a little patience.
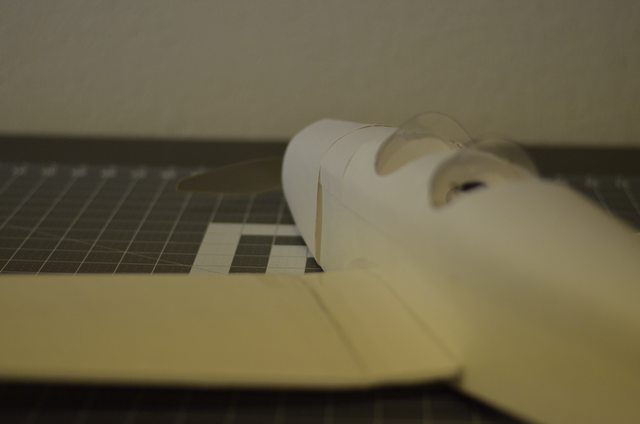
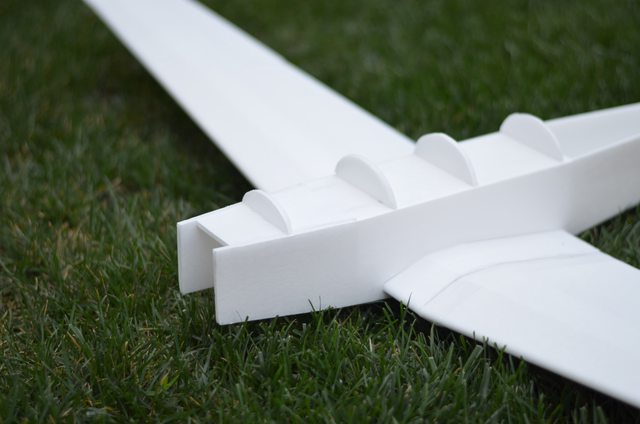
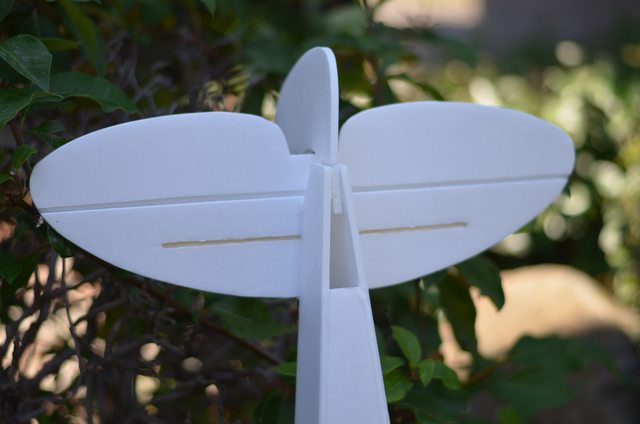
Added the tail ridge to capture the unique look of the Moth Minor.

I am trying to decide if extending the main poster board section underneath the horizontal stabilizer would make the tail look more finished. I don't like how the poster board just ends abruptly. What do you guys think?

I have the nnMoth Minor and all my gear packed up and ready to go tomorrow for her maiden. Egunderson will be filming for me and I'll have the video posted by tomorrow evening with my first impressions review.
I'm super excited to finally get this thing in the air!
MAIDEN
August 27th 2014
Maiden went well overall but she was actually a little tail heavy and wasn't super stable. I made the following changes for my second flight and had great success.
-Moved CG forward almost and inch. This made glides and the 'floatiness' a lot better as well as slow speed turns.
-I had the rudder set very high for this maiden and it was actually much too extreme and was forcing the nose down when giving full input. After cutting the amount of rudder throw nearly in half she responded much better.
I was still not able to hold a knife edge very well but this is mostly due to the amount of dihedral I have. This has been reduced and will be reflected in the Version 1 plans.
REVIEW
STALLS
-If I fly straight and flat and just chop the throttle and slowly give full elevator she will slow down and then just start to sink, never dropping a tip. Even as she is falling nearly straight belly down, there is still full aileron control and just a little throttle is all that's needed to pull out.
-Flying straight up and then killing throttle and letting all controls go neutral she will freeze in place at the moment of stall and then nose dive straight down, slightly leveling off as she gains speed.
-Slow speed turns do not produce stalls, she will just sink if you aren't going fast enough.
-Flying straight up and then killing throttle and letting all controls go neutral she will freeze in place at the moment of stall and then nose dive straight down, slightly leveling off as she gains speed.
-Slow speed turns do not produce stalls, she will just sink if you aren't going fast enough.
WIND
I have flown in 12mph wind with the nnMoth Minor and overall I would say performance is good when you consider the side and weight of the air frame. For her size 690g is not that heavy so side winds don't play well. I never lost control but it can be difficult to track straight without lots of rudder input. Adding a bigger battery helped a lot in this area.
LAUNCHING/LANDING
Just like the nnBucker, I can throttle up to 50% and just let. Launching is just that easy.
Landing is a treat with the nnMoth Minor, if you've flown the FT Spitfire and enjoyed the floatiness that it has then you'll love this bird! She feels light as a feather coming in for landings.
ACROBATICS
-Rolls are a little slow which is to be expected but adjusting aileron deflection to your preference can produce whatever result you'd like.
-Loops are actually pretty quick in the nnMoth Minor. The elevator seems to have good authority over the plane.
-Inverted feels good. You'll need full stick but she's very stable upside down.
-Knife edges are not good. She wants to roll back over, I had a tough time holding a good clean edge.
-Stall turns are beautiful and slow. The floatiness really helps here.
GLIDE SLOPE
The nnMoth Minor has a great glide slope and is much better than the nnBucker in this area.
SLOW SPEED PERFORMANCE
A+. I can fly around with barely any throttle and she still feels stable. You'll need decent amount of elevator deflection if you want to push the slow speed envelop, but she does very well.
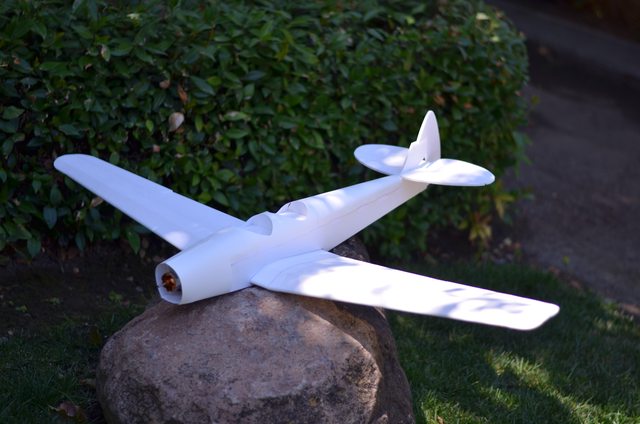
LOOK AND FEEL
The nnMoth Minor looks great in the air and feels great too. It doesn't have any clunky characteristics and overall is a fun plane to fly. The only special instructions I will give you is to not set your rudder with very much throw at first. It has a lot of authority and can cause weird behavior if set too high.
Thanks for checking out the nnMoth Minor! If you built a nnMoth Minor and enjoyed it please consider donating a few bucks so I can buy more supplies to make more great planes.

Last edited:


