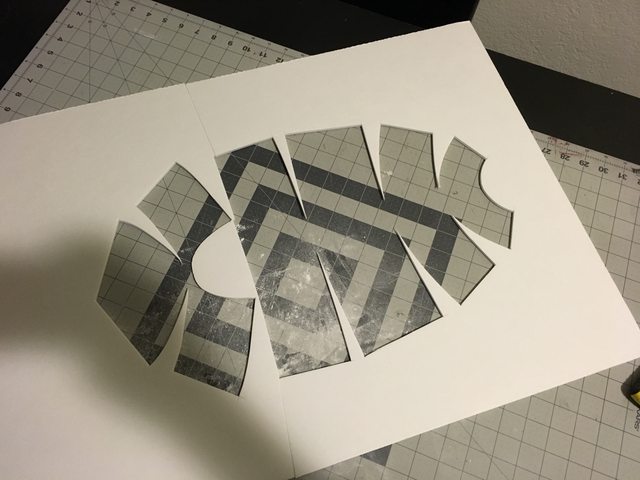
Working on a second nose design. The layered method I worked on first is very strong and has perfect shape but it's time consuming to build (4 hours or so). This method is a single sheet of foam and can be built in about an hour.
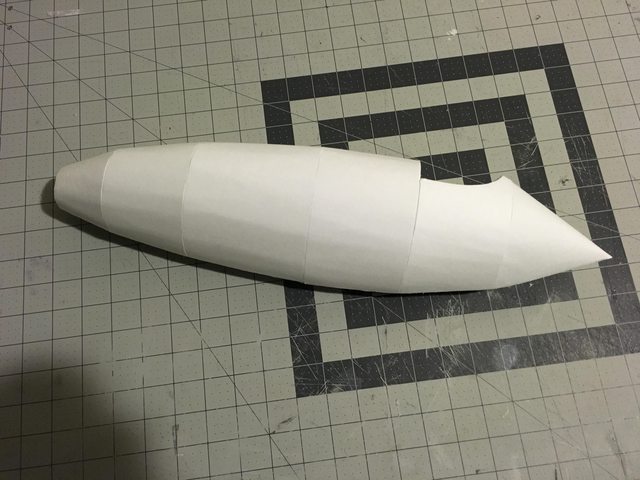
With the outside paper still on. You could leave it this way if you wanted.
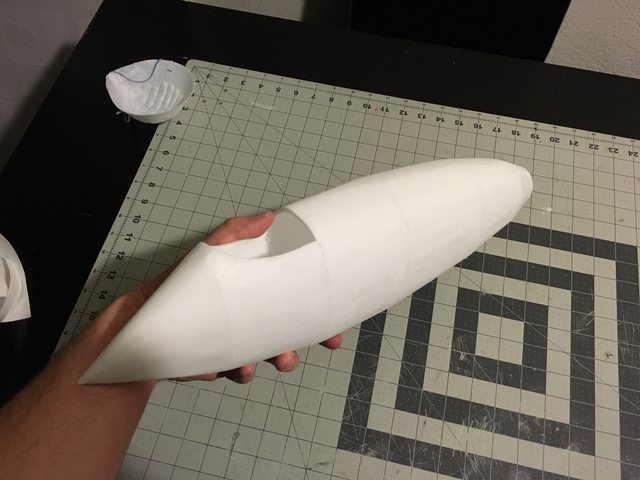
Paper removed and light sanding.
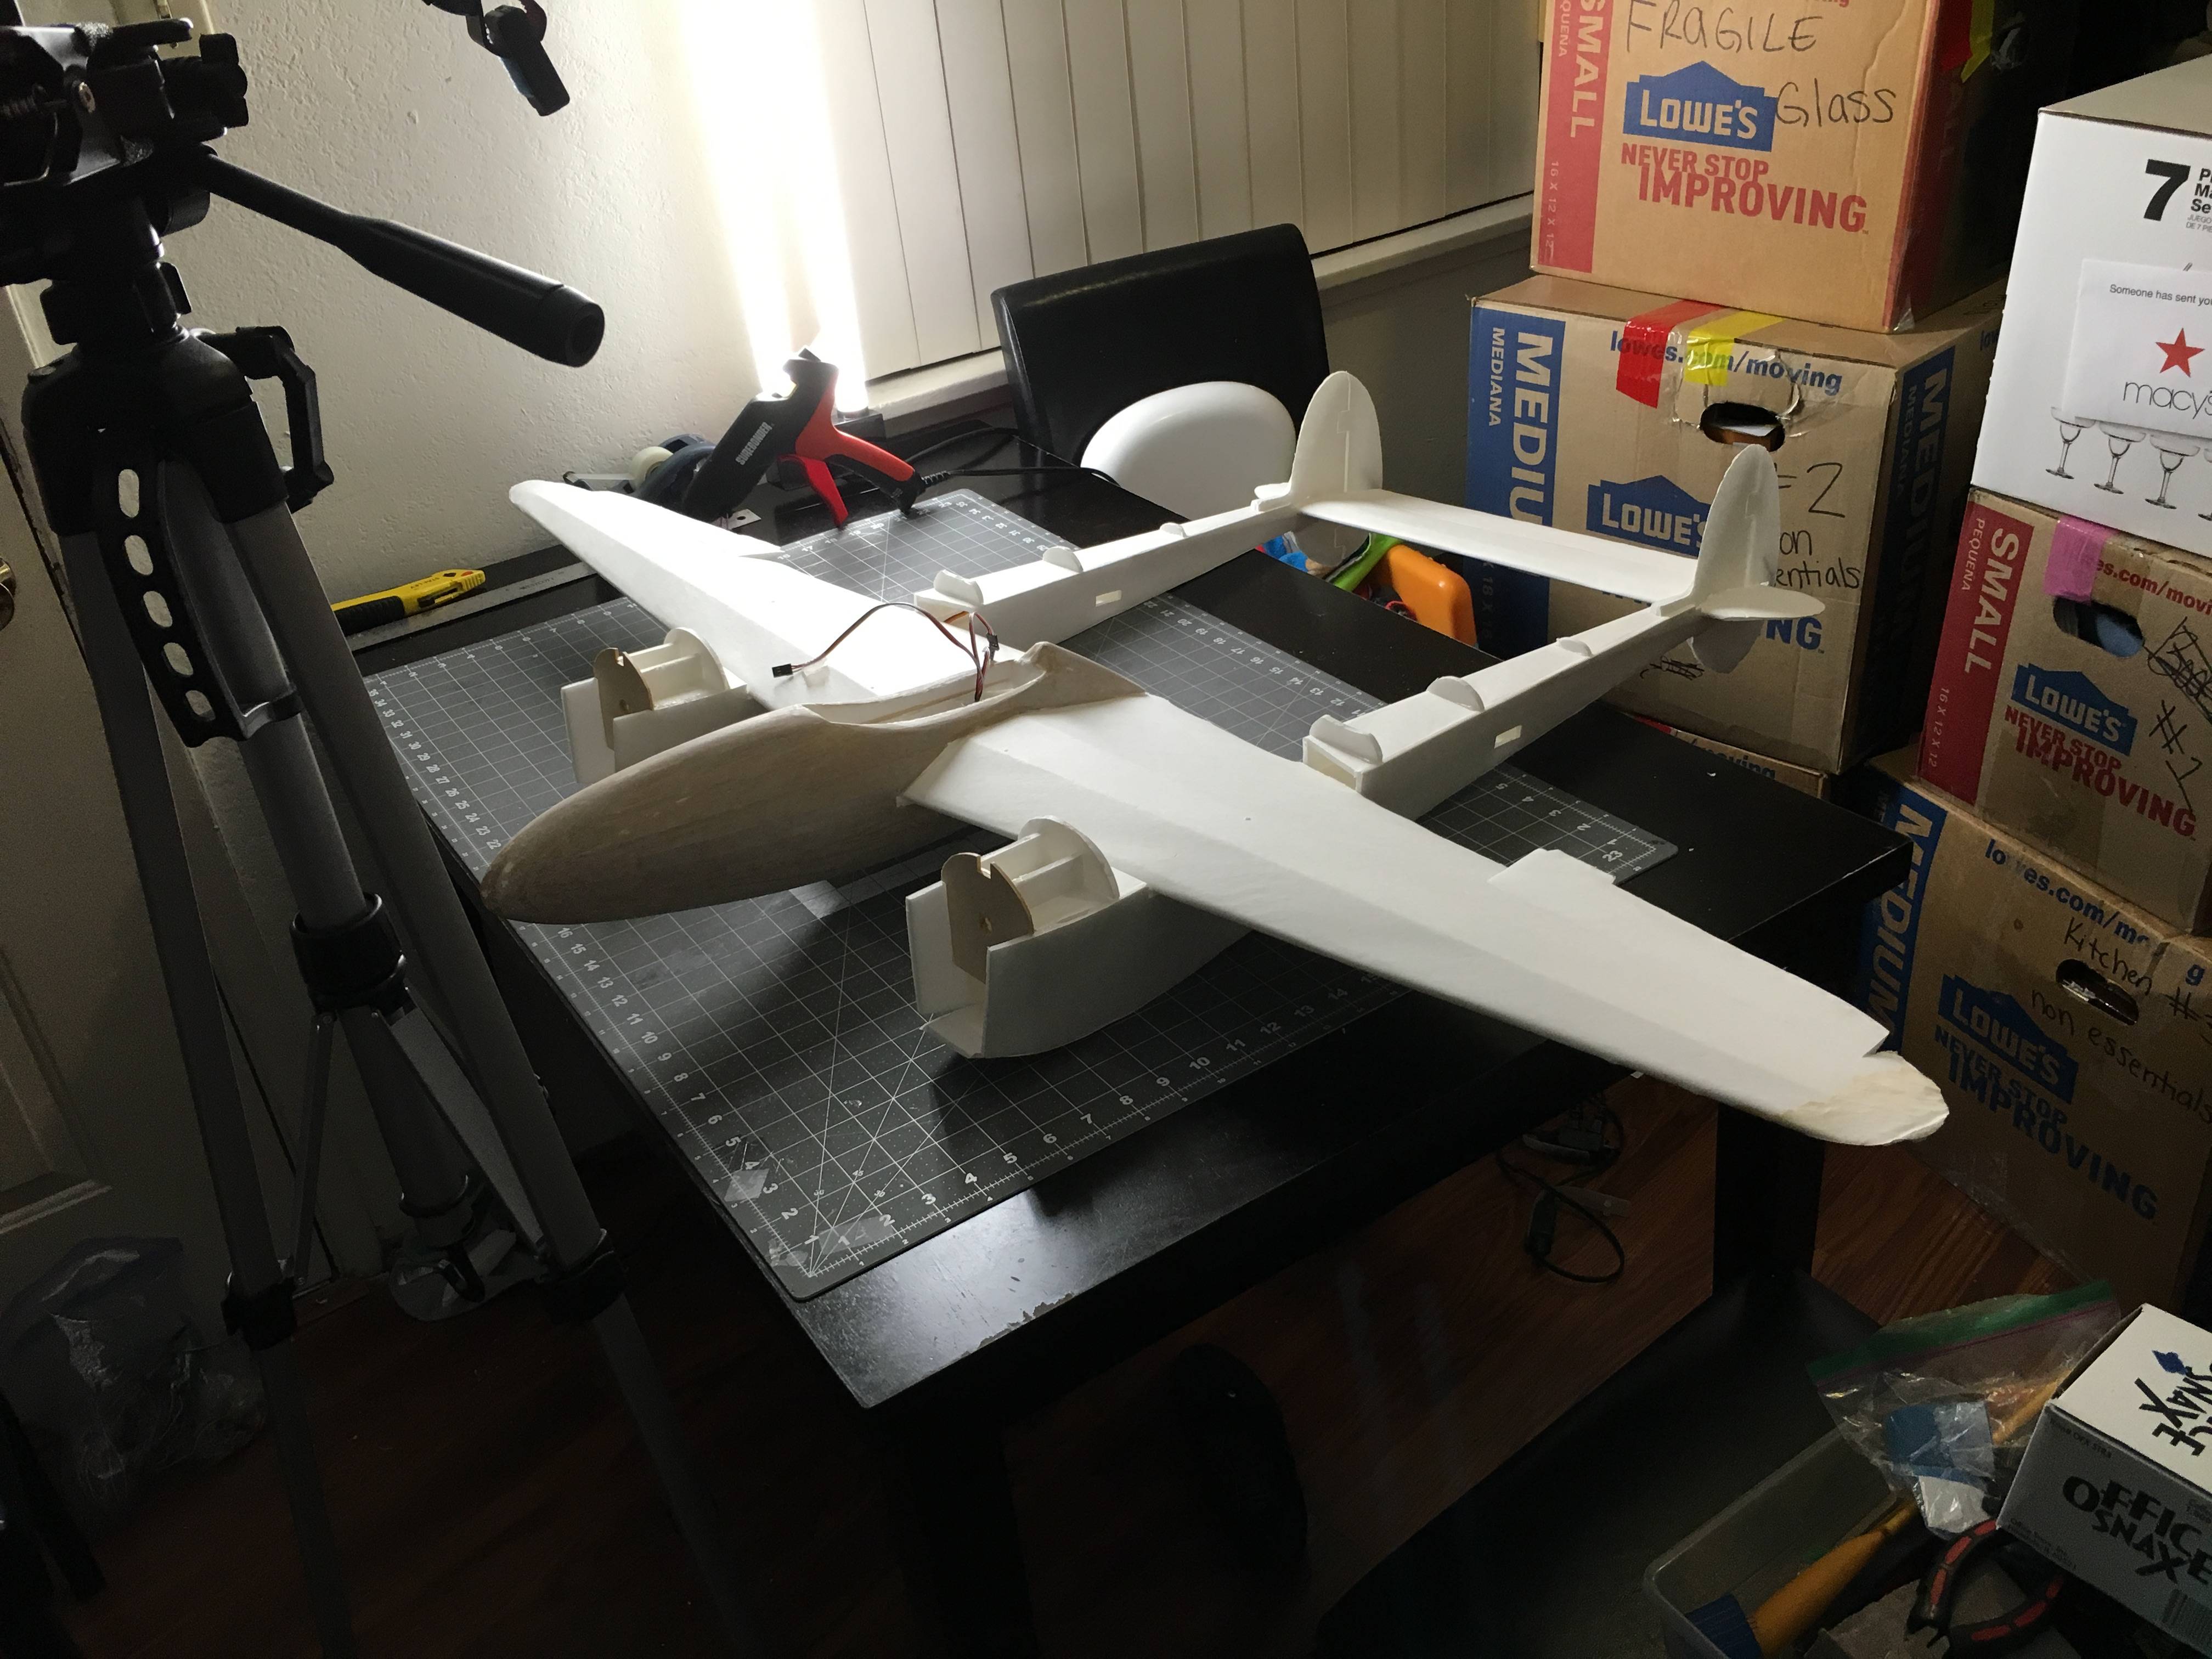
The single layer is very light weight and would work perfect for a slow fly nnP-38.

") More to come soon
More to come soon