P47 Thunderbold - first build log

Rado

Member
Hey guys,
after a long time of reading I decided to make my first build log.
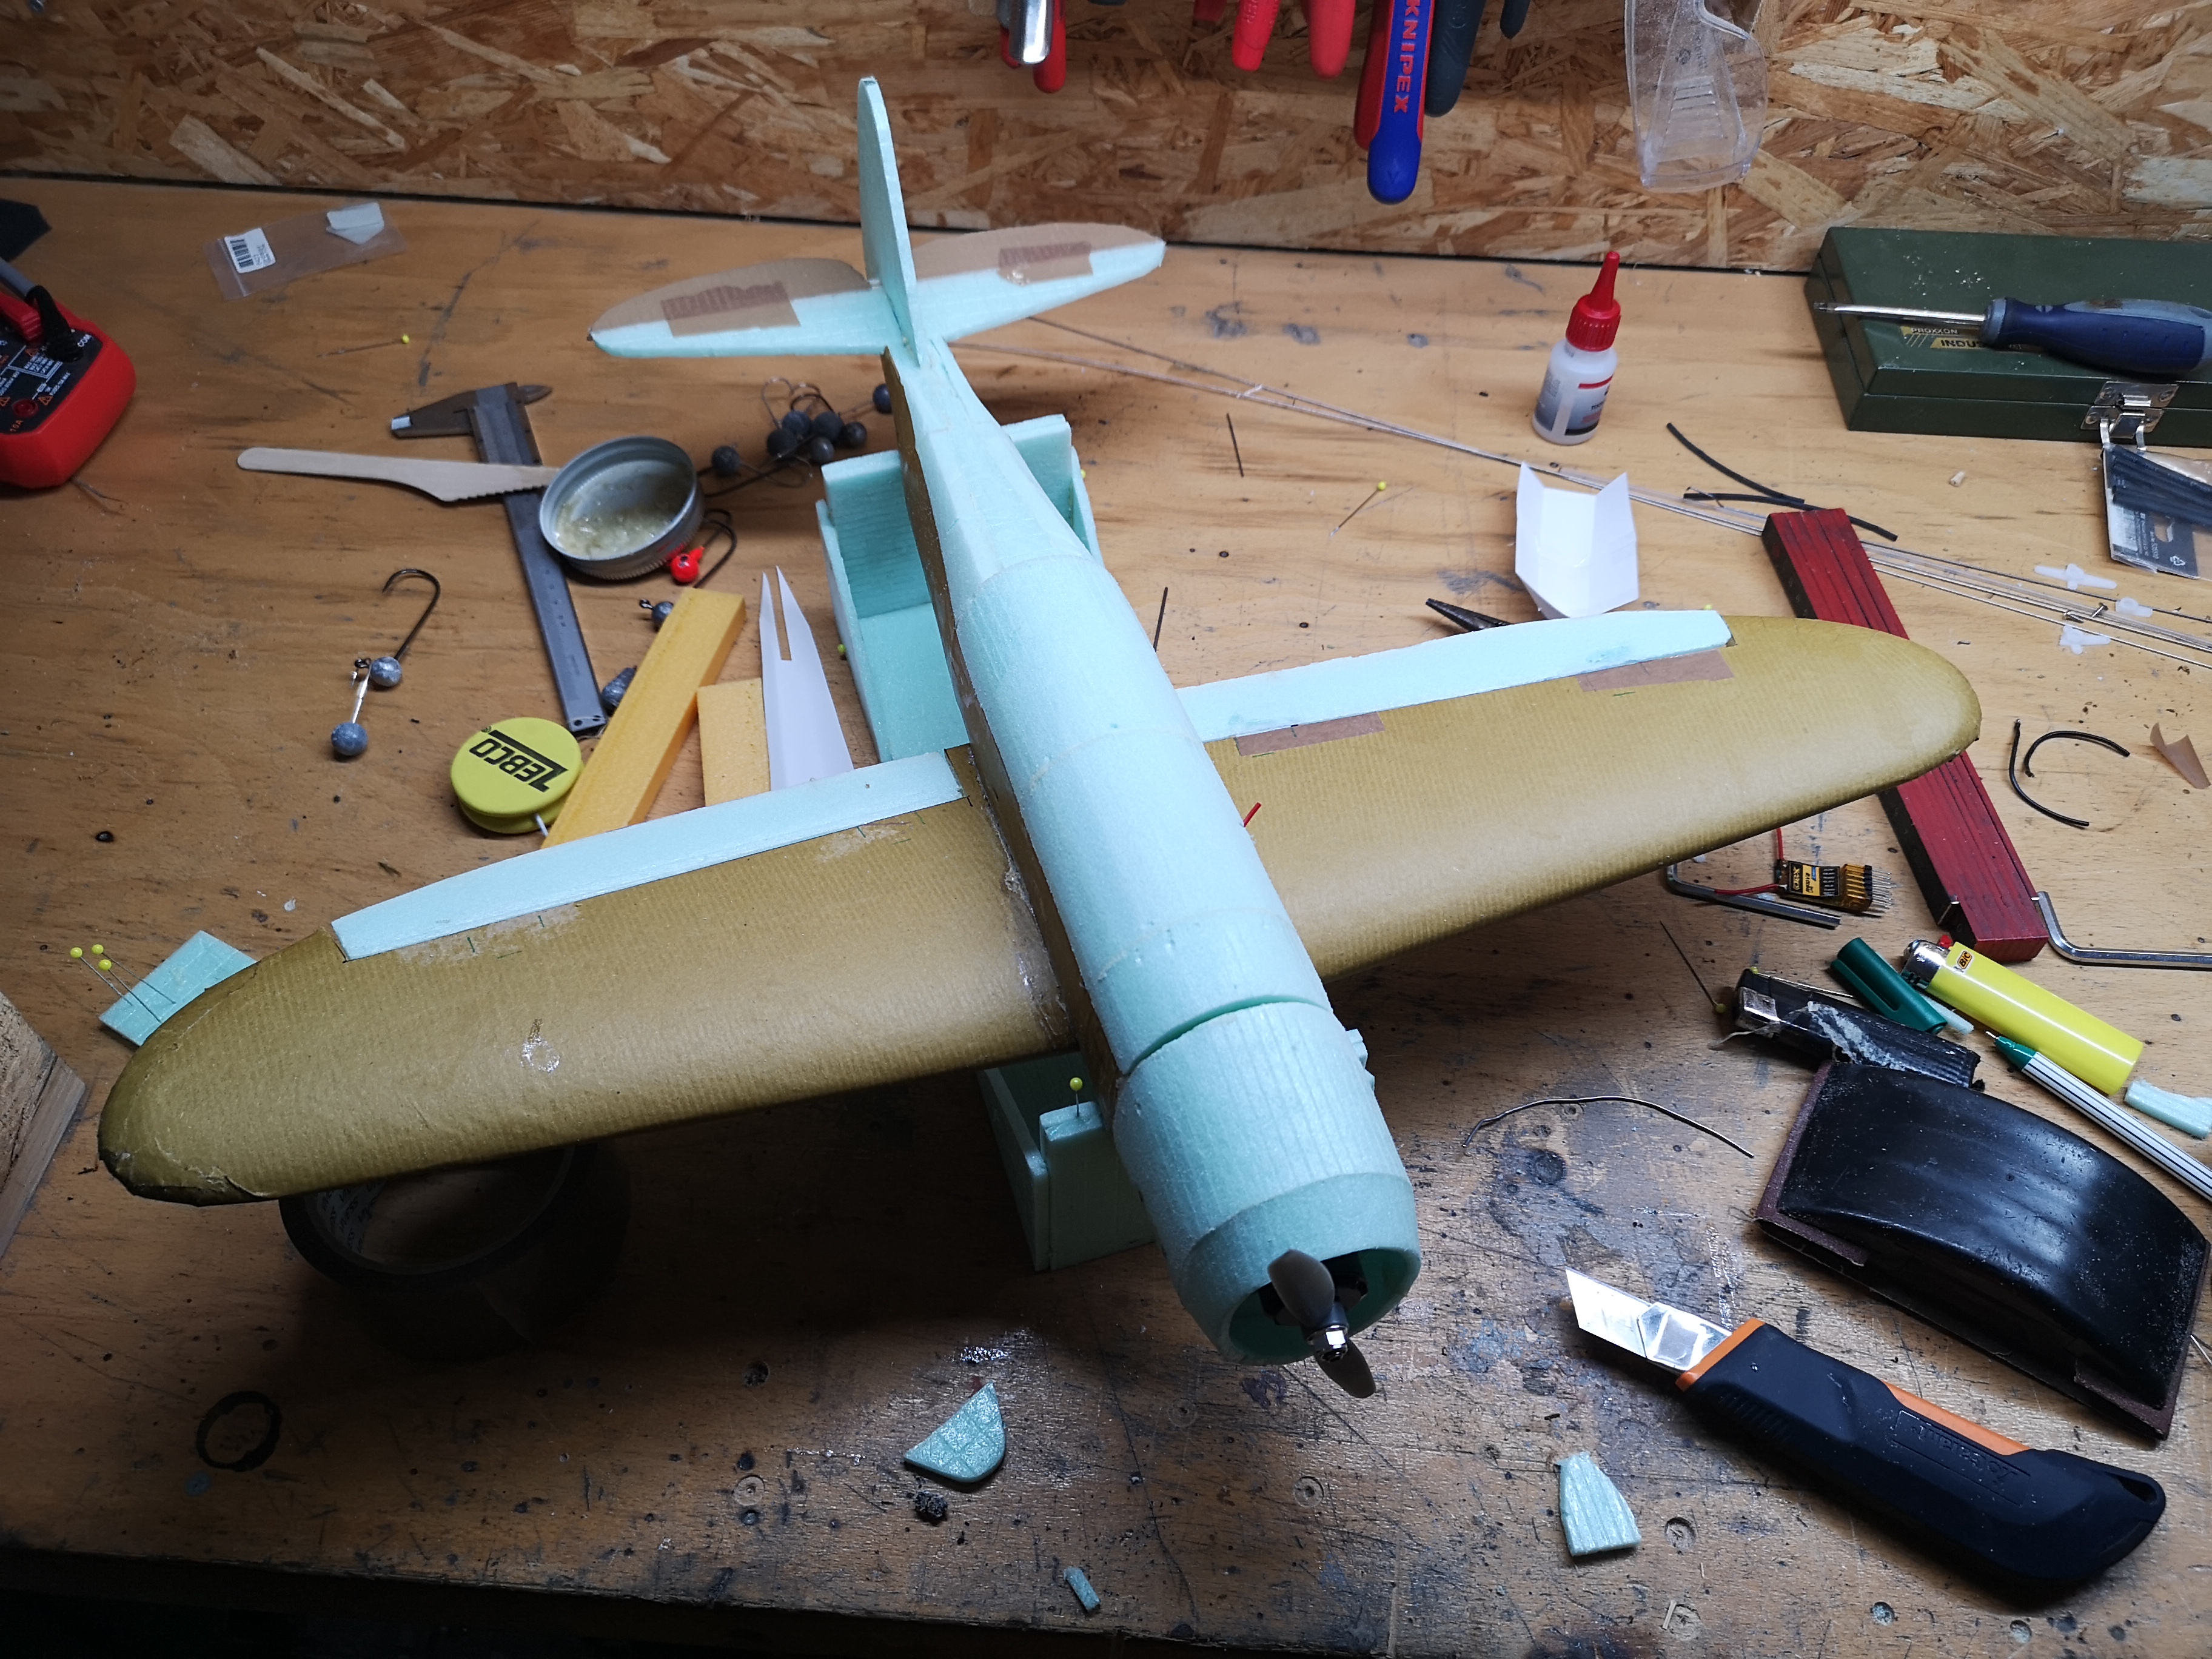
I build a the P47 from MiniacRc for a proof of concept and that lilltle bird is flying great!
IMG_20200218_184050.jpg

Here in Germany it is really hard to get the paper covered foam board, so I build the plane out of a 5mm thick impact sound insulation.
The wings are cut out of XPS with a claky profile and 2° wash out.
IMG_20200218_184125.jpg

Motor is a 2205 Emax with 2600kv, with 850mA 3s LiPo and a 45A BL_Heli32 ESC.
The huge RX is a Orange RX3s with the flight stab Firmware.
To get the plane more durable I covered the fuselage and the wing with brown craft paper. Really impressing how hard the surface gets with this treatment!

To improve my building skills and because the first build is pretty ugly I will build the same airplane with sections cut out of 50mm XPS. The profile will be the same but with 3° wash out.
 
Last edited:

cdfigueredo

Elite member
Very well done!!!! i used to work with that kind of foam. If u have a chance, try to bend 5mm sheets using packing tape on the external face, like the paper cover in the master series class building. Use a table as your friend for bending it and then once glued, remove the tape. you will get a nice and smooth surface without need to make those small cuts.
 

Rado

Member
It's looking good!
Really? That only was the proof of concept and I will start with the build rigth now...

To hot wire cut the fuselage I need some stencils. I printed the plans at 112% to get the formers the right size without the sheeting.
After that I glued them on 4mm birch plywood I cut them out.
IMG_20200218_123223.jpg


I cut the formers roughly on a bandsaw and now have to sand them smove.
IMG_20200218_202253.jpg
 

The Hangar

Fly harder!
Mentor
Really? That only was the proof of concept and I will start with the build rigth now...

To hot wire cut the fuselage I need some stencils. I printed the plans at 112% to get the formers the right size without the sheeting.
After that I glued them on 4mm birch plywood I cut them out. View attachment 158455

I cut the formers roughly on a bandsaw and now have to sand them smove. View attachment 158460
For having to modify it to use the materials available, I'd say it looks pretty nice! But I'm eager to see how V2 turns out. (y)
 

Rado

Member
Very well done!!!! i used to work with that kind of foam. If u have a chance, try to bend 5mm sheets using packing tape on the external face, like the paper cover in the master series class building. Use a table as your friend for bending it and then once glued, remove the tape. you will get a nice and smooth surface without need to make those small cuts.
I glued the plans on top of the foam and after cutting the pieces I bend the parts with the paper on top. Works good...
 

Figure9

Elite member
Really? That only was the proof of concept and I will start with the build rigth now...

To hot wire cut the fuselage I need some stencils. I printed the plans at 112% to get the formers the right size without the sheeting.
After that I glued them on 4mm birch plywood I cut them out. View attachment 158455

I cut the formers roughly on a bandsaw and now have to sand them smove. View attachment 158460

I really needed this! I’ve been wondering what would be a good way to take the 90 degree corners out of a fuselage. Until you posted this method I had only a dimly lit newbie concept of doing it with foam board cut-outs. I like this. Thanks for posting it. Figure9
 

Rado

Member
Nothing new from me. I try to plan the next steps but there is always something which doesn't work.
The mounting of the wing would collide with the elevator servo.
And a million other things...
I tought I build the prof of concept first to understand the plane but right now I realize that the building technics are soooo different that I have to make some new plans.
 

Rado

Member
Ok I think I found a way that everything in the fuse lines up correctly.
Made a former of 0,8mm birch plywood with the battery slot and two holes for the wing mount.
IMG_20200226_221634.jpg

I plan to glue two Bamboo skewers in the leading edge of the wing and stick the wing in the holes.
On the trailing edge try to do the same but on the part under the wing.
IMG_20200226_234323.jpg

To make the battery change more easy I would like to glue a connector in the wing and the counter part in the fuse.
The connector must have 4 Pins, +; -; signal right servo; signal left servo.
Hope that works :)
 

Rado

Member
This time I don't have anything to show.
I have tryed to cut the last part of the fuse where the aileron and ruder gets mounted on but I screwed it several times :(

That leads me to the decision to improve the software of my hot wire cnc to cut sections of the fuse.
My bigest problem was to get good coordinats of the formers I made with solidworks. I think the way to go is to export the formers as a .stl file.
I write something like a slicer for a 3d printer but didn't output gcode rather then x y coordinats.
Those coordinates can be put into my script to get the gcode for the 4 axis cnc.
I'm not 100% ready jet but I hope to test the code at the mid of the week.

Greetings,
Rado
 

Rado

Member
It's been a while since my last post and the progression is slow but there is some...
My software for the CNC hotwire cutter is harder to write then I thought it would be, especially the interpolation between the point but this is another storry.
I start building the wings, cut the slots for the ailerons and put some balsawood in, I have no Idea how you call it, in Germany we call it "verkasten" :ROFLMAO:
IMG_20200312_222934.jpg


IMG_20200312_222942.jpg

IMG_20200312_223001.jpg

IMG_20200312_223023.jpg
 
Last edited:

MiniacRC

Well-known member
Hi @Rado !
Brilliant build log, really glad to see you enjoyed the design. (I'd appreciate any feedback you have.)
The proof of concept is awesome enough but the hotwire build is SO COOL!!! :) :) :)
Can't wait to see how it comes out, please keep us posted!