
French
Construire Voler S'écraser Répéter
What I used:
Cyclops V2
Eachine Pro DVR
5V/3A UBEC
I started off by planning the placement and cable routing. I only plan on recording video, so I removed all audio cables from the wiring.

I knew I wanted the wires to run out of the same plate as the plugs, so I drilled an adequate hole.
I tested the cables to make sure everything would clear and there would be enough length.

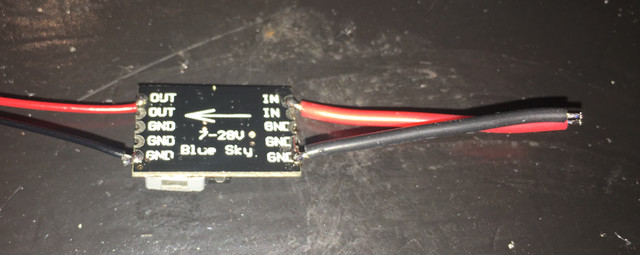
I prepared the UBEC to accept the full battery voltage. I run 3S 1300 mah batteries in my Cyclops.

Don't forget to heatshrink!

Solder the UBEC to the In+ and In- Make sure the wires and UBEC will tuck down out of the way of the lens sliders. Plug in your battery and carefully use a DMM to read the voltage across the red and black pins. Mine was 5.05V. Perfect!

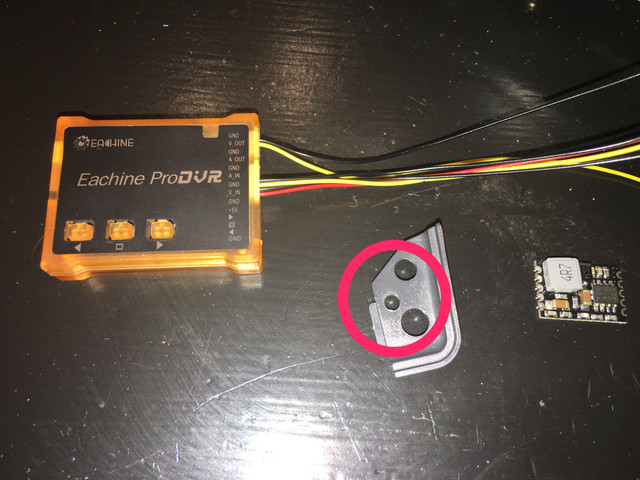
I used the AV cables and my DMM continuity function to determine the video signal and ground pads.

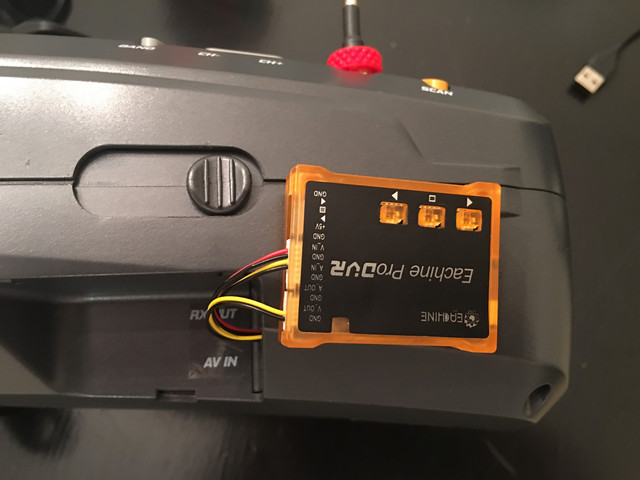
These photos show where you solder on the wires. The top plug is attached to the DVR video out (Aux in on the goggles). The bottom plug is attached to the video in on the DVR (larger plug with power).


I added a zip tie to make sure I did pull out the wires too far and stress the solder joints. In hindsight, I should have left these cables longer. Longer cables should make it easier to close the goggles when finished. Also, the excess wires can be pushed into hole during normal use.


Replace lens and carefully close the shell. Velcro to the side of your goggles and enjoy!
To record, make sure the battery is plugged in and the DVR light is solid red. Press the button pointing at you (<) to begin recording. Recall, the DVR is mounted upside down on my example. Wait for the DVR LED to start flashing. Go fly!!!! You will not see the current DVR storage or recording prompts using this method. However, you will not have any video latency either!
If you ever want to review the DVR door tags, simply press the AV button on the goggles. Then you can long press the (>) button to review.
Let me know if you have any questions.

