Captain Dunsel
Member
Catching up.
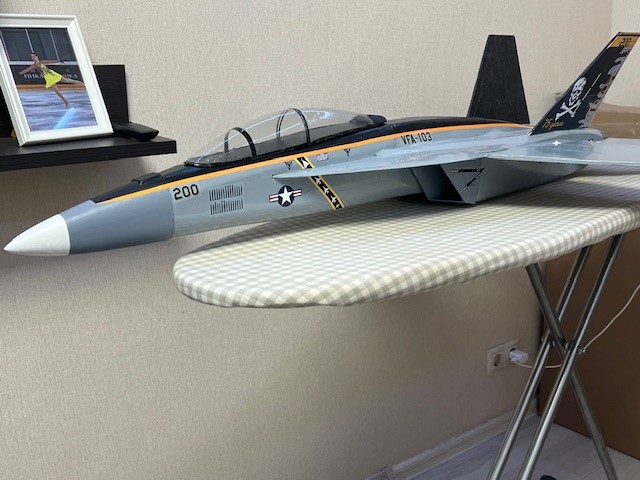
The tail bits have been trimmed and sealed, the hatch built, excess paper trimmed, and the elevators joined. One nice thing about this papier mache is that it sands like wood.
Next came the iterative process of sanding off extra glopped paper, sealing bared spots, and applying spackle. That took a few days.
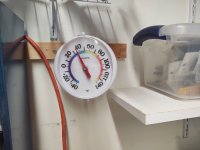
Now, it’s time to put the tailplane on….once the weather warms up. As of this afternoon, it was 35F in my garage – too cold to work! I have a space heater, but it isn’t worth spending an hour (or two) warming the garage for a few minutes work and keeping it warm whilst the clear Gorilla Glue cures.
My FrankenJig II is a straight bit of plastic (Melamine?) coated particle board, drilled and tapped for 1/4 X 20 bolts and with two strips of aluminum stock. The tapped holes hold the verticals, which brace fuse sides; the aluminum strips hold brackets that lock onto wing LE and TEs. My usual trick is to use flat-bottomed airfoils, designing the models so the flat bottoms are parallel to the tailplane bottoms.
What makes the Mambo different is that the plane has about 2 degrees positive incidence on the wing. That's because it was designed for single channel radios, where it would always climb under power (Going to omit a long explanation of single-channel acros! ).
Just remember the full-scale rule that throttle controls altitude and elevator controls airspeed; with a plane like the Mambo, climb under power, then throttle back to maintain altitude. Use elevator and more power, as needed, for acros, but there's no reason to keep the throttle at full all the time.
The tail bits have been trimmed and sealed, the hatch built, excess paper trimmed, and the elevators joined. One nice thing about this papier mache is that it sands like wood.
Next came the iterative process of sanding off extra glopped paper, sealing bared spots, and applying spackle. That took a few days.
Now, it’s time to put the tailplane on….once the weather warms up. As of this afternoon, it was 35F in my garage – too cold to work! I have a space heater, but it isn’t worth spending an hour (or two) warming the garage for a few minutes work and keeping it warm whilst the clear Gorilla Glue cures.
My FrankenJig II is a straight bit of plastic (Melamine?) coated particle board, drilled and tapped for 1/4 X 20 bolts and with two strips of aluminum stock. The tapped holes hold the verticals, which brace fuse sides; the aluminum strips hold brackets that lock onto wing LE and TEs. My usual trick is to use flat-bottomed airfoils, designing the models so the flat bottoms are parallel to the tailplane bottoms.
What makes the Mambo different is that the plane has about 2 degrees positive incidence on the wing. That's because it was designed for single channel radios, where it would always climb under power (Going to omit a long explanation of single-channel acros! ).
Just remember the full-scale rule that throttle controls altitude and elevator controls airspeed; with a plane like the Mambo, climb under power, then throttle back to maintain altitude. Use elevator and more power, as needed, for acros, but there's no reason to keep the throttle at full all the time.
Attachments
-
 24 My FrankenJig II. Nice, but not necessary.jpg6.5 MB · Views: 0
 -
 25 Tailplane and joined elevators. Note using blocks to hold in place without denting, and Sa...jpg7 MB · Views: 0
 -
 26 Typical surface edge after sanding. Seal with Glue Glop or straight glue.jpg5.1 MB · Views: 0
 -
 21 Tail bits before trimming.jpg6 MB · Views: 0
 -
 Workshop temperature.jpg588.2 KB · Views: 0