
If you are looking to scratch build this plane, you can find the plans at the bottom of this article.
Or, if you want to help support and save yourself some time, go ahead and pick up a Speed Build Kit from our store!
Before you build this you will need to assemble your Mini Power Pod, which you can see below.

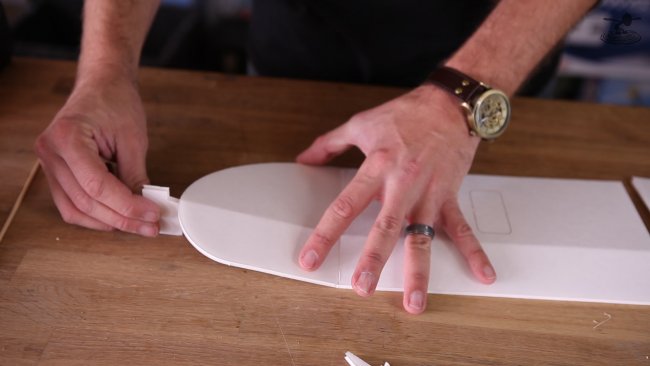
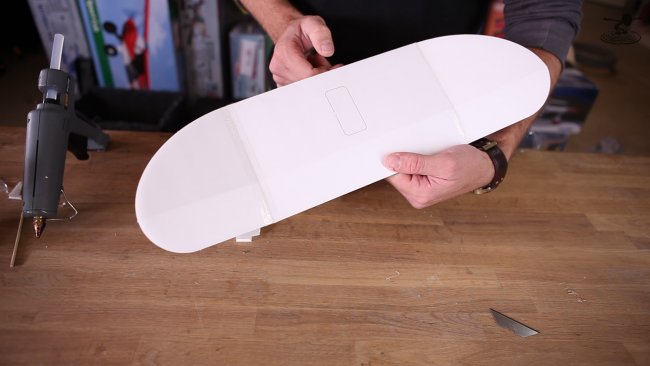
Here are all the pieces that create the wing.
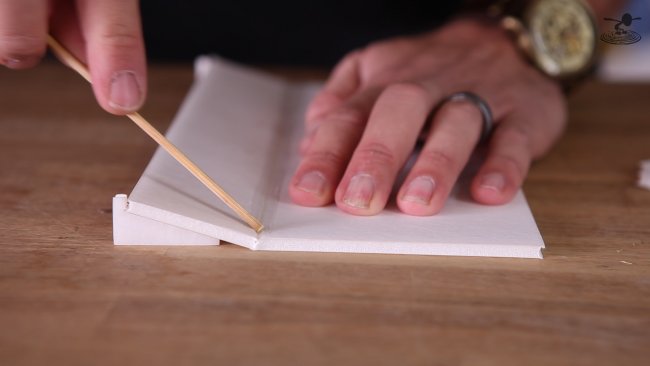
Be sure to use the gauges to get the proper angle of your wing.
The larger dihedral gauge is the most important tool to use when gluing your wing together. Proper dihedral give the Speedster self stabilizing abilities and allows for proper coordinated turns.

If this is your first time building one of our designs you may wonder what this symbol means.
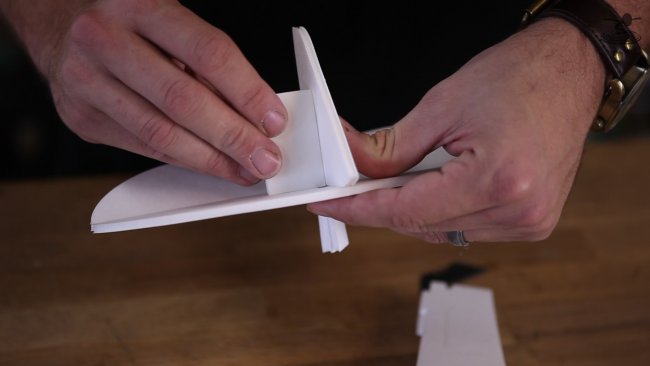
There are two types of folds used to construct our kits, the A-fold and the B-fold.
An A-fold means that the side cheeks are going to rest ontop of the bottom plate.
A B-fold means that the side cheeks are going to rest beside the bottom plate.
An easy way to remember is that an A-fold is "above" and the B-fold is "beside".
The symbol etched into the fuselage shows that this part of the kit needs a B-fold.
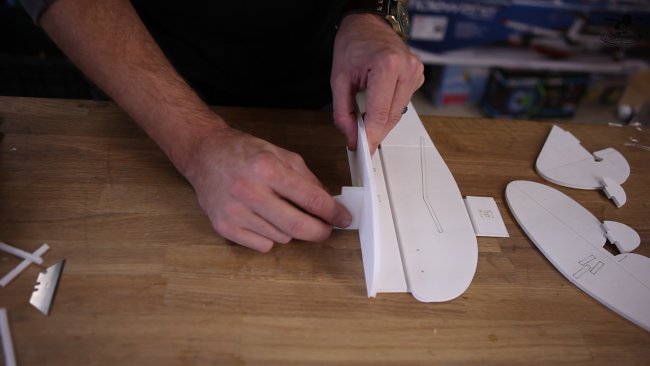
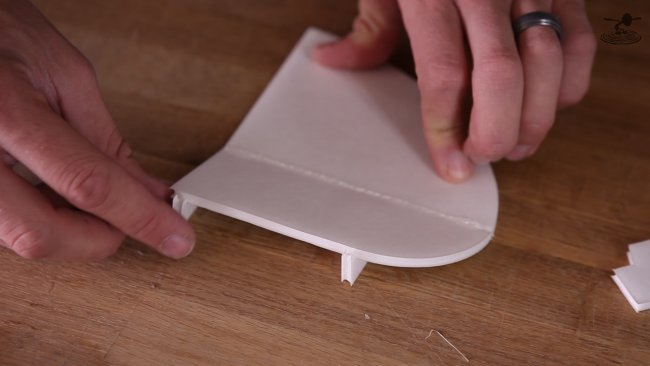
When folding the side cheeks, make sure they are perpendicular. This is another reason why the dihedral gauge is an all-star!
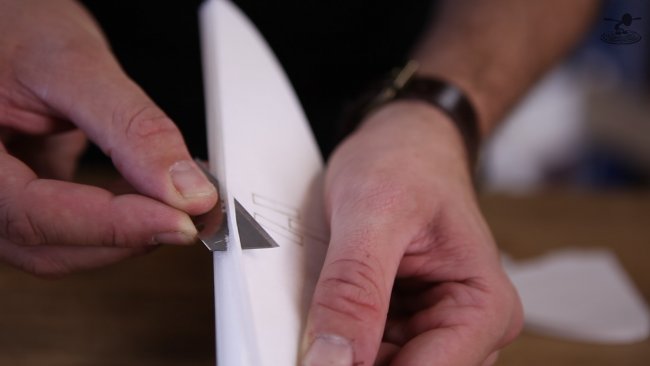
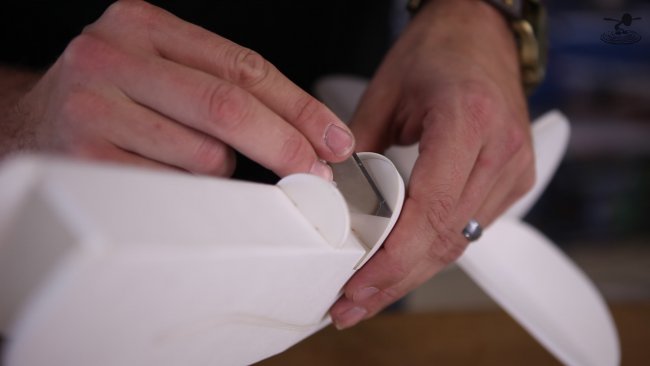
If you don't want to use a razor blade to cut your bevels....
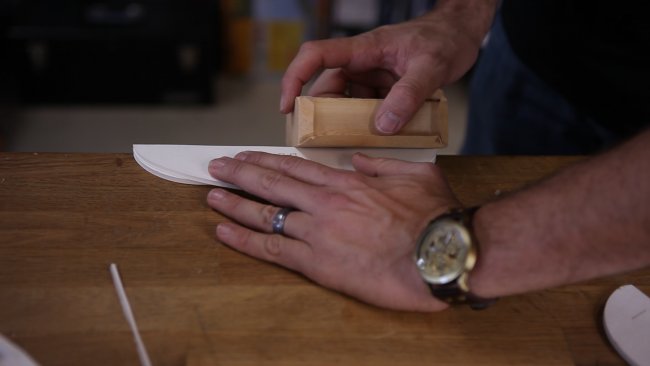
...you can always staple a piece of sandpaper to a wood block to get the same effect, just a bit more messy!
Always check your angles!
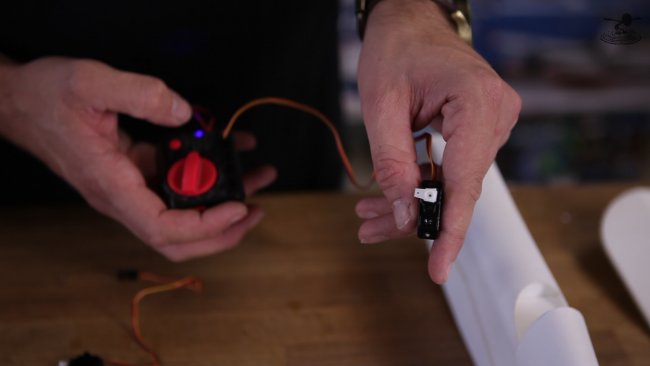
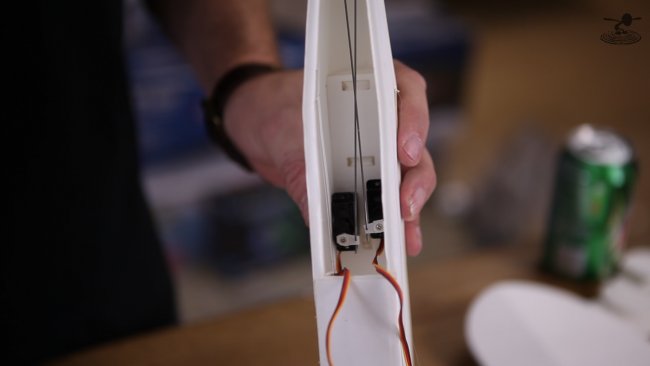
When instaling the servos, ALWAYS center them first. It's much easier to do it now then to try and get to them while they are in the fuselage.
You can get a Servo Tester for less then $10, and trust us, it's worth it.
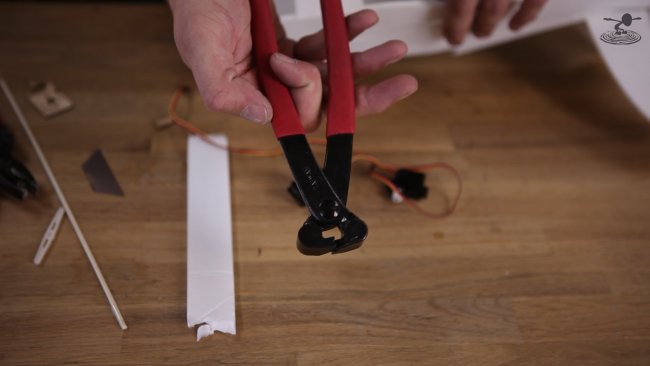
Another super handy tool is a pair of Z-Benders. These will crimp a perfect z-bend into your push rods. These are not necessary by any means but do make the bends extremely clean to do it extremely easily.
Speaking of push rods, we use .039 in (1mm) diameter wire. Get two wires that are 13 in (33 cm) long each, but you will end up cutting them to size. If you pick up a Speed Build Kit these are already included.
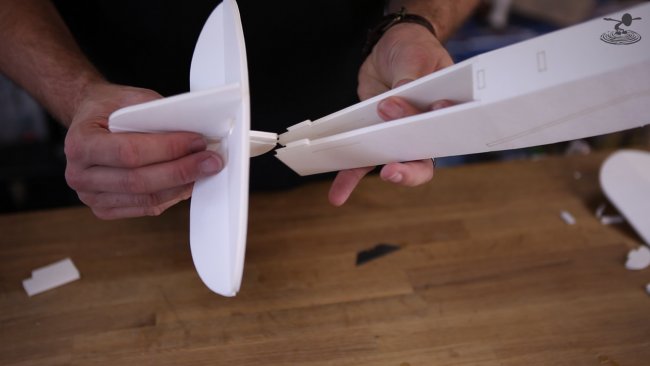
Try to mount your servos as close to the CG (Center of Gravity) as possible while still leaving room for the wing to pass through.
Always test fit before you glue!
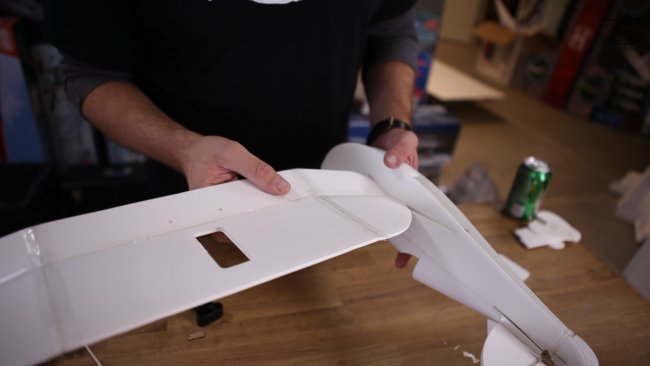
Once your wing is in, sight it to make sure it's straight.
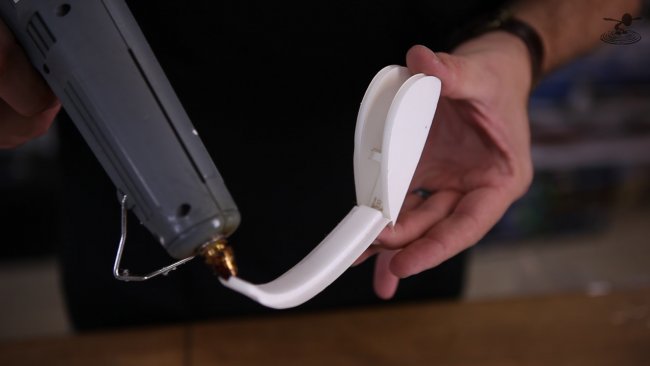
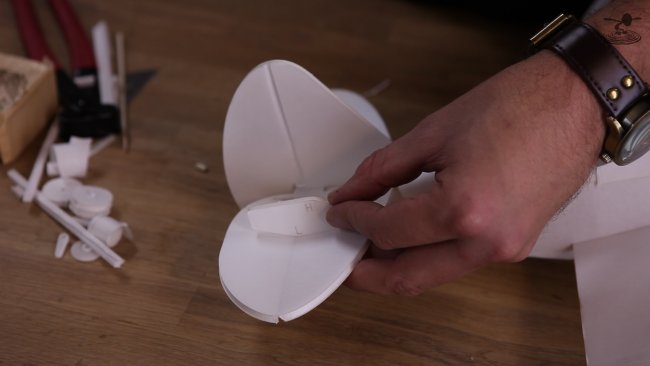
One optional step is to assemble the wheel pants.
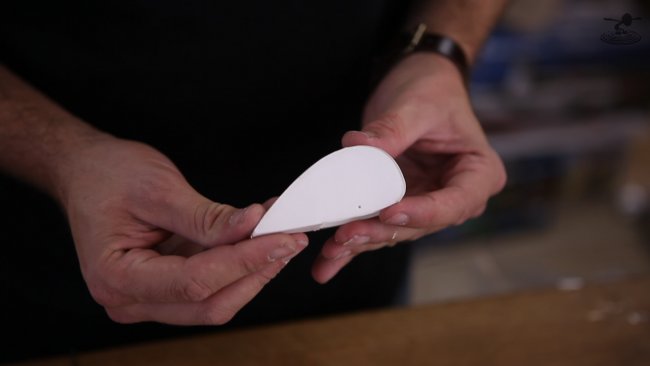
These will not affect the way the plane flies, but boy they are cute!
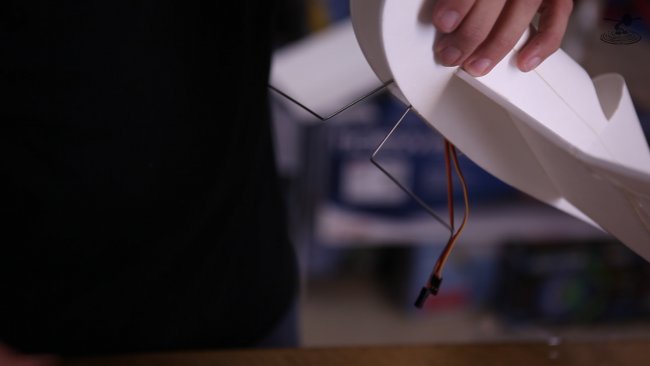
The landing gear wire is 15.5 in (40 cm) x .063 in (1.6 mm). Also, already included in the Speed Build Kit.

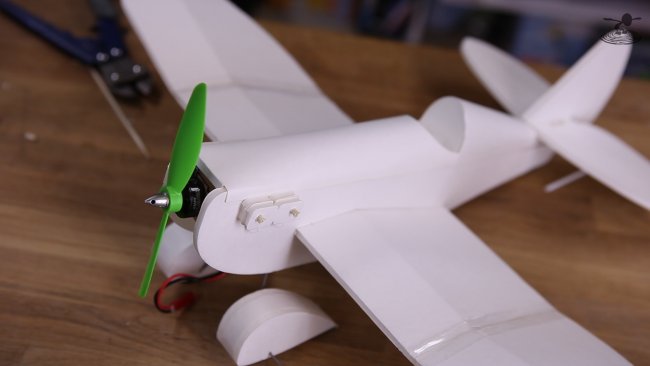
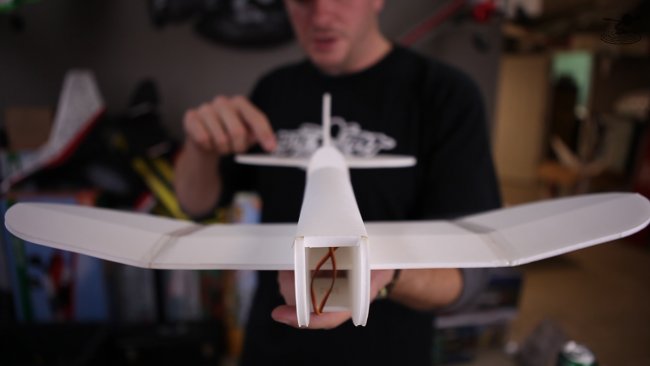
The last step is to install the Mini Power Pod. If you need additional help hooking up the servos correctly, check out our Connecting Electronics article.
The throw gauge shows you precisely what angle you need to adjust your control surfaces to. The L is for low rates and the H for high.
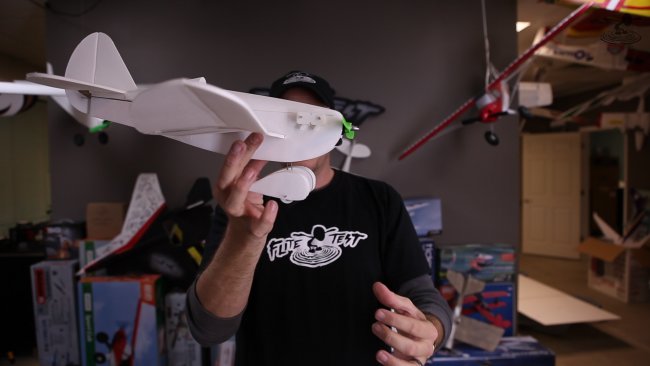
All that's left is to check the CG (Center of Gravity). Josh recommends that the plane balances just a touch nose down.
Remember: "A nose heavy plane may fly poorly, but a tail heavy plane flys only once."
If this is your first build then it might also be your first flight. If this is the case, CONGRATULATIONS! We know that your first flight can be intimidating but we are here to help you. We strongly recommend that you check out our First Flight Quick Tips video. It's a great resource for first time pilots and will help to take the edge off that first maiden.

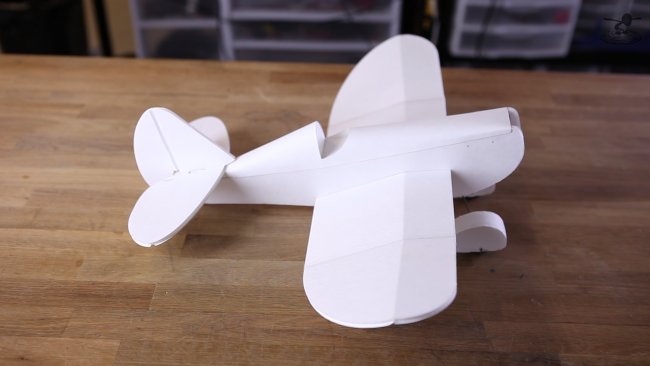
We hope that you have as much fun with these Mighty Minis as we do!
Be sure to let us know what designs you might want to see shrunk down in the future!
FREE PLANS
FT Mini Speedster [Tiled Plans]
FT Mini Speedster [Full Plans]
RECOMMENDED ELECTRONICS
All In One Electronics Kit: Lazertoyz - FT MINI POWER/ELECTRONICS PACK
MOTOR (Option 1) - EMAX MT1804 2480KV Brushless Motor
MOTOR (Option 2) - RTF Mini Motor X2204 v2 2300KV
4 Servos (Option 1) - Towerpro SG50 5g Micro Servo
4 Servos (Option 2) - HXT500 6.2g / 0.6kg / .08sec Micro Servo
ESC (Option 1) - Dynam - Dectrum 12Amp ESC w/ 3A BEC
ESC (Option 2) - Suppo 10A Brushless ESC
Battery (Option 1) - Turnigy nano-tech 460mah 2S 25~40C Lipo Pack
Battery (Option 2) - Turnigy nano-tech 460mah 3S 25~40C Lipo Pack
Battery (Option 3) - Turnigy 800mAh 2S 20C Long Lipo Pack
Prop (Option 1) - Direct Drive HQ Prop - 6x3 Black
Prop (Option 2) - Direct Drive HQ Prop - 6x4.5 - Black
")
