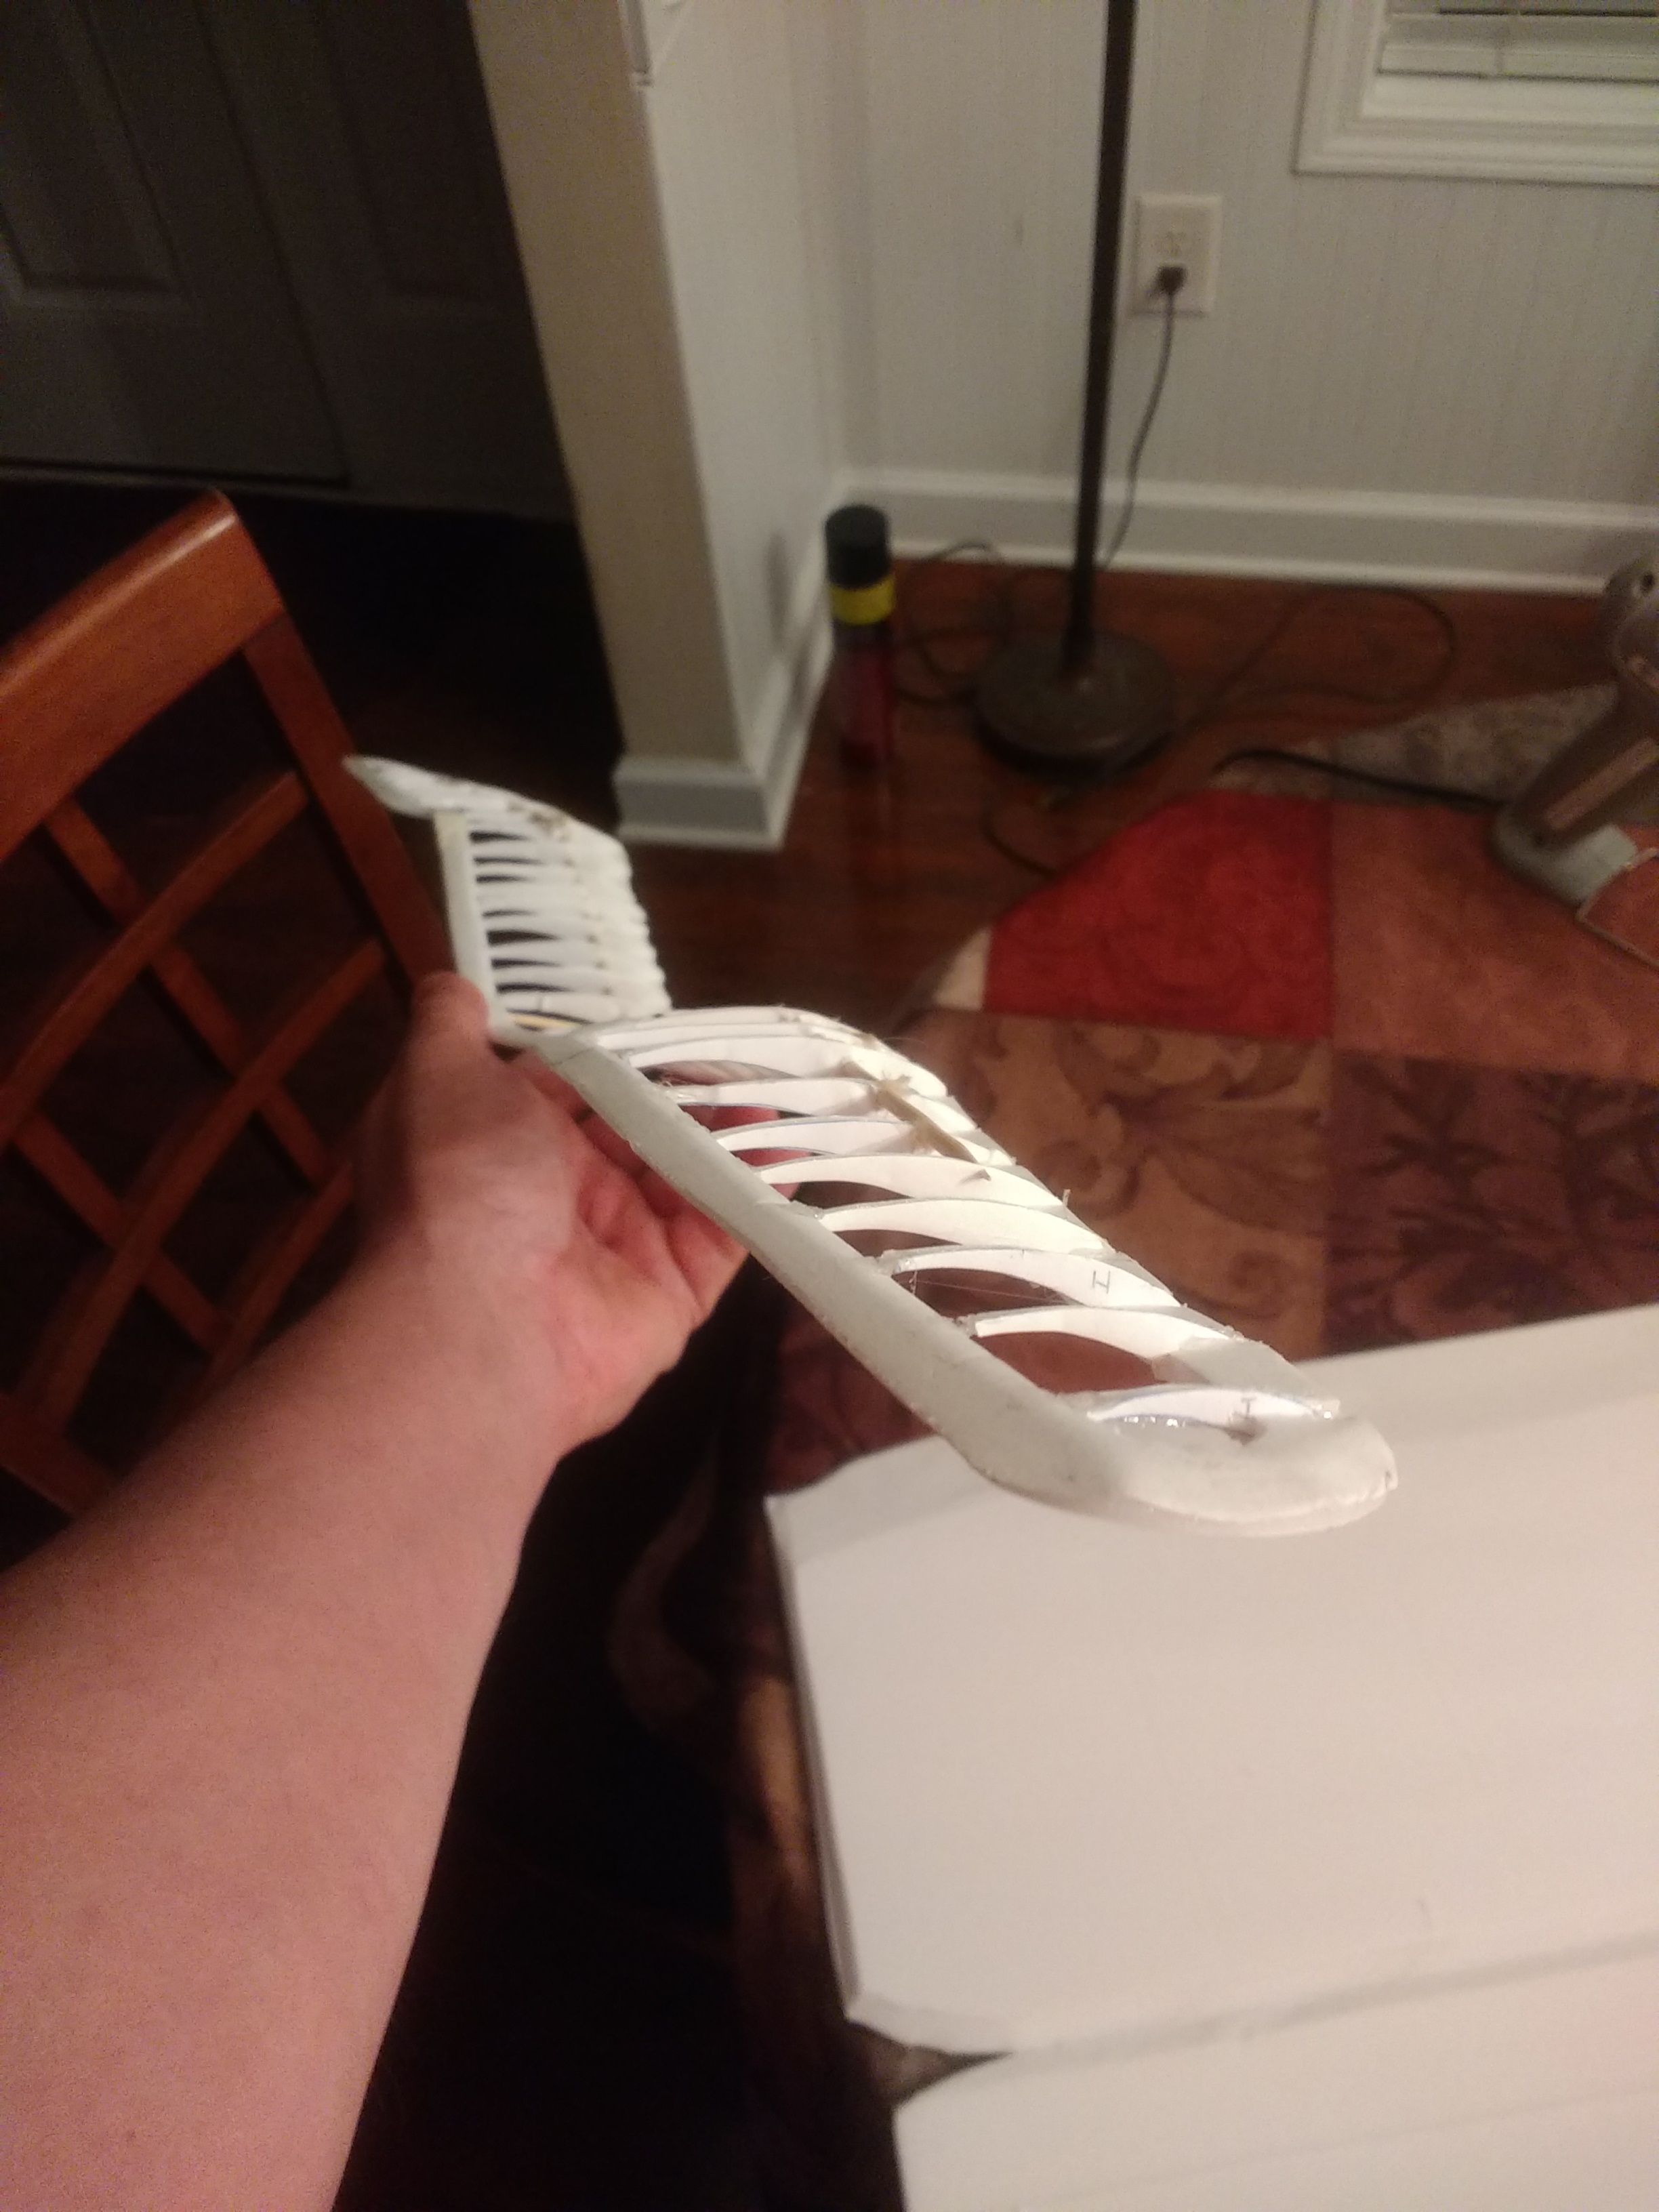
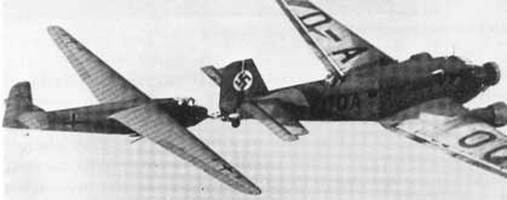
FTFC20 Minimoa designed by FoamyDM

TooJung2Die

Master member
So you're covering it with tissue like a balsa build. May I suggest you pre-shrink the tissue before covering. The foam board construction looks flimsier than a balsa frame so shrinking will probably deform the foam. It makes the tissue wrinkly but that's what is often done on really light balsa frames to avoid warping. I have a good PDF on tissue covering I read before restoring the "ONE NITE 28".
 

FoamyDM

Building Fool-Flying Noob
Moderator
Do you have any more info on the receiver? The servo connections look pretty obvious on the front, but finding the pads for the battery connection can sometimes be tricky, and binding processes can be odd for some "brand-free" components.
After fiddling with it.. I had the same questions! There are no ID markings at all. and it is hard to follow the circuitry. event he PPM plug has no guide! I plugged in a battery possibly the wrong way and think I ruined the board... I want to use it for the servos, but without some kinda guide it's useless.
I have an alternate system to install, but I was hoping to use this one. :rolleyes:
https://www.banggood.com/CM410X-2_4...o-Transmitter-p-1127110.html?cur_warehouse=CN
Wish I has looked earlier...
I was supposed to plug the battery in through a servo connector. Hmmm. the manual or photos indicate this nowhere.
Here is a screen grab from the YouTube video: (follow the first comments directions to get poorly translated english CC. :LOL: Guess what a Heerlon Kitten is, or where the patchouli supply goes?
1572359851637.png


So you're covering it with tissue like a balsa build. May I suggest you pre-shrink the tissue before covering. The foam board construction looks flimsier than a balsa frame so shrinking will probably deform the foam. It makes the tissue wrinkly but that's what is often done on really light balsa frames to avoid warping. I have a good PDF on tissue covering I read before restoring the "ONE NITE 28".

Pre-shrink. like wet and dry it? with just water?
I was gonna get the tissue on. (and I may still) then I remembered that you had covered UnRauv's SE5 in DTWP (dollar tree wrapping paper) and thought :unsure: maybe that's the answer. It's more in line with what I want for it. I have a good bit of it. (planned to use it to waterproof a hull on the marchetti 55x too.)

Made more progress:
IMG_20191029_010028113.jpg
IMG_20191029_010022323.jpg
IMG_20191029_010115520.jpg
 

TooJung2Die

Master member
Pre-shrink. like wet and dry it? with just water?
I was gonna get the tissue on. (and I may still) then I remembered that you had covered UnRauv's SE5 in DTWP (dollar tree wrapping paper) and thought :unsure: maybe that's the answer. It's more in line with what I want for it. I have a good bit of it. (planned to use it to waterproof a hull on the marchetti 55x too.)
Pre-shrink tissue by hanging and wetting it then letting it dry. It'll get all wrinkled but that can be corrected with a clothes iron. The next wet and shrink after attaching to the frame won't be as strong. You might be surprised how much tissue can pull when it shrinks. Glad you mentioned dollar store clear colored gift wrap. That may be just the right covering. BobK did a nice job on his Schoolgirl. First time I've ever seen it done with cheap cellophane gift wrap. It shrinks with heat but not strong enough to warp foam board. It'll also stretch with heat from a heat gun and cover compound curves. All that takes practice to do without damaging the delicate foam frame you've built. It looks really nice and deserves a see through covering. Tissue looks good but it punctures and tears very easy. My favorite ultra-light covering is 1.5 mil clear document laminating film. It comes in large rolls so the initial investment can be pricey.
 

FoamyDM

Building Fool-Flying Noob
Moderator
@TooJung2Die - Thank you! the pre-shrink is a spray of water only right? (as apposed to 50% glue/water or mixture)
That schoolgirl (plane) looks like fun! you should dress the next one like one of these:
Britney%20Spears%20Schoolgirl%20Baby%20One%20More%20Time.jpg.opt219x341o0%2C0s219x341.jpg
esm0026.jpg
images


@ 0.042¢/ft, thin laminating film may be where it's at...
www.lamintor.com:
1572451291348.png
 

TooJung2Die

Master member
the pre-shrink is a spray of water only right?
Yes. Spray with water to preshrink. I've read that mixing alcohol with the water causes less shrinkage. No experience with pre-shrinking myself.

Laminating film is a great covering. I have big roll of 24" x 500 feet. I'll never use that much in my lifetime.
 

FoamyDM

Building Fool-Flying Noob
Moderator
Another update... wings done. Servos in, found wires.
IMG_20191112_223429815.jpg IMG_20191112_223412985.jpg IMG_20191112_223510649.jpg IMG_20191112_223320763.jpg
the fold-under wing matches the profile almost perfectly. So now we have a good way to roll this profile. Should have this ready for a tow.

This bird was used in tow testing as well
19-towbar.jpg


As stated in the beginning the original balsa model used a very unusual airfoil similar to this one:
1573680194863.png

1573680160270.png
1573680245540.png

Even if this does little else, this strikes me as a successful experiment, in NON-Clark-Y/symmetrical airfoil testing.
 
Last edited:

buzzbomb

I know nothing!
Another update... wings done. Servos in, found wires.
View attachment 147984 View attachment 147983 View attachment 147985 View attachment 147982
the fold-under wing matches the profile almost perfectly. So now we have a good way to roll this profile. Should have this ready for a tow.

This bird was used in tow testing as well
19-towbar.jpg


As stated in the beginning the original balsa model used a very unusual airfoil similar to this one:
View attachment 147992
View attachment 147991 View attachment 147993
Even if this does little else, this strikes me as a successful experiment, in NON-Clark-Y/symmetrical airfoil testing.
That's definitely one of the most complicated wings that I've seen. Seems like it'll generate a nice pocket of high pressure, even though the wing isn't very deep. I'm really starting to look forward to the maiden flight on this one!
 

FoamyDM

Building Fool-Flying Noob
Moderator
just tried it. and it takes approx. 40g att the nose and balances about 3/4" behind the main spar. not what I expected. I also learned 2 things... the main body is pretty strong the nose is weak. and wing needs uni direction fiberglass tape. to reinforce the new a servo cut out
 
Last edited:

FoamyDM

Building Fool-Flying Noob
Moderator
Here is my 1st attempt at cello-skinning the plane
IMG_20191204_003412191.jpg IMG_20191204_003429968.jpg
Close-up of where I the thinking force exceeded the tensile force of the heated wrap.
IMG_20191204_003436568_BURST000_COVER_TOP.jpg

I like how this started to work out. A bit more practice and I'll be an expert!
 

FoamyDM

Building Fool-Flying Noob
Moderator
I suppose I should detail this better.
I made a blank the size of the wing outline offset in by 3/8". Then spray on the cello-wrap a top and bottom right side.
Then I sprayed the wing (the side I was working on).
Then I pressed the top on around the edges. As best I could.
Then put the bottom on trying to push into the bottom concave surface. (Much simpler if it were flat.) I now know I didn't spray the rib section of either top or bottom so as the bottomed film shrank, it pulled flat-ish.
Then I moved the heat gun (the hair dryer wasn't enough heat, or I wasn't patient enough.
Where I saw wrinkles I would heat and it it would smooth out. A couple areas I left the heat too long. And it melted-shrank into a curled Cheeto of plastic.

Idea for a solution: If I glue a paper strip in the bowl of the bottom section, I could use it to anchor the film to keep the right shape, and have another glue point.
 

buzzbomb

I know nothing!
I suppose I should detail this better.
I made a blank the size of the wing outline offset in by 3/8". Then spray on the cello-wrap a top and bottom right side.
Then I sprayed the wing (the side I was working on).
Then I pressed the top on around the edges. As best I could.
Then put the bottom on trying to push into the bottom concave surface. (Much simpler if it were flat.) I now know I didn't spray the rib section of either top or bottom so as the bottomed film shrank, it pulled flat-ish.
Then I moved the heat gun (the hair dryer wasn't enough heat, or I wasn't patient enough.
Where I saw wrinkles I would heat and it it would smooth out. A couple areas I left the heat too long. And it melted-shrank into a curled Cheeto of plastic.

Idea for a solution: If I glue a paper strip in the bowl of the bottom section, I could use it to anchor the film to keep the right shape, and have another glue point.
Holy cow! That's a monster job. Why not just cover it with more traditional methods? Simple wing tape comes to mind.
 

FoamyDM

Building Fool-Flying Noob
Moderator
Holy cow! That's a monster job. Why not just cover it with more traditional methods? Simple wing tape comes to mind.
On the each version of this craft, Part of the build's mission was to try a couple new things.
  • On the minimoa30 it was the full shape done with foldover, method and the simplified fuselage construction.
  • On the Minimoa50 it was the improved gull wing and rearward under-cambered airfoil made with a variation of the fold-over technique.
  • The Skinimoa is DTFB cello wrap, the other was foam ribs. Which is cheaper than monokote, and the results are very promising. This method is easier if you don't mind clouding the cello with glue, garaunteeing a solid bond on each rib.
So far, each new method has had a decent success, or at least very promising for future builds. And I learned a with each attempt.
 

TooJung2Die

Master member
Good first effort with the cellophane. BobK covered his enlarged Schoolgirl biplane completely with blue gift wrap. His wife called it the Smurf :D He got it to go over compound curves like the wing tips without wrinkles by using a heat gun and stretching, not just shrinking the film. He also tried a few spray adhesives. Elmers spray glue had the least amount of cloudiness.

For those that haven't seen the technique: Dollar Store Gift Wrap Covering
 

FoamyDM

Building Fool-Flying Noob
Moderator
@TooJung2Die , That plane and article gave me the idea for the whole thing. (as you know). My addition to this idea is to mask the areas where it's to be see through, so they remain clear.

@buzzbomb wing tape. do you mean colored packing tape? if so. i shied away because I wanted to try something translucent to show off the construction.
 

buzzbomb

I know nothing!
@TooJung2Die , That plane and article gave me the idea for the whole thing. (as you know). My addition to this idea is to mask the areas where it's to be see through, so they remain clear.

@buzzbomb wing tape. do you mean colored packing tape? if so. i shied away because I wanted to try something translucent to show off the construction.
This kind of stuff

https://hobbyking.com/en_us/wing-tape-45mic-x-45mm-x-100m-wide-orange.html

It's super light, but only partially transparent. It probably wouldn't do what you're after.