Hi everybody,
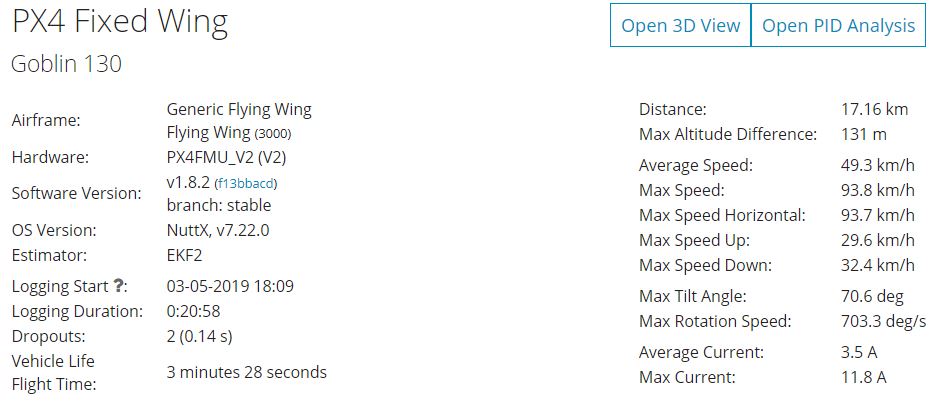
Here is my enlarged Goblin with Pixhawk Autopilot for (almost) full autonomous flights.
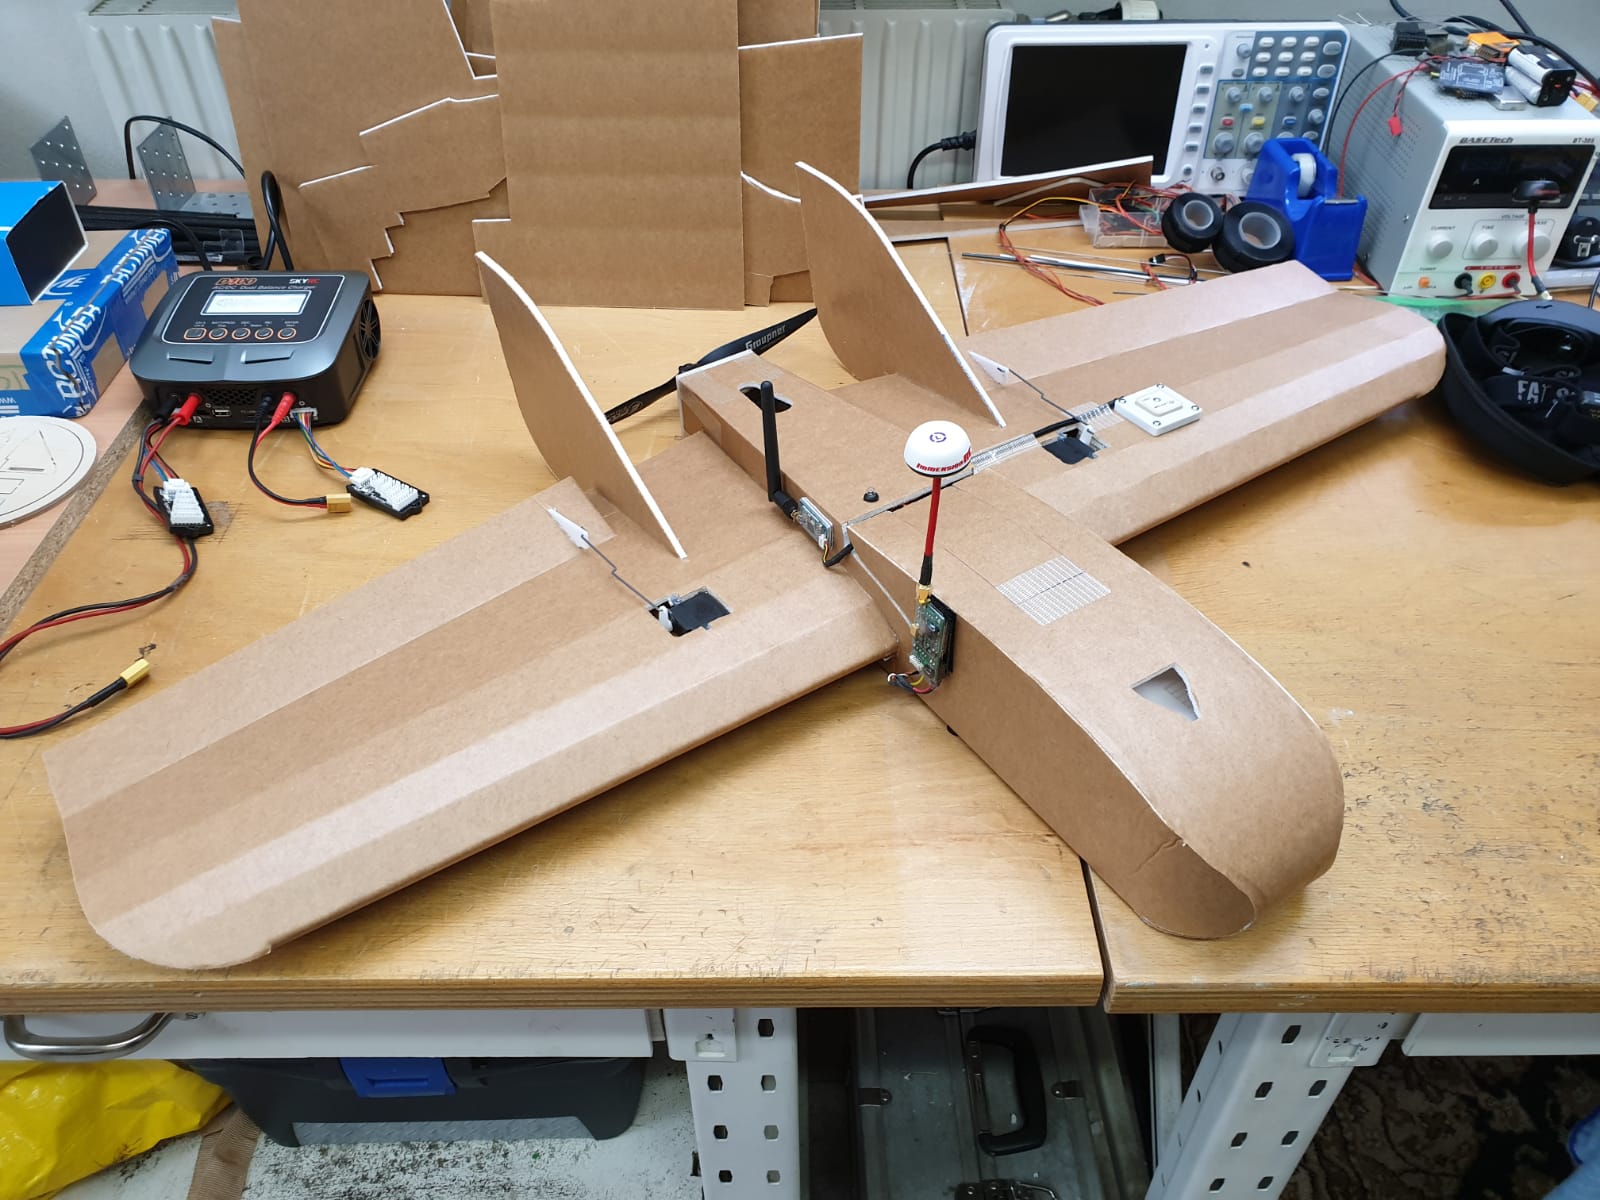
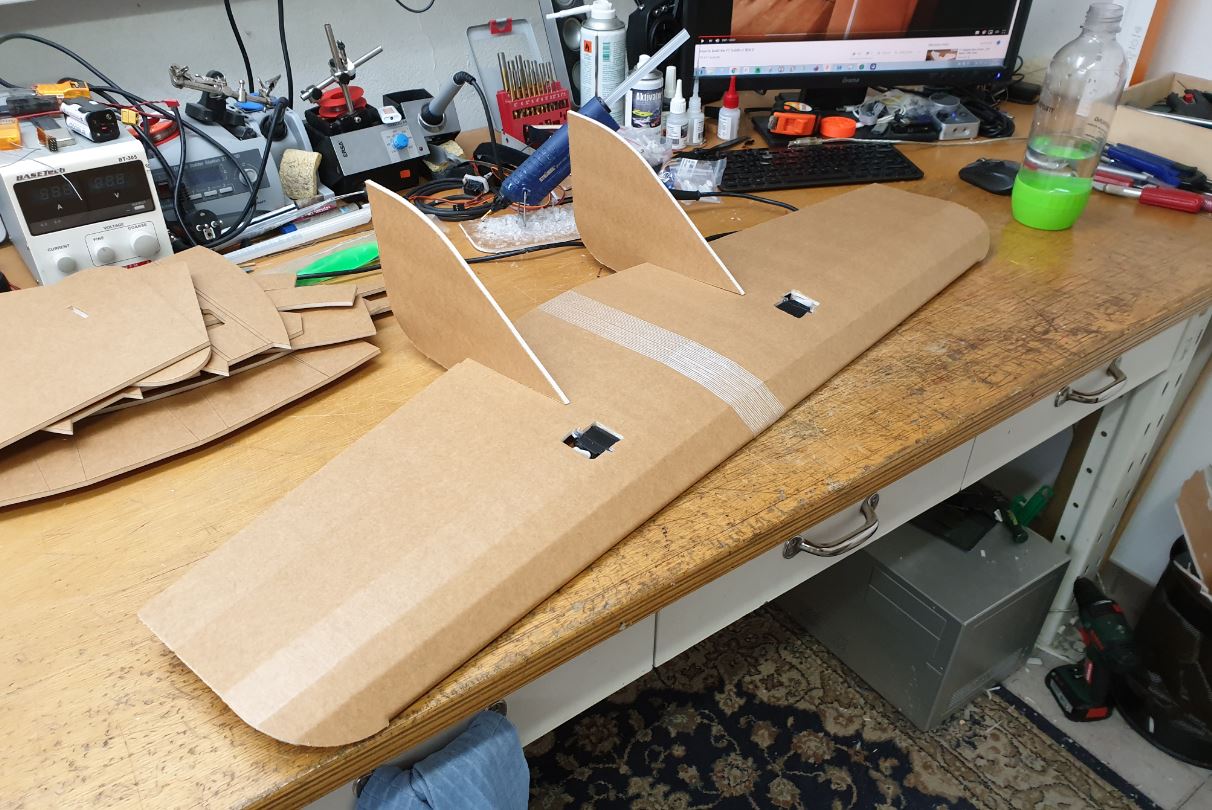
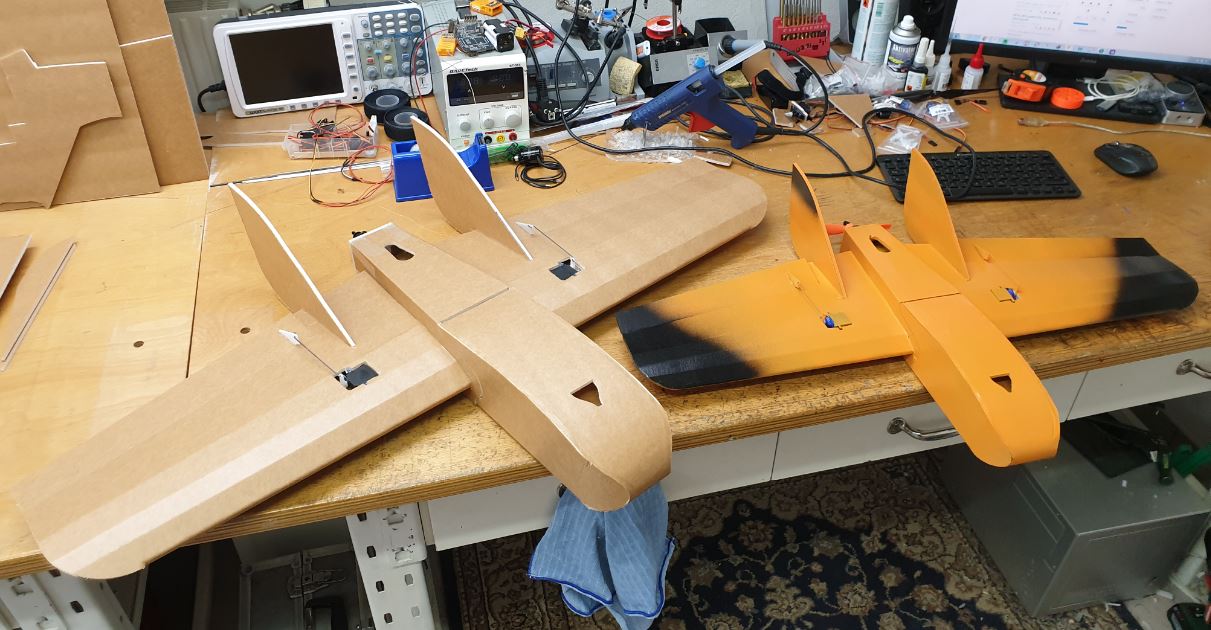
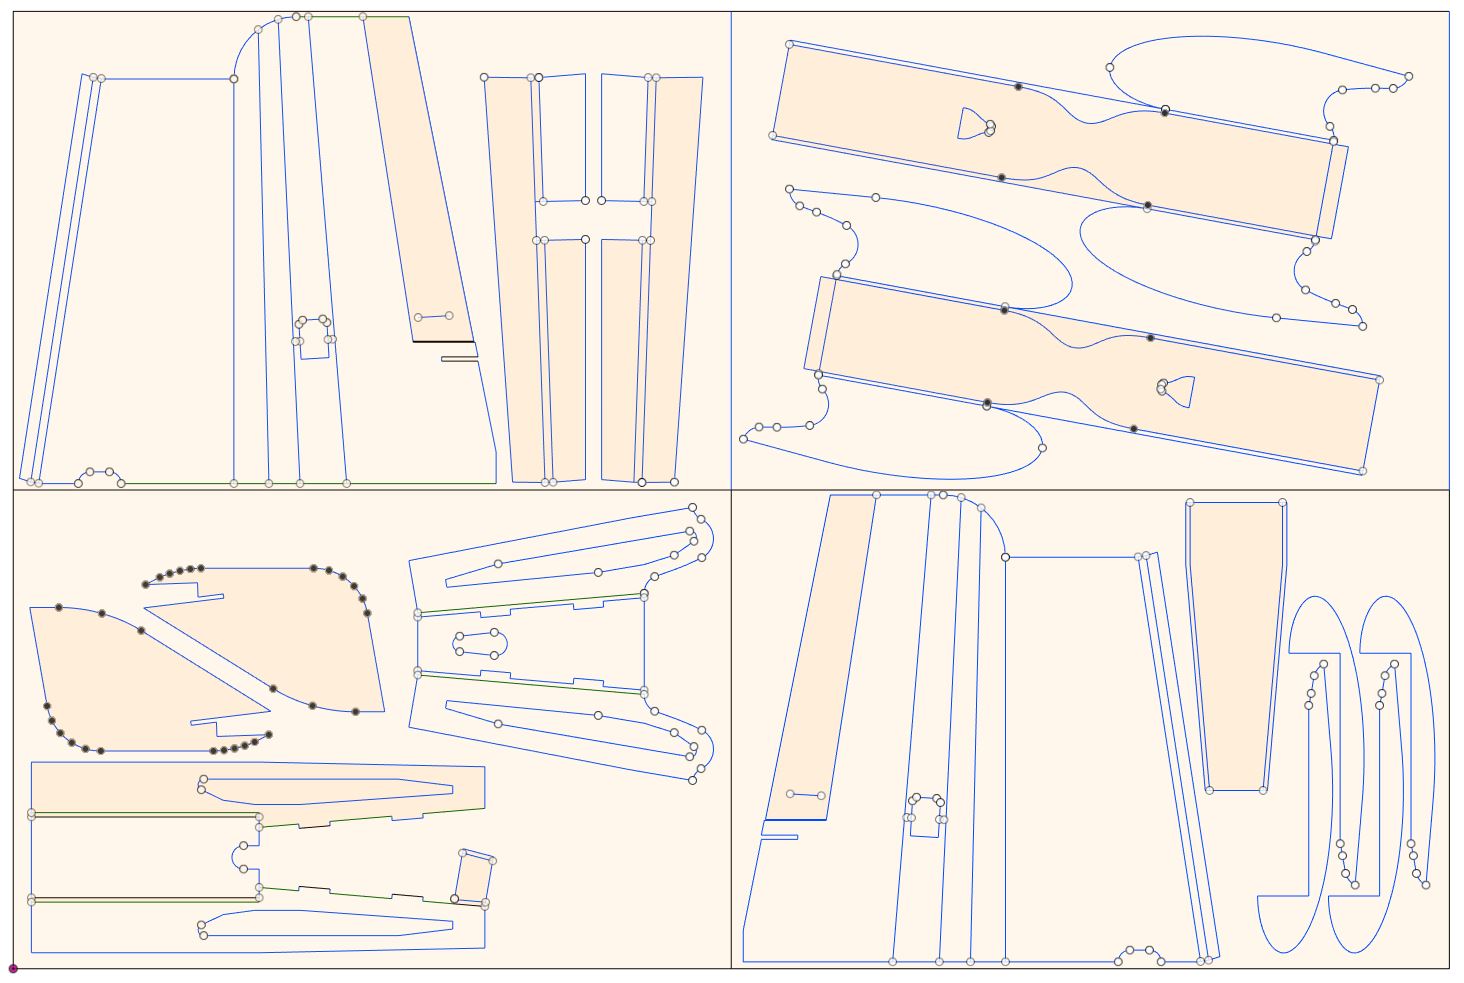
After scratch building and flying the std. size Goblin I knew I had to build this plane as big as a 30"x20" foamboard would allow me to cut a wing piece from a single sheet of foam board. I started by importing the plans to Fusion 360 and increased the size of the wing until it would just fit. This happened to be 130%. The parts now fit on 3 1/2 sheets, with a second canopy on the 4th sheet.
The only modification I did was to move the fins slightly outwards, because I wanted to be able to fit a 10" prop between them. This also ment, that the flaps would be slightly smaller, but this never was a problem.
Then I cut the parts on my CNC router with a 0.8 mm single flute end mill.
Of course, the maiden flight was done without the Autopilot as I needed to know if the increased size plane would fly as well as the small one does and to find the CG before loading it up. I was surprised to find out that the CG is NOT at the "scaled" position, which would have been 25 mm behind the leading edge. The Goblin was nose heavy as hell and almost would not fly like this. It was very hard to keep it in the air with full elevator up and full power. Of course, I moved it back too far after the first flight and quickly learned how the Goblin flies with the CG too far back. Wow, that was a hand full and Andres' video of finding the CG on the original Goblin came to mind. After some more test flights I was able to find the CG at 32 mm from the leading edge. Unfortunately the flaps have to be in a pretty big up position in level flight. I was not expecting that, which also ment I had to shorten the linkages afterward - you can see the Z-bend I made in the middle.
Here is the setup I used for the Goblin 130%:
Servos: 2x Corona CS238MG from Hobbyking
Motor: Tiger MT2216-900kv
Prop: Graupner 10x5" E-prop
ESC: 20A
Battery: 4s 3.300mAh (280g) for looooong flights
Rx/Tx: Spektrum
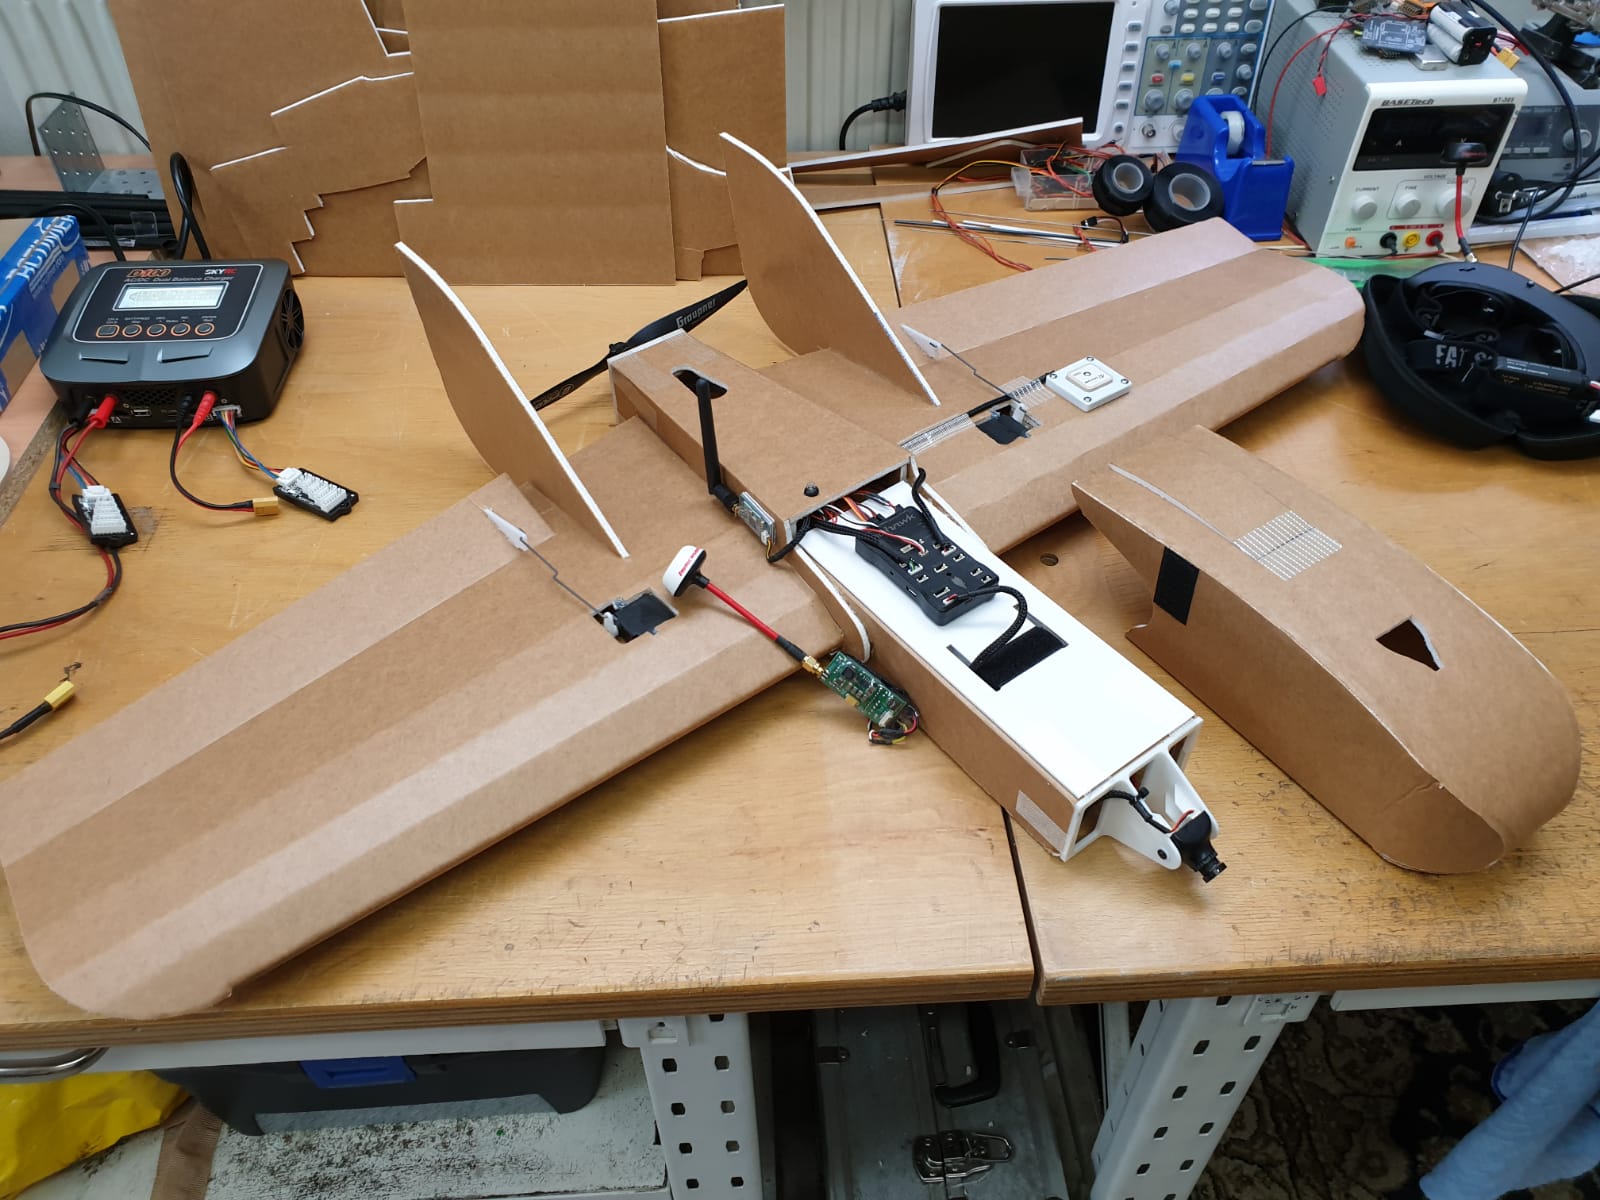
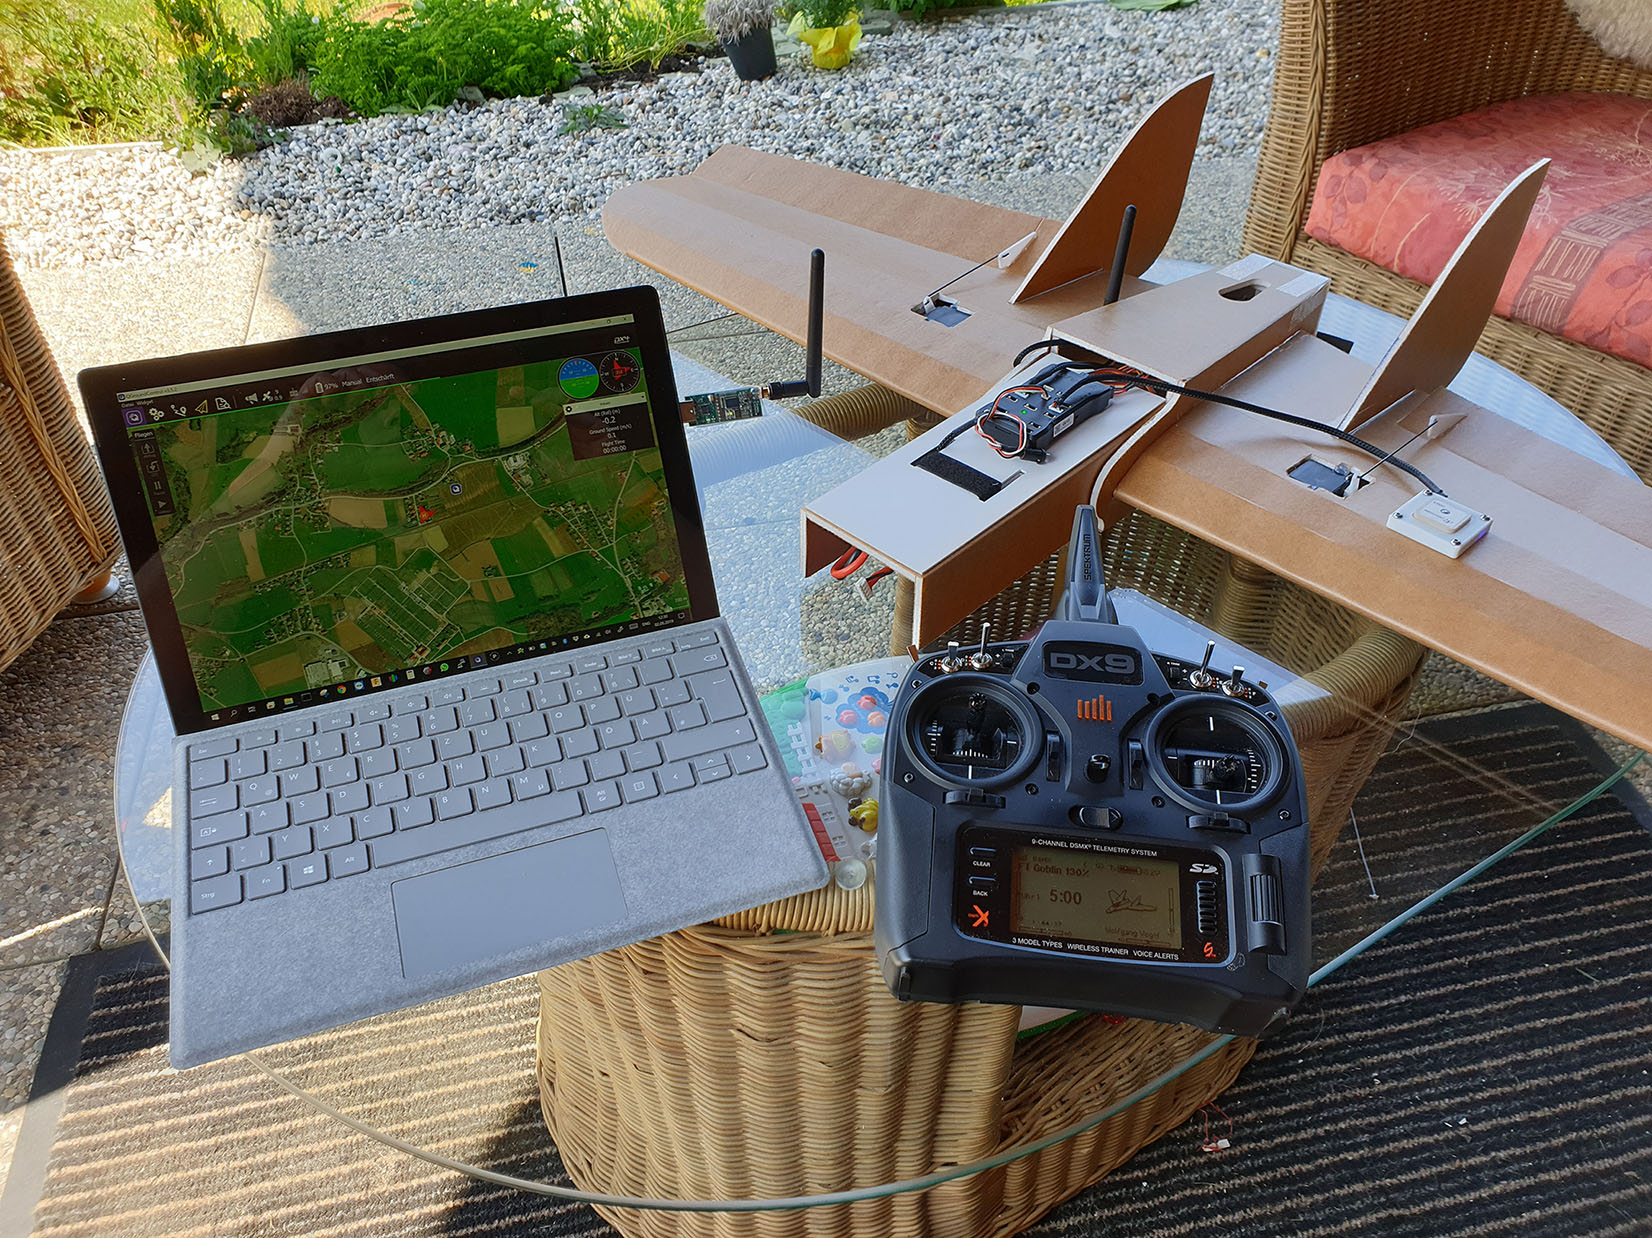
Then it was time for the Autopilot, which happened to be the Pixhawk 4 from CUAV with a ublox 6 series GPS and MAG combination (I am not using the compass from the GPS board at the moment as the compass inside the Pixhawk is working great) inside a 3d printed housing on the left wing as far away from the high current wires as possible. Btw, the white sheet on top of the deck is a 1.5 mm ABS sheet cut to size and hot glued to the foamboard front fuselage to strengthen this area. Keep in mind there is a heavy battery hanging underneith the velcro strap you can see right in front of the Pixhawk.
The telemetry radio is a std. 3DR setup. I am not using an airspeed sensor (there is a software circuit breaker in the parameters) and so far the autopilot has no problem flying the plane also in windy conditions.
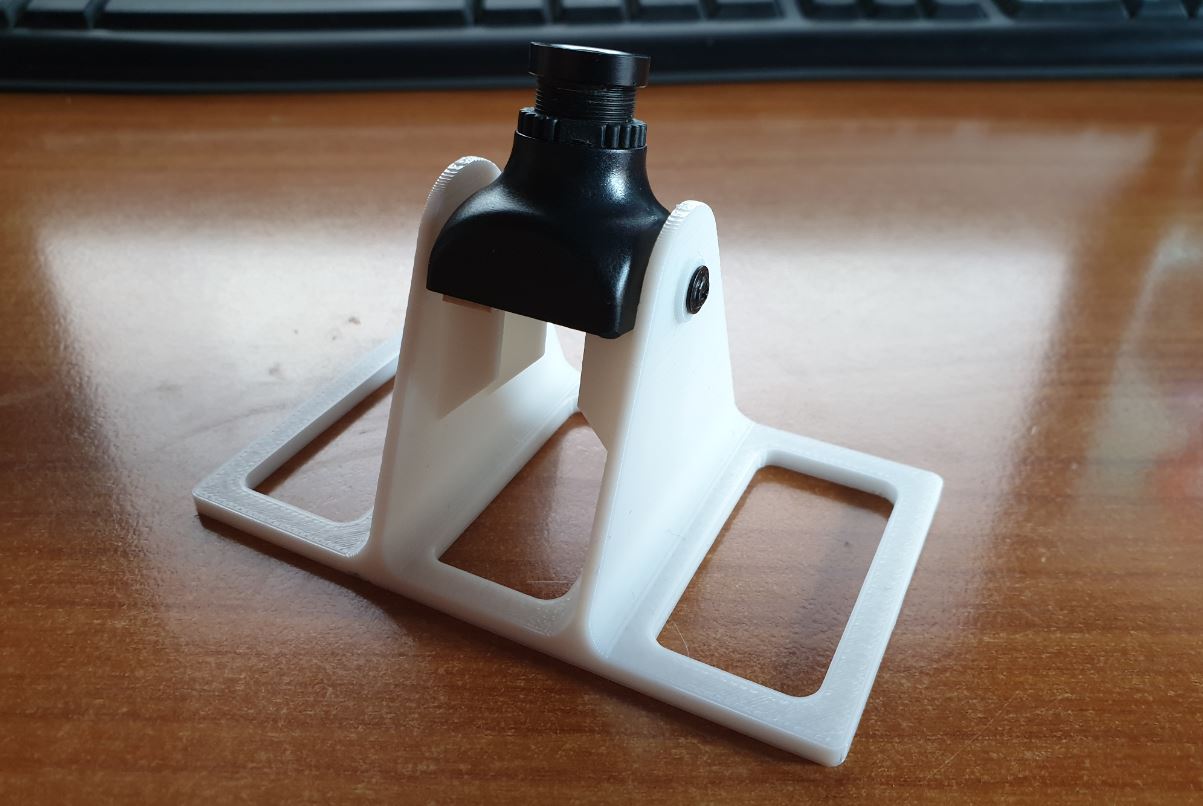
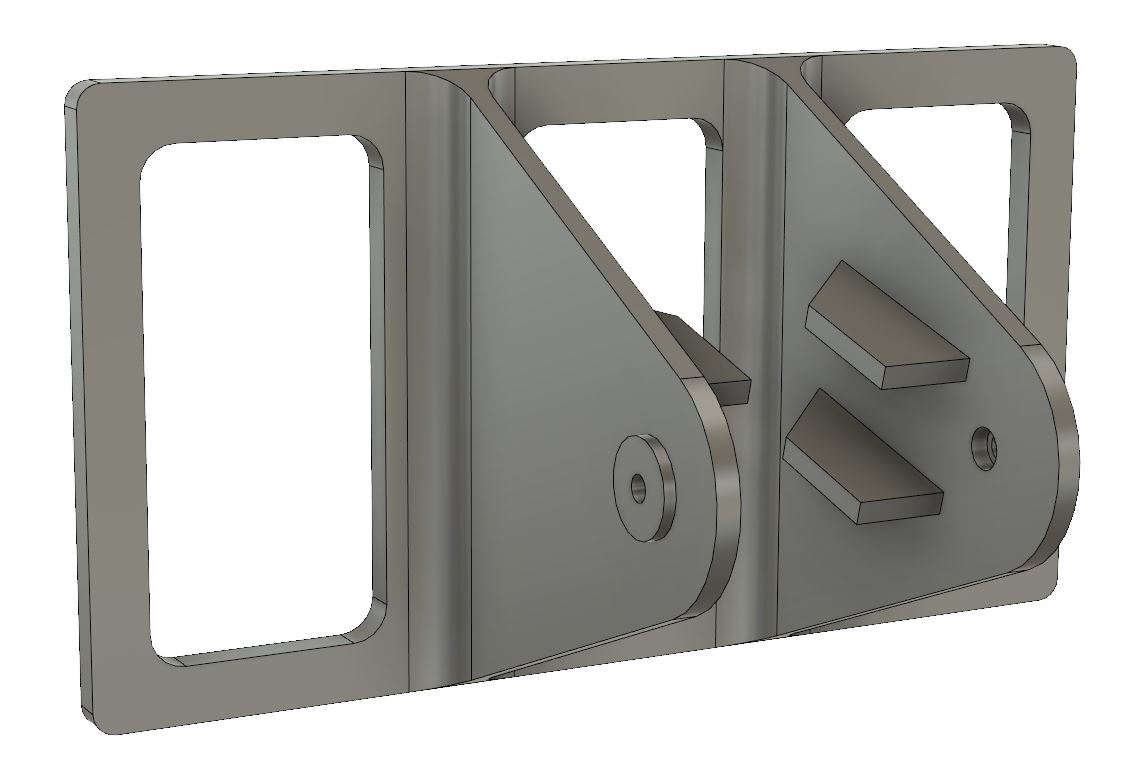
The only thing that was left to do after the first successfull autonomous flight was to add a FPV camera and VideoTx. The holder again was designed in Fusion 360 and 3d printed with a built in 15° downward angle.
Thank you Flite Test and Andres for designing such a nice plane and giving us the plans for free. This was an excellent starting point for this project and I now have a fully capable airframe for just a few bucks.
Wolfgang
Here is my enlarged Goblin with Pixhawk Autopilot for (almost) full autonomous flights.

After scratch building and flying the std. size Goblin I knew I had to build this plane as big as a 30"x20" foamboard would allow me to cut a wing piece from a single sheet of foam board. I started by importing the plans to Fusion 360 and increased the size of the wing until it would just fit. This happened to be 130%. The parts now fit on 3 1/2 sheets, with a second canopy on the 4th sheet.
The only modification I did was to move the fins slightly outwards, because I wanted to be able to fit a 10" prop between them. This also ment, that the flaps would be slightly smaller, but this never was a problem.
Then I cut the parts on my CNC router with a 0.8 mm single flute end mill.

Of course, the maiden flight was done without the Autopilot as I needed to know if the increased size plane would fly as well as the small one does and to find the CG before loading it up. I was surprised to find out that the CG is NOT at the "scaled" position, which would have been 25 mm behind the leading edge. The Goblin was nose heavy as hell and almost would not fly like this. It was very hard to keep it in the air with full elevator up and full power. Of course, I moved it back too far after the first flight and quickly learned how the Goblin flies with the CG too far back. Wow, that was a hand full and Andres' video of finding the CG on the original Goblin came to mind. After some more test flights I was able to find the CG at 32 mm from the leading edge. Unfortunately the flaps have to be in a pretty big up position in level flight. I was not expecting that, which also ment I had to shorten the linkages afterward - you can see the Z-bend I made in the middle.
Here is the setup I used for the Goblin 130%:
Servos: 2x Corona CS238MG from Hobbyking
Motor: Tiger MT2216-900kv
Prop: Graupner 10x5" E-prop
ESC: 20A
Battery: 4s 3.300mAh (280g) for looooong flights
Rx/Tx: Spektrum

Then it was time for the Autopilot, which happened to be the Pixhawk 4 from CUAV with a ublox 6 series GPS and MAG combination (I am not using the compass from the GPS board at the moment as the compass inside the Pixhawk is working great) inside a 3d printed housing on the left wing as far away from the high current wires as possible. Btw, the white sheet on top of the deck is a 1.5 mm ABS sheet cut to size and hot glued to the foamboard front fuselage to strengthen this area. Keep in mind there is a heavy battery hanging underneith the velcro strap you can see right in front of the Pixhawk.
The telemetry radio is a std. 3DR setup. I am not using an airspeed sensor (there is a software circuit breaker in the parameters) and so far the autopilot has no problem flying the plane also in windy conditions.

The only thing that was left to do after the first successfull autonomous flight was to add a FPV camera and VideoTx. The holder again was designed in Fusion 360 and 3d printed with a built in 15° downward angle.

Thank you Flite Test and Andres for designing such a nice plane and giving us the plans for free. This was an excellent starting point for this project and I now have a fully capable airframe for just a few bucks.
Wolfgang
Last edited:

