hybrid FB Pheonix Bixler

bracesport

Legendary member
I have been contemplating my next build and given I am also assembling a Pheonix 1600 for my brother in law (and let's face it, he may not let me fly it) I thought I should build something complimentary.

I have this Bixler 3 spare part wing under my bench that I bought a while back, a very nice Pheonix to measure, and about one and a half sheets of FB currently in stock - I am going to freestyle a fuse in FB to take the Bixler 3 wing (@1550mm) loosely based on the Pheonix design (@1600mm) - the Pheonix has quite a solid body so there should be enough mass to emulate it in FB.

Maybe it is time to use some of the 'Corsair' techniques, or find some way to make the fuse more organic than my usual box tube fuses - I will think about it!

742-6-phoenix1600-03.jpg
194766.jpg
 
Last edited:

bracesport

Legendary member
I was just looking a the Pheonix fuse and quickly drew around it as a starting point - it looks like it has about 2 deg up on the wing vs the horizontal stabiliser?

I am contemplating where to join the fuse as it’s longer than one sheet of FB - I’m also thinking it will be a tad ambitious to roll the fuse Corsair style and maintain the strength, so I’ll see what I can achieve with six sides - I have been doing OK with the 'experimental airlines' tube bending for my fuse's, but maybe its time to cut and glue FT style!
 
Last edited:

bracesport

Legendary member
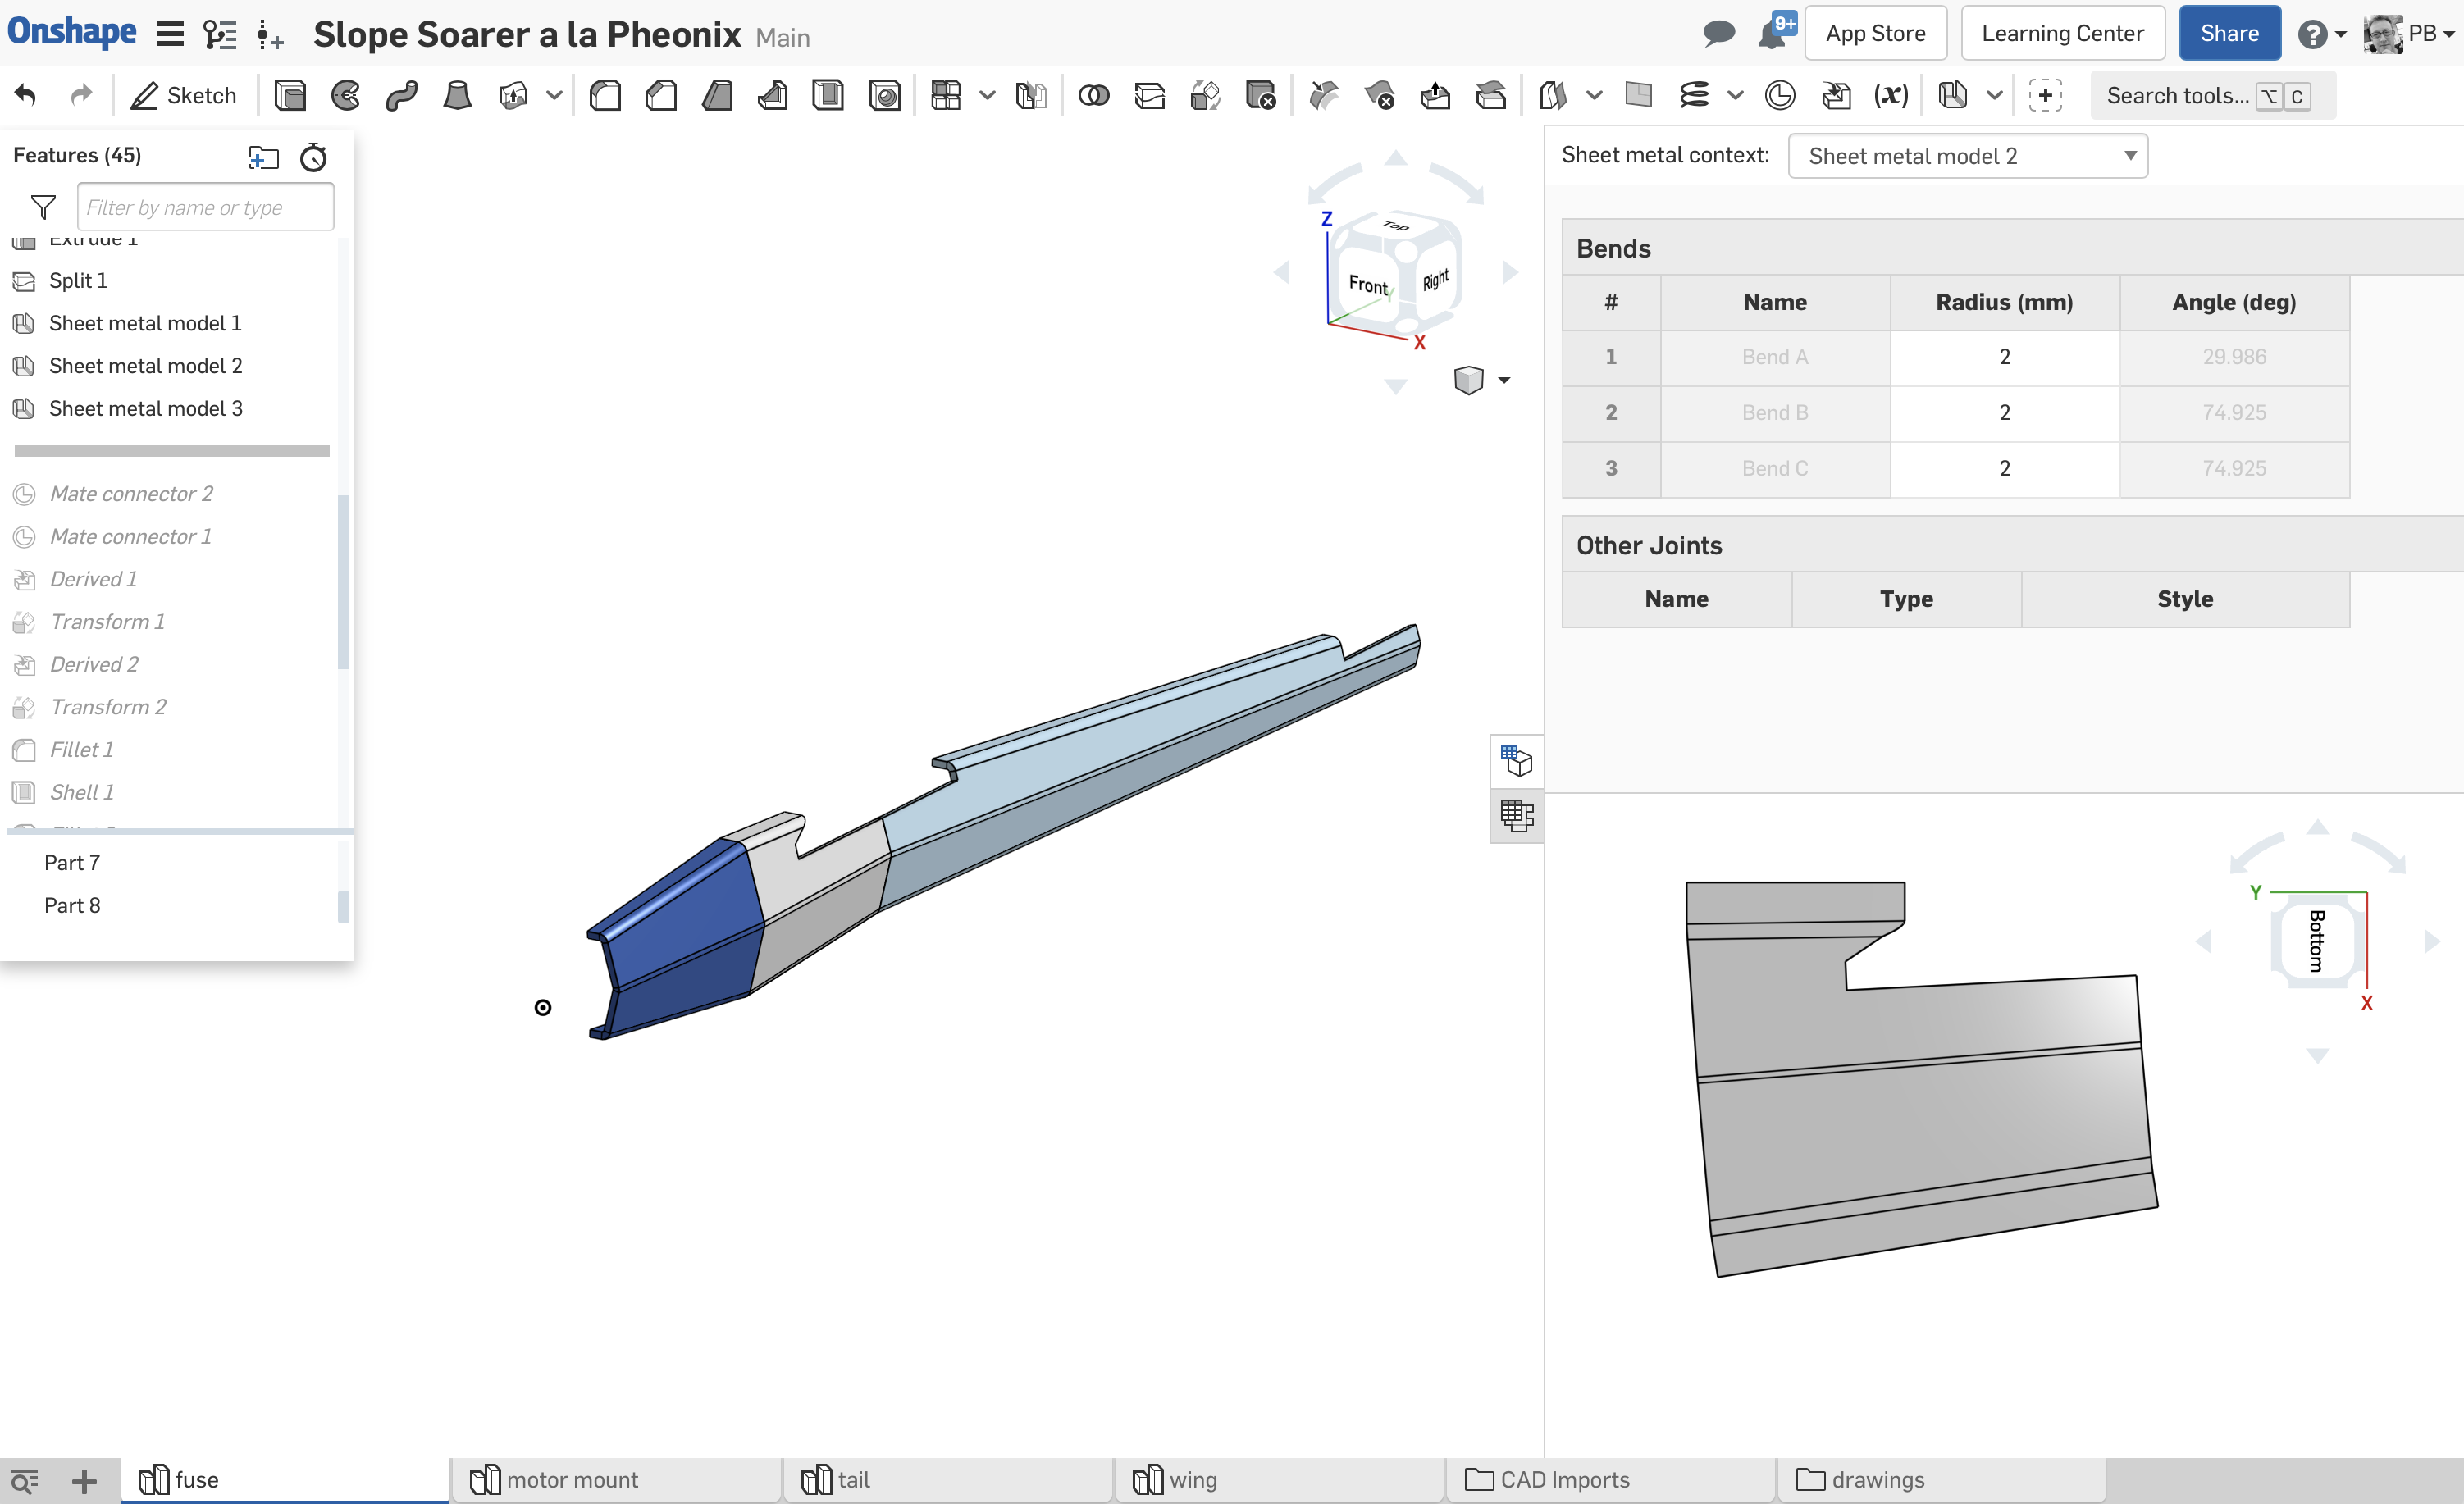
I flattened the fuse sections to give me three folding templates - attached below is an example for half of the flat pattern (mid-section) - I will mirror the pattern when I mark up the FB - I am also doing a quick RP for the nose cone section to house the motor - Sadly I will have to decommission my nube-tube to use the inboard motor and servos for this bird!

Screen Shot 2019-04-23 at 2.49.59 PM.png
 

daxian

Elite member
indeed, impressed is right ....check out serenity in the articles section for ideas ...fellow aussie designed foamboard radian look alike... might well suit the bixler wing ,with a little modification !!
 

bracesport

Legendary member
@daxian - thanks for the heads up - I checked out the Serenity and the Serene - seems I am ending up in a similar place - my fuse will be a bit trickier to assemble but I am keen to see if it is possible to wrap the fuse rather than kitset the panels!
 

bracesport

Legendary member
Today I finished assembling the real Pheonix 1600 today and with any luck, I can build my hybrid FB Pheonix over the weekend.

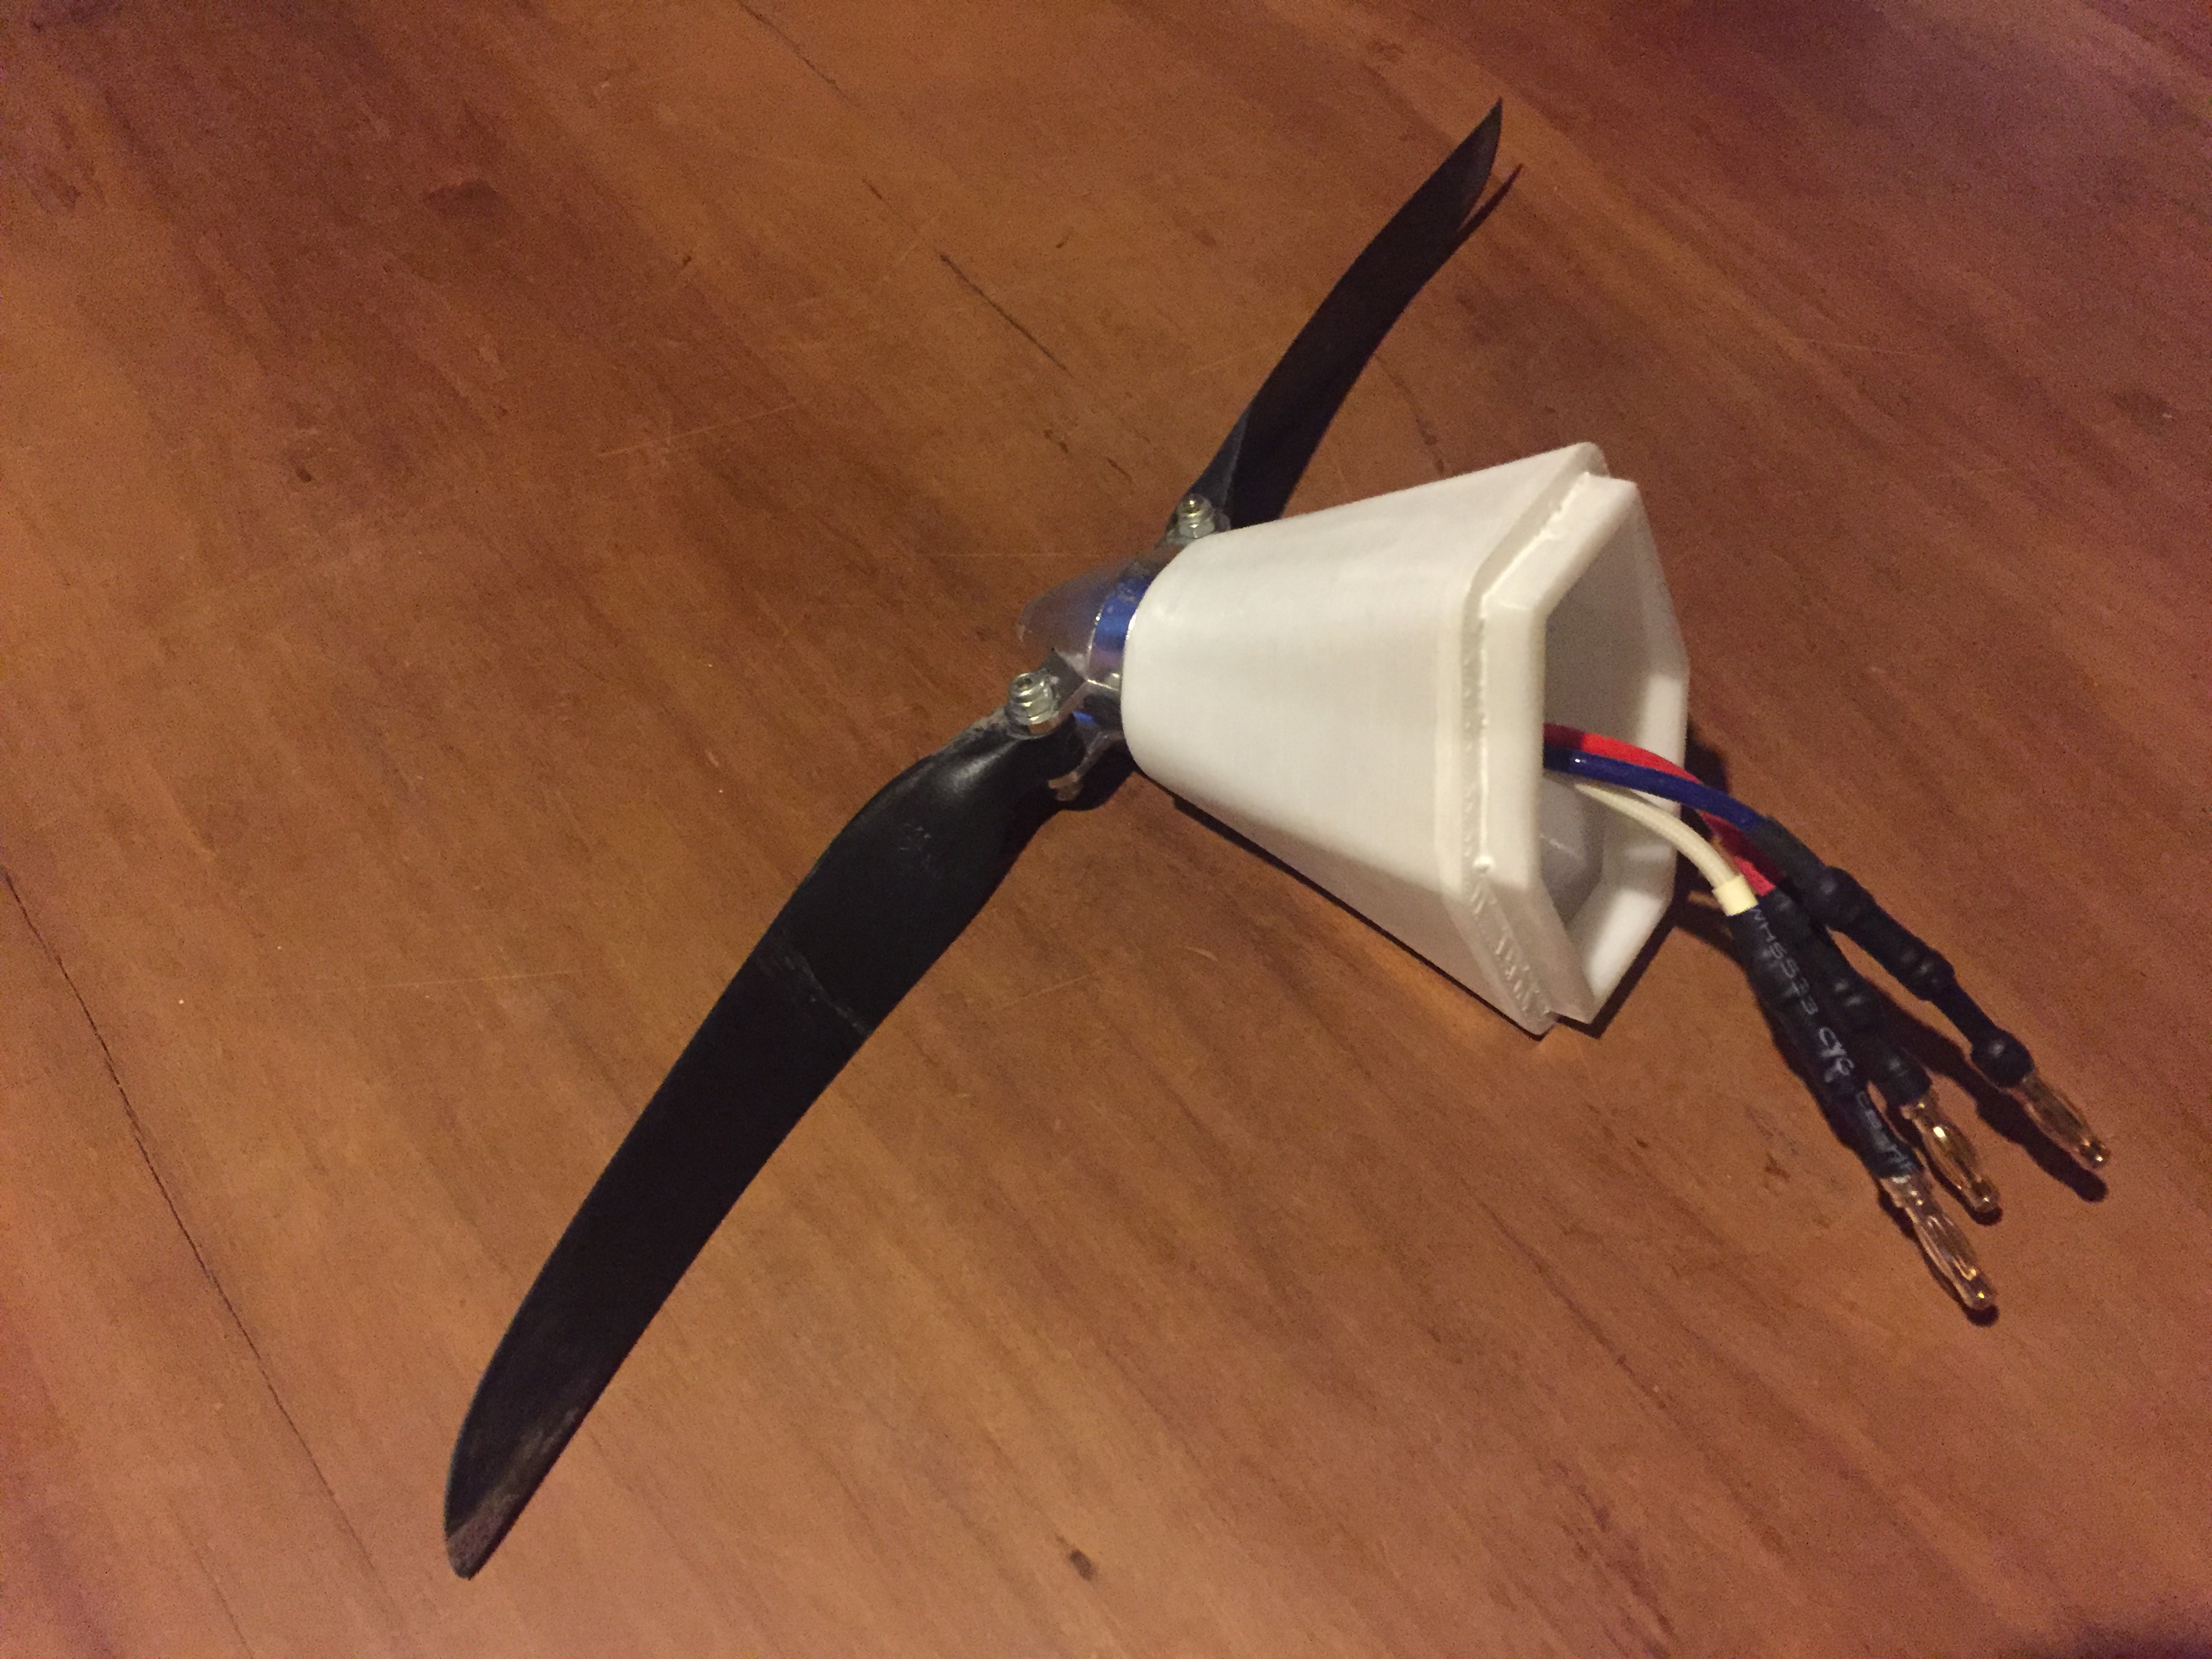
I RP’d the nose and assembled the motor and folding prop - the motor is an old school inrunner RCer BL4-15-4 1810kv paired with my usual 11x6 folding prop.

I have the six-sided fuse to fold next - all going well everything will match up after folding!

FB23ACFB-A64E-41F6-9CCF-D72452FD4422.jpeg
 
Last edited:

bracesport

Legendary member
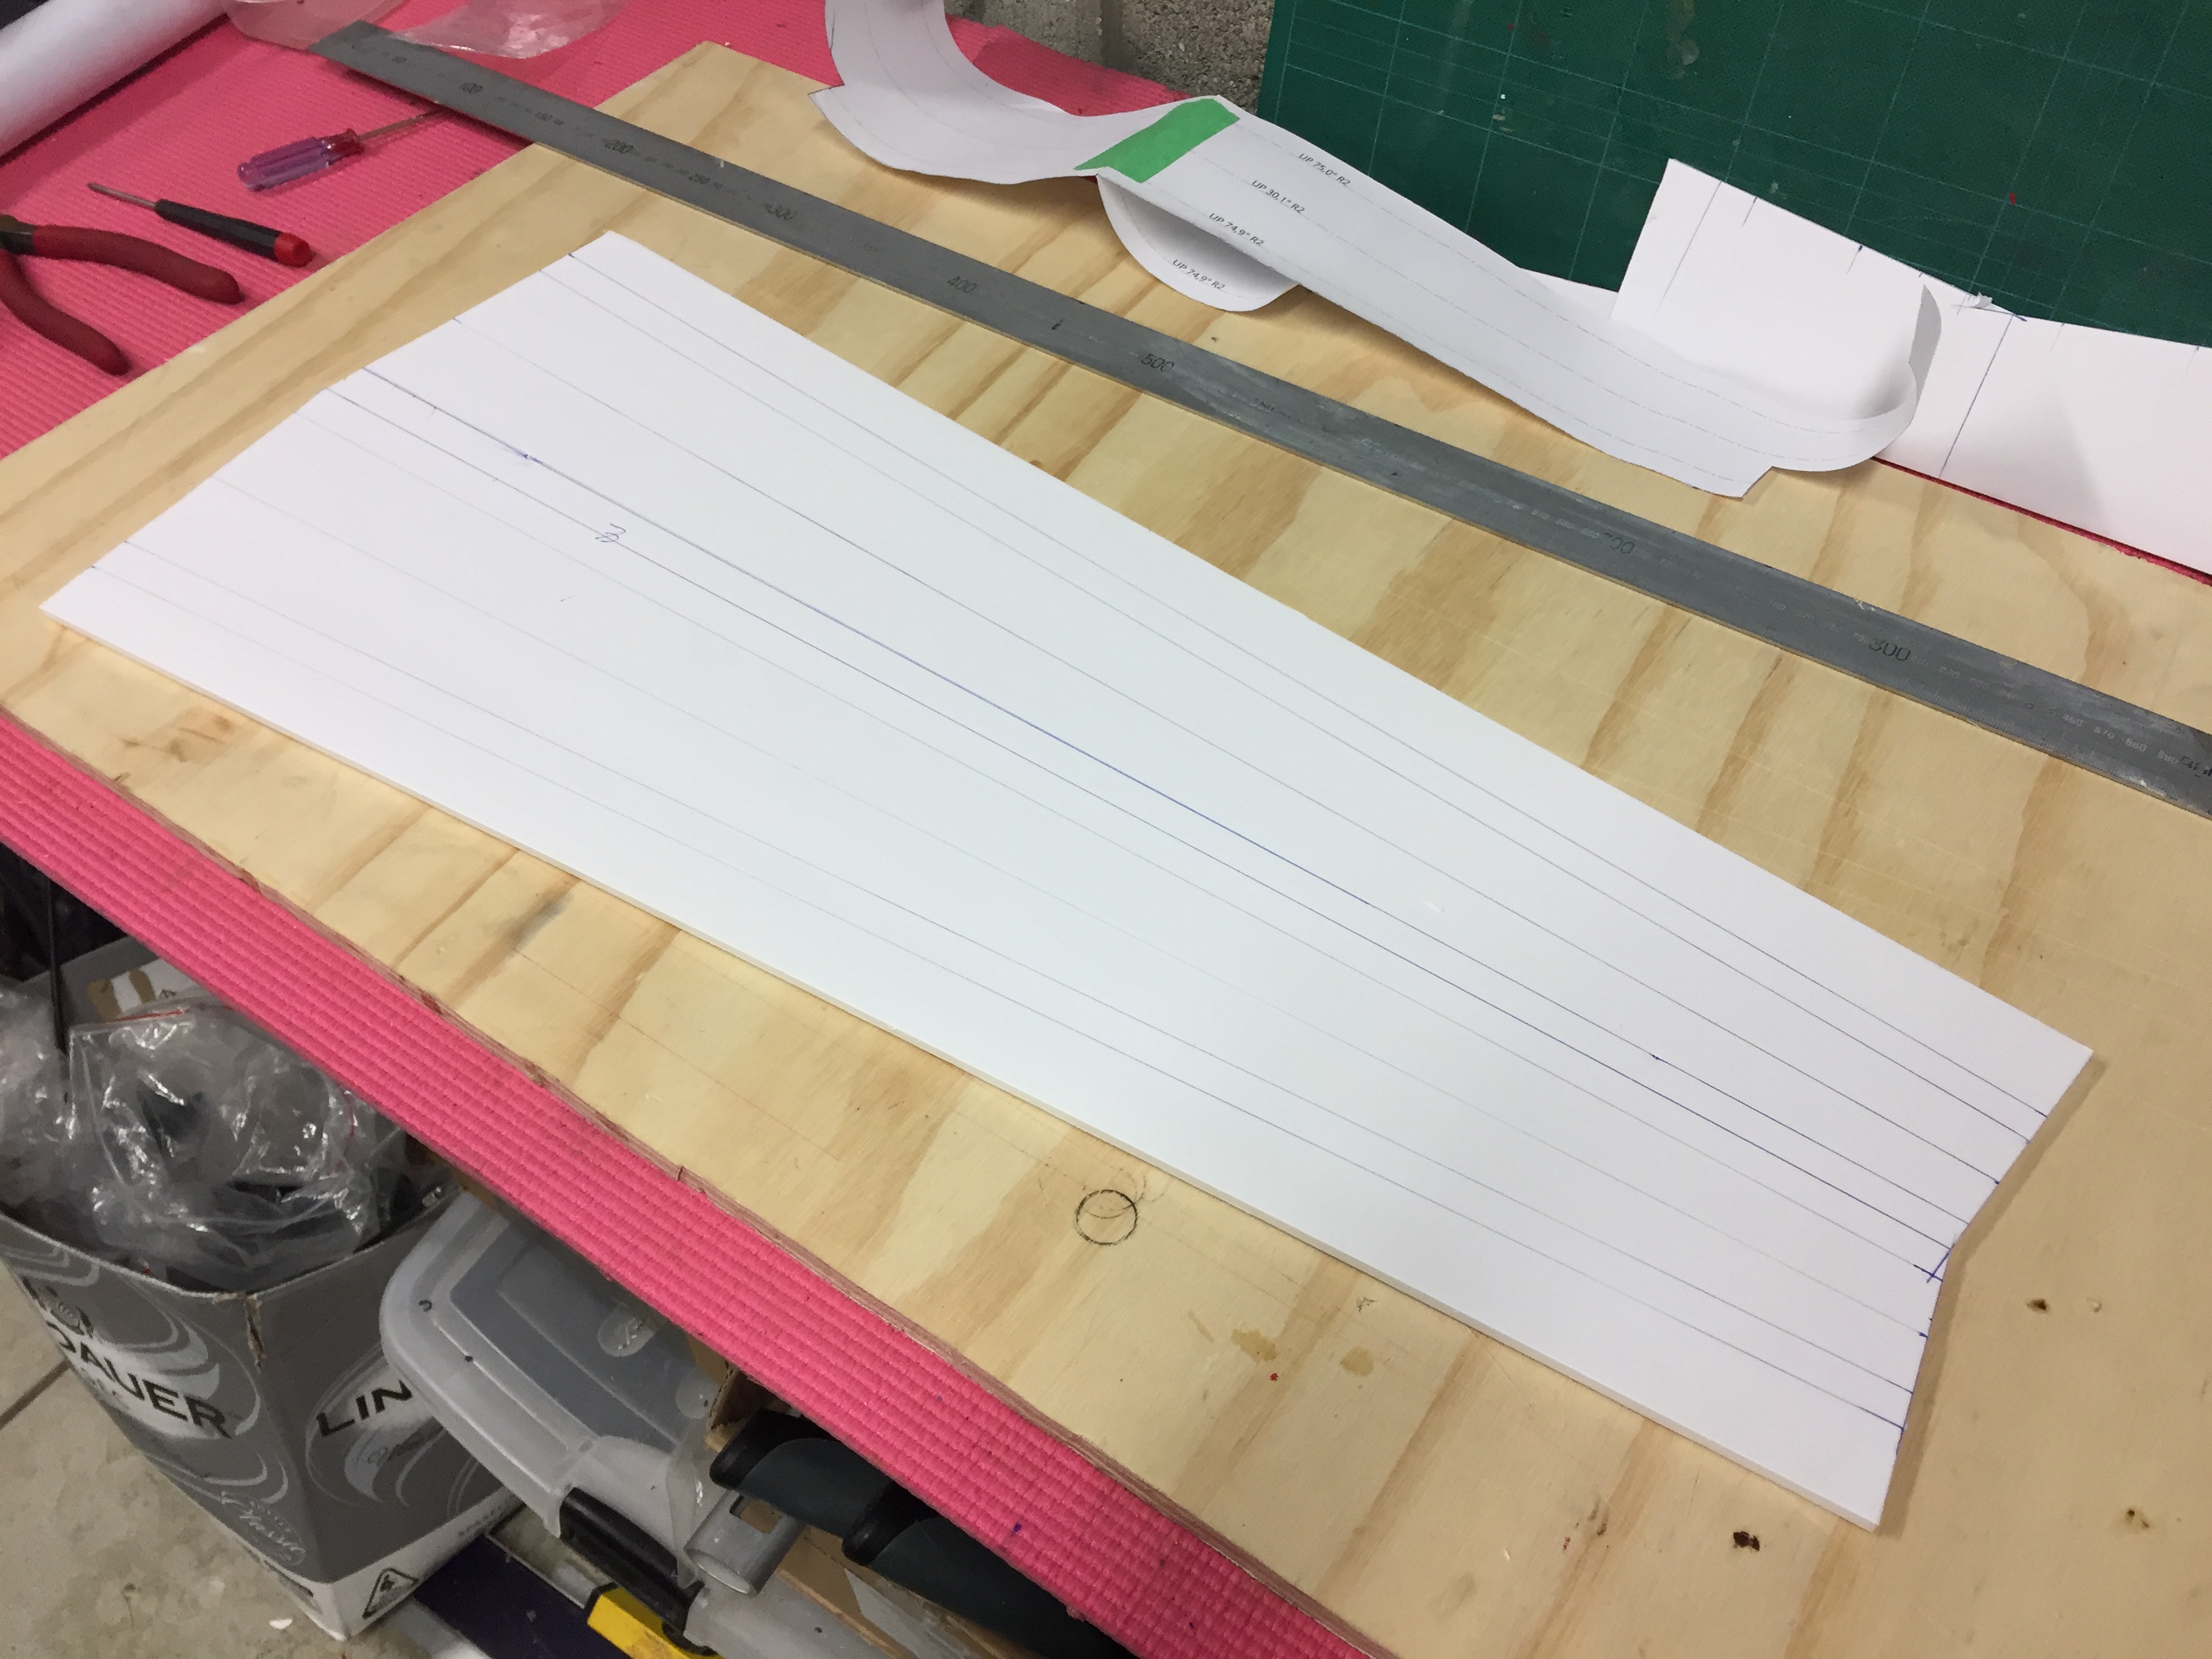
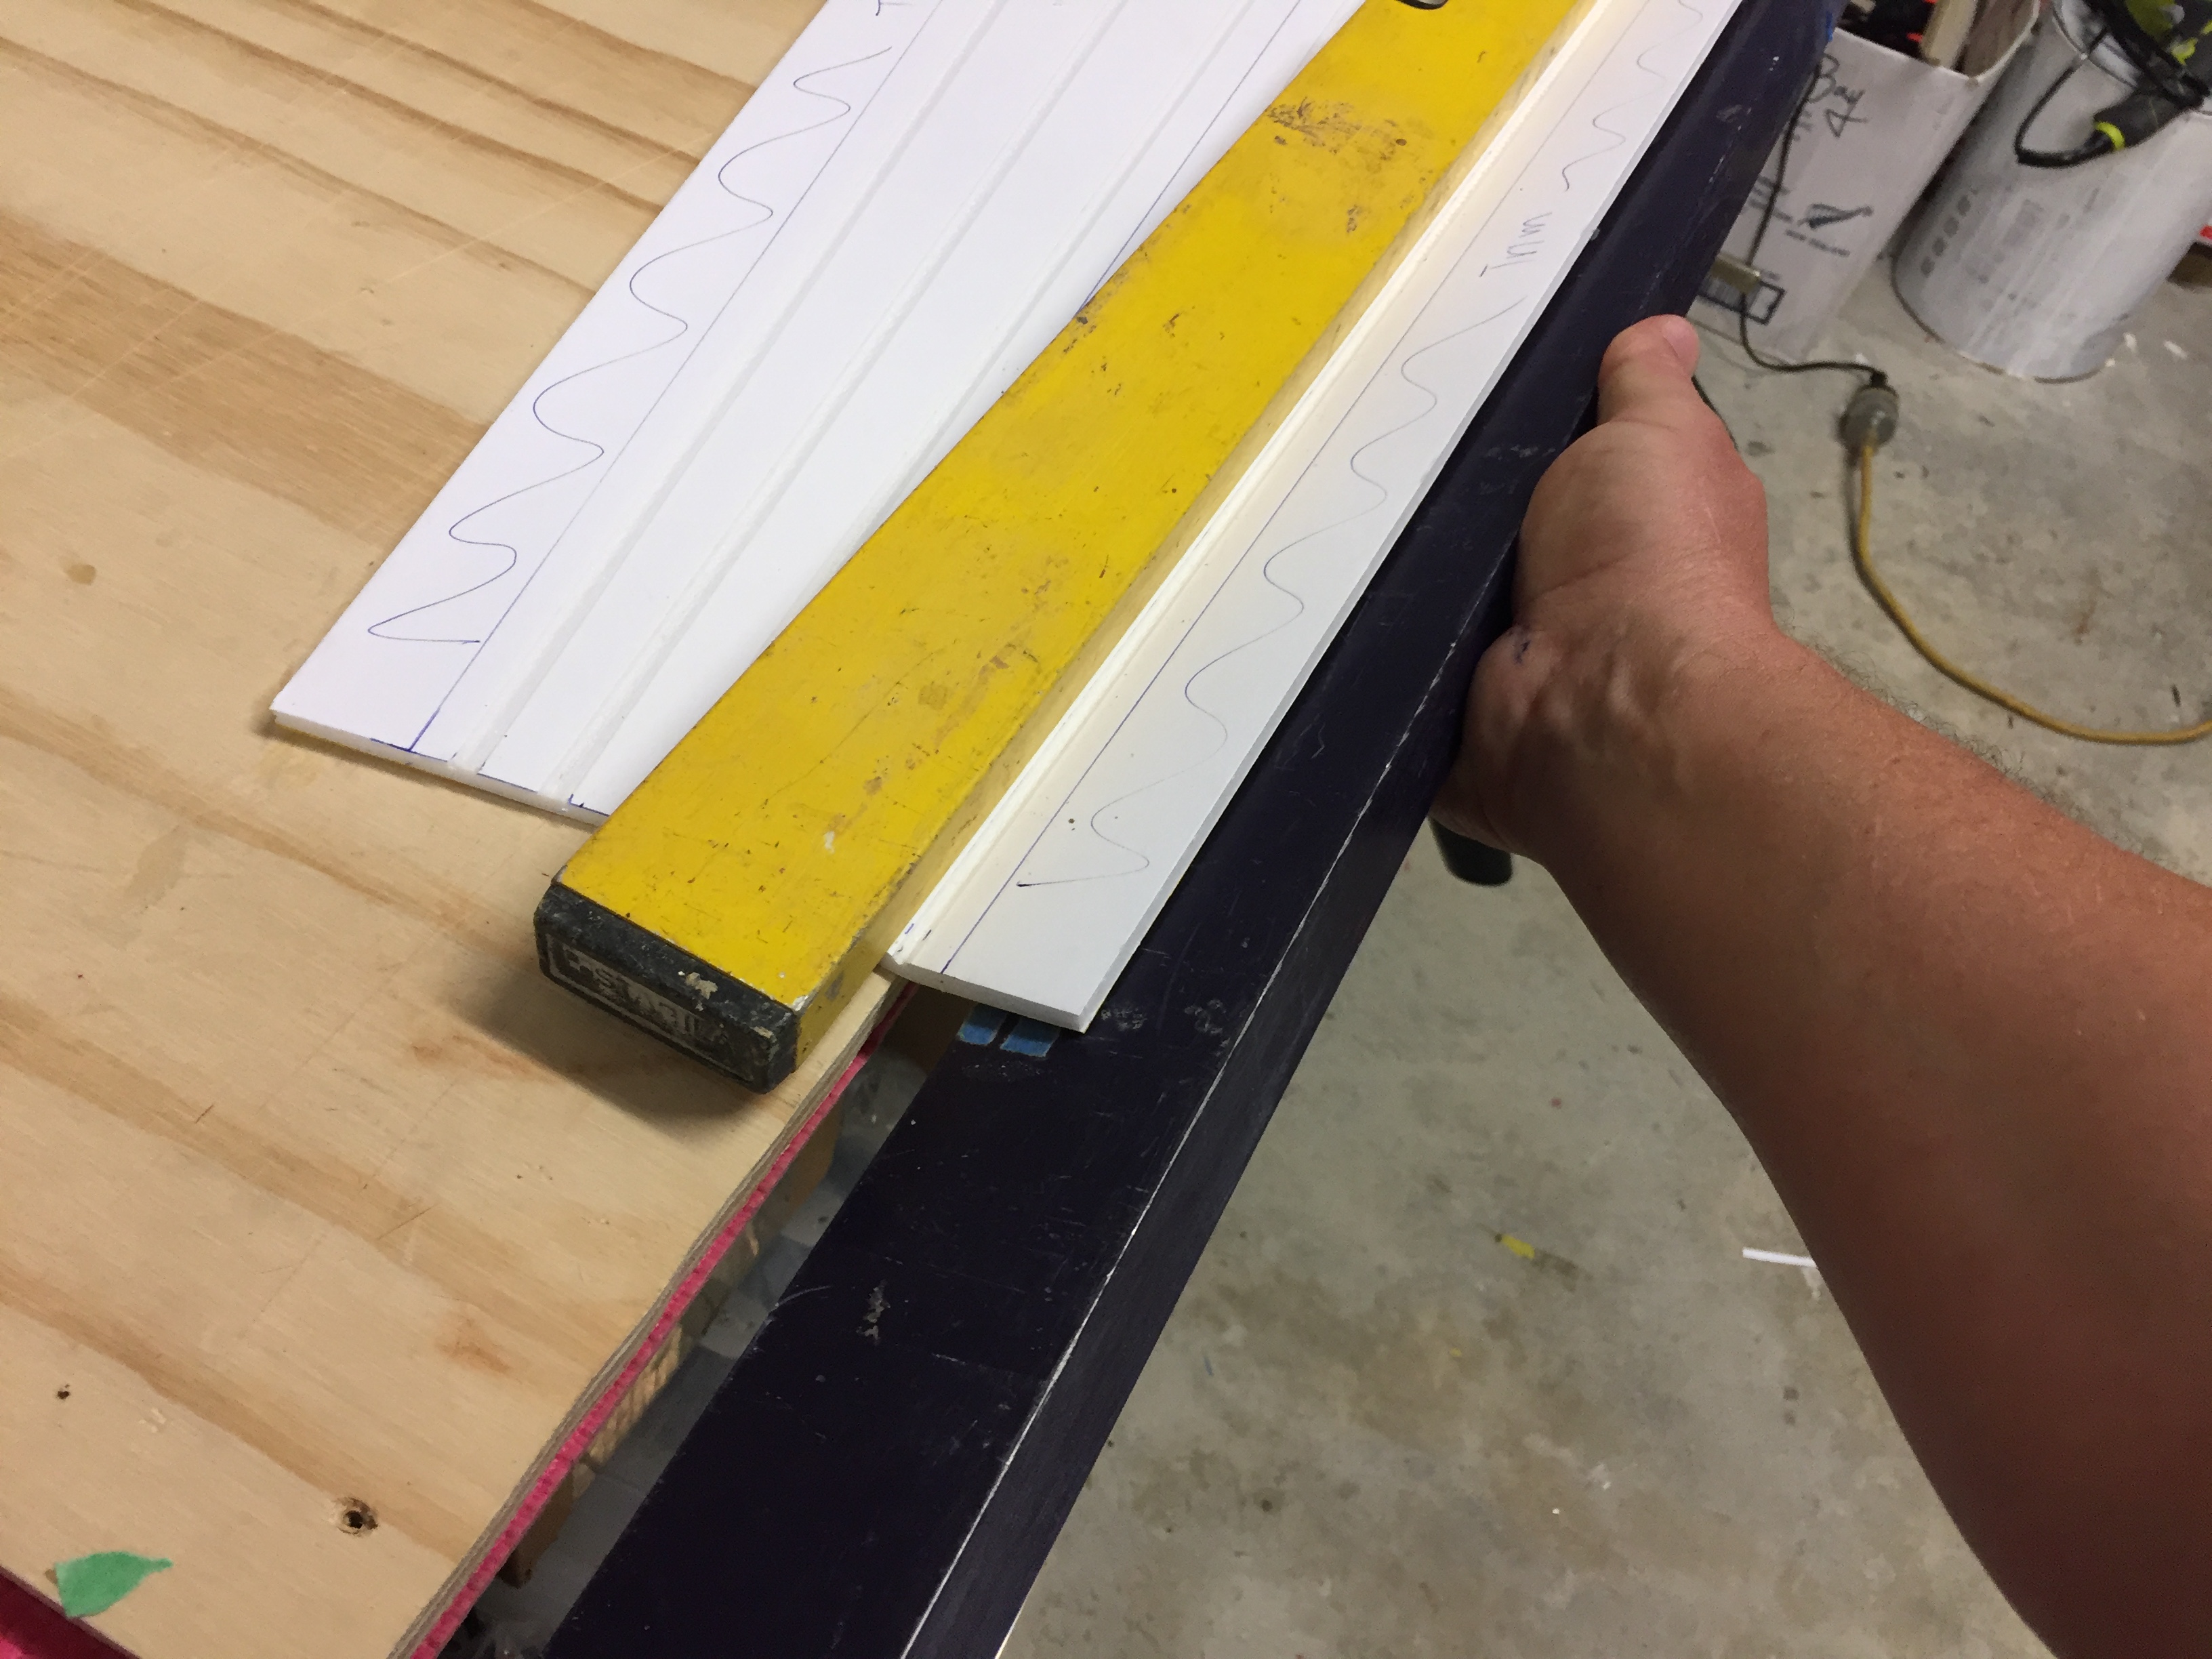
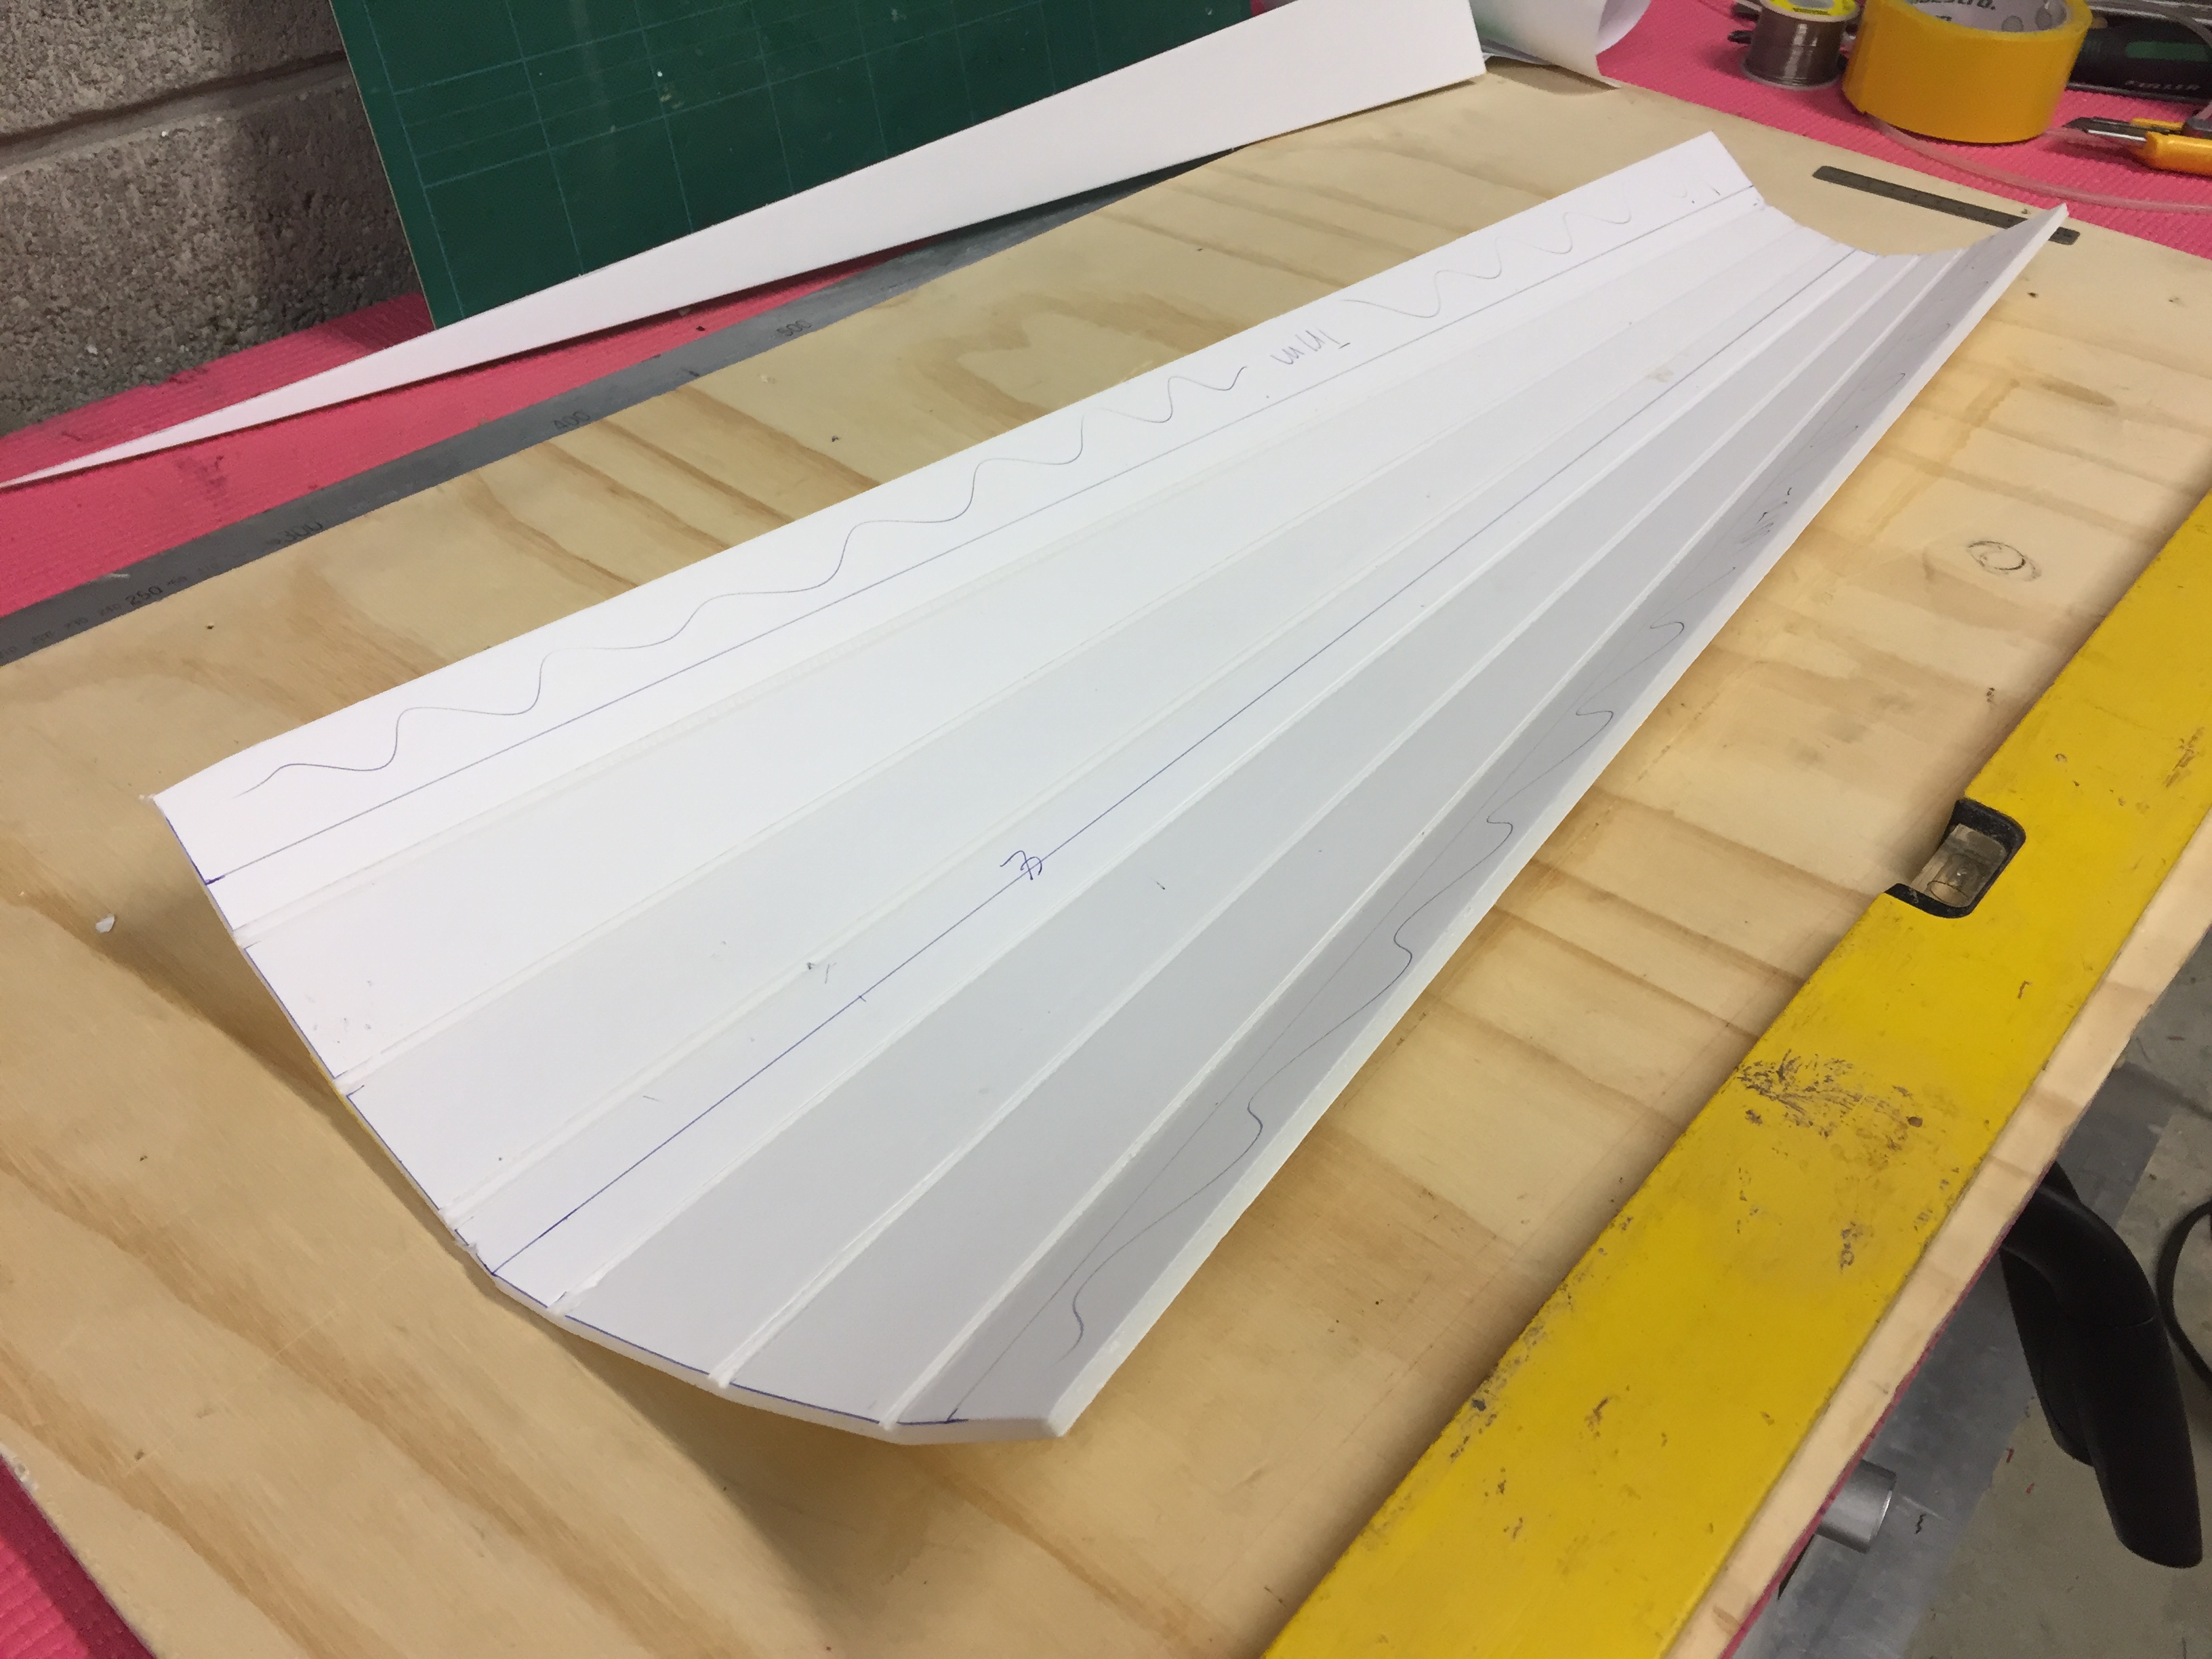
I thought I would tackle the tail end of the fuse first as it will most likely be the most challenging part - my process for prep is to transfer the pattern and mark up the folding lines - on the opposite side I marked up the cuts for the main wing and tail so I can use the lines as a guide for cutting later - next, I tape the outer surface, and then remove 5mm of paper at the fold lines - with a tip of a pen I crease the centre of the folds - I typically dry fold each bend with two folding blocks (in this case a level and a straight edge).

IMG_6217.JPG
IMG_6218.JPG
IMG_6219.JPG
IMG_6220.JPG
IMG_6221.JPG
IMG_6222.JPG
IMG_6223.JPG
 
Last edited:

bracesport

Legendary member
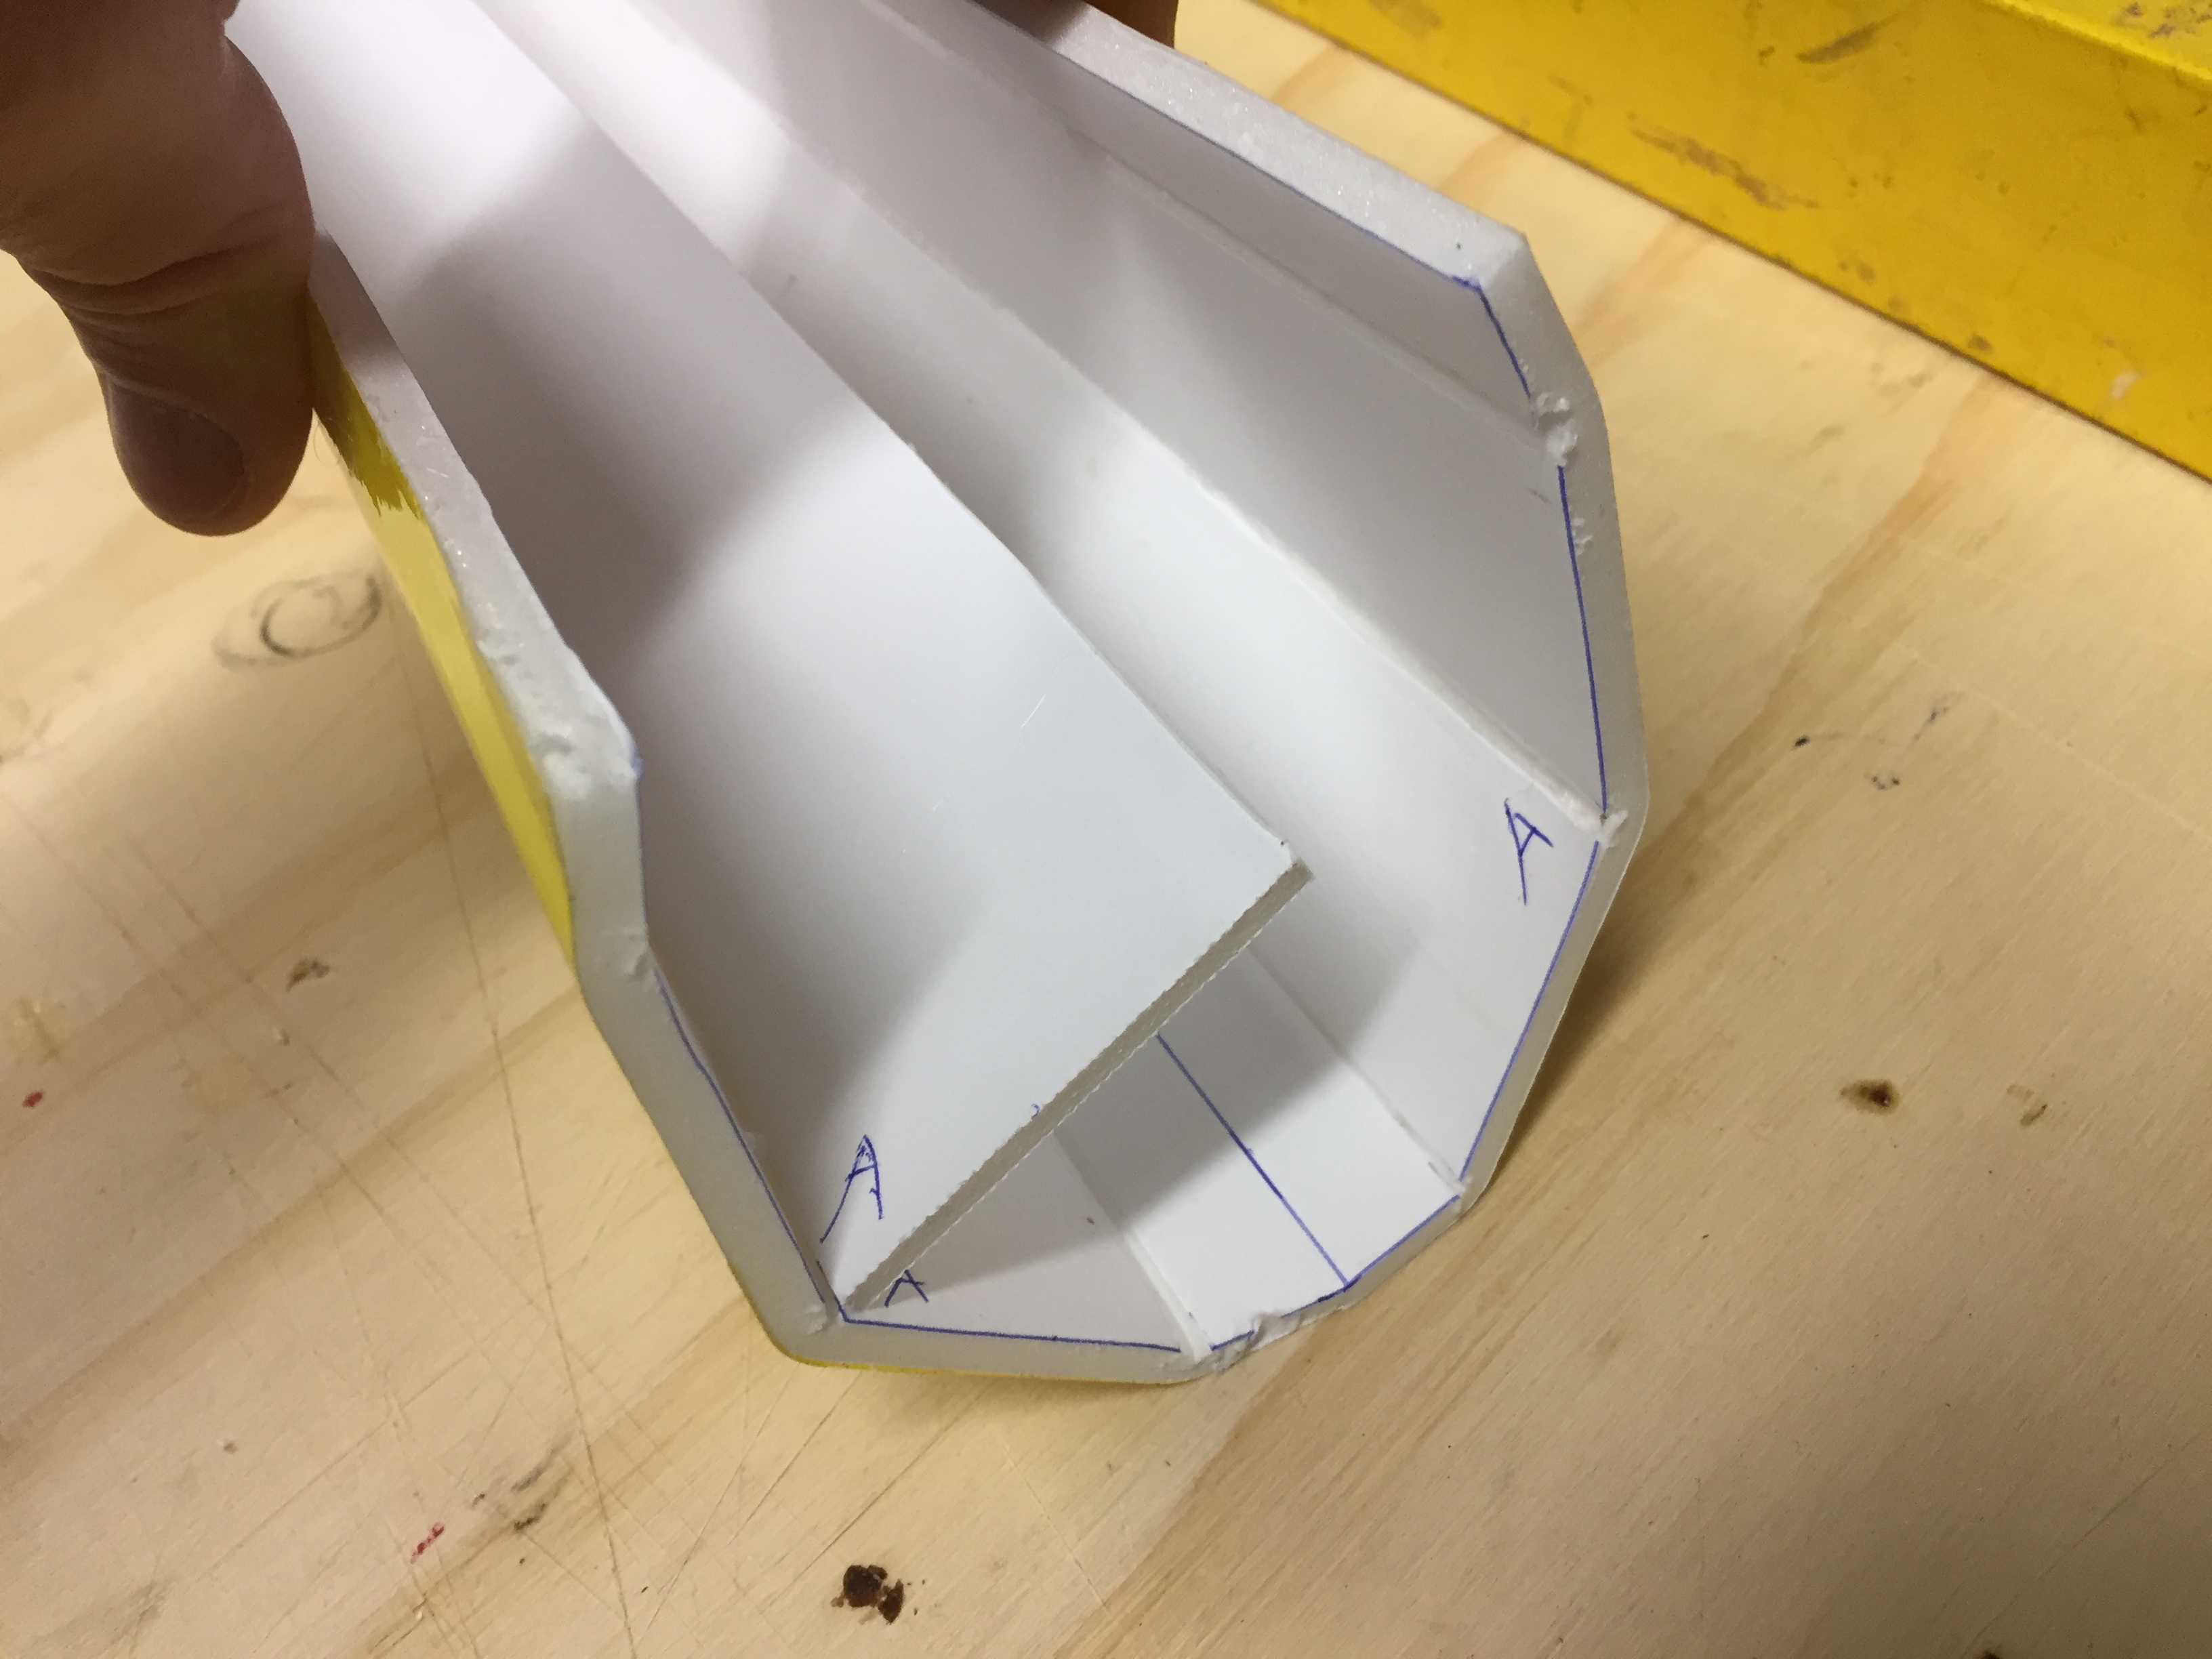
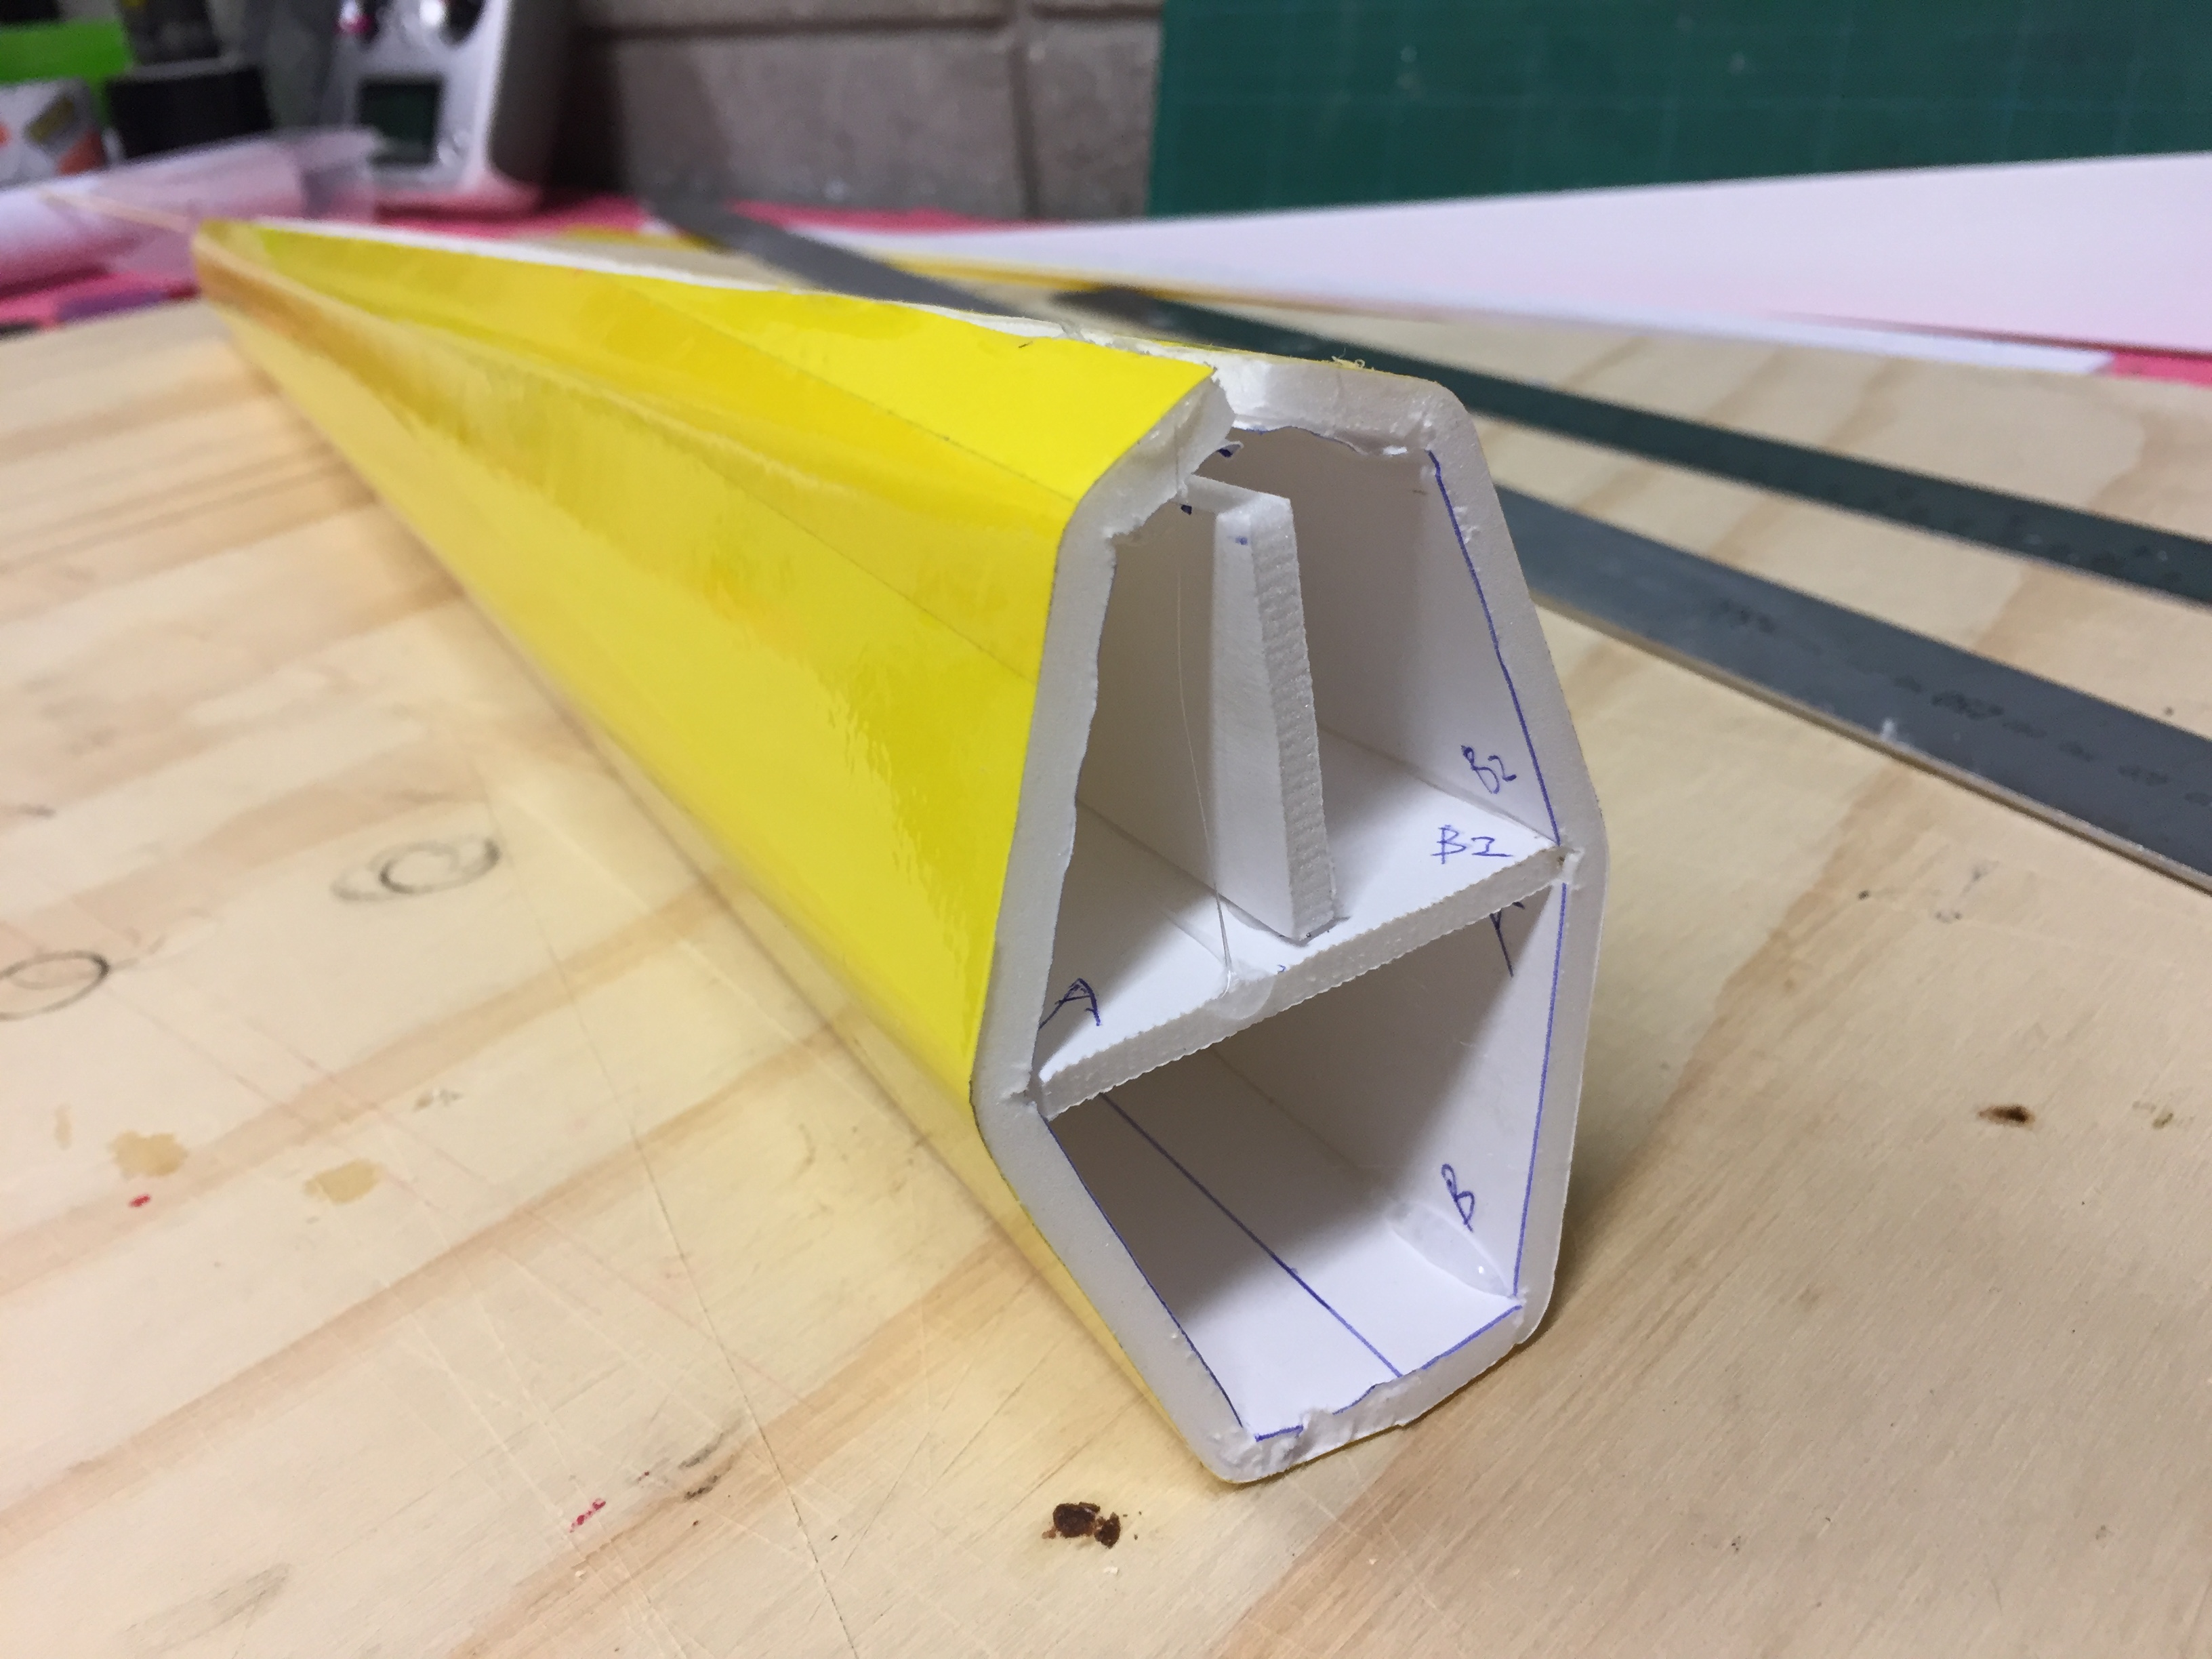
once all the edges are dry folded I plan in which order to fold and glue the faces - in this case, I was thinking to make a horizontal reinforcement to help with folding and to strengthen the tail section - I set the two bends marked 'A' and then glued a tapered strut onto one of the 'A' bends - once dry I glued the 'B' bends and finished with 'B2' to complete the top side of the structure - after that I decided to add a vertical strut that would further strengthen the tail and give me a glueing rib to finish the six-sided box.

My idea with the box section open on the top side is to provide a clean channel for control wires or extended servo wires depending on which way I go to rig up the tail feathers.

It actually turned out well for a first try - a tad more challenging than I imagined with only two hands, but I got there, and as usual, I could make a second one better!

IMG_6224.JPG
IMG_6225.JPG
IMG_6226.JPG
IMG_6227.JPG
IMG_6228.JPG
IMG_6229.JPG
IMG_6230.JPG
IMG_6231.JPG
 
Last edited:

bracesport

Legendary member
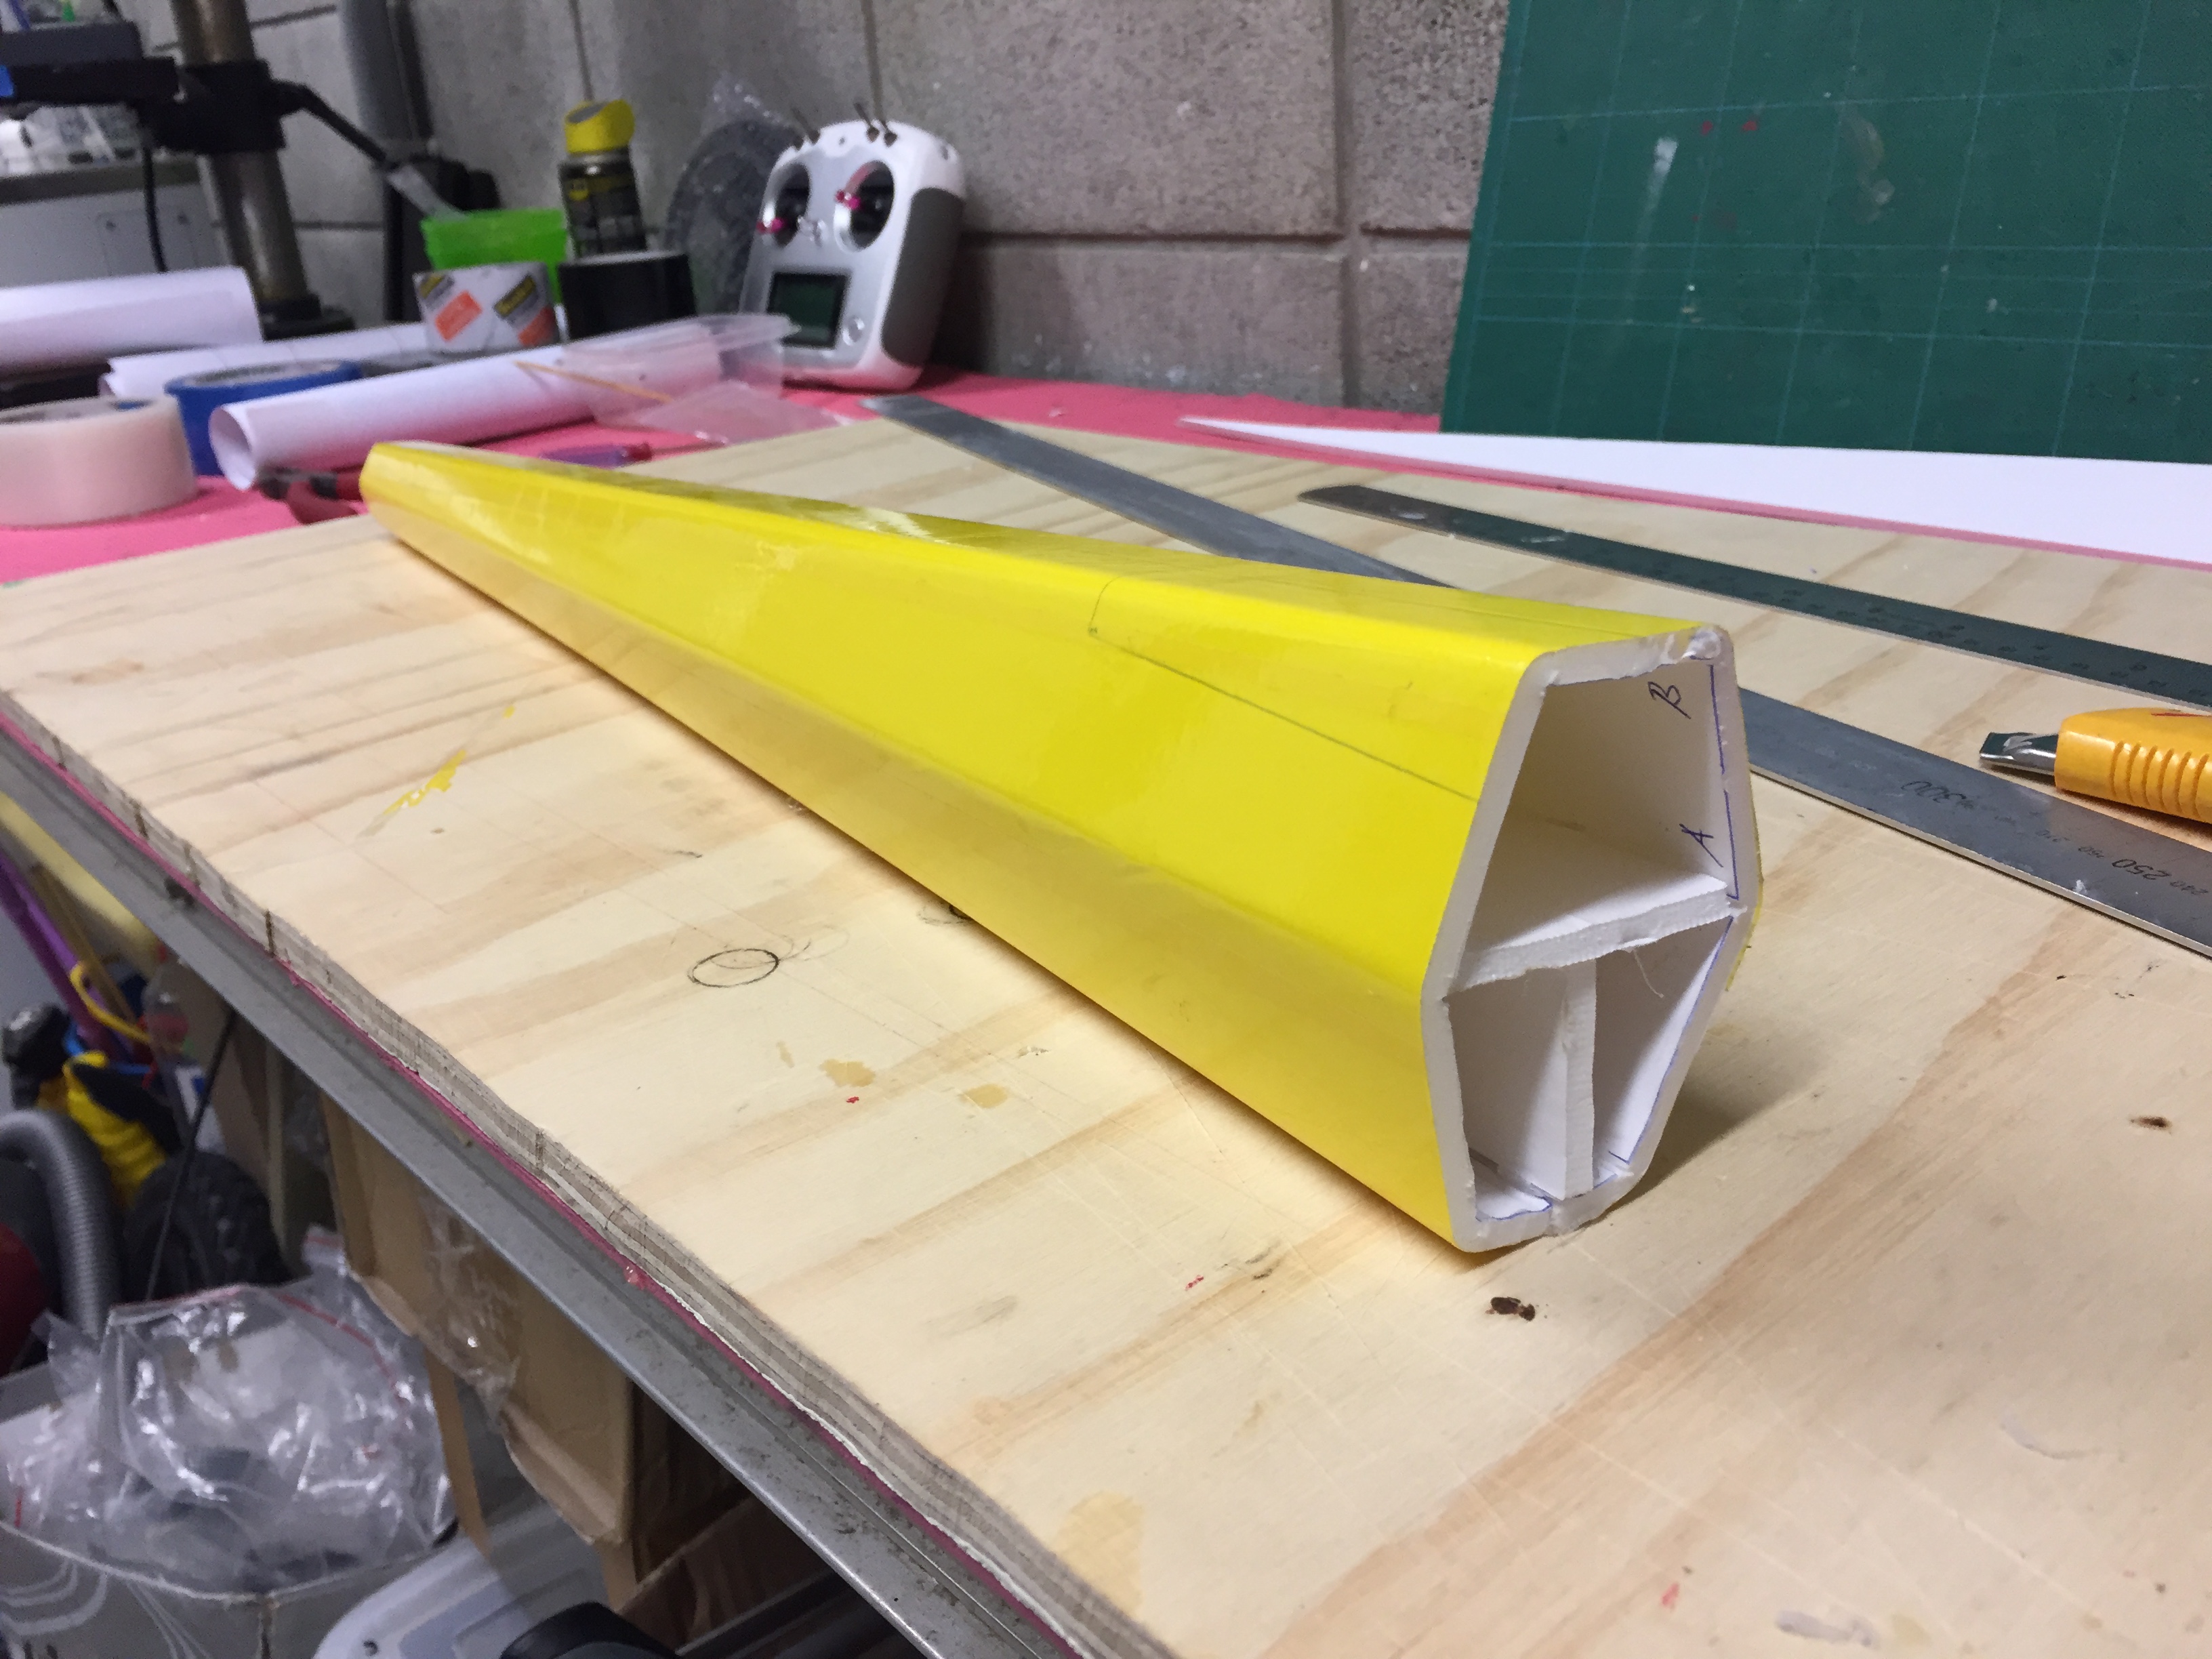
Using the same technique for prep and folding I made the front and mid front sections (however without the vertical reinforcement) - I also modified my bending order to set and glue the bottom bends either side of the join - they both folded more easily and cleaner than the tail - once joined I inserted the horizontal reinforcement.

After that I cut out the main wing section using the reference lines that I added under the tape before bending - I will need to reinforce the wing mount and decide on a fixing method.

Overall, the fuse is pretty good and very strong, but I am not 100% happy with the accuracy of the folds where each section meets - I will treat this as a prototype for now!

3A5764B6-99F2-4780-A2B8-9BA7F1A69181.jpeg
773F64A2-A61A-42F1-9535-1698661CF894.jpeg
D32EBB99-D90A-4969-8480-08B53F0DC558.jpeg
 
Last edited:

daxian

Elite member
nice to see Ed Byrnes (EA) techniques taken to a new level....and so effectivley ...built a few of his designs (noobtube,apd smaller version...fly very nicely) but never thought of enhancing the techniques in the way you have ...well done !
 

bracesport

Legendary member
@daxian - yes my first real plane was the nube-tube (just decommissioned it over Easter to use the gear on this one) - I wonder what happened to Ed - I was hooked on his videos b4 finding FT!
 
Last edited: