
Well, making these last few parts work has been a pain. A lot more curves going on here than normal. Got lucky up until this point, most of my first drawing for the fuse just worked. Think I've got them figured out now though and the lower hull section shouldn't be too much harder to put together than any of the other more recent FT fuselage designs.
Ok, so here's the other bottom hull piece. Ignore the massive excess paper. I wanted to try something that really didn't work out. The lightening section you cut out of it also doubles as the angle gauge.
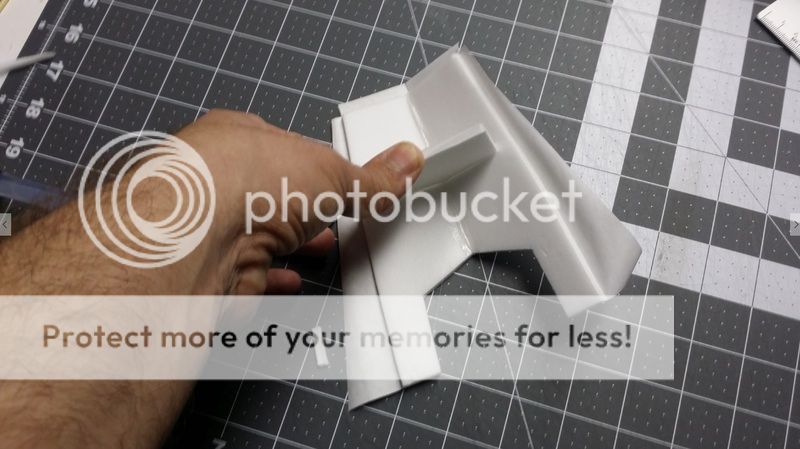
Once you have the angle glued it will slide right into here:


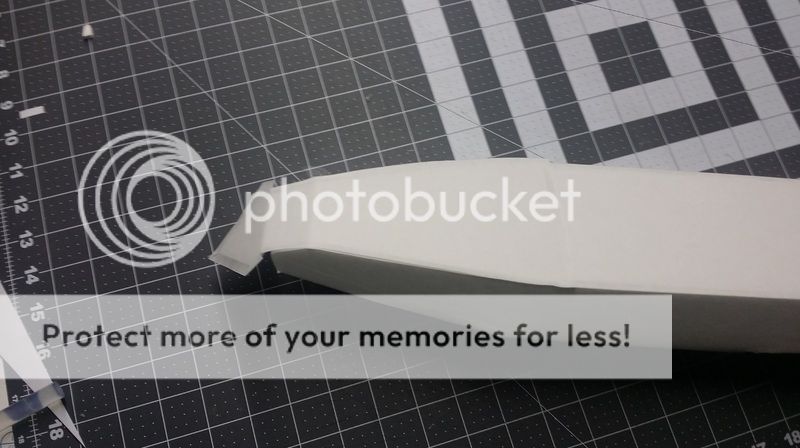
You can see how it's kinda ugly on the sides in the back there. I tried using all that excess paper to cover over everything, but it was too crinkly. So I cut most of the excess paper off and just folded over enough to protect the edge of the plate.

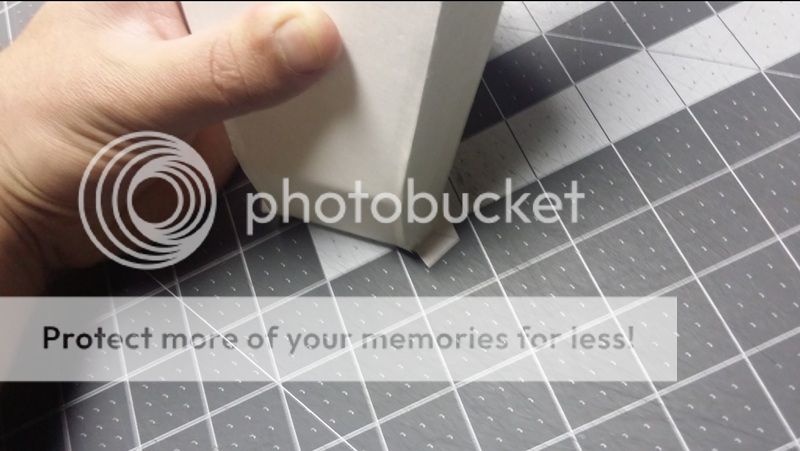
Here's the nose plate of the hull. In the future, this will be attached to the fuse rather than a separate piece to cut out. That will be one less seam and should make it easier to assemble. Note the light beveling on the arrowhead looking section. Not really needed but it makes the fit very clean.

Start by gluing down the main back section:
Then go a little at a time until you're done. No need to be sparing with the glue here. You want this to be sealed.
Fold over the excess paper and glue it down. I like to go back over everything with some tape.


I'm starting the drawings for the tail section now.
Ok, so here's the other bottom hull piece. Ignore the massive excess paper. I wanted to try something that really didn't work out. The lightening section you cut out of it also doubles as the angle gauge.

Once you have the angle glued it will slide right into here:


You can see how it's kinda ugly on the sides in the back there. I tried using all that excess paper to cover over everything, but it was too crinkly. So I cut most of the excess paper off and just folded over enough to protect the edge of the plate.

Here's the nose plate of the hull. In the future, this will be attached to the fuse rather than a separate piece to cut out. That will be one less seam and should make it easier to assemble. Note the light beveling on the arrowhead looking section. Not really needed but it makes the fit very clean.

Start by gluing down the main back section:

Then go a little at a time until you're done. No need to be sparing with the glue here. You want this to be sealed.

Fold over the excess paper and glue it down. I like to go back over everything with some tape.


I'm starting the drawings for the tail section now.
Last edited:
")


