RandomChaos
New member
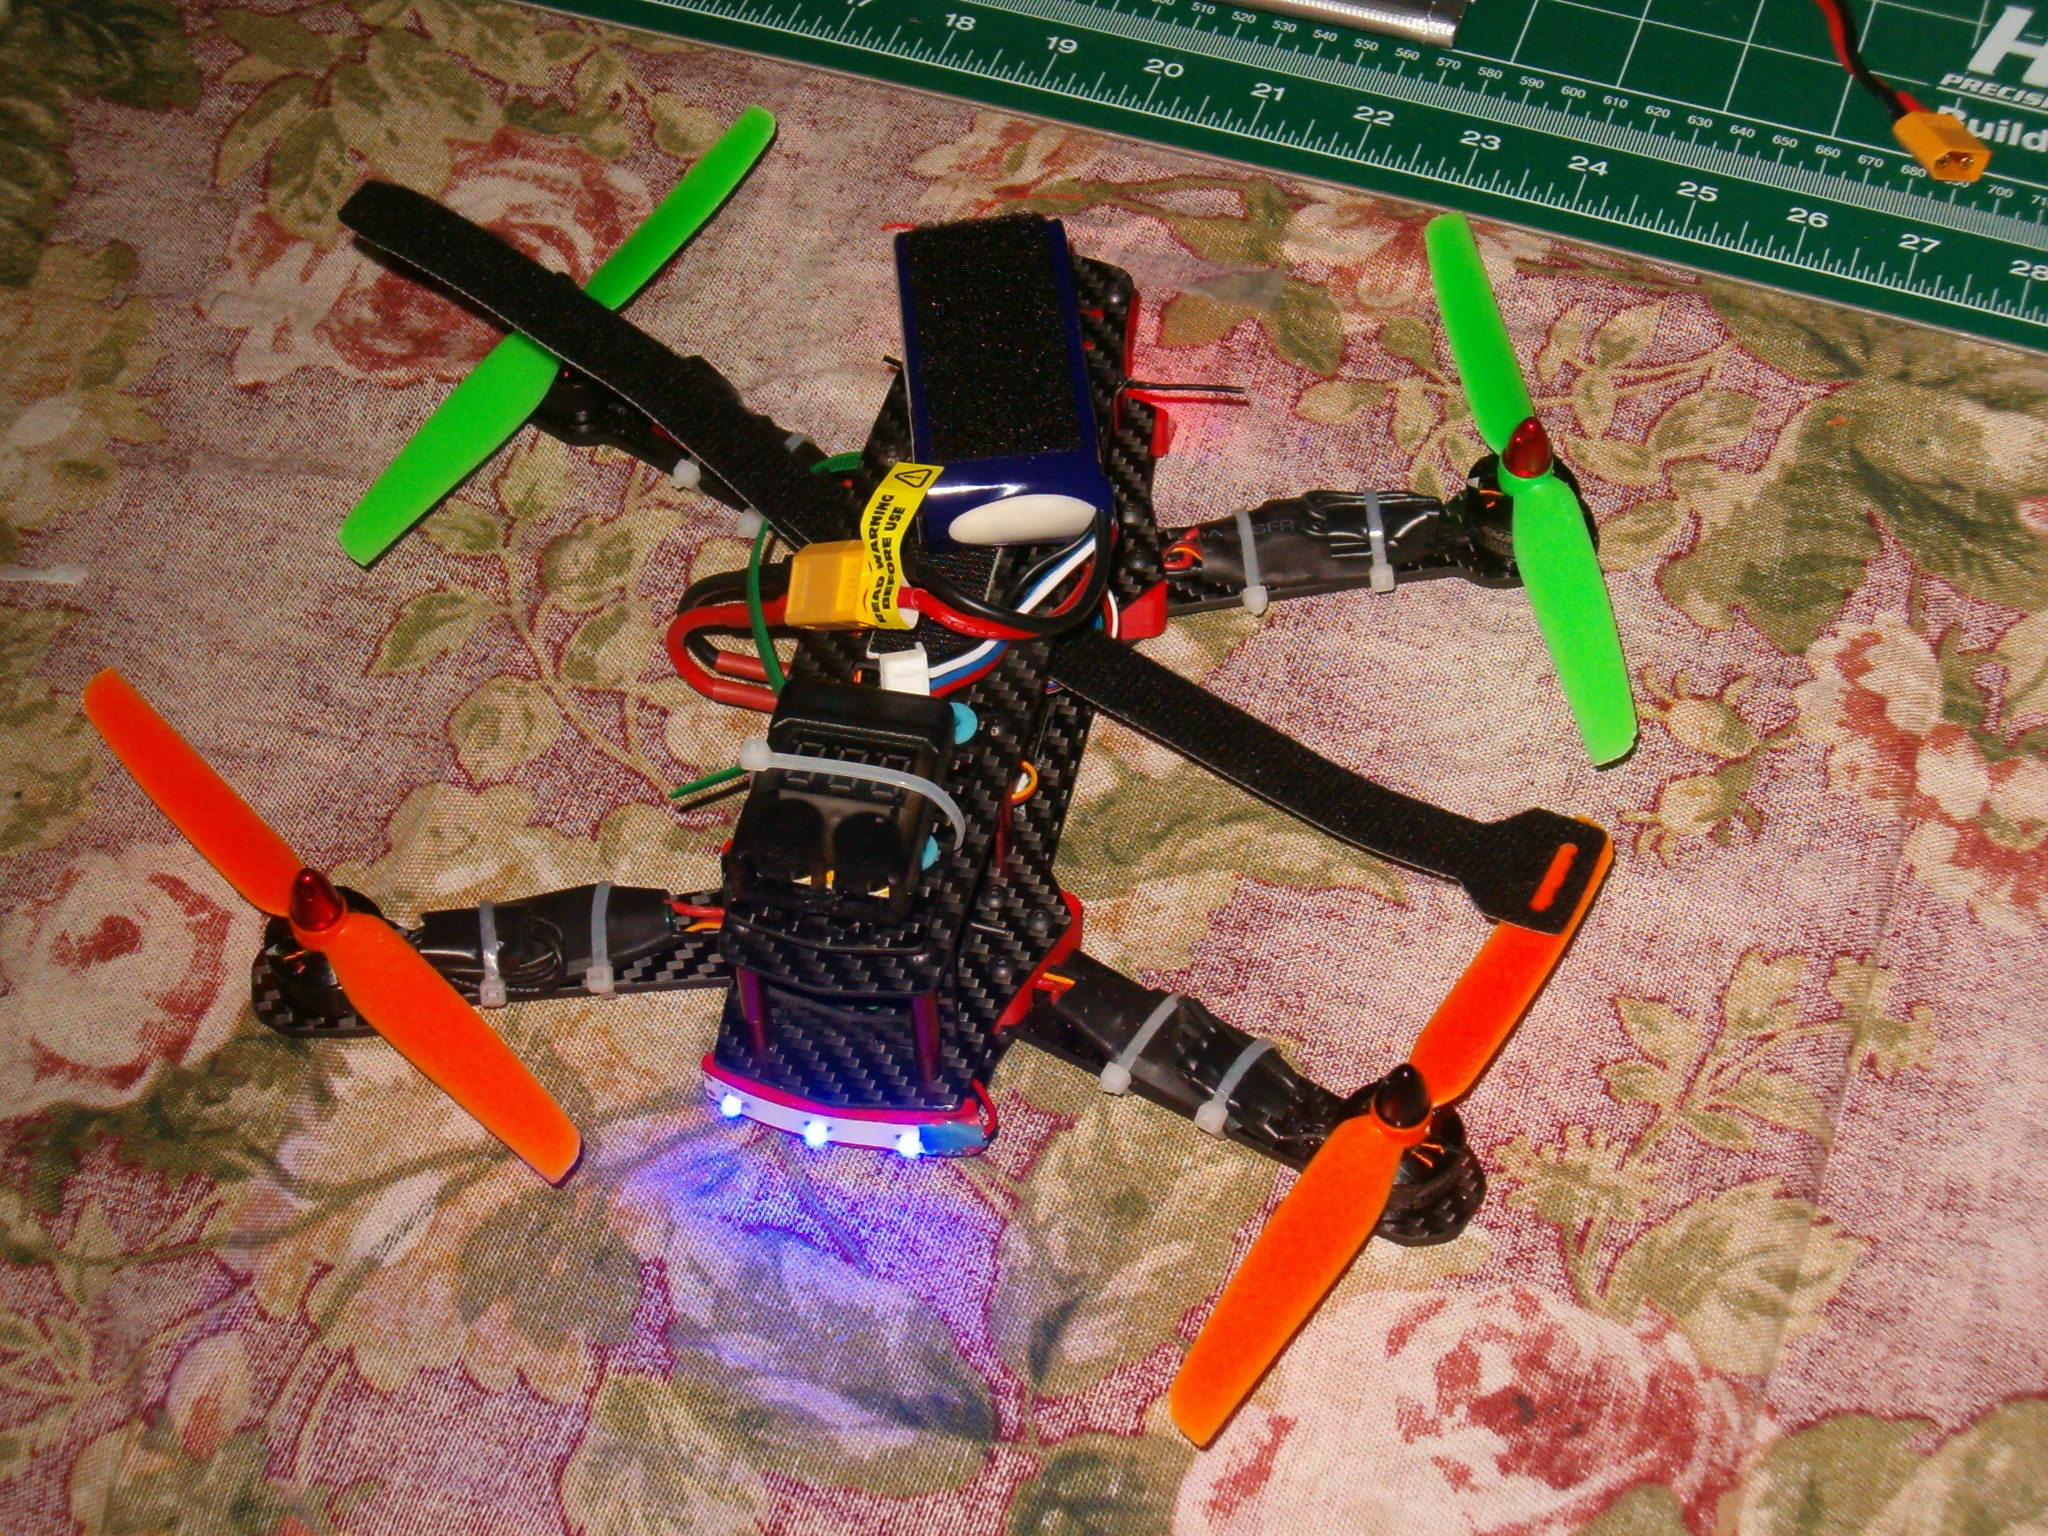
Took the FPV gear off for the time being, and slapped the 5 inch props on for some acrobatic fun.


For a soldering iron weller makes a pretty decent little soldering station that I've been using fairly reliably. It's a decent price for what it offers. otherwise your stuck with plug in pencil irons and expensive stations.
http://www.weller-toolsus.com/solde...wlc100-solder-station-40w-120v-w-st3-tip.html
I should be going through the rest of the post to learn more about that quad but i'm stuck on that soldering iron for whatever reason lol.
Looks good. I laughed when I saw the wiring hanging off your goggles. I have the same set and also have to deal with the extra lengths and connectors, but the goggles work great!
heh, fun. even tho when you flew by the swimming pool i kept think.. i hope no problems happen right this second.
also thought, who would win pool, or props. hmm. hhe.
also in your first video, i kept seeing a humming bird pop up.. i guess the humm is quite the attraction agent for these little guys, i know they like mine too. even tho i only have a 1806 emax on my zmr.
i also will be using the same style goggles. i will be trying to figure out this fpv stuff on my next build in a month or two.. i figure around oct ill start it.. maybe sooner if doctors release me.
rock on.
http://www.ebay.com/sch/i.html?_odk...d+naz.TRS0&_nkw=zmr+pdb+cc3d+naze&_sacat=2562
http://www.ebay.com/itm/ZMR-250-12mm-Spacer-Kit-/191594305153?hash=item2c9be91681
this is the one i bought from rob.. he lives in gilbert, az.. nice guy talked to him on the phone etc.. if my health was any better i would of gone to fly with him.. as he invited me..
chris,.
p,s
on ebay you can get a zmr pdb that has cc3d, and naze pins etc for around 15.00 that may be what you are looking for. also you may consider a zmr spacer kit.. the one i bought for 12.99 raises the two bottom plates to 12mm between, perfect for to clean up a build by putting stuff in there and is protected at the same time.. something to consider.
I had my eye on the Hakko 888 station. Back when I worked for Asurion, they used the Hakko 951 station, it was AMAZING. Wish I could afford that one! The Weller does look good too. What tip options does it have?
") . Really starting to get used to flying in Acro mode. Feels alot smoother than flying in Stab.
. Really starting to get used to flying in Acro mode. Feels alot smoother than flying in Stab. heh.
heh. . I took some regular straight header pins, and carefully bent the short end 90 degrees. Be careful not to pull the pin through the plastic square too much as you bend it. Just use some regular straight headers through the holes. This should allow everything to line up with the board. .