Scale Build-Off – 140" C-47 Foamy

ScottyWarpNine

Mostly Harmless
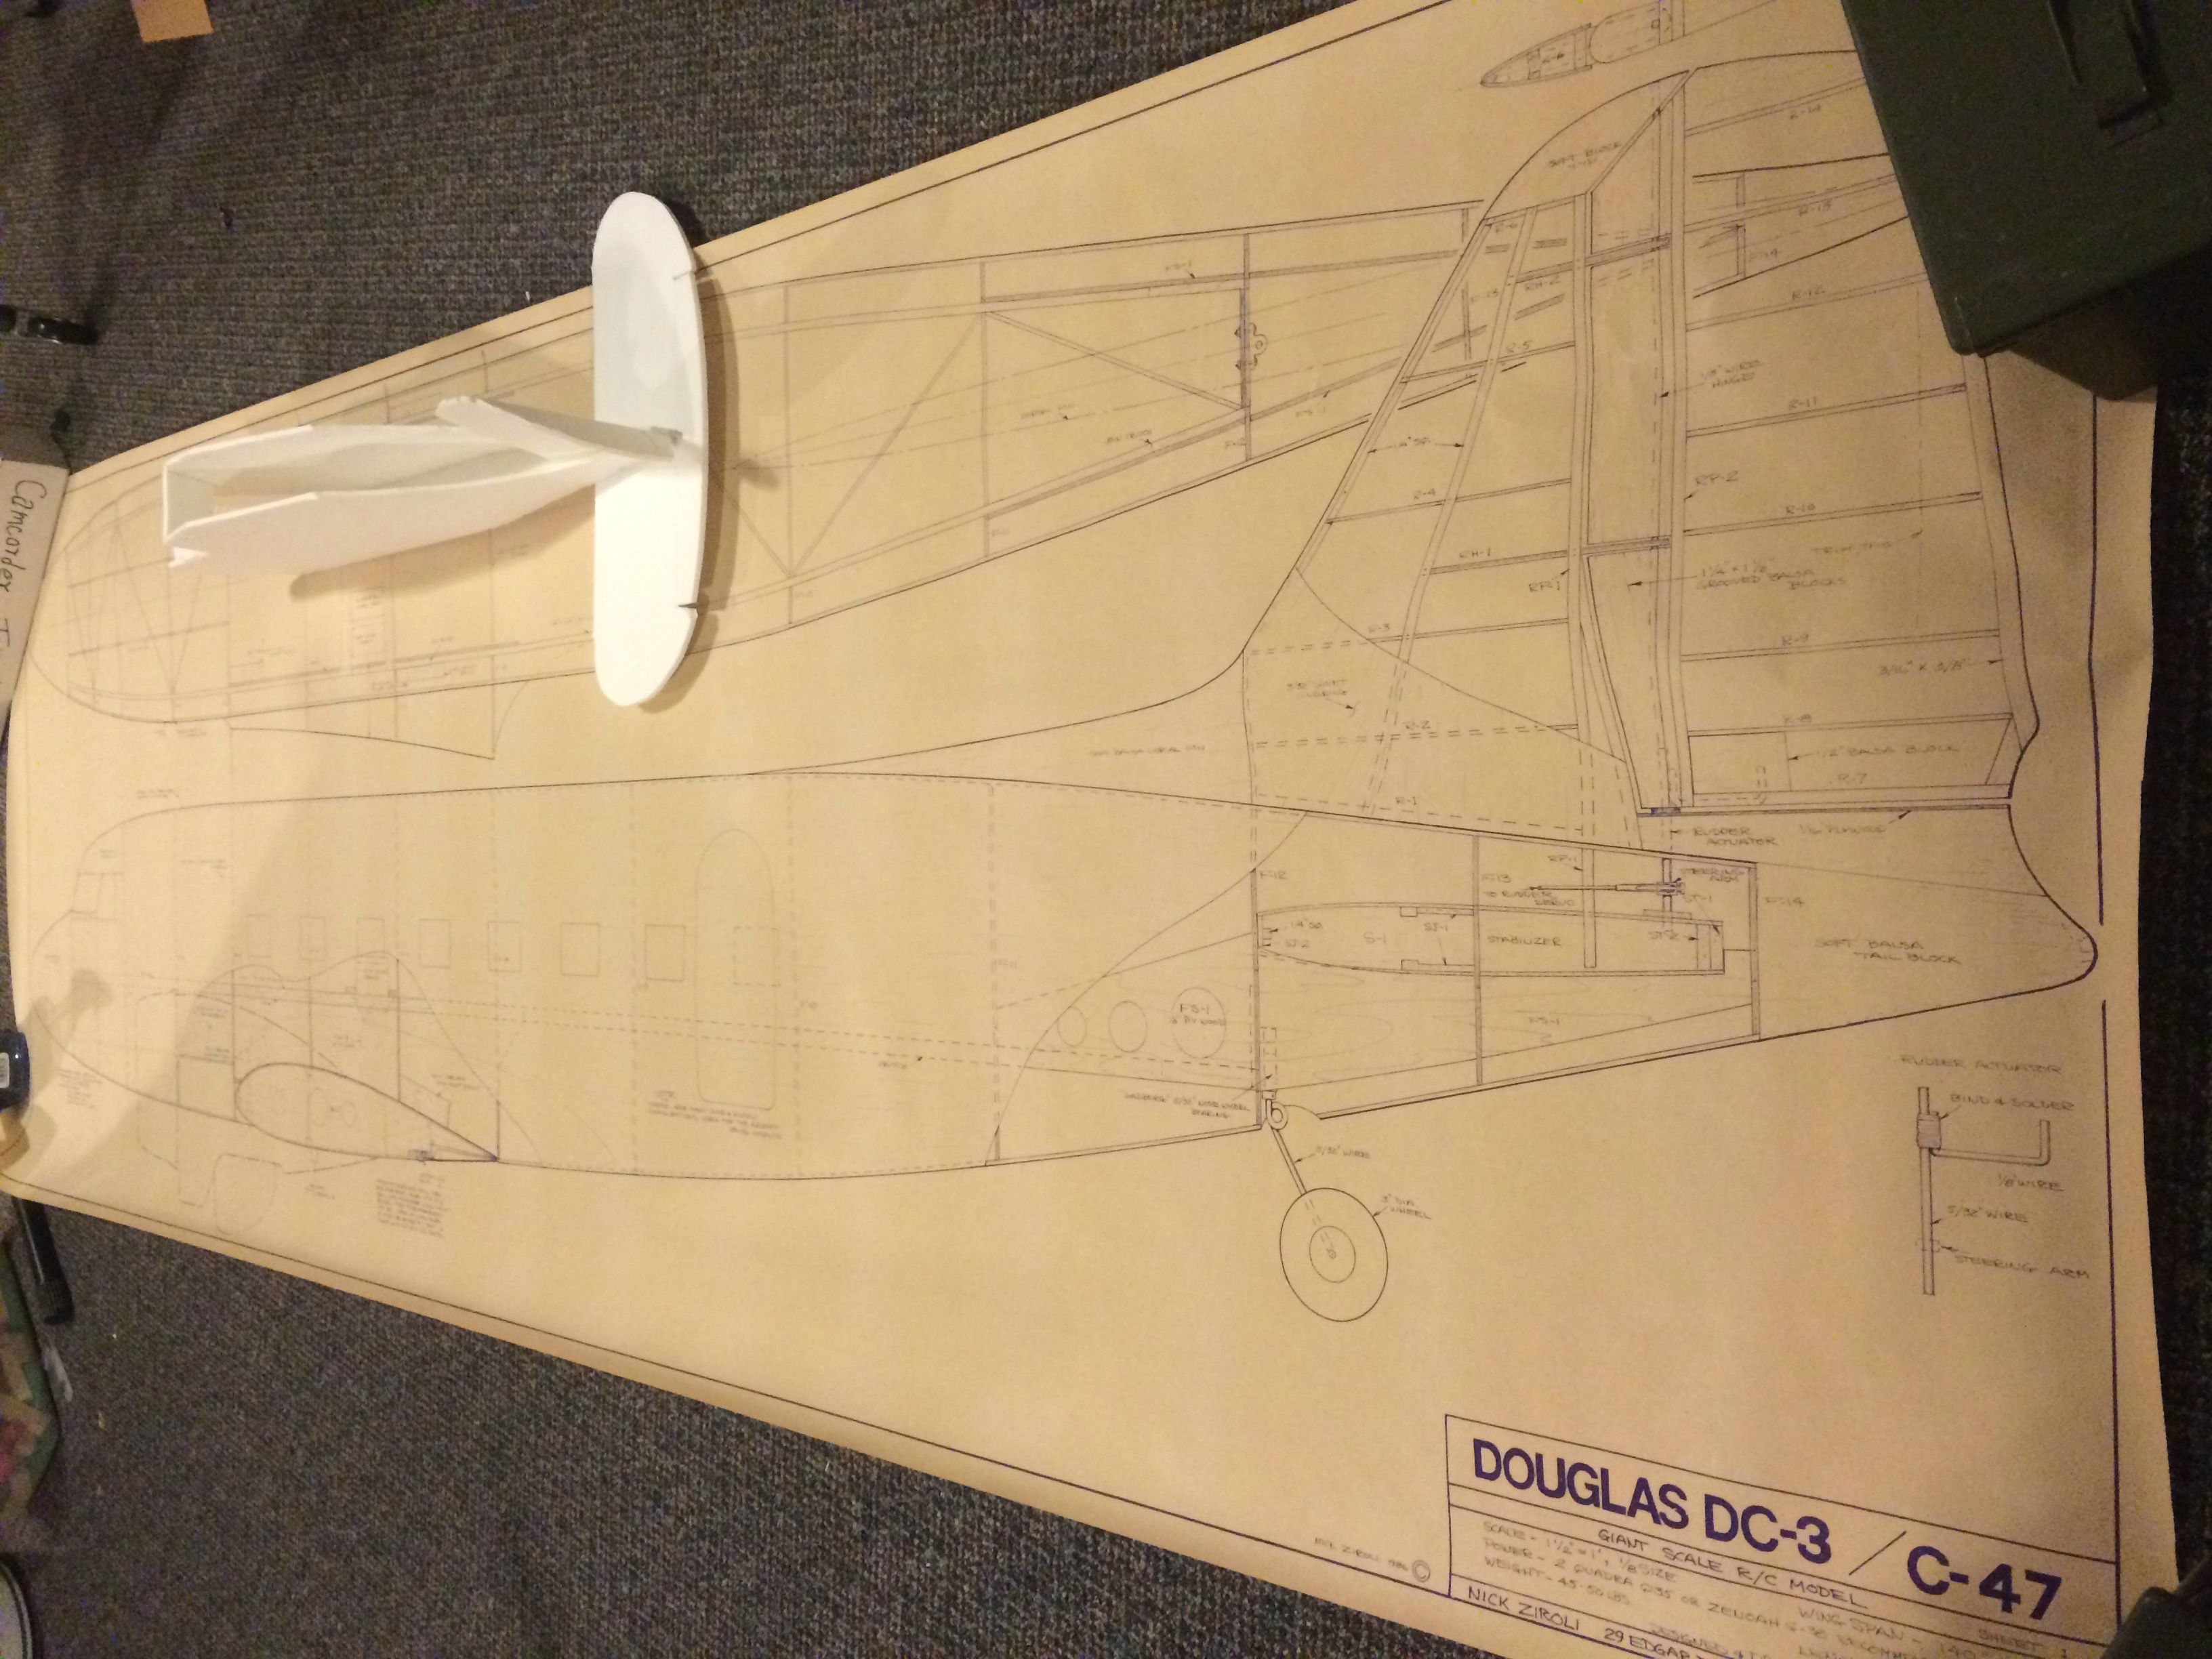
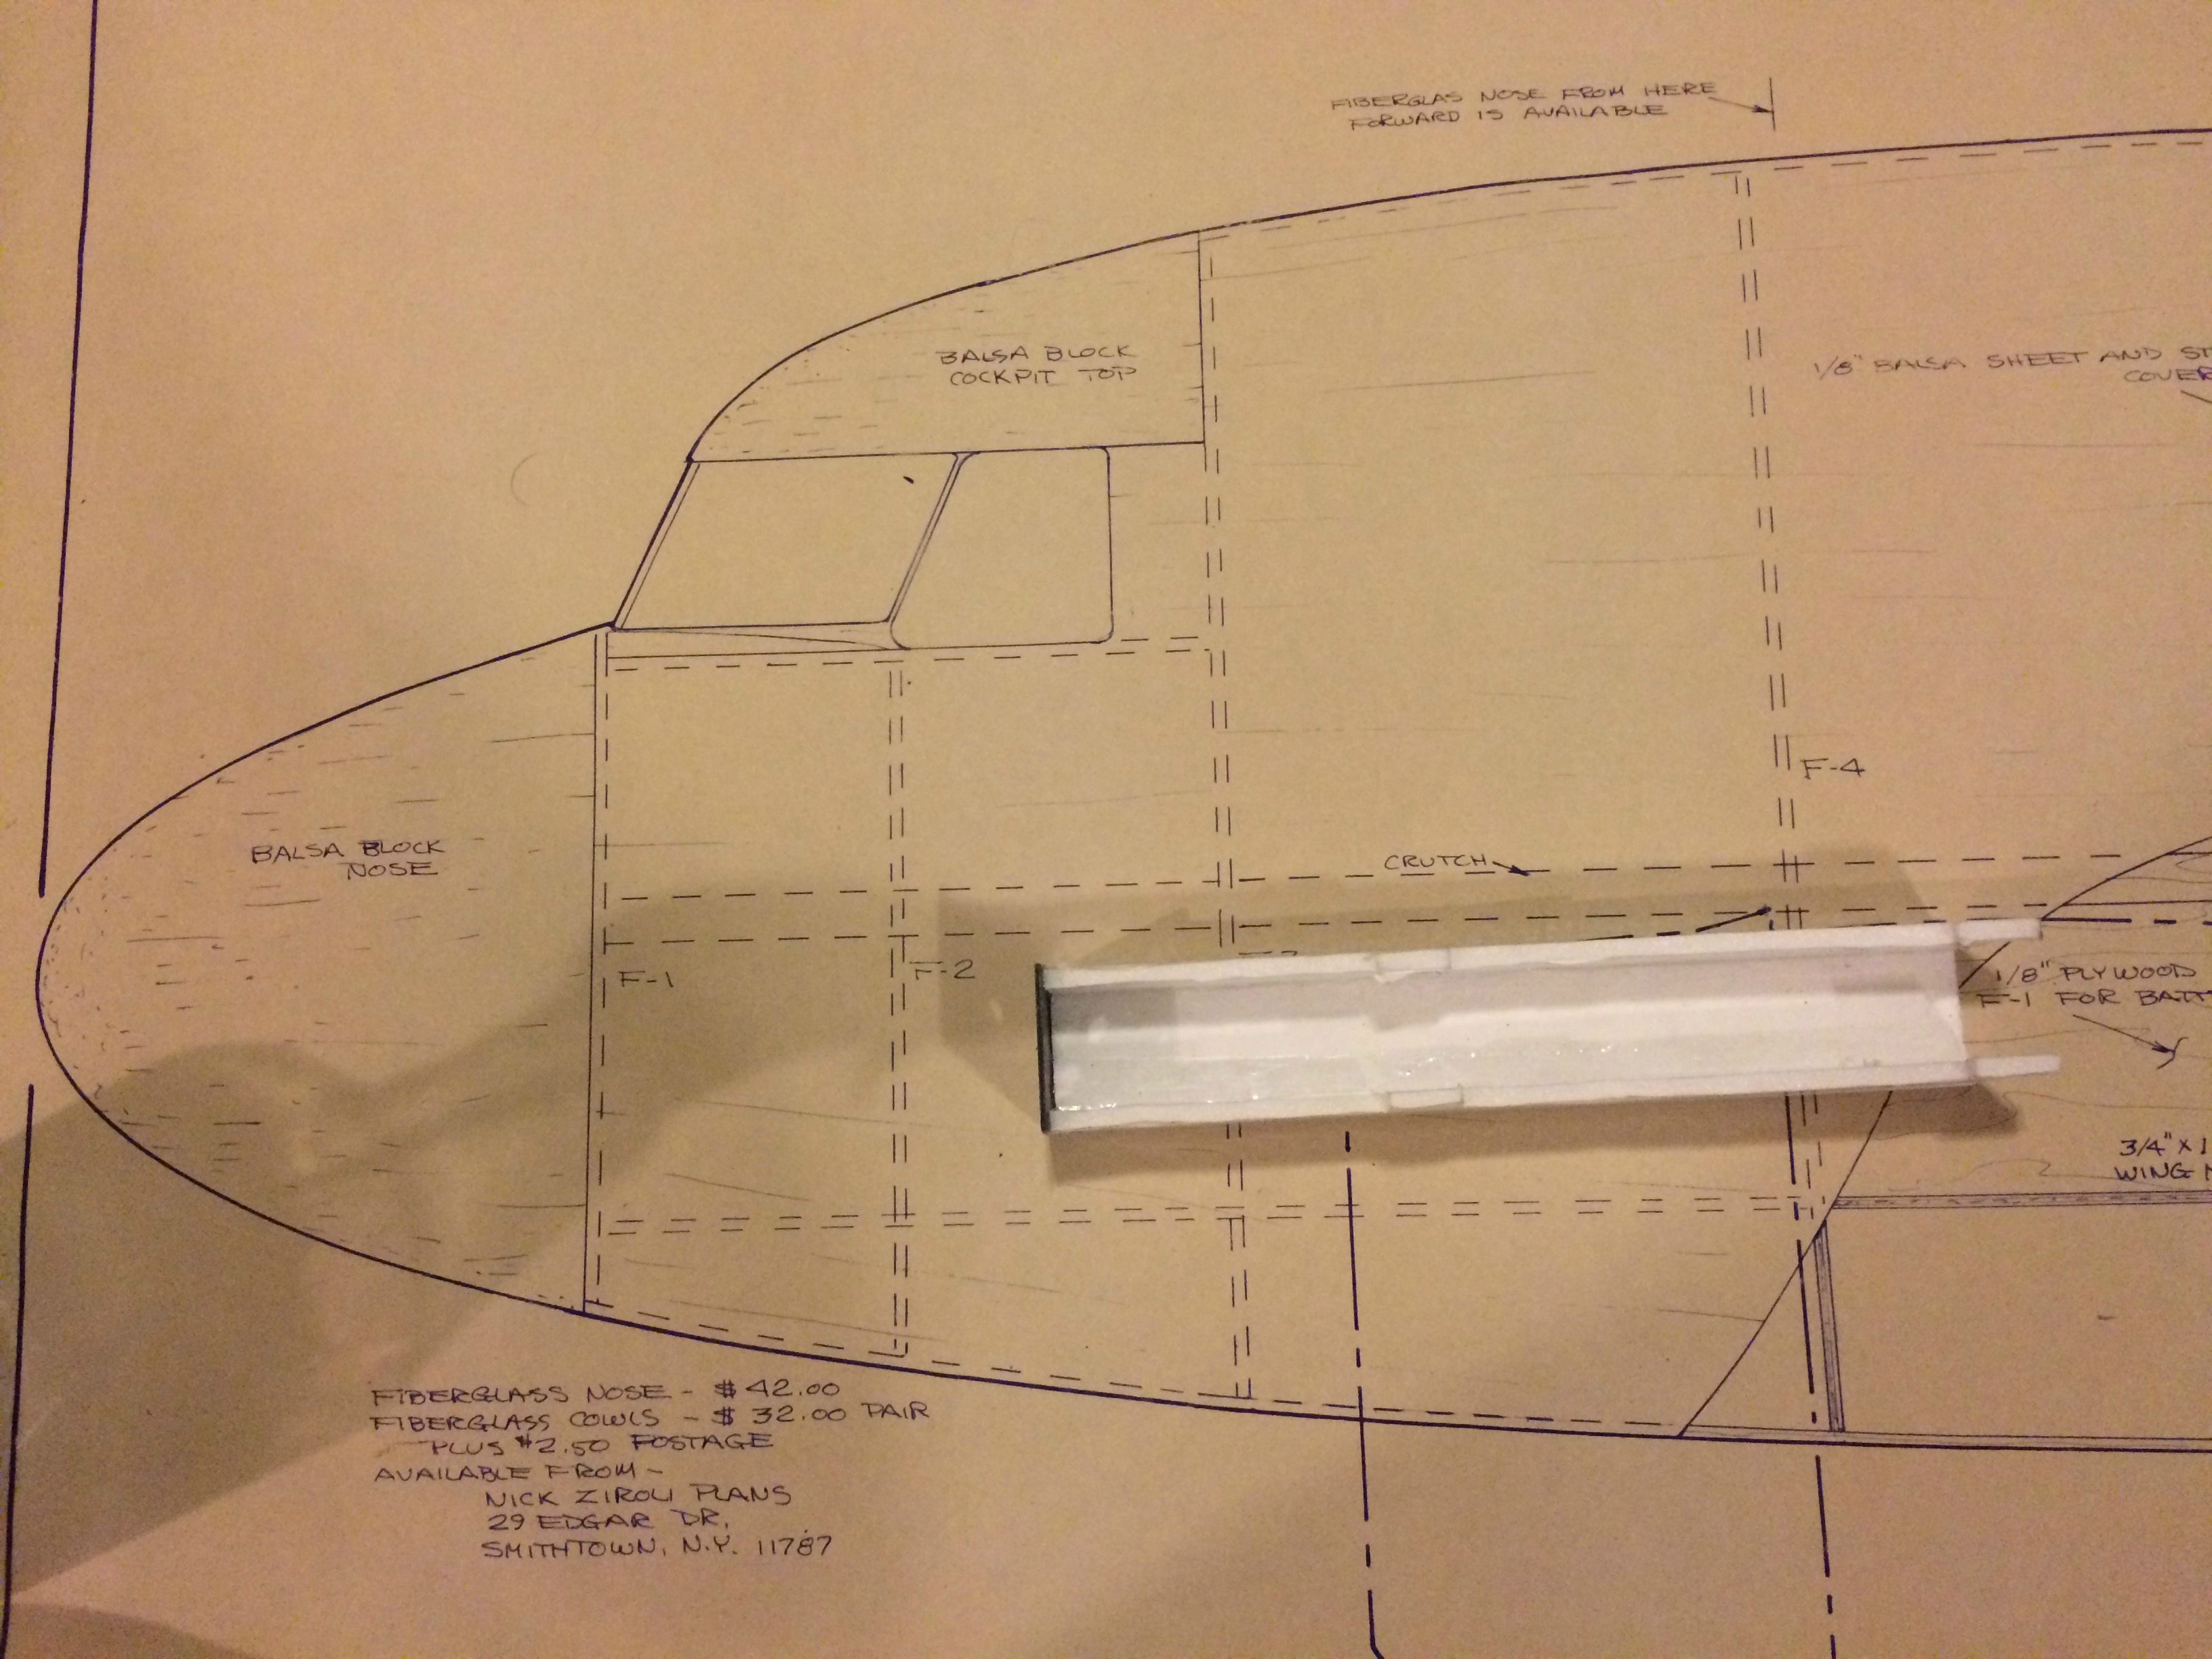
I've aquire these plans second hand in a lot of balsa building stuff that came with my 1/4 scale Sig Cub kit. They have been sitting in my basement for about a year and that's just sad. They need to be used, and someday I will build the most beautiful Ziroli DC3 out there, but until I can afford to spend the money I need to and would want to on a plane of this caliber, I have another idea.
My intention is to build this plane out of foam, using traditional balsa building techniques. I'm thinking two 5065 motors on 6S delivering 2000W each should pull this thing airborne.
Can I get this thing flying by Flight Fest? Can it survive on my roof at highway speeds? Will it hover?
We are going to answer all of these questions and more in the epic thread that is sure to follow.
Here are some pictures to help you get a rough idea for size of this monster.
J3y7CGZ.jpg

TluAyt2.jpg

Time to start cutting!
 
Last edited:

earthsciteach

Moderator
Moderator
YES! We can fly formation. I'm building a 101" B-25 based on Ziroli plans. I'm not following the balsa build, but using the plans for shape.
 

ScottyWarpNine

Mostly Harmless
That's awesome! have you looked into a power system yet?

Well, here's the first update, a mere half hour after the initial post.
I think I'm gonna have to rethink the traditional balsa building techniques thing.
g3H7gh2.jpg

Tracing all of the formers and retracing them onto foam board is going to take months, and I only have a couple months to finish the entire build. I'm thinking I need to try using blue foam from the hardware store to build up a solid fuselage and carve it to shape.
 

earthsciteach

Moderator
Moderator
DSCF9088.JPG
I am going with a box spar for the fuse and have cut the formers and attached. Next is the wing.

No idea of power system, yet. I'll wait until I feel I have a grasp on the final weight.
 

willsonman

Builder Extraordinare
Mentor
Sweet. While I appreciate the large builds I have no interest in doing one myself. Happy to follow along and lend suggestions where I can.
 

AkimboGlueGuns

Biplane Guy
Mentor
Will you be doing a DC-3 or C-47? There's really no difference between the two, but the C-47 paint looks good on planes like that.
 

SP0NZ

FT CAD Gremlin
Staff member
Admin
Moderator
Mentor
You might need to trailer that beast! Hope she makes it to Flite Fest!!
 

ghost civic

Senior Member
ambitious build!

I can for see issues trying to transport it on the roof of a car at highway speeds tho. It would be a shame to have the plane fly apart before it ever gets off the ground.
 

ScottyWarpNine

Mostly Harmless
Will you be doing a DC-3 or C-47? There's really no difference between the two, but the C-47 paint looks good on planes like that.

I've been thinking a lot about that. I agree, the C-47 would look great, especially with the invasion stripes, but at the same time I think there are a lot of unique civilian liveries that I could try. At this point I haven't decided.

For construction I've decided to use 1/2 insulation foam to create a fuselage frame consisting of the side view, top view, and formers. I will probably skin it with strips of DTFB (without the paper), then glass it all with 3/4oz cloth.

I'm not to sure about the wings yet, but I will probably use the 1/2 foam again for formers, with poplar spars and DTFB again for skinning. The center section of the wings to the engine pods have two big aluminum tubes running through as spars. I will probably use PVC Pipe.

Right now I'm tracing the plans. This thing is gonna be awesome! Stay tuned for more updates.
 

willsonman

Builder Extraordinare
Mentor
With an airplane of this size I would highly suggest you glass with 2oz cloth and follow up with the lighter 3/4oz for finishing. Reason being is that you will need the strength. I would definitely use epoxy and not the WBPU method. You may want to reconsider the Adams FB for the skinning as well as the area between the formers will more than likely cause dips in the foam that you will not be able to sand out due to the thickness limitation. Stick with the 1/4" foam for that as well. I think you can get away with this method but keep in mind that with a twin the Fuse does need to be quite strong to support the wing and its associated parts (motors, escs, gear, possible air tanks, etc).
 

ScottyWarpNine

Mostly Harmless
You may want to reconsider the Adams FB for the skinning as well as the area between the formers will more than likely cause dips in the foam that you will not be able to sand out due to the thickness limitation. Stick with the 1/4" foam for that as well.

Do you mean essentially stacking 1/2" cross sections to form a solid foam fuselage? Or actually using the 1/2" foam for sheeting? I don't think it is flexible enough for sheeting.

I just picked up two 4x8 sheets of pink 1/2" insulation foam from Home Depot for about $12 each.
 

ScottyWarpNine

Mostly Harmless
It took a couple hours to trace out the top and side views of the fuse.
Z5C0sft.jpg

NcvJ9we.jpg

On the side view you can see two parallel lines running down the length of the fuselage. On the plans that is a line that two main wooden beams follow, from the center of the nose, to near where the tail wheel attaches. It does not go to the very tail though, so I'm going to modify it a little. I will have the line angled so that it will go straight from the center of the nose to the center of the tail. Such a shallow angle shouldn't effect the fuse shape much if at all. That is the line I will use to cut the side view foam form in half and make the 1/2" gap for the top view to fit, forming a rough 3 dimensional shape.
Stay tuned. :black_eyed:
 

willsonman

Builder Extraordinare
Mentor
Well, keep in mind that your fuselage formers are going to follow the original top-view datum line.
 

ScottyWarpNine

Mostly Harmless
Here's an update. I got quite a bit done today, and I even got to fly a little, since it's up to 40 degrees in NE Ohio. I got the top view and side view cut out in foam, I experimented with some build techniques, and now I'm waiting for the epoxy to dry on the top view piece and the top of the side view piece.

First off, I wanted to see how well some common techniques worked for shaping the foam. My razor plane works pretty well for removing more material than sanding when I adjust the blade depth to be pretty large and I hold the plane at a sharp angle and give it a diagonal push.
gH6SXWN.jpg

I adjusted the center line so it goes from the center of the nose to the center of the tail and chopped it.
T1Nmrru.jpg

TH2mj08.jpg

Then I experimented with another build tecnique. I have used a razorblade clamped to my table saw to strip balsa in the past. The razorblade really is too flexible unless it is thin balsa and will tend to bend with grain, but it cut through the foam with no problem. I set the fence to be set away from the blade at the thickness I want, and I cut away 1/4" from each half of the side view fuse to acount for the 1/2" thickness of the top view piece.
T9UkmZk.jpg

The blade cuts most of the way through the foam and the strip is easily removable from the rest of the part.
YMlse4w.jpg

I did the same for the outside edge of each part to account for the 1/4" foam skin.
RNWsBiT.jpg

Check out my big pink surf board!
f6aRlsO.jpg

I used epoxy to attach the parts.
NnlWeFf.jpg

It already is pretty rigid. The bottom piece and the formers are going to make it very stiff. I'm going to add a few holes to the beefier areas to save some weight and allow for cable routing and a battery compartment. I intend to use two 6s 10,000mAh batteries, so I'd rather not have it be an afterthought. Much easier to plan for it now.