HilldaFlyer
Well-known member
Last year before winter set in, I embarked on a project to build the RQ-7 Shadow using foam core.
I thought I would share the process...
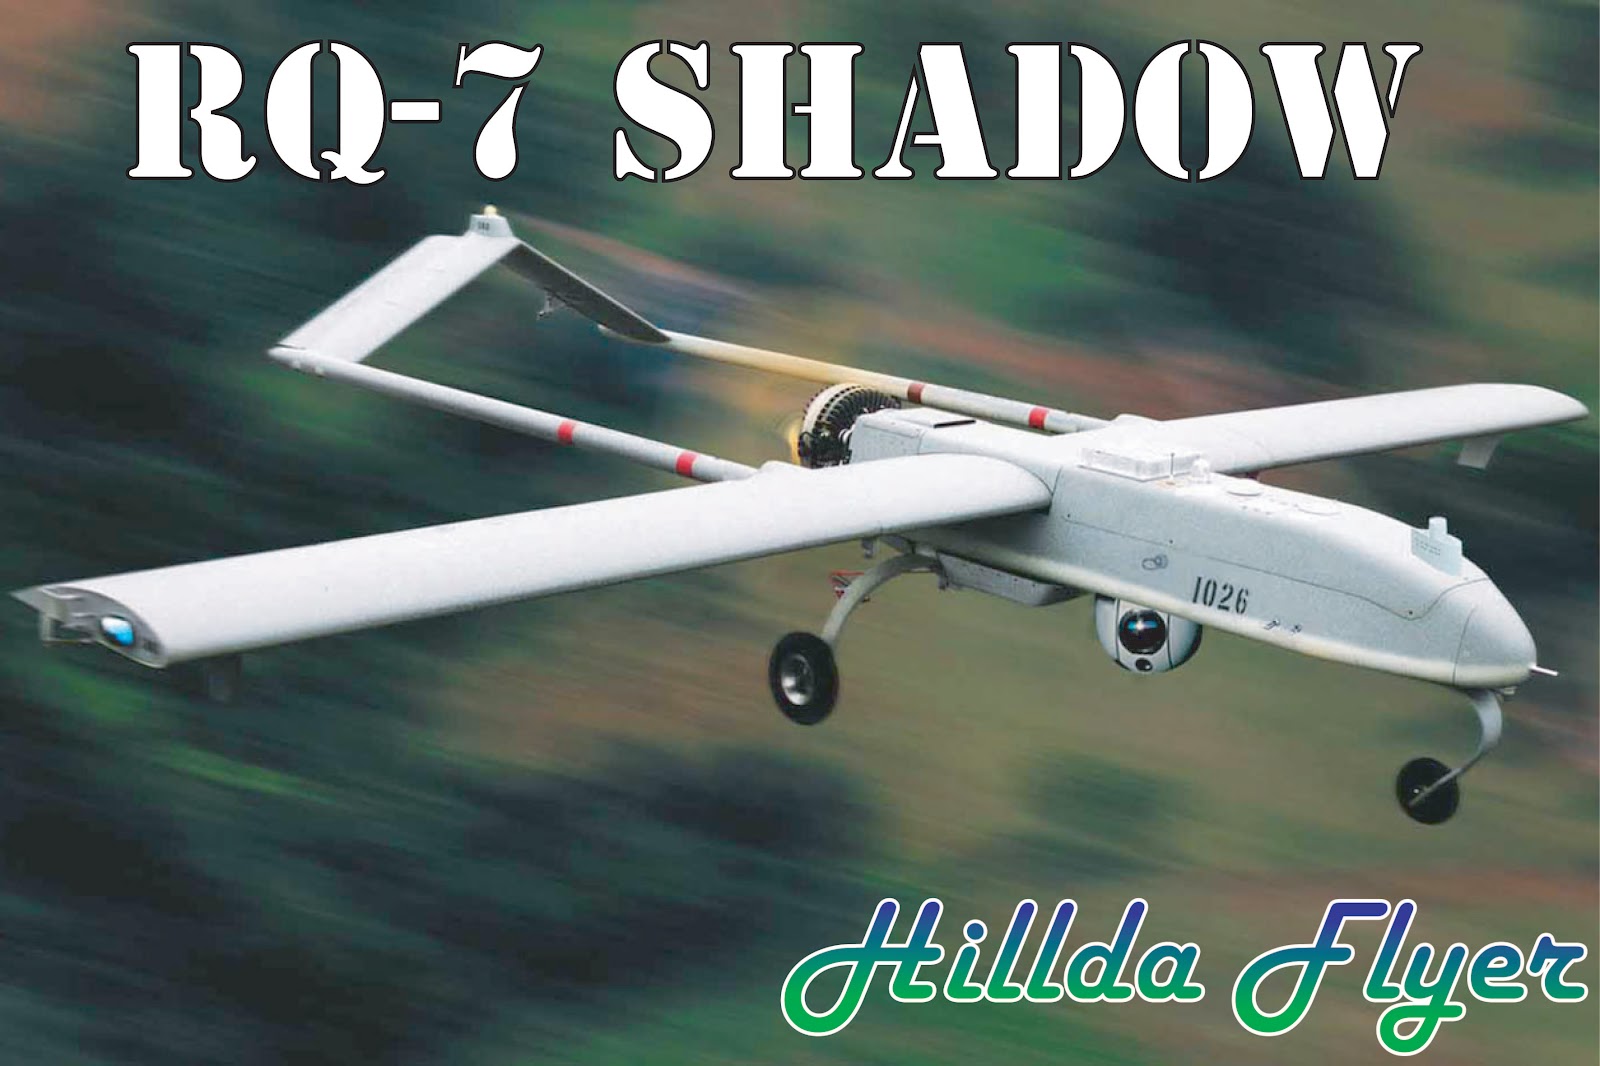
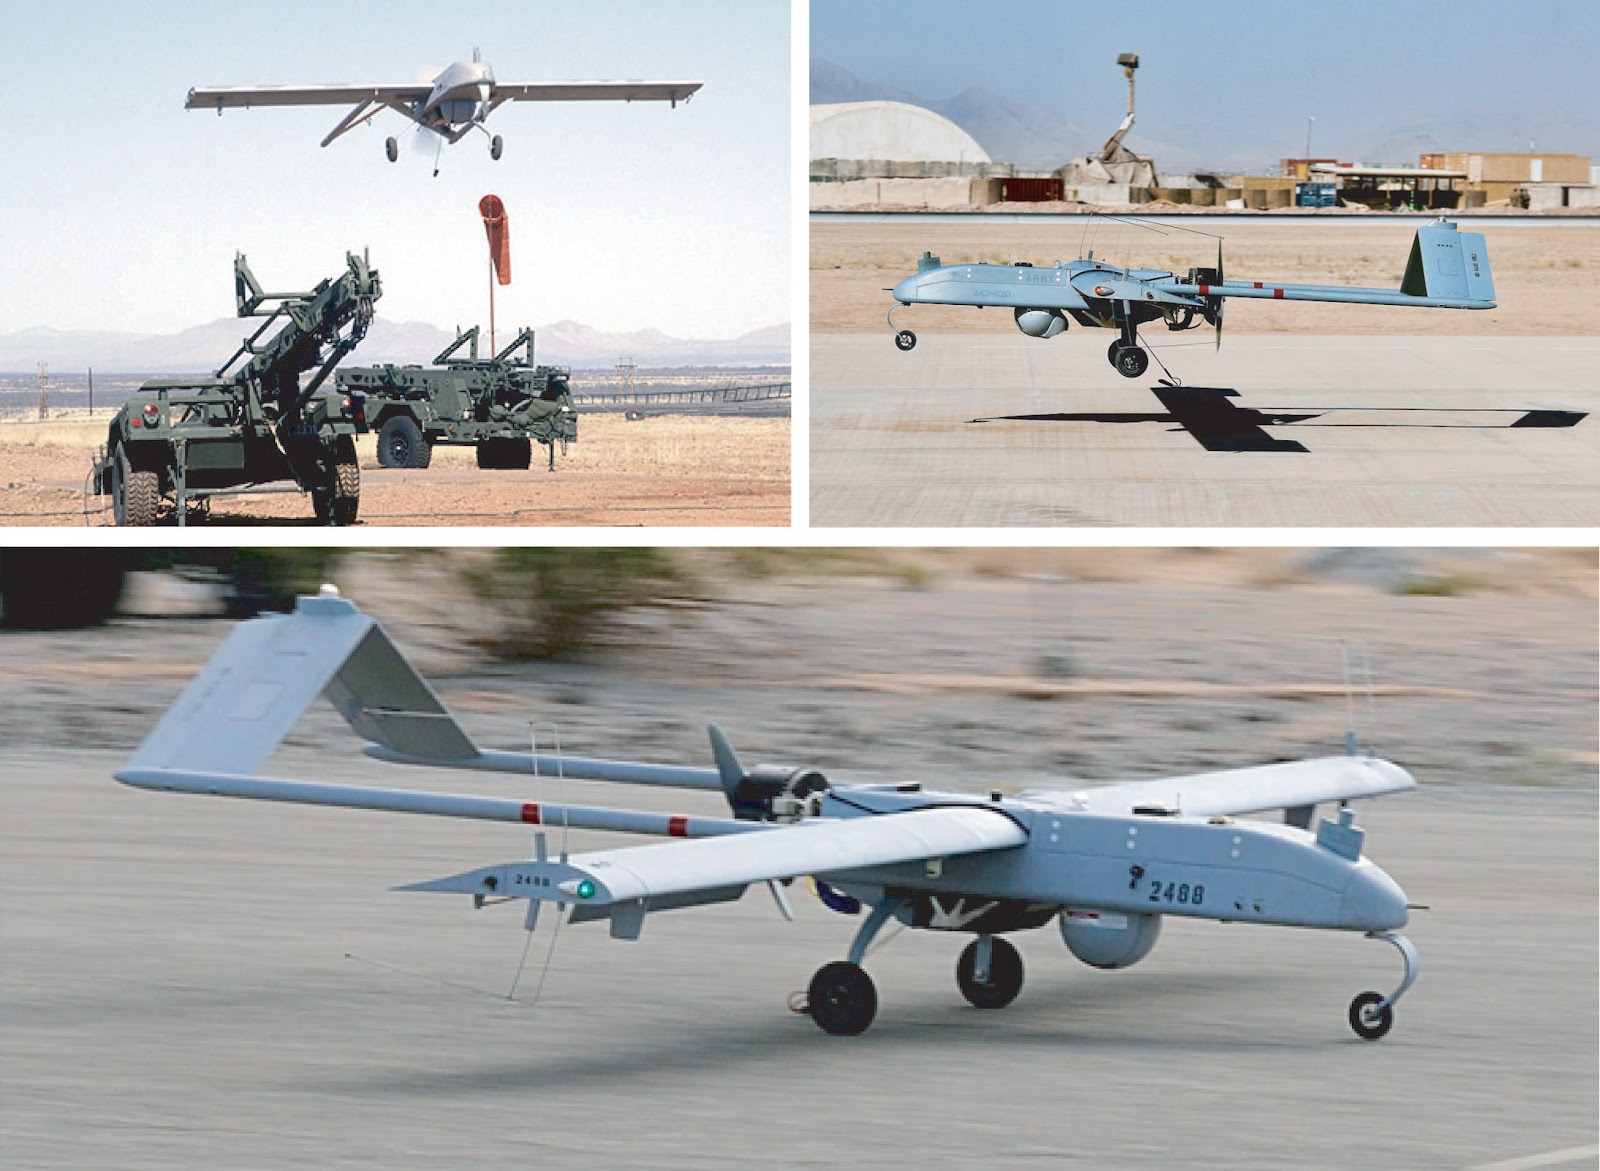
The RQ-7 Shadow is an unmanned aerial vehicle (UAV) with a high-wing, constant chord pusher configuration with a twin-tail boom empennage and an inverted v-tail elerudder. The aircraft is powered by a 38 bhp Wankel (rotary) engine and has fixed tricycle landing gear. It is launched with a pneumatic catapult and it is recovered with the aid of arresting wire similar to jets on an aircraft carrier.
Full-size Stats:
General characteristics
Why build a single motor pusher?
My first model airplane was the Dynam Hawk Sky. I purchased it as a trainer because of a wise recommendation that a beginning pilot should not have the motor in the front of the plane. The pusher design has proven effective as the motor has survived numerous nose-first encounters with mother Earth, roofs and trees.
Ever since flying the Hawk Sky, I have had a desire to create a pusher configured twin-boom plane. Why a twin boom, you may ask? Well, designs like the Hawk Sky, Bixler, Sky Surfer etc. have single boom and a motor mounted above the wing. The limited distance between the motor and boom limits the prop size, not that this is bad. It also puts the thrust direction out of line with the wing and fuselage so that the thrust from the motor is pushing down at the center of lift. It is logical to thrust toward the center of lift to prevent deviations in pitch when throttling up or down, but at the same time, it just seems counter intuitive to thrust down to go up. A twin boom would allow the motor to push directly in line with the wing.
When researching different twin boom tail configurations, I got really excited about trying the inverted “V” tail because through my reading I learned that one of the benefits was the angle of the tail control surfaces produced a obligatory coordinated turn since the yaw, roll and pitch were all linked through the control surfaces on the tail. My first thought was to build the MQ-1 Predator, but I dissuaded myself with the argument that the downward projecting control surfaces would not survive landings on a grass field.
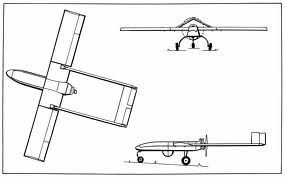
In my searches for inverted “V” tail construction, I ran across the real deal, the RQ-7 Shadow. The twin boom configuration allows the motor thrust to be placed directly behind the main wing and in front of the tail controls surfaces. There was only one problem - I searched the internet again and again for plans, but didn’t find any. Even coming up with 2D drawings was hard, however, through my intensive searches I was able locate a few profile photos of the RQ-7 Shadow as well as a couple profile drawings.
The first prototype was small hand-launch glider that did not have mechanized control surfaces.
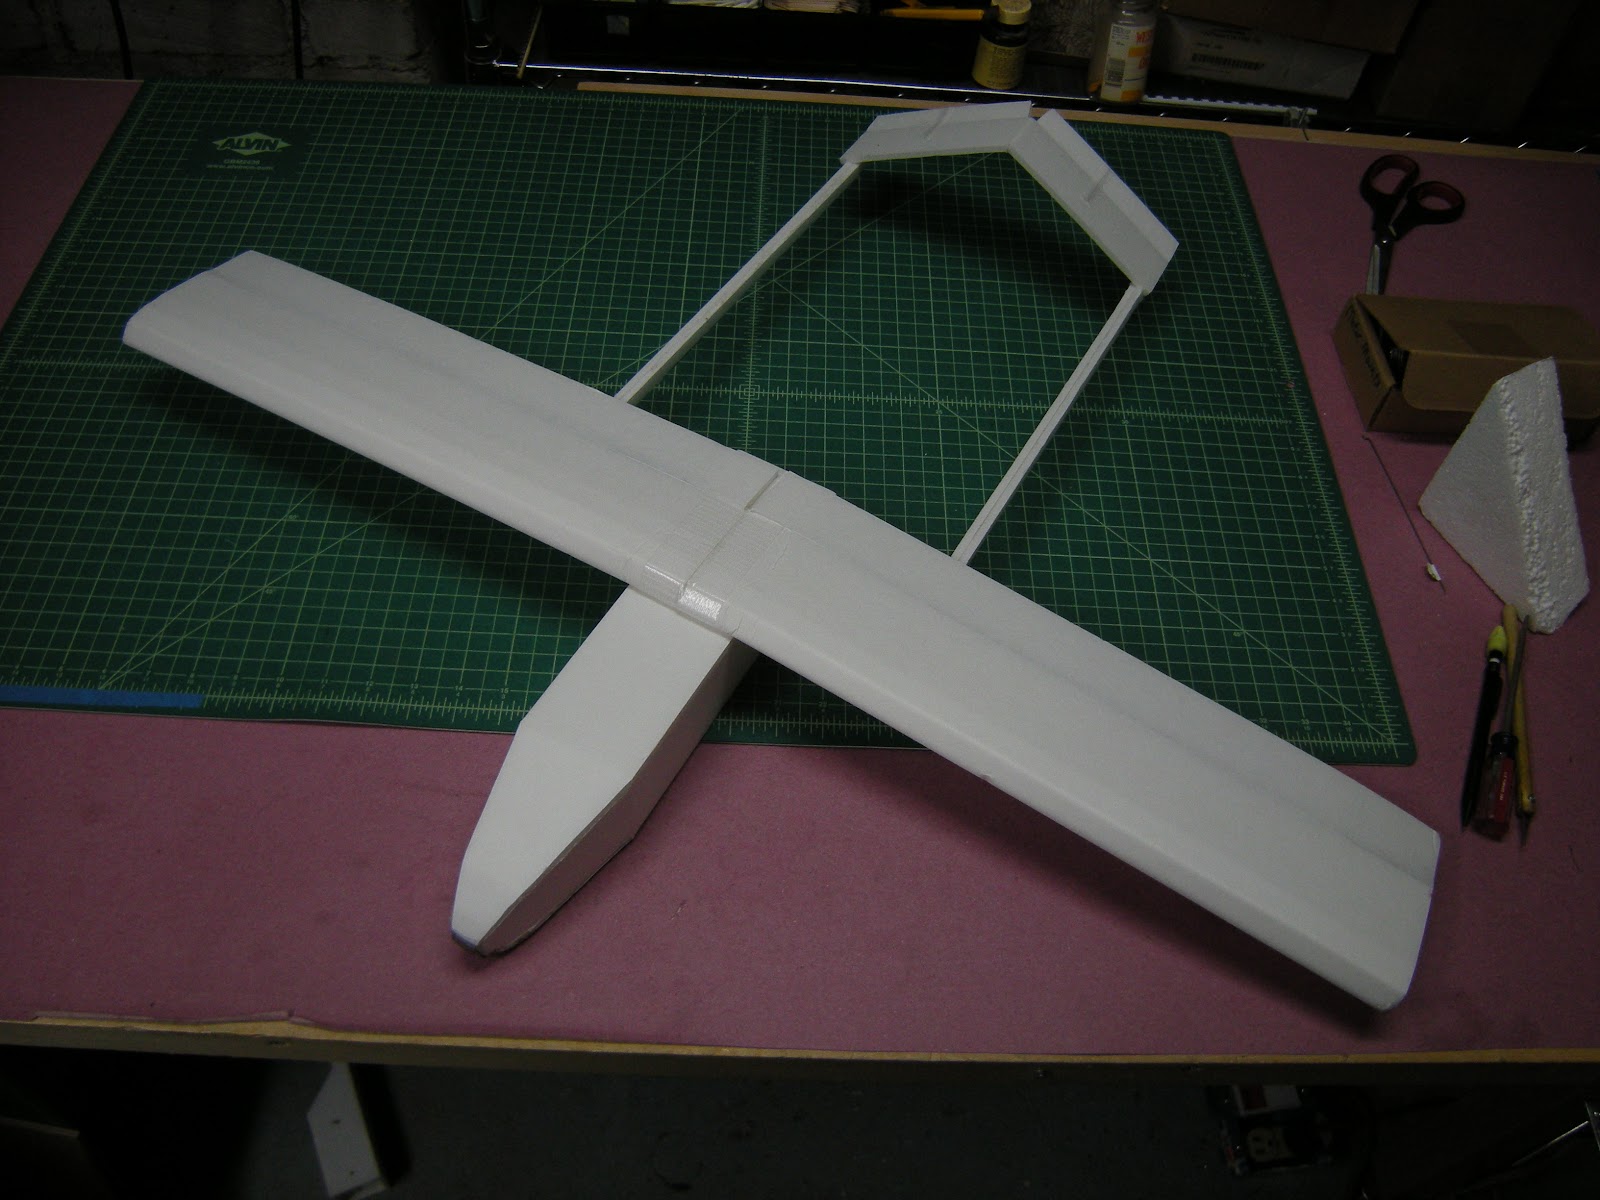
The prototype worked well and even with static control surfaces, flew (glided) quite nicely.
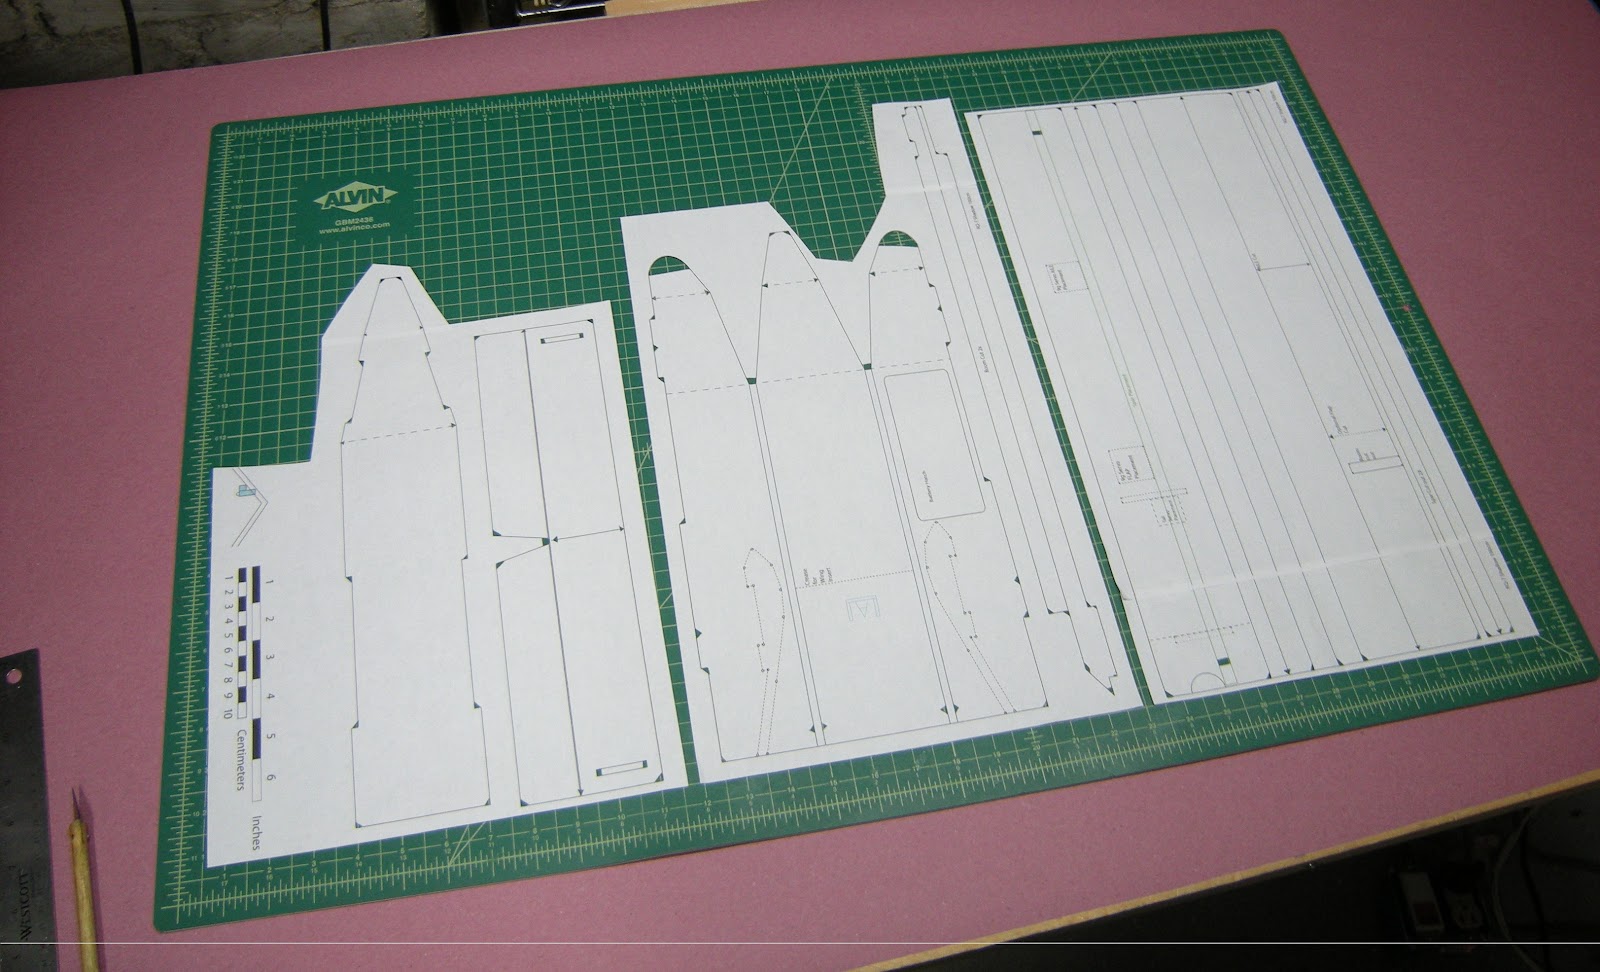
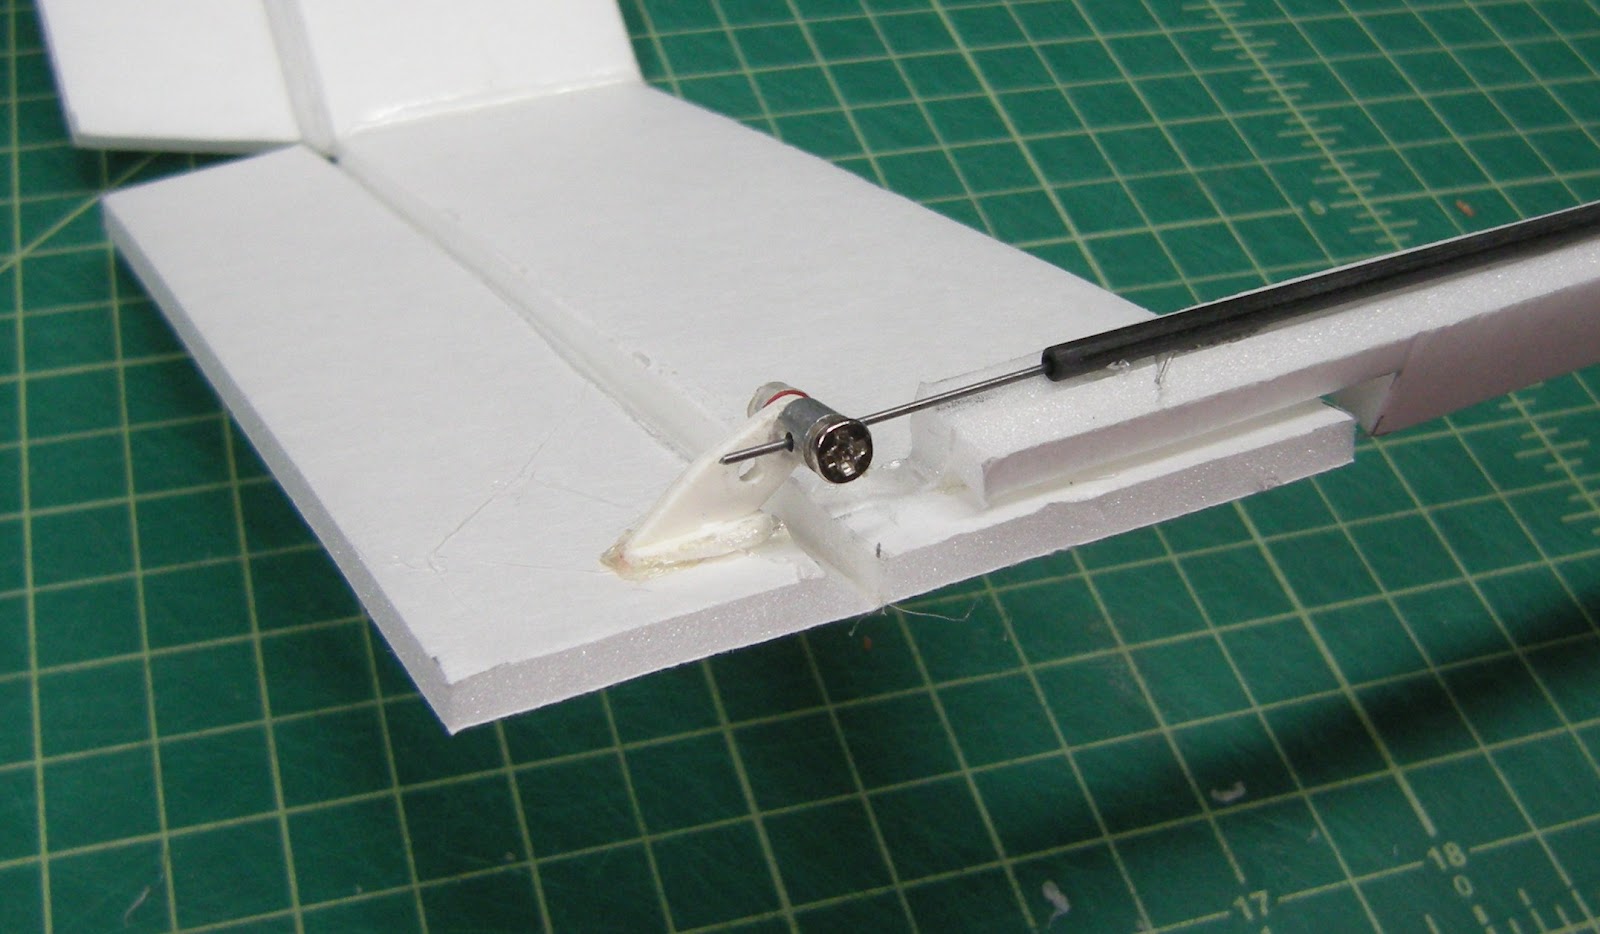
The powered version was created from the plans scaled up to give a 100 cm wingspan. The 100 cm wingspan was deliberately planned to conveniently be double the width the width of Readi-Board. The only non-scale part of the RQ-7 Shadow-100 was the enlarging of the tail control surface size because they just didn’t look big enough.
I thought I would share the process...
The RQ-7 Shadow is an unmanned aerial vehicle (UAV) with a high-wing, constant chord pusher configuration with a twin-tail boom empennage and an inverted v-tail elerudder. The aircraft is powered by a 38 bhp Wankel (rotary) engine and has fixed tricycle landing gear. It is launched with a pneumatic catapult and it is recovered with the aid of arresting wire similar to jets on an aircraft carrier.
Full-size Stats:
General characteristics
- Length: 11.2 ft (3.4 m)
- Wingspan: 14 ft (4.3 m)
- Height: 3.3 ft (1.0 m)
- Empty weight: 186 lb (84 kg)
- Gross weight: 375 lb (170 kg)
- Powerplant: 1 × Wankel UAV Engine 741 used only with Silkolene Synthetic Oil , 38 hp (28 kW)
- Maximum speed: 127 mph; 204 km/h (110 kn)
- Cruising speed: 81 mph; 130 km/h (70 kn)
- Range: 68 mi (59 nmi; 109 km)
- Endurance: 6 h/ 9 h Increased Endurance
- Service ceiling: 15,000 ft (4,572 m) ELOS (Electronic Line Of Sight)
Why build a single motor pusher?
My first model airplane was the Dynam Hawk Sky. I purchased it as a trainer because of a wise recommendation that a beginning pilot should not have the motor in the front of the plane. The pusher design has proven effective as the motor has survived numerous nose-first encounters with mother Earth, roofs and trees.
Ever since flying the Hawk Sky, I have had a desire to create a pusher configured twin-boom plane. Why a twin boom, you may ask? Well, designs like the Hawk Sky, Bixler, Sky Surfer etc. have single boom and a motor mounted above the wing. The limited distance between the motor and boom limits the prop size, not that this is bad. It also puts the thrust direction out of line with the wing and fuselage so that the thrust from the motor is pushing down at the center of lift. It is logical to thrust toward the center of lift to prevent deviations in pitch when throttling up or down, but at the same time, it just seems counter intuitive to thrust down to go up. A twin boom would allow the motor to push directly in line with the wing.
When researching different twin boom tail configurations, I got really excited about trying the inverted “V” tail because through my reading I learned that one of the benefits was the angle of the tail control surfaces produced a obligatory coordinated turn since the yaw, roll and pitch were all linked through the control surfaces on the tail. My first thought was to build the MQ-1 Predator, but I dissuaded myself with the argument that the downward projecting control surfaces would not survive landings on a grass field.
In my searches for inverted “V” tail construction, I ran across the real deal, the RQ-7 Shadow. The twin boom configuration allows the motor thrust to be placed directly behind the main wing and in front of the tail controls surfaces. There was only one problem - I searched the internet again and again for plans, but didn’t find any. Even coming up with 2D drawings was hard, however, through my intensive searches I was able locate a few profile photos of the RQ-7 Shadow as well as a couple profile drawings.
The first prototype was small hand-launch glider that did not have mechanized control surfaces.
The prototype worked well and even with static control surfaces, flew (glided) quite nicely.
The powered version was created from the plans scaled up to give a 100 cm wingspan. The 100 cm wingspan was deliberately planned to conveniently be double the width the width of Readi-Board. The only non-scale part of the RQ-7 Shadow-100 was the enlarging of the tail control surface size because they just didn’t look big enough.


")