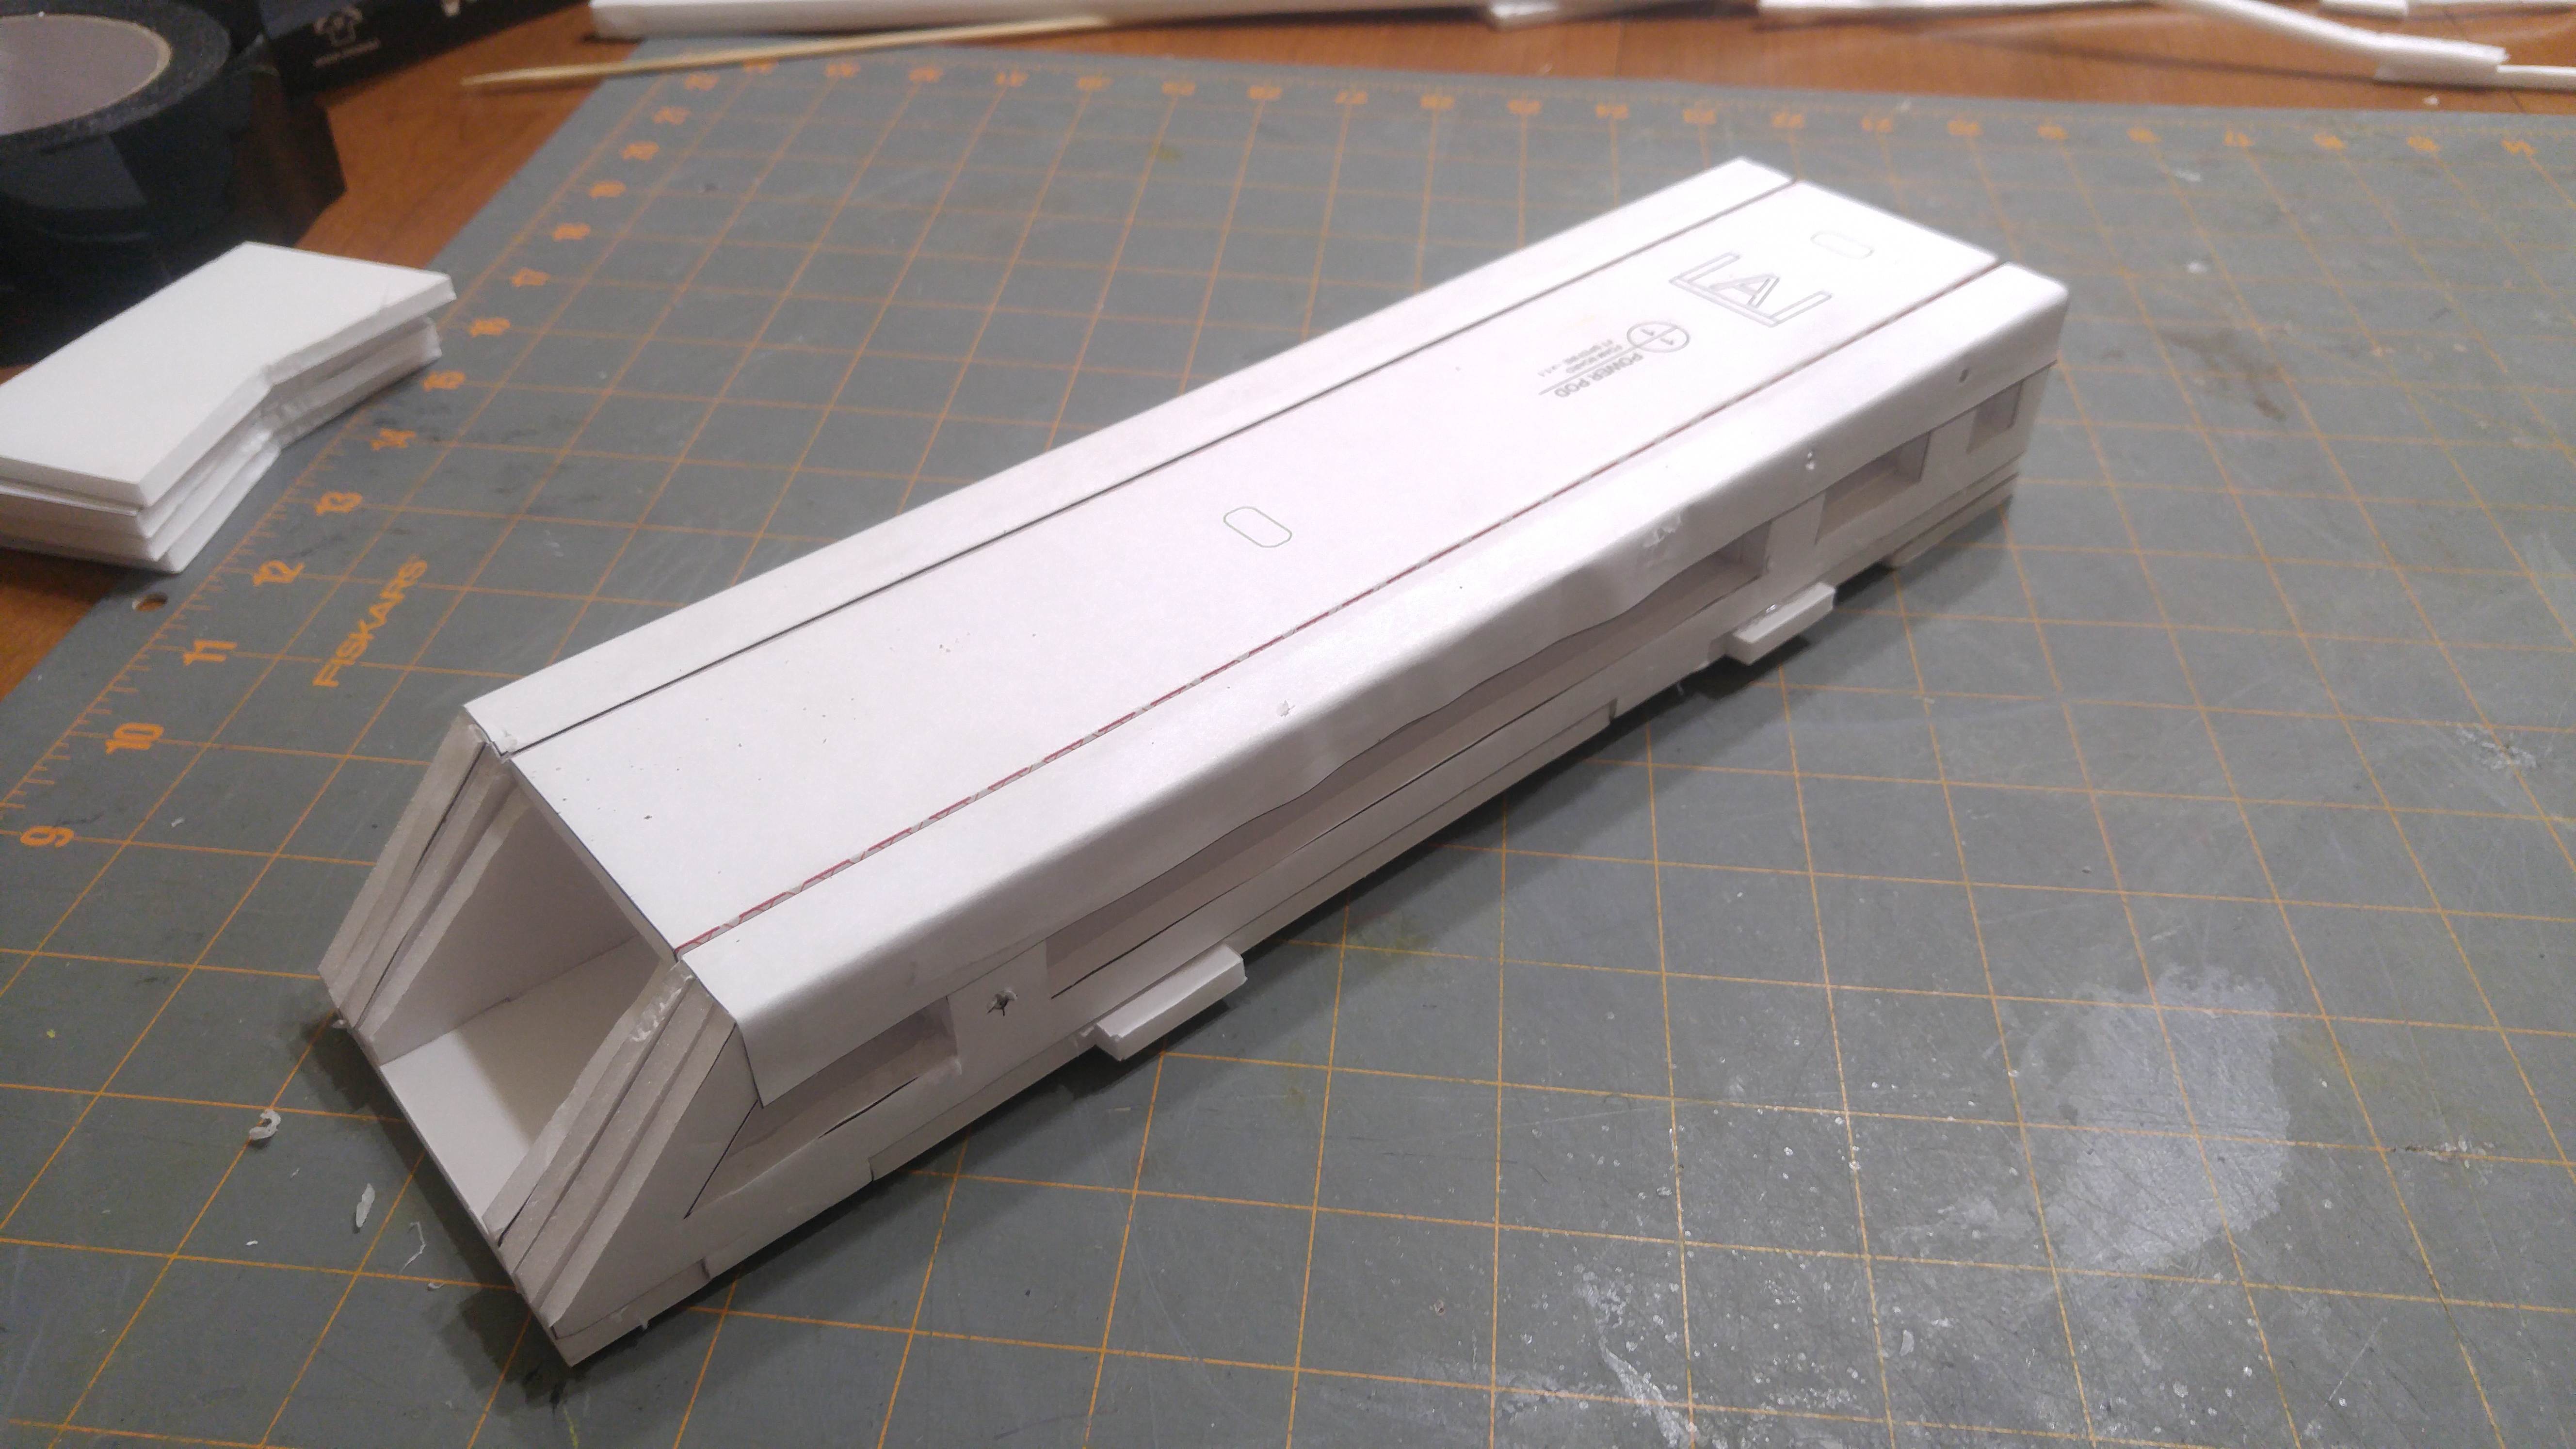
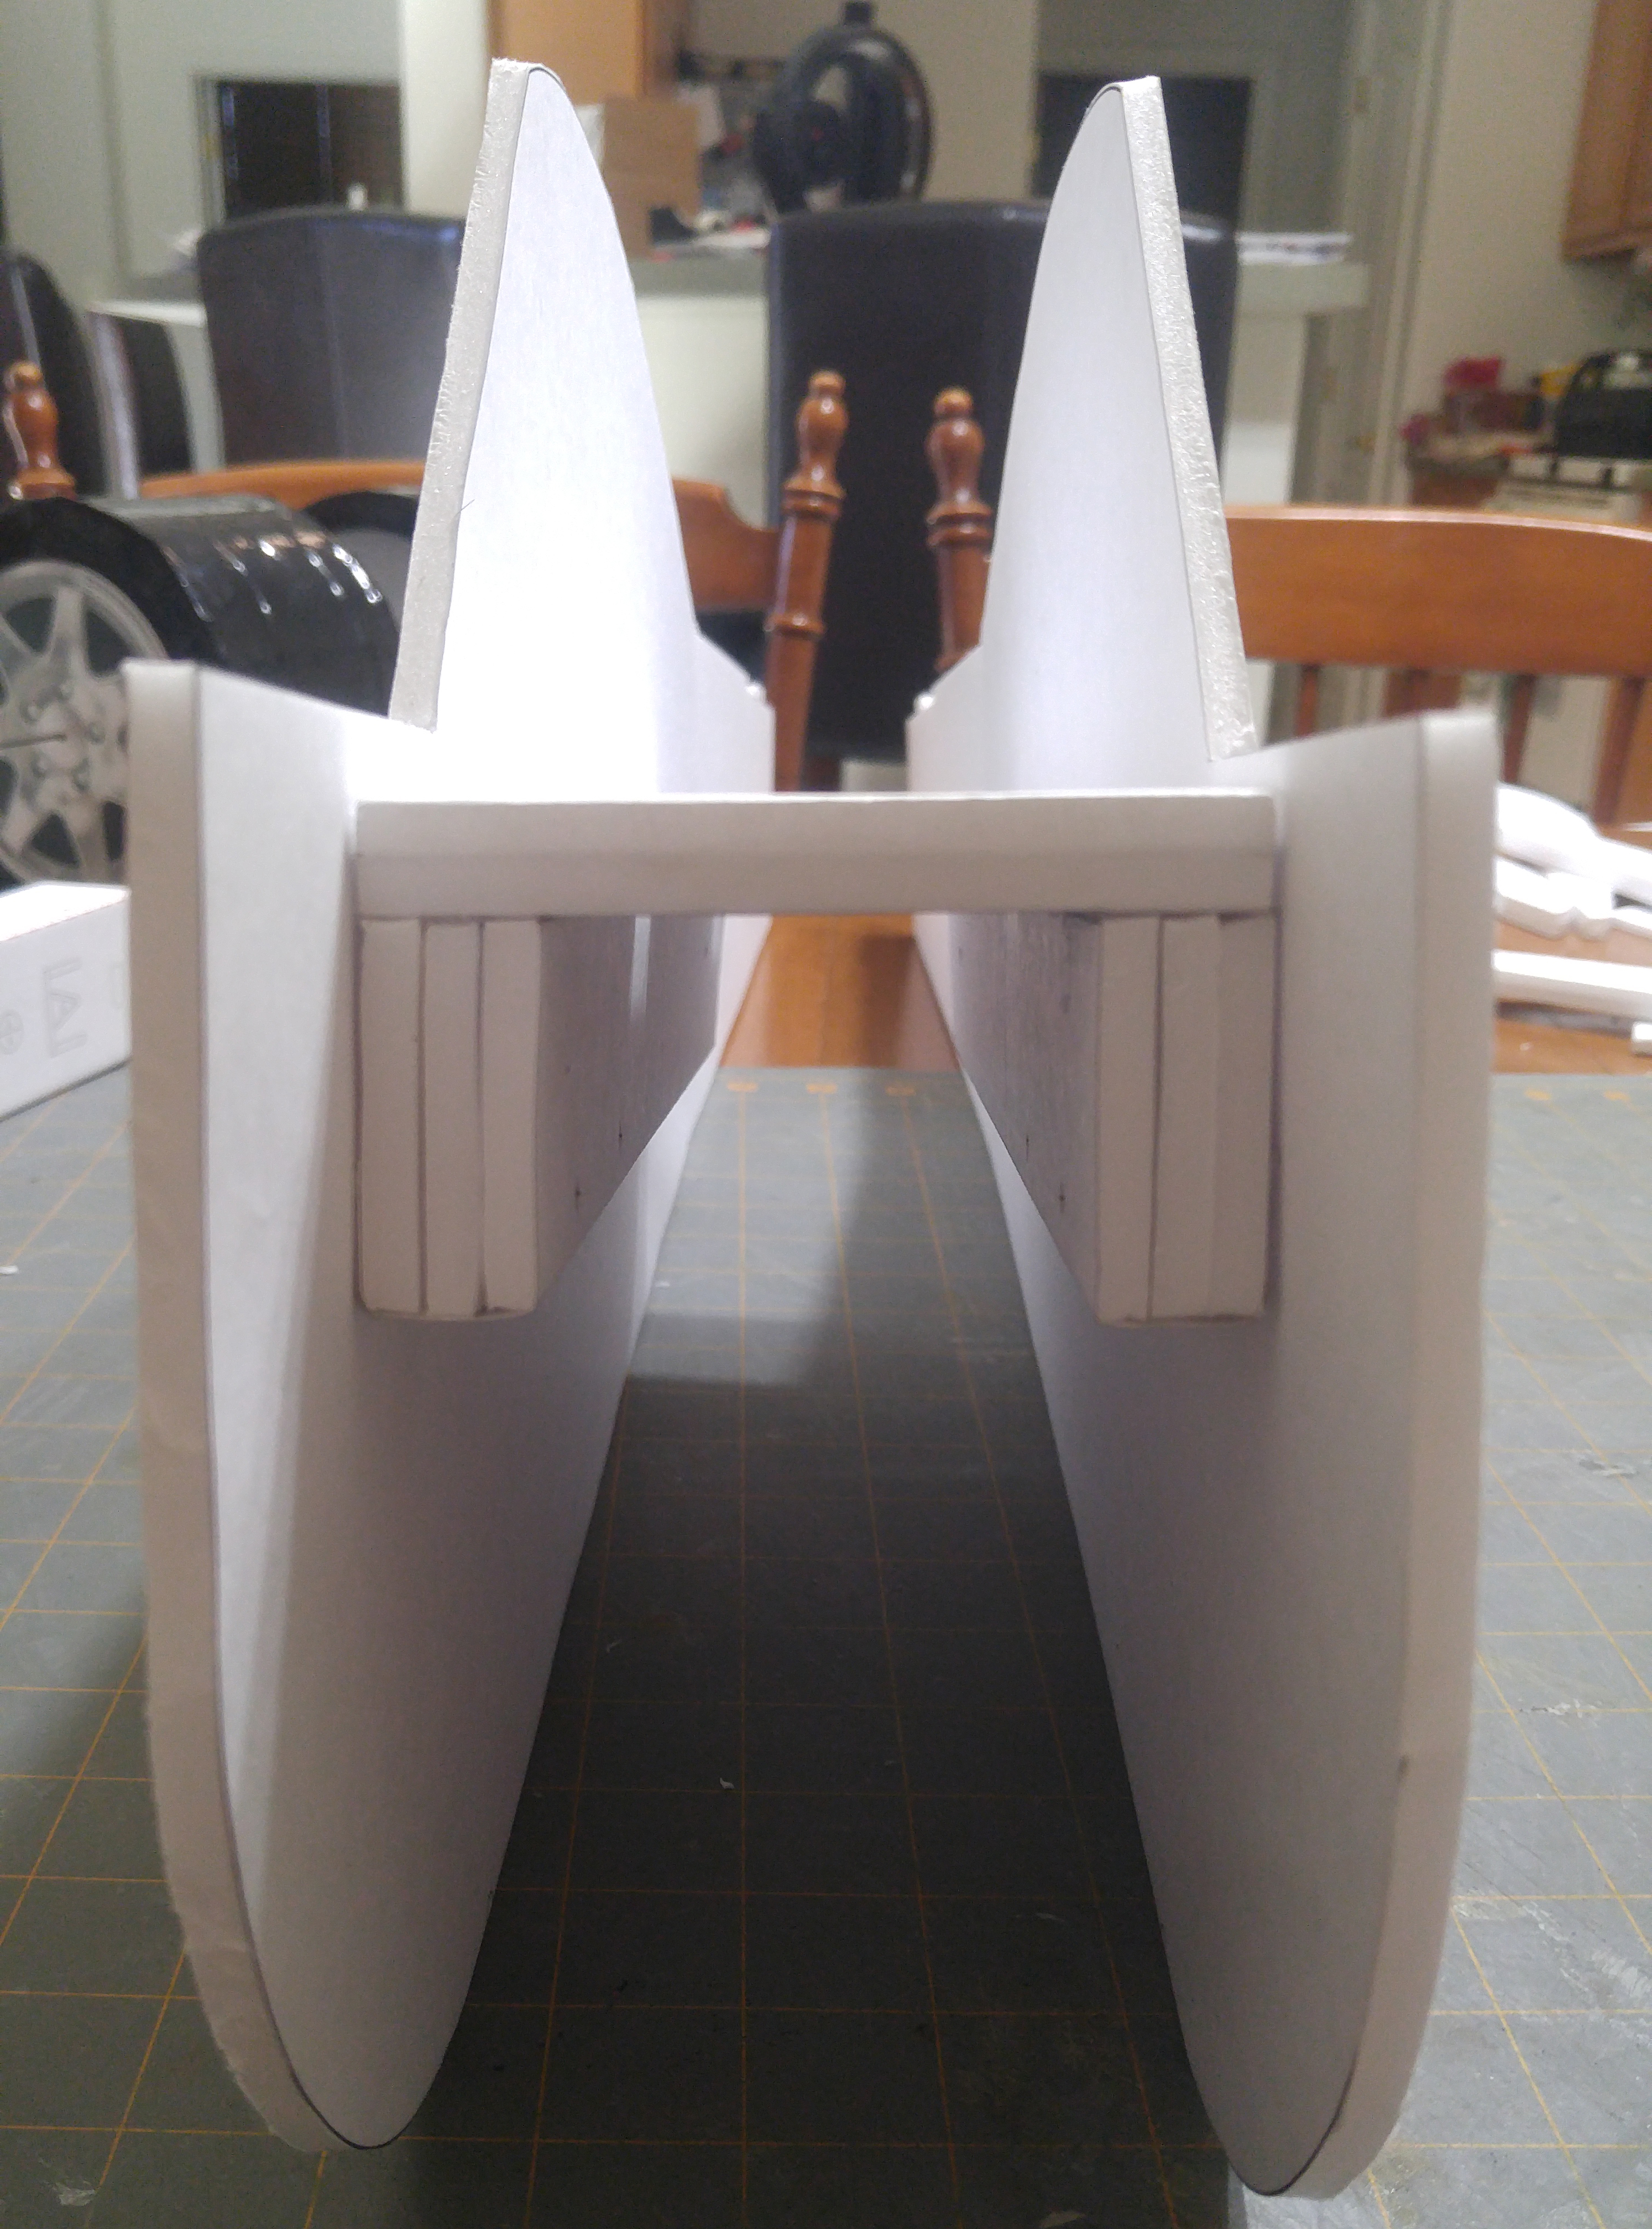
Progress! ....and a really long post.
The only part I think there may be questions on is the following: This is what I call the Power Pod Cradle or the PPC.
There are two sides and a bridge. This is how it looks in the plans:

Each side of the PPC is made up of three pieces for 6 total. Here is what the pieces should look like cut out. Note the red outline on the far right piece. This area has the foam removed per the plans. It has also been pre folded with the two pieces to it's left. The red arrow at the bottom points to the crease line. This paper will wrap each side so when you insert the power pod there is nothing for it to get hung up on.

The third and final piece of the PPC is the PPC Bridge seen below with a standard C Pack Powerpod. The PPC Bridge will span the two fuse halfs providing dimension and strength (tabs sticking out the edges key into the fuse). The sides above will be glued onto it's edges (they key into notches on the sides). There are slots for the power pod to plug into (outlined in red).

Here is the Power Pod sitting in position on the bridge with the C fold completed. Below it, one side (3 pieces) has been glued together. The edge wrap has yet to be glued in position.

One side has been glued in position. The other side has been assembled and the flap is glued down. Make sure you don't accidently glue the power pod in the cradle!

Second side ready to be glued in position. Note how the open sides go to the outside, away from the power pod.

Cradle with power pod assembled.

Power pod should easily slide from the cradle.

Tabs on the side of the cradle will then key into slots on the fuse. Slots (in red) have yet to be cut.

Once the cradle is glued to the first fuse side, it would be a good time to make your skewer holes for that side.

Cradle installed (sans powerpod). The rest is just fuse panels and wings!

Clear as mud? Goooood....
The only part I think there may be questions on is the following: This is what I call the Power Pod Cradle or the PPC.
There are two sides and a bridge. This is how it looks in the plans:

Each side of the PPC is made up of three pieces for 6 total. Here is what the pieces should look like cut out. Note the red outline on the far right piece. This area has the foam removed per the plans. It has also been pre folded with the two pieces to it's left. The red arrow at the bottom points to the crease line. This paper will wrap each side so when you insert the power pod there is nothing for it to get hung up on.

The third and final piece of the PPC is the PPC Bridge seen below with a standard C Pack Powerpod. The PPC Bridge will span the two fuse halfs providing dimension and strength (tabs sticking out the edges key into the fuse). The sides above will be glued onto it's edges (they key into notches on the sides). There are slots for the power pod to plug into (outlined in red).

Here is the Power Pod sitting in position on the bridge with the C fold completed. Below it, one side (3 pieces) has been glued together. The edge wrap has yet to be glued in position.

One side has been glued in position. The other side has been assembled and the flap is glued down. Make sure you don't accidently glue the power pod in the cradle!

Second side ready to be glued in position. Note how the open sides go to the outside, away from the power pod.

Cradle with power pod assembled.

Power pod should easily slide from the cradle.

Tabs on the side of the cradle will then key into slots on the fuse. Slots (in red) have yet to be cut.

Once the cradle is glued to the first fuse side, it would be a good time to make your skewer holes for that side.

Cradle installed (sans powerpod). The rest is just fuse panels and wings!

Clear as mud? Goooood....
Last edited:


