You are using an out of date browser. It may not display this or other websites correctly.
You should upgrade or use an alternative browser.
You should upgrade or use an alternative browser.
I really gotta spend more time following up on the build threads, this is coming along nicely!
I really gotta spend more time following up on the build threads, this is coming along nicely!
Thanks!
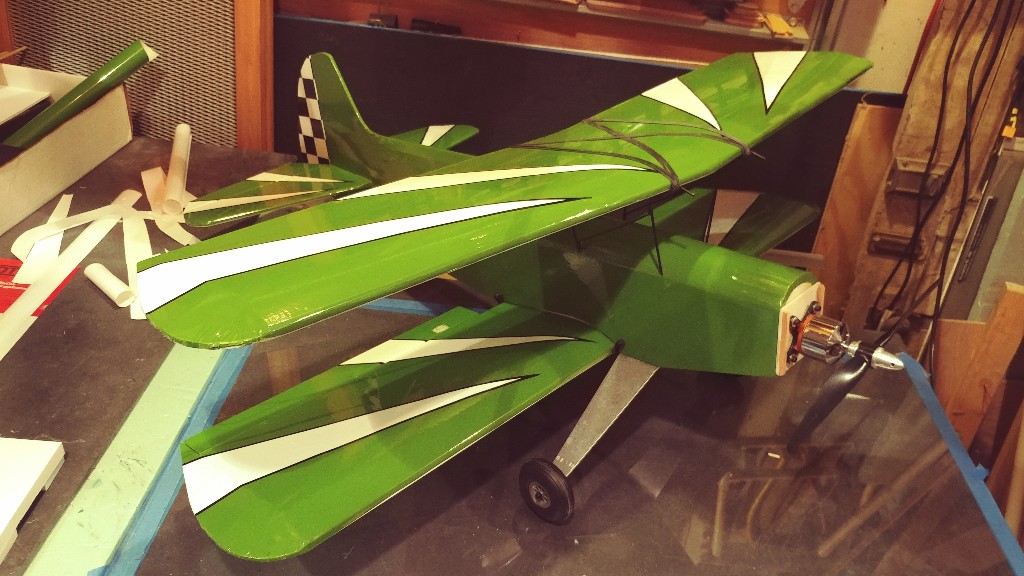
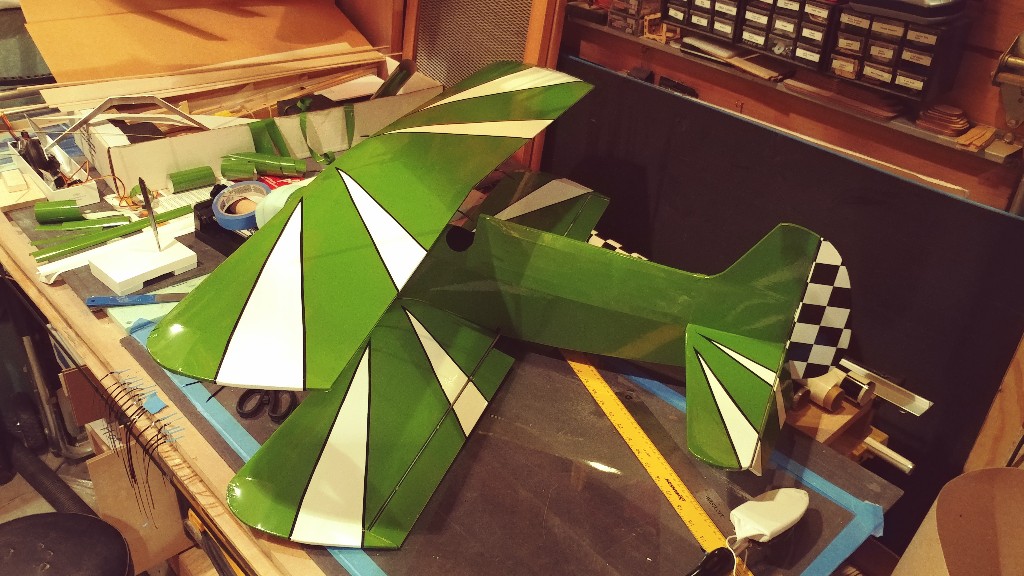
I didn't get much time to work on it today - finished the base colors on the elevator last night, and then went flying for a couple hours today!
And then I had some repairs to do when I got home - oops!
TooJung2Die
Master member
The pinstripe really makes the white pop! I have to remember to use more pinstripe.
So the bathroom has been making good progress at least... wall tile is almost all up.

Spent a little time in the workshop the last couple days too. Hinges all epoxied in place, tail wheel installed, tail surface control horns and cables installed. Still need to solder on the clevis for the servo end connection.

Ultracal 30 mixed and mounded onto the cowl plugs for both the Dreamer and the Monster FW-42. To reinforce the mold, I put one layer of Ultracal on the plug over the release agent, then wrapped it with non-stretching waxed cord a dozen or so times in several directions, and then put on other half of the Ultracal to seal it all in place. It started to slump a little bit, so I put some balsa scraps on the outside to encourage it to stay up while it cures.

Probably give the Ultracal two full days to cure - no sense rushing and ruining the molds.
Going to try and spend a little more time getting the final steps done on the Dreamer - the club's annual build contest is coming up next Thursday and I'd like her to be done for that

Spent a little time in the workshop the last couple days too. Hinges all epoxied in place, tail wheel installed, tail surface control horns and cables installed. Still need to solder on the clevis for the servo end connection.

Ultracal 30 mixed and mounded onto the cowl plugs for both the Dreamer and the Monster FW-42. To reinforce the mold, I put one layer of Ultracal on the plug over the release agent, then wrapped it with non-stretching waxed cord a dozen or so times in several directions, and then put on other half of the Ultracal to seal it all in place. It started to slump a little bit, so I put some balsa scraps on the outside to encourage it to stay up while it cures.

Probably give the Ultracal two full days to cure - no sense rushing and ruining the molds.
Going to try and spend a little more time getting the final steps done on the Dreamer - the club's annual build contest is coming up next Thursday and I'd like her to be done for that
Last edited:
Pulled the plug out of the mold just fine - just screwed a lag bolt into the foam and pulled and it popped right out. Not so lucky with the FW-42 one - destroyed the plug getting it out of the mold, but the mold is OK. Also put the motor on with two washers of right thrust and thread locker to keep it onboard.

So I put a skim coat of spackle inside the mold to fill in a couple little air pockets, and then sanded and started applying 3 coats of mold release agent.

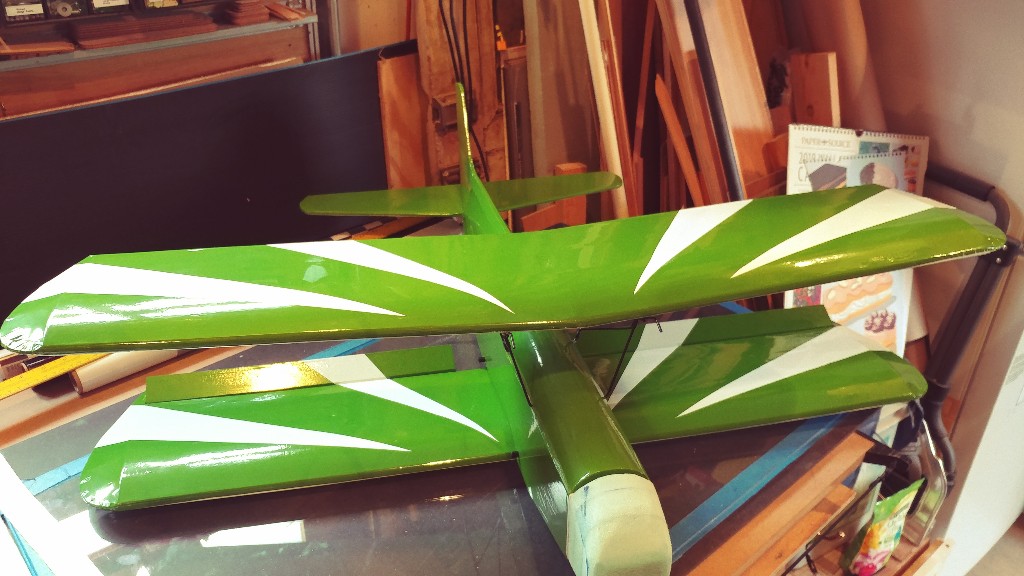
During the drying cycles on the mold, I finished the aileron control horns and did a final test install of the wings. The left side of the top wing was dipping down just a little bit out of parallel, so I gave the cabanes a little bend and got all the flying surfaces parallel to each other. Also loaded up what I think is the right number of rubber bands. She currently weighs 3.62 pounds, and I read a few old timers saying the rule of thumb is one rubber band per pound of plane (and they were talking mono-wings), so I've got 4 bands on each wing. I supposed I could go to 6 on each wing to really prevent any flutter on a dive, but I don't want to crush the wings either.

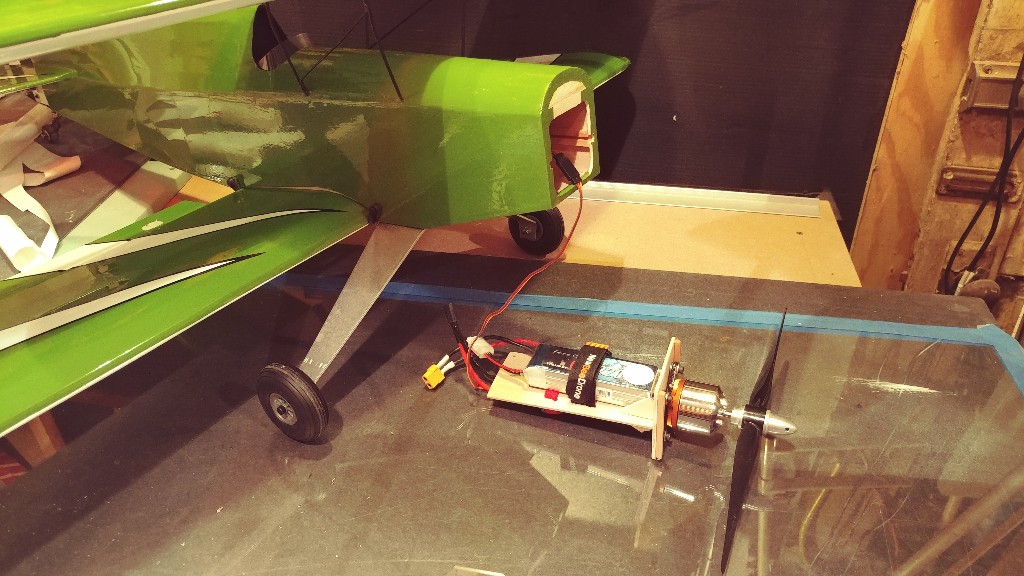
And I cut slots for the battery strap too. She balances almost perfectly with a 3s2200 mah pushed up to the firewall. Once I get the cowling in place, I'll probably be able to slide the battery back just a little bit, but there is plenty of adjustment room.
And look how easy it is to change the battery - just slide the locking switch on the side of the fuselage down and pull the whole power pod out!

Not too many things left to do at this point.

So I put a skim coat of spackle inside the mold to fill in a couple little air pockets, and then sanded and started applying 3 coats of mold release agent.

During the drying cycles on the mold, I finished the aileron control horns and did a final test install of the wings. The left side of the top wing was dipping down just a little bit out of parallel, so I gave the cabanes a little bend and got all the flying surfaces parallel to each other. Also loaded up what I think is the right number of rubber bands. She currently weighs 3.62 pounds, and I read a few old timers saying the rule of thumb is one rubber band per pound of plane (and they were talking mono-wings), so I've got 4 bands on each wing. I supposed I could go to 6 on each wing to really prevent any flutter on a dive, but I don't want to crush the wings either.

And I cut slots for the battery strap too. She balances almost perfectly with a 3s2200 mah pushed up to the firewall. Once I get the cowling in place, I'll probably be able to slide the battery back just a little bit, but there is plenty of adjustment room.
And look how easy it is to change the battery - just slide the locking switch on the side of the fuselage down and pull the whole power pod out!

Not too many things left to do at this point.
- Make fiberglass cowling
- Paint cowling
- Cut & install vinyl side graphics
- Bind up and program the transmitter
- Go fly!!
Last edited:
Nice plane there! I've really gotta try something like what you've done with the covering film. What motor are you using?
Thanks! As long as I keep it to straight line cuts, it's surprisingly easy to get a nice covering scheme going
For the motor I've been a big fan of the $$ to performance ratio of the PowerUp brand carried by HeadsUpHobby
https://www.headsuphobby.com/Power-Up-32-Sport-800kv-Outrunner-Brushless-Motor_p_1602.html
I also like that he does testing with a bunch of different prop and battery combinations and puts the data up on the website - not just what the manufacturer thinks it will do.
Last edited:
L Edge
Master member
I would suggest you put more rubber bands on you can loose the upper wing (ask me how I know), for if you do, you will need to land at a very brisk speed to prevent damage.
Another point to make is if your plane sits out in the hot sun, the degrades the rubber quickly. If they look bad, discard.
Another point to make is if your plane sits out in the hot sun, the degrades the rubber quickly. If they look bad, discard.
Thanks! Going to be very happy to be done with it! (Bathroom, not planeWow, reminds me of my bathroom project. I like the large format tile, that is going to be a nice bathroom. The plane is looking great too.
I would suggest you put more rubber bands on you can loose the upper wing (ask me how I know), for if you do, you will need to land at a very brisk speed to prevent damage.
Another point to make is if your plane sits out in the hot sun, the degrades the rubber quickly. If they look bad, discard.
Thanks for the tip - I'll add a couple more for sure. Got a bag of 100 of the black rubber bands for cheap so no problem changing them out every 3 or 4 flying days too.
L Edge
Master member
Another tip I just remembered--checking CG, turned plane over and punctured covering while trying to find balance point, so to prevent more work did the following.
Got some strong fish line at put it between lower wing and fuse. Now you pick up plane by fish lines and see if you are tail heavy or nose heavy. Then slide string forward or aft and lift again till you find the magic spot. Works also for low wing planes as well.
Got some strong fish line at put it between lower wing and fuse. Now you pick up plane by fish lines and see if you are tail heavy or nose heavy. Then slide string forward or aft and lift again till you find the magic spot. Works also for low wing planes as well.
Yes, there is nothing like releasing your bowls in a newly remodeled bathroom that you did yourself...My Dad is a doctor and told me that one...
Finished grouting the floor tile yesterday, today is all about haze remover and sealant. Should be installing the toilet on Saturday and will test out your theory
Another tip I just remembered--checking CG, turned plane over and punctured covering while trying to find balance point, so to prevent more work did the following.
Got some strong fish line at put it between lower wing and fuse. Now you pick up plane by fish lines and see if you are tail heavy or nose heavy. Then slide string forward or aft and lift again till you find the magic spot. Works also for low wing planes as well.
I am a firm believer in the "hang it by a string method" too! Somewhere along the line it was named a Vanessa Rig and there are some good instructions on building and using one over here http://www.rcuniverse.com/forum/tips-techniques-180/708060-vanessa-c-g-rig-how.html along with a video from our own @wilmracer
I didn't manage to get the cowling done this week, but I did take the Dreamer to my club's build/display contest last night and she got 2nd place in the "Under Construction" category
Similar threads
- Replies
- 8
- Views
- 1K
- Replies
- 11
- Views
- 662


