mayan

Legendary member
Hey All,

I fell in love with the hobby looking for something to use as a bonding for me and my son. We started through paper planes, moved to balsa wood gliders and now trying RC. You can read more about how we started and the first experience that we had trying to fly for the first time with the FT SCub here: https://forum.flitetest.com/index.php?threads/the-hobby-newbie.54850/

After a lot of inputs that I had received from some create people on that thread and a recommendation to start training on the FT TT, I have decided to write a diary documenting the process as it was coming along. The whole process up from the building of the model and all the way through flying 4 channels.

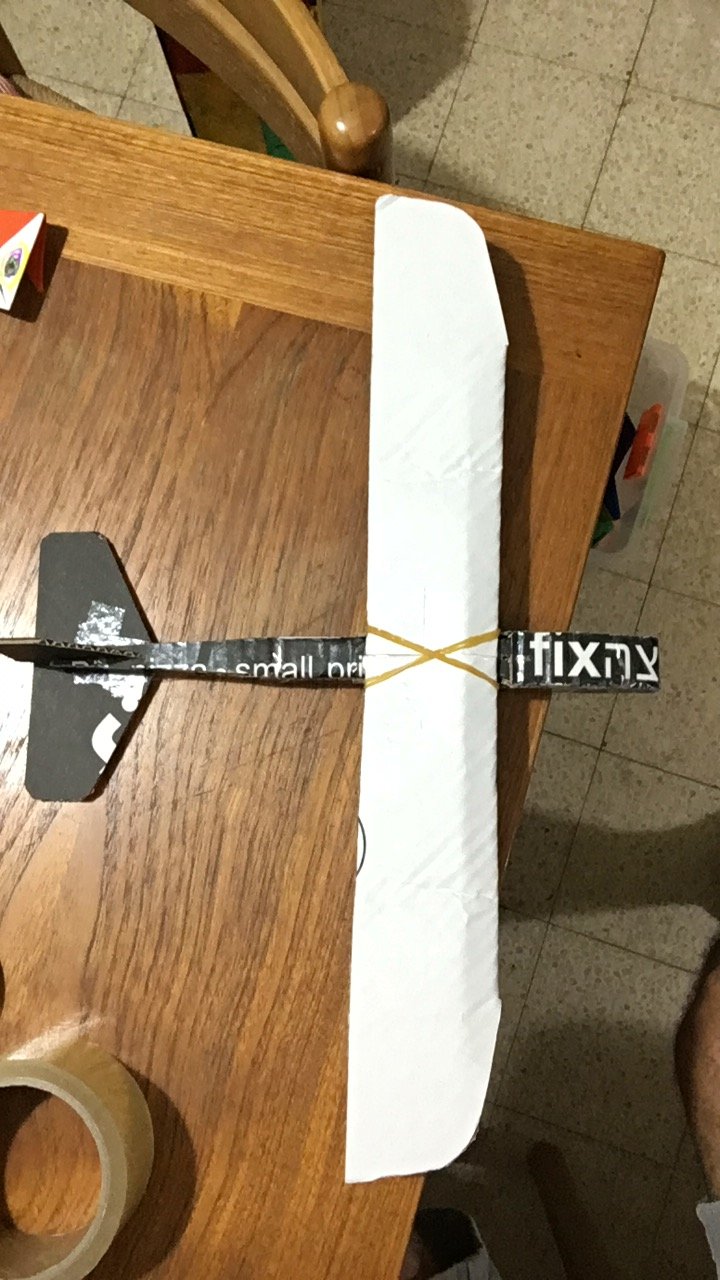
I'd like to use this post to give you a few pointers that help me during the process. I really liked Josh Bixler's video about the pizza plane, and took that as an idea for something that can be built quickly and also be done with young ones that are still not able to use a hot glue gun or other types of glue. So the first thing I did was build a 4 times smaller version of the FT TT out a pizza box I had laying around.
191127_bfc12caa1b0334a7a6e54c3a5ad185ab.jpeg


There are a few reasons why I personally started liking to build a 4 times smaller model out of pizza boxes or any other thick card board boxes, before building the full scale model out of foam board.
1) It recycles, and can be set on shelves for display or given to small ones as plane toys.
2) It helps you get a feel for how hard or easy building the model is going to be, as well as where during the build process will you need to put more attention. Basically helps you learn how to build the model better so you feel that it's prefect.
3) If you plan on giving you model a design you can also use this 4 times smaller model as a design model, printing and pasting the designs on the plane until you like what you get. Recommend to use some paper duck tape for this, so that it comes of easily.

Next to come printing out the plane plans and setting them up on foam board.
 

mayan

Legendary member
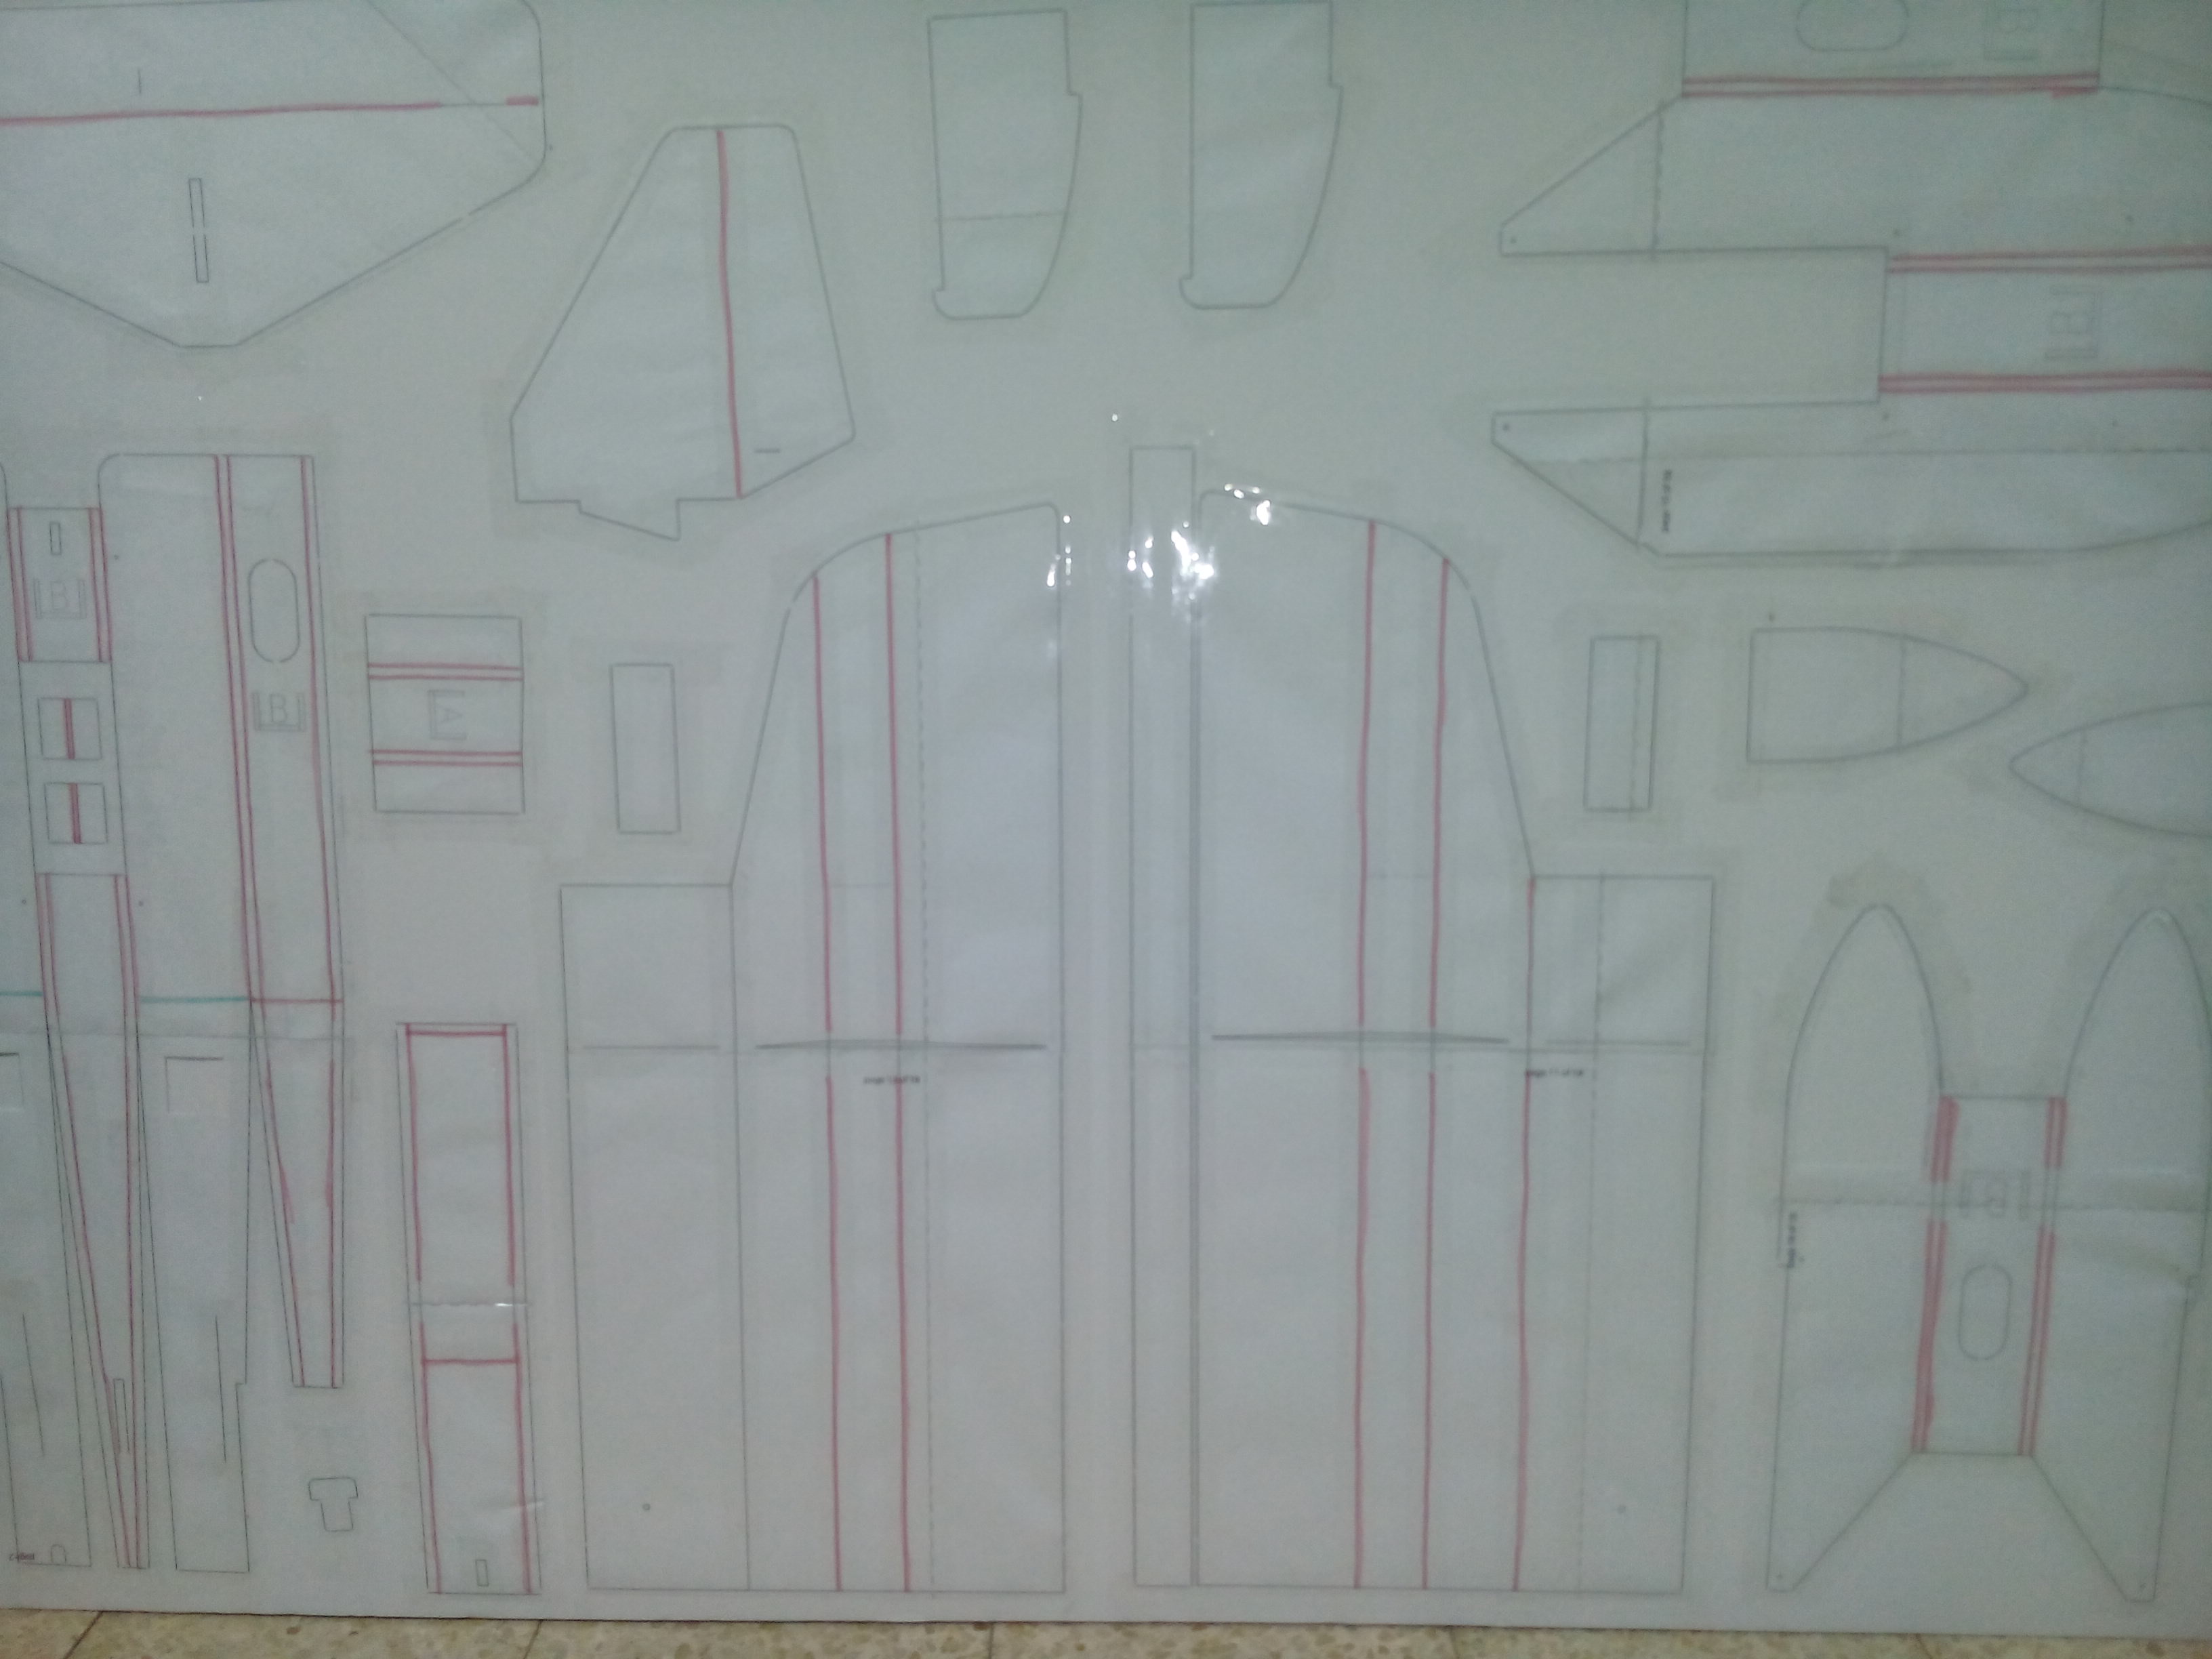
So what's next? How do I take the plans and turn them into a plane? Well I assume that there are many ways to acheive this but I'd like to share with you the way I do it. The first thing that I do is print out the titled version of the plans, cut out the margins and connect the pages together into a big plan.

Unlike some other plans that FT has, the plans for the TT don't include cross marking on them nor are they suitable for B&W printers as they use colors instead of signs to mark score cuts and creases. In this case what I did is I took 2 different color markers and highlighted the score cuts and creases on the big plan that I have created. During the process I faced an issue though because some of the score cuts that I needed to highlight were now covered by tape which didn’t give me the option to highlight them, and made me have to remember them later in the build process. A lesson well learned and something to point out, when working with the color based plans like in the TT, I highly recommend to highlight the score cuts and creases before taping the cut out pages of the plan together.

IMG_20100104_083122.jpg


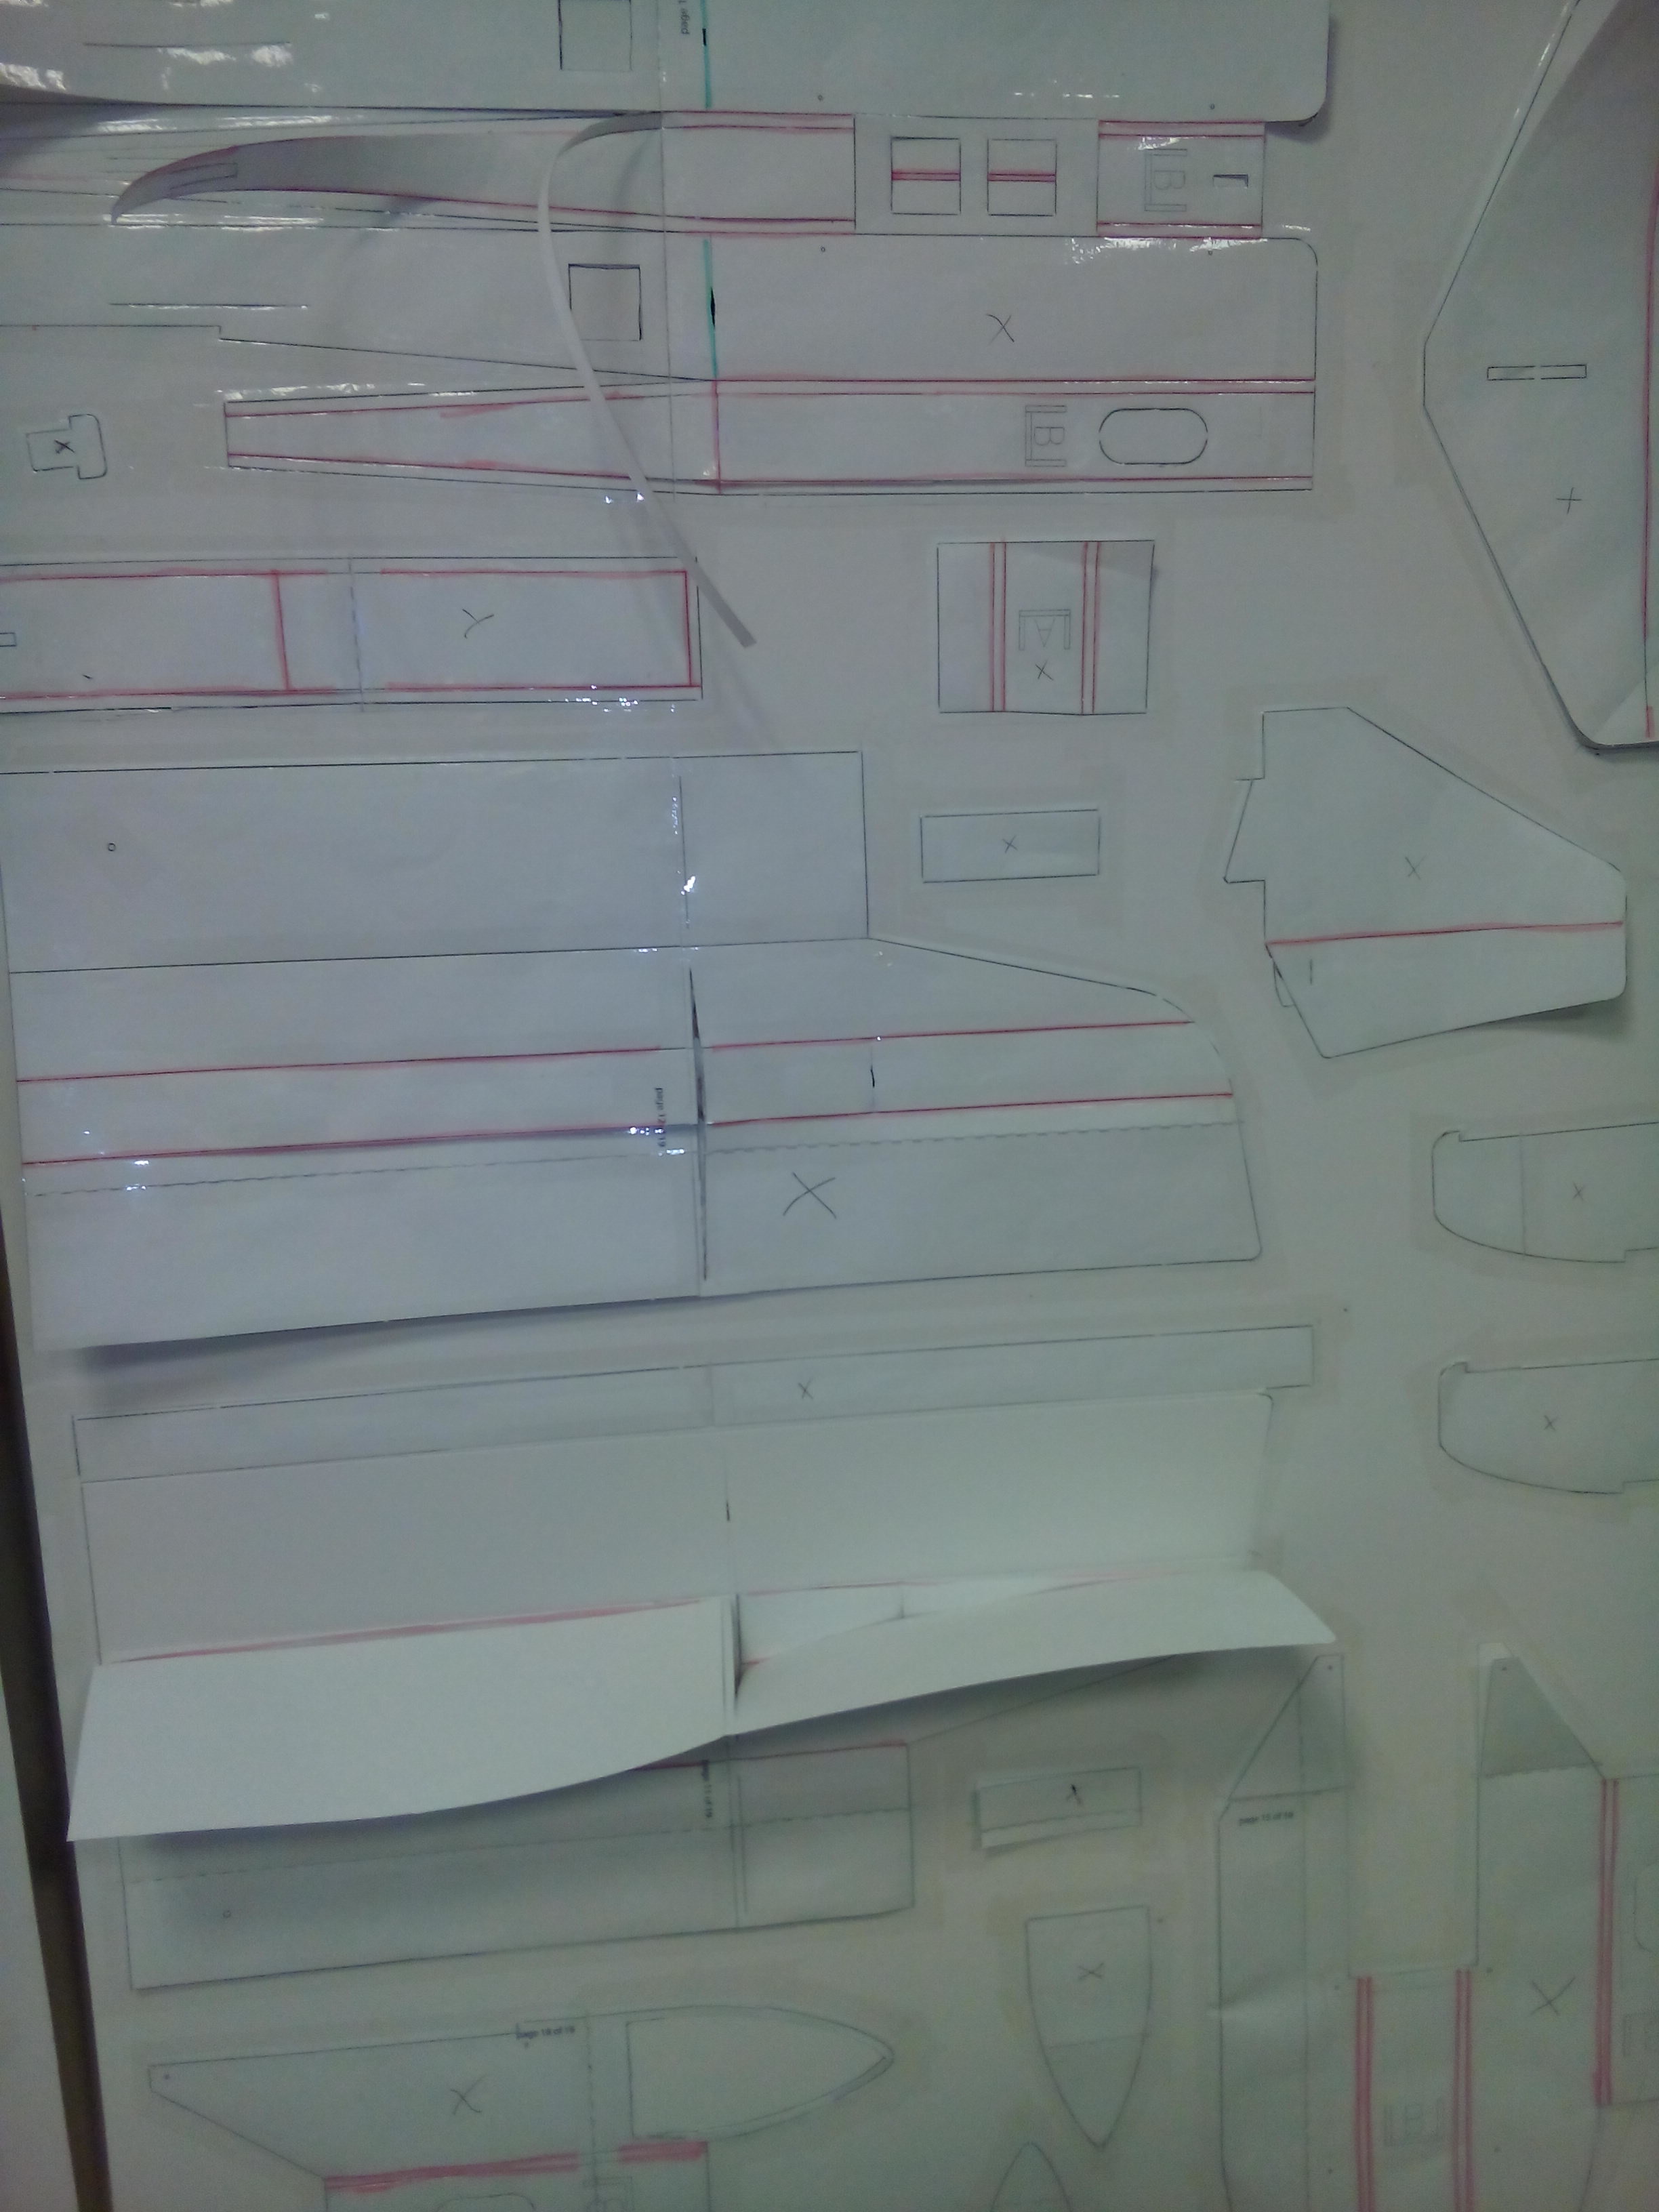
What I did next is cut out the big plan that I had created into sperate pieces according to the plane parts. Cutting each part about 1/5 of an inch from the line that I was later going to cut on.

IMG_20100104_083104.jpg


Once I cut them out I was ready to get them onto the foam boards. I started placing the cut out pieces on the foam board trying to get as many pieces as I can on the same foam board. Cutting out the parts into separate pieces allowed me to more parts of the plane onto one foam board. If you take a look at the TT build video Josh has made you’ll come to see that he uses 5-6 sheets of foam board for this model I ended up using one and a half sheets of foam for the entire model.

IMG_20100104_084421.jpg


The next thing I did was start taping down the parts onto the foam board. Taping each piece at a time covering the line I was going to cut on. After all the parts were taped to the foam board I added tape also on the internal parts that had to be cut, including score cuts and creases. The reason why I did this was to have something to give me extra support when I cut through the score cuts, creases and internal parts that need to be cut out.

IMG_20100104_093411.jpg


Next thing to do is cut out the parts so we can start building the model...
 

cranialrectosis

Faster than a speeding face plant!
Mentor
You may wish to try a can of spray on glue instead of tape to attach your paper plans to the foam.

Some guys glue the paper to construction paper and cut out a template, then use the template to cut out the foam board. This way, you keep the templates after the build so if you need spare parts, you already have the template. :)

Nice thread. The TT is a great plane to work with. I think you will love how it flies with the sport wing.
 

mayan

Legendary member
You may wish to try a can of spray on glue instead of tape to attach your paper plans to the foam.

Some guys glue the paper to construction paper and cut out a template, then use the template to cut out the foam board. This way, you keep the templates after the build so if you need spare parts, you already have the template. :)

Nice thread. The TT is a great plane to work with. I think you will love how it flies with the sport wing.

I didnt quite managed with that. Although i am always up to trying again :)
 
Last edited:

Hai-Lee

Old and Bold RC PILOT
When you have your parts cut out it is wise to hold the wing pieces together and ensure that they are identical in shape, size and the fold points. The use of a little sandpaper can make them identical in size and shape.

Also try to keep it as light as possible as the TT can quickly become a very fast proposition if it gets too heavy.

Have fun!
 

Arcfyre

Elite member
Looking forward to seeing how you get on. I saw your first post with the cub and I'm glad you're trying a different model. In my opinion the cub is quite squirrelly and not well suited for a first model.
 

mayan

Legendary member
In my opinion the cub is quite squirrelly and not well suited for a first model.
I agree and that is why I took Hai-Lee's advice about building the TT.

Also want to thank you all for the inputs keep them coming :).
So the next thing I did was cut out the foam board into the different plane parts.
IMG_20180818_011425.jpg


What I have learned from my previous builds is that its best to first cut out all the internal pieces that need to be removed. After I've cut those out I recommend marking the score cuts and creases. There are two ways that I do that. When I need to make a score cut on long lines like in the fusealage I use a ruler and open the razor blade in a way that the ruler gives me an extra edge ensuriung that I dont cut throught the foam board as follows.

IMG_20180818_155331.jpg


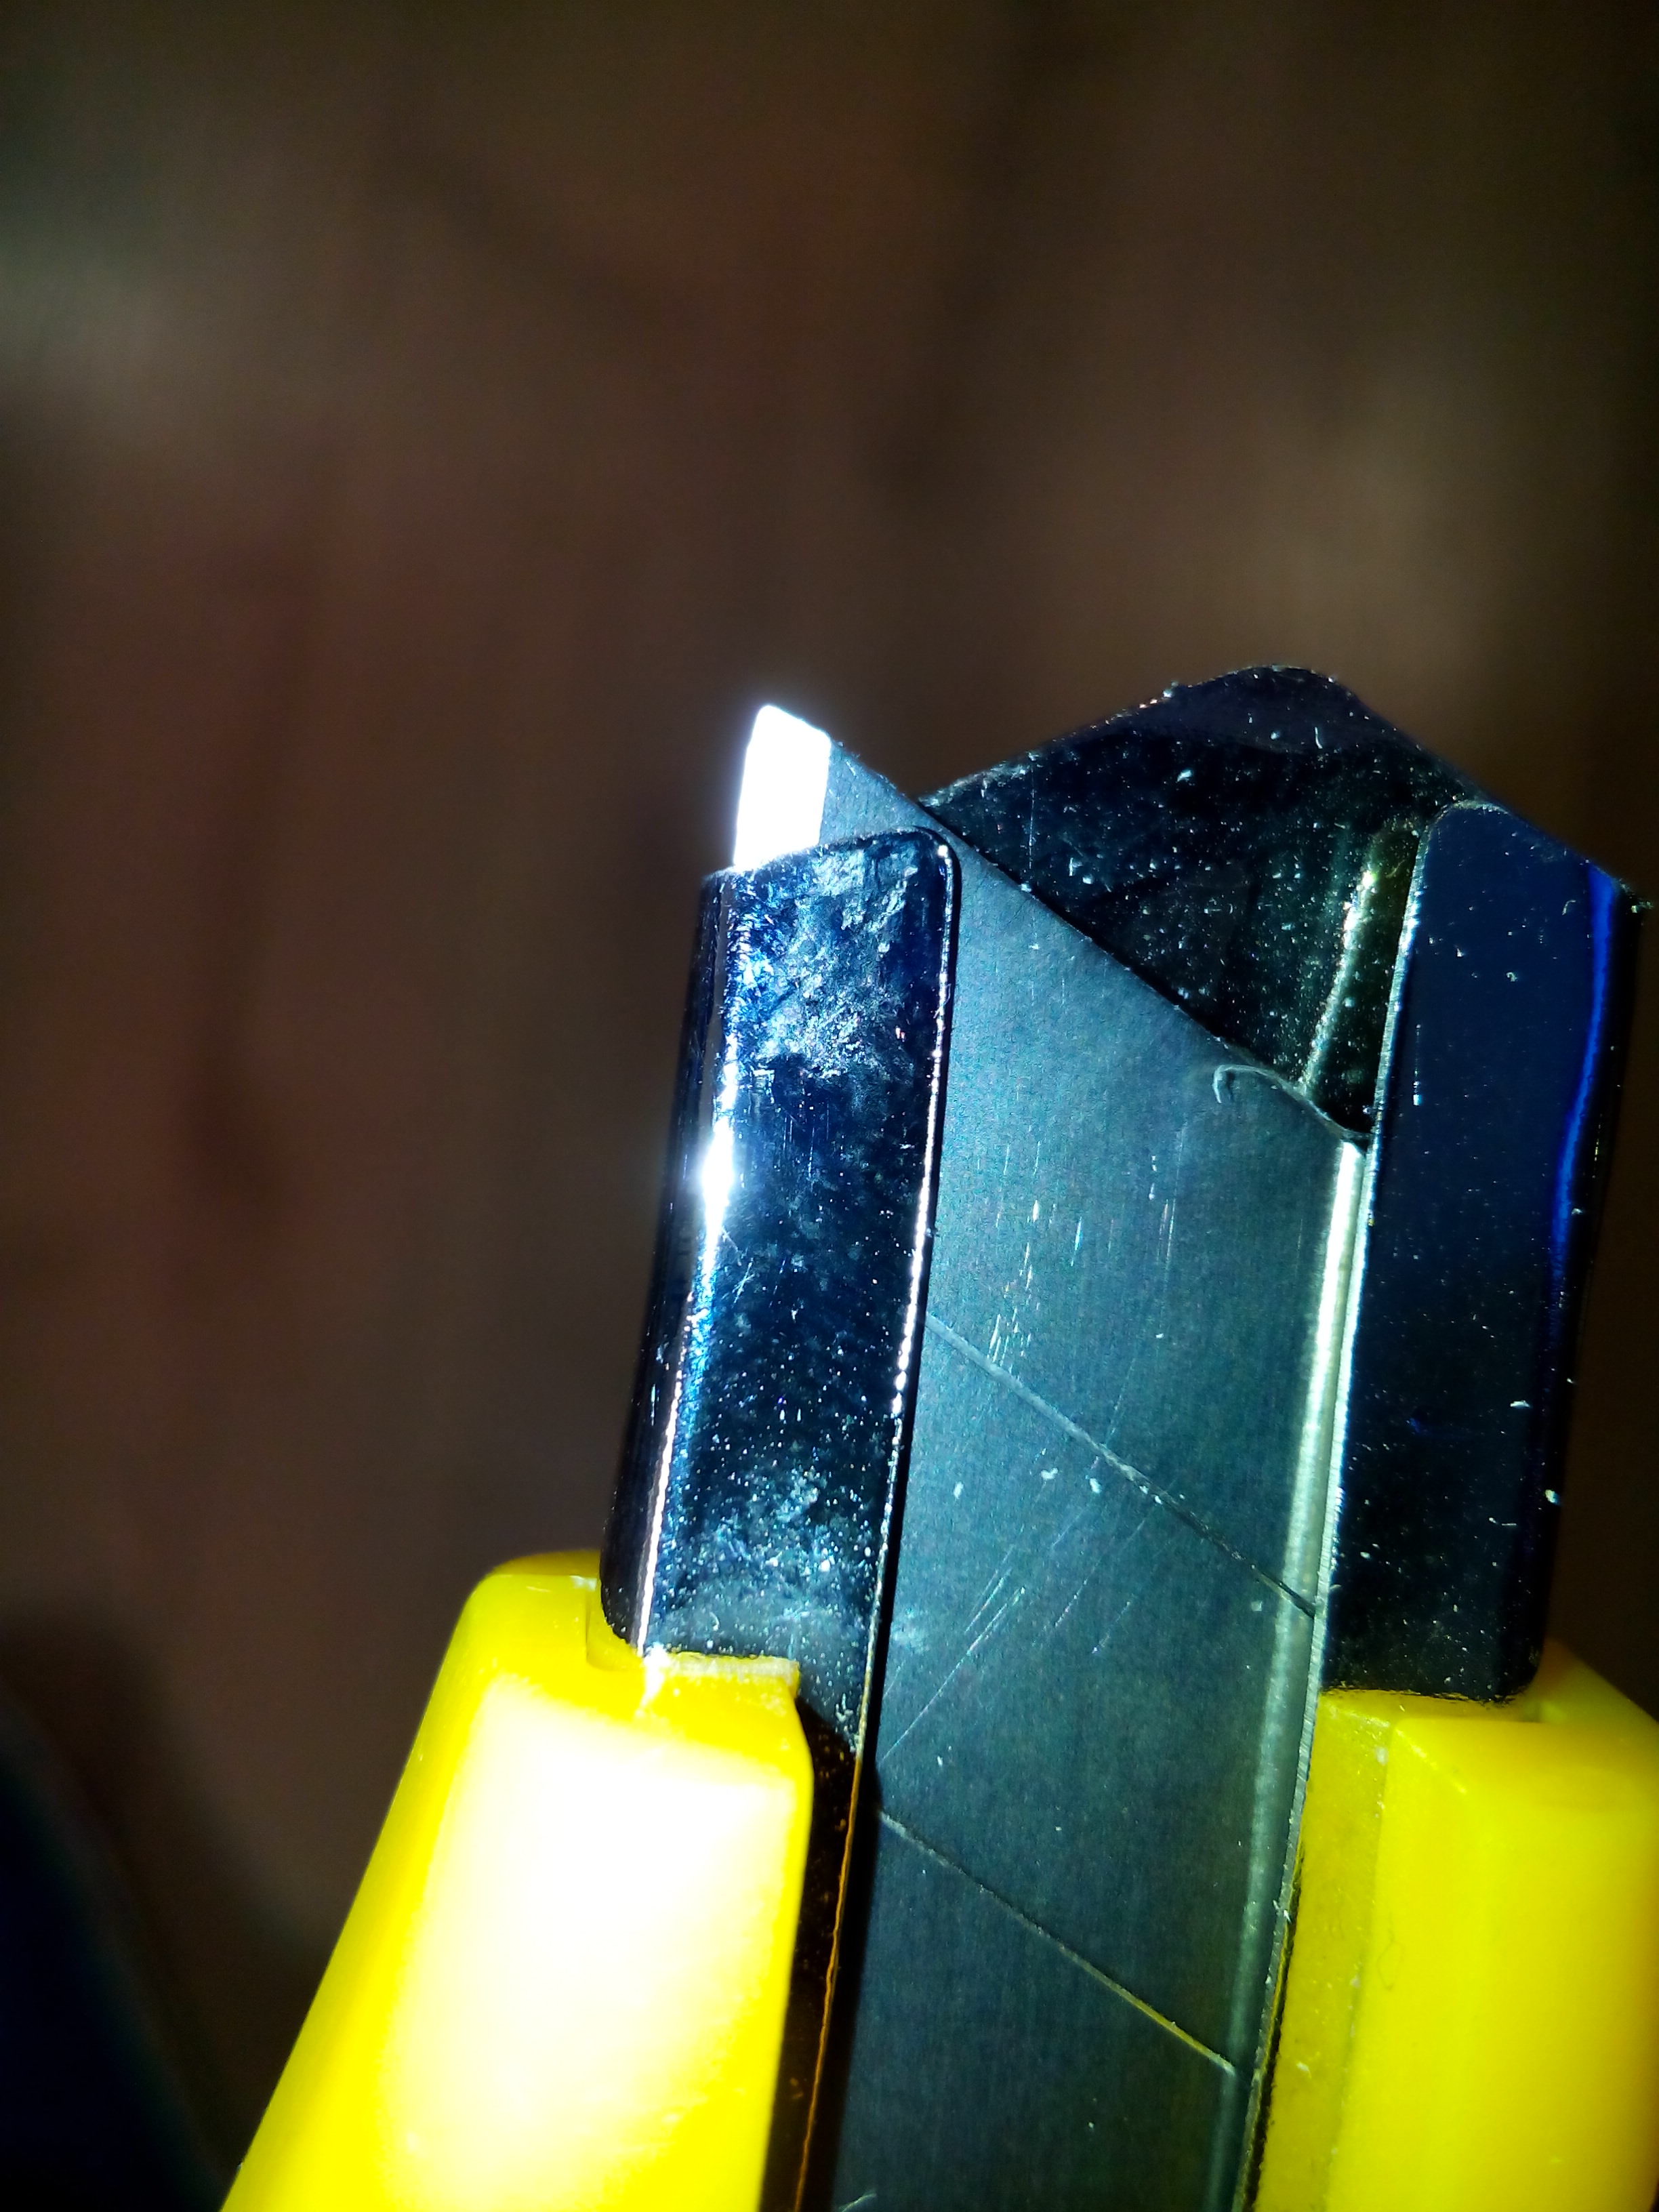
When I am working on short lines I open the razor blade only about 2.5mm in order not to cut all the way through the foam board.

IMG_20180818_155421.jpg


Once I have cut the score cuts I take a professional knife and cut through the foam board.

IMG_20180818_162502.jpg


I don't do one cut and prefer to do a few cuts untill I finally go all the way through the foam board. The reason why I dont make one cut through is because it gives me a place to make corrections in case my hand slipped and I missed the line. Another thing that I recommend based on a recommendation that I have seen in one of the build videos FT has is first cut out all the straight lines and only after you finish all the straight lines do I go on and cut the curved lines. Since I usually can't find the time to complete the entire build proccess in one go and usaully find myself working on the build both at home and during night and weekend shifts at work I cut out the parts in a way that they wont break loose from the foam board sheet that way I can take the sheet with me without having to fear that the parts will fall out and get lost. The way I do this is by leaving about 1-2 mm spacing between cut through lines.

IMG_20180818_162716.jpg


After I have made all the cut throughs I am ready to start the build proccess :)...
 

Javiester

Elite member
This has been my solution to the old plans, so I can print them individually on an A2 printer that I have in the company where I work
I used the Inkscape
 

Attachments

  • FT Mini Trainer left wing.pdf
    1.4 KB · Views: 0
  • FT Mini Trainer Nose.pdf
    2.2 KB · Views: 0
  • FT Mini Trainer right wing.pdf
    1.4 KB · Views: 0
  • FT Mini Trainer rudder.pdf
    1.3 KB · Views: 0
  • FT Mini Trainer tail.pdf
    2.9 KB · Views: 0
  • FT Mini Trainer fuselage.svg
    26.4 KB · Views: 0

mayan

Legendary member
This has been my solution to the old plans, so I can print them individually on an A2 printer that I have in the company where I work
I used the Inkscape

That's quite cool how do you did you get the A titled version built into A2 sized parts?
 

Javiester

Elite member
everything has left the forum
I do not remember where
this is what I have
 

Attachments

  • FT Mini Trainer 2c.pdf
    4.7 KB · Views: 0
  • FT Mini Trainer 2c.dxf
    73.4 KB · Views: 0
  • FT Mini Trainer 2c.svg
    1.1 MB · Views: 0
  • FT Mini TinyTrainer-plans.pdf
    3.9 MB · Views: 0
  • FT mini Tinytrainer-TILED-PLANS.pdf
    2.5 MB · Views: 0

mayan

Legendary member
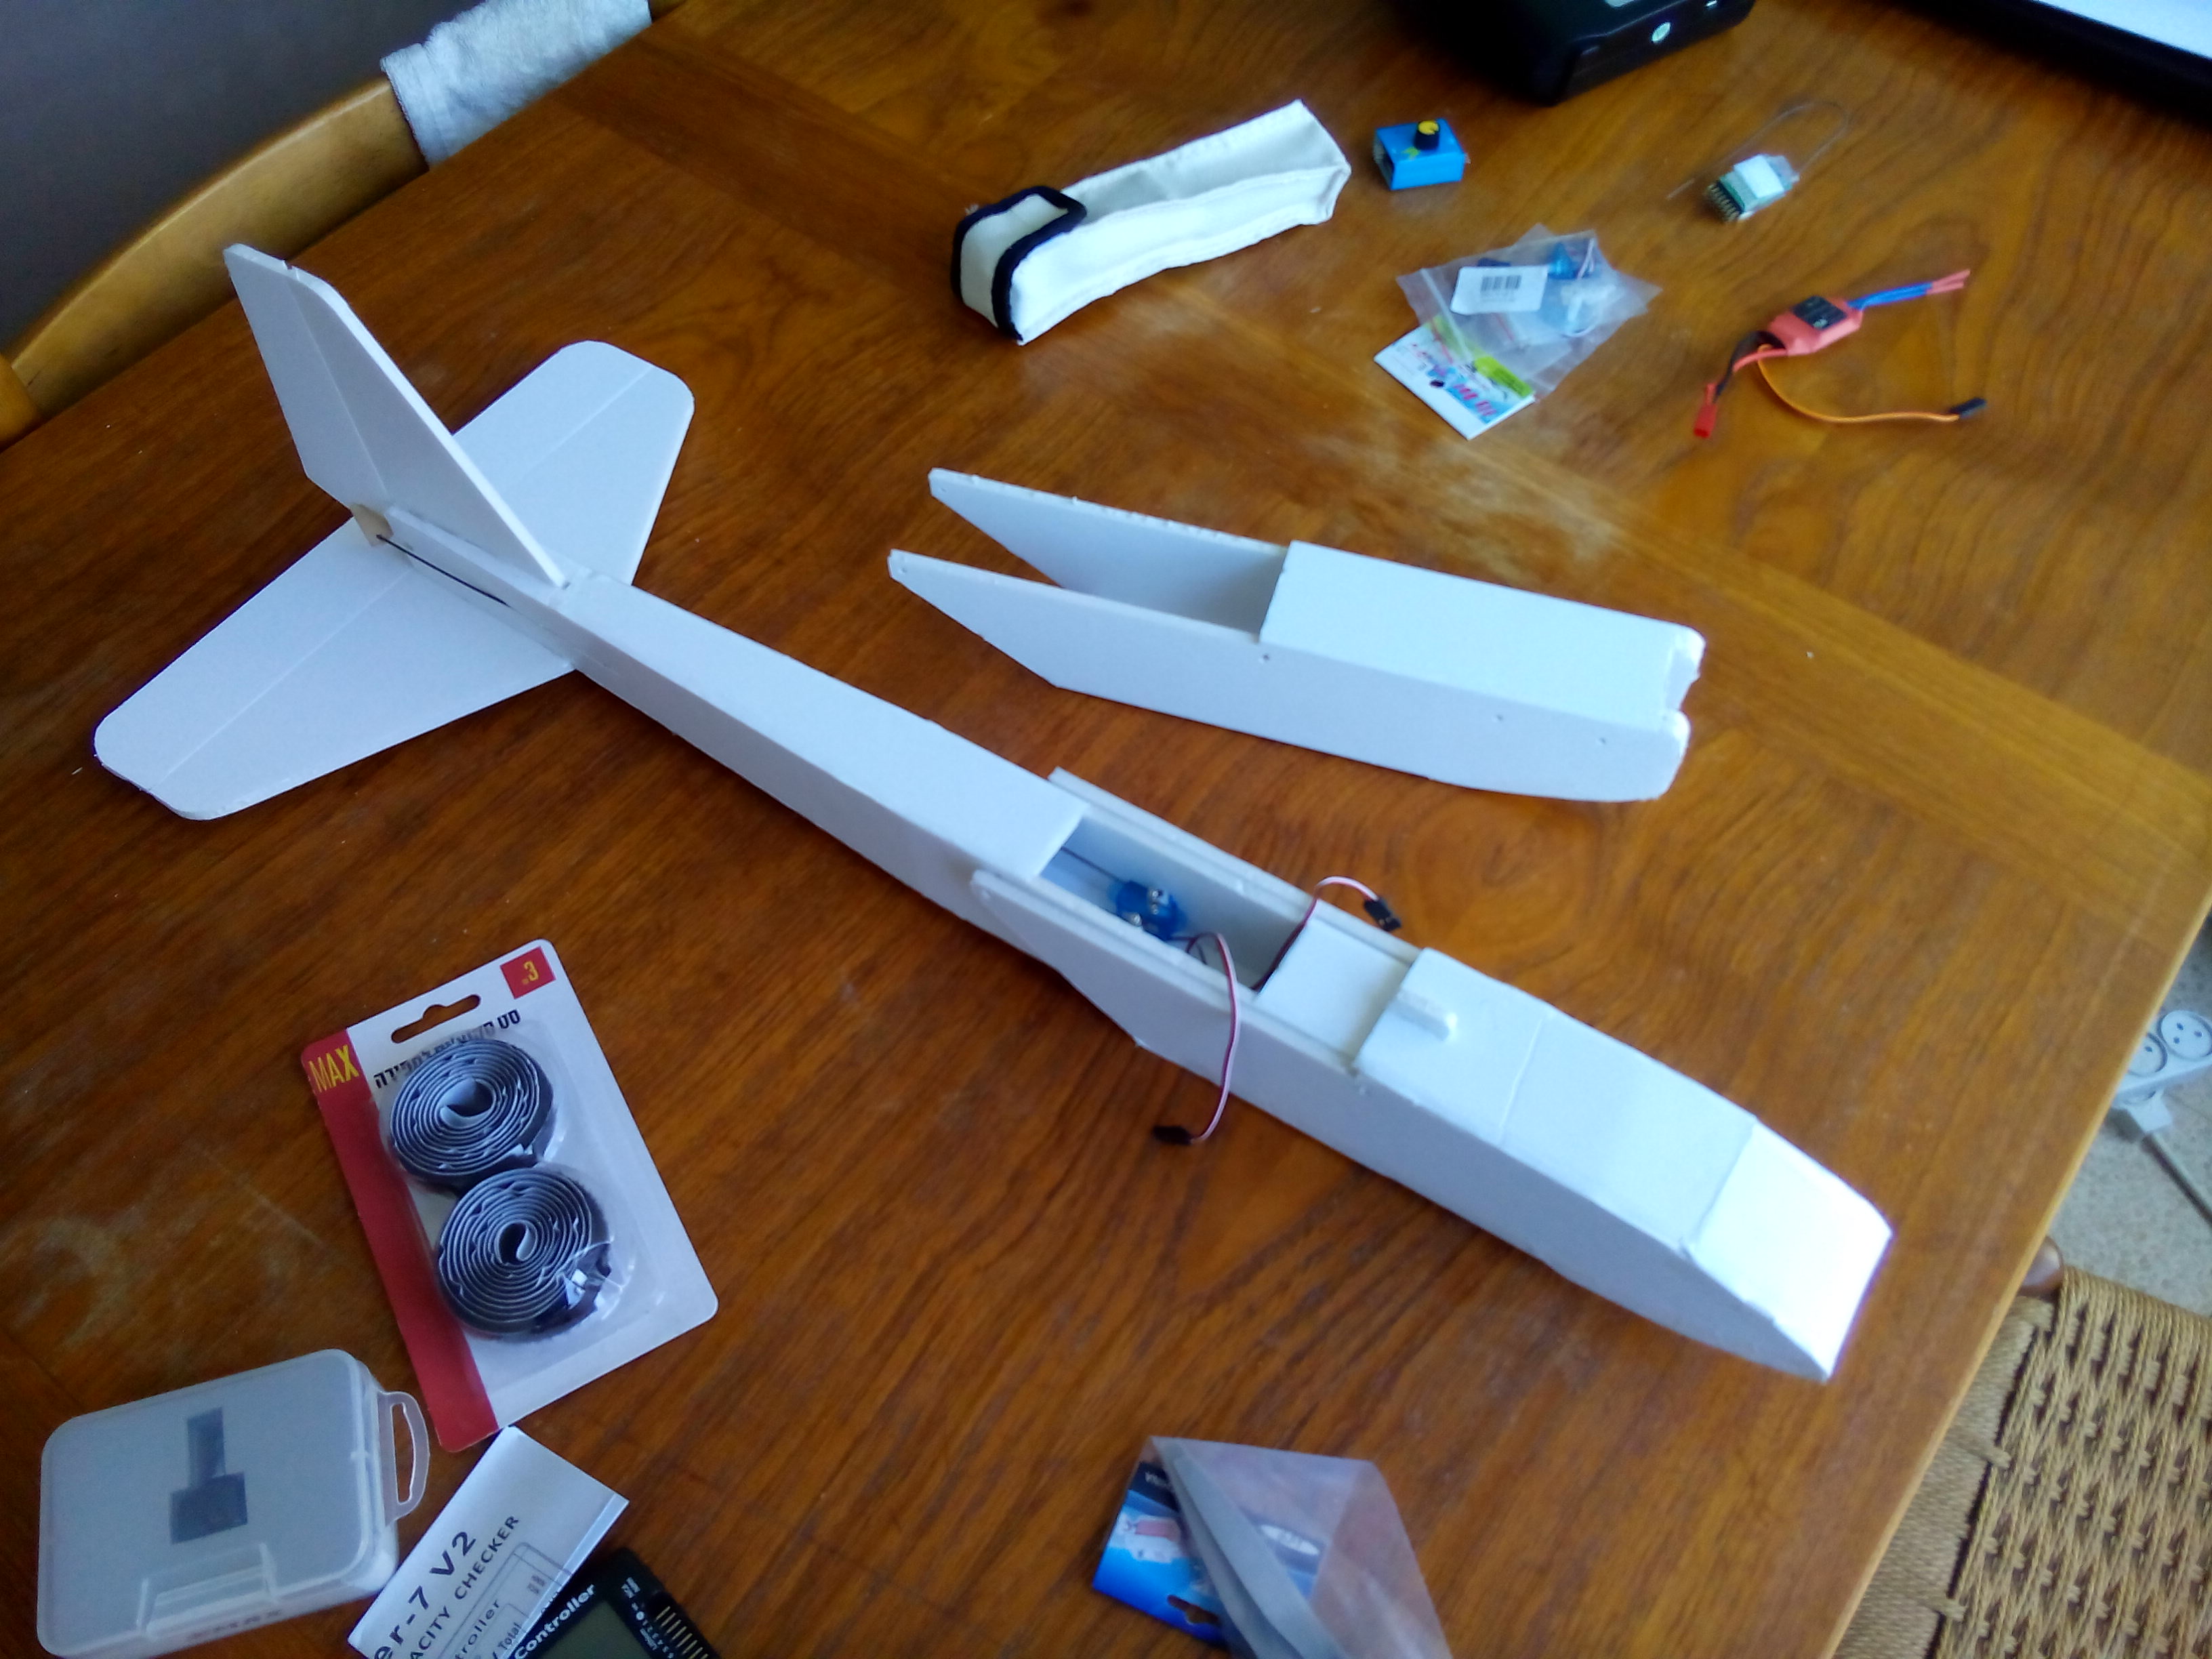
So I had all the pieces cut out and started the build process. Not much to say about it since it's quite straight forward if you follow the build videos that the FT guys release, and I do mean follow other wise you are in for some trouble.
A few recommendations about the process though.
1) Don't rush the process put careful attention to each part of the build process.
2) If you are not certain about something stop and think it through, or ask for advice.
3) Don't continue building if you are tried and not focused, it usually leads to mistakes.
4) Be paitent with the process let things dry fully before continuing the build process.

IMG_20180820_083909.jpg


IMG_20180820_083927.jpg


And my last tip is don't worry if it doesn't look prefect espically if you don't know how to fly (like myself). Practice building and flying with something that doesn't look prefect and rebuild a new version putting all your heart into it when you feel ready to impress :).

Now I got a few questions, if I may...
1) Where should the electronics be located on the TT?
2) When flying with the glider nose on a 2 channel setup how should the plane be chuged? What angle?
3) When using the glider nose on a 2 channel setup does the battery still needs to be connected?

Looking forward for a you reply’s...
 

Hai-Lee

Old and Bold RC PILOT
So I had all the pieces cut out and started the build process. Not much to say about it since it's quite straight forward if you follow the build videos that the FT guys release, and I do mean follow other wise you are in for some trouble.
A few recommendations about the process though.
1) Don't rush the process put careful attention to each part of the build process.
2) If you are not certain about something stop and think it through, or ask for advice.
3) Don't continue building if you are tried and not focused, it usually leads to mistakes.
4) Be paitent with the process let things dry fully before continuing the build process.

View attachment 112974

View attachment 112975

And my last tip is don't worry if it doesn't look prefect espically if you don't know how to fly (like myself). Practice building and flying with something that doesn't look prefect and rebuild a new version putting all your heart into it when you feel ready to impress :).

Now I got a few questions, if I may...
1) Where should the electronics be located on the TT?
2) When flying with the glider nose on a 2 channel setup how should the plane be chuged? What angle?
3) When using the glider nose on a 2 channel setup does the battery still needs to be connected?

Looking forward for a you reply’s...

Answers?
1. effectively anywhere you want and they can BUT generally speaking the ESC goes behind the firewall of the powerpod wherever it will fit. (I used a 12A ESC and actually fitted in into the powerpod. On the glider you would still be best fitting either an ESC or an UBEC. as far forward as you can, normally just behind the battery. The Rx is best being accessible and so it mounts best under the access hole through which the servos are visible.

2. It all depends on how strong you are! A good throw at about 30 degrees of up angle but still as straight as an arrow is a great acheivement but for greater air time you could build yourself something like this:- https://forum.flitetest.com/index.php?threads/the-best-20-i-invested.53587/

3. YES! You still need to power the Rx and servos. You can either use the ESC out of the powered nose, a seperate UBEC or a simple pack of 4 dry cells, (soldered in series to make a 6V battery pack. Some Receivers are capable of working from a 2S battery pack but not that many and the servos may not so just use the dry cells or an ESC/UBEC.

I hope that helps!

Have fun!
 

mayan

Legendary member
Hai-Lee thanks for the feedback. Sorry for not being able to post earlier my wife has been and still is hospitalized for the last few days.
Well I went out and tried what you mentioned and these are the results.


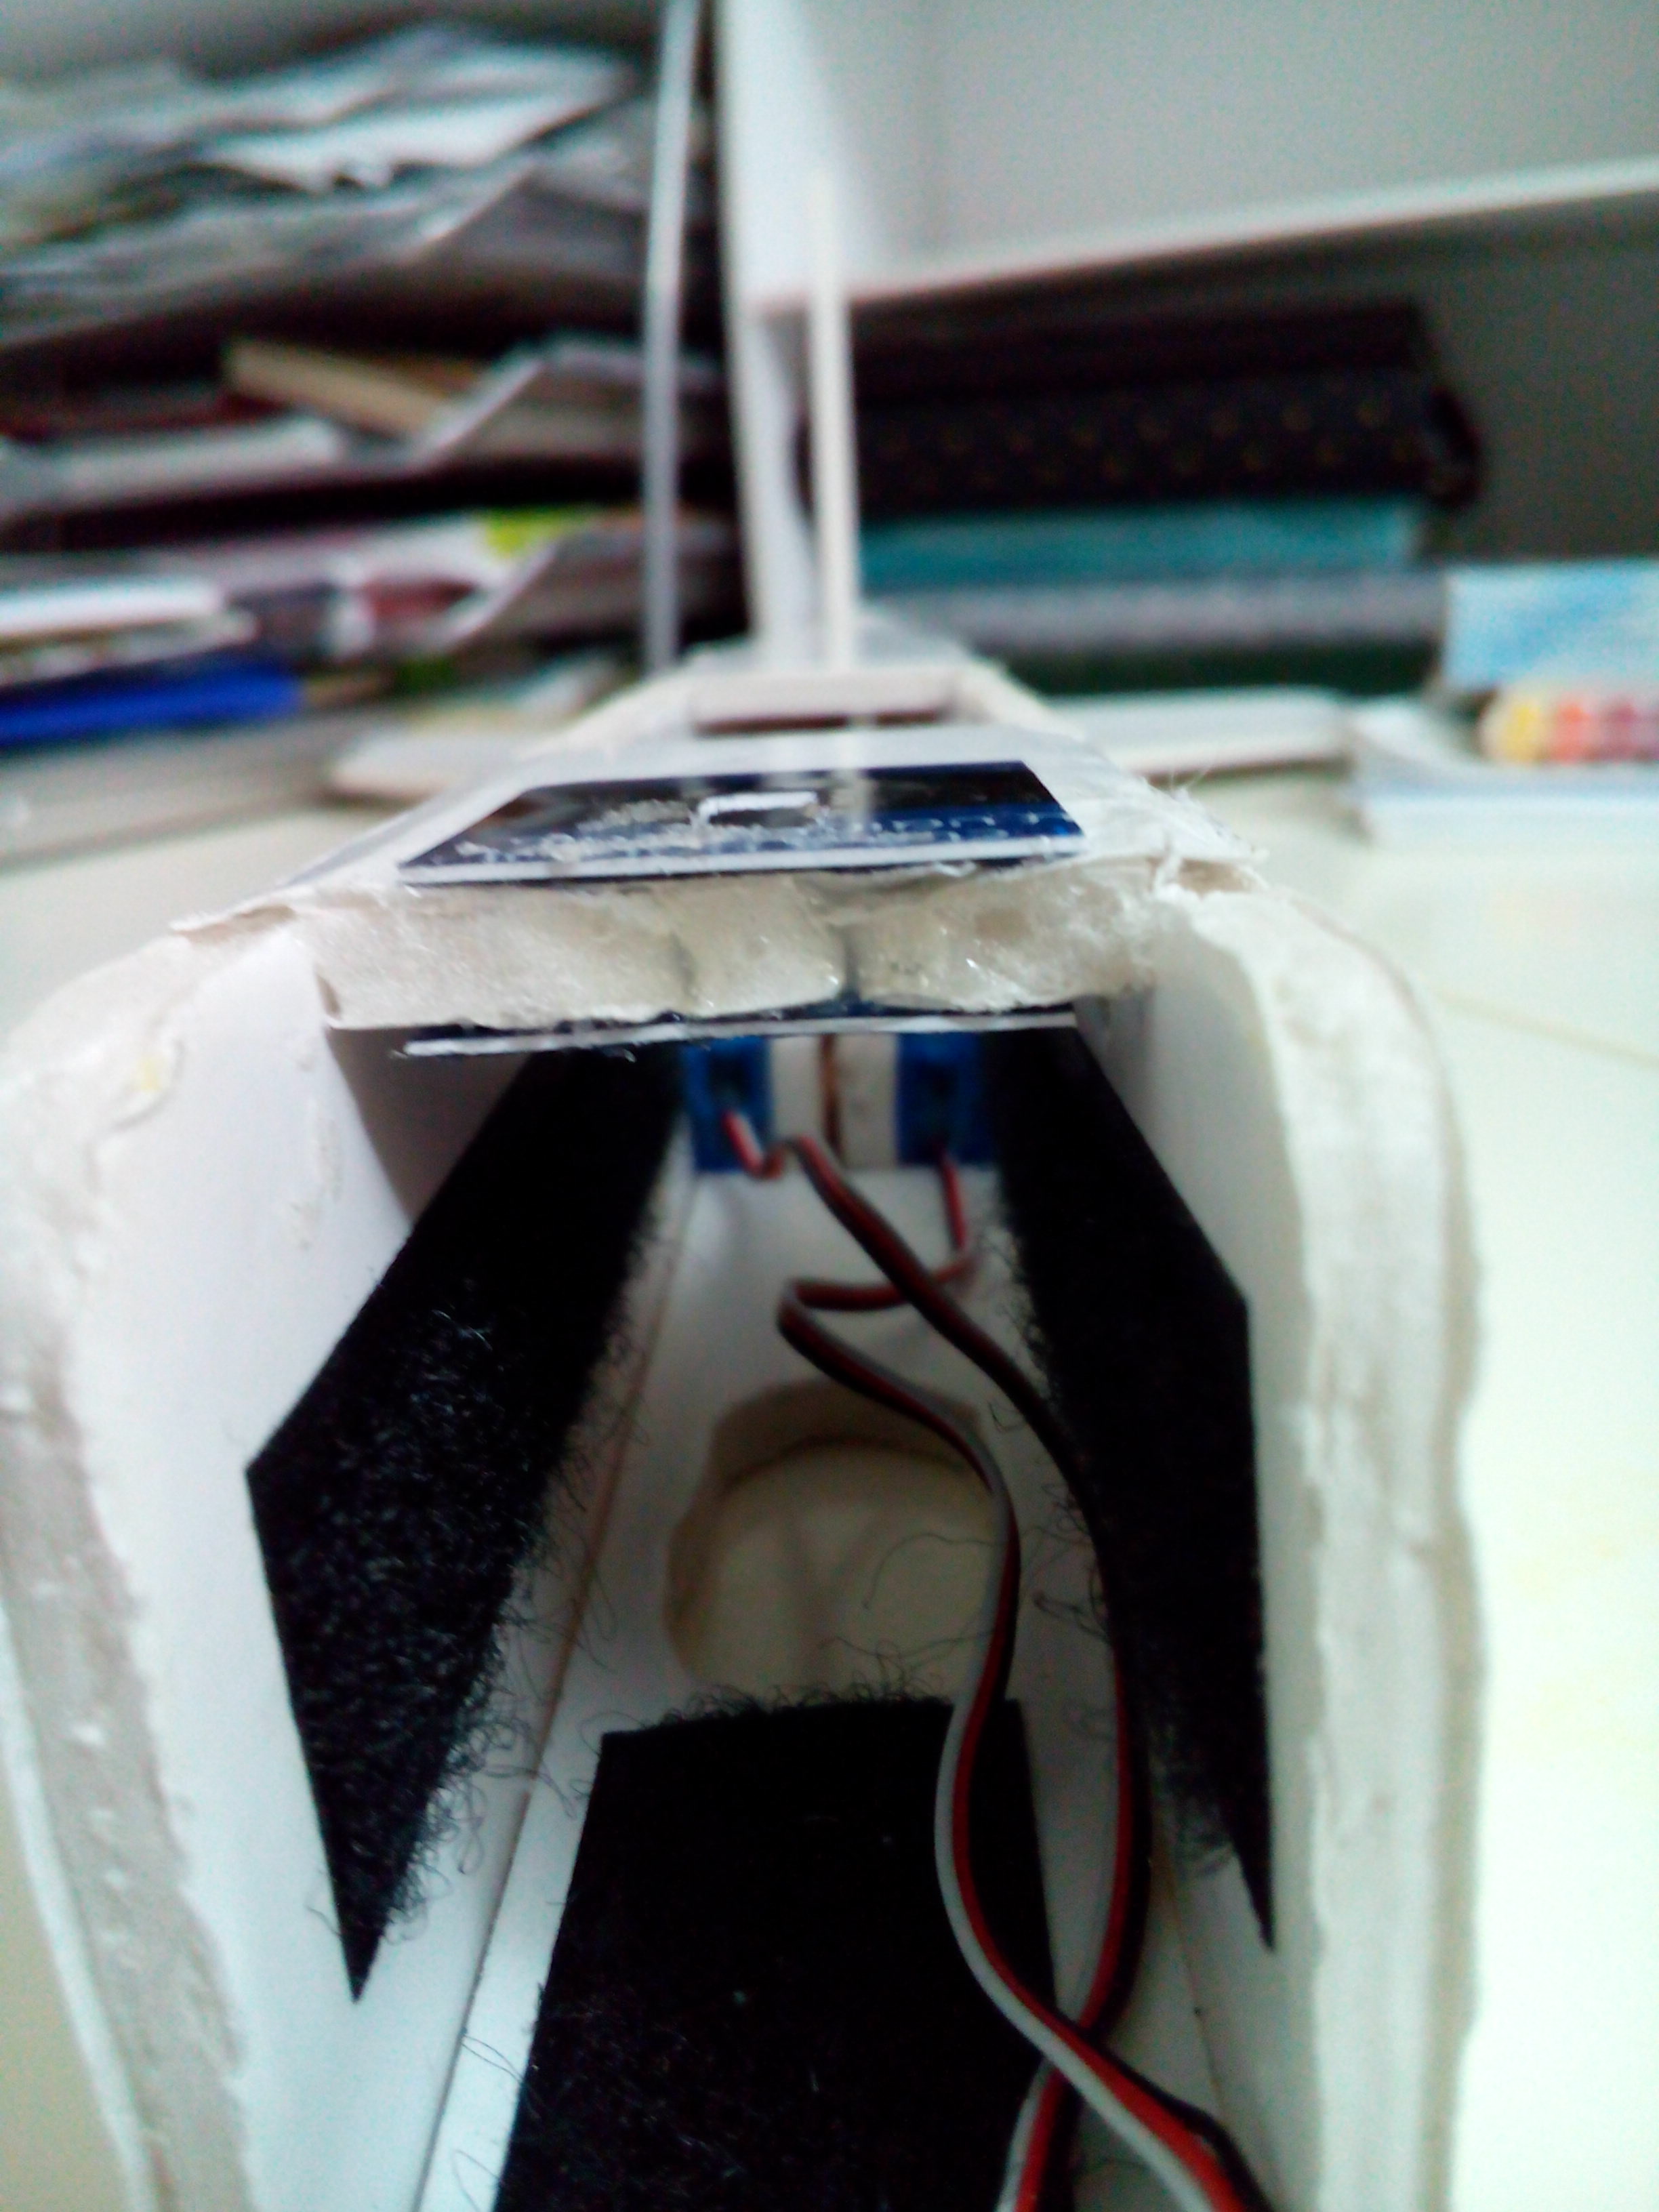
I also got to a situation where the BBQ sticks tore the foam glider nose holes so I have to rebuild that. I already re-enforced the fuselage holes with cut outs from an old credit card, and will do the same when I get the new glider nose built.

IMG_20180825_222400.jpg


IMG_20180825_222428.jpg


As for the electronics I'll have to figure out a way to secure them to the fuselage or glider nose so that they won't move forward during launch. I can't find much time these days to go flying due to the situation with my wife, so I am trying to get the little to no time that I manage to find late at night to fix up the plane.

As always feedback is welcome...
 

Hai-Lee

Old and Bold RC PILOT
Sounds like you are on the right path. Crashing and rebuilding is something every beginner has to go through but experience will see that requirement decrease rapidly in the near future.

I use Velcro to mount my battery and I actually use hot melt to keep my other electrics in place, (with the possible exception of high power ESCs which tend to get hot and melt the glue. For these I just punch a few holes either side of it and use a couple of Zip ties or similar.

It looks like it is time for you to start thinking of building that powered nose!

Have fun!
 

donalson

Active member
a few things on the plans...

always check the Sp0nz plan index first and compare to the FT build plan page... https://forum.flitetest.com/index.php?threads/sp0nz-plans-index.17136/

I sadly did the same thing on the tiny trainer and ended up using the older and inferior plans... the plans on sp0nz page has the cross hatch marks... makes it so much easier to build...

IF you run into an old plan set that doesn't have them or you can only find the plans in full size take the file over to adobe acrobat and set it to print in poster format with the line up marks... they aren't as good as the marks that sponz has but they are better than the old plans setup.

also if you want to use the plans down the road you can glue them with some spray glue to poster board (2 sheets for a dollar at the dollar tree... get it while you pick up DTFB)... I keep all my plans in a rubber made tub under my bed.

another way is what Sp0nz has been doing and just printing them out on card stock... saves the extra steps.

also if you just really hate tagging together the pages you can take the full size PDF and have them printed as "industrial drawings" or blueprints down at office depot, staples or that ilk of store for a pretty reasonable price... I went though the process with a program called inkscape of getting 3 different planes that used similar parts (ft explorer, ft simple soarer, ft bronco), tossing out the matching parts (bronco and explorer use the same fuselage, soarer uses near identical wing as the explorer... so I was able to fit all 3 planes onto 3 sheets, because of how sponz draws them they work well in black and white which saves a chunk of change... but the soarer was an old plan so I had the fuse of that printed in color with whatever else I fit on that sheet... all said I think it was about $15... it was SOOOO much better with the long lines of those planes than trying to get them stitched together...
 

donalson

Active member
oh also I'll toss this out there...
Calin Schepler

over on FB Calin Schepler designed a fuse that is similar to Sp0nz bloody type fuse... nice and strong and every easy to build... it only works if you plan on going motorized... I like it a lot over the standard model fuse.
https://drive.google.com/file/d/1Z5xkn7QCSpbpt7I2Y3UdVoWGBmPX9iyf/view

these are some pics of his early prototype

1535231982107.png

1535232005266.png


and these are pics of mine... along with my comments as I posted pics to the thread

"er ok I built it... my take away having yet to fly it... I like it and prefer the built to the original tiny trainer... I understand FT using the way they did as it allows the glider nose... but I think those that are building with now plans of a glider would be better off with the bloody trainer (what I'm calling this/your fuselage... weight is slightly less saving 13g based on my scale fuselage to fuselage (assuming you use the short doublers) and about 10g if you use the full length doublers... I did a few modifications to the plans... I did the peeled strips on the side of the tail along the fuse to clean it up like is done on the bloody brit/baron full size, I also put on a small support square at the bottom of the fuse because I run a rubber band around the fuse to hold on the rubber bands for the wing.... and lastly your design has no fixed stop point for the wing so it can slip back or forward a bit... I put a simple stop with a square of foamboard for that... I'm really excited to go and try it out... it looks cleaner than the original.. I ended up running full length doublers to help get my CG right with the short motor pod as I didn't want to rebuild one right now and funny enough that little bit of weight was enough to get the 850 3s right under the pod nicely... good job Calin Schepler."
1535232125205.png


he wing stop, beveled the front for looks more than anything... I might still push it a smidge further back
1535232179006.png


underside overview... the 850mah 3s fits perfectly on the power pod. the square is nothing more than a support for the fuse as I run a rubber band around it to hold on the wing rubber bands so I don't have to chase them every time I take the wing off... makes getting to the RX a little more difficult but shouldn't be too difficult slipping on the aileron servo lead when needed as I put it as the outermost port for ease.
1535232215618.png


and final photo... I gave a saddle or channel for the wing to sit into/on, the wing was a little sideways with he flat top... the channel lets the dyhedral wings sit in it nicely...
1535232282613.png
 

donalson

Active member
any my last post/bit of info... i REALLY like how the TT flies with the sparrow wing.... it handles wind a lot better than the "trainer wing" and it has better lift properties than the sport wing while still being quick... do a quick scratch build of the sparrow with your son and enjoy it as a glider and try the wing out ;-)...

I'm working on building a bit longer sparrow wing soon with ailerons... the only original part of the TT left will be my power pod haha.
 

mayan

Legendary member
Hai-Lee thanks for the support, although I not sure that I feel comfortable yet with gliding it using the elevator and rudder to a soft belly landing. Do you think different? Do you maybe have any recommendations? Windy day or calm day? Is there any where a video of the TT flying 2 channel? I am sure I saw one with Josh Bixler flying it but couldn't find anything...

Donalson Thanks a million for all that interesting information. I'll get the updated plans for Tiny Trainer printed out today when I am at work, it's defiantly easier to work with those plans. I also like to see how you updated Calin Schepler design for an open fuselage. How do make sure the electronics don't just fall out during flight? Also thank you for the advice about the sparrow wings. I got a whole day with the kids tomorrow and will try to have the pieces cut out for them to be able build together with me like in this video:

Quick question... When you paste the plans onto poster boards, how many grams poster boards do you use? I tried something called "American Poster board" which was 300 grams or so and it seemed way to thick and was super hard to cut through... Nether the less I am surely not going to be able to roll it up and put under my bed ;)

Thanks in advance...