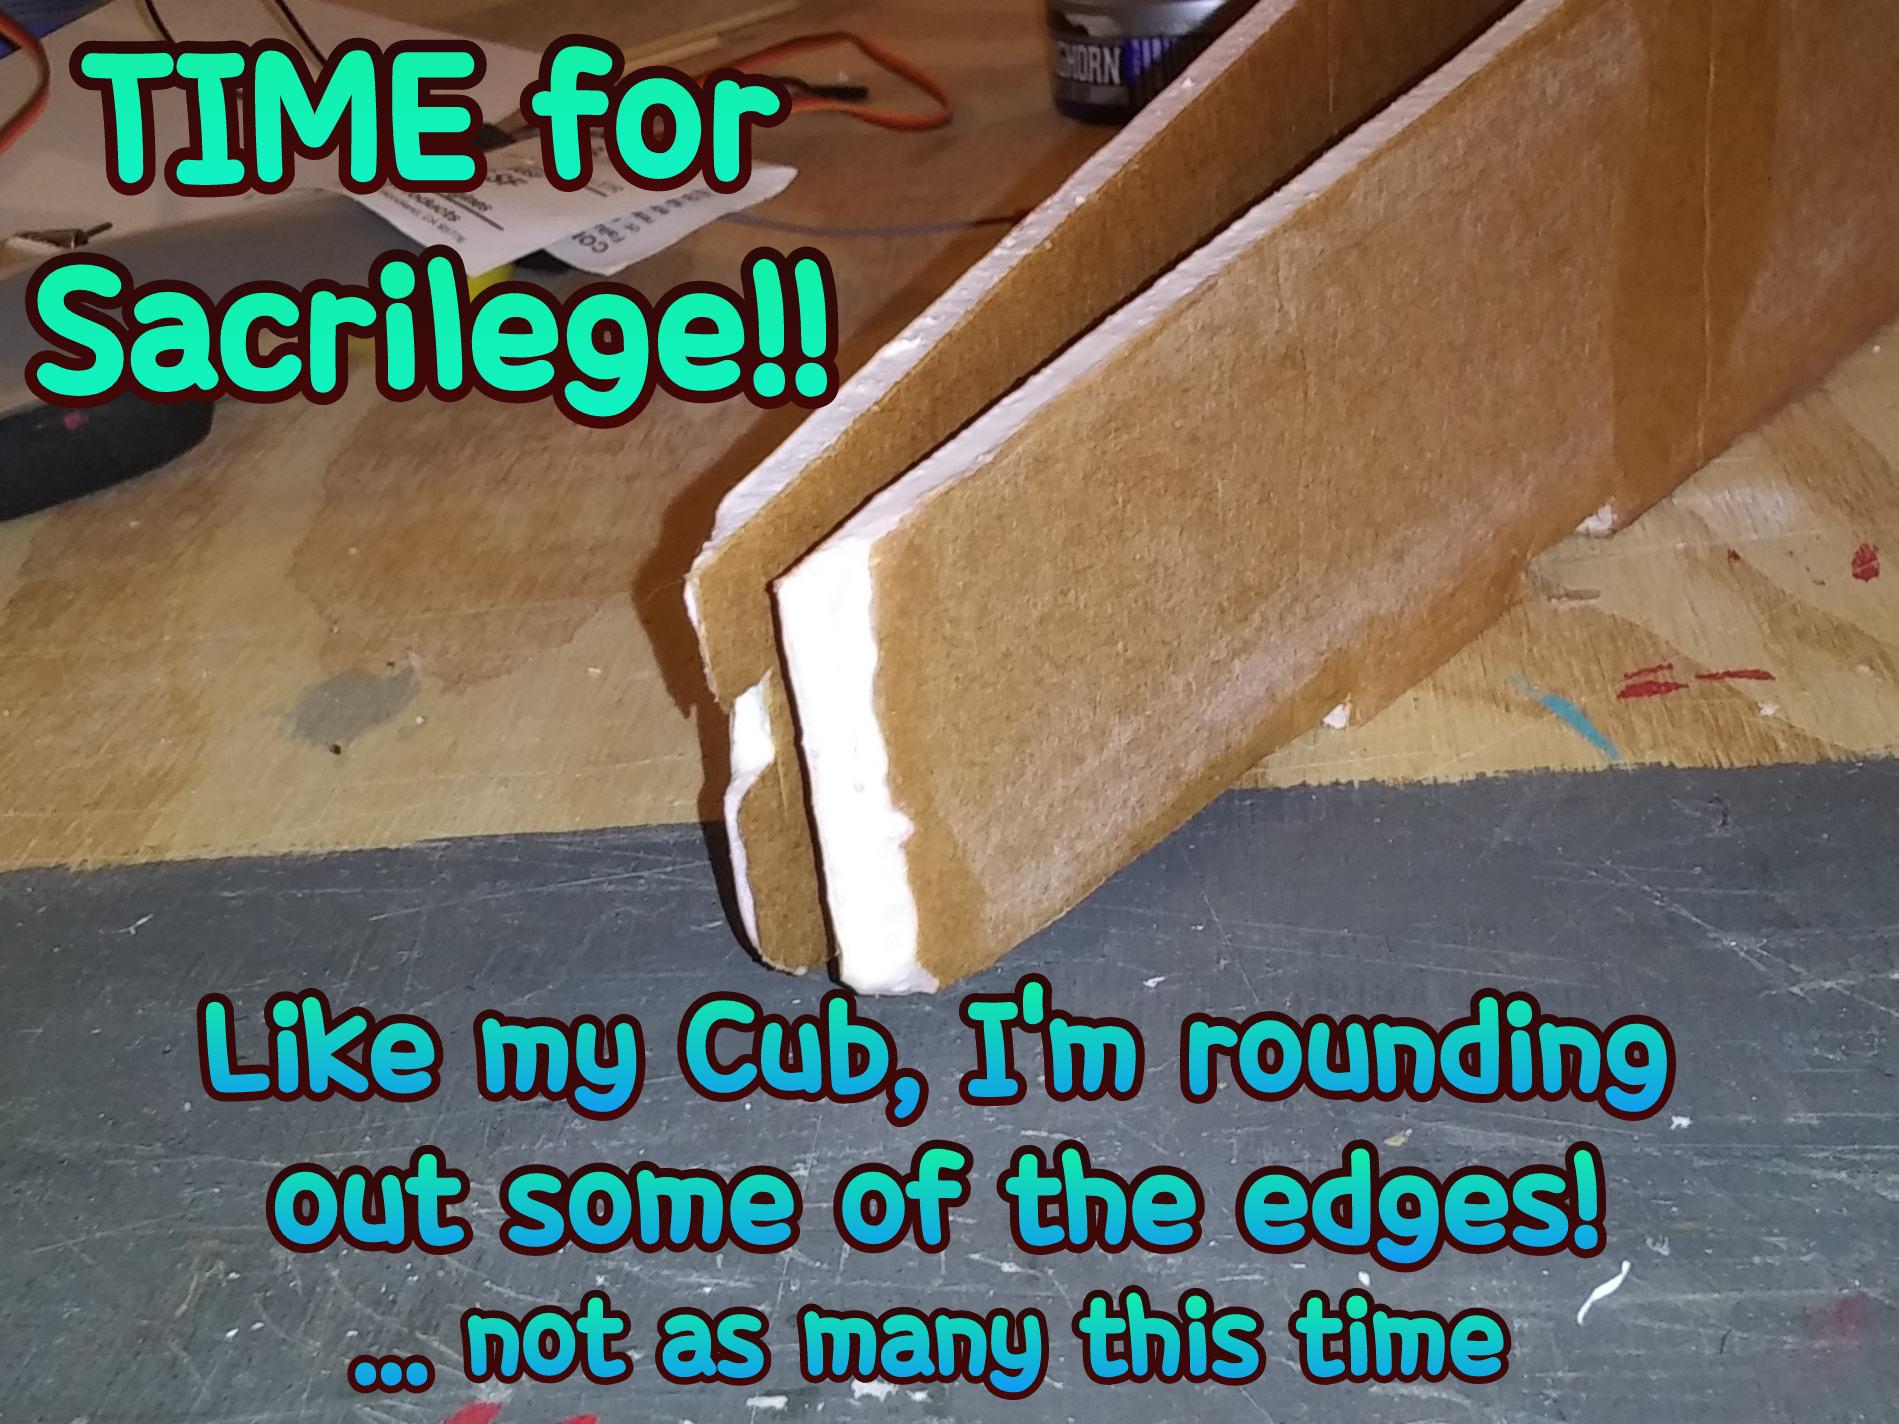
My FT Simple Scout Build!

PoorManRC

Master member
This is not usually my style, working on 3 at once....
(I know, most of you have at least 10 on your bench!!)😜
I like to work slower....
A Friend cut me a Scout Kit (don't know yet if he wants that known publicly). I actually wanted the Scout before anything else.

I know, why didn't I just get one? Without dragging out the whole story again... I'M POOR.
But, I need this Hobby, to keep my mind off of reality.
And, it's FUN! 😊

So here I go!
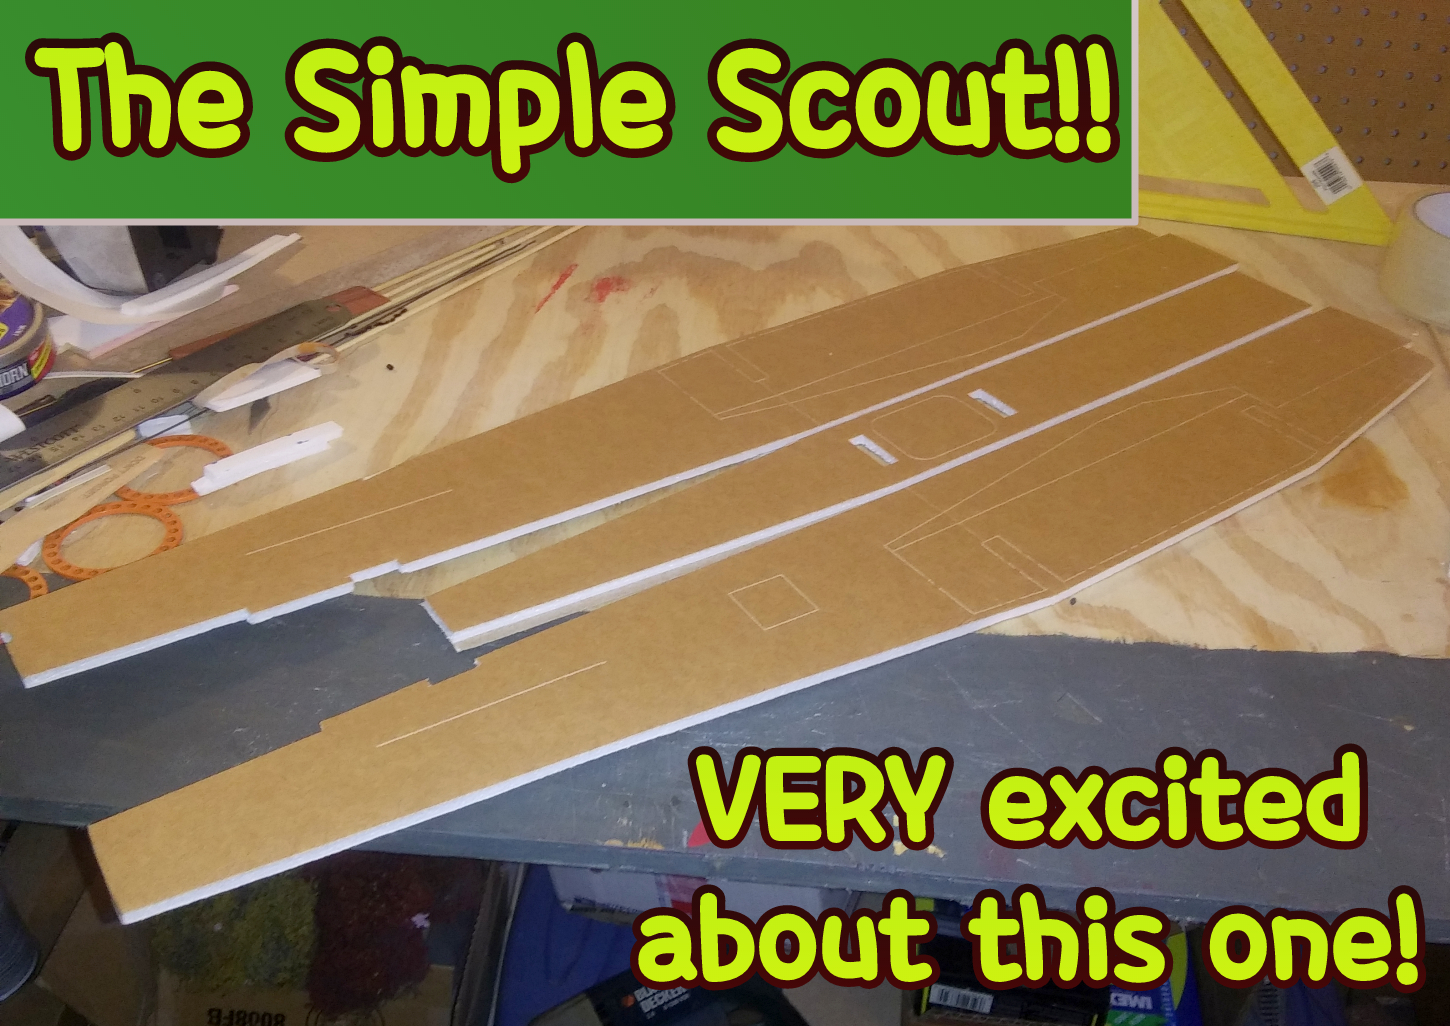
IMG_20190808_010245.jpg
IMG_20190808_010556.jpg

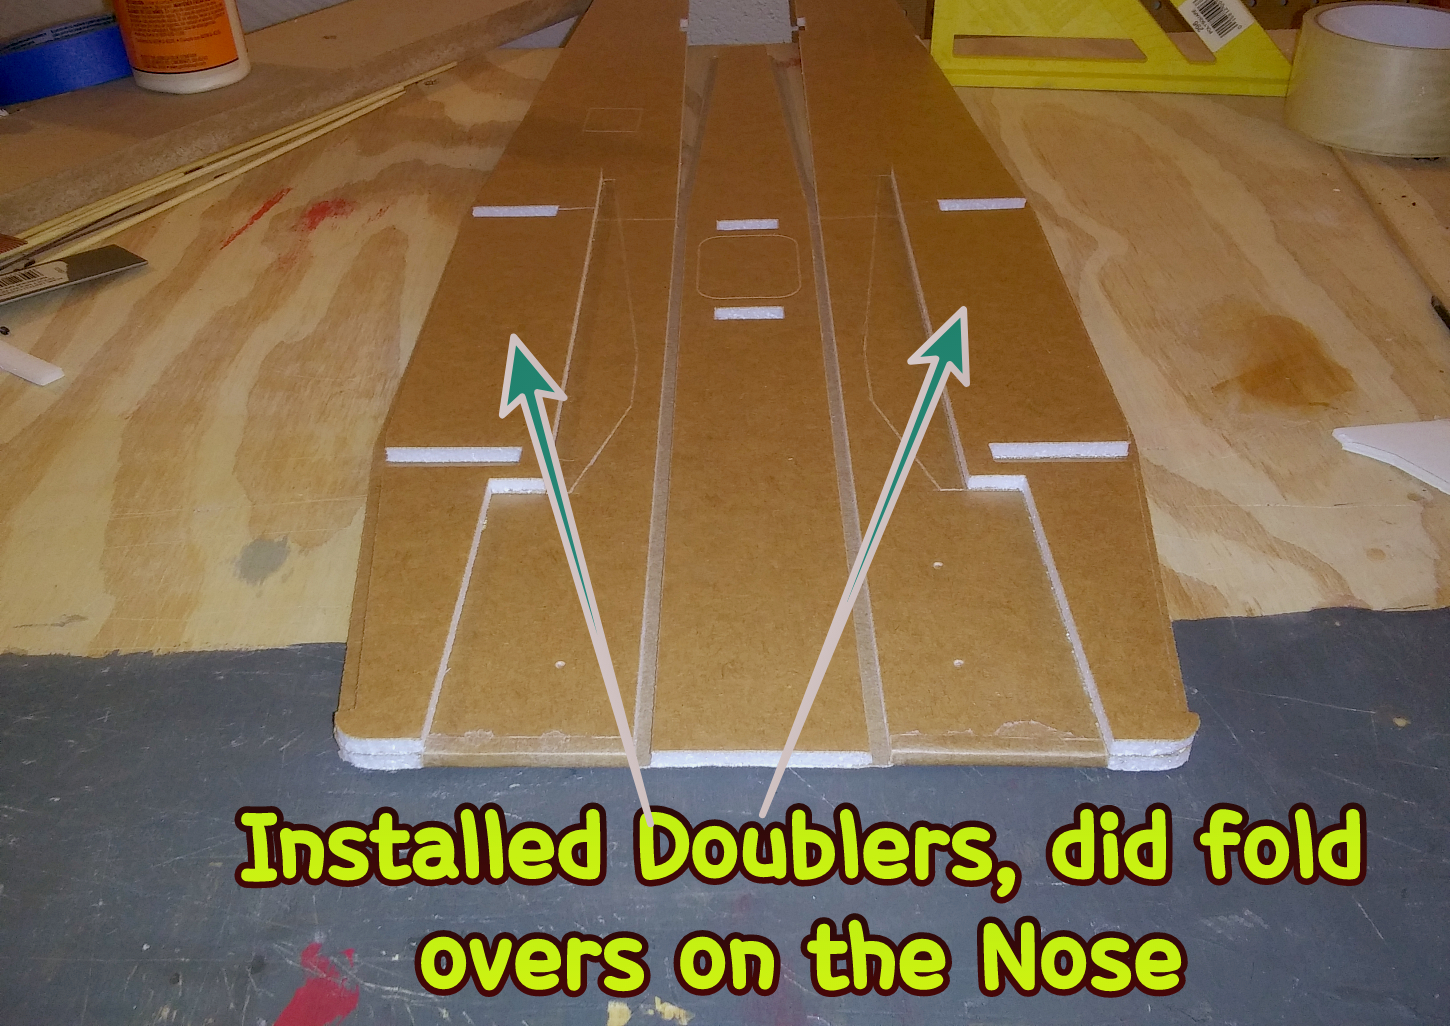
Unbelievably, I got ALL of the cavities score cut and cleared, without messing up ANYTHING!!! 😲😊🎢🎡
IMG_20190808_010556.jpg

The front fold overs weren't marked.... He wanted to make sure that I was on my toes!! πŸ˜‹
Actually, I've seen the Build Video SO MANY times, I may be able to do it blindfolded!

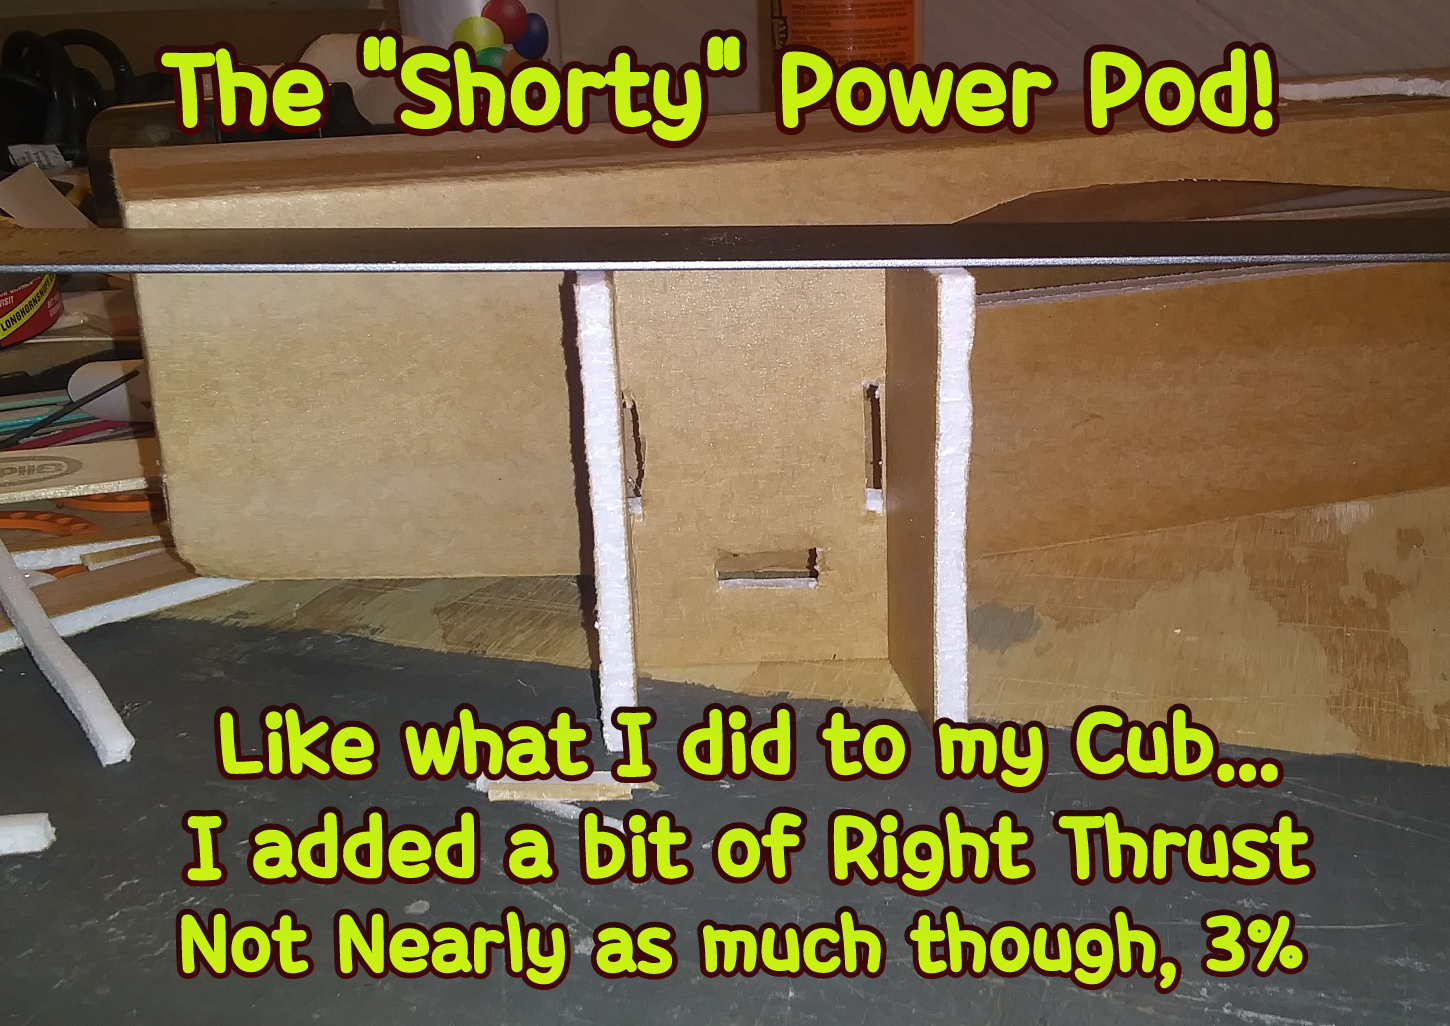
I wanted just a little Right Thrust. Actually more like 2%. I won't mess with Down Thrust until it flies. That's more for high wing Aircraft anyway....
IMG_20190808_010907.jpg

Since I didn't get a chance to get pictures when I did this to my Cub....
IMG_20190808_011330.jpg

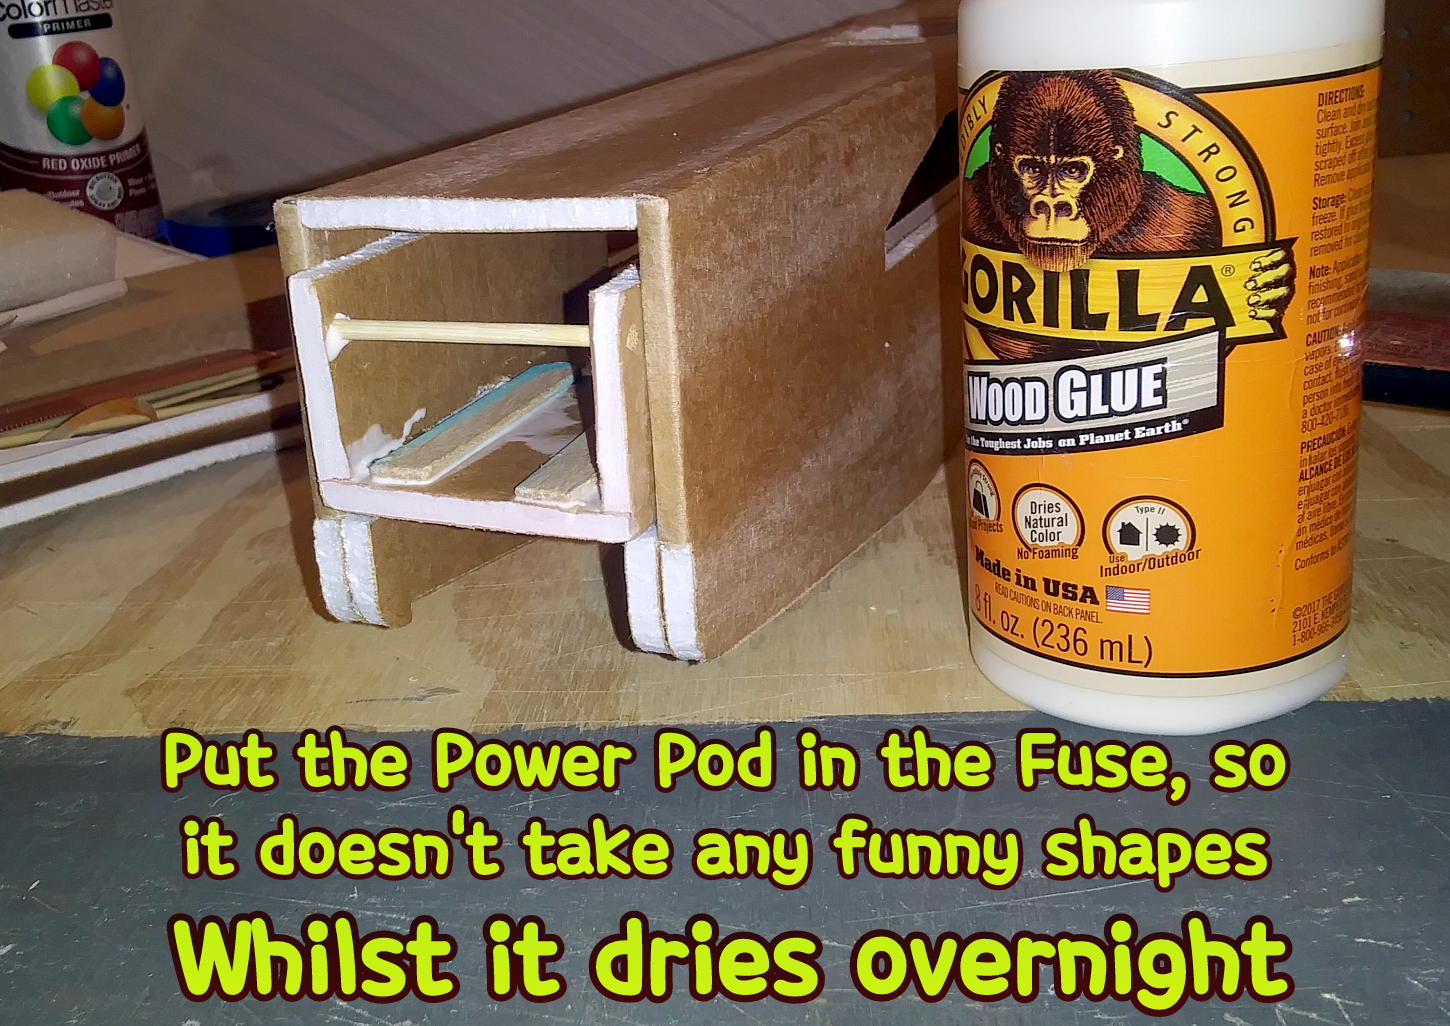
The Popsicle Sticks are because I HAVE to hang the Battery under the Plane! I also cut two slots on either side of the Sticks, to run a Battery Strap.
IMG_20190808_011703.jpg

Hopefully more tomorrow, while it's STILL raining!!

Hopefully by Friday, the Cub MAIDENS!!!
 

PoorManRC

Master member
Something that I tried, that WORKED!
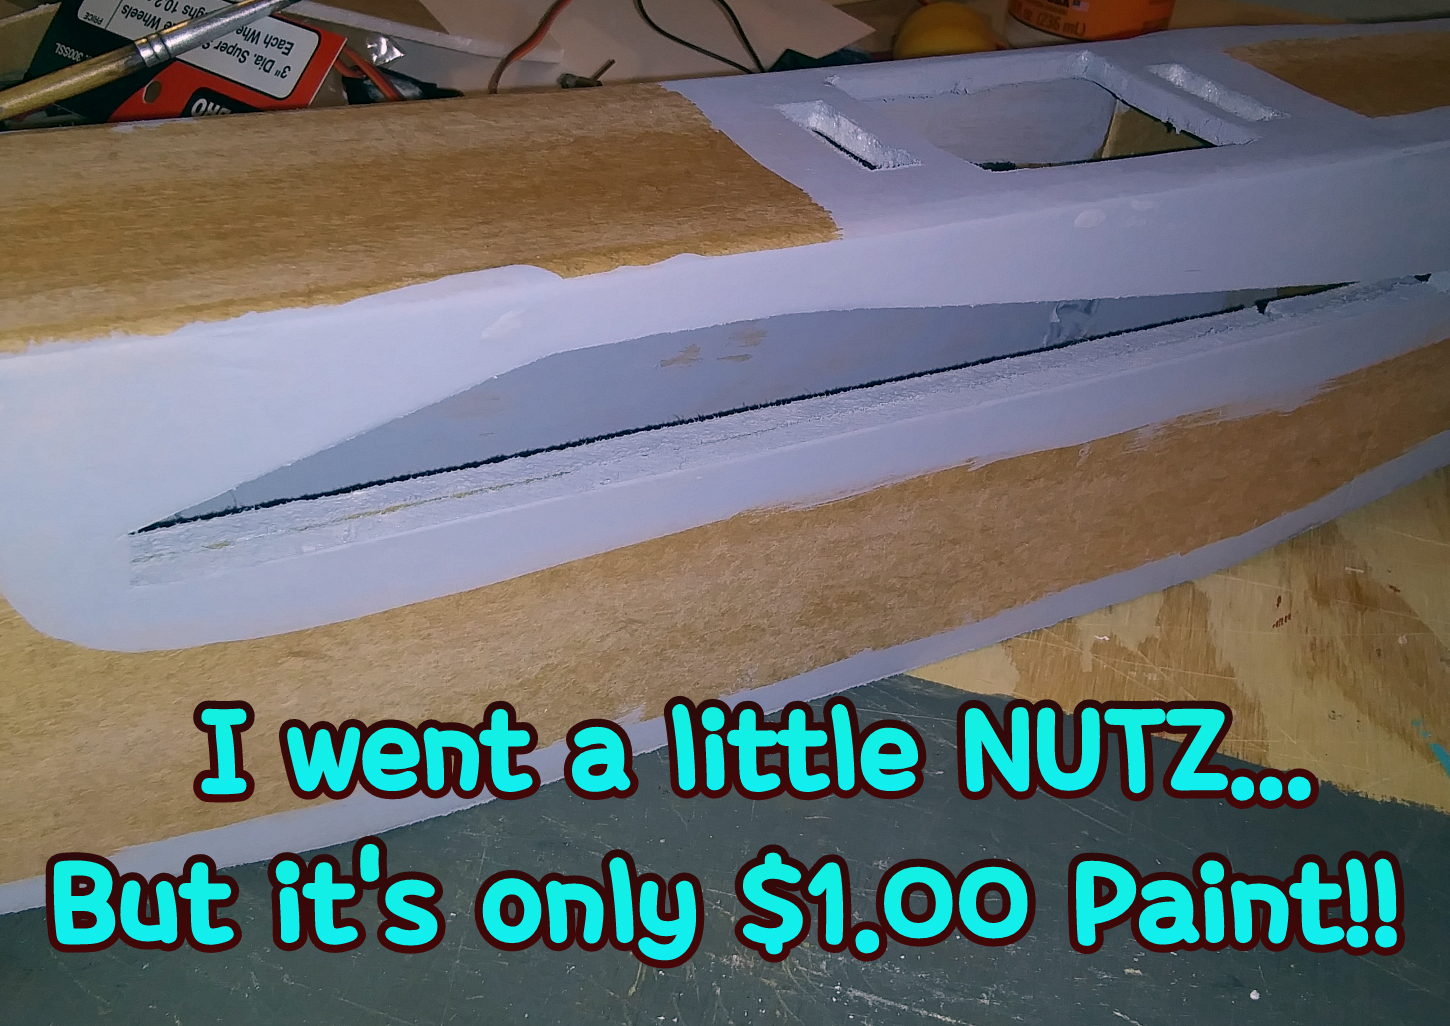
Painting these Planes is always a balancing act because get too much Paint on the Bare Foam, and it DISSOLVES! πŸ˜²πŸ˜–
So, I tried painting the exposed Foam with Acrylic Paint I got at Wally World...
IMG_20190809_010612.jpg
IMG_20190809_010958.jpg
IMG_20190809_011415.jpg
IMG_20190809_011702.jpg
IMG_20190809_012042.jpg

It WORKED on a scrap piece!! πŸ‘πŸ‘

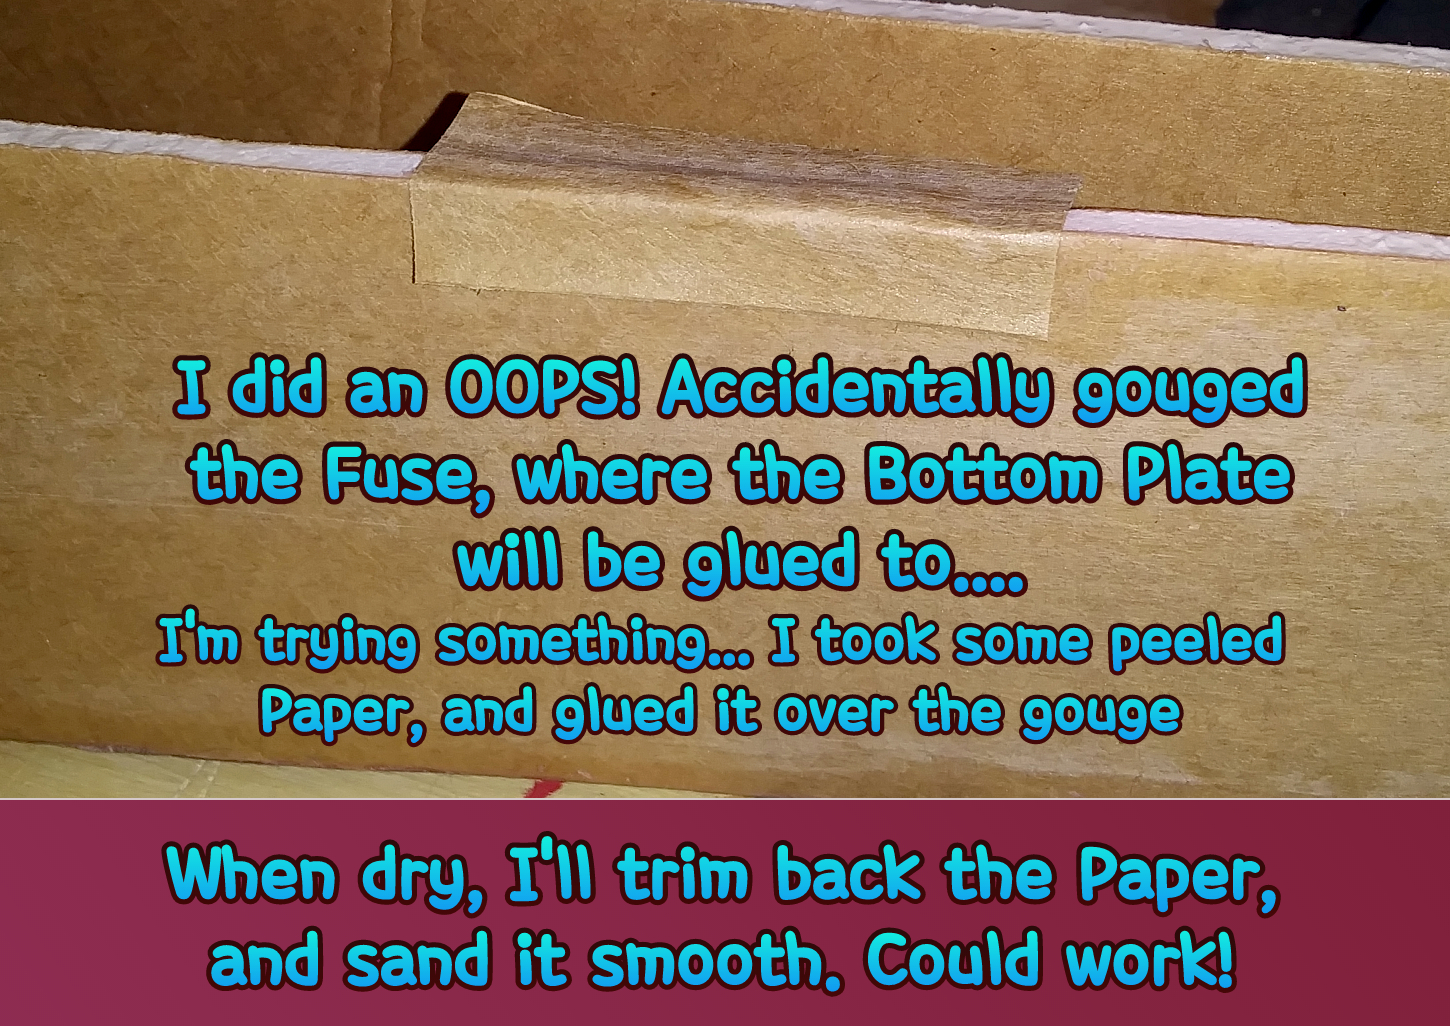
Also, I found another solution to my clumsy cutting!! 😜
IMG_20190809_005232.jpg

IMG_20190809_010230.jpg

DID work!! 😊
IMG_20190810_015058.jpg
 
Last edited:

rockyboy

Skill Collector
Mentor
OK, you're had that box for less than 12 hours and the fuse and power pod are already done! That's awesome! :LOL:

Don't know how I missed the fold-overs on the nose in the cut file - I don't remember that part of the two I built using the same cut file - glad to see you rolled on through it too. :cool:

I can share a picture of the chin of mine if you like so you can see what I did for the battery mount. Instead of holding it flat to the bottom (and having the battery pop off the velcro and swing around a couple times) I mounted it to the inside side of the fuse. Works great this way!

I think I also forgot to mention, since the needle cutter does the score cuts for cavities only about 1/3 of the way through, a quick and safe way to finish up the cut is using a plastic gift card rather than a razor. It gets through the foam just fine without risking a cut through the bottom paper layer.
 

PoorManRC

Master member
I've watched that Build Video SO MANY times, I could literally build it blind!! 😜 The Fold Over was a no brainer.

I'd like to see what you did with the chin on yours. I'm always open for ideas!
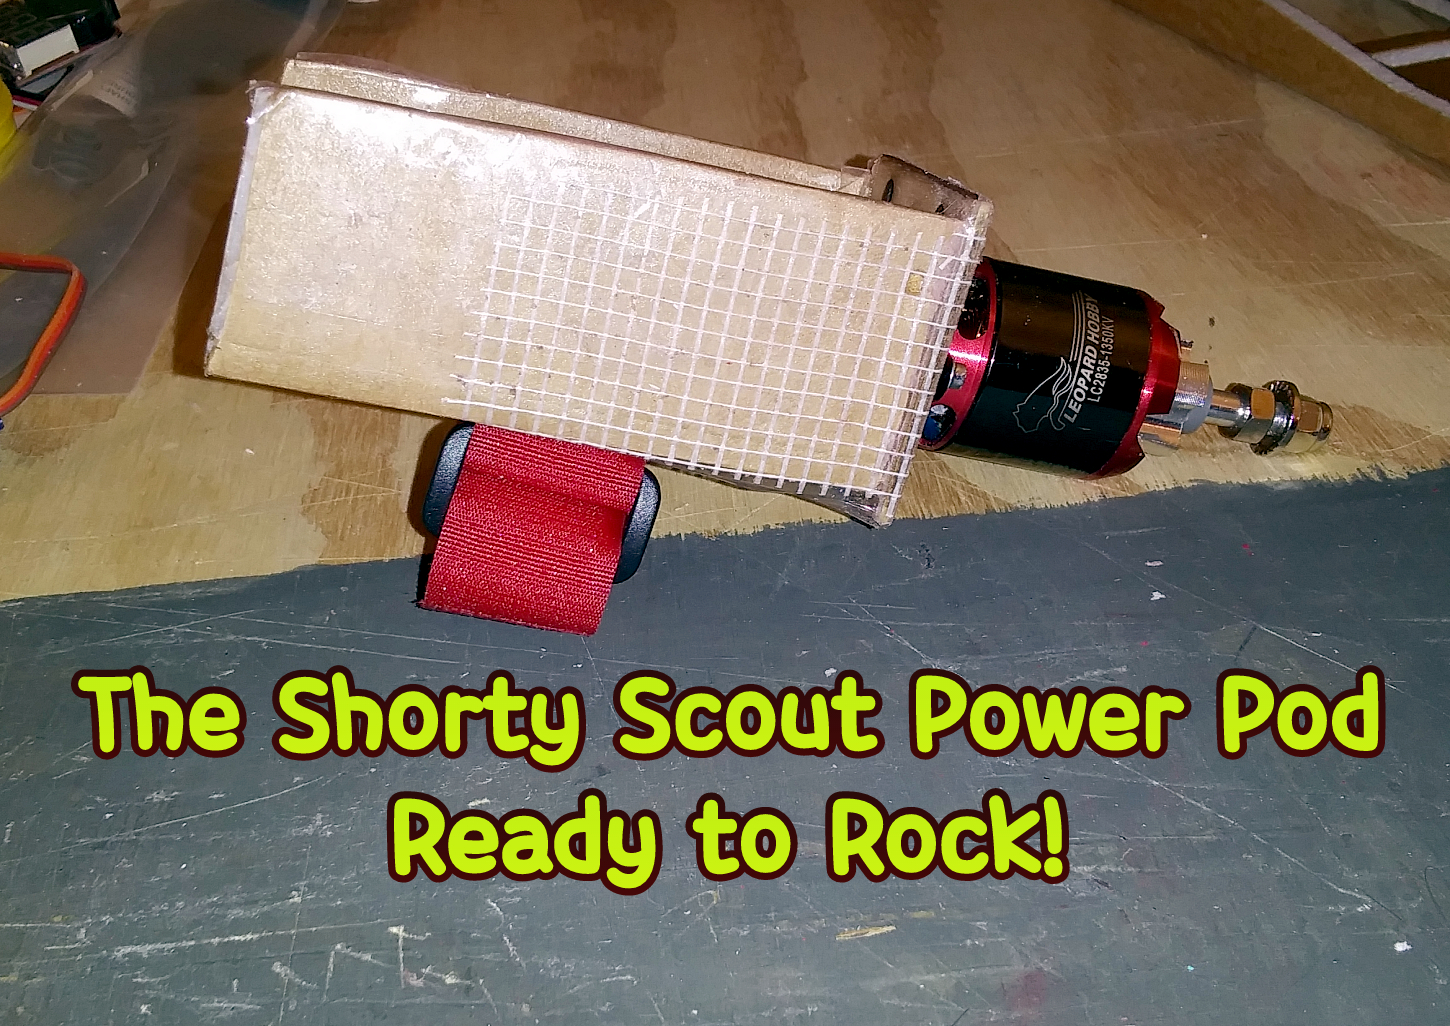
I reinforced the CRAP out of the Power Pod. Pics coming...
I did cut two slits in the Power Pod, to run a Battery Strap with the Velcro. Hardly any weight penalty.

I'm also thinking of extending the aft Turtle Deck all the way to the Vstab. That means I'll have to cut off the back section...
I may STILL keep the Calendar! Thinking hard about it.

Amazingly, although I already use the Gift Card, I've been using the Razor more and more! Been watching the Bix... He runs one finger along the Foam, holding his Blade at a fixed height. All he mentions is keeping it at an acute angle. The finger "depth gauge" I sort of figured out just watching him 400 times!! πŸ˜‹
I still have to keep it VERY slow, and messed up on the Storch twice, but I think I've got score cutting down at least!! πŸ‘πŸ‘

And yeah, I'm really excited about this one. I'm moving right along! Doing the Bevels for me was a REAL lifesaver. 😊
 

rockyboy

Skill Collector
Mentor
The "fixed finger gauge" and acute angle really are game changers for foam board razor cuts. The other thing that I find really helps is stropping the razor blade, or just touching it up a little on a super-fine stone every so often. It's amazing how fast razor blades get dull - they really are made from crappy metal - and putting that factory sharp (or better) edge back on them only takes a moment and saves a lot of torn up material!
 

PoorManRC

Master member
The "fixed finger gauge" and acute angle really are game changers for foam board razor cuts. The other thing that I find really helps is stropping the razor blade, or just touching it up a little on a super-fine stone every so often. It's amazing how fast razor blades get dull - they really are made from crappy metal - and putting that factory sharp (or better) edge back on them only takes a moment and saves a lot of torn up material!

Completely agree! My issue in the earlier builds, was both my lack of total control (Arthritis, Fibromyalgia), and my GORILLA grip on the Blade.
I stropped the Blade Tip, a LOT. I still went through the paper! πŸ˜– Especially on Adams.

I may never be ready to cut my own Kits, ever... Just owning up to my limitations.
BUT, I no longer feel helpless with Speed Build Kits, or Kits that People like you cut for me! πŸ‘πŸ‘

That's a major step for this Old, Broken Fart!!
 

PoorManRC

Master member
OH, and the Foam Board you used seems much waxier than my Cub Kit.
NOT a complaint, just an observation...

I'm guessing that Paint may be a little more of a challenge. All I had to do with the Cub, was a light sanding with 180 grit. That, and I let the Paint CURE for at least 5-6 days.

Is there anything I should do differently to the Scout?
Thanks, for everything!
 

rockyboy

Skill Collector
Mentor
I gave it a quick sanding with 230 grit before putting it in the box - I don't think it would hurt anything to give it another sanding and maybe a quick alcohol wipe down if you like. I haven't had any problems painting this stuff after a quick sanding as long as the first coat is a light one and gets to cure overnight. Both of my Italian Scout's and my Bloody P-40XL were cut and painted out of this same box of foam and except for the first scout where I didn't do any sanding, the paint adhesion has been solid.
 

PoorManRC

Master member
THAT'S what I was hoping to hear!! πŸ‘πŸ‘ This is only my second build with Maker Foam(??).
{Oh NO! I'm a total N00b!! LMAOπŸ˜„}
I've got 3 flavors of Isopropyl Alcohol...
73%, 91% and 99%. Any suggestions there?
 

rockyboy

Skill Collector
Mentor
I've got 3 flavors of Isopropyl Alcohol...
73%, 91% and 99%. Any suggestions there?

I've been using the cheap stuff (73%) and not having any problems. Most of the summer in the DC area the daily humidity is higher than that, so I figure why bother?

The power pod looks solid - should hold up for a couple vertical landings! :ROFLMAO:
 

PoorManRC

Master member
I've been using the cheap stuff (73%) and not having any problems. Most of the summer in the DC area the daily humidity is higher than that, so I figure why bother?

The power pod looks solid - should hold up for a couple vertical landings! :ROFLMAO:

We're in the RARE Humid time here, now! 108 with 92% Humidity!!!! πŸ˜–πŸ˜§
I can't describe the PAIN my broken Body is in today. 😭

This Power Pod is reinforced with BOTH types of Packing Tape, Gorilla Glue, my "Patented" Through Brace (The Skewer behind the Firewall), and the Popsicle Sticks!

I HEARD that the Scout can actually end up TAIL heavy, if not careful. Any rate, last that didn't really add much weight to the Pod... πŸ˜‰
They've MOVED today's Forecast to SUNDAY! 😑😑
High 91, 4% Humidity!!
Maybe THEN I can finally Maiden the Cub! πŸ˜–
 

PoorManRC

Master member
Staying true to myself.... Time to do something controversial!! 😲
IMG_20190809_004039.jpg

At least on the Fuse!!! πŸ˜‹
IMG_20190809_004510.jpg


...... I've FORCED myself to get creative!!
IMG_20190809_005232.jpg

IMG_20190809_010230.jpg
 

rockyboy

Skill Collector
Mentor
I bevel in the back of the fuselage too - but on the inside so the brown paper is smooth all the way back. :D

Actually, using an iron to round & flatten the edges of the foam board works really well too - the melted together foam material forms a stronger edge that handles the bumps better! I forget who here on the forums came up with that idea, but it works great.
 

rockyboy

Skill Collector
Mentor
Here's a pic of how I did the battery mounting - I think yours will be solid and work just fine but figured I'd share another approach in case someone else is lazy and doesn't want to do the reinforced strap route :D

You can see how the sides of the fuselage are split out a bit - that's from the wires coming out of my battery at an angle and pushing against the fuselage, compounded by belly landing. Since I put the battery on the side it hasn't split any further - but I really should fix that up a bit. Didn't realize how messy it was until I start staring at a picture... :oops:
IMG_20190809_171247-1024x768.jpg
 

PoorManRC

Master member
I bevel in the back of the fuselage too - but on the inside so the brown paper is smooth all the way back. :D

Actually, using an iron to round & flatten the edges of the foam board works really well too - the melted together foam material forms a stronger edge that handles the bumps better! I forget who here on the forums came up with that idea, but it works great.
OMG!! WHY didn't I think of that? 😲😜
OK, doing that from now on. I may also glue paper around those aft Bevels, to "Pretty" them up some...
 

PoorManRC

Master member
Here's a pic of how I did the battery mounting - I think yours will be solid and work just fine but figured I'd share another approach in case someone else is lazy and doesn't want to do the reinforced strap route :D

You can see how the sides of the fuselage are split out a bit - that's from the wires coming out of my battery at an angle and pushing against the fuselage, compounded by belly landing. Since I put the battery on the side it hasn't split any further - but I really should fix that up a bit. Didn't realize how messy it was until I start staring at a picture... :oops:

Thanks! That looks like a good solution, that MIGHT have helped my TT... Before I turned it into a 5 inch long mess of crushed Foam when the "Cloudy Glue" MELTED!!

I don't know yet how well my Strap will work...
But of all my discoveries in the FT World - you CAN'T make a Power Pod strong enough!! 😊
 
Last edited: