
You are using an out of date browser. It may not display this or other websites correctly.
You should upgrade or use an alternative browser.
You should upgrade or use an alternative browser.
Sig 1/4 Clipped Winged Cub and time to change my Avatar
- Thread starter cyclone3350
- Start date
cyclone3350
Master member
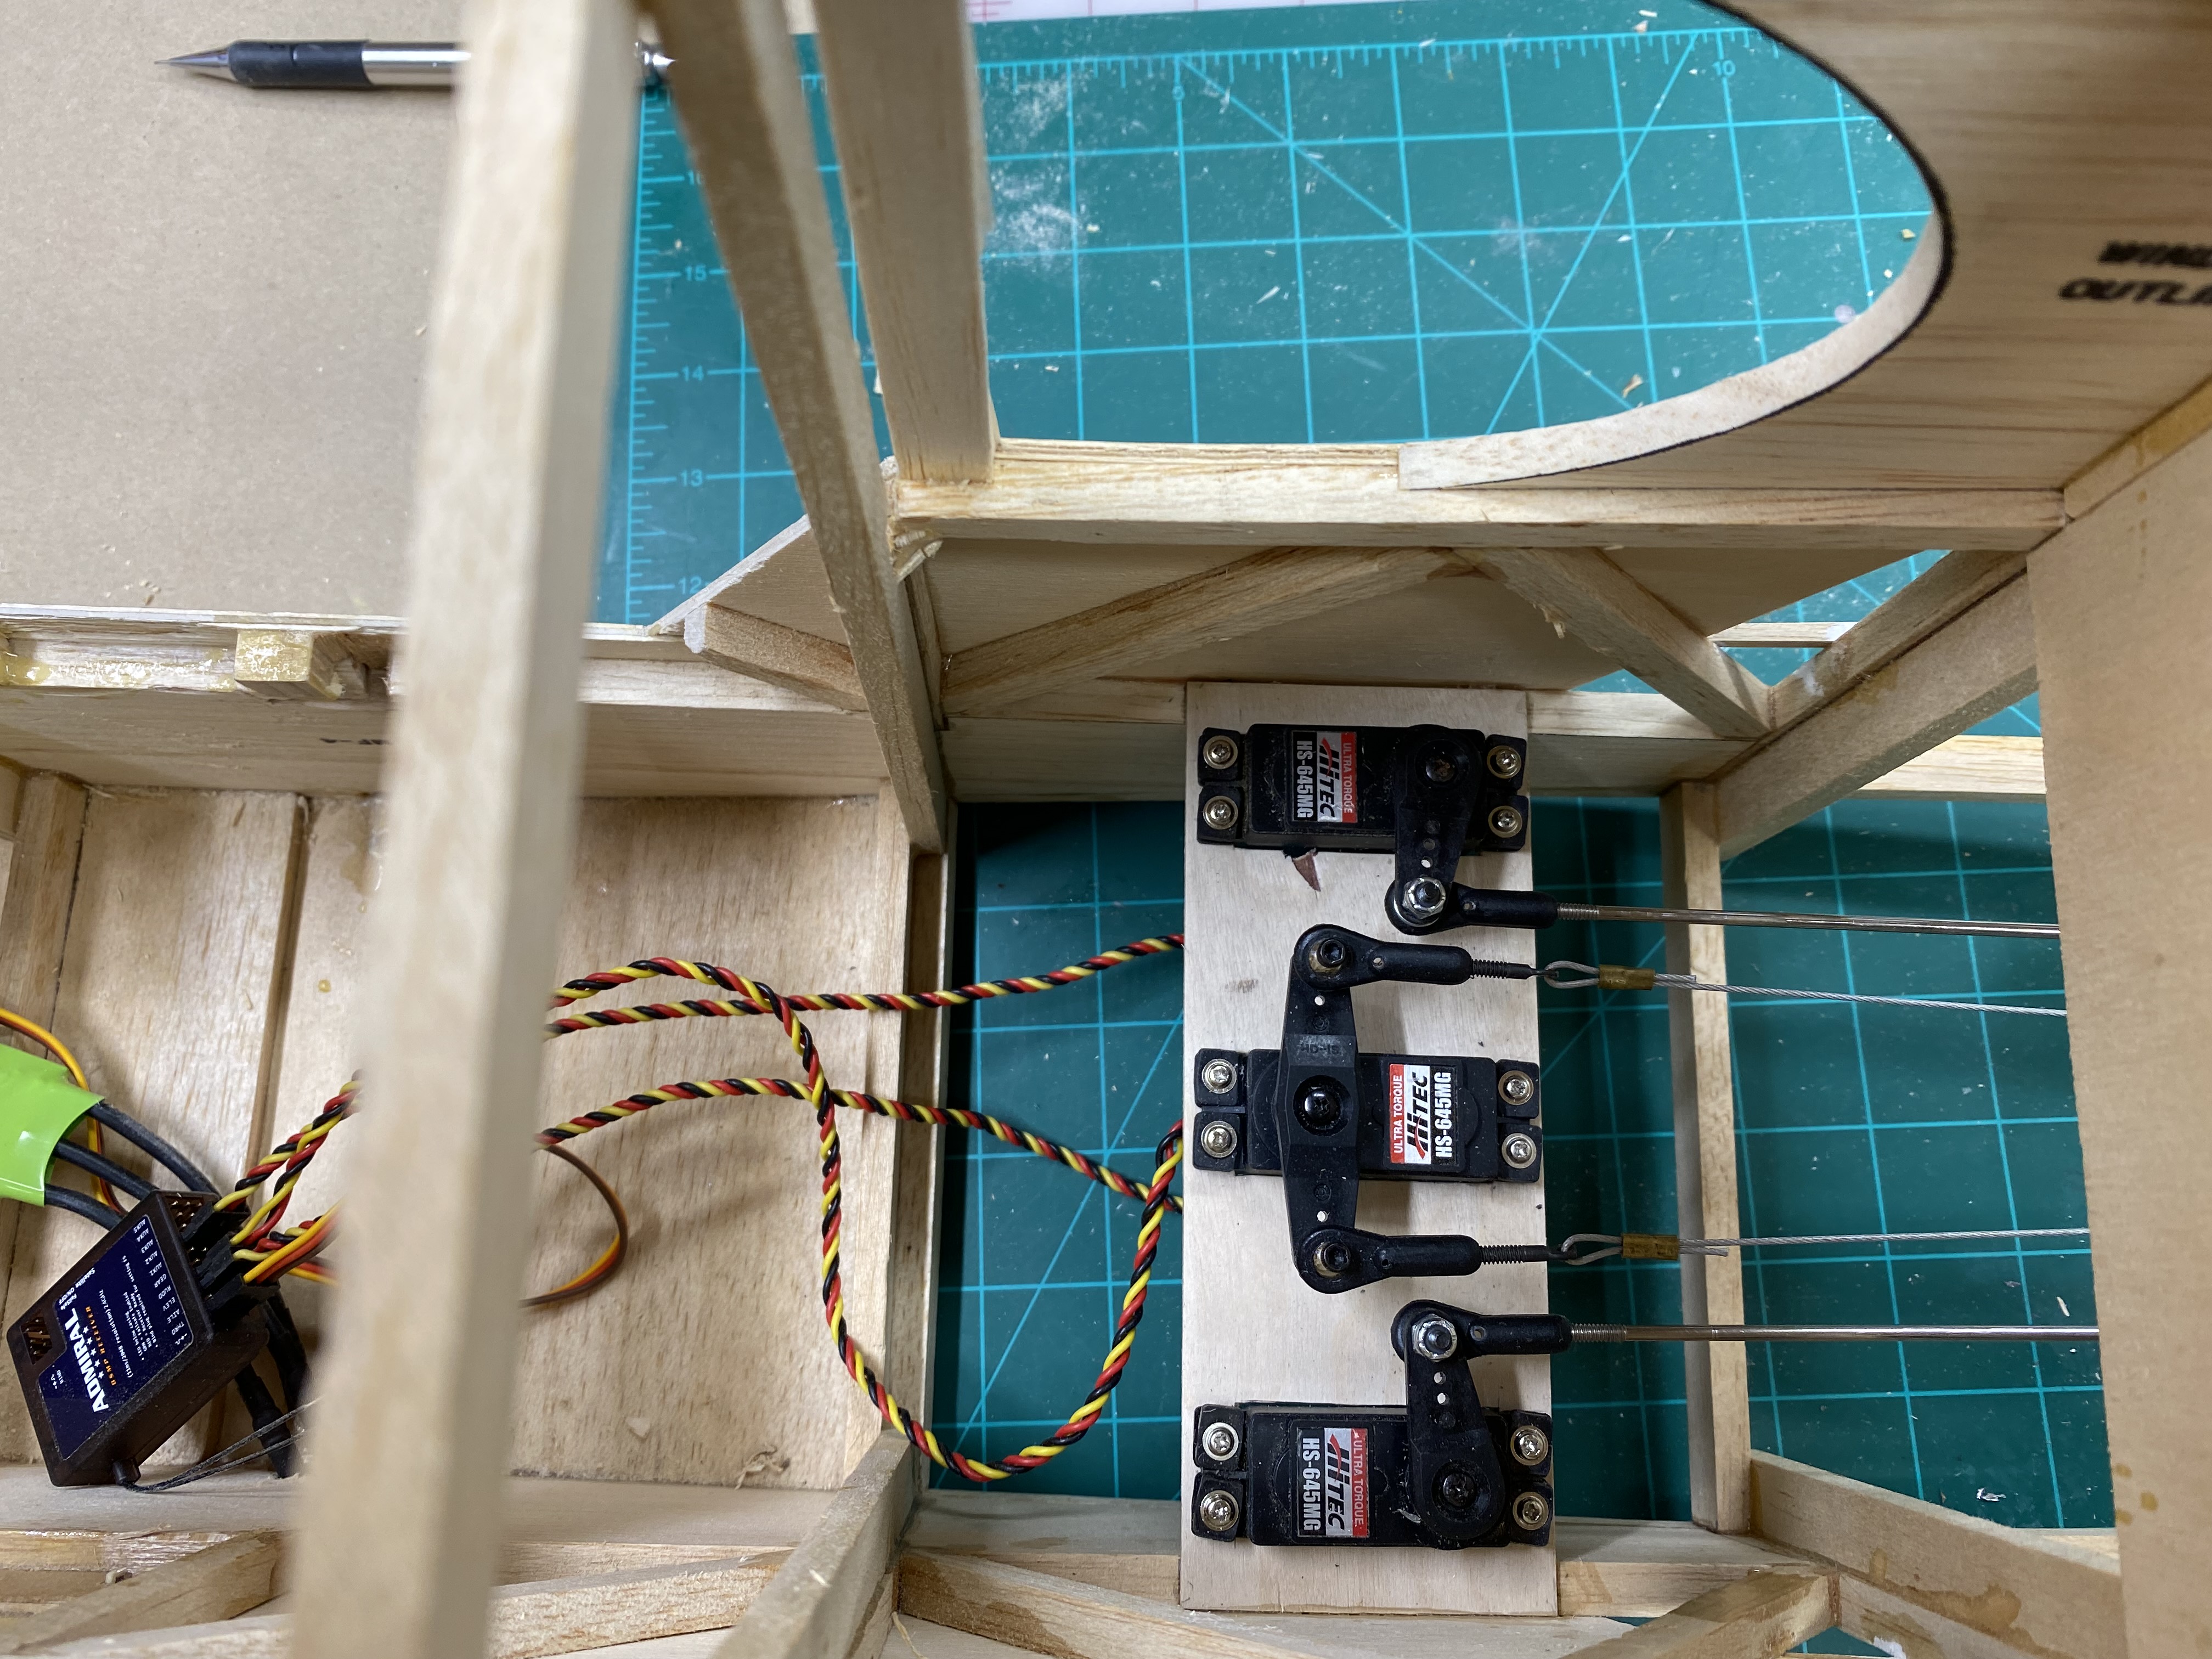
Pull pull is all set up and working. I like the way it looks, but what a time consuming pain in the donkey to install. Took a mix of parts to make the tailwheel. Not exactly scale, but close enough for me. Now I have to fill in the groove where I originally had the elevator as one piece with one servo.

Attachments
cyclone3350
Master member
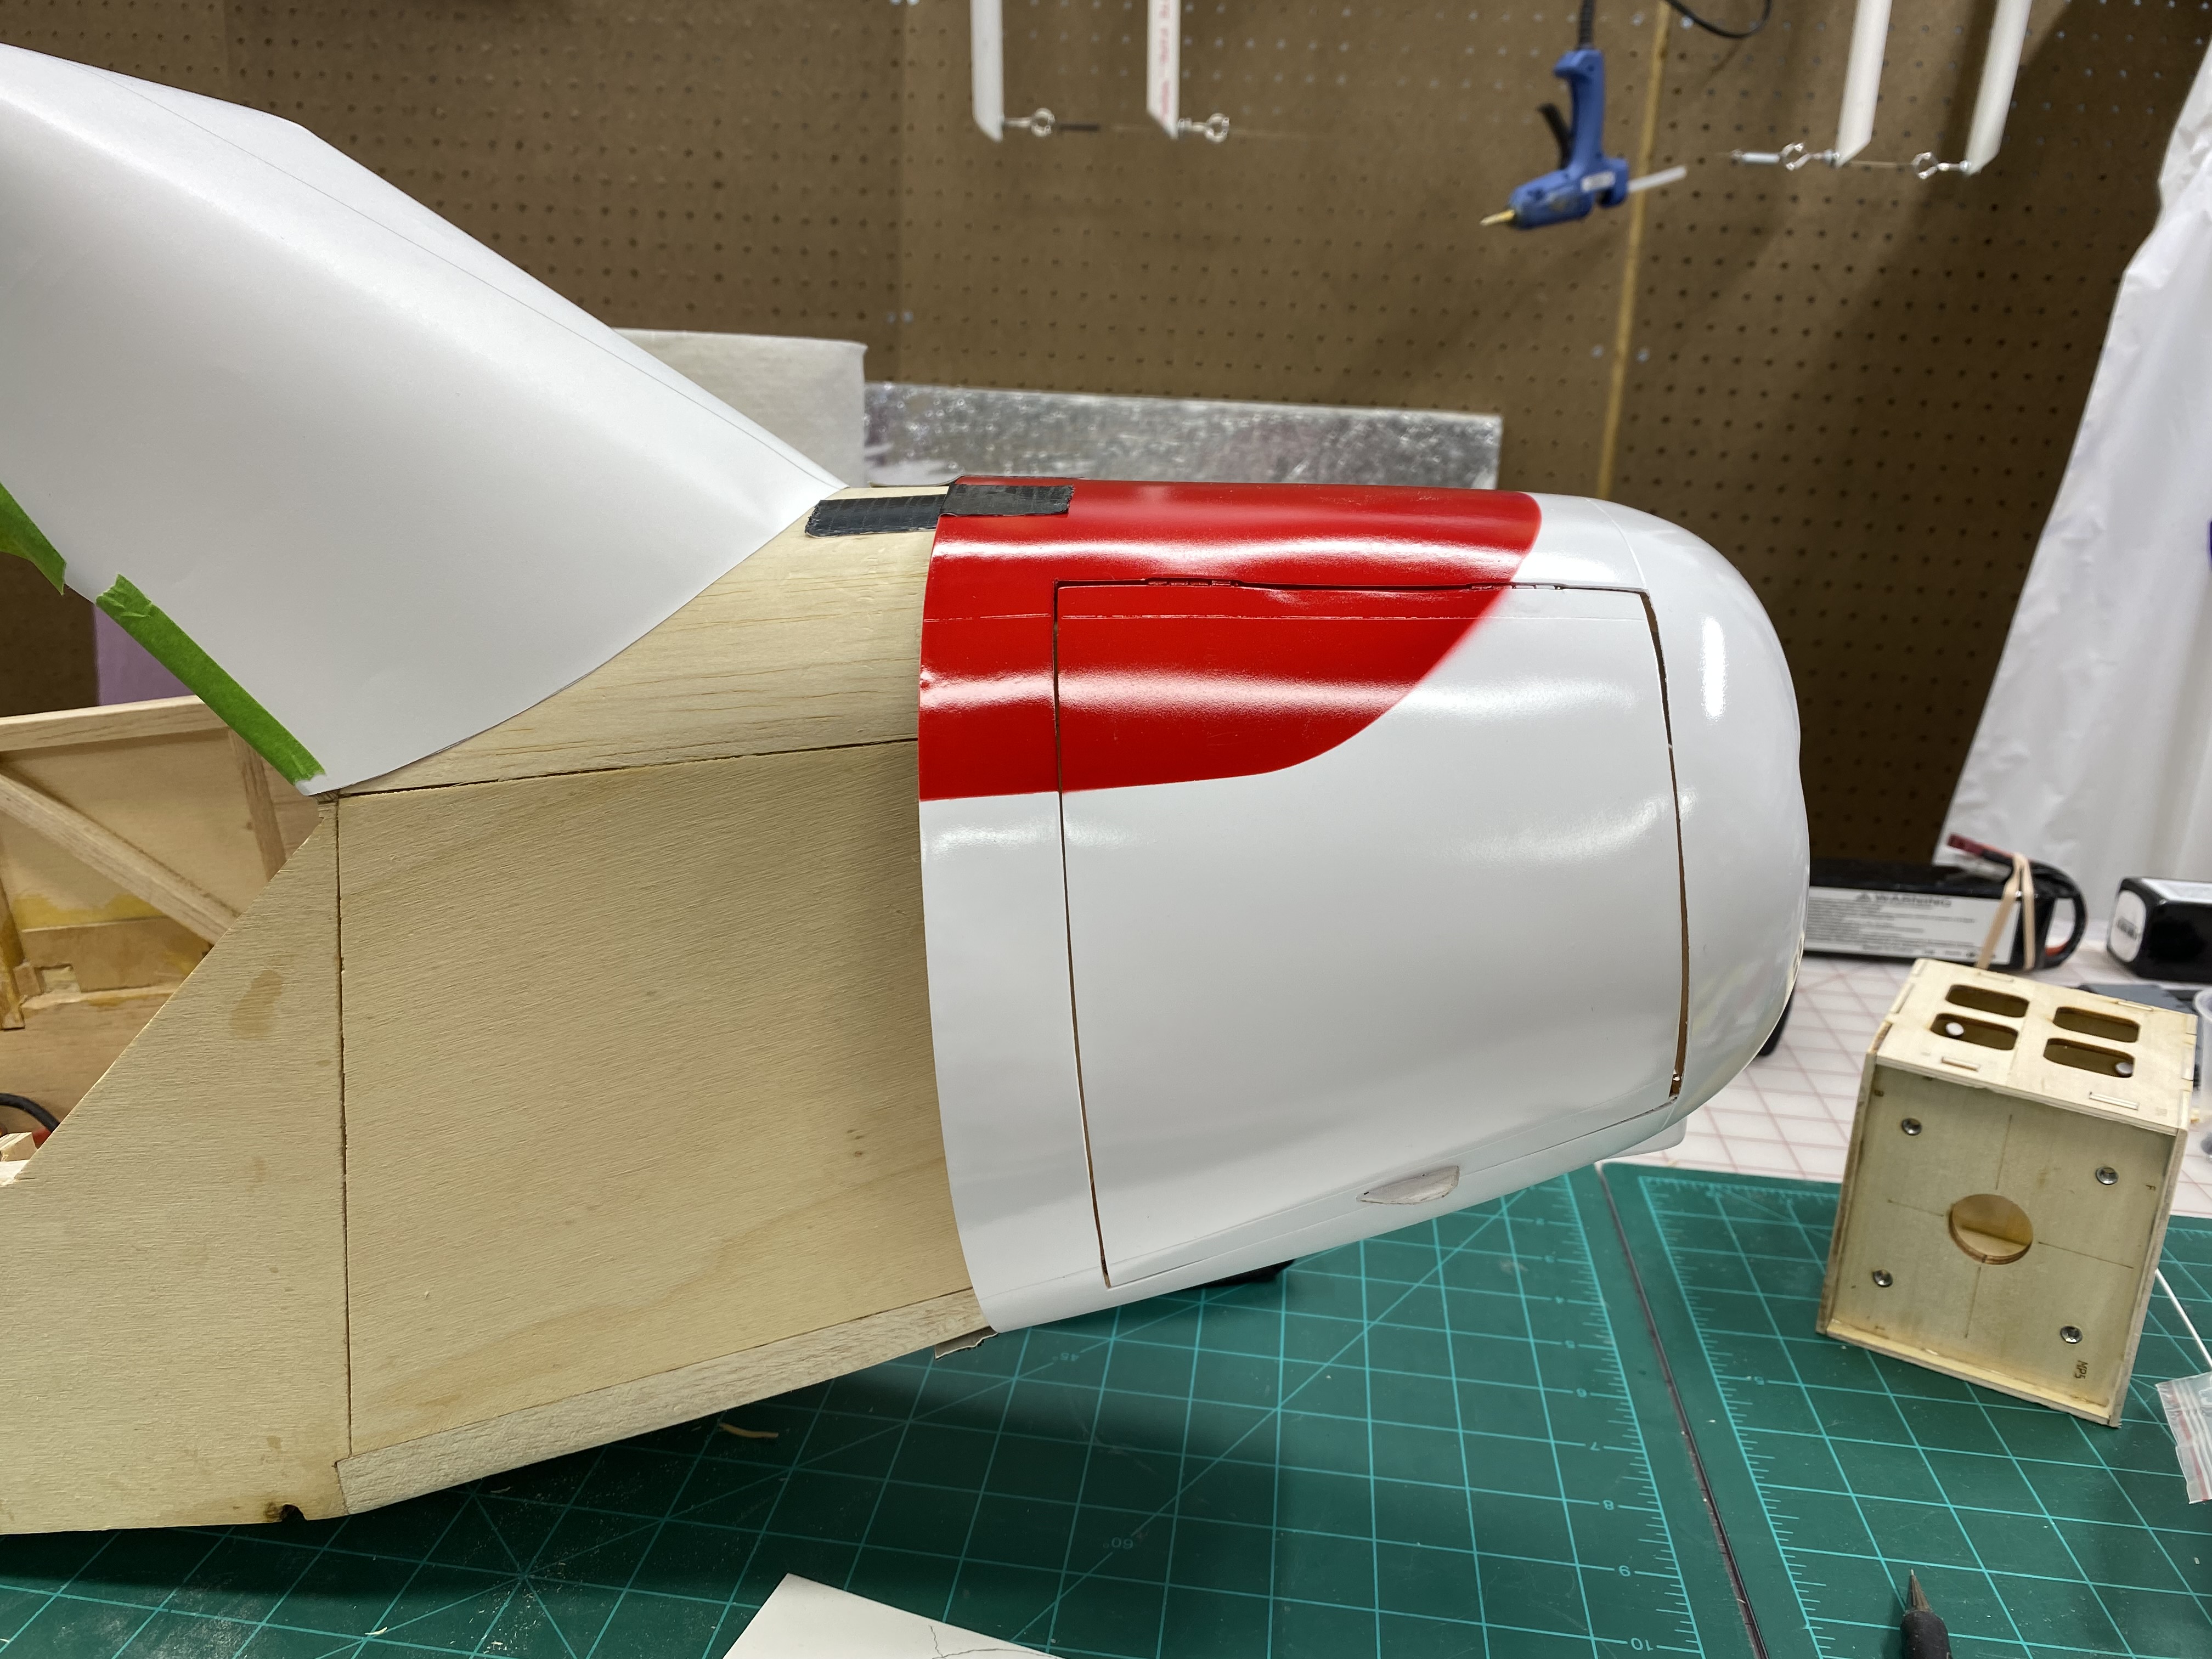
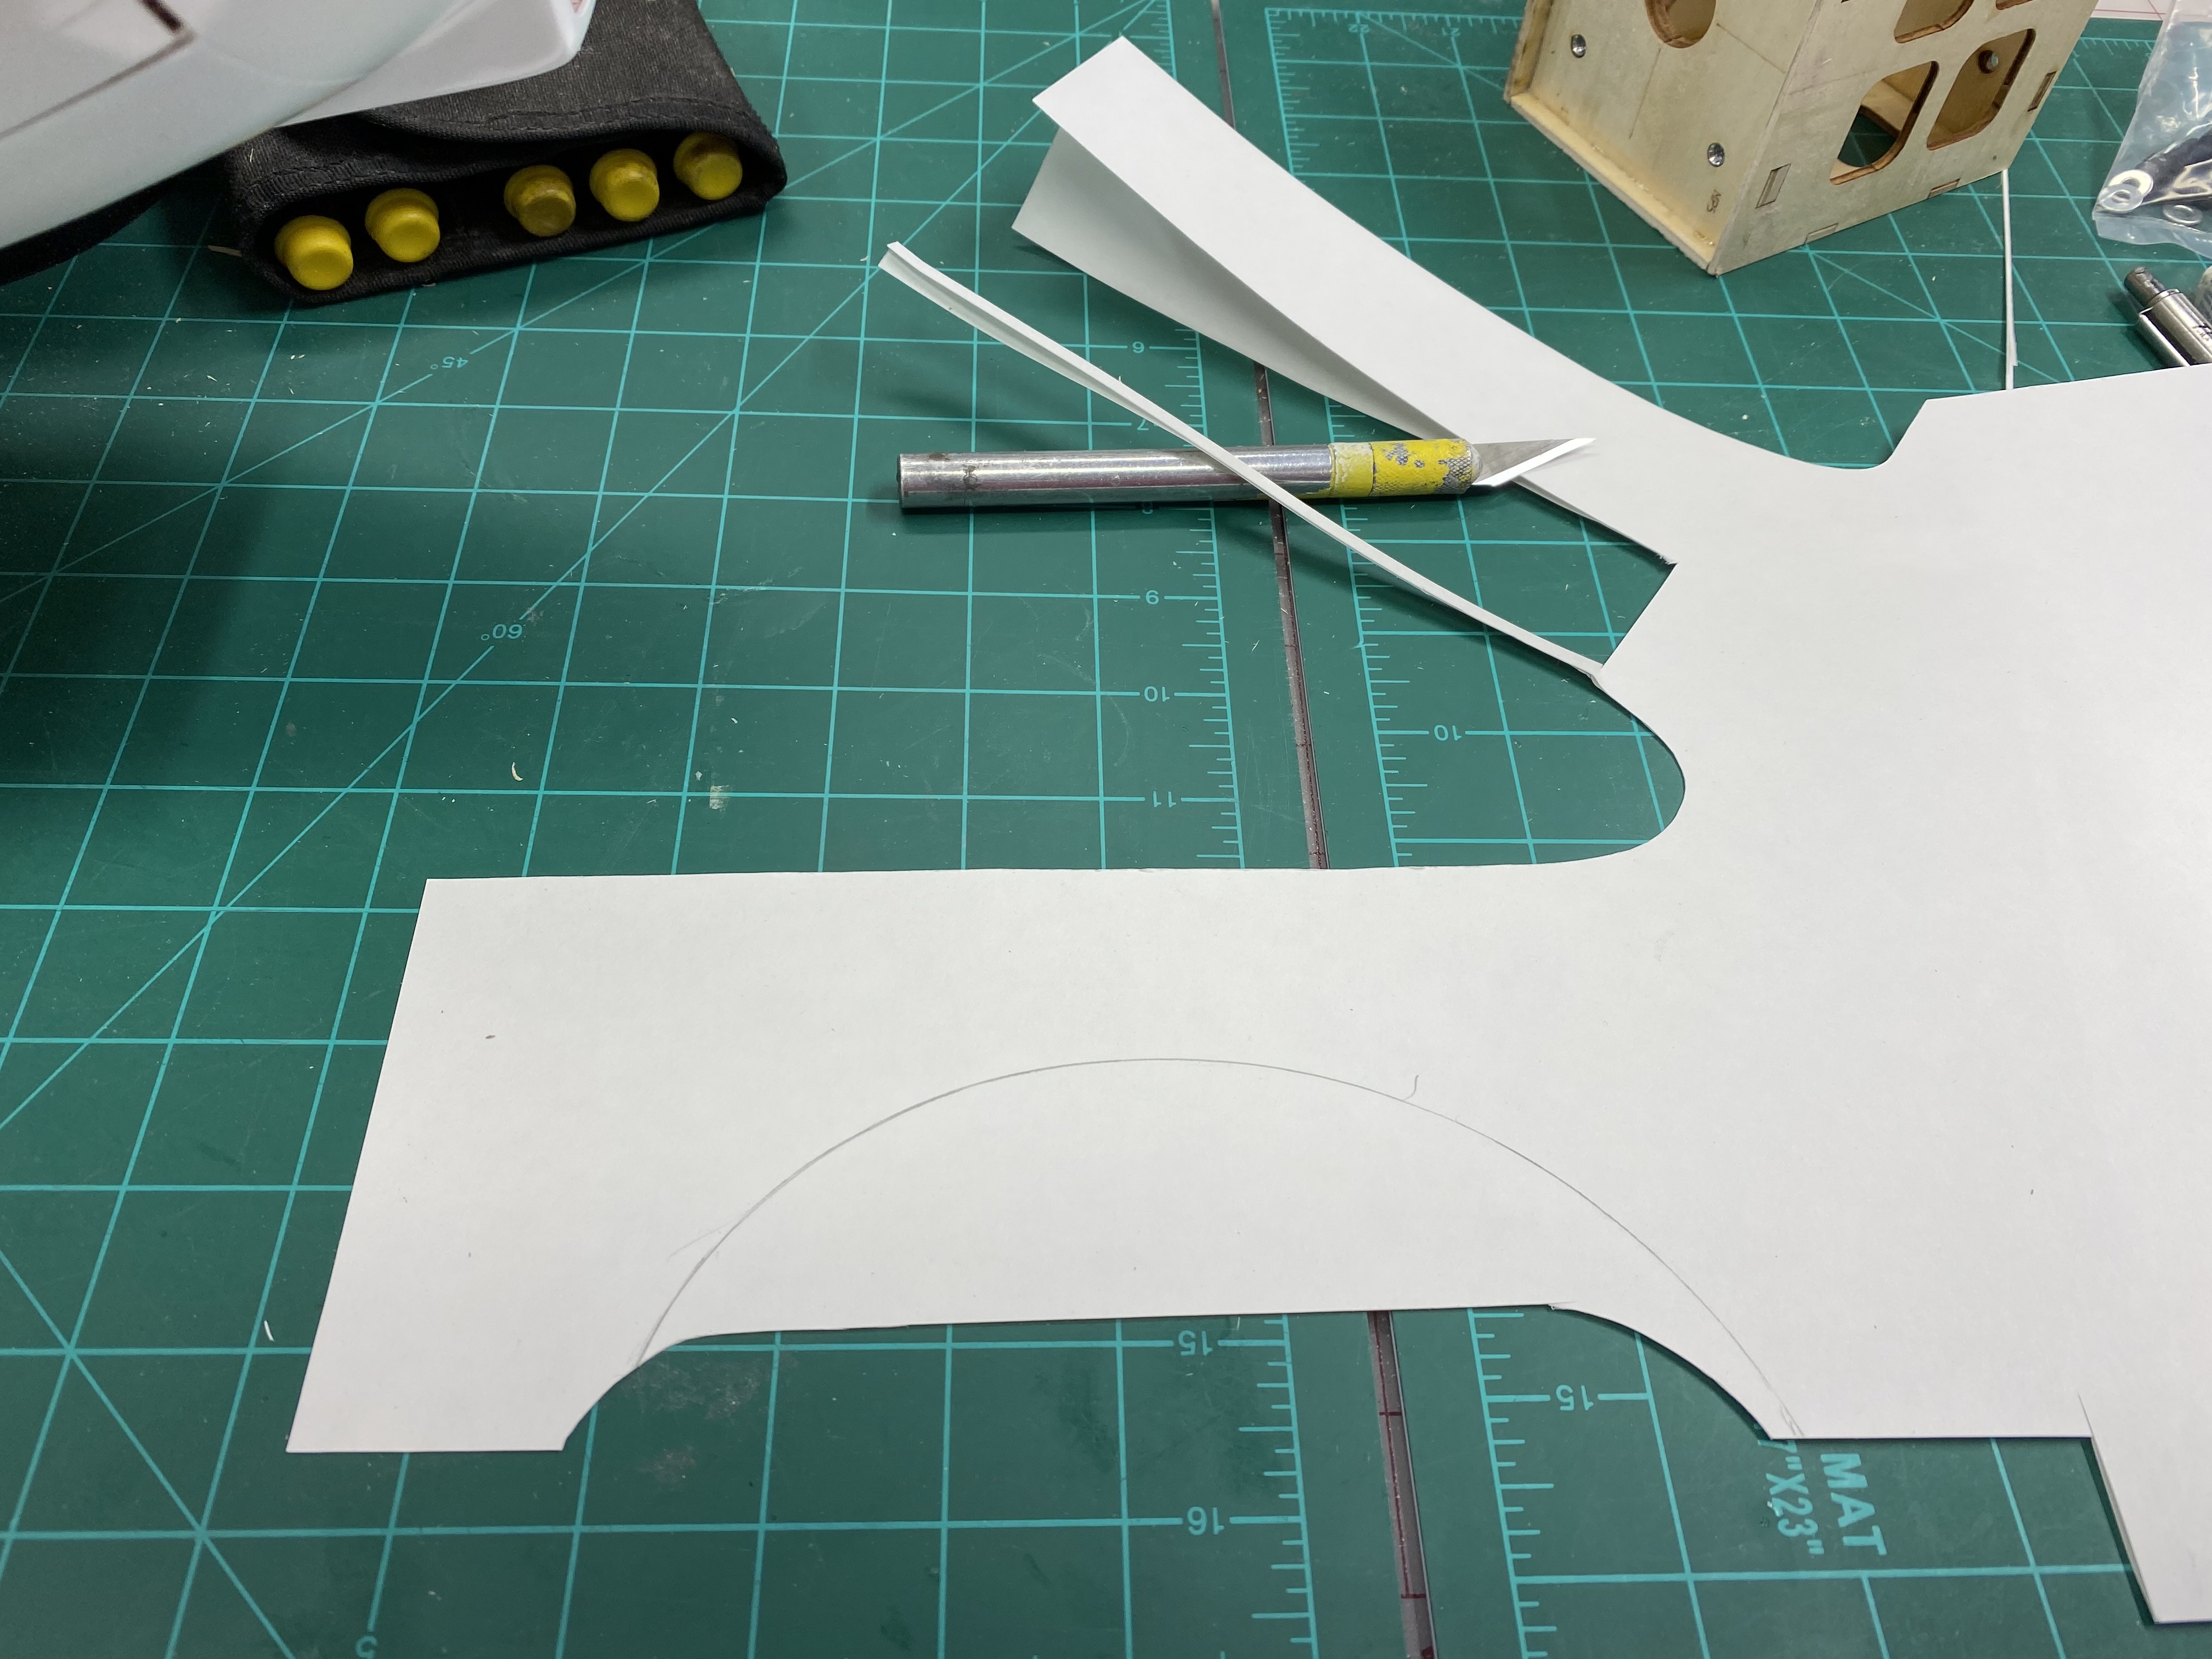
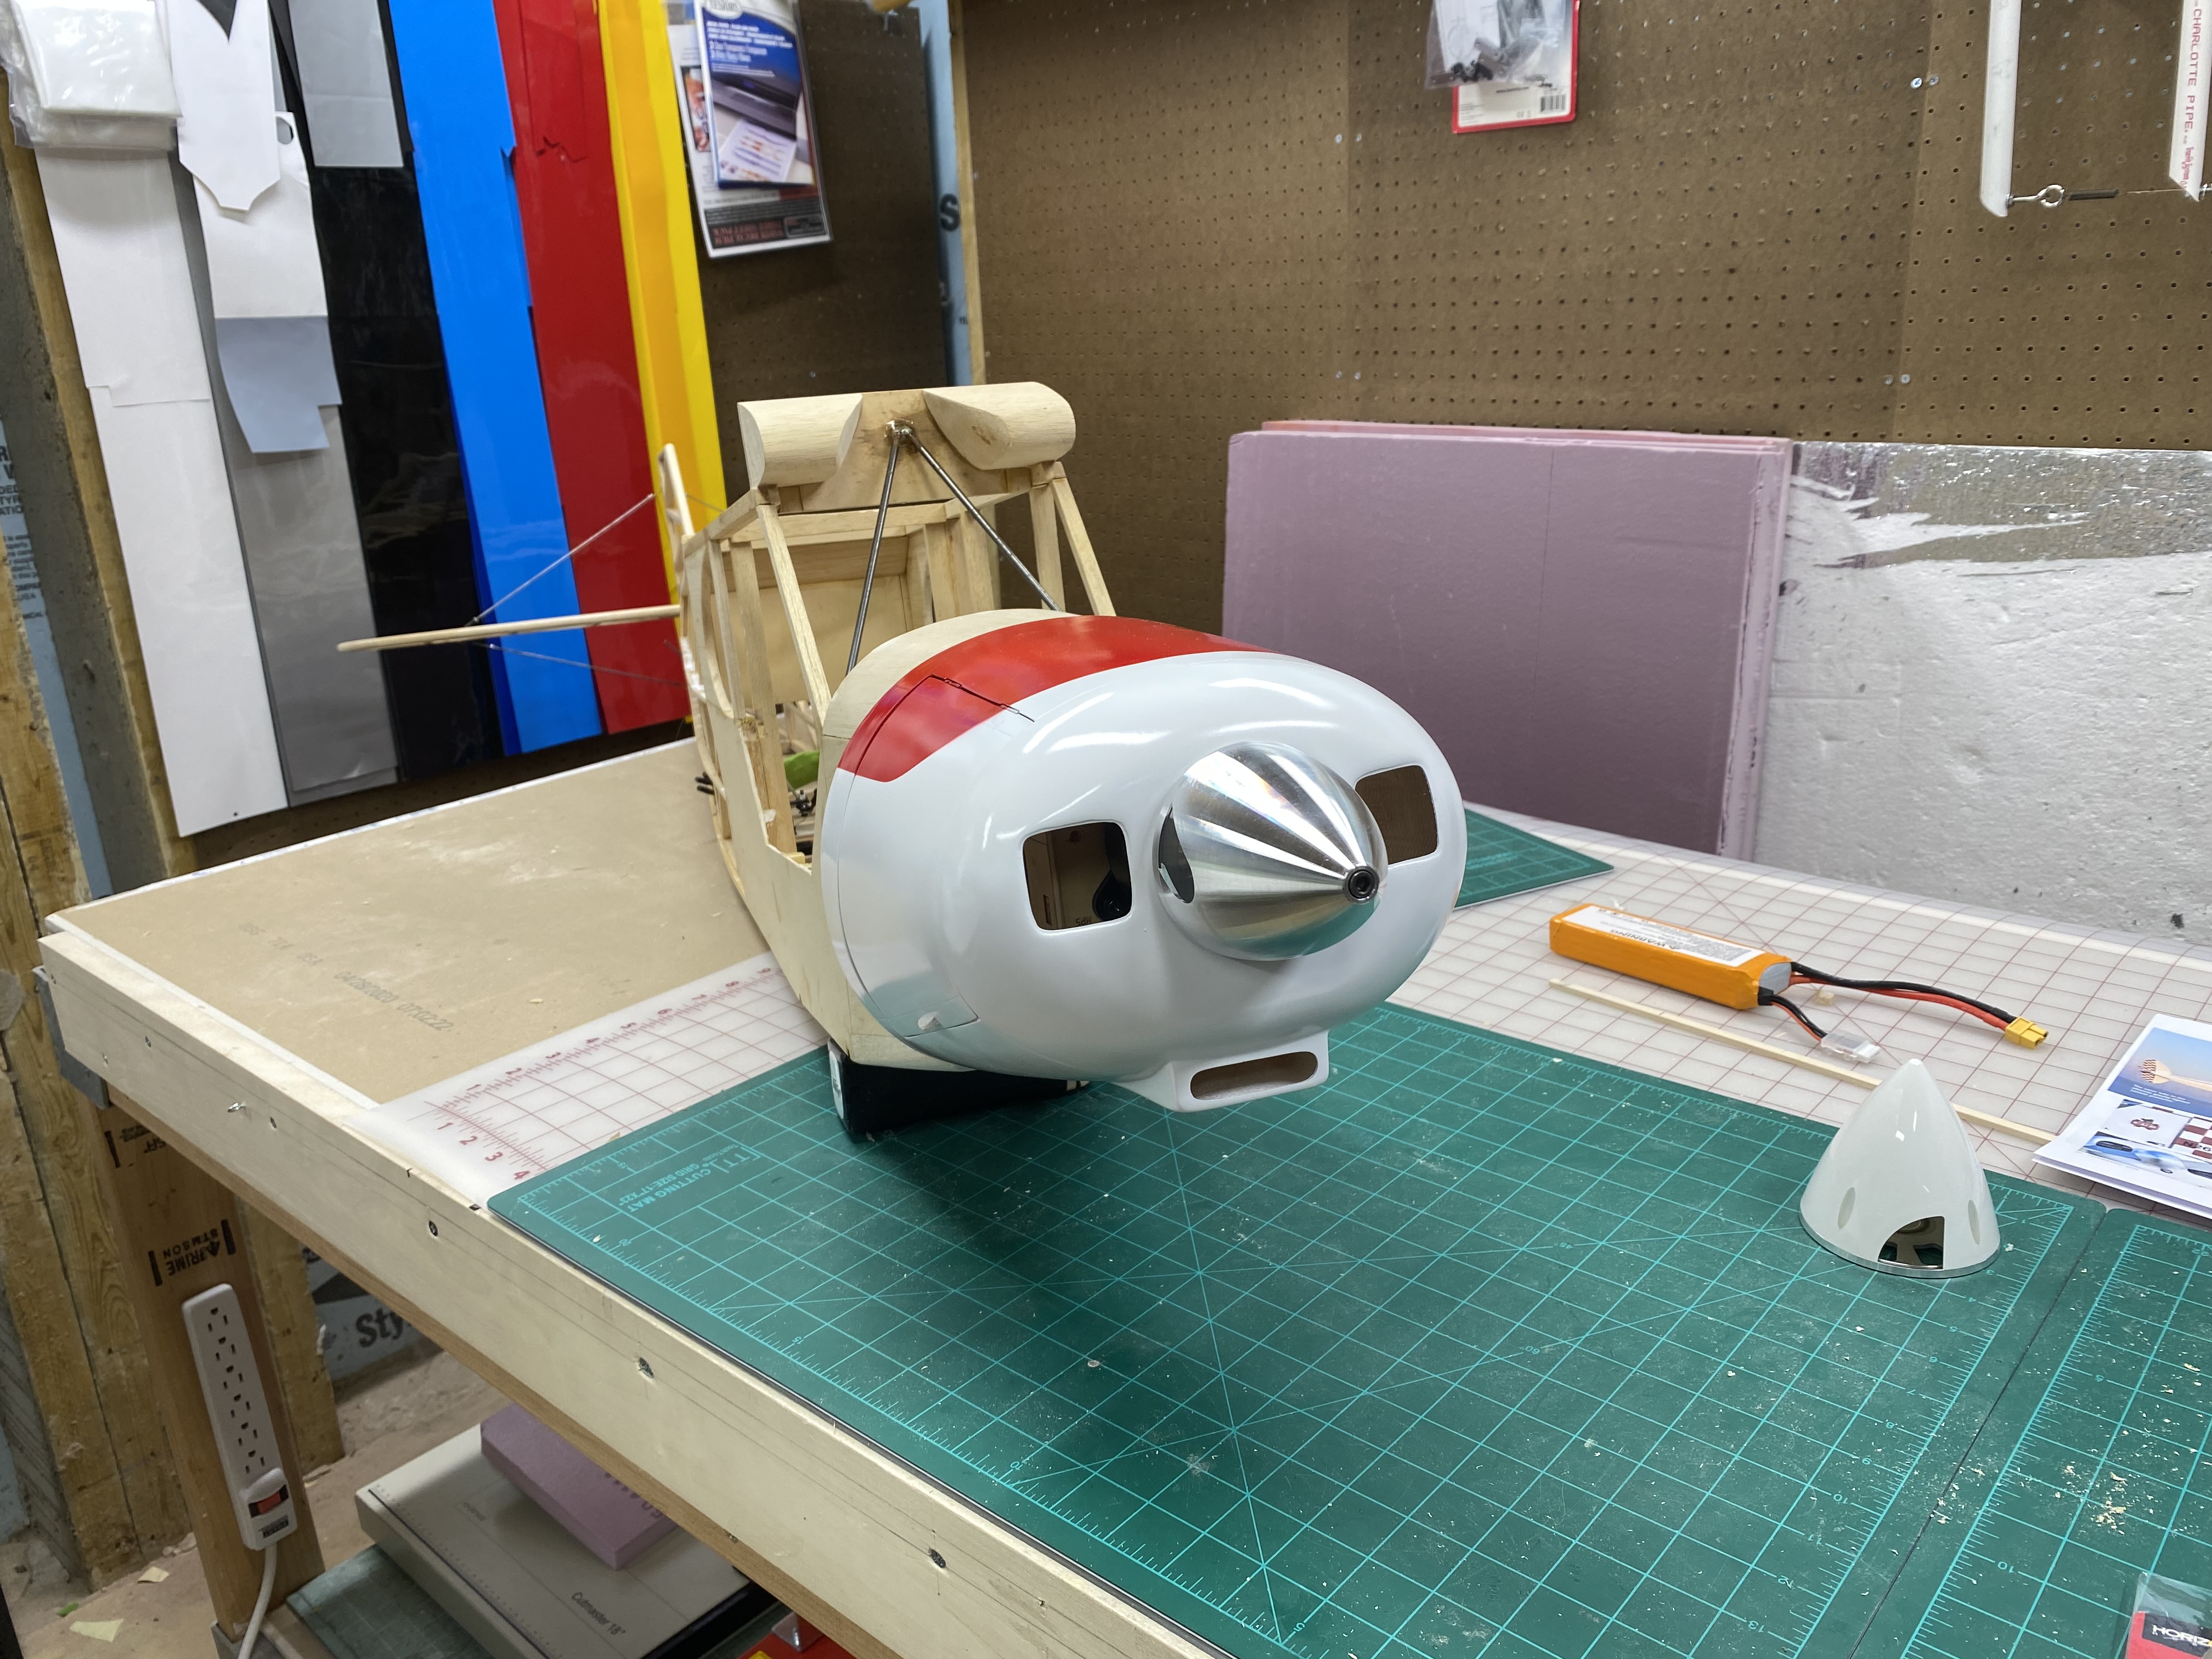
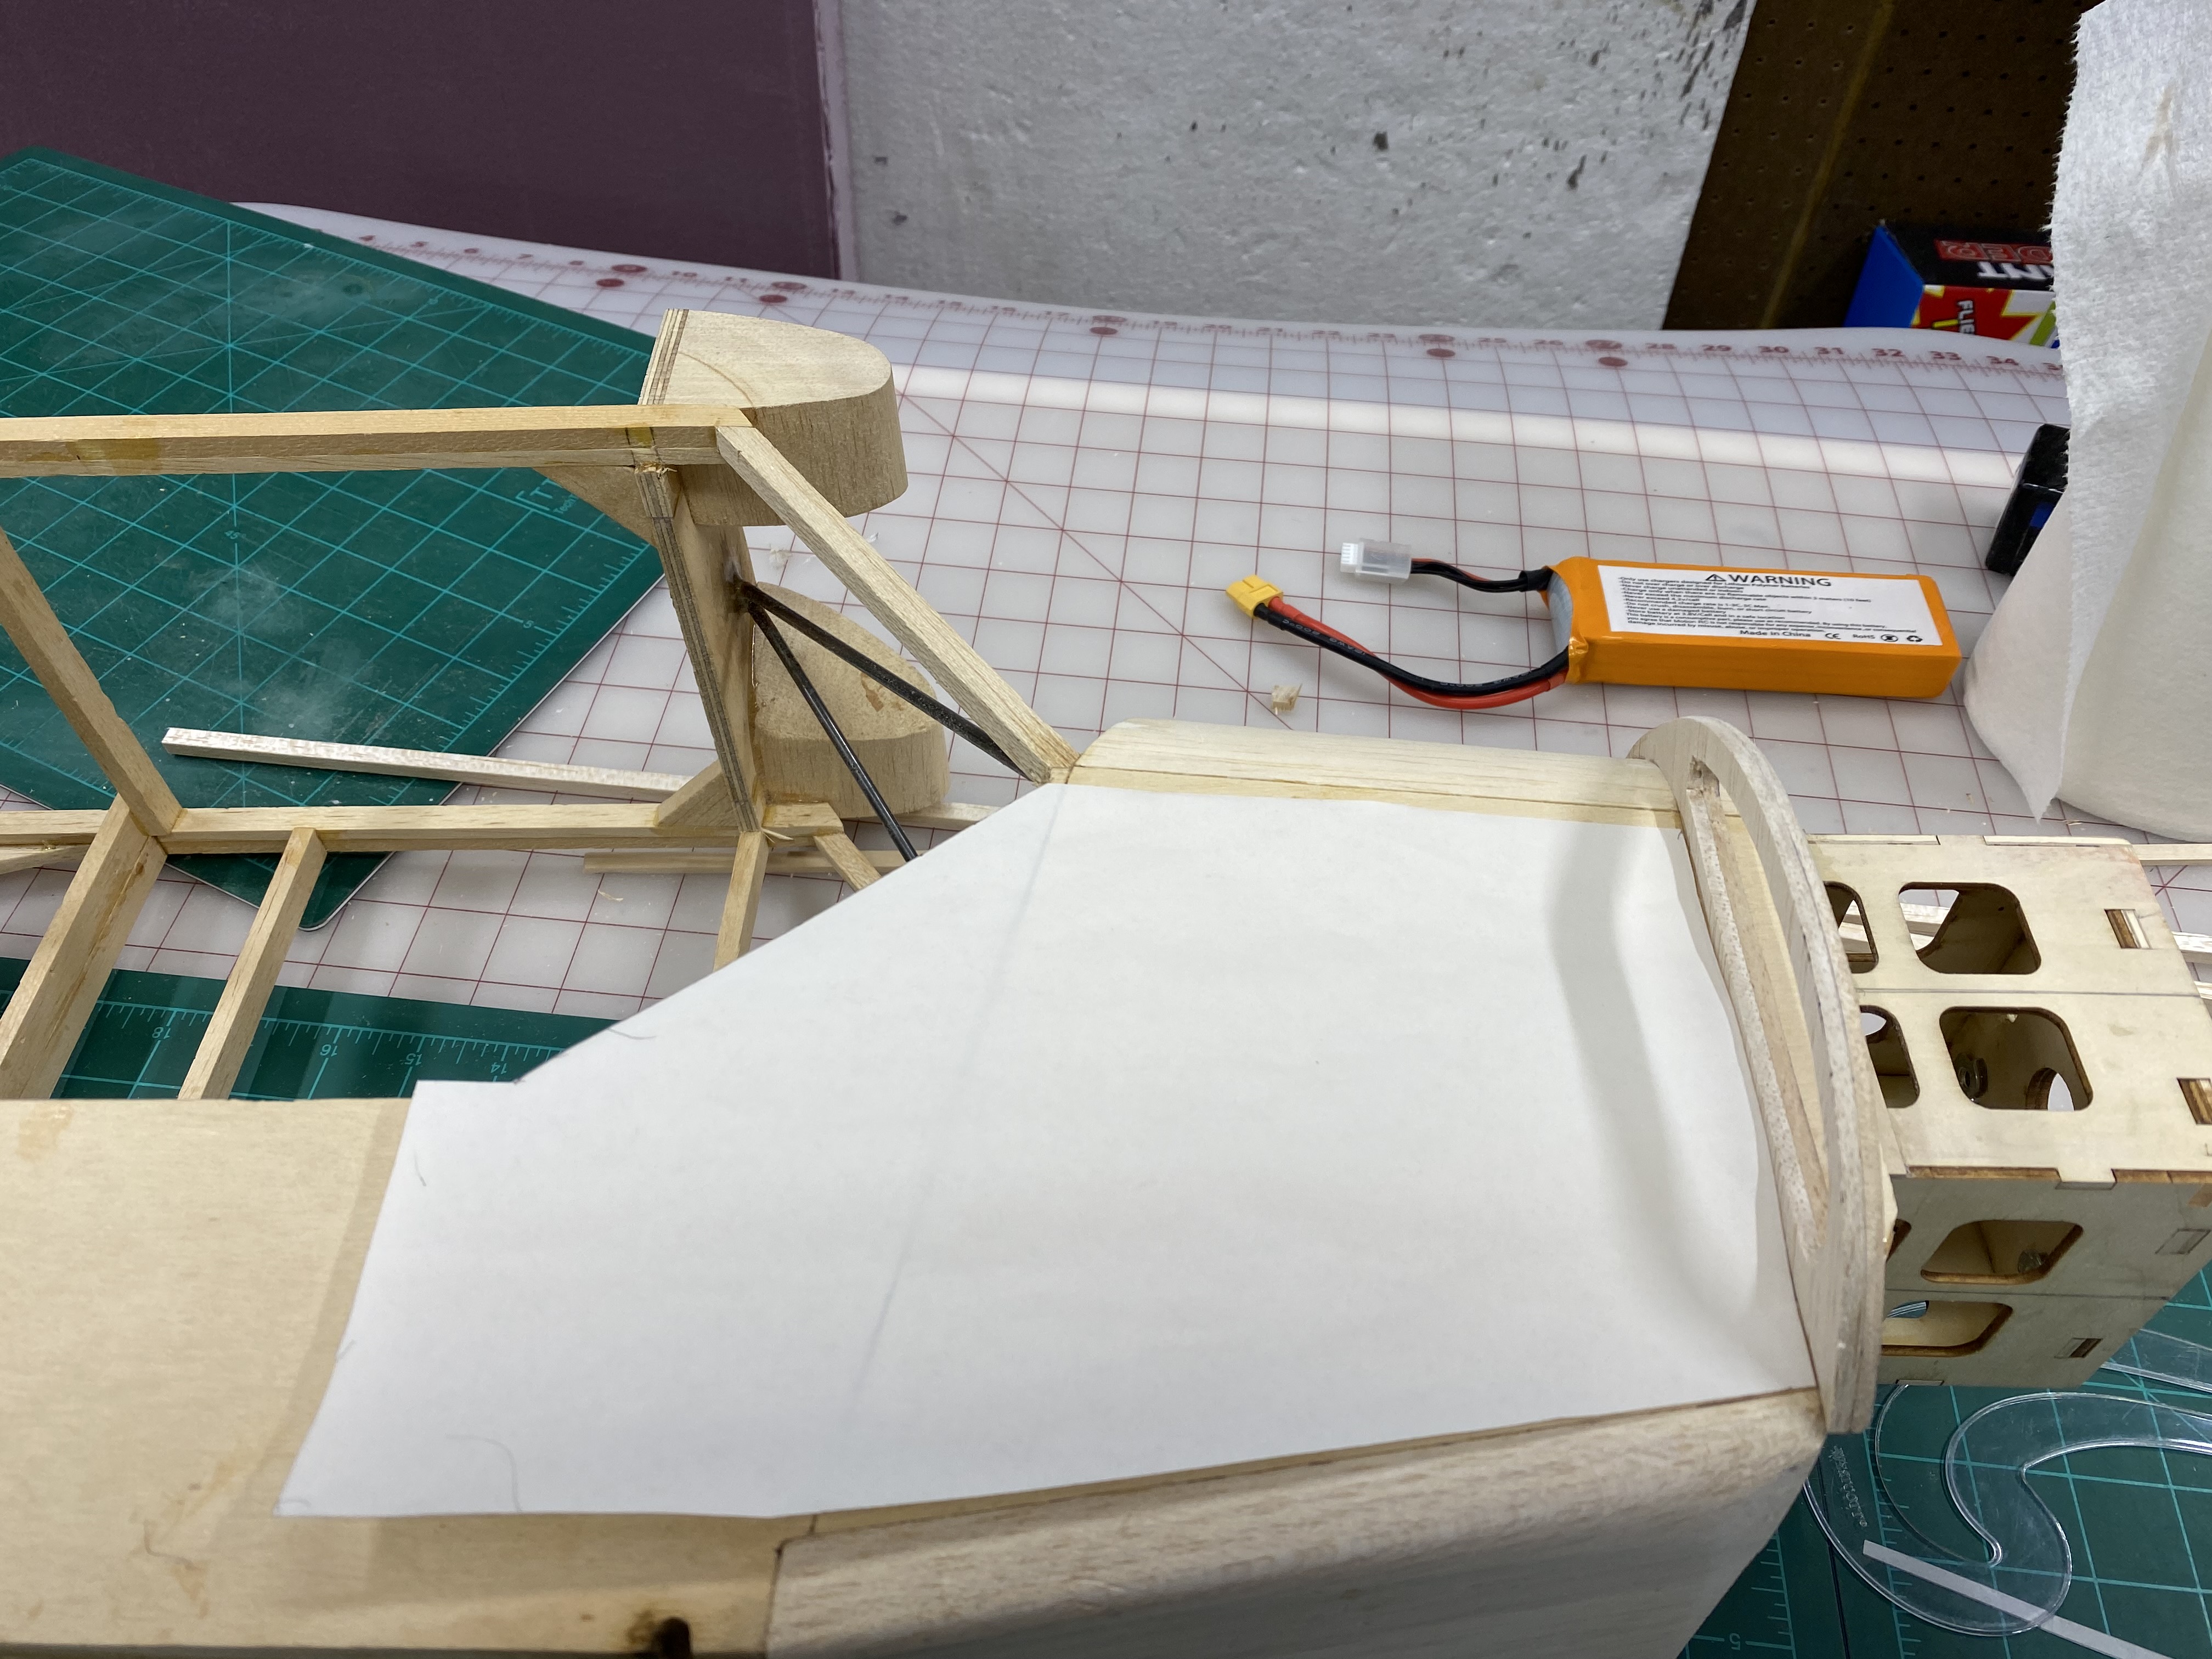
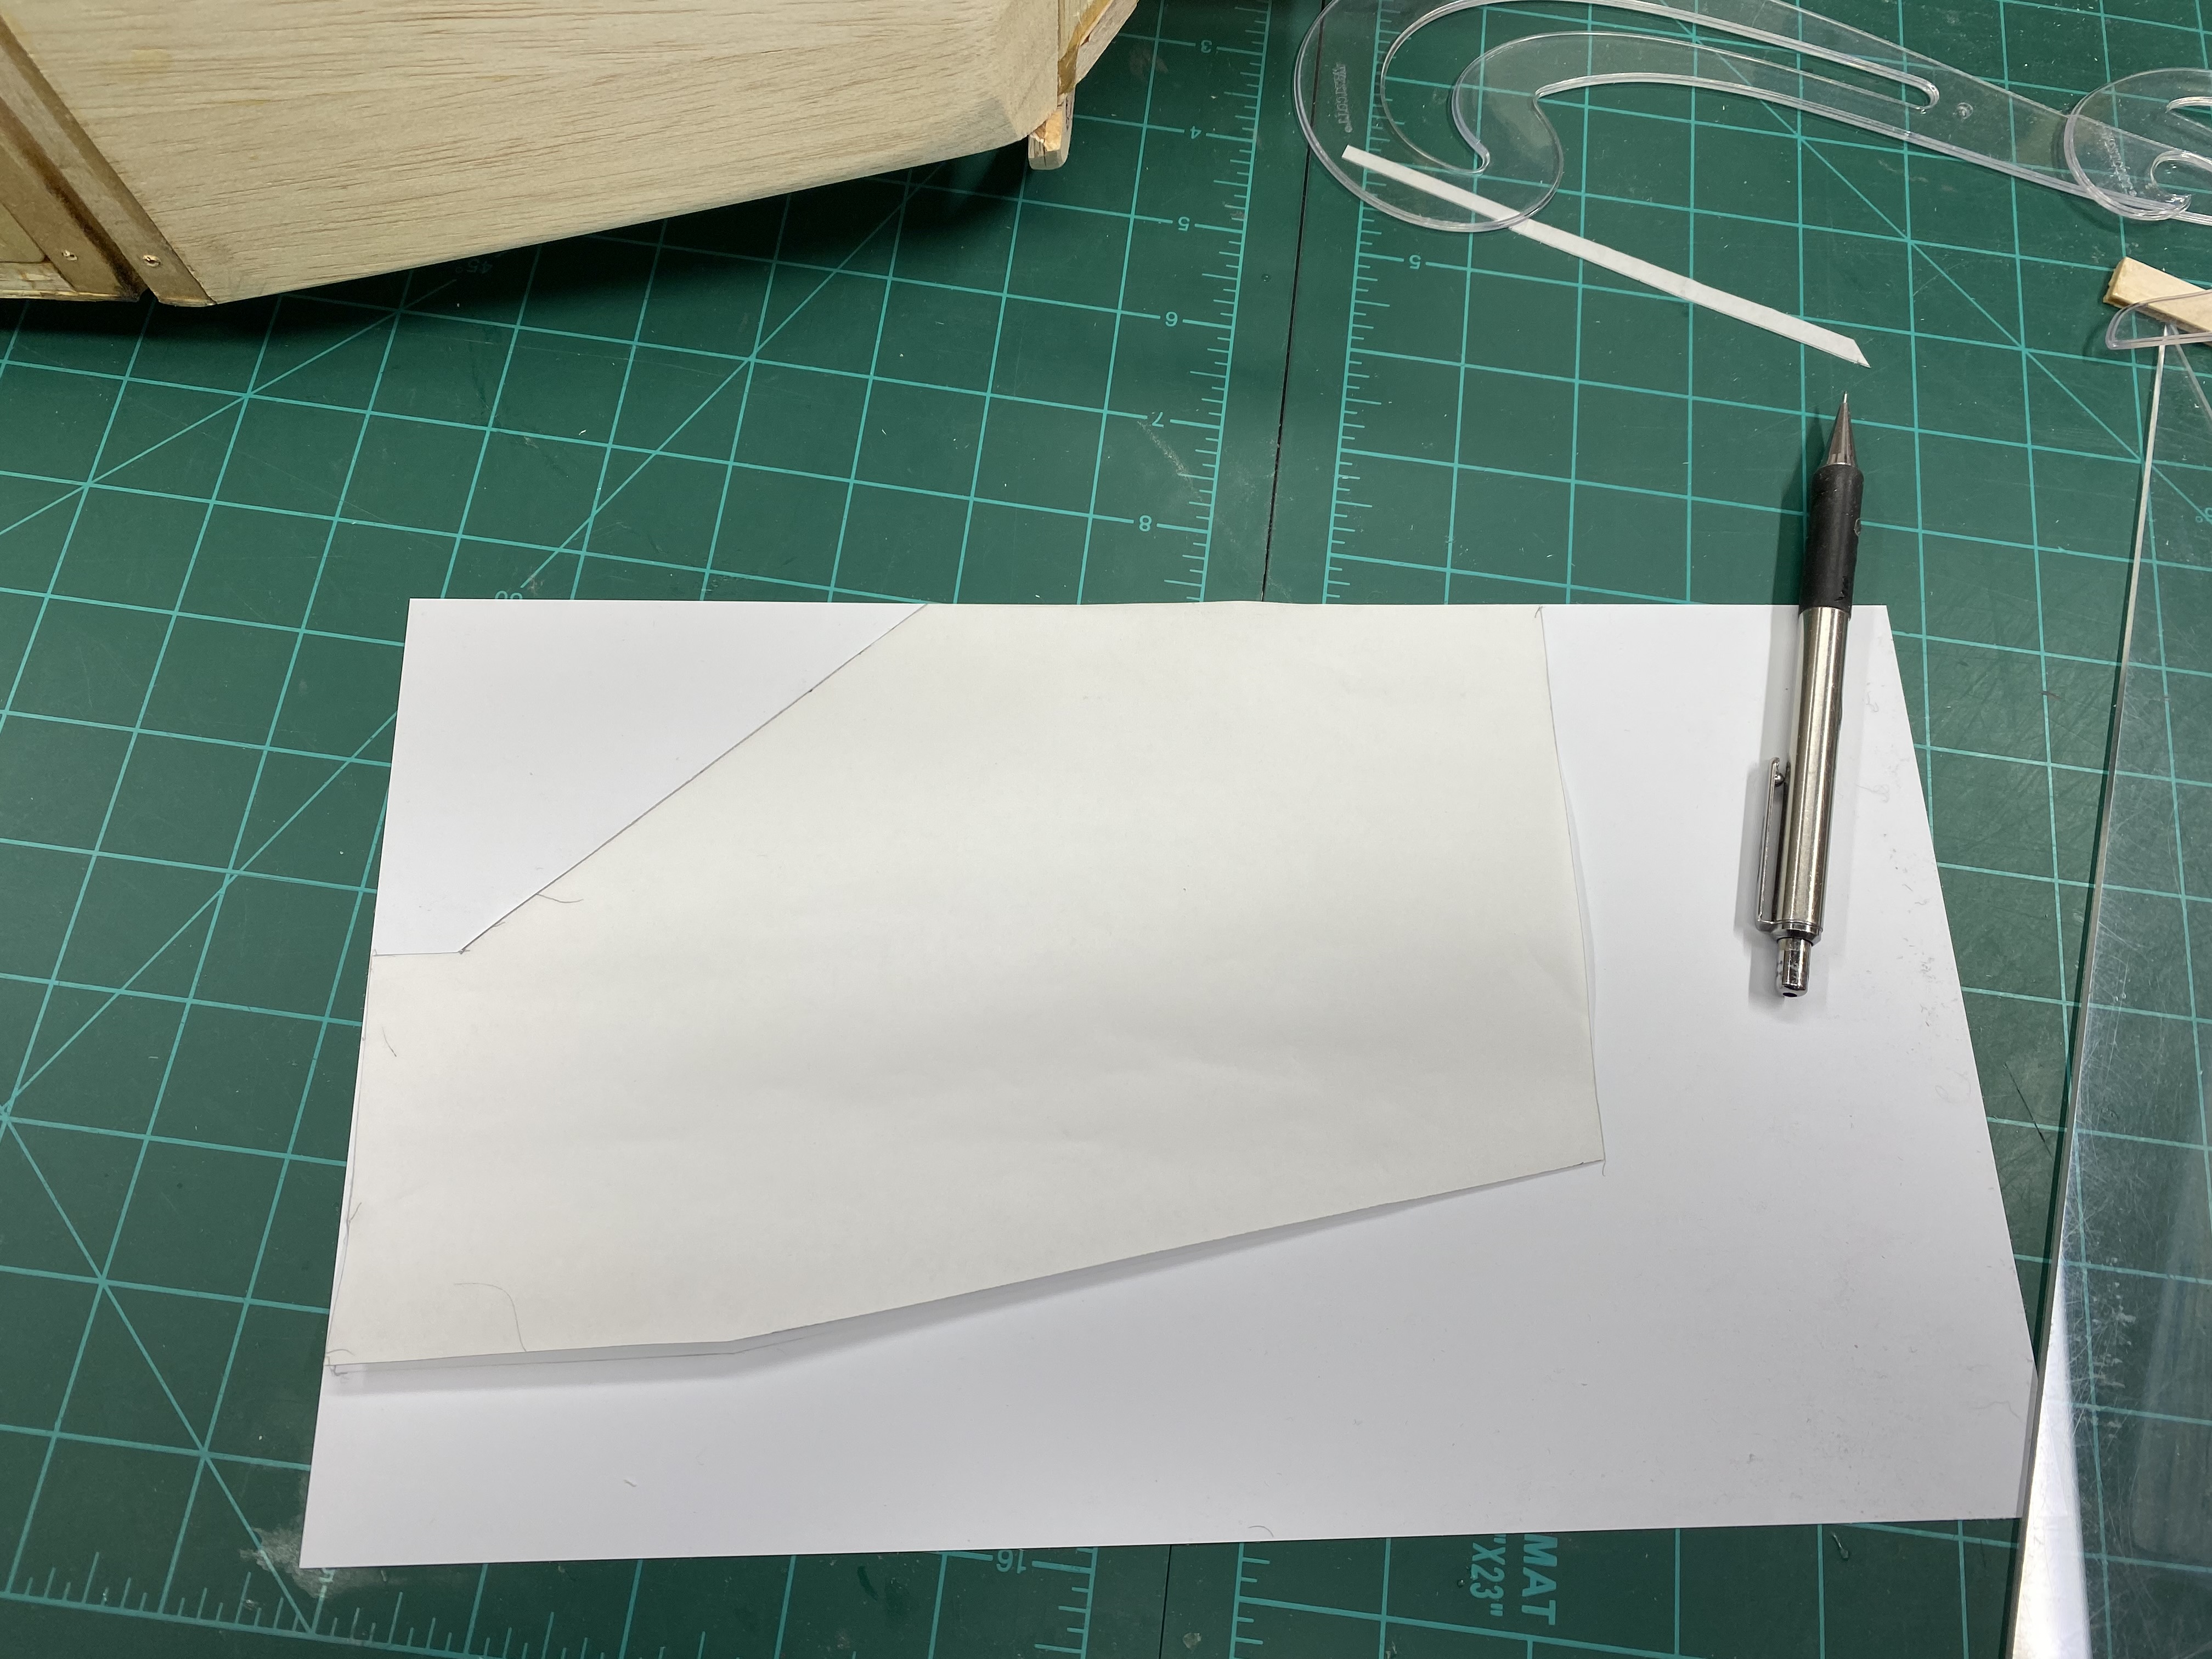
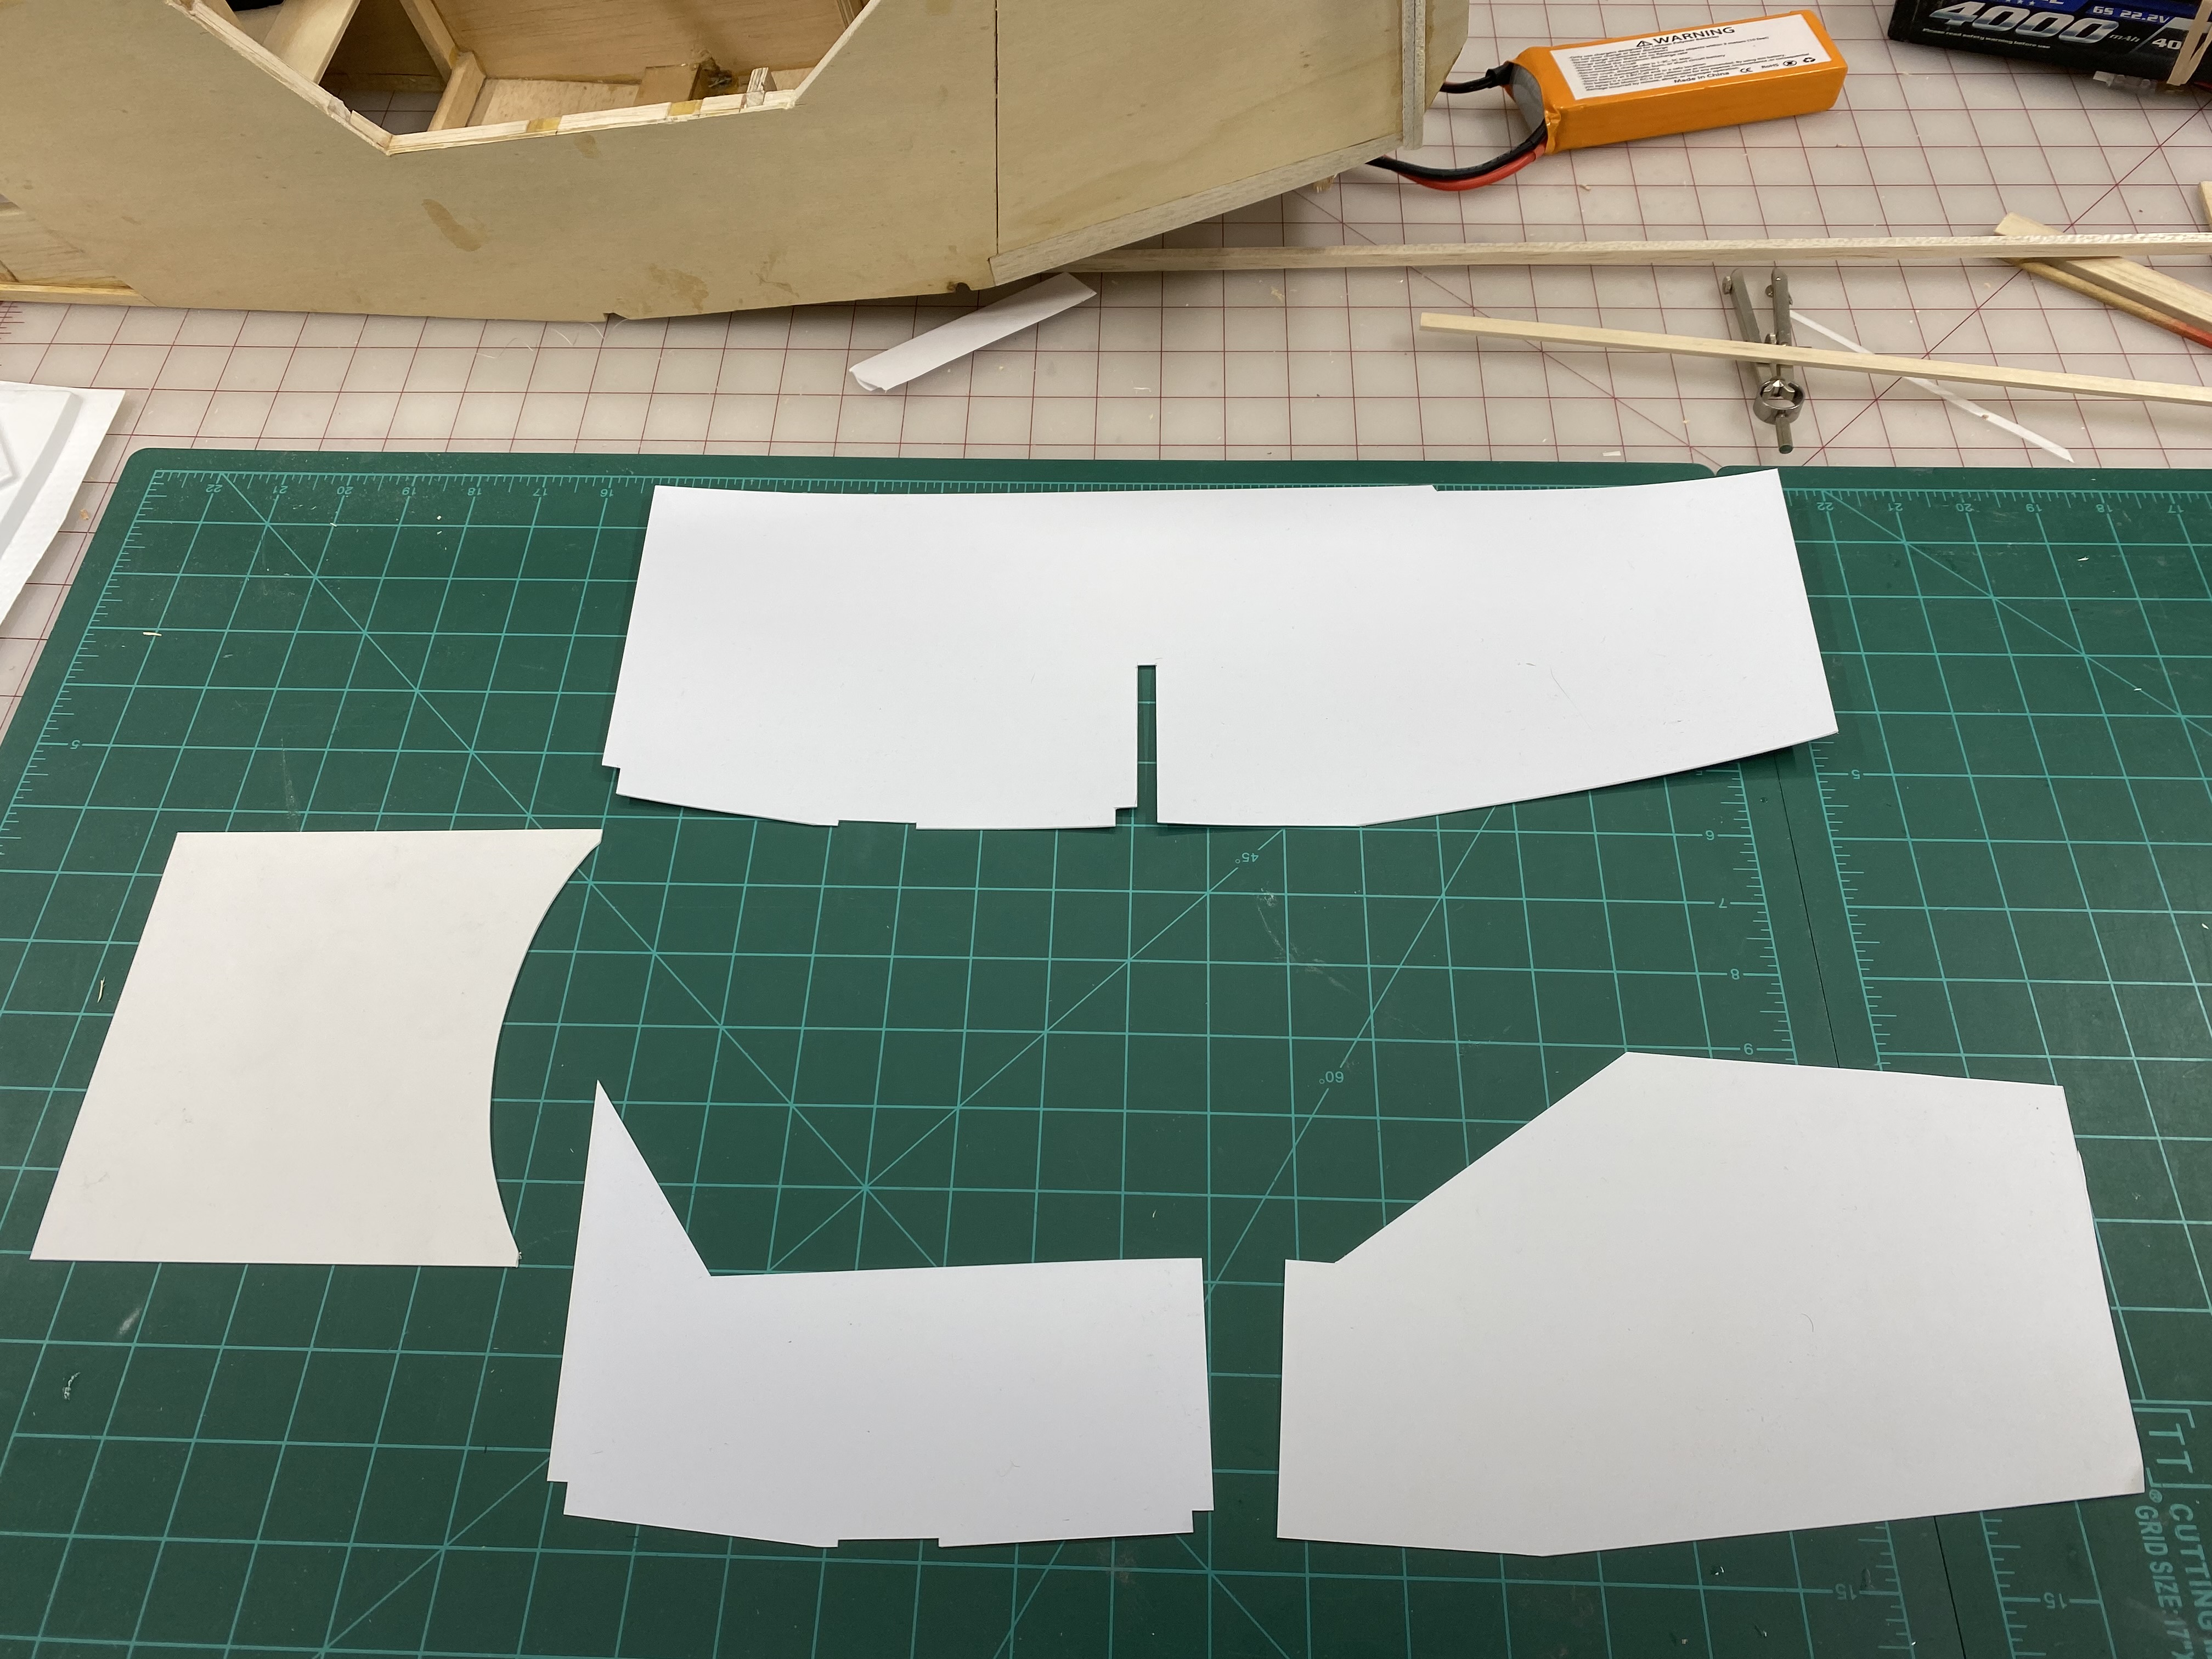
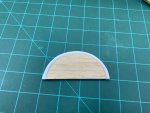
I played around with this thing last night trying to figure out as to how I am going to mount the cowl. The biggest issue I was having, is thot this cowl is poorly made and is not even or lined up with itself. The air intake holes are @ a slight angle and do not line up with the carb intake which is off angled in the opposite direction. Trying to get it centered & not look too bad was not easy. I highly recommend a contour gauge for U scratch builders. They run like $10 - $15 US. U can see in the photos how I used it to make perfect side formers for the cowl to slide over. This will help assure that the cowl is centered. The side formers R 2 pieces of dense 1/8th balsa laminated cross grained together.

Attachments


cyclone3350
Master member
Seems a little odd to me that a clipped-wing cub would have a pressure cowl, but you made it look good.
Thanks. I was originally going to base this off of Harold Krier's clipped winged cub. He had a 95 HP motor upgrade and used the PA-18-95 Super Cub cowl. This cowl really doesn't look like the 95 HP version as it is closer to the 150 HP Super Cub. Now I have decided to use Alvin Musser's clipped winged nick named Vertigo which was modified to take the 150 HP motor and the later Super Cub cowl.
cyclone3350
Master member
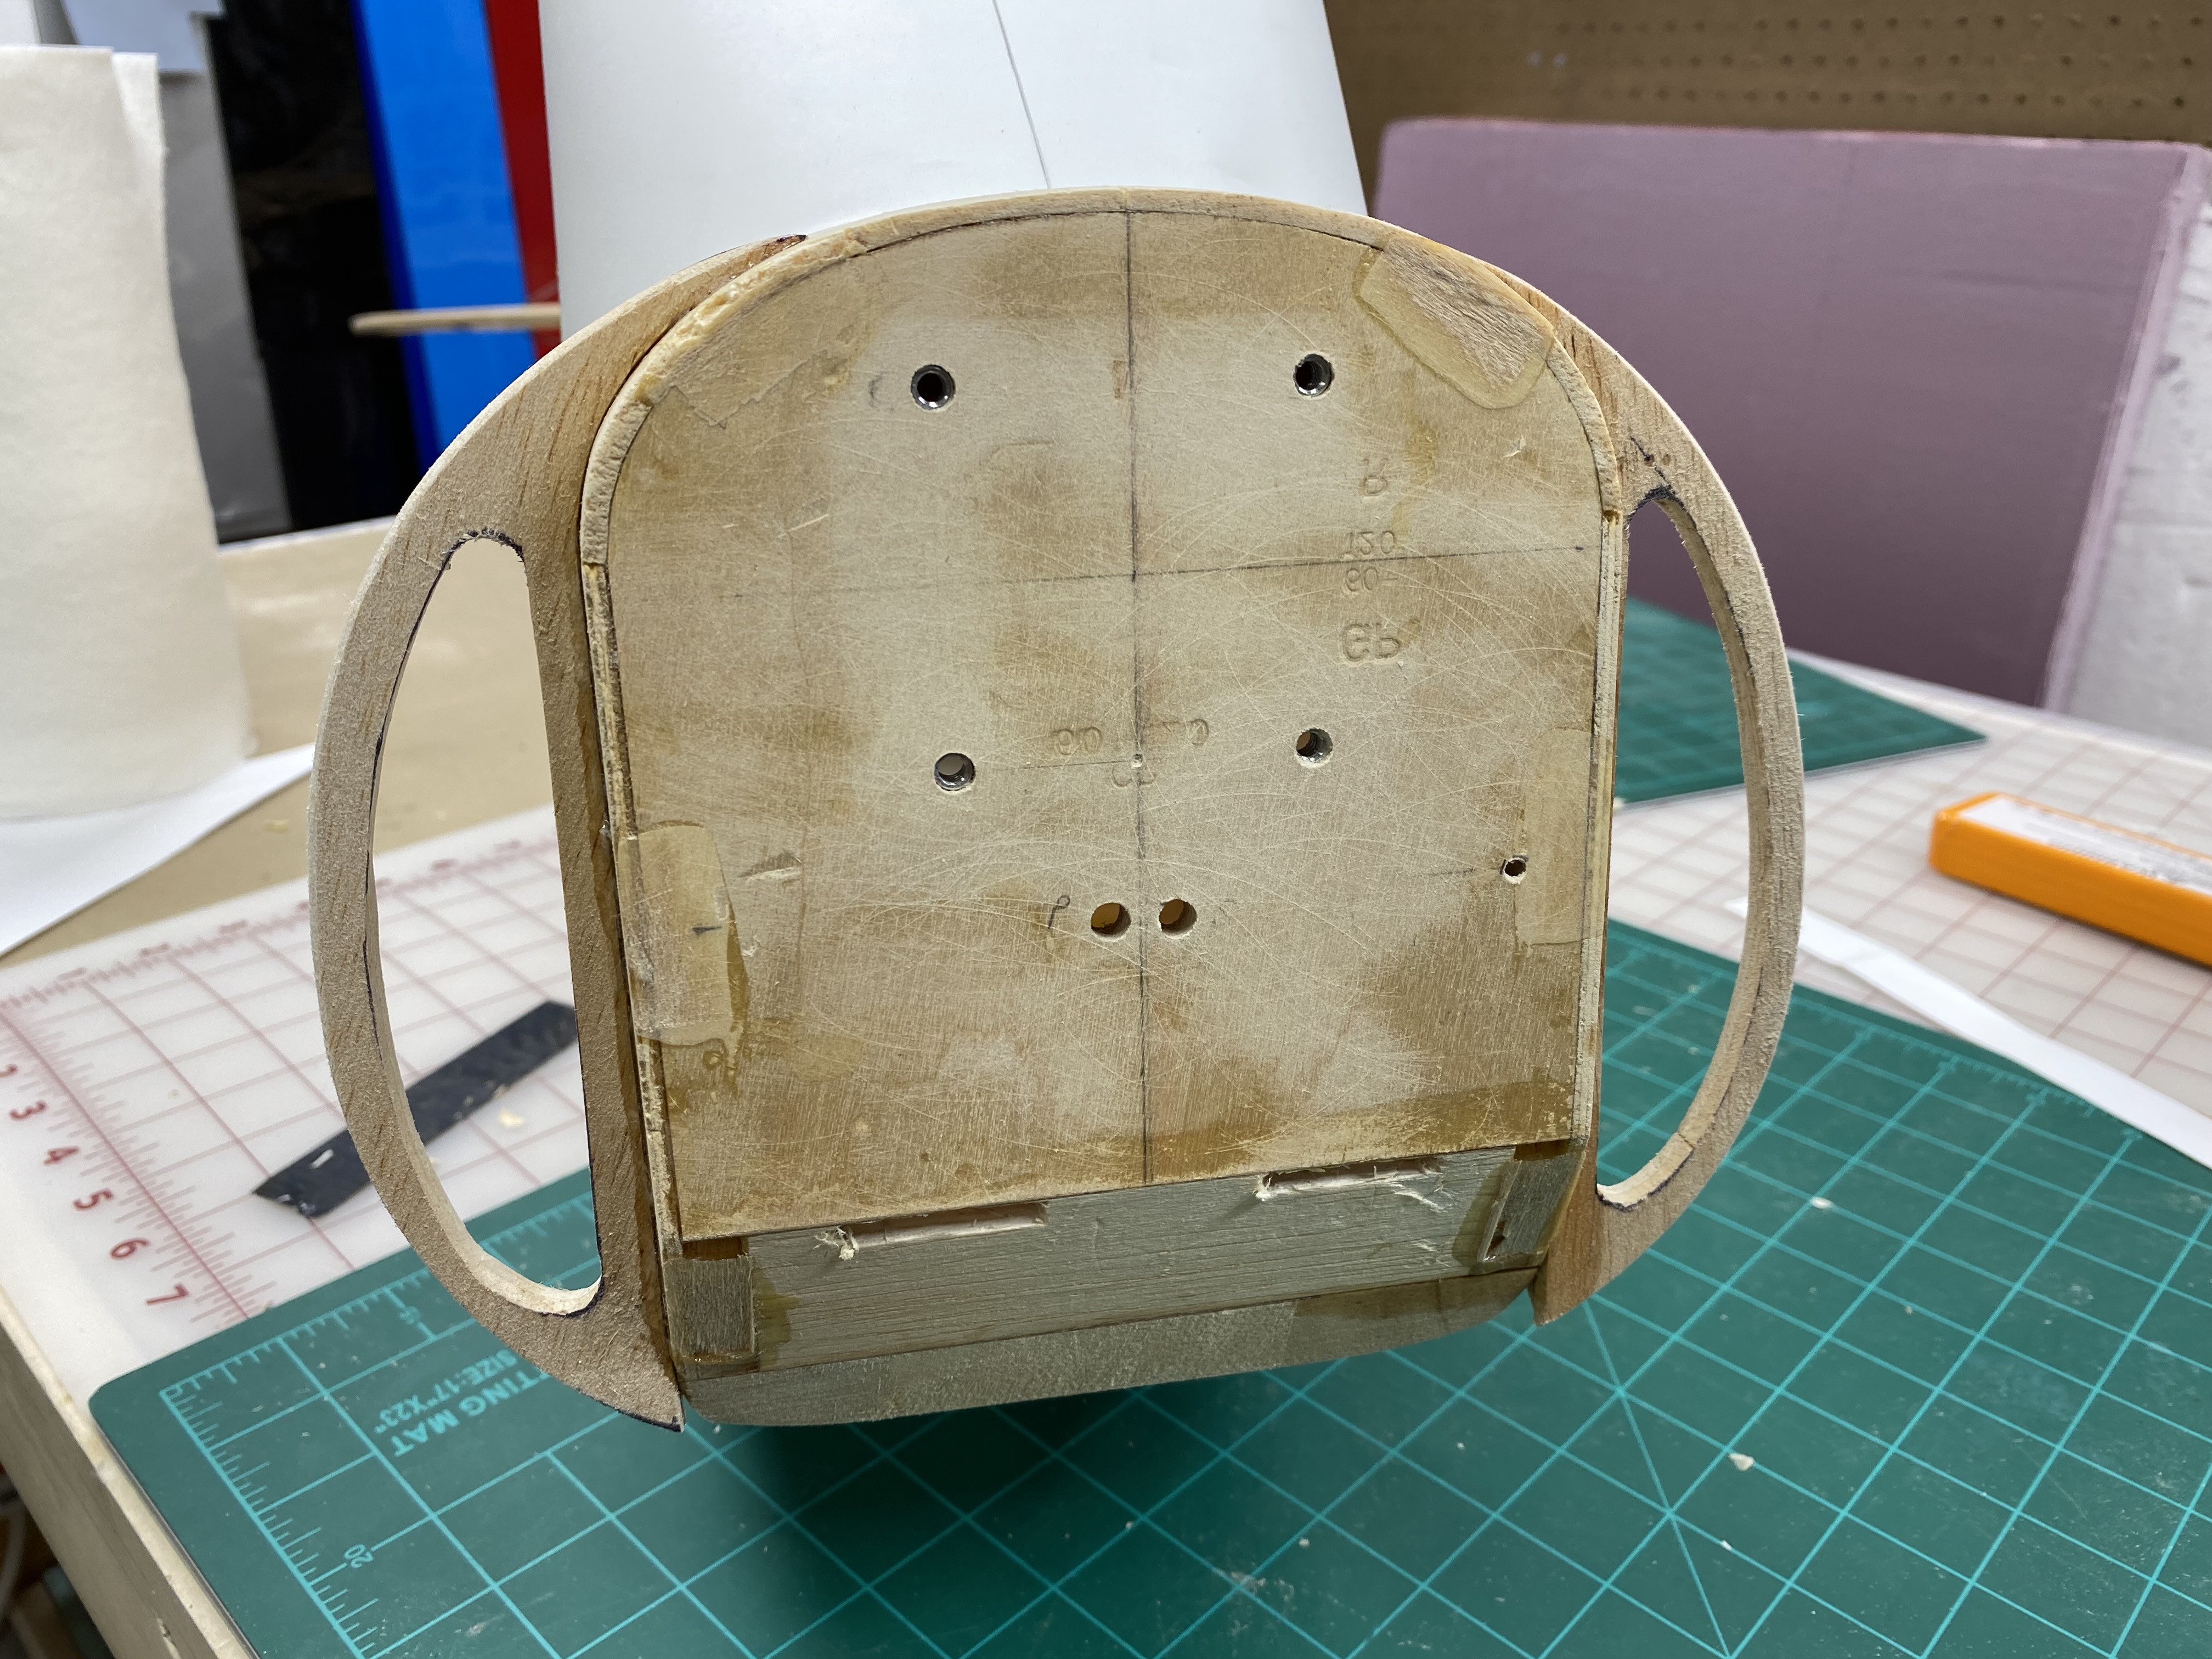
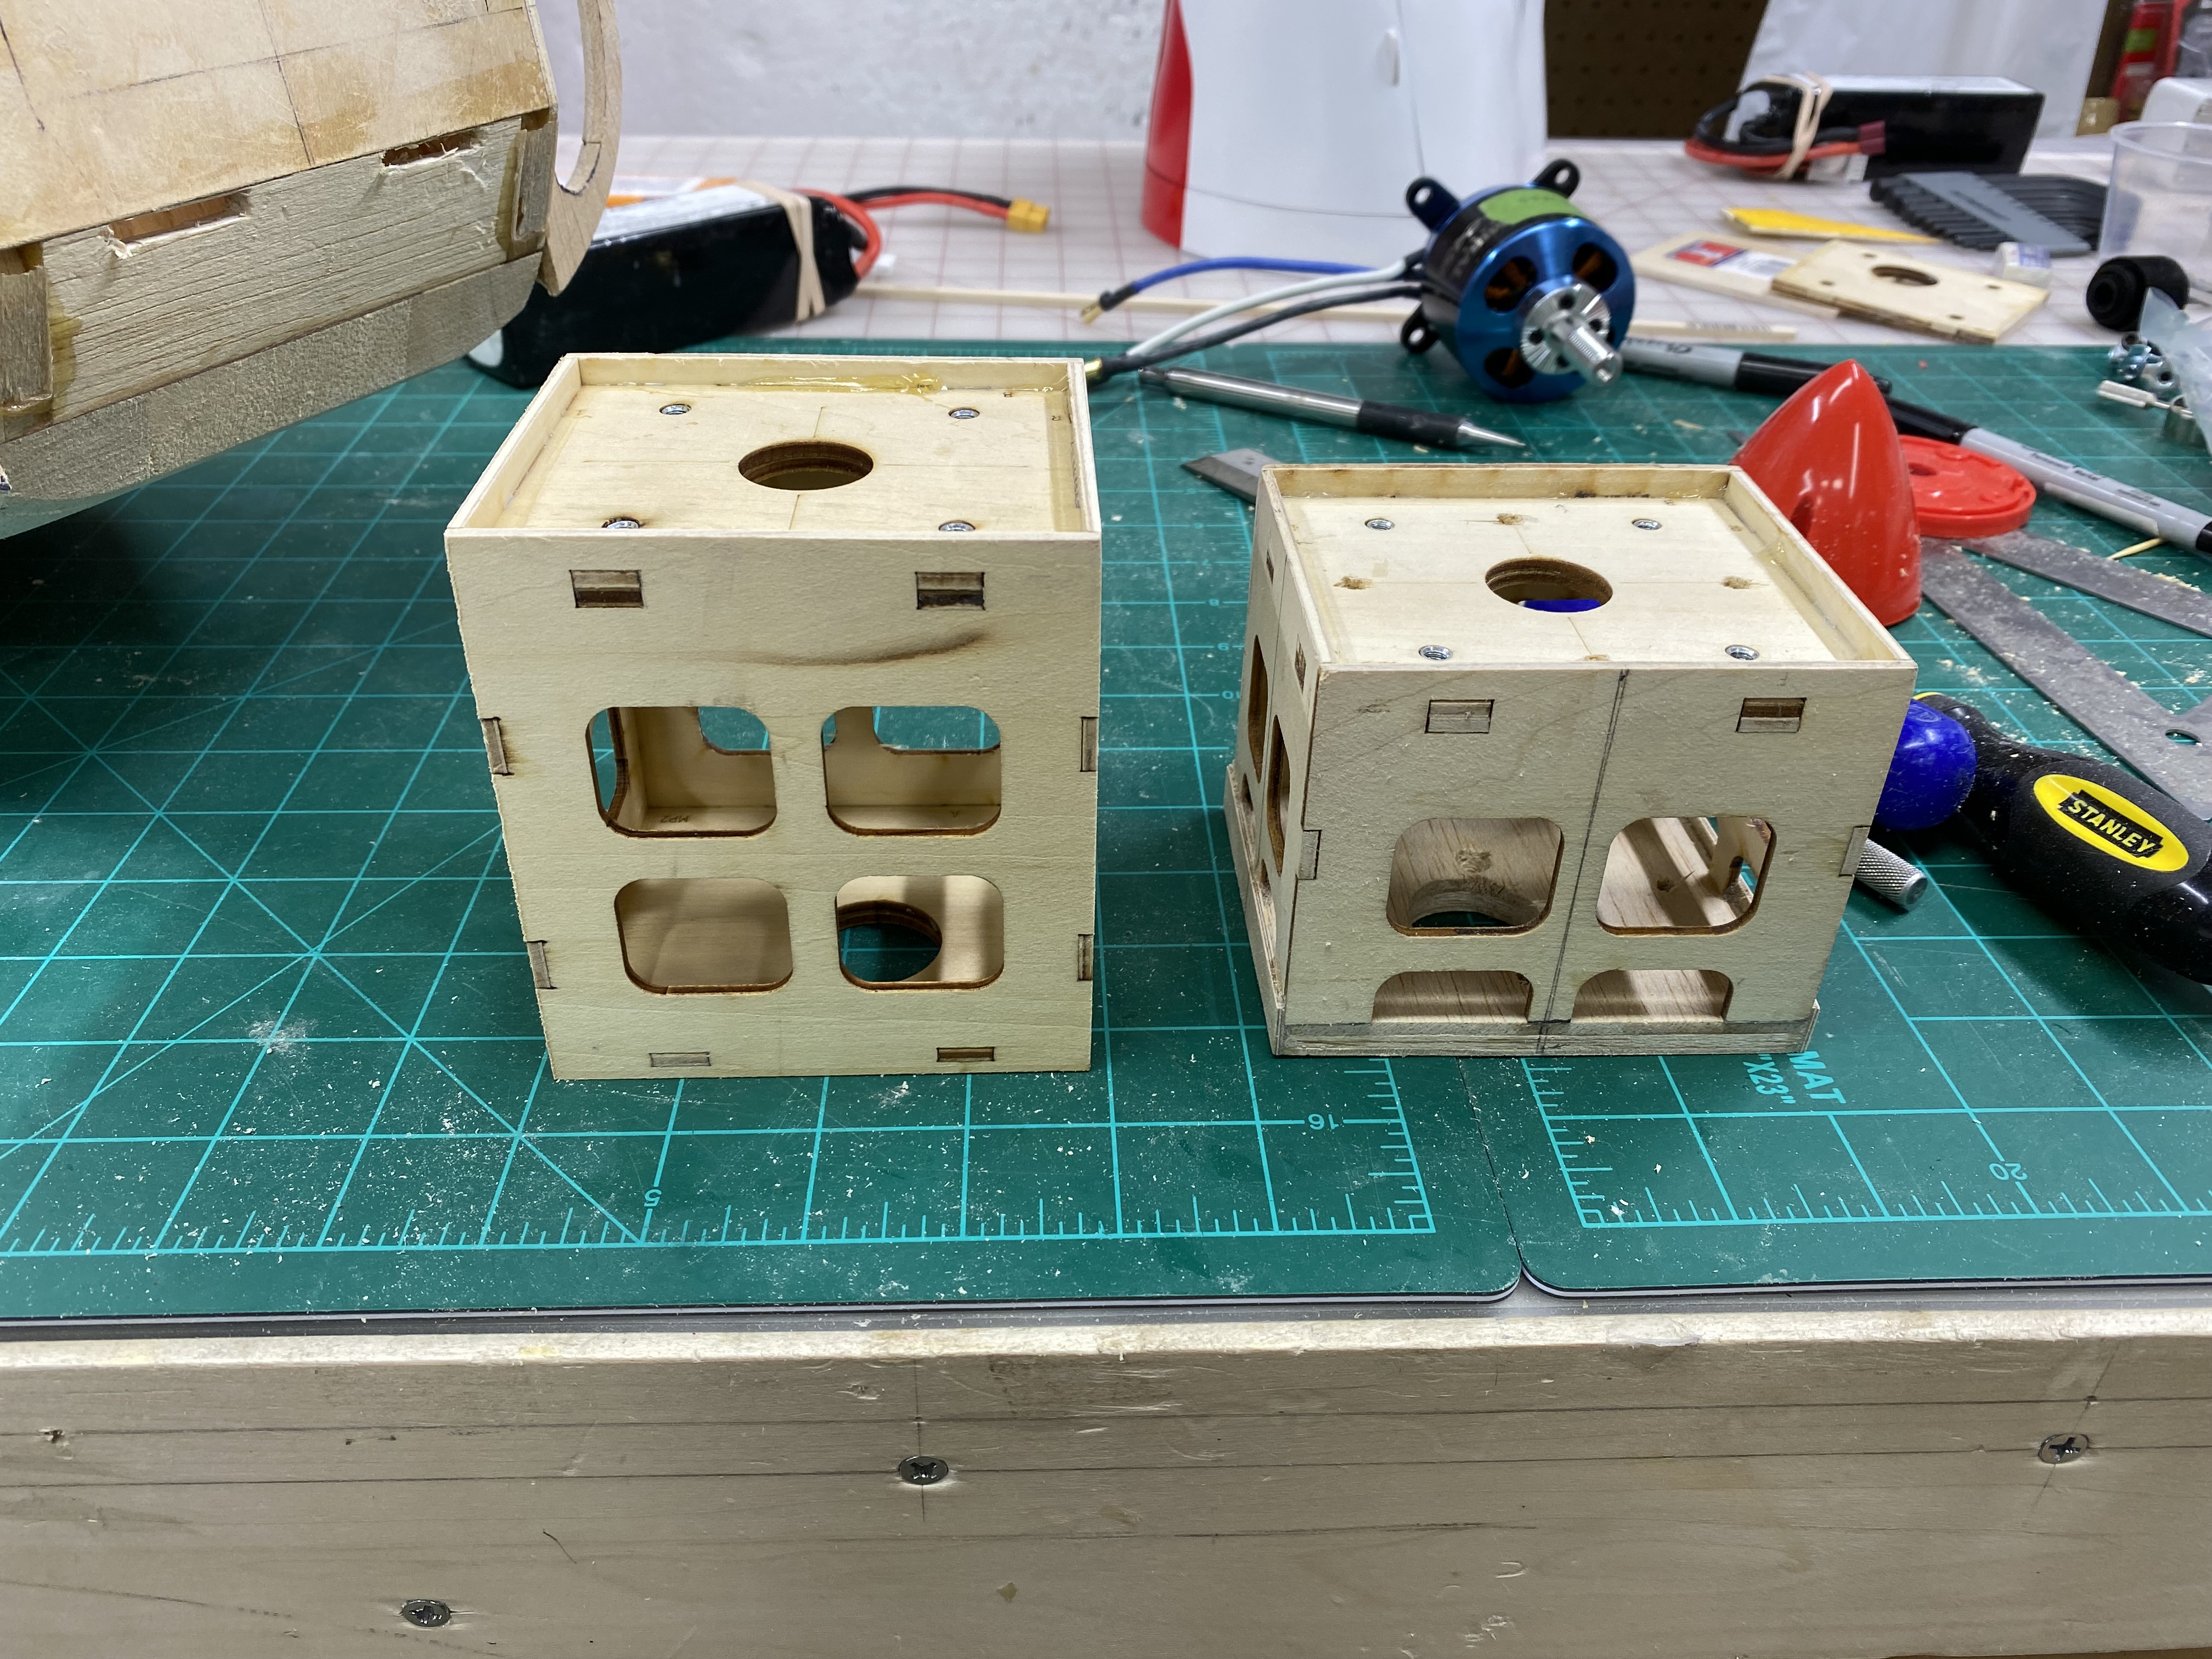
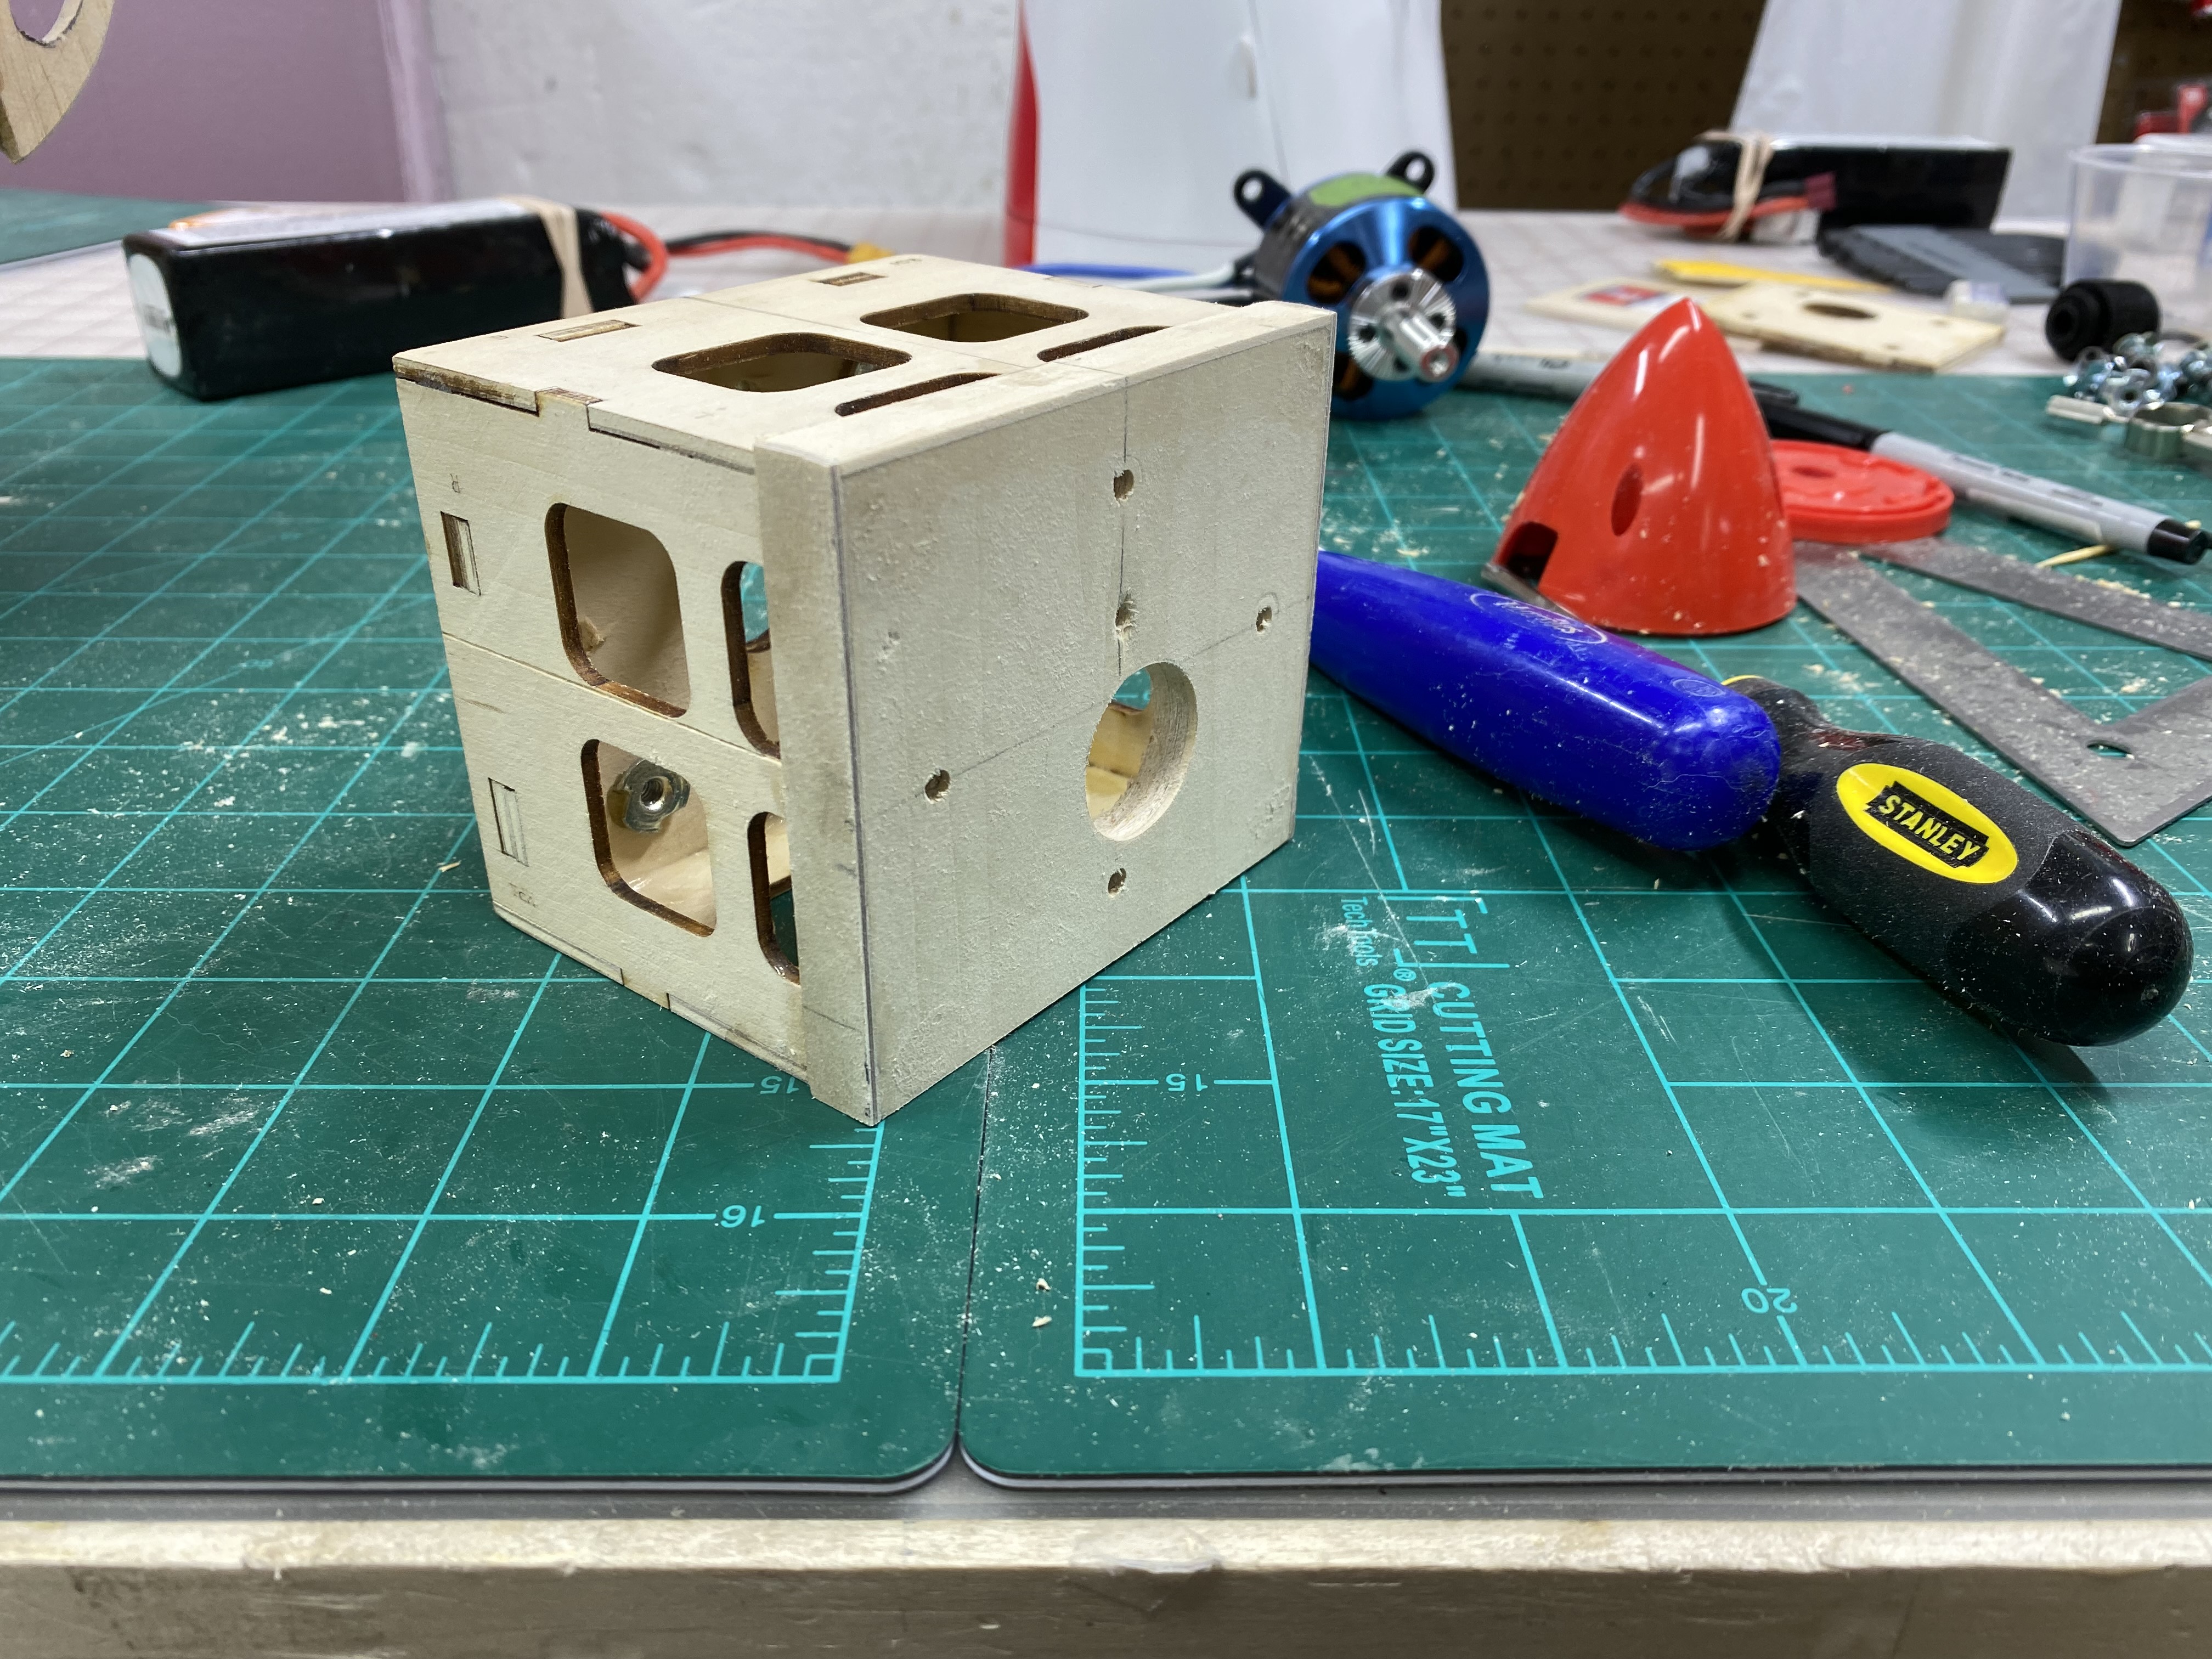
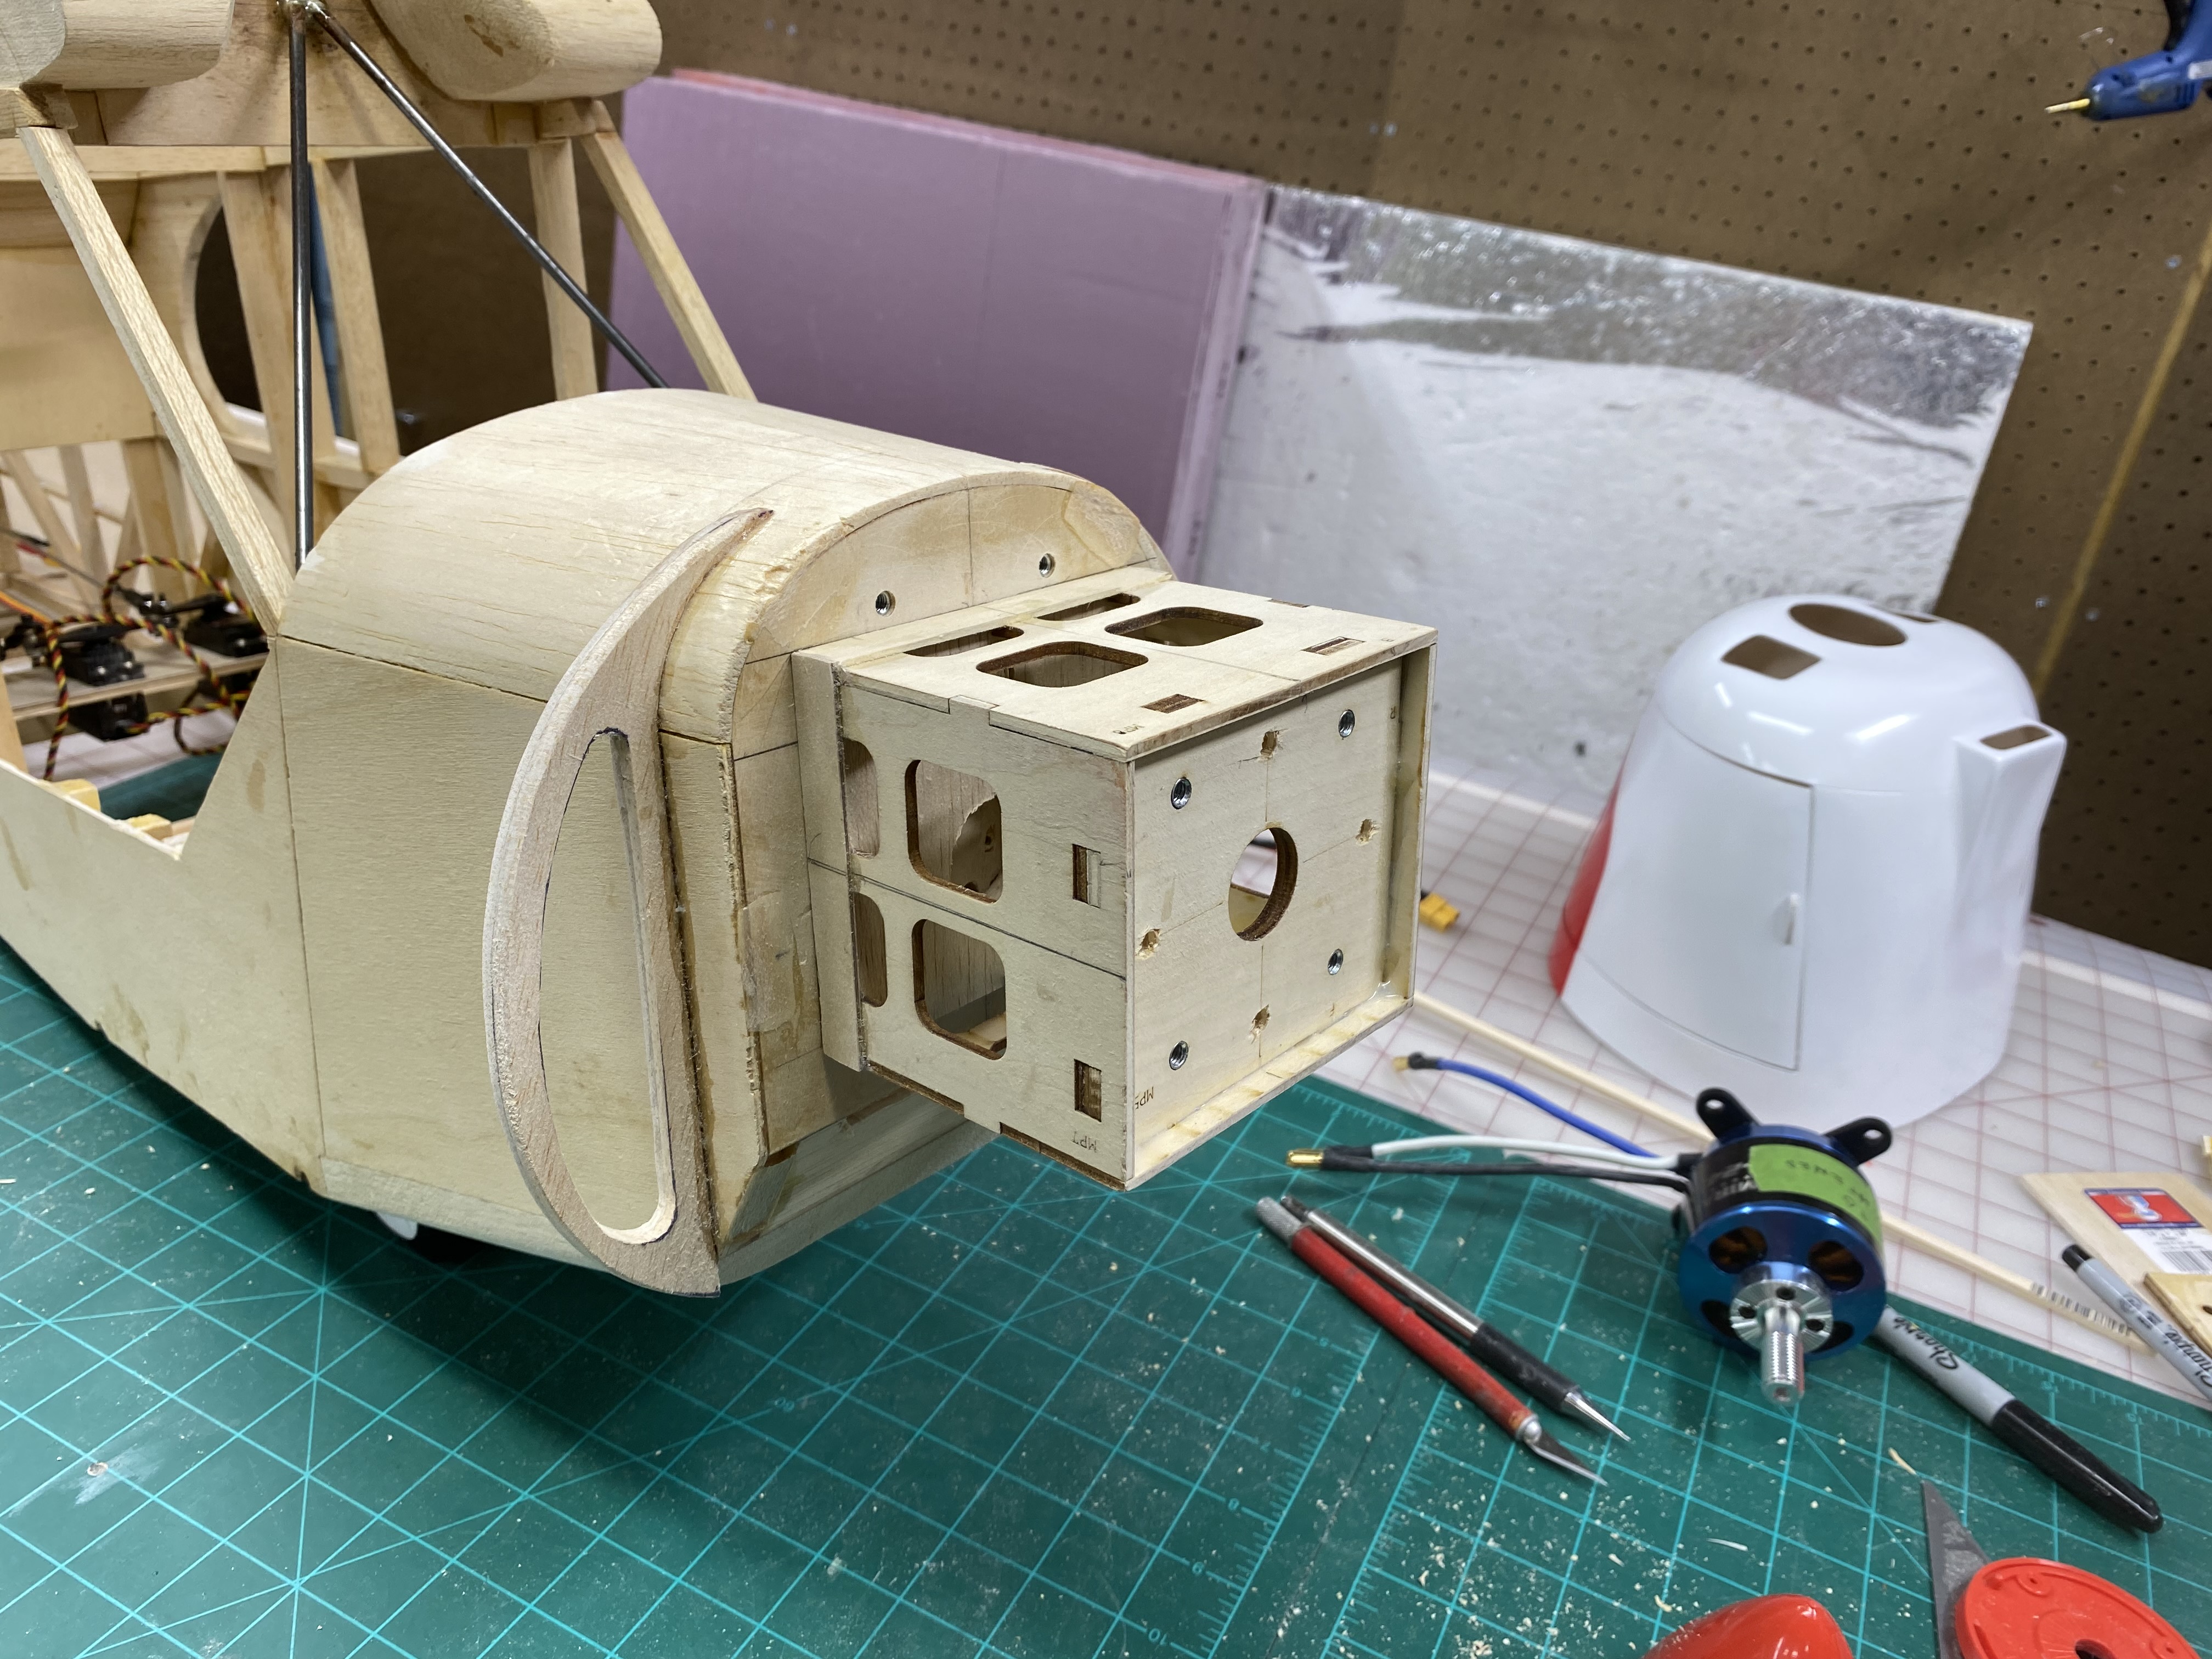
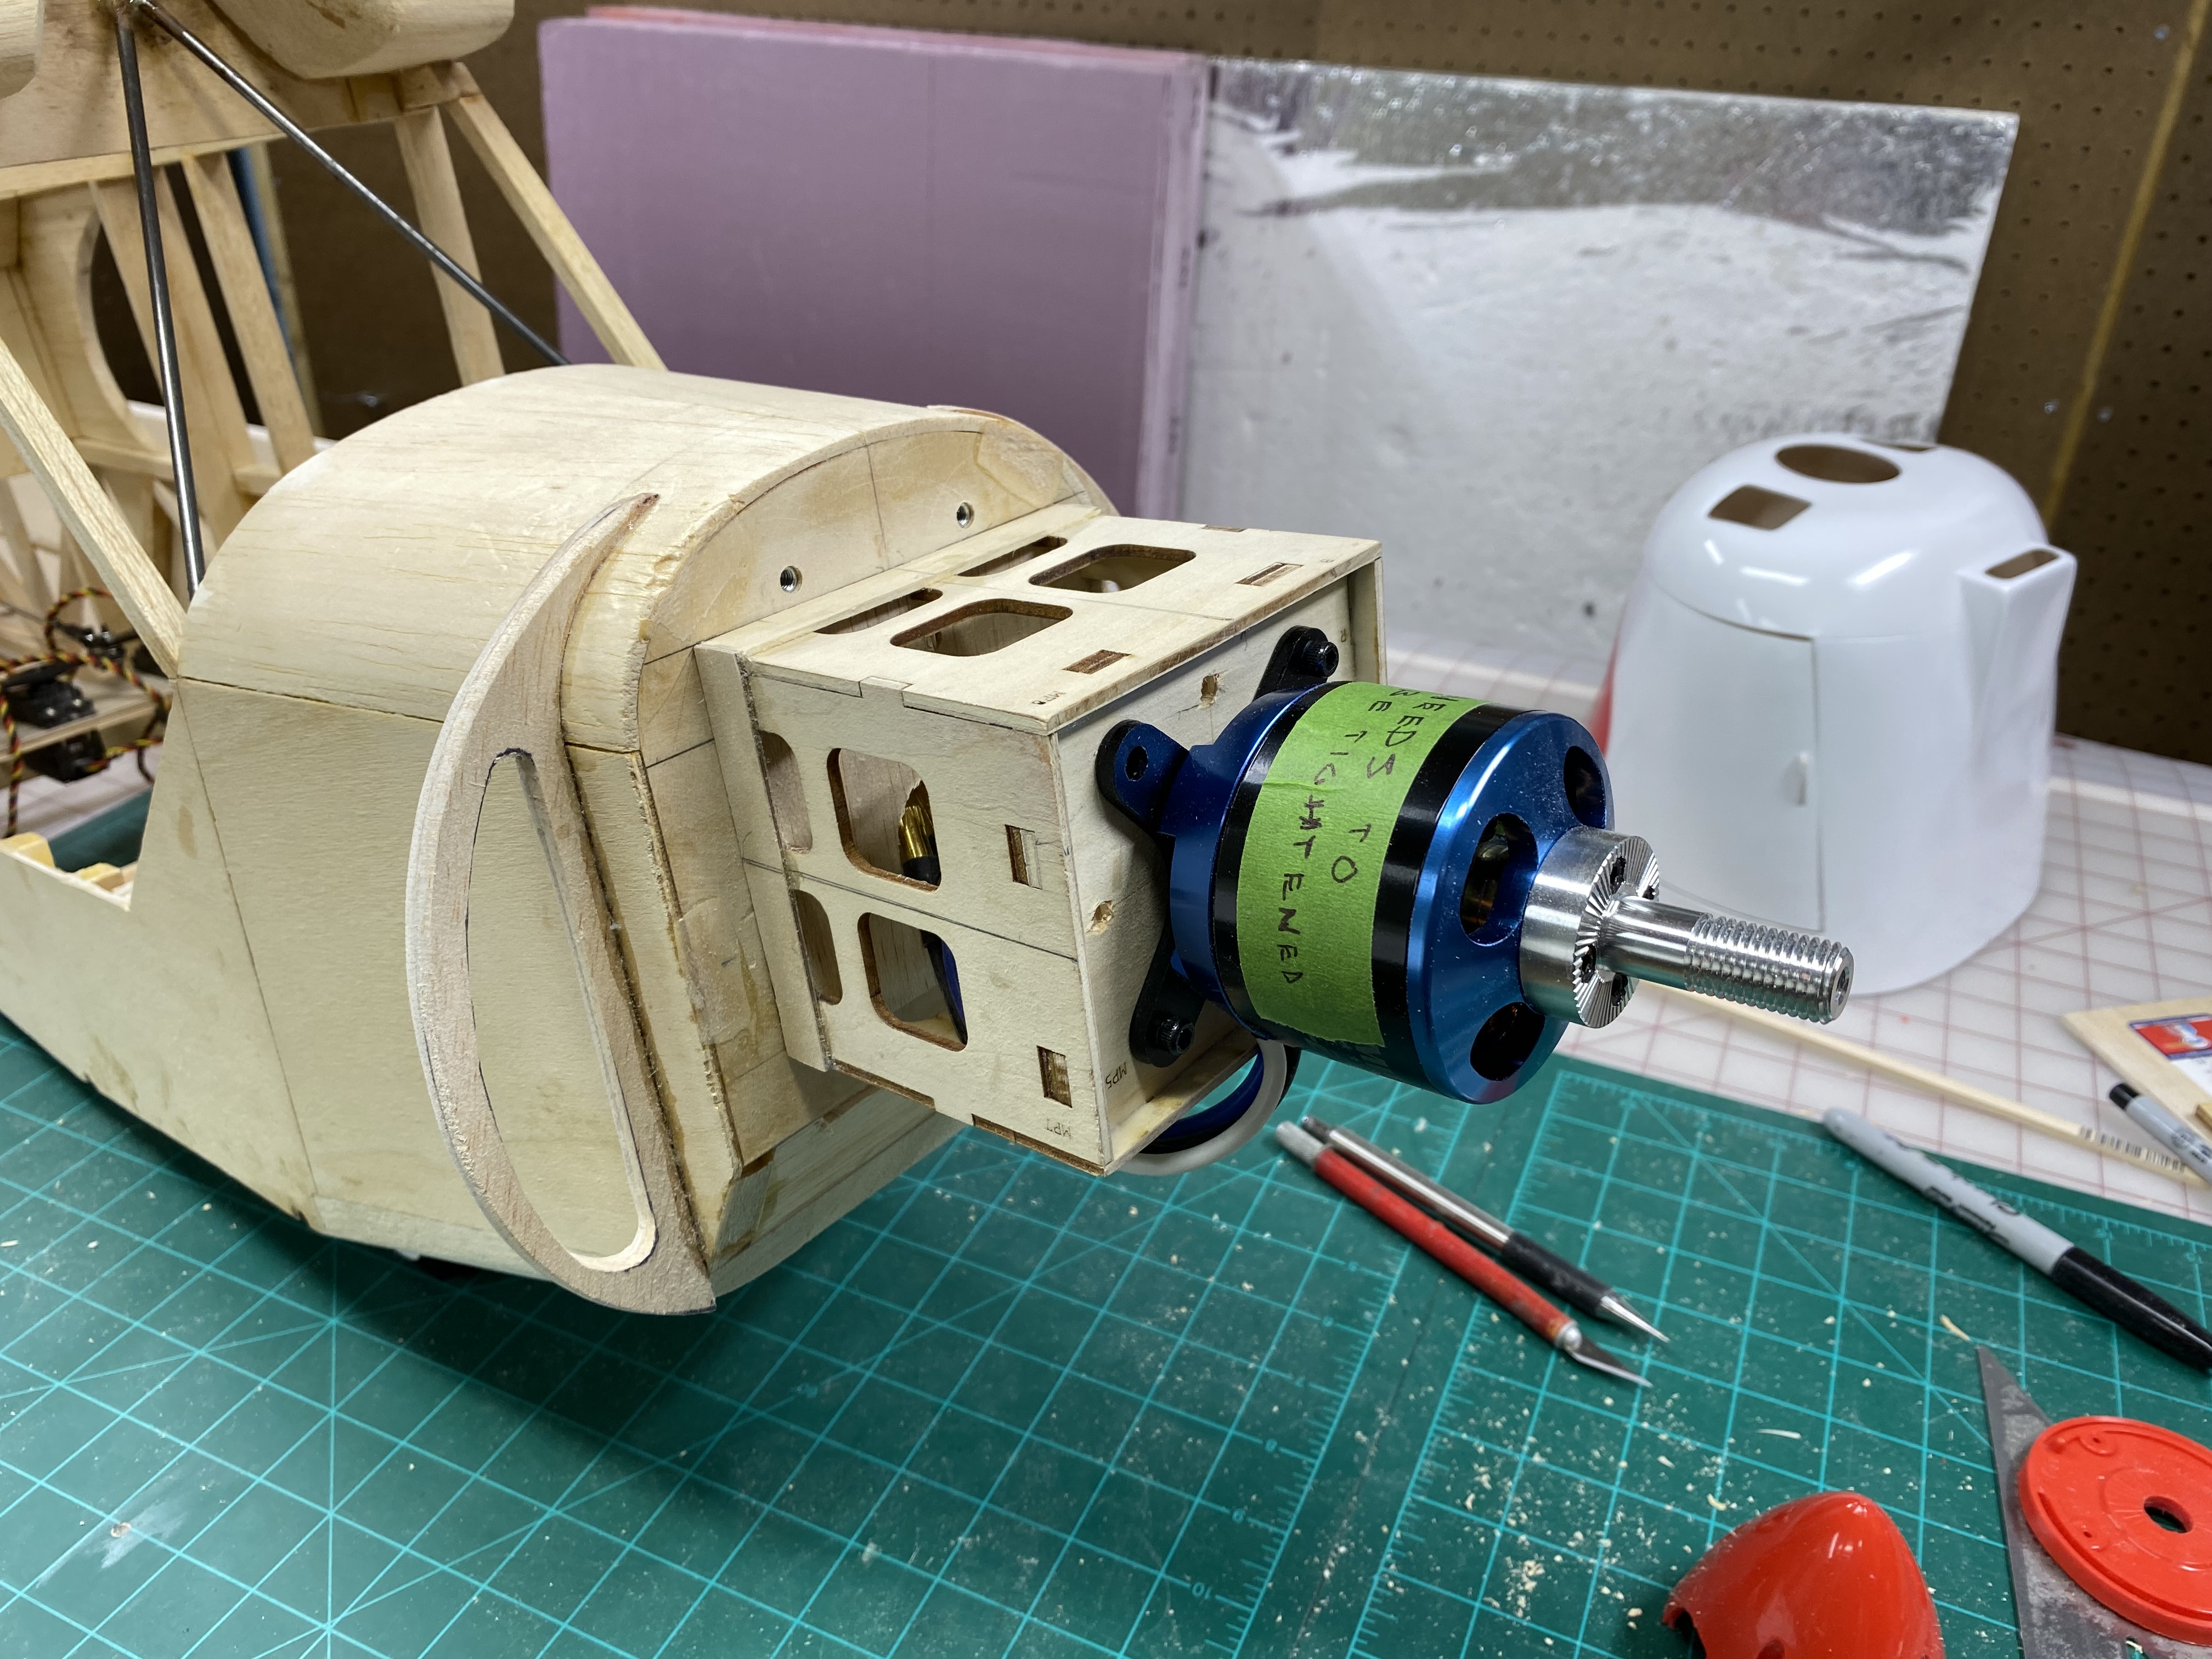
Got the motor mount done and have it all lined up with the cowl. The photo of the two mounts shows the the original mount and the shorter one is how I had to cut it down to make it work. The spinner is for the purpose of confirming how everything lines up. The fished model will have an aluminum spinner the same size.

Attachments
cyclone3350
Master member

cyclone3350
Master member
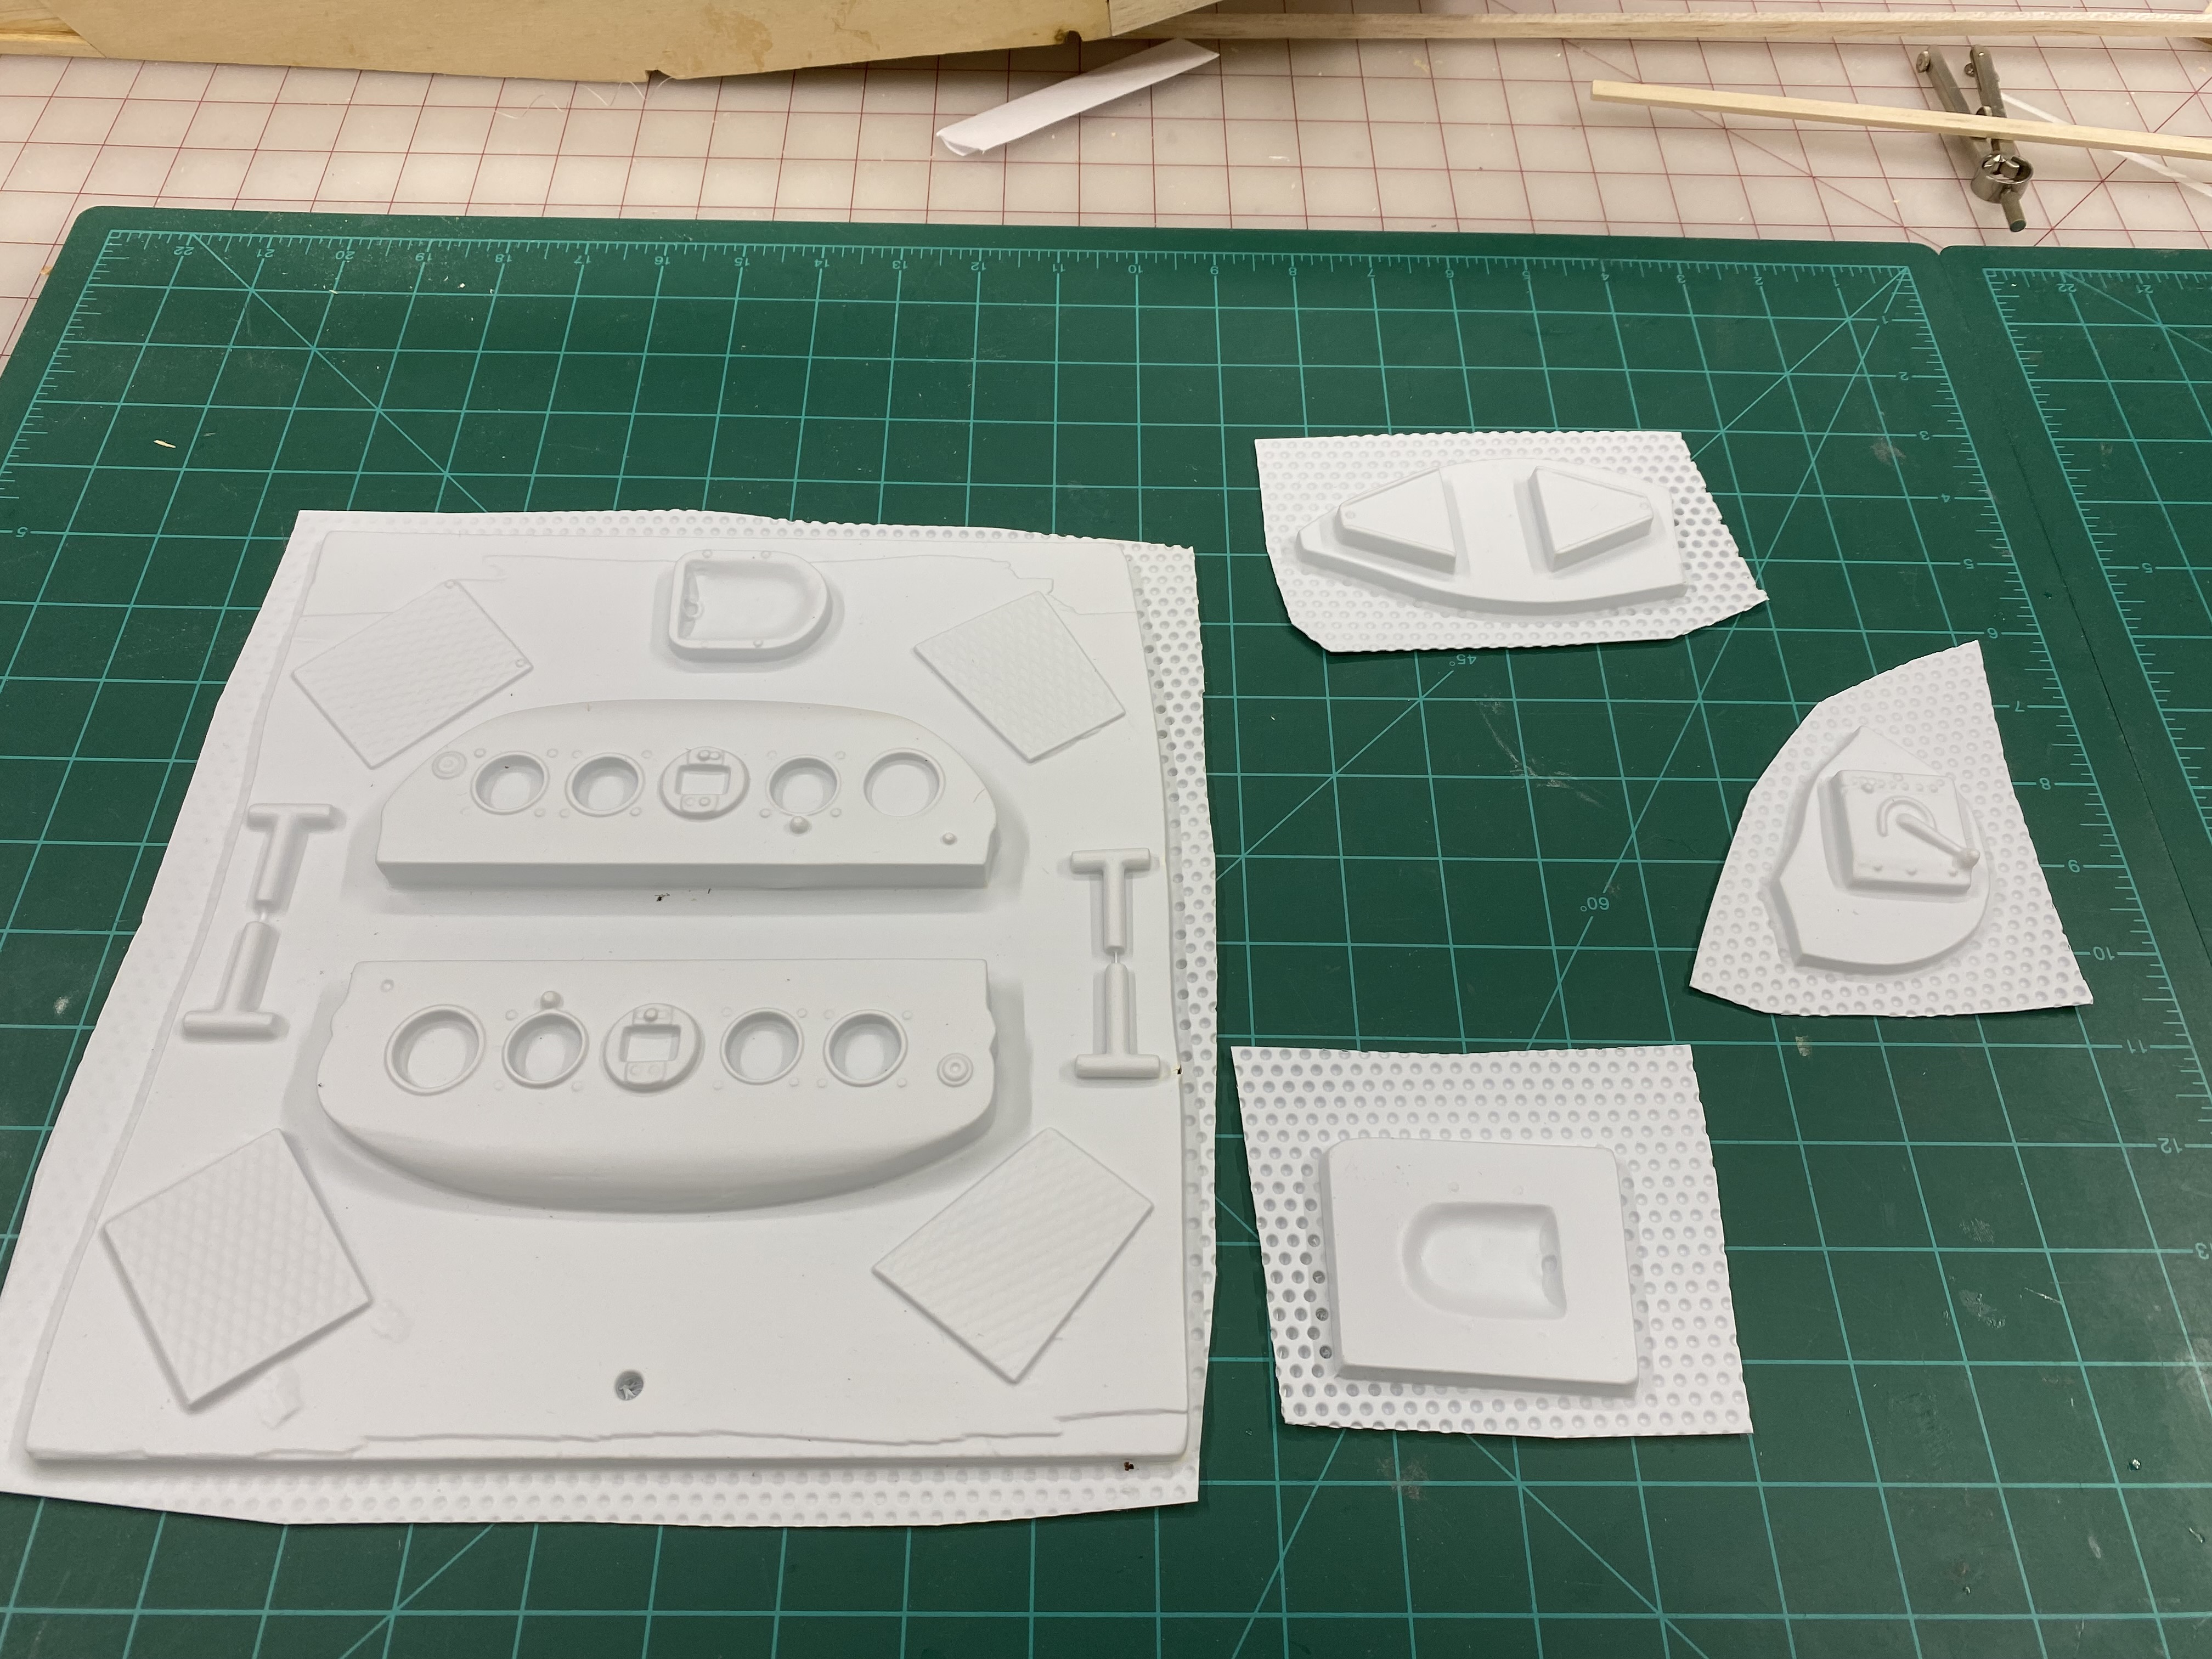
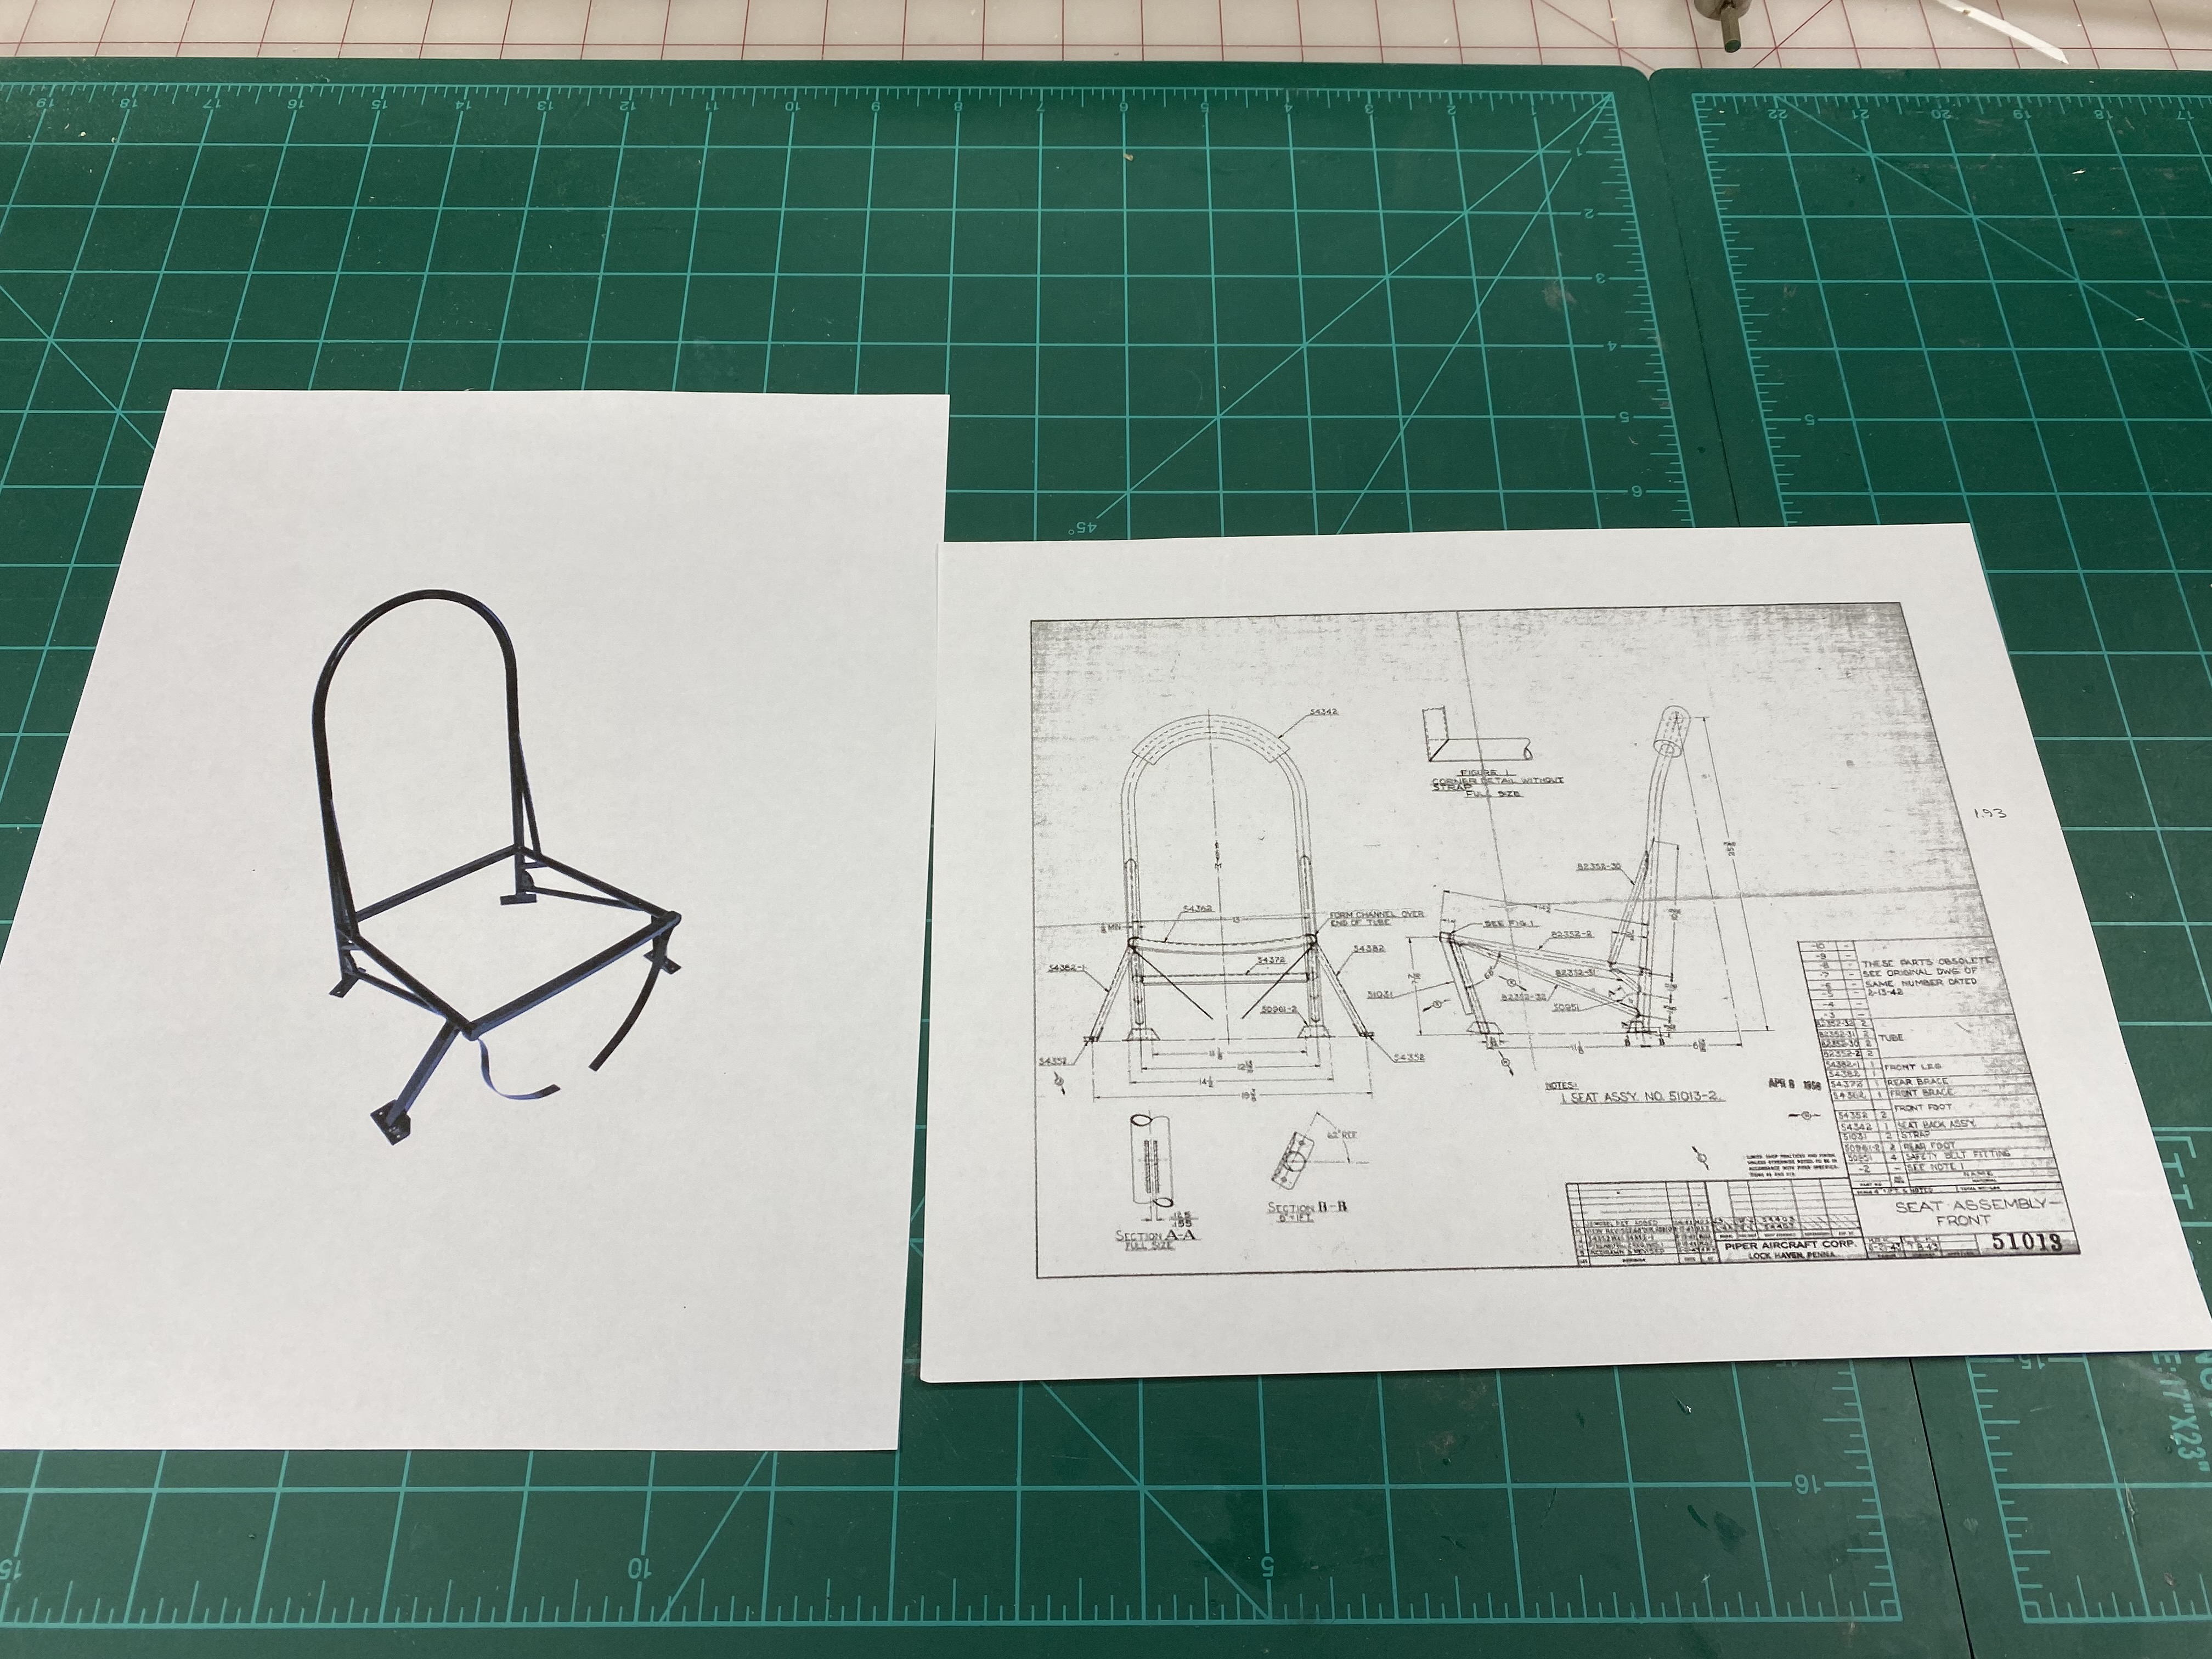
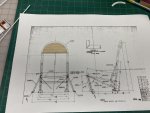
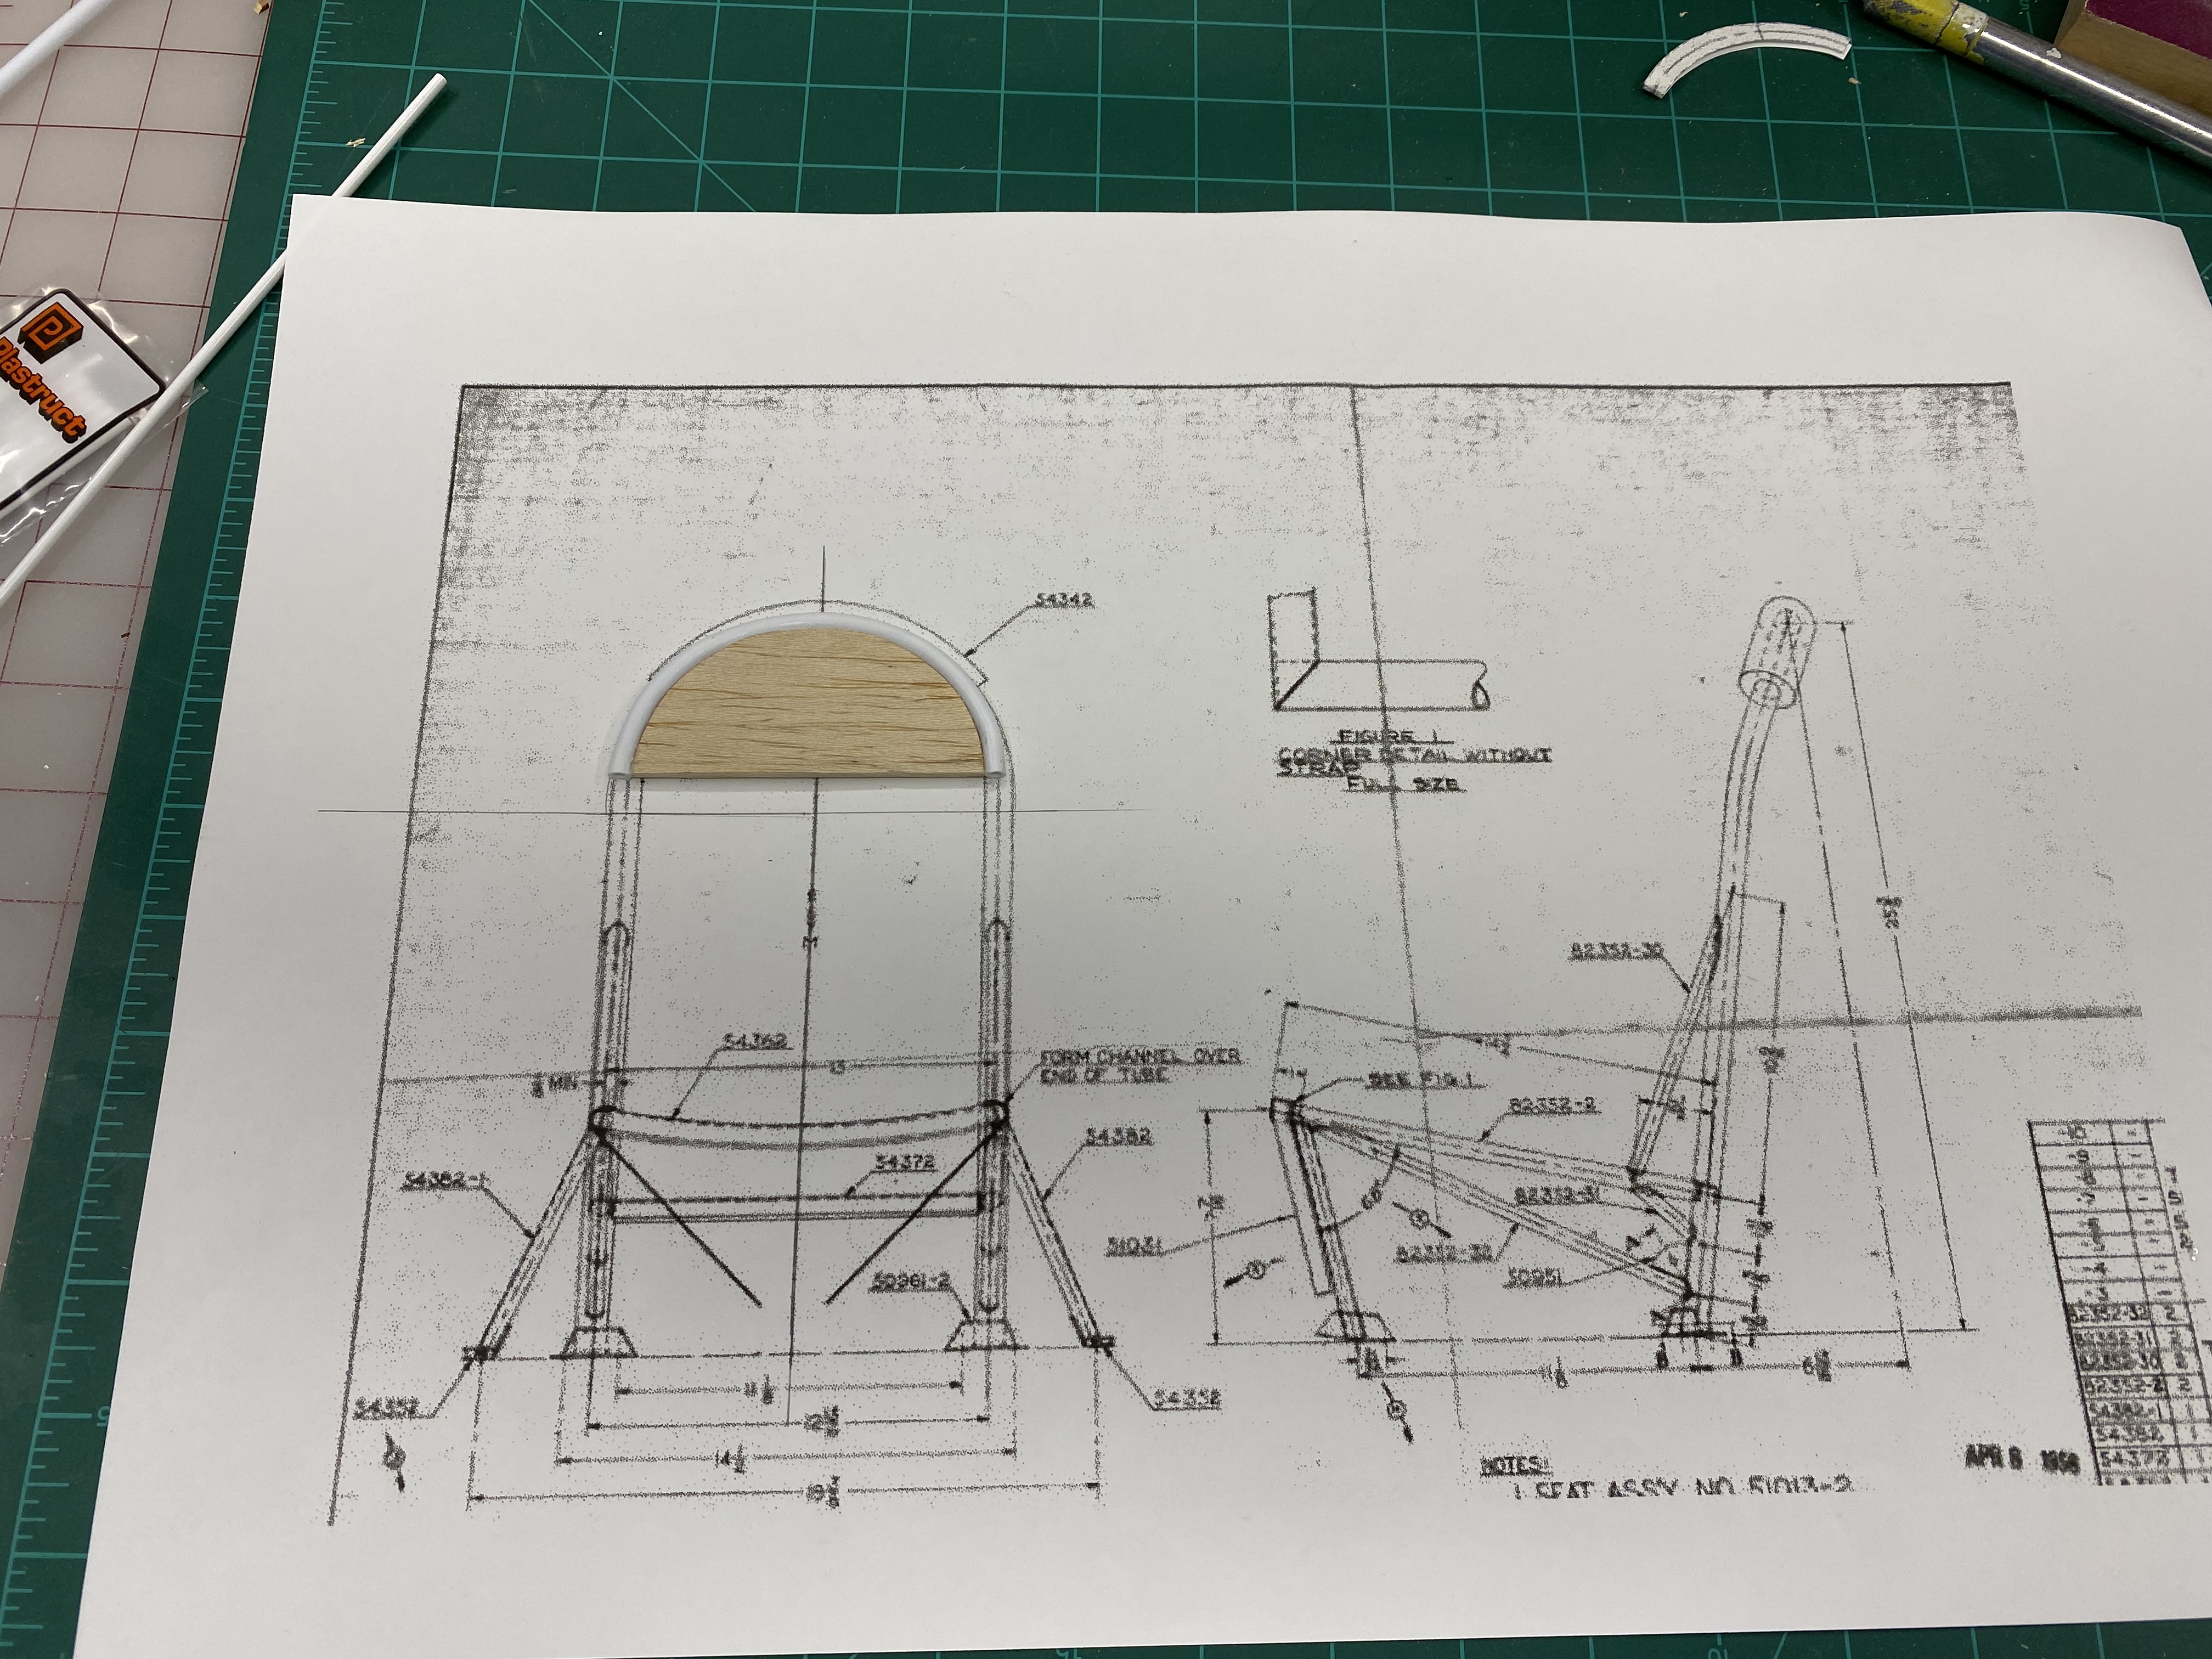
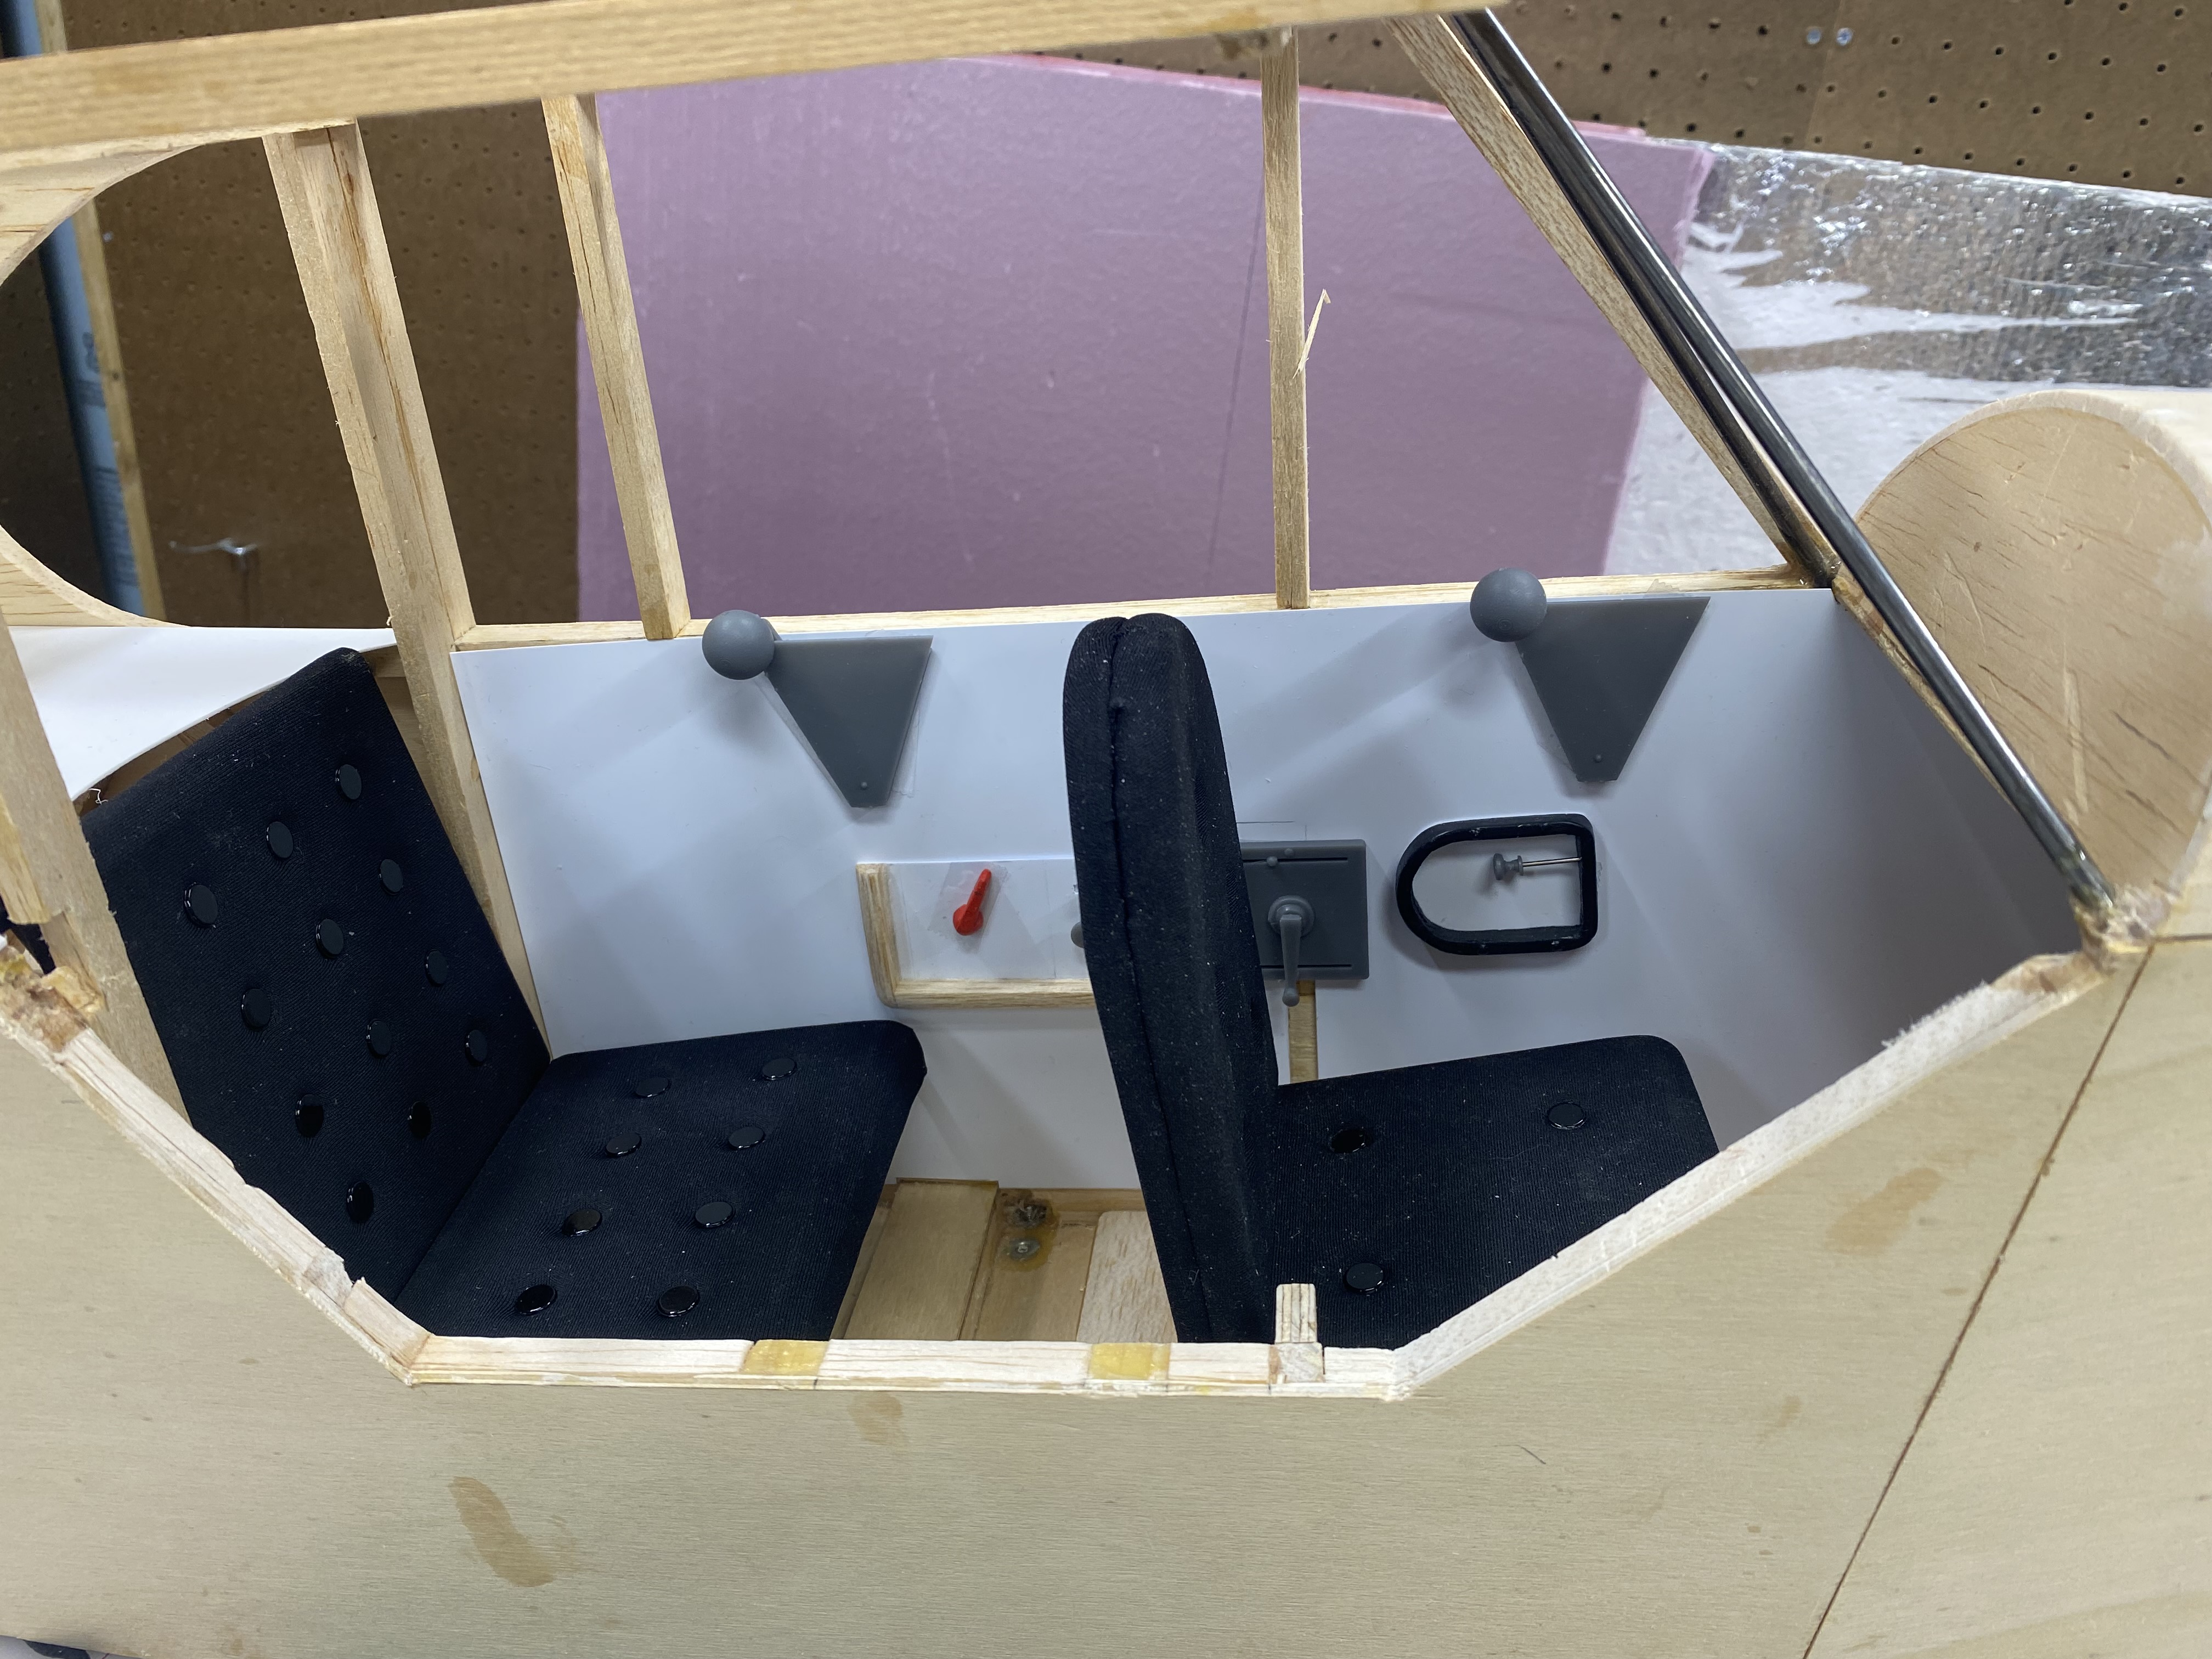
Working on the interior. Got all the side panels done and we shall see how my adventure of making seats from factory drawings go. Have some vacuum form plastic sets from Dynamic Balsa to help add to details.


Attachments
cyclone3350
Master member
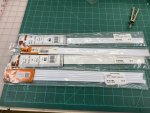
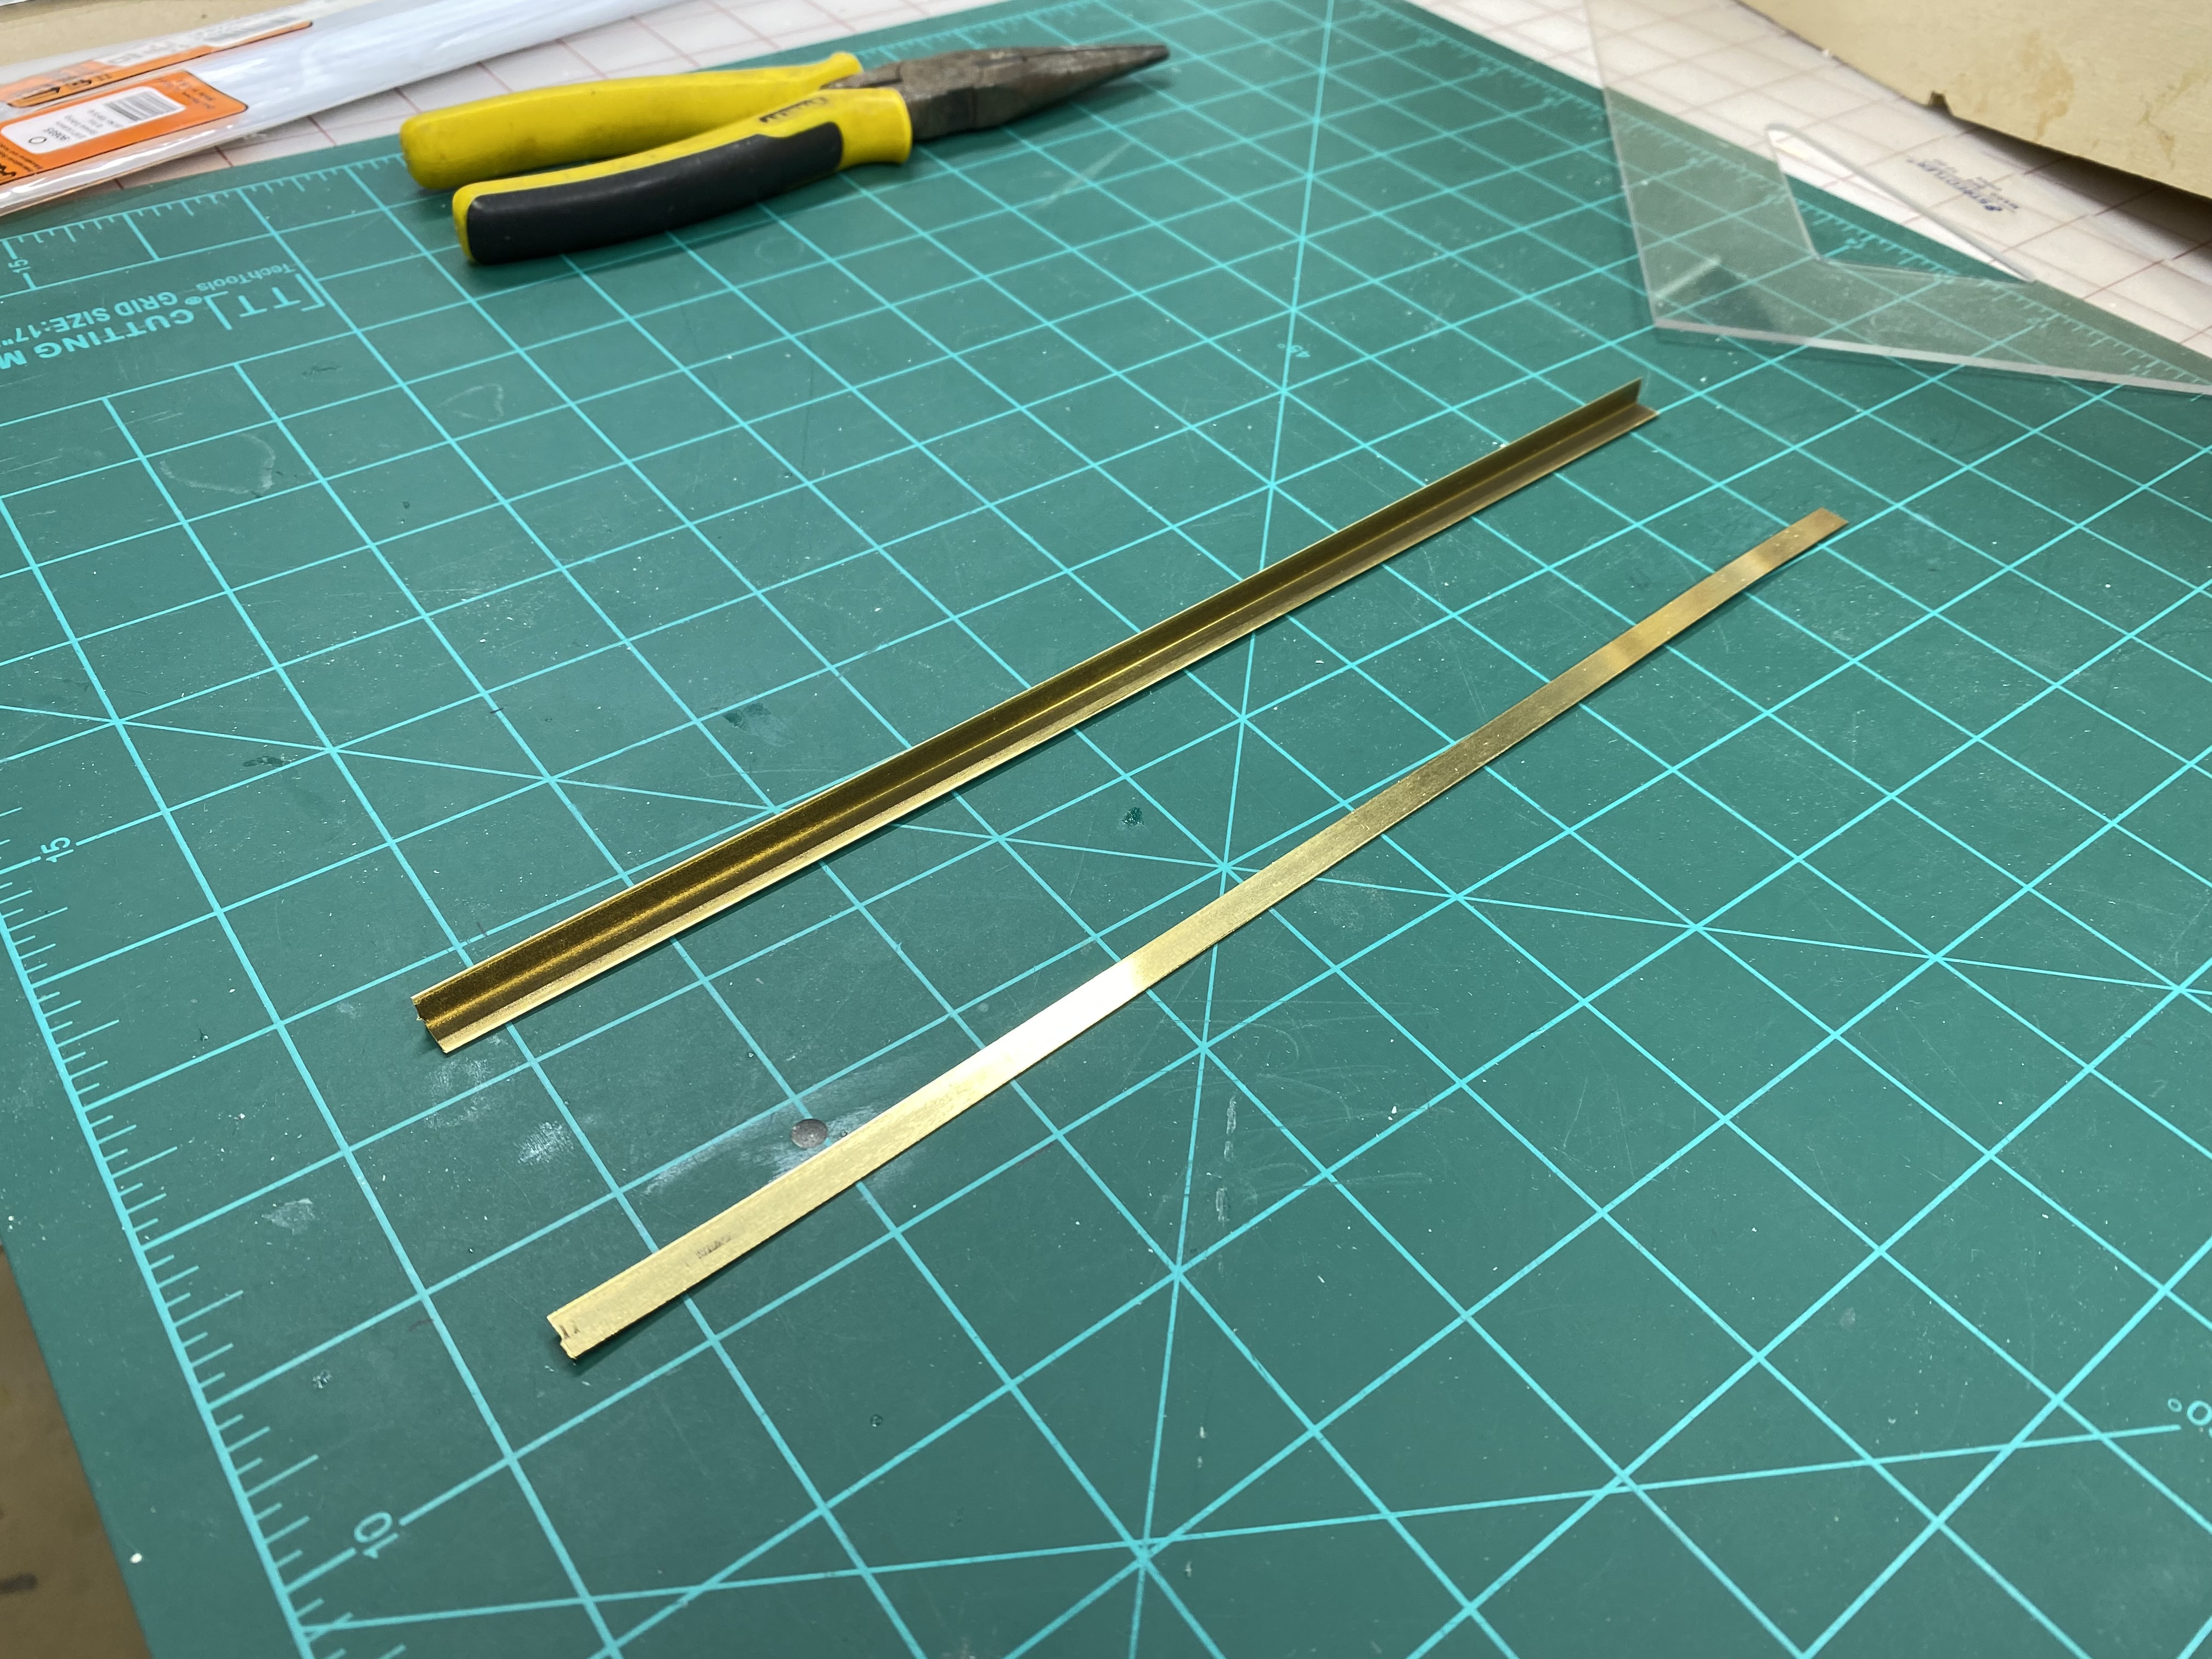
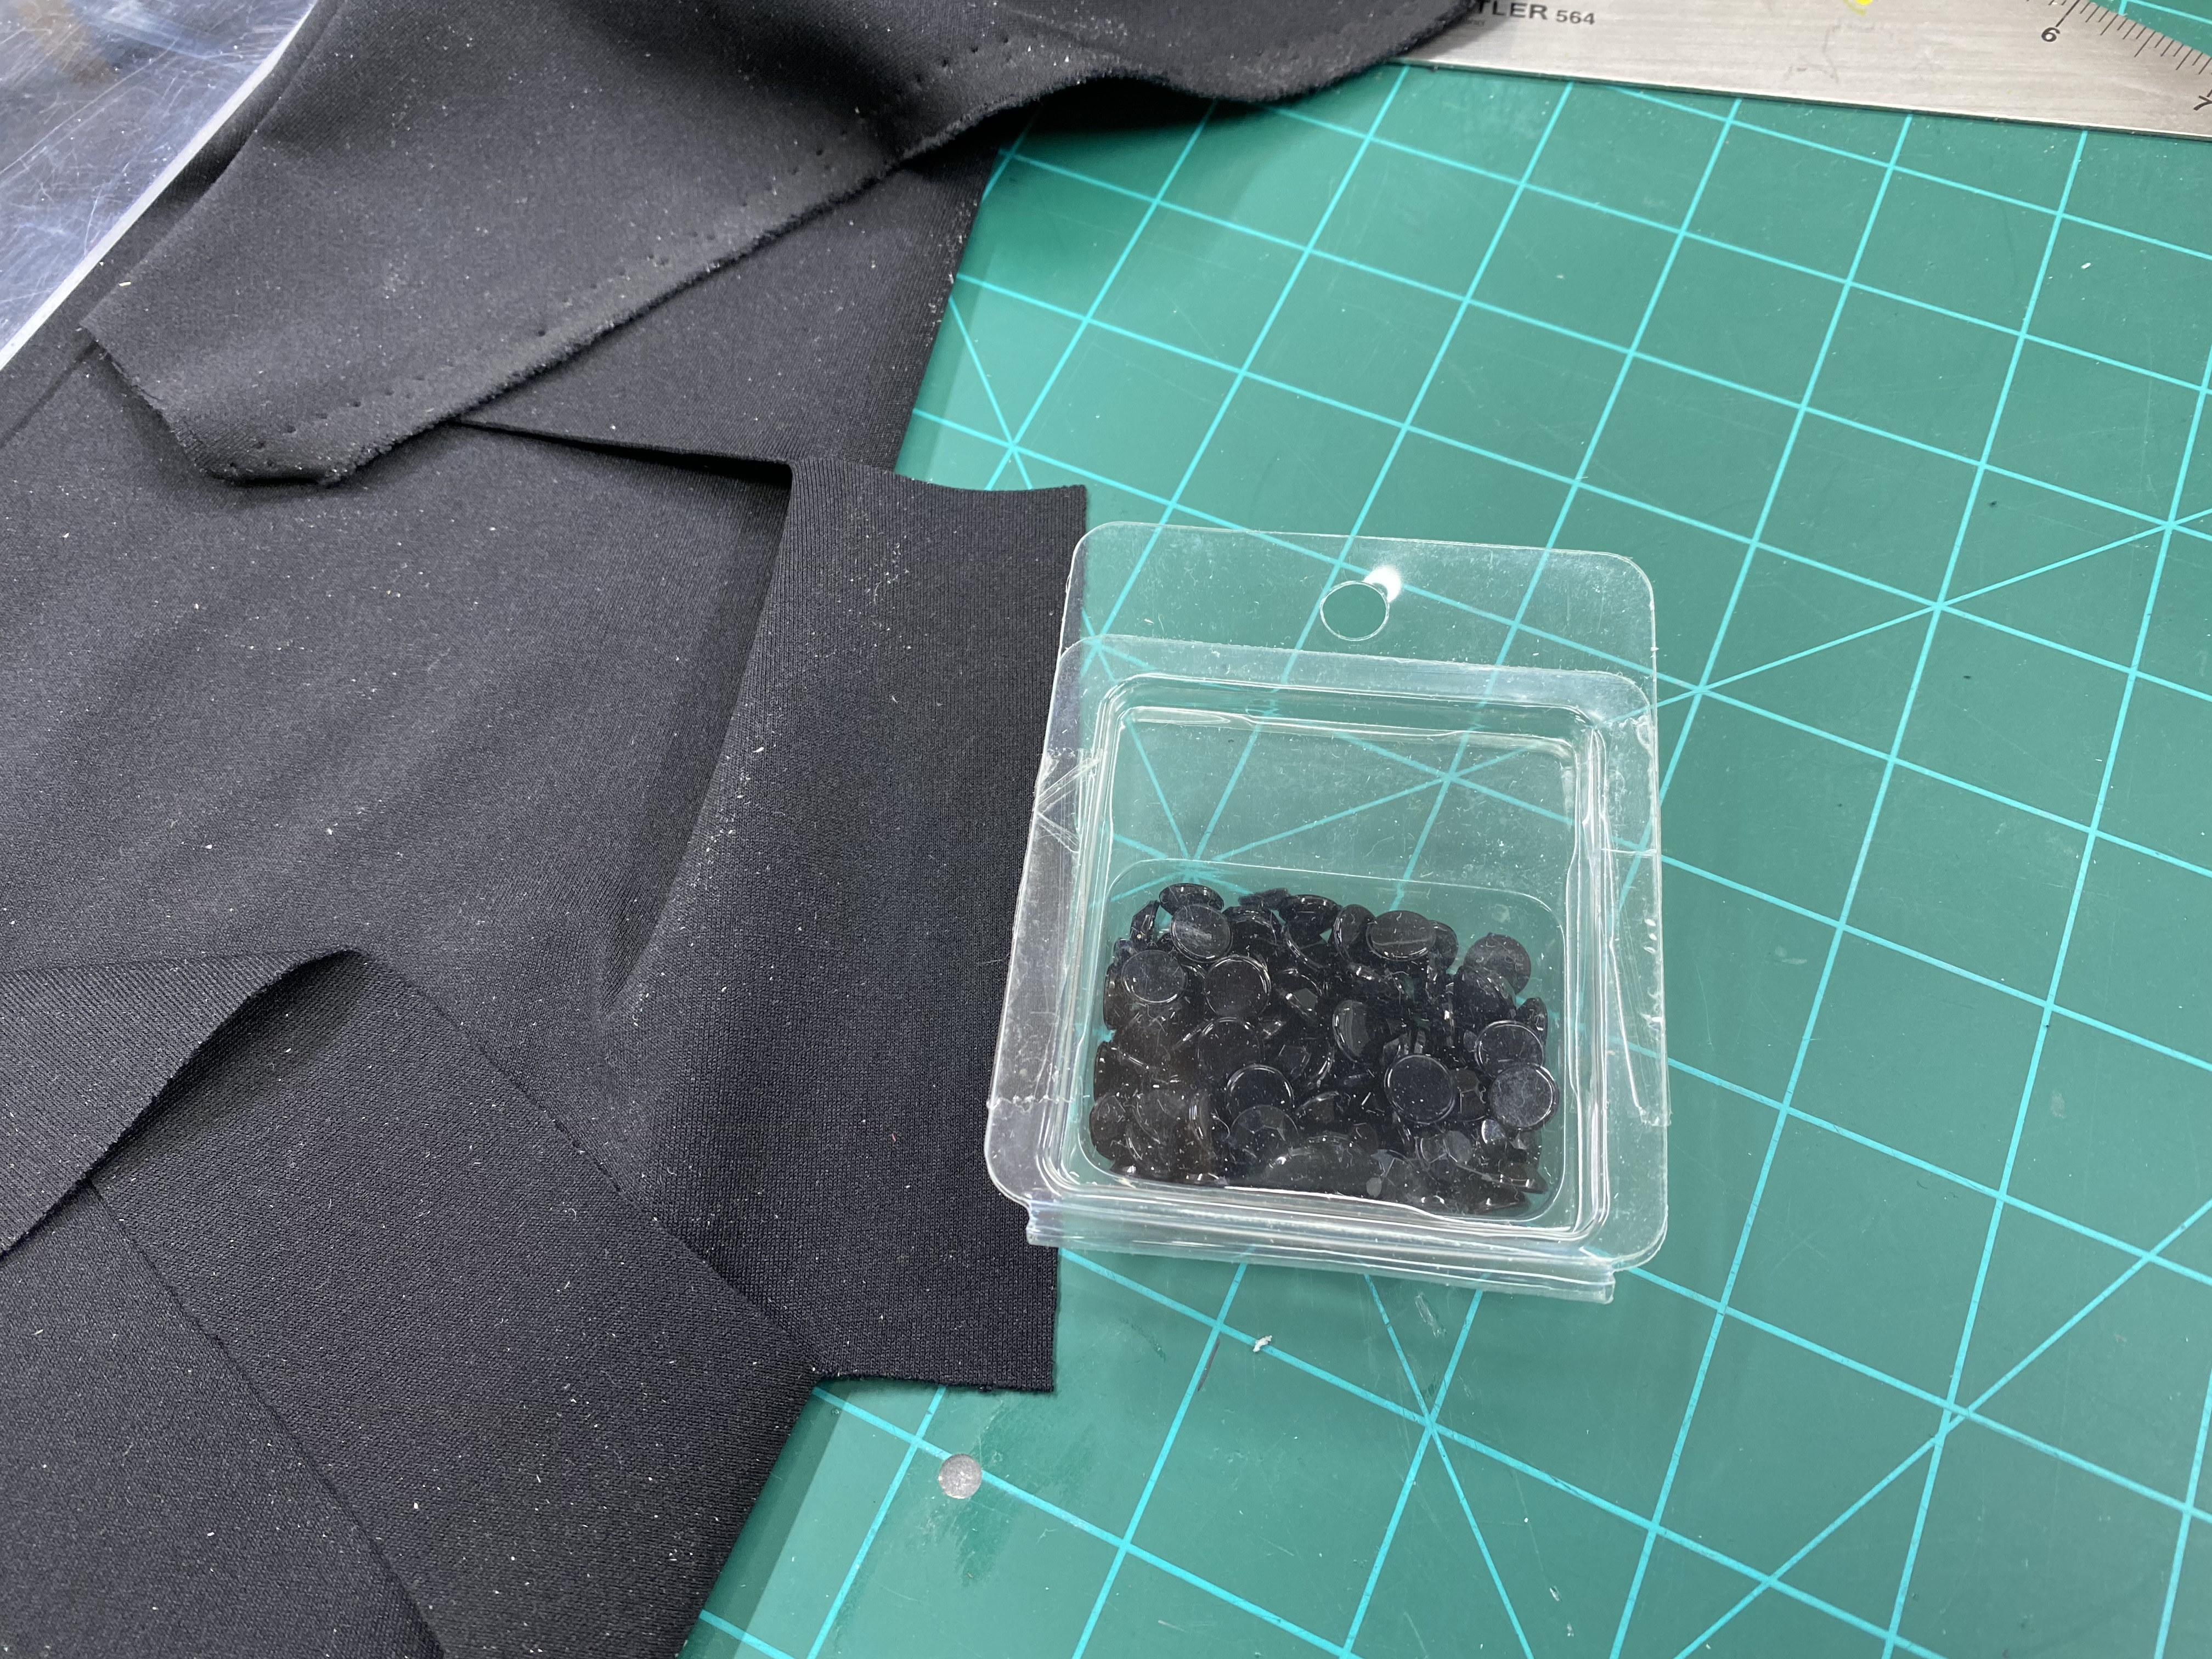
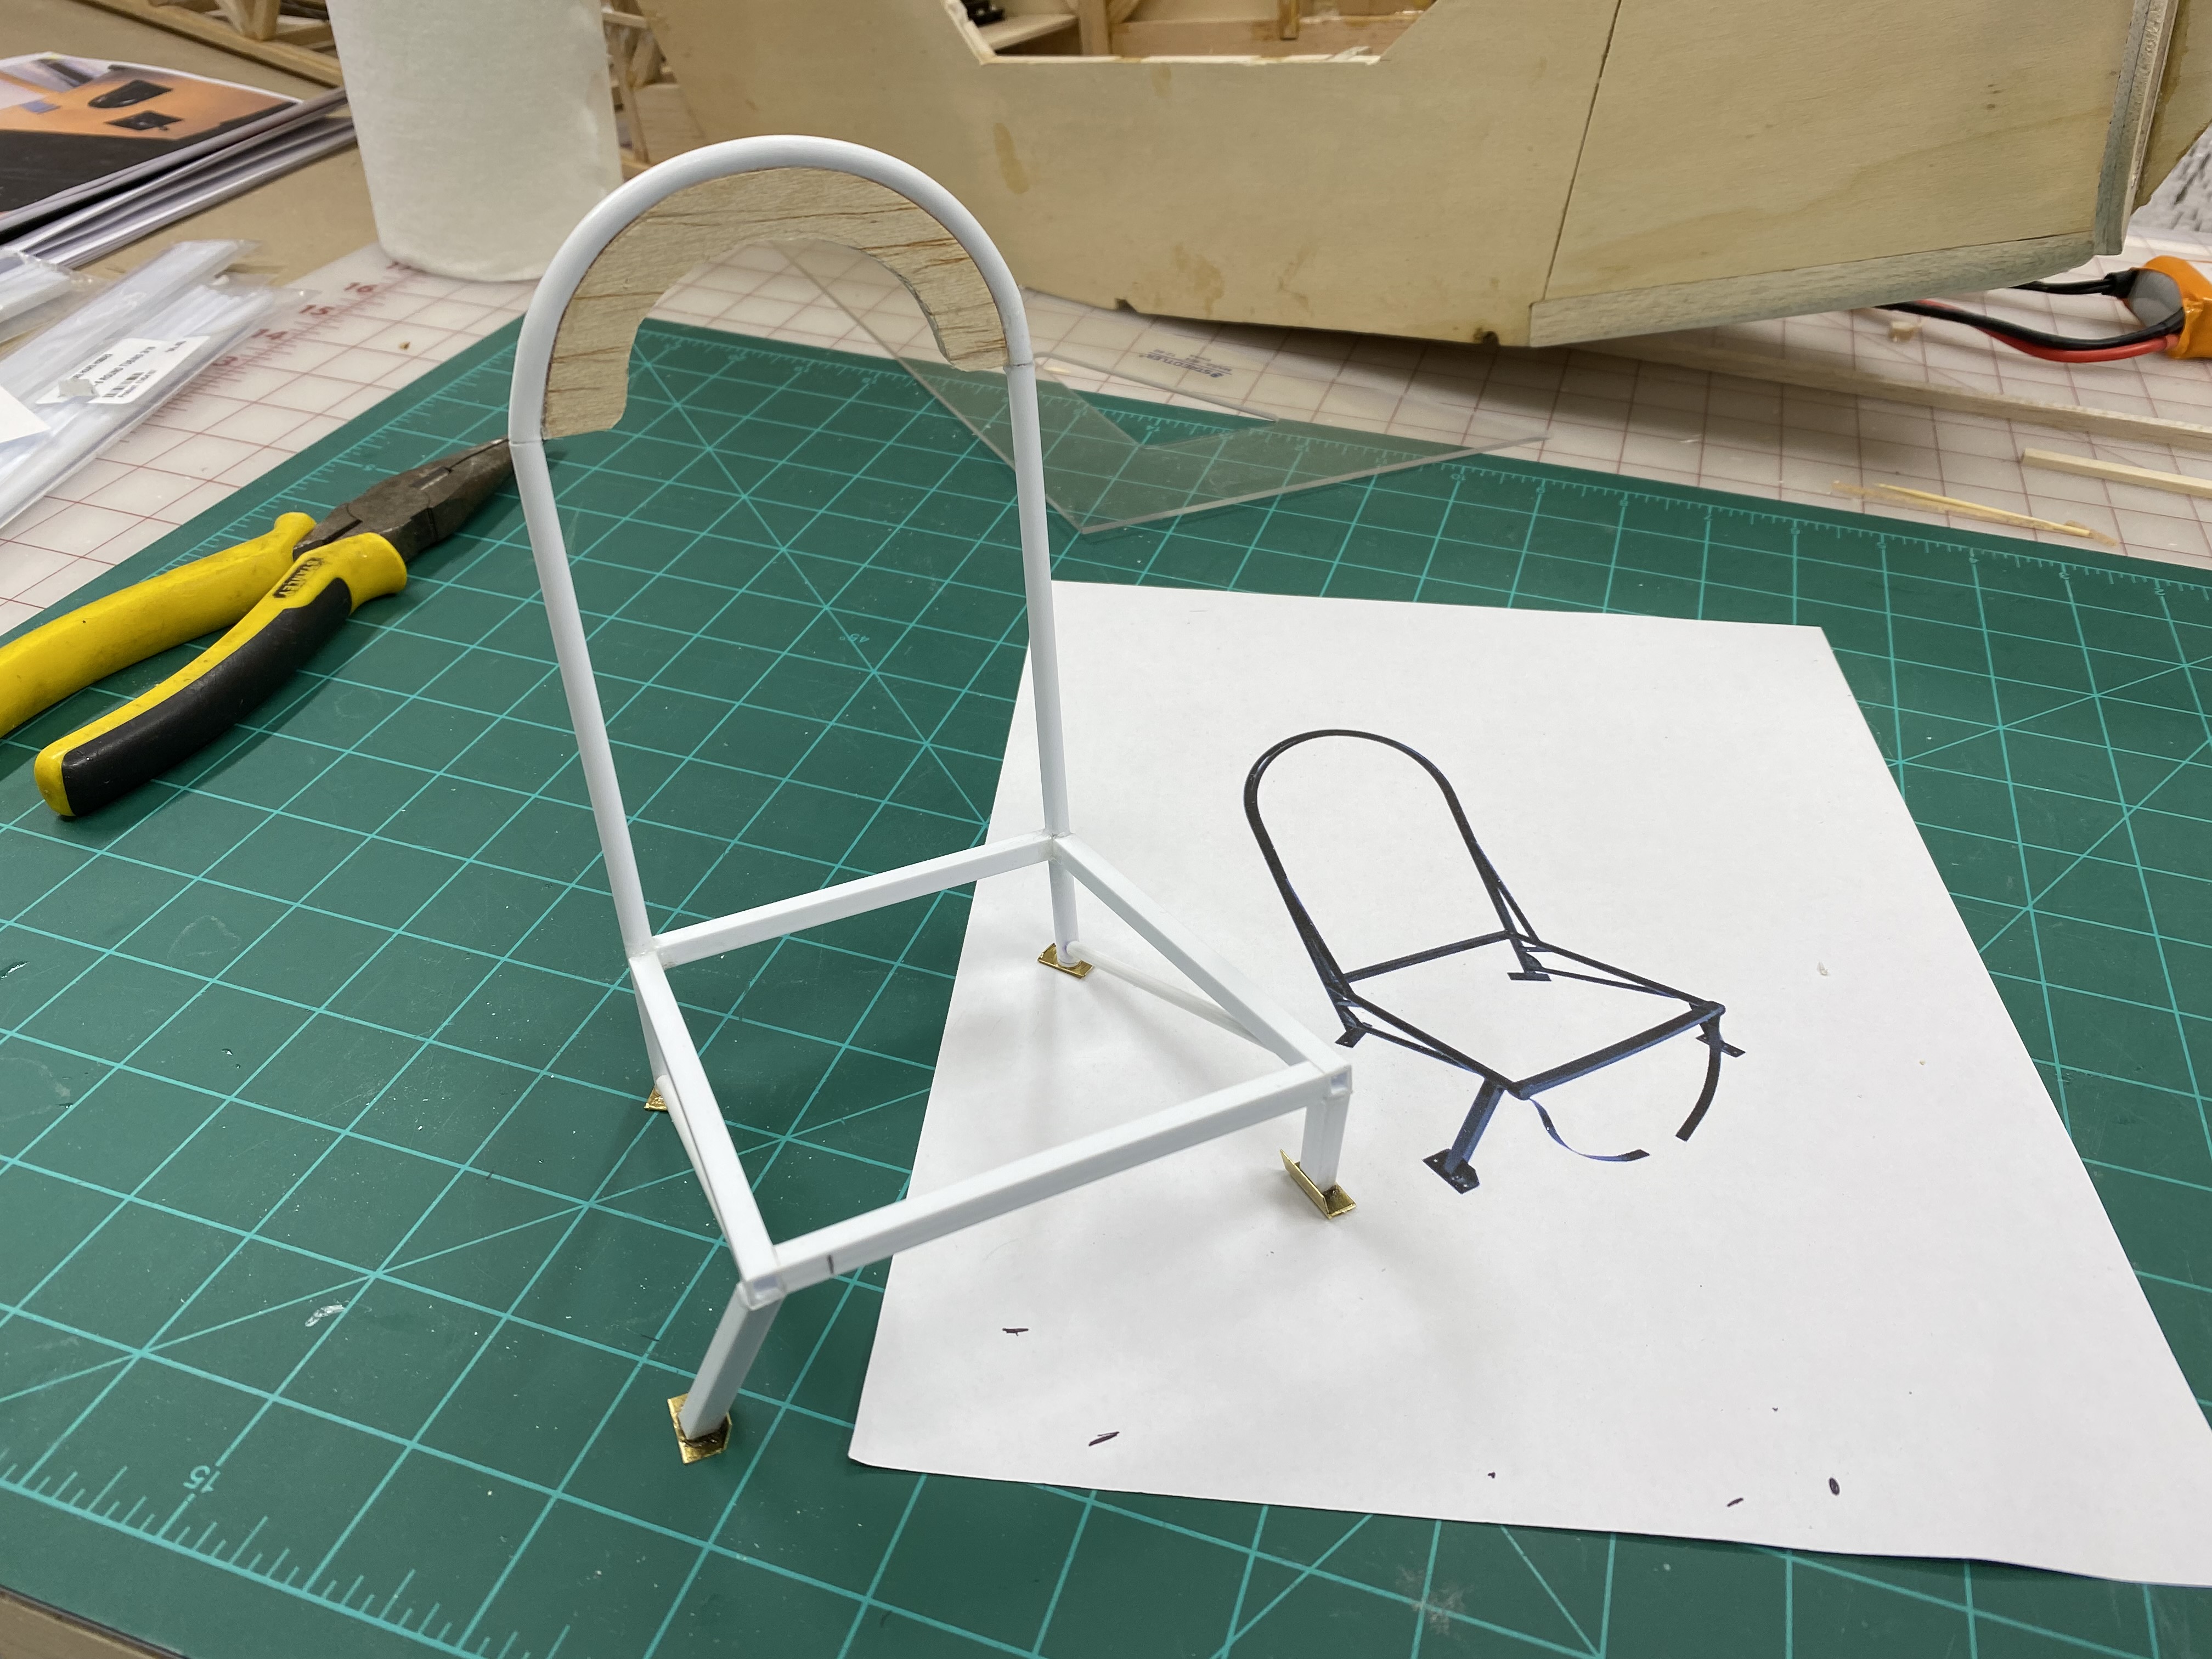
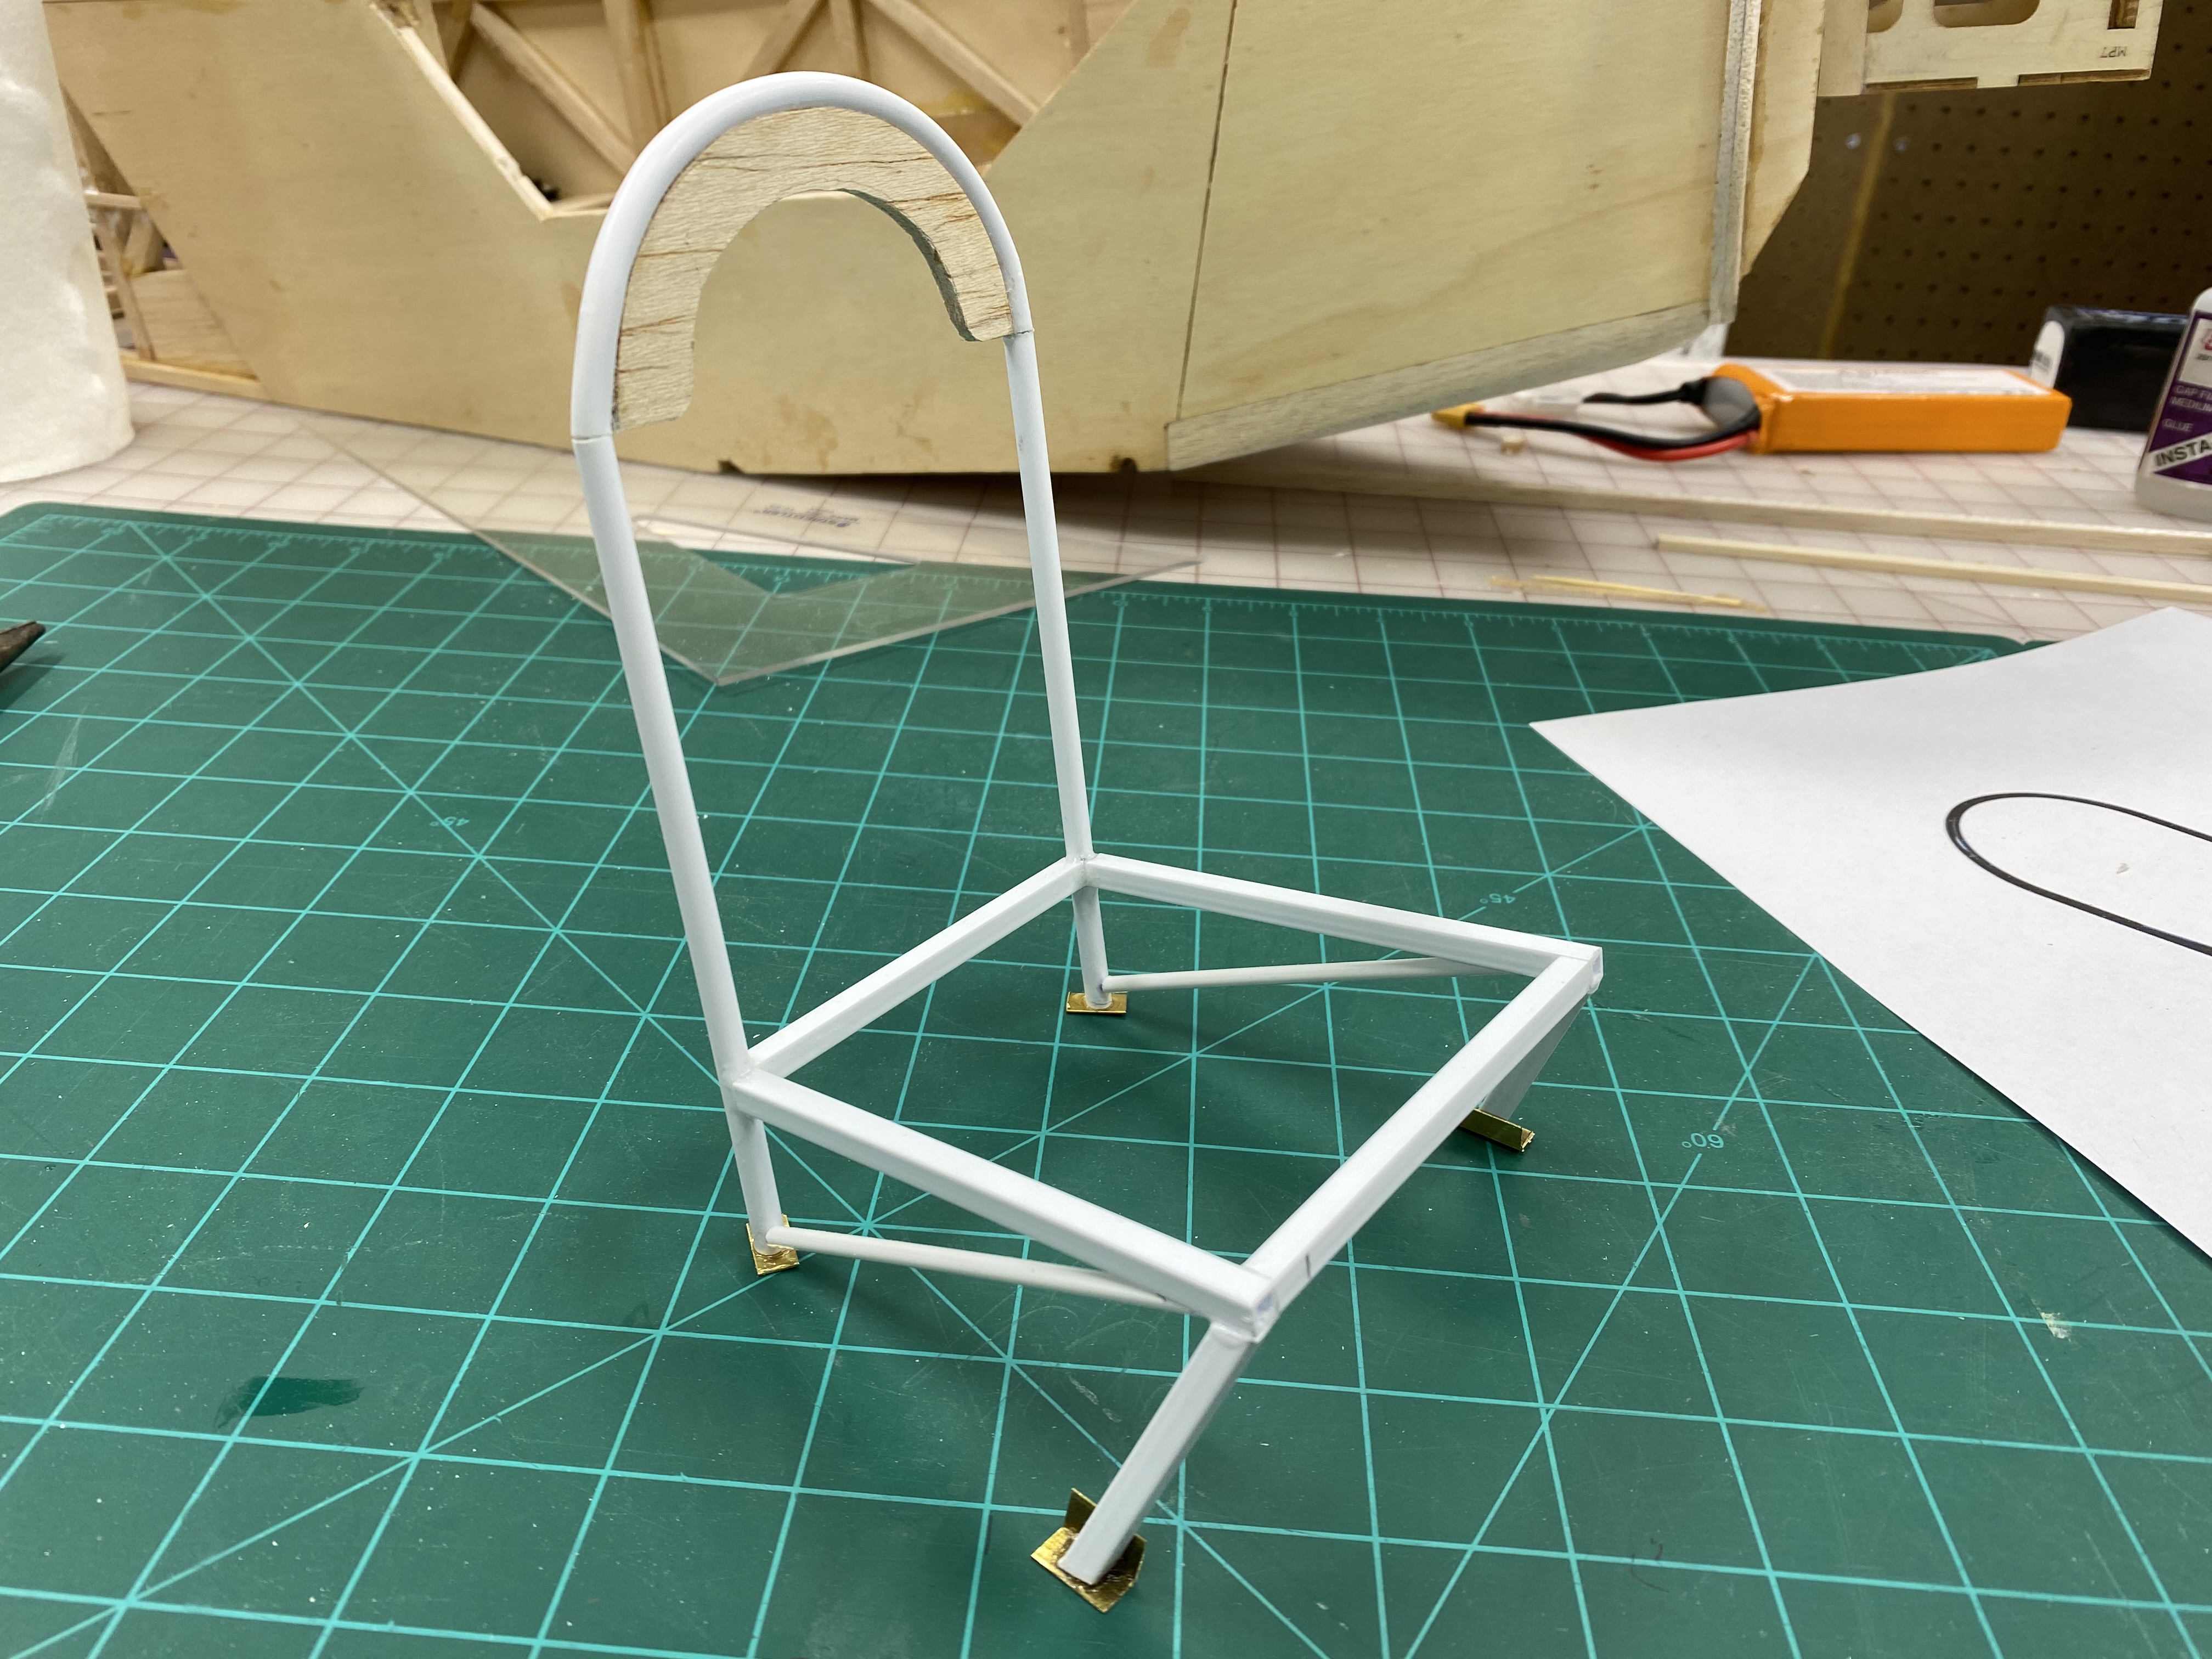
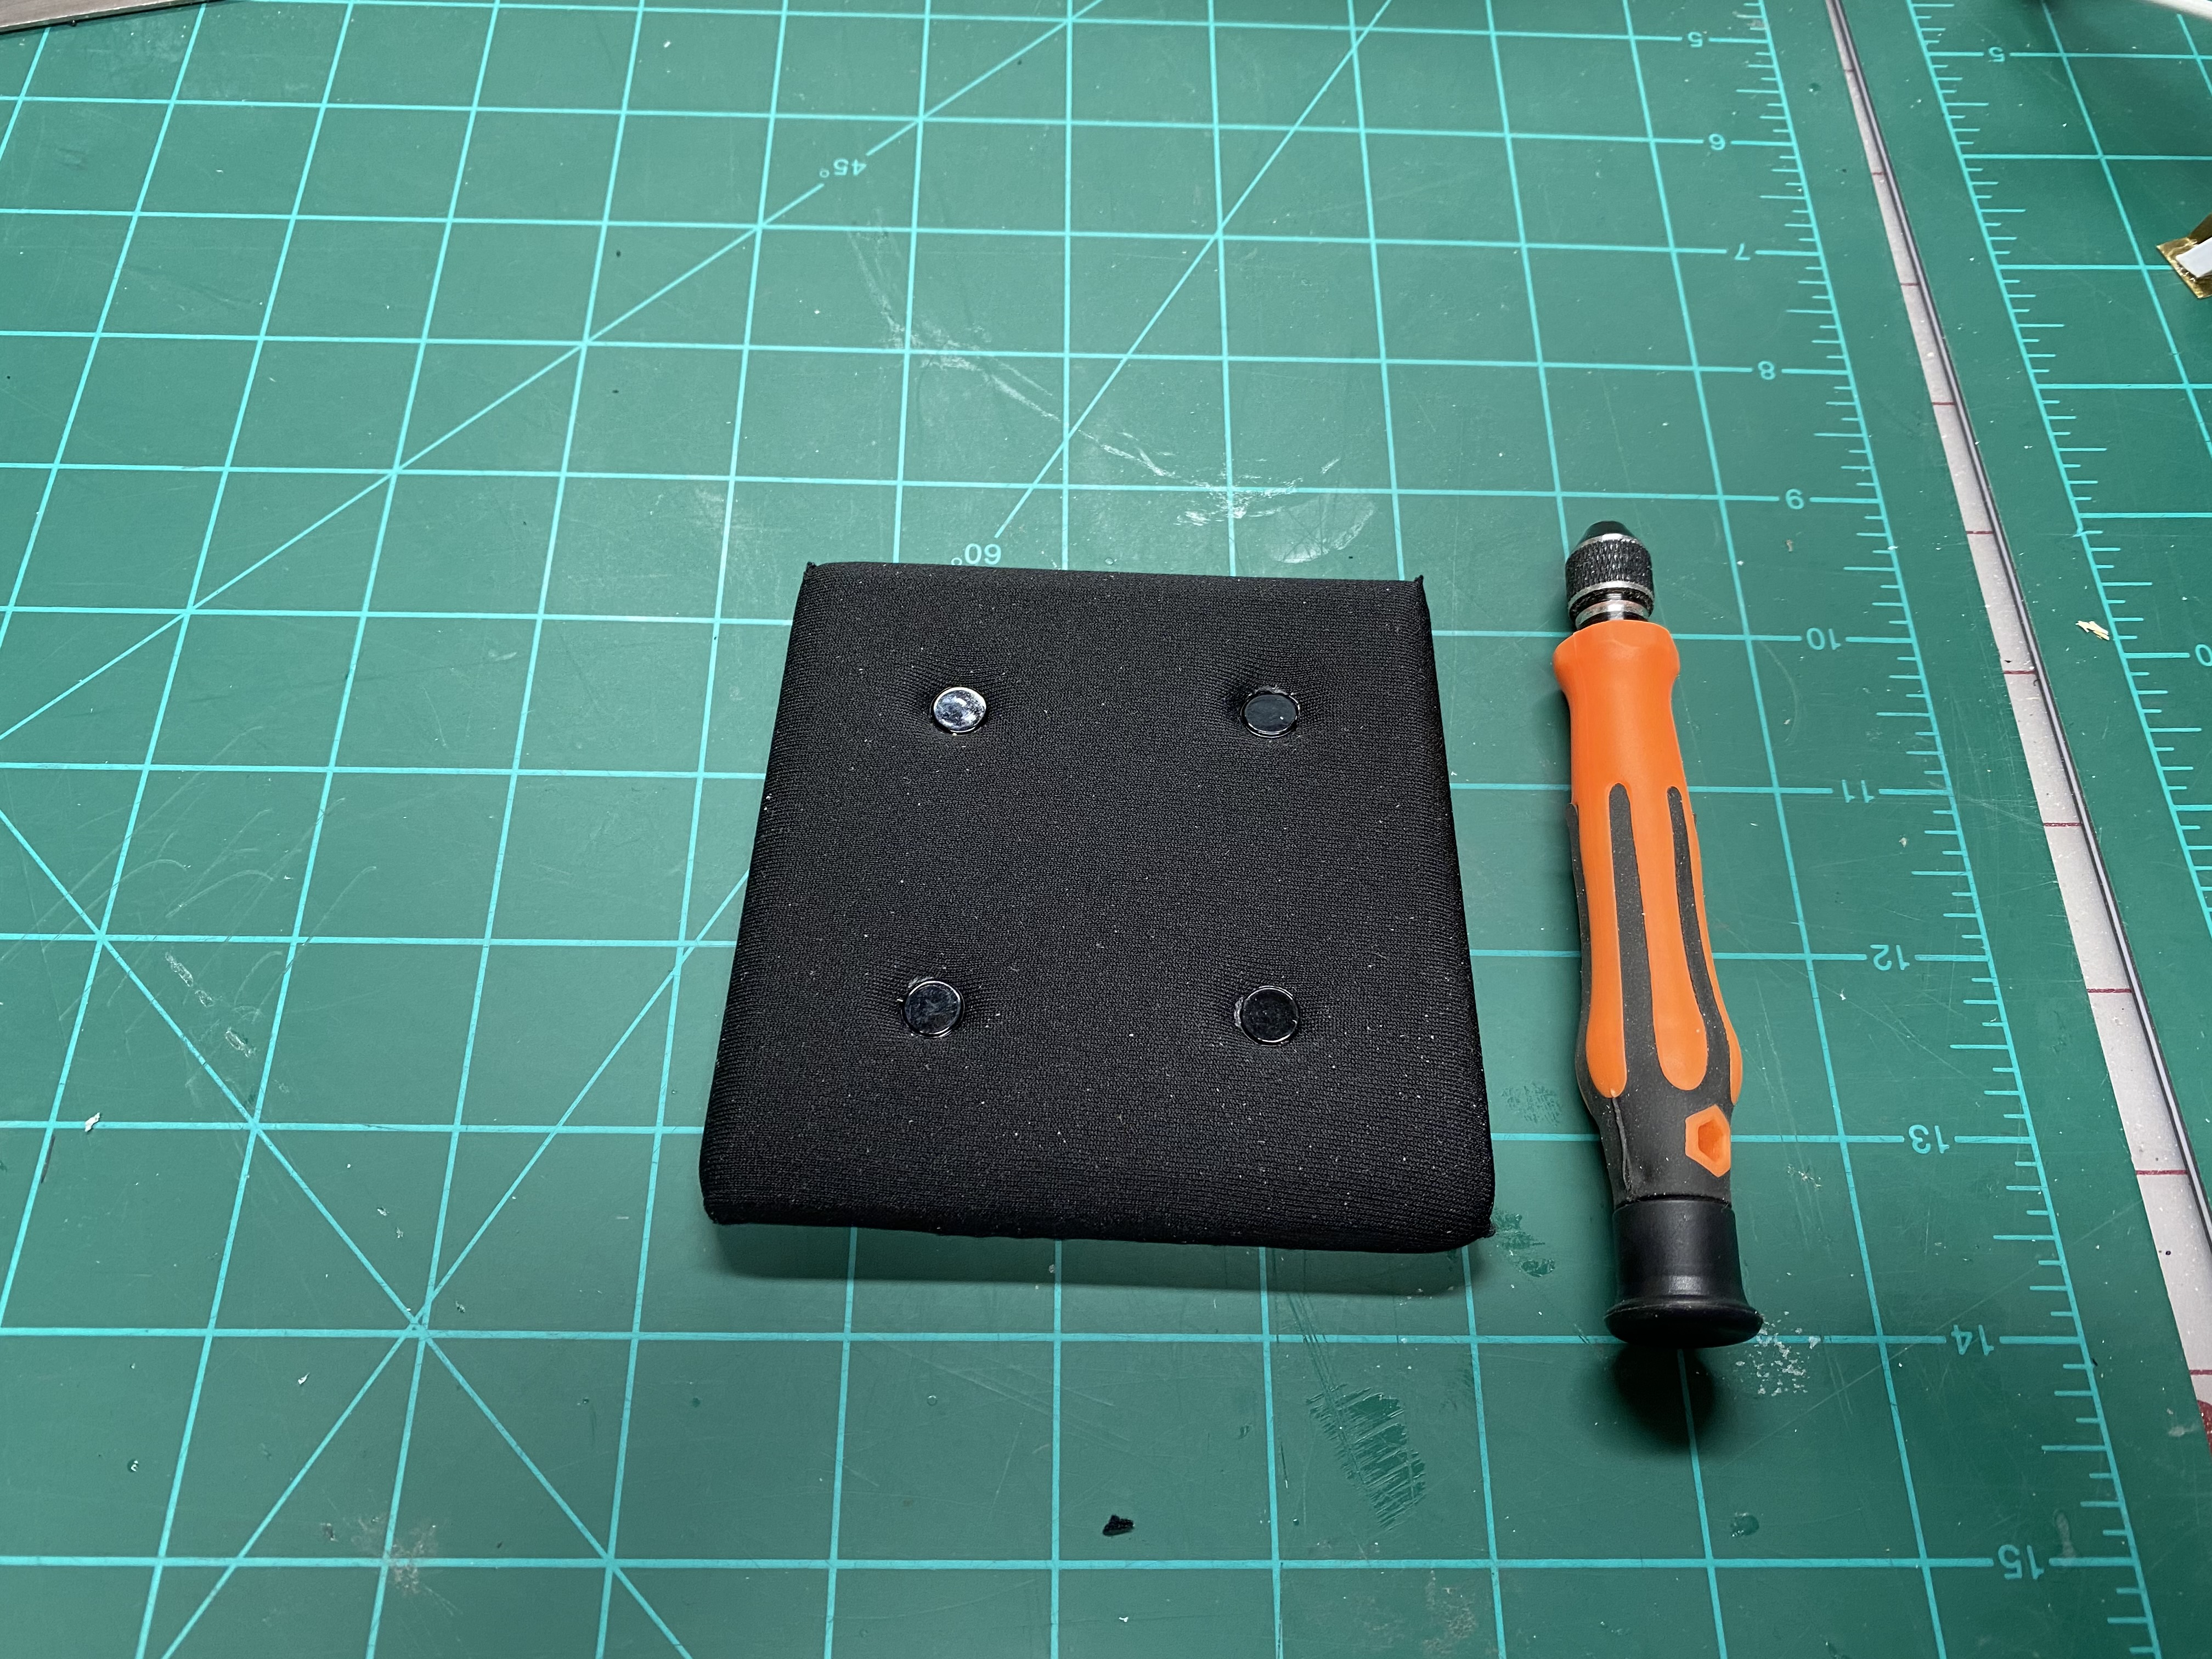
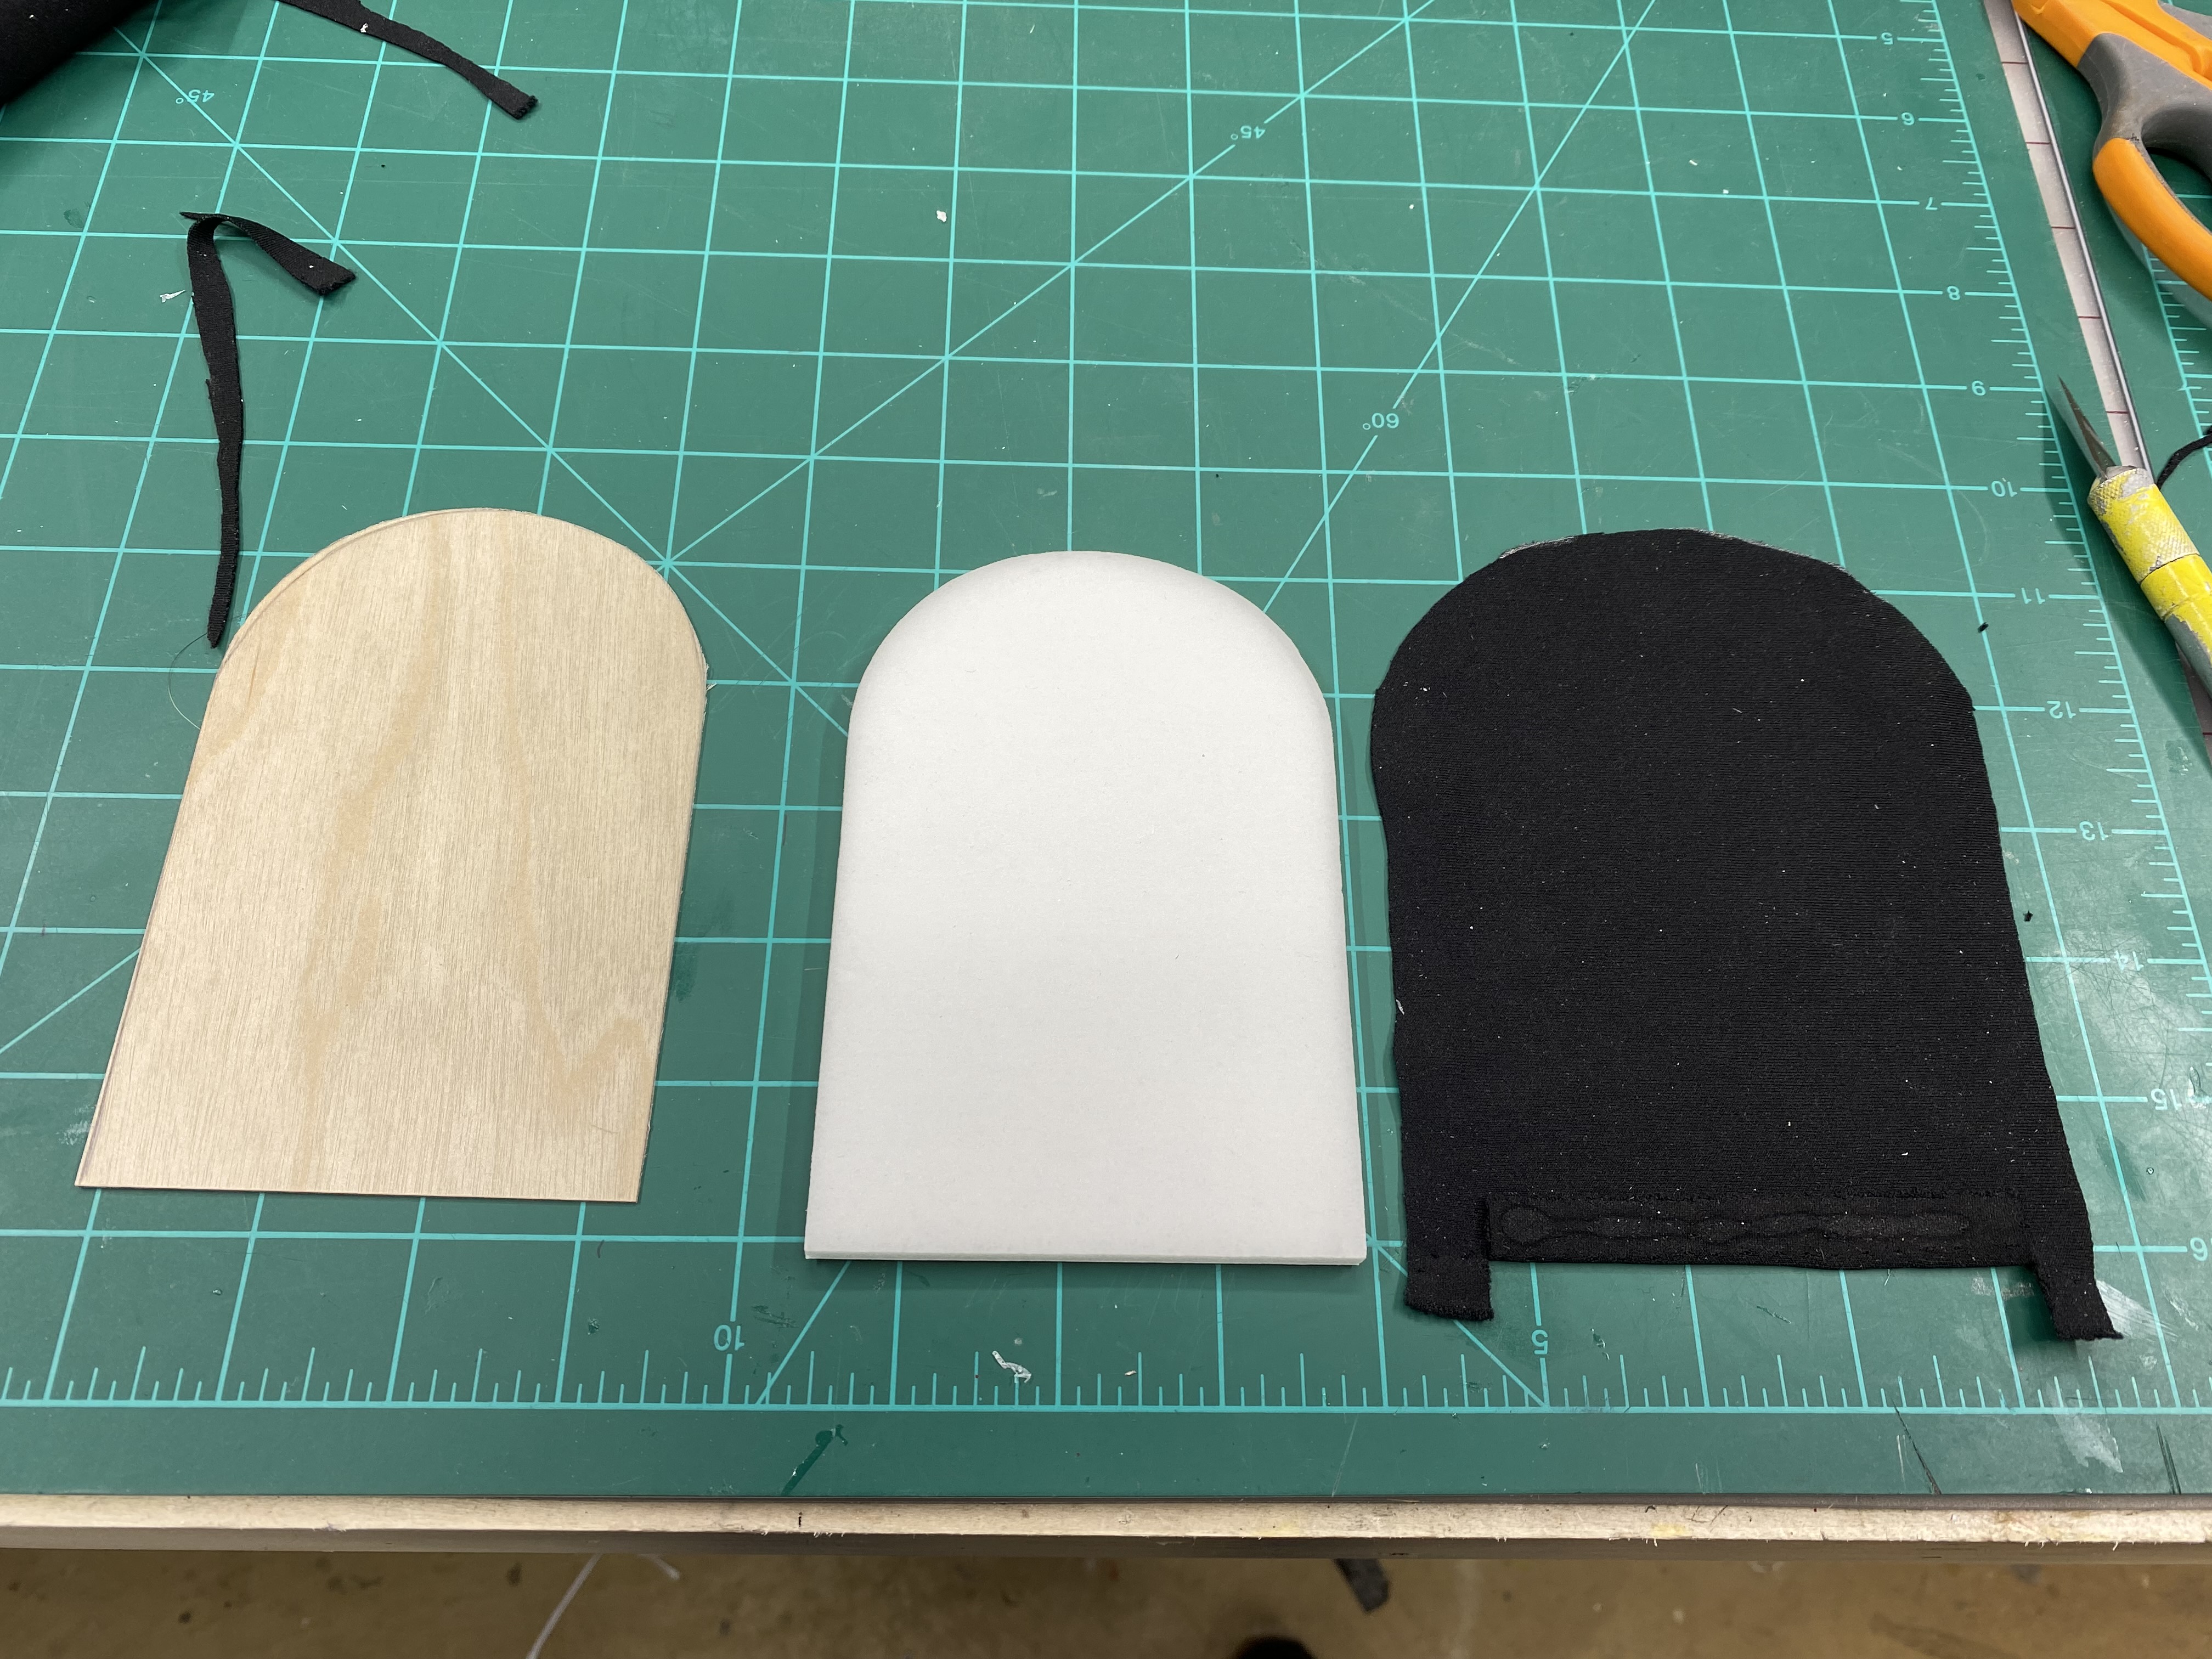
Spent most of the day doing trial and error and this is what I got done so far. The materials R polystyrene tubes and squares, brass angles, brass strips, stretch pants fabric, DTFB, and beads from Hobby Lobby. Won't go into too many details. The seat itself is to pieces of DTFB laminated together and wrapped in fabric. The orange screw driver was used to depress the foam, and with a drop of hot glue, added the beads for that button tucked look. Oh, please ignore the white specks, it's just foam dust that will come off with a tack cloth.

Attachments
-
 IMG_4879.JPG4.3 MB · Views: 0
 -
 IMG_4884.JPG3.8 MB · Views: 0
 -
 IMG_4892.JPG5.2 MB · Views: 0
 -
 IMG_4876.JPG4.1 MB · Views: 0
 -
 IMG_4877.JPG4.7 MB · Views: 0
 -
 IMG_4878.JPG4.5 MB · Views: 0
 -
 IMG_4880.JPG5.3 MB · Views: 0
 -
 IMG_4881.JPG3.5 MB · Views: 0
 -
 IMG_4883.JPG3.6 MB · Views: 0
 -
 IMG_4890.JPG3.8 MB · Views: 0
 -
 IMG_4891.JPG3.9 MB · Views: 0
 -
 IMG_4896.JPG3.9 MB · Views: 0


cyclone3350
Master member


nhk750
Aviation Enthusiast
I am just seeing this thread and am in the middle of building a Sig 1/4 cub myself. You may want to check out this website thecubden.org as he has some methods for reinforcing the fuse when you cut out the supports to install a door. If you don't reinforce the frame around the door area it will be a weak spot during flight, but it doesn't look to be too hard to upgrade with his instruction, or just be really gentle when flying...
cyclone3350
Master member
I am just seeing this thread and am in the middle of building a Sig 1/4 cub myself. You may want to check out this website thecubden.org as he has some methods for reinforcing the fuse when you cut out the supports to install a door. If you don't reinforce the frame around the door area it will be a weak spot during flight, but it doesn't look to be too hard to upgrade with his instruction, or just be really gentle when flying...
Yes, I agree. I have the article and the door/window is built as an after thought. I have hard wood running from F5 to F7 along the top. The only weak spot left is the side window brace. I haven't made the mod with the 5/32 wire. TBH, even with that, I still think a hard landing could end up in damage. That one heavy piece wing is going transfer a lot of load into the cabin structure. But I wanted it to look good. Do U have a thread for your cub. If not, feel free to post any pics here. I would like to see it.
nhk750
Aviation Enthusiast
Ya, I have a build thread over at RCG. Sig1/4 Scale cub electric conversion build thread.
I also have a completed build thread for the Sig 1/4 scales floats that are going on this plane. I made some modifications on the floats, so they don't look super scale, but will be very functional.
I'm actually addressing the access door issue right now and decided not to do a scale door but sort of a half door/access so I wont need to reinforce the fuse as I plan on leaving the front part where the door would go attached to the formers. It may not be scale but it will be functional and easy to build. Hopefully in the next few days I will get my idea posted on the build thread and easier to understand. I just need enough room to get two 5s batteries (10s in series) in there on a battery tray very similar to your battery tray idea.
Tench745
Master member
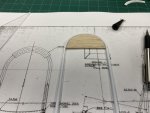
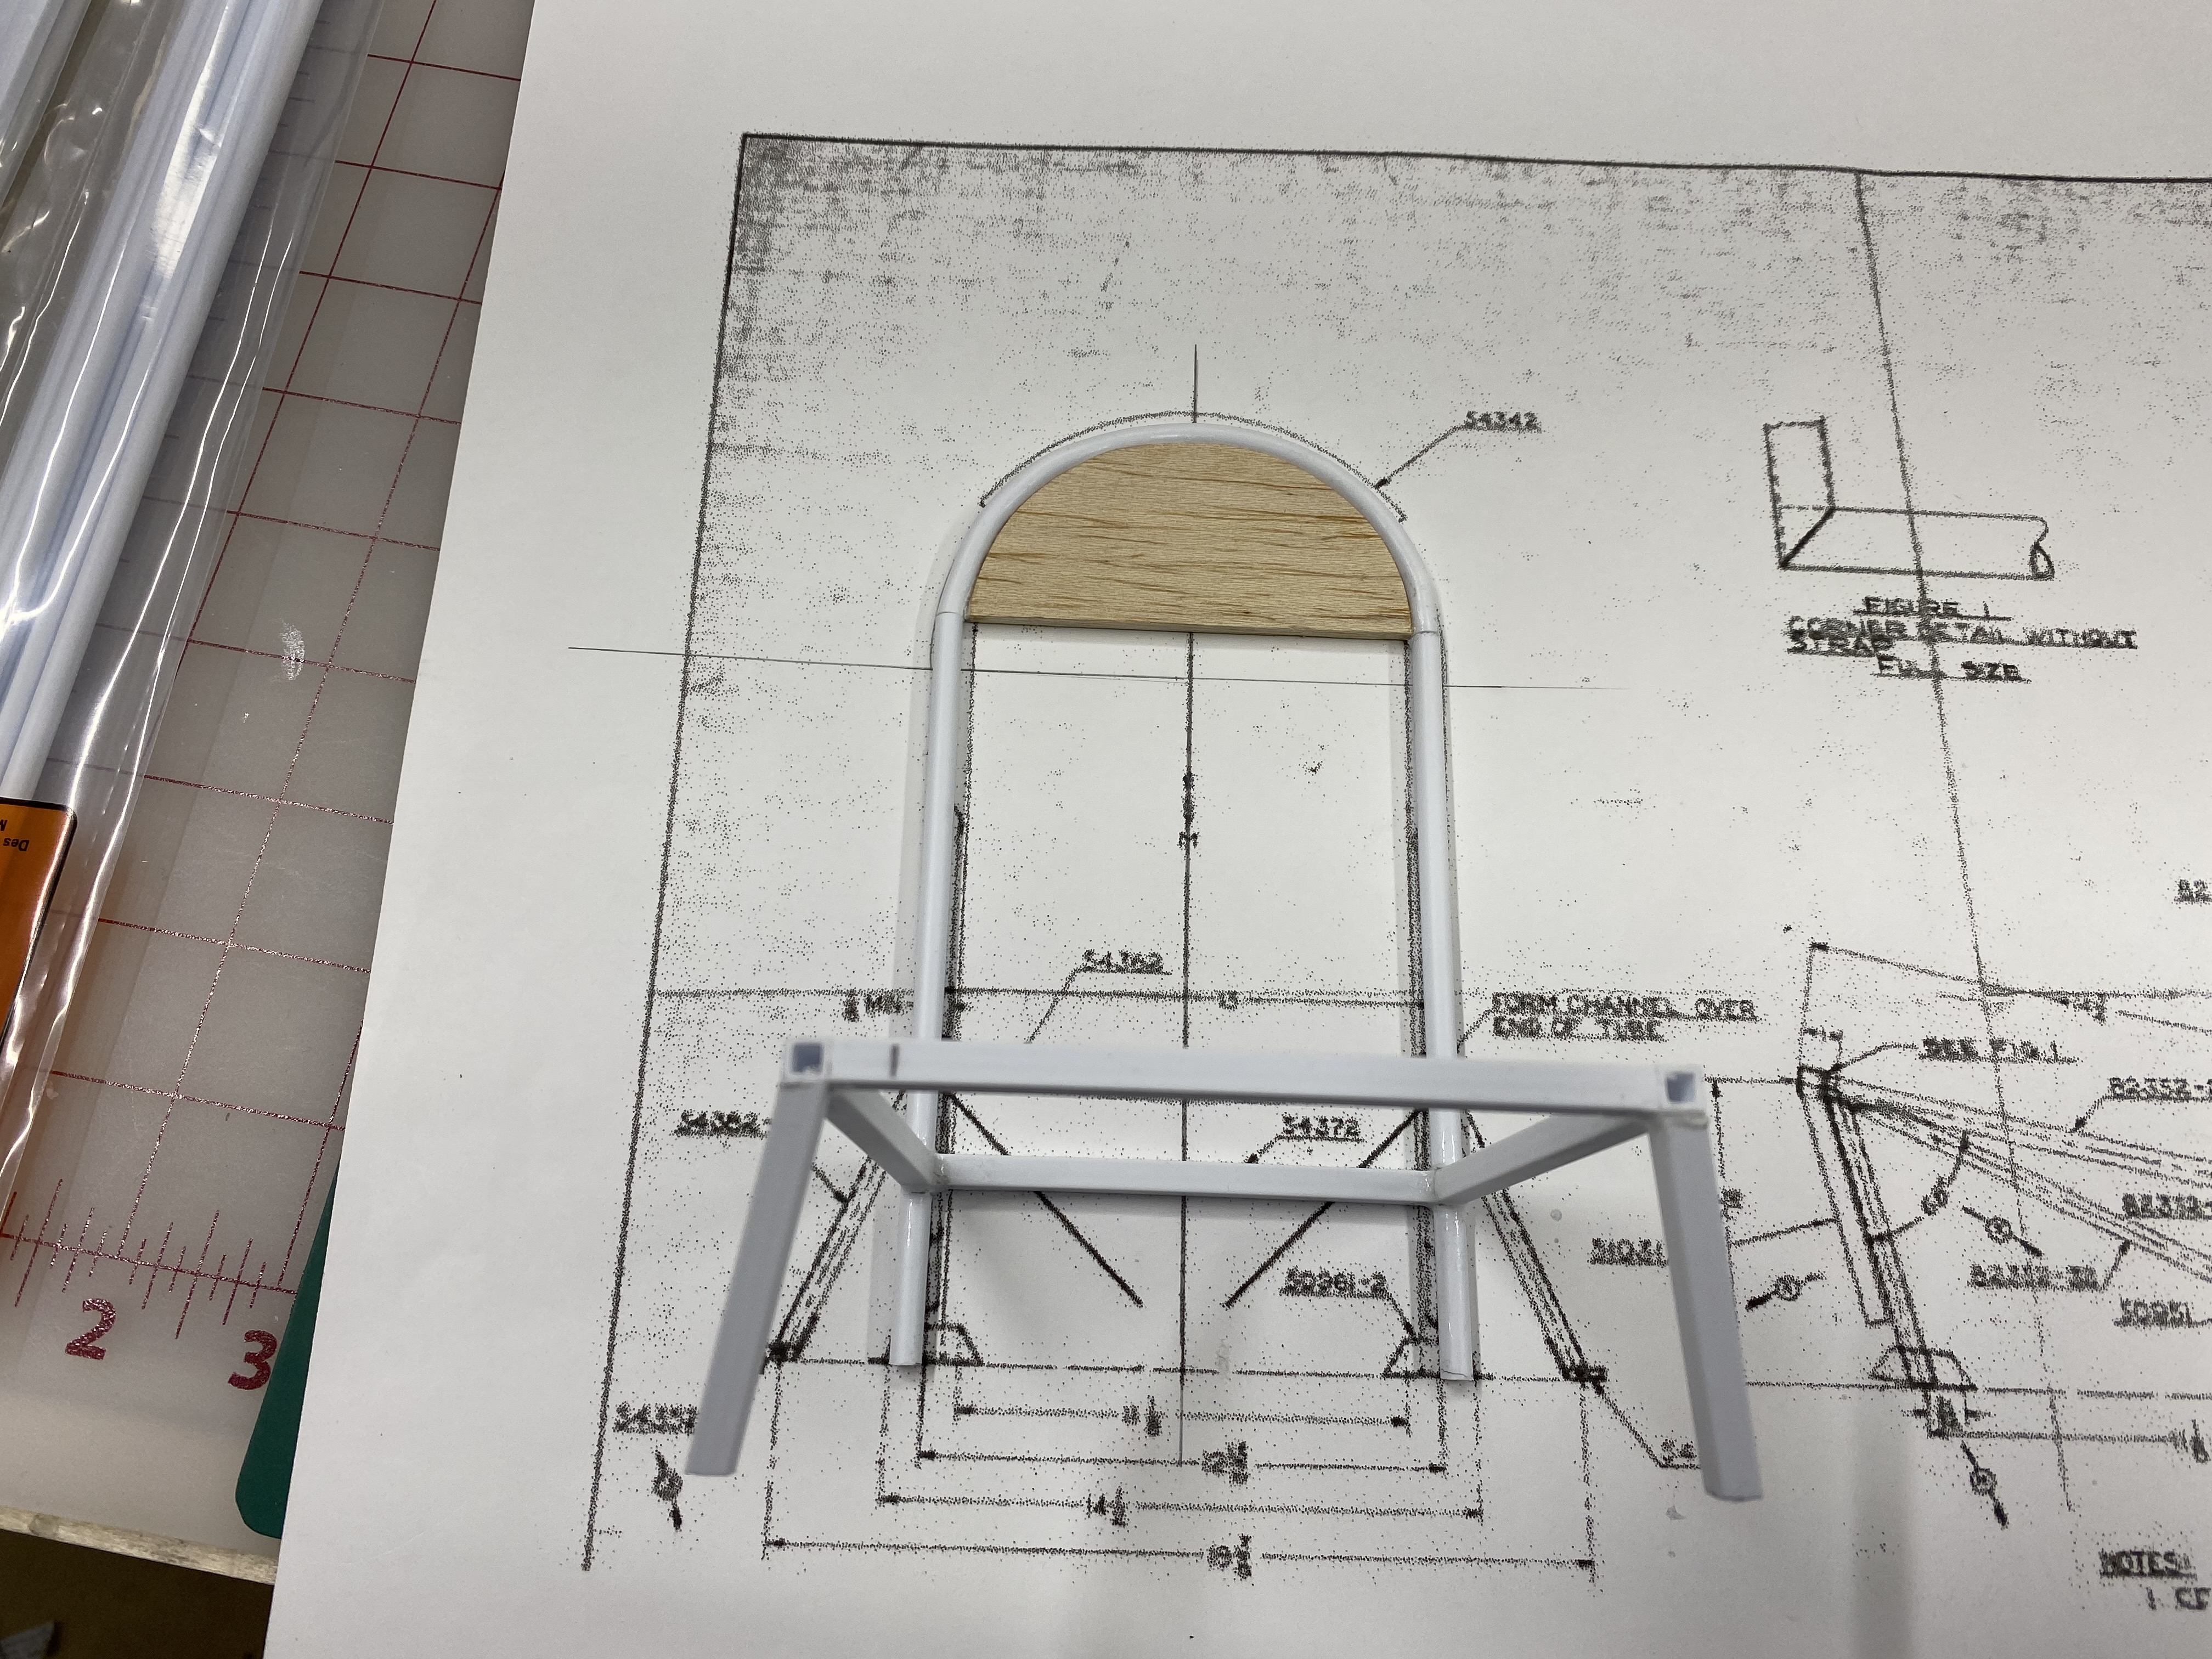
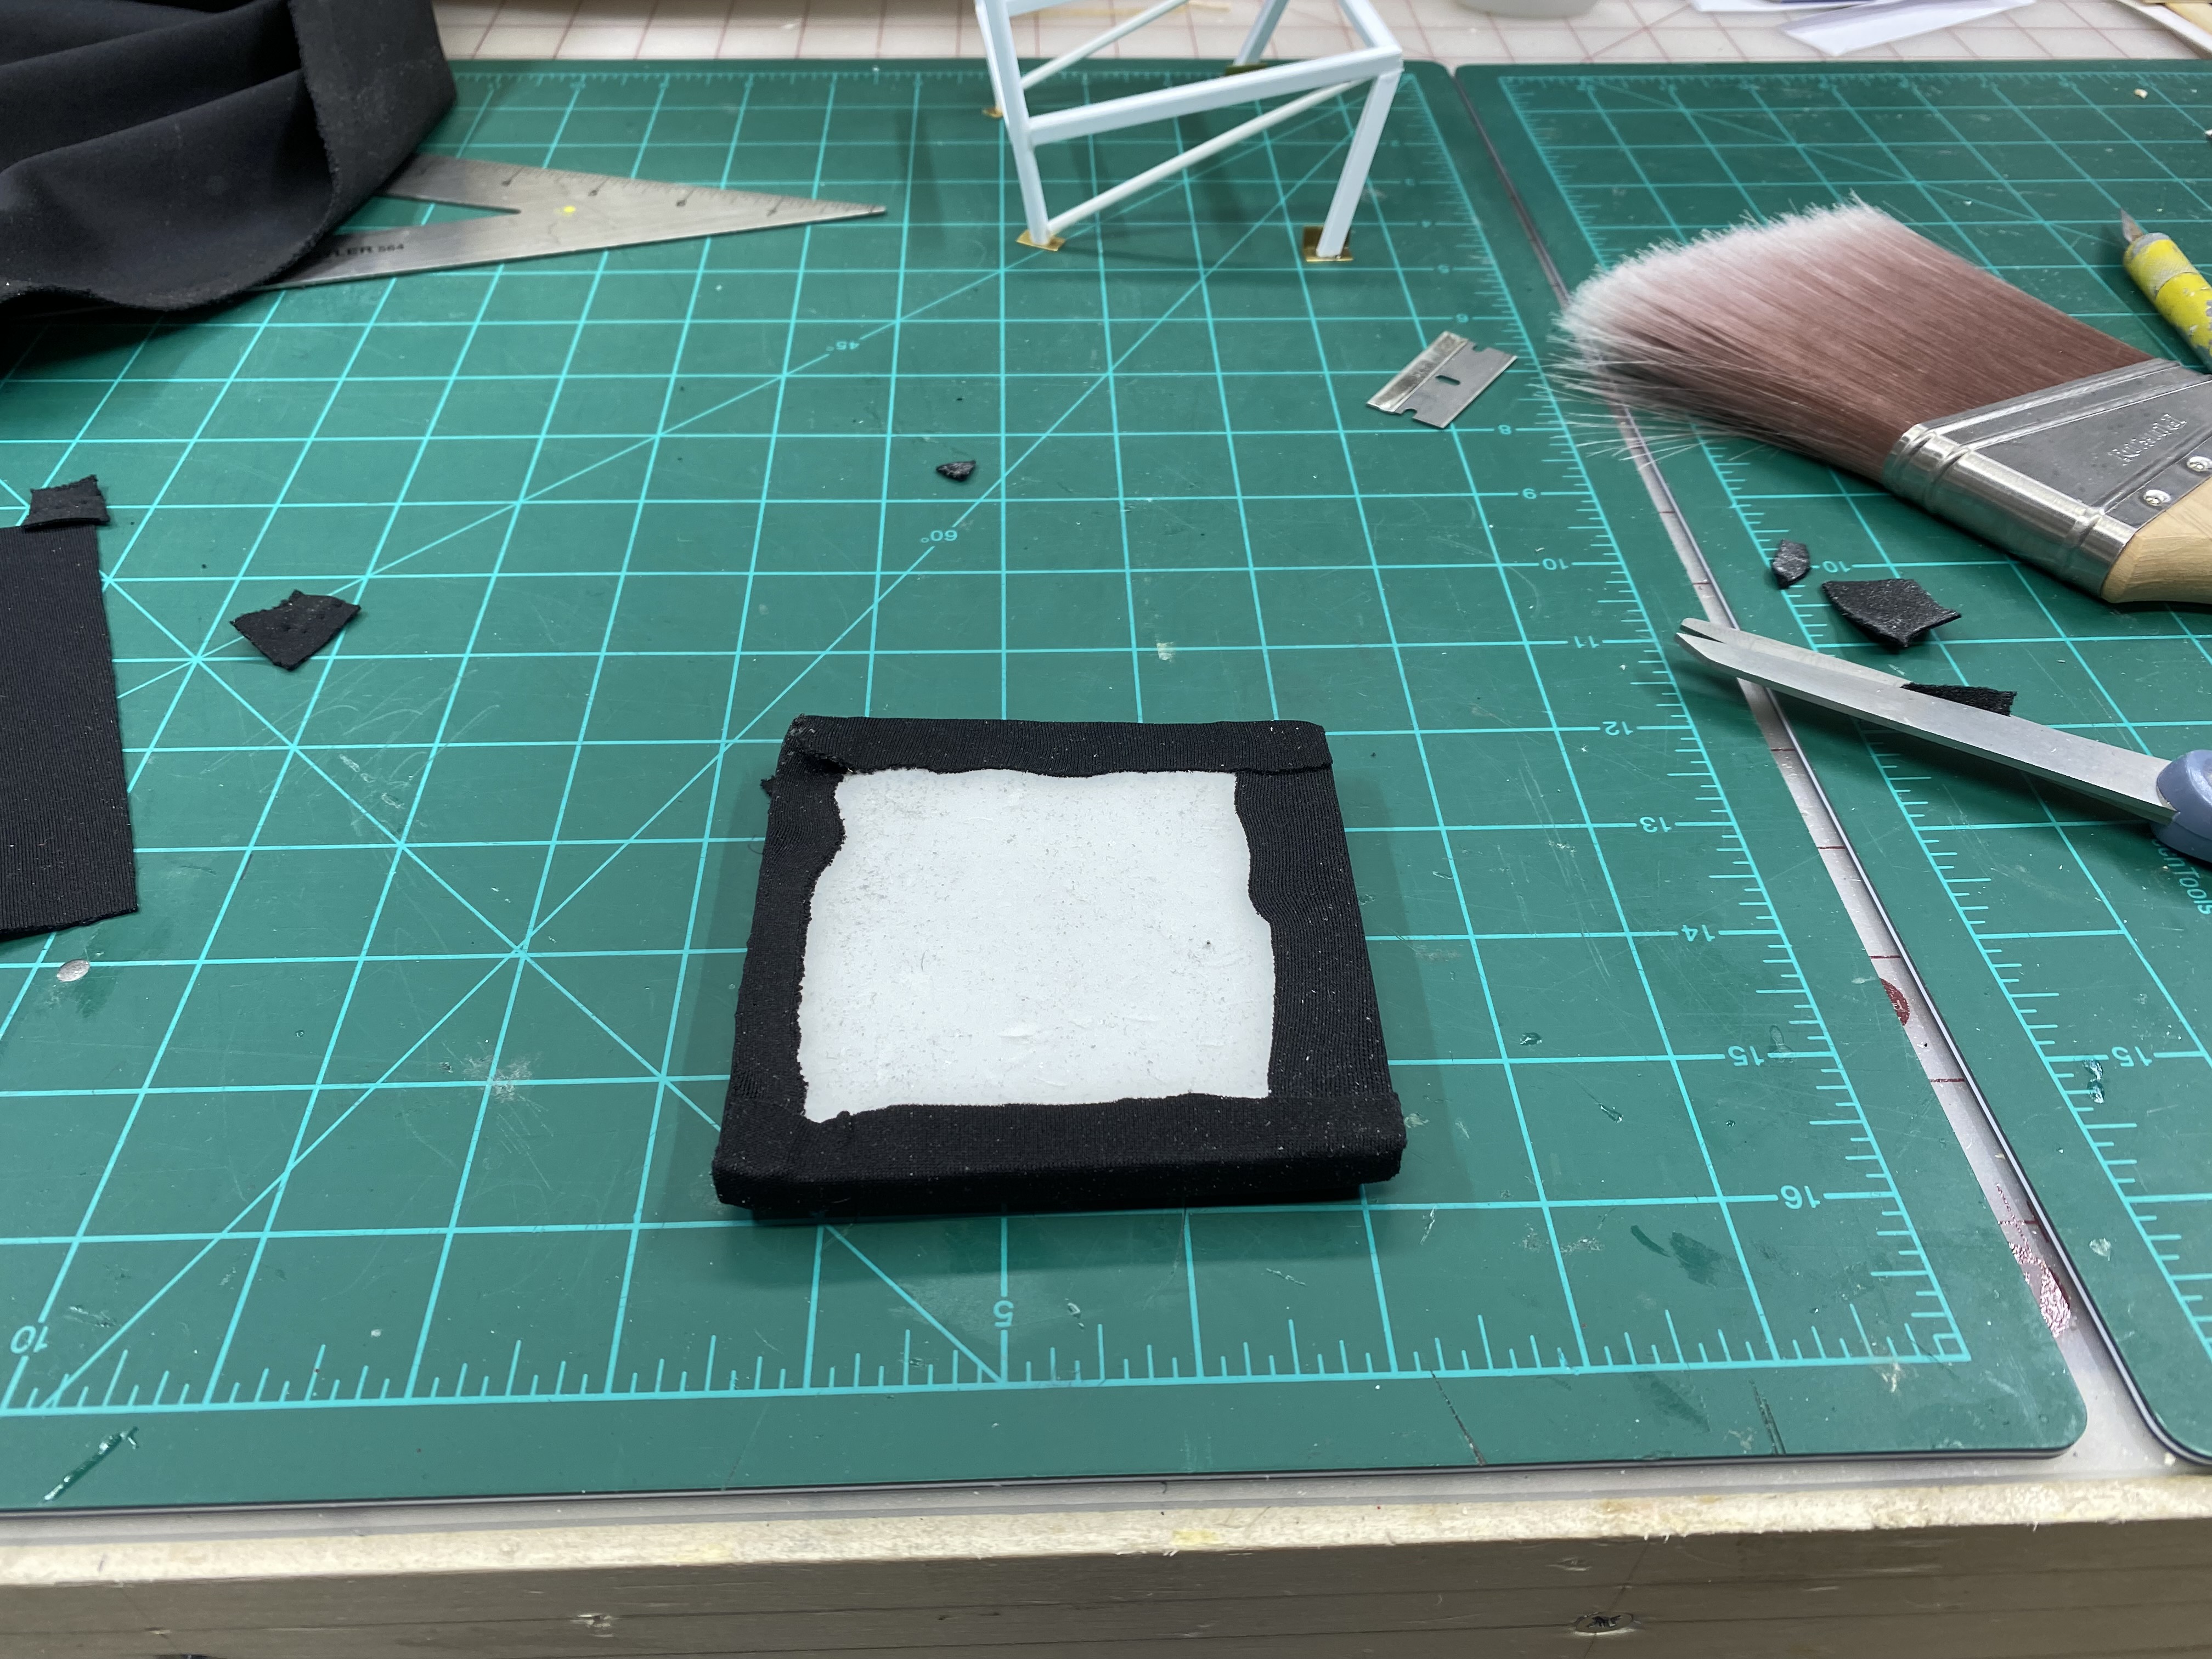
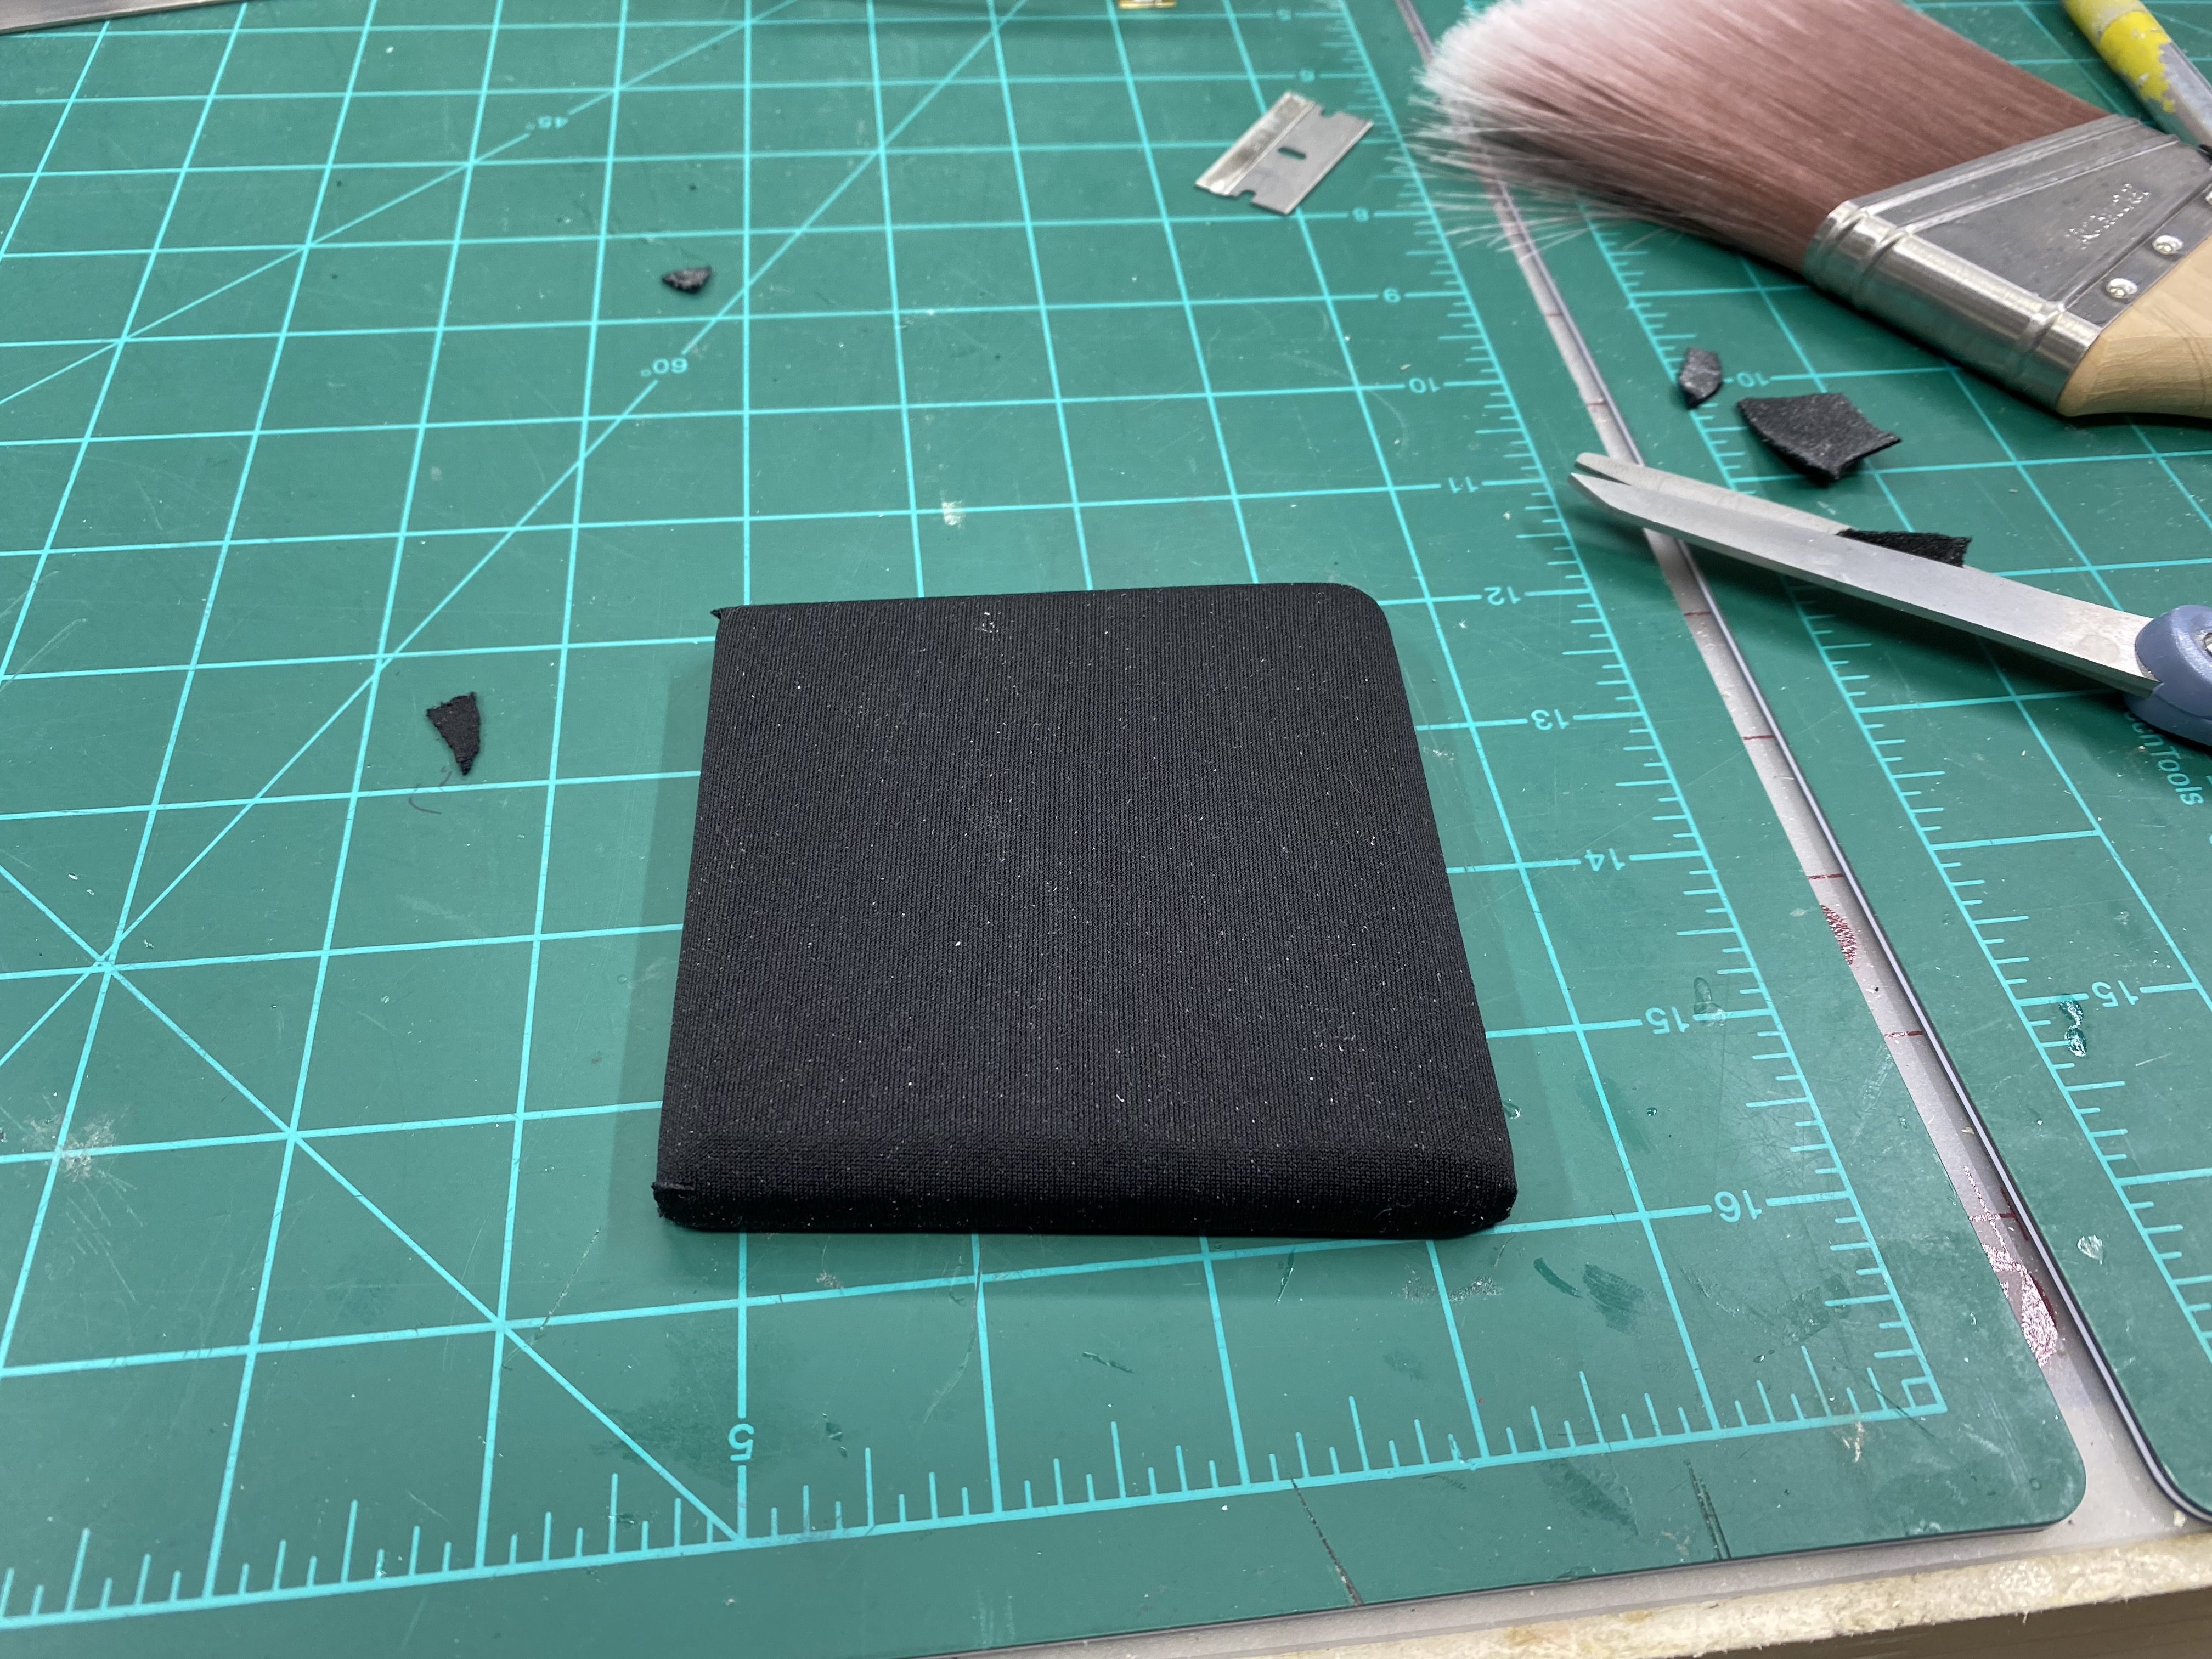
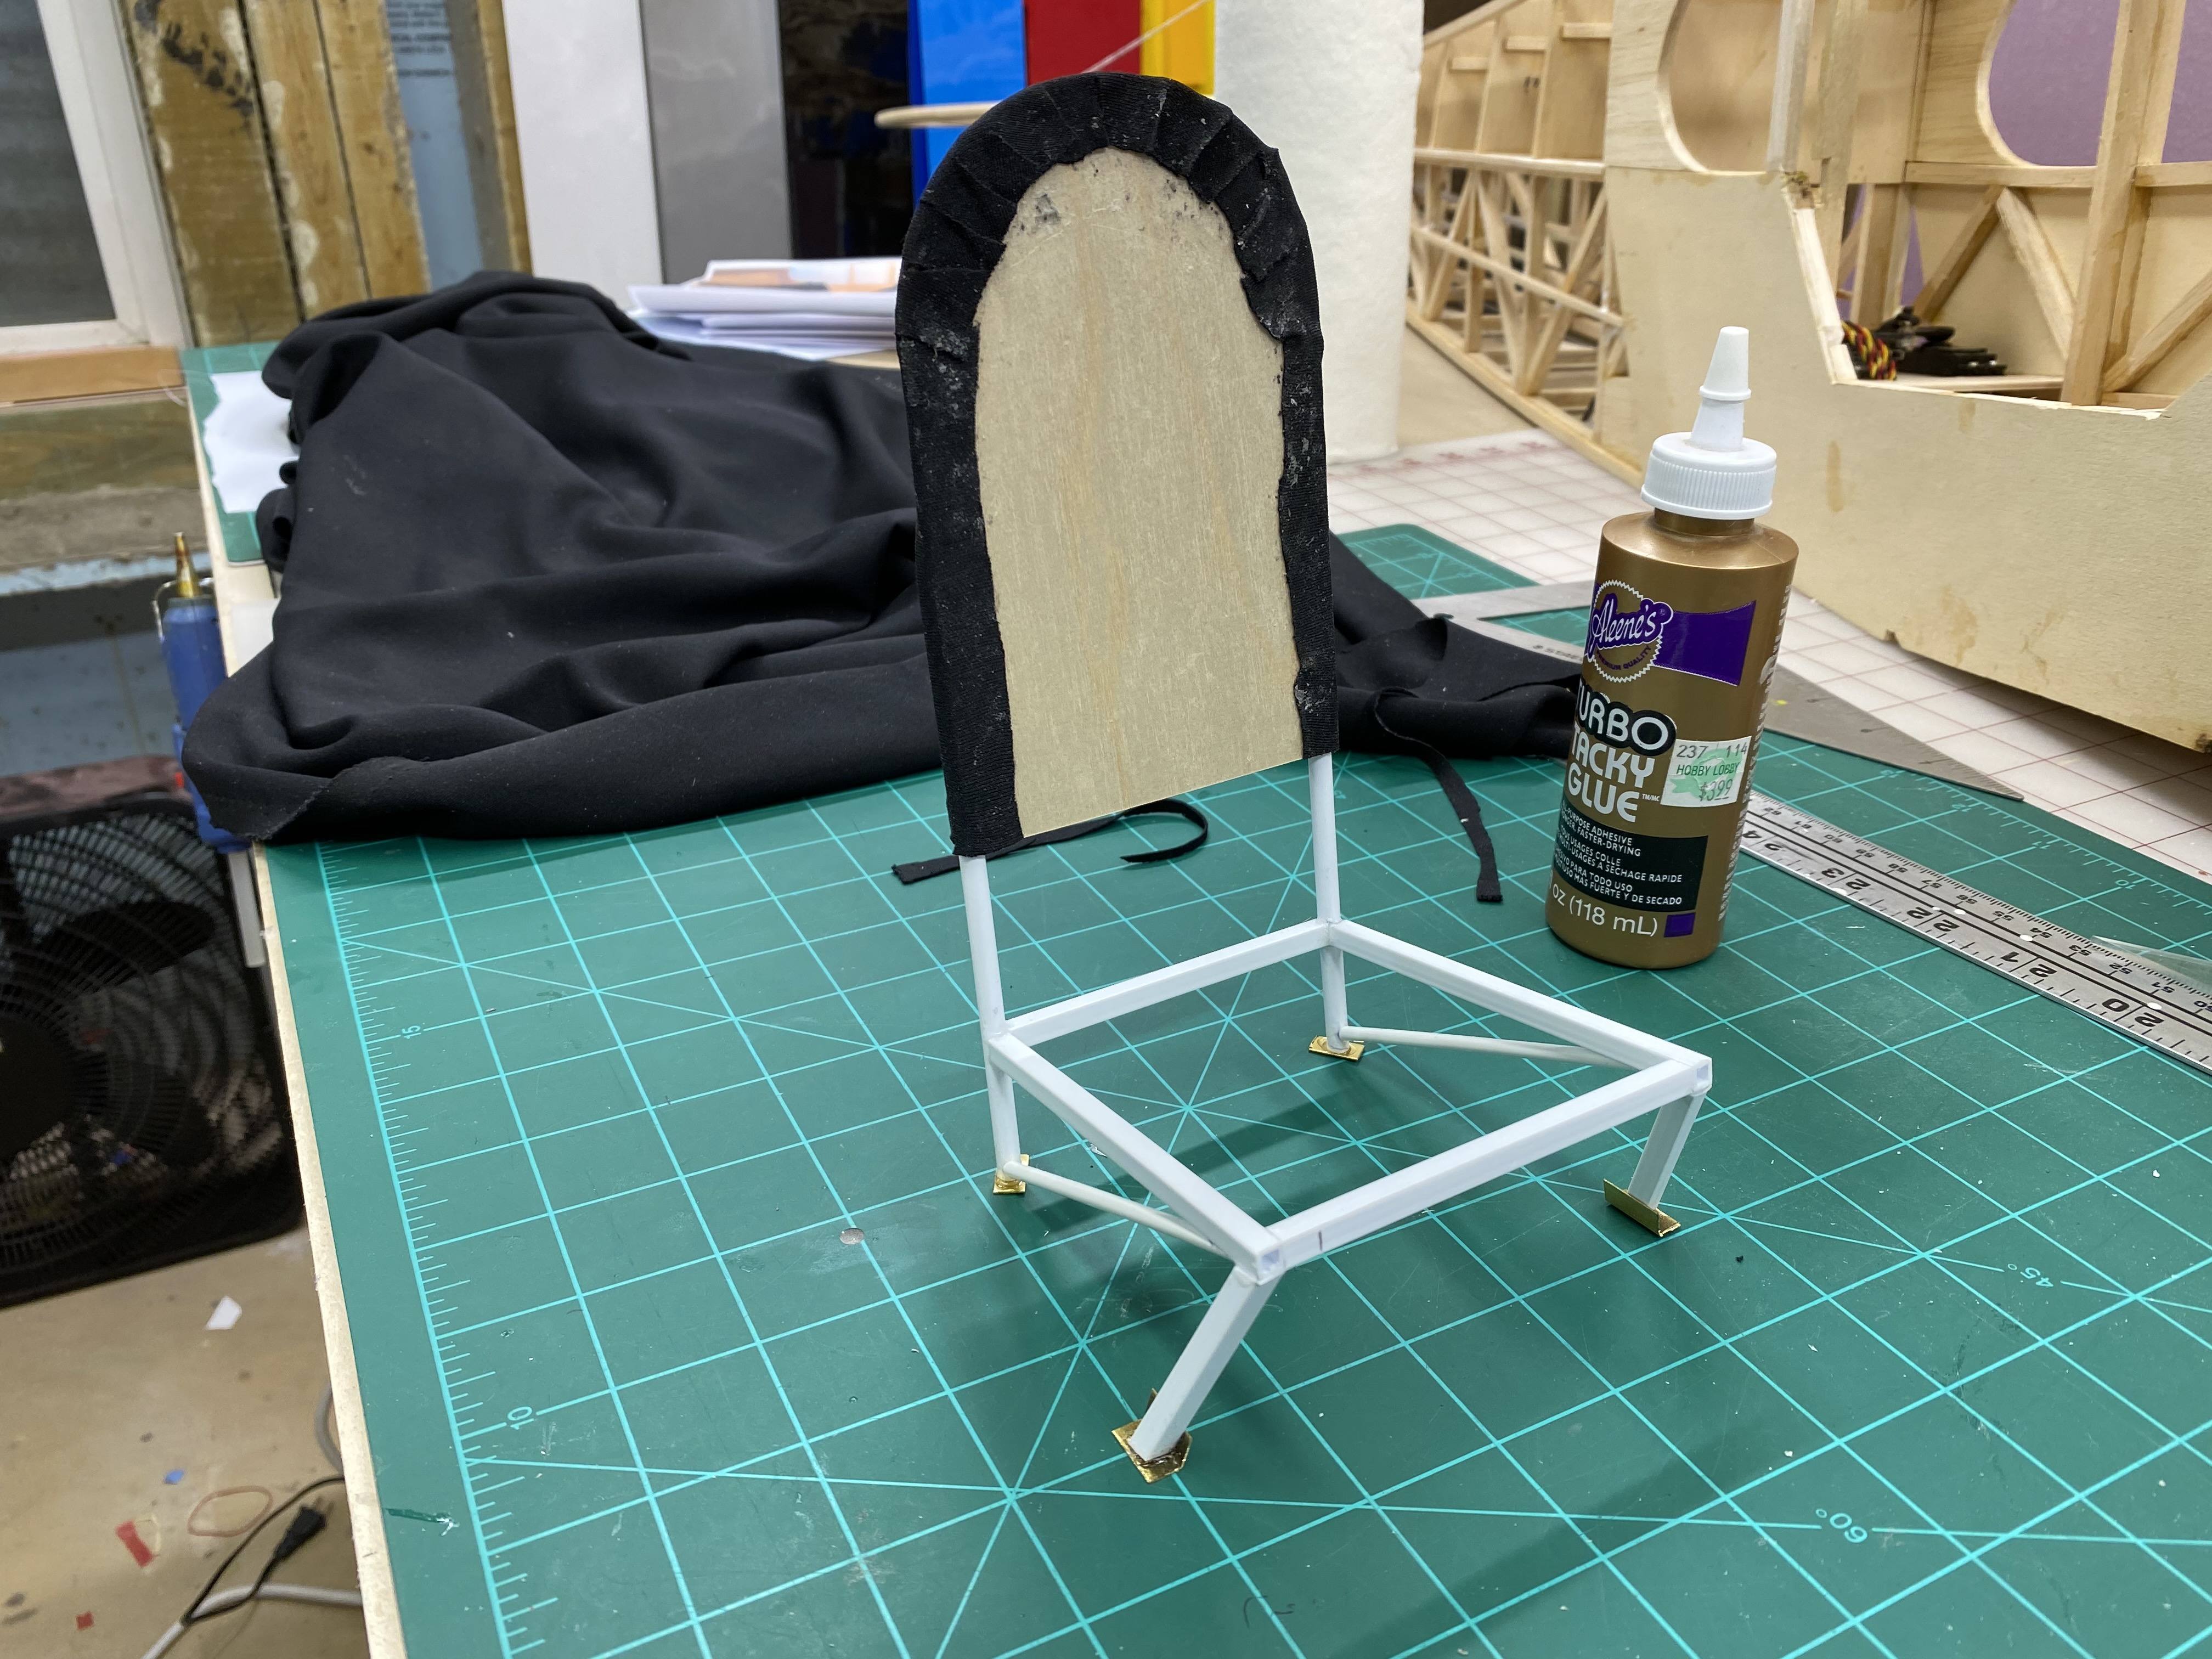
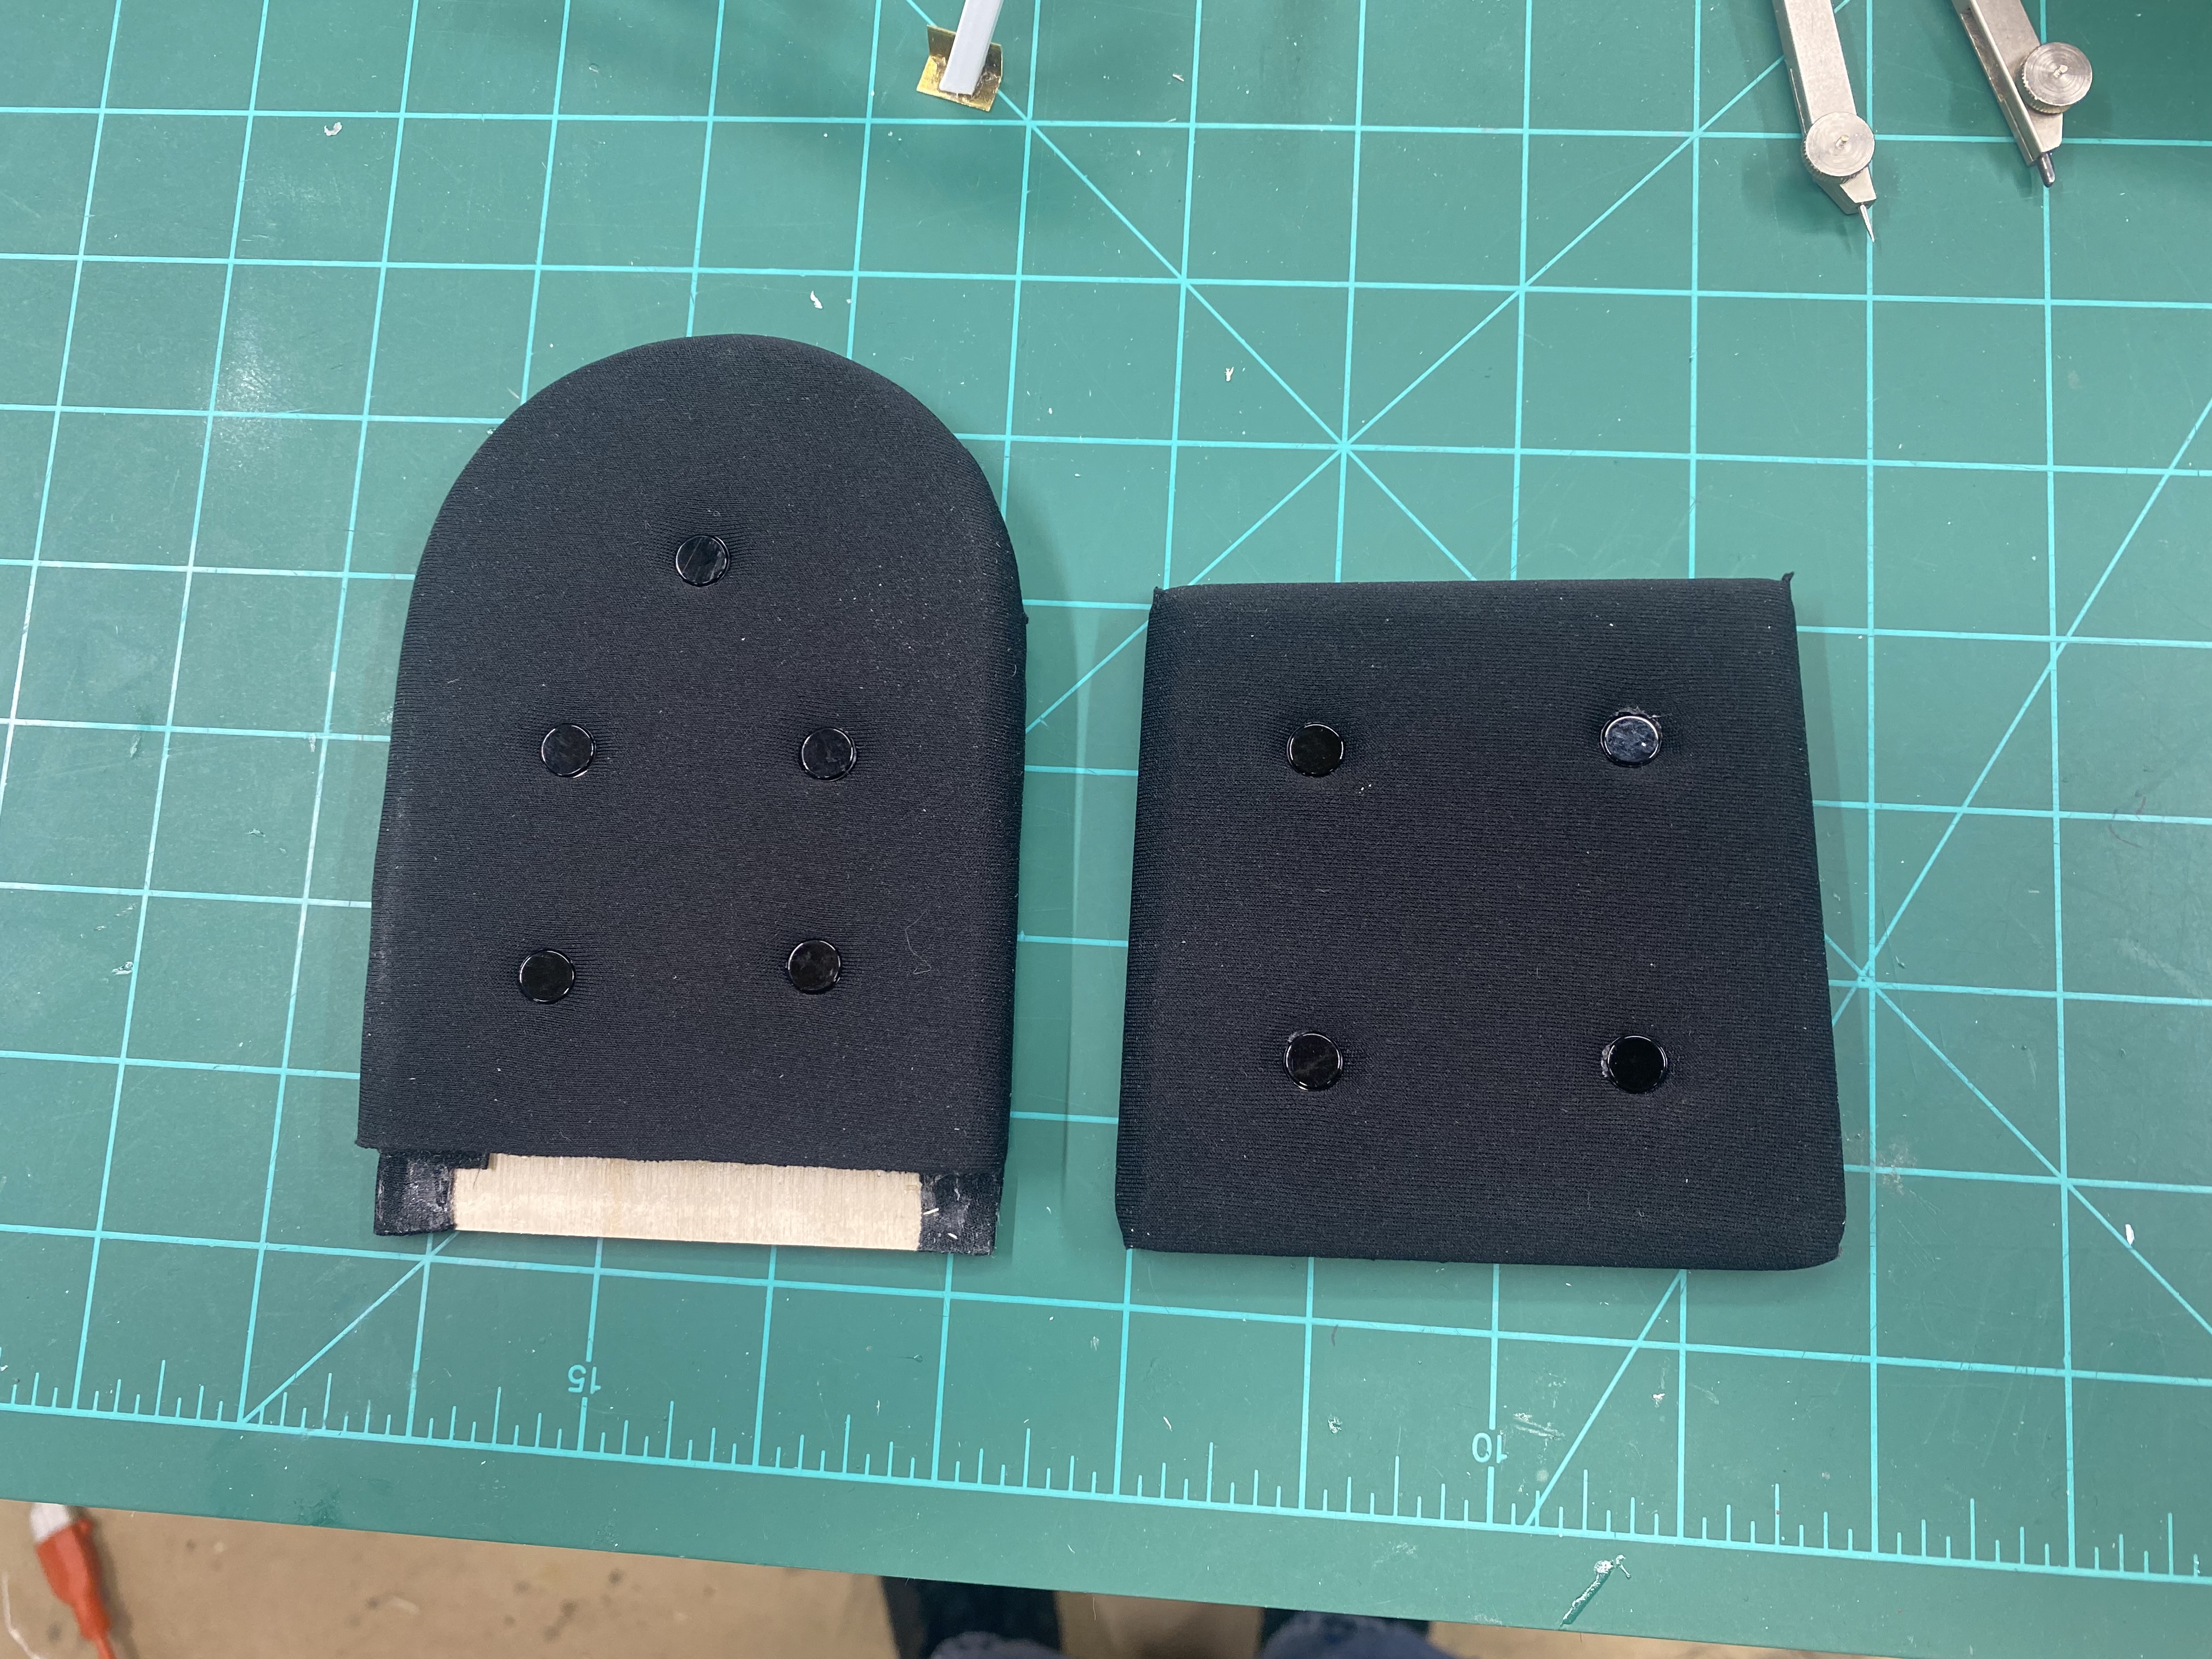
Absolutely gorgeous work, man!The front seat is done minus painting the frame black. The seat back slides over the frame.
cyclone3350
Master member
Ya, I have a build thread over at RCG. Sig1/4 Scale cub electric conversion build thread.
I also have a completed build thread for the Sig 1/4 scales floats that are going on this plane. I made some modifications on the floats, so they don't look super scale, but will be very functional.
I'm actually addressing the access door issue right now and decided not to do a scale door but sort of a half door/access so I wont need to reinforce the fuse as I plan on leaving the front part where the door would go attached to the formers. It may not be scale but it will be functional and easy to build. Hopefully in the next few days I will get my idea posted on the build thread and easier to understand. I just need enough room to get two 5s batteries (10s in series) in there on a battery tray very similar to your battery tray idea.
So that is U. I have been reading both of your threads. I am also using a 10s system which is why I am putting a door also. Originally this was supposed to be a gasser which is why the door is an after thought. BTW how was Alaska?
cyclone3350
Master member
My first time in Alaska for work and I had a great time as it was summer and light all the time. I think the 10s power 160 system will work great on the Cub with floats and would be a 3d plane without floats!
I almost bought the 160 for mine. I felt it to be a bit of overkill for a non float Cub. I am using an Admiral G26 from Motion. Should be fun aerobatic with that one.
cyclone3350
Master member
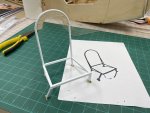
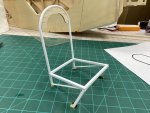
This will be my last update until I complete the rest of the interior details. For this idea, I replicated the rear seat sling. This is how it was done on the J3. The only difference is that snaps was used on the real one and I am using velcro. This is a dry fit . The center lower bar will be permanently glued in. The velcro on the ends, and soon to be on the sling facing itself, will allow me to remove the cushion and give access to radio compartment. The lower front will allow easier access for the ESC and BEC plug to run to the receiver
.

.
Attachments


cyclone3350
Master member
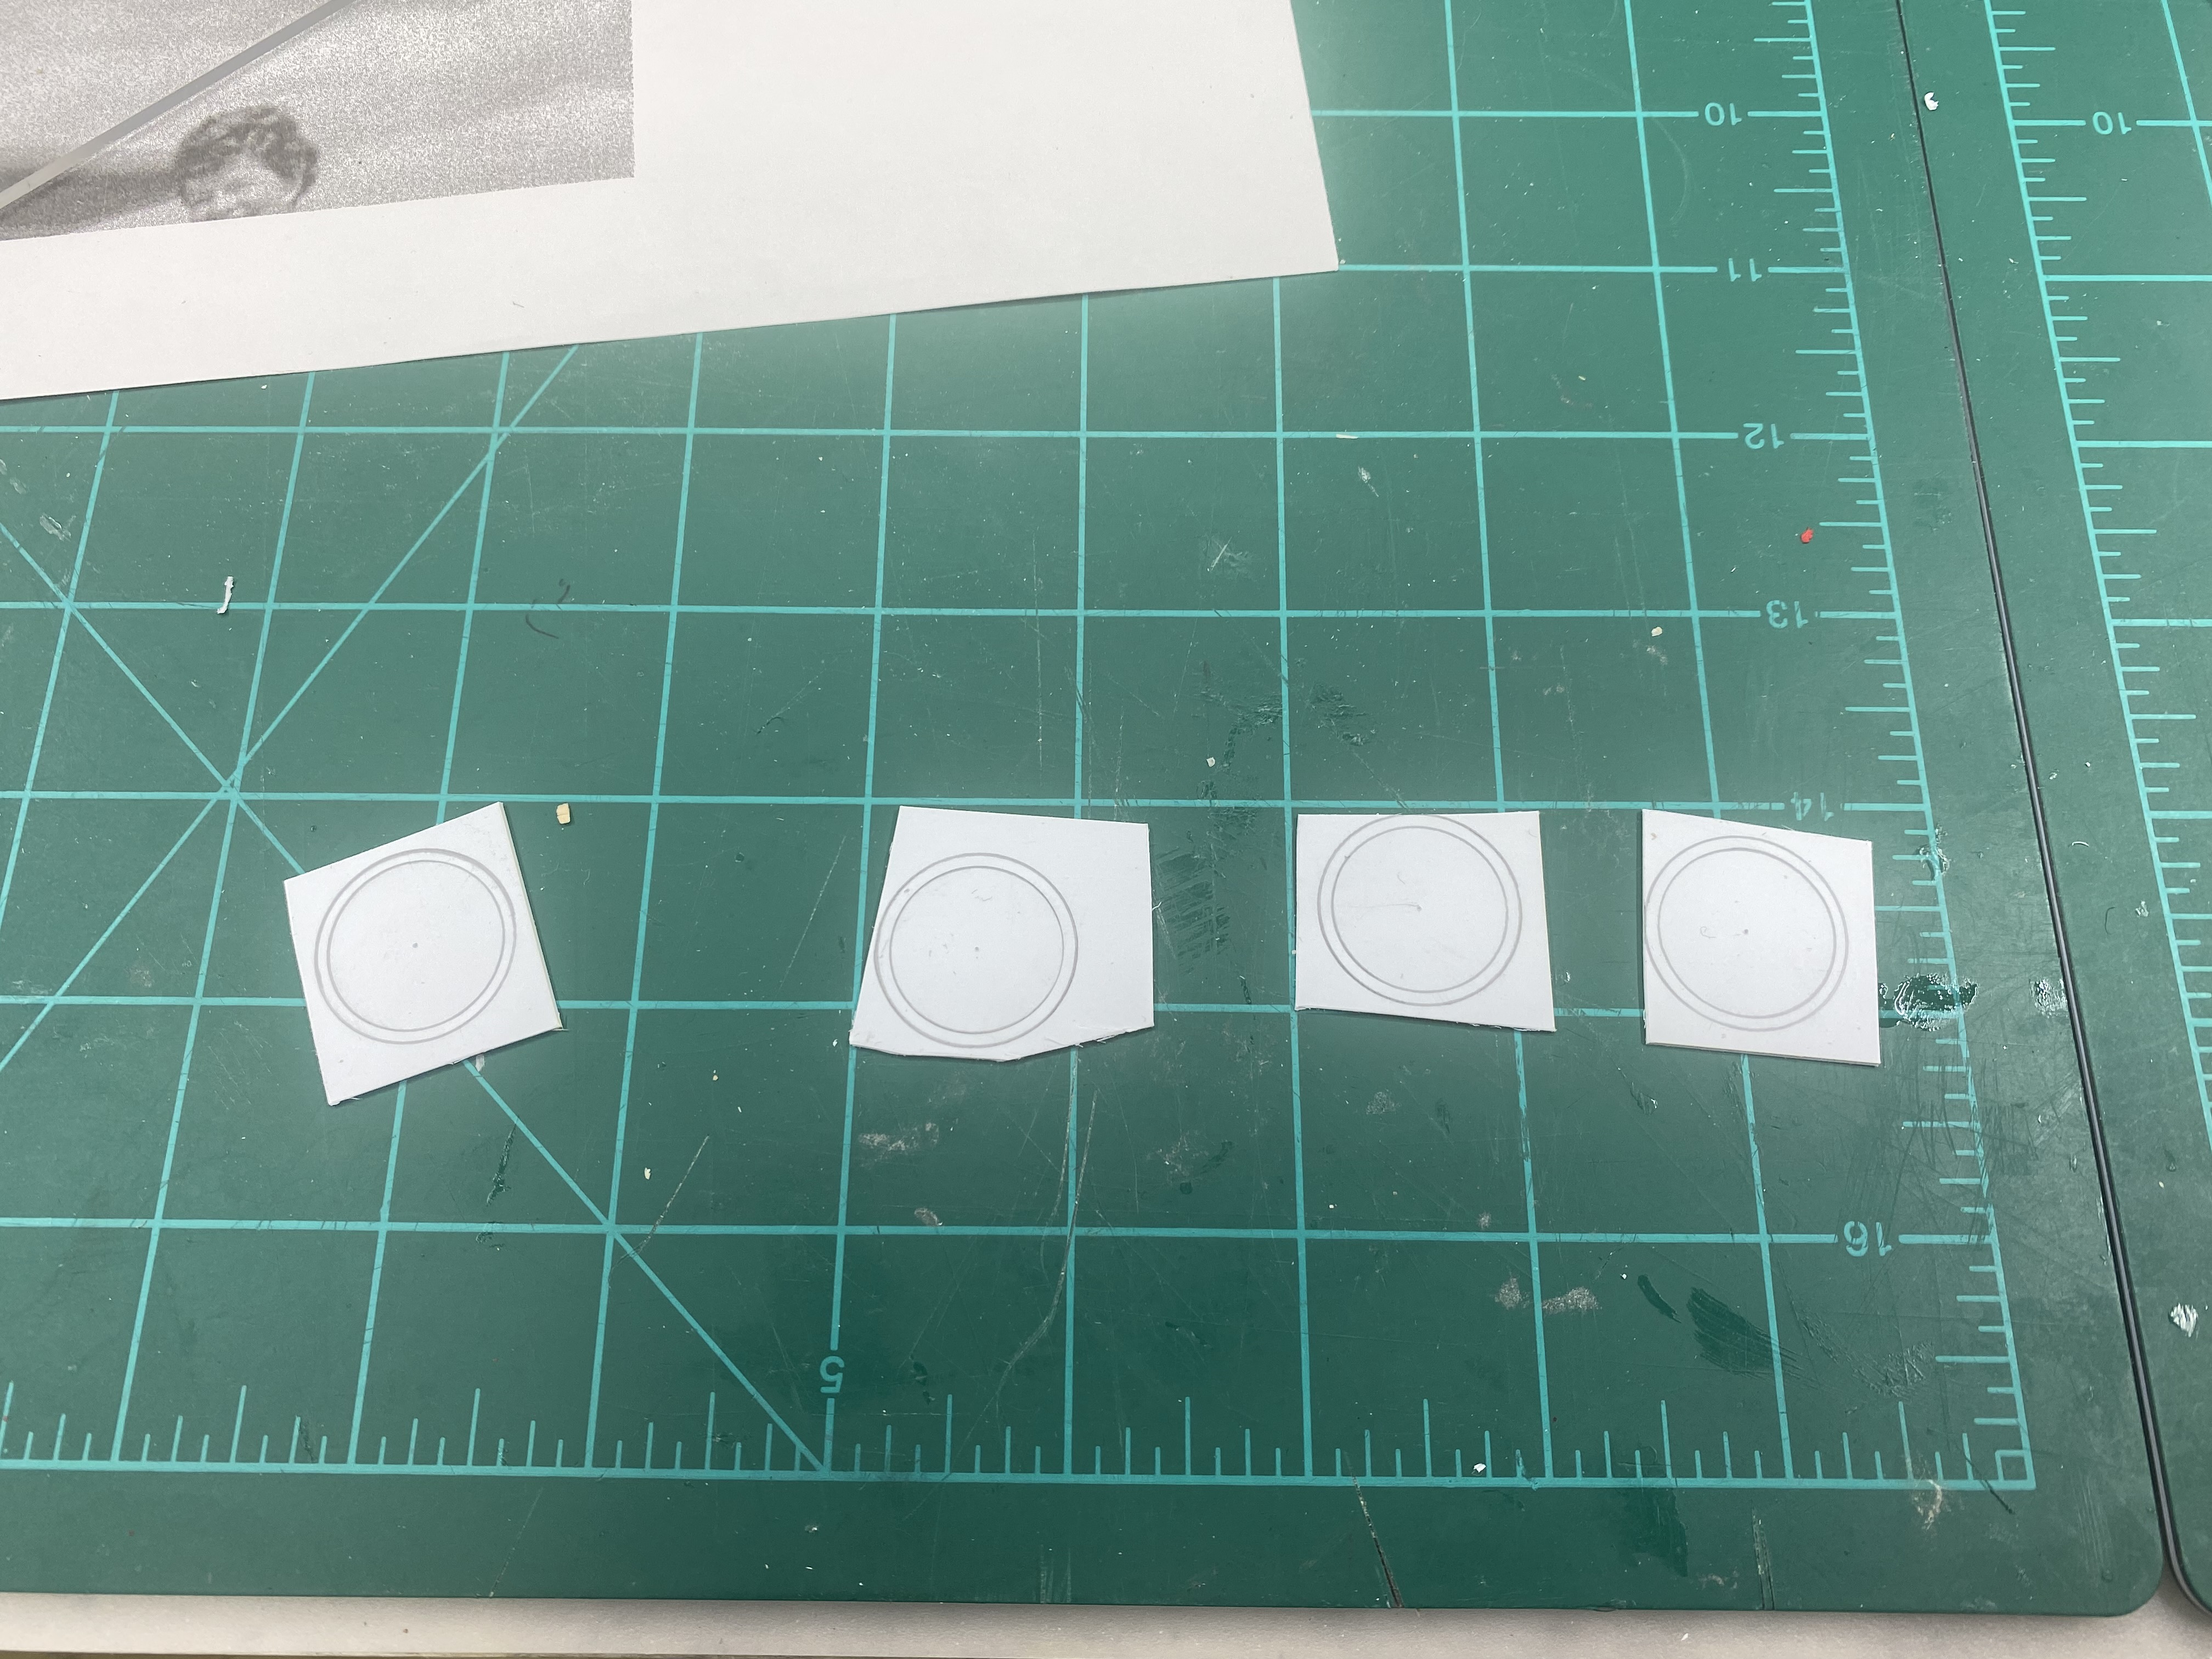
Almost done with all the interior parts. Did some dry fitting before adding final paint. The instrument is ready for final asseembly. For the round bezels, I cut out round discs from.030 plastic and made a circle just inside the outside diameter. Once I put it on a dremel, I sanded to a true round using sandpaper. To make a ring, I used a tip from a #11 Exacto and let it touch the inner circle until it cut through. The actual instruments R printed out on glossy photo paper. The throttle, various knobs and trim crank R form Iflytallies. Seat belts and control sticks to go.

Attachments


Similar threads
- Replies
- 7
- Views
- 1K
- Replies
- 19
- Views
- 2K