Any 3d or just not this 3d ?

Grind

Active member
I fell down a rabbit hole.

Before Christmas, my IT guru of a Son-in-law gave me a Flashforge Finder, from his fleet. He said I could have it if unjammed it. I printed a couple simple things, to start learning how to do it.

A few weeks later, he got another printer, so he had to offload another one. Now I have a Flashforge Dreamer NX.

A couple days ago, I stumbled on Creality's sale. Yeah, by the end of the week, I'll have an Ender 3 Pro.

I don't know where to stack these things, in a one bedroom apartment, now.

Oh, BTW, I've already printed spinners for Pop's P-38.
 
Last edited:

Wildthing

Legendary member
I fell down a rabbit hole.

Before Christmas, my IT guru of a Son-in-law gave me a Flashforge Finder, from his fleet. He said I could have it if unjammed it. I printed a couple simple things, to start learning how to do it.

A few weeks later, he got another printer, so he had to offload another one. Now I have a Flashforge Dreamer NX.

A couple days ago, I stumbled on Creality's sale. Yeah, by the end of the week, I'll have an Ender 3 Pro.

I don't know where to attack these things, in a one bedroom apartment, now.

Oh, BTW, I've already printed spinners for Pop's P-38.
So you have 3 3D printers is what I understand !!!!!:cautious::cautious::cautious:
 

Wildthing

Legendary member
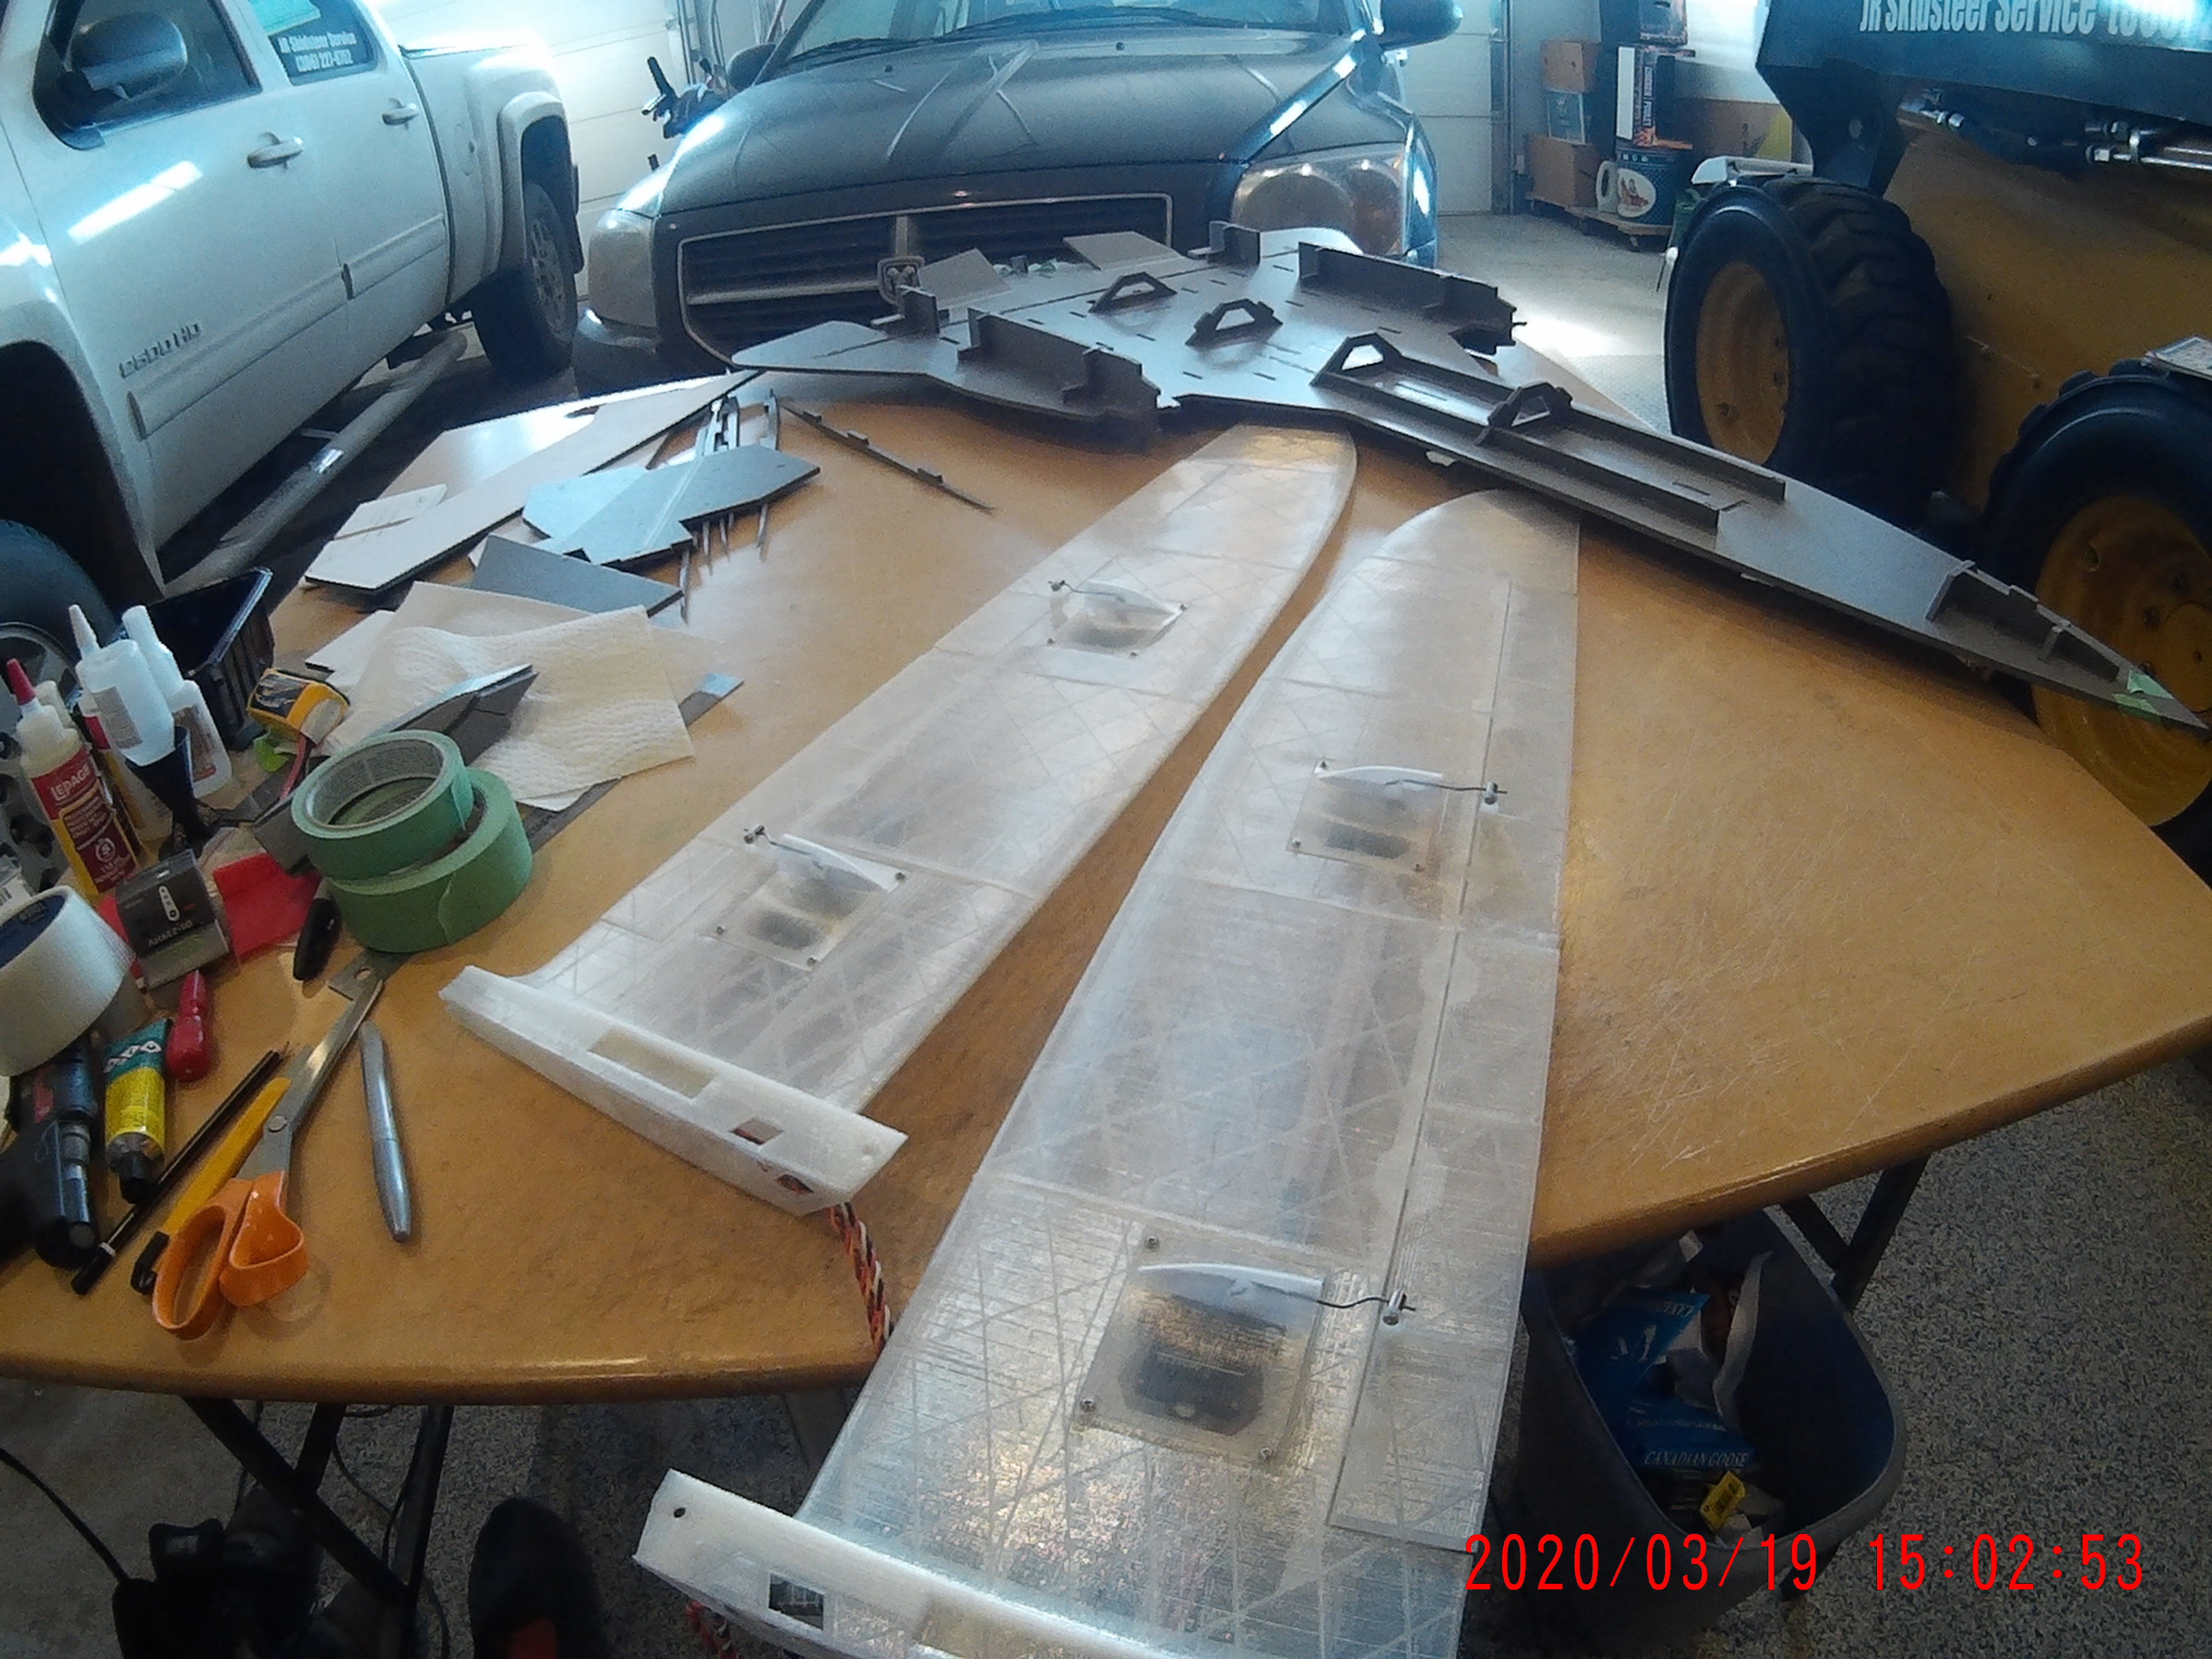
Well my slim wing Corona servos are done their 14 day isolation and are not showing any symptoms so I think it is safe to install them into the Joker glider wings. Still waiting on the 6mm cf rod and folding prop to complete the build, still cold and snow covered so no rush yet.
2020_0319_135928_001.JPG
2020_0319_150254_001.JPG
 

sundown57

Legendary member
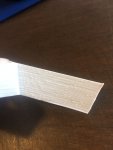
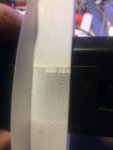
Im having a major problem solving this dilemma. I keep getting a zit at the z seam but then it leaves a really thin line after the zit. Spent all day yesterday working on it. I calibrated the extrusion to make sure 100mm is 100mm. I reset the Z offset. loosened and then readjusted all the belts, made sure the gear on the extruder is tight. i even uninstalled then reinstalled cura to get it back to factory settings. no difference. The Zits aren't all that bad and I know i can hide them with sharpest corner. but that thin stip after it makes the layers weak and it just falls apart. Any ideas i haven't thought of?
 

Attachments

  • IMG_4799.JPG
    IMG_4799.JPG
    654.4 KB · Views: 0
  • IMG_4798.JPG
    IMG_4798.JPG
    612.7 KB · Views: 0

Wildthing

Legendary member
Im having a major problem solving this dilemma. I keep getting a zit at the z seam but then it leaves a really thin line after the zit. Spent all day yesterday working on it. I calibrated the extrusion to make sure 100mm is 100mm. I reset the Z offset. loosened and then readjusted all the belts, made sure the gear on the extruder is tight. i even uninstalled then reinstalled cura to get it back to factory settings. no difference. The Zits aren't all that bad and I know i can hide them with sharpest corner. but that thin stip after it makes the layers weak and it just falls apart. Any ideas i haven't thought of?
Try changing your temperature, try lower first and see what happens.
 

sundown57

Legendary member
im still stuck with this same problem. After watching it print several times I finally figure out what's happening it seems to print fine up to the z seam but then when it comes back to it, it doesn't extrude enough material for the first 15mm. I there a setting to increase the start amount after a retraction?
 

Attachments

  • IMG_4802.JPG
    IMG_4802.JPG
    526.9 KB · Views: 0

sundown57

Legendary member
i put a new nozzle, gear, and bearing on it yesterday, went through all the screws on the machine to make sure nothing is moving. I tried both white and red filament but both hatchbox cause that's all I have. it seems that the hot end moved before the filament flows, but only when it starts from the z seam when it goes in the other direction it seems ok
 

Wildthing

Legendary member
i put a new nozzle, gear, and bearing on it yesterday, went through all the screws on the machine to make sure nothing is moving. I tried both white and red filament but both hatchbox cause that's all I have. it seems that the hot end moved before the filament flows, but only when it starts from the z seam when it goes in the other direction it seems ok

Rotate the model 45 or 90 degrees and slice it again
 

sundown57

Legendary member
that's the weird thing. I had it sitting left to right and it put the z seam center on rear wall. so I rotated it to put the seam in front and it still put the seam on the rear wall. no matter how i orientate it the seam is in the same plane on the build plate unless I select random or sharpest corner but when it do that its prints one wall great then the other wall is missing
 

Wildthing

Legendary member
that's the weird thing. I had it sitting left to right and it put the z seam center on rear wall. so I rotated it to put the seam in front and it still put the seam on the rear wall. no matter how i orientate it the seam is in the same plane on the build plate unless I select random or sharpest corner but when it do that its prints one wall great then the other wall is missing

Mine is at sharpest corner and seems ok, never really had to change it.

Do you have "retract at layer change" click on by chance, I don't.
 

Keno

Well-known member
Had similar problems and it related to my well used nozzle, change to a harder type and and better quality, it sure helped. Sometimes those 'zits" can be scraped off with a good quality heavy duty utility knife blade if they are just a few, however it looks like some scaring behind them that is a problem. I used Hatchbox at 220 and bed a 60. I found that the STL's work better for wing components as I could get better quality prints when less parts were printed at a time. I found wing parts best printed in line or 90 degree to face.
My Joker is almost finished I an very impressed with 3d Labprint, thing fit without having to file, cut or say a lot of four letter words. Flew my QTrainer yesterday and very impressed with it. It flew very similar to the Telemaster. Had some problem with landing as every time I came in on the runway it refused to land as it floated off. It has a heck of lift issue and you might think of mixing elevator to throttle. Love my Prusa printer. Anyway hope to get your problem solved and under control, enjoy the learning curve issue.
 

Wildthing

Legendary member
Alright, so I’m excited cause I’m getting a 3D printer tomorrow! My buddy has one that started to make wonky prints so I’m going to take it for a while and see if, with you guys’ help, I can get this thing to start printing well! This is the printer:
https://www.amazon.com/dp/B074W5JHRM/?tag=lstir-20

One day they are working perfect and then BAM all of a sudden crap everywhere. :D . I still wouldn't get rid of mine even though there are the days you want to crush it.

I would say go to their website and start reading up on it and maybe if they have a help forum check it out to.

Your friend maybe did zero maintenance on it, they don't print endlessly with no work.