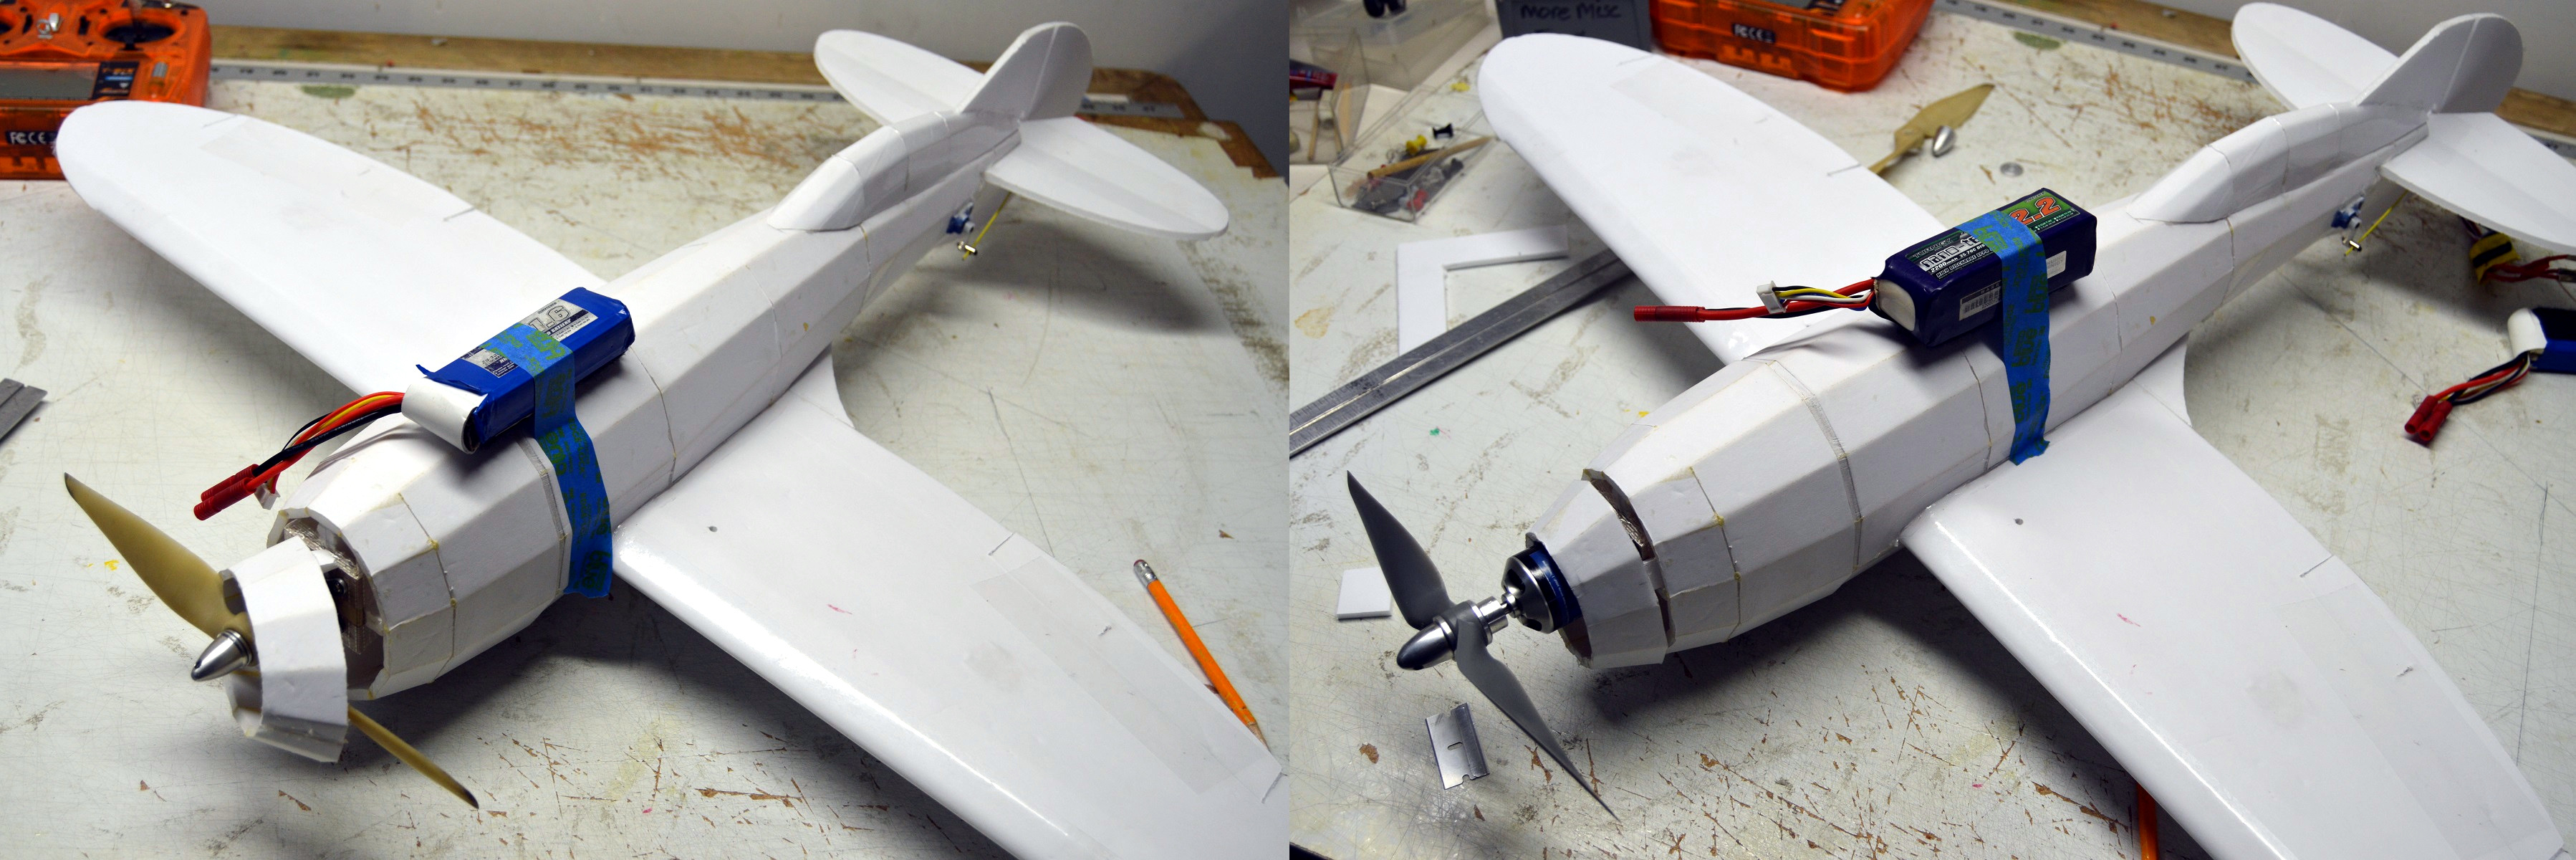
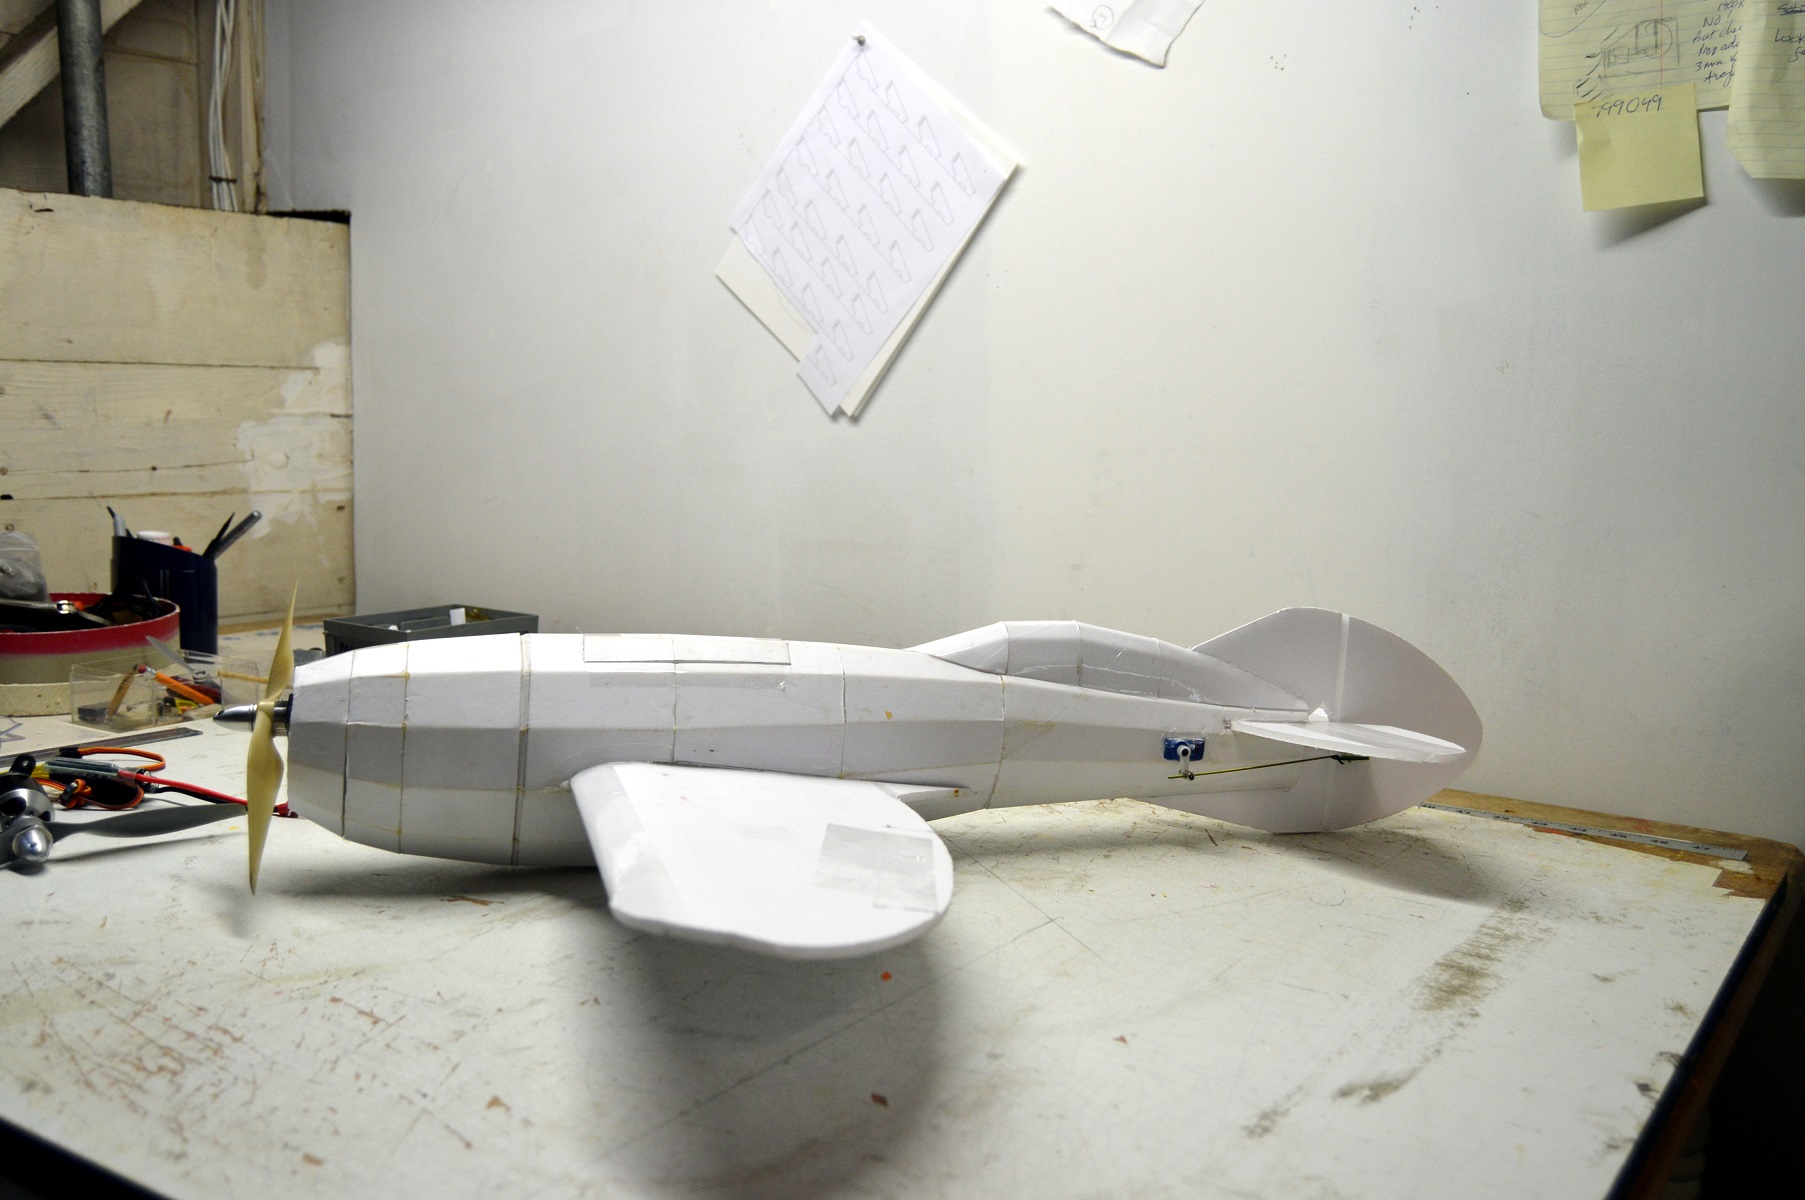
Introduction
First heard the name of this plane during the "We tried to fly it" video of the Bull Rider. Josh mentioned a "GBR3" plane and it took me a little time on Google to recognize that he actually said "Gee Bee R3"
The "Gee Bees" were racers designed and built in the late 1920s and early 1930s by Granville Brothers Aircraft and appeared unique as massive engines to which someone had bolted on two stubby wings. They never designed an R3 however - its a fictional plane. The R3 was designed by Mirco Pecorari and ultimately became an RC model (although I believe there is / was some legal issues between Mirco and the company that brought out the original RC models). There are allegedly plans to build this as a full scale plane but I am not sure what the status of that project is.
Design
While looking for a three view, I found a really nice set of plans by Peter Marshal which are freely available at AeroFred. They are in PDF format, so I took screen captures of the various pages and imported the images into Sketchup. With these images I could draw out the profile view, half of the plan view, tailfeathers and wings. There was also a nice selection of fuselage cross section pieces that I could use to fill out the 3D fuselage shape in Sketchup.
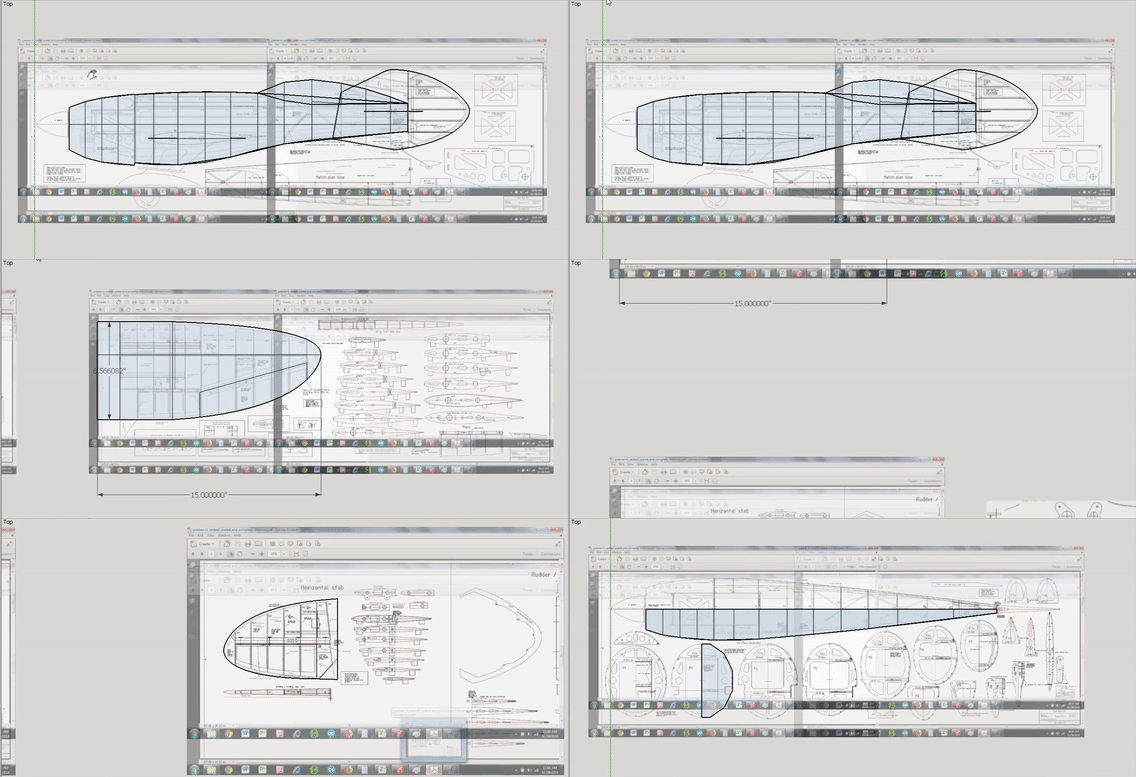
I modified the wing to fit an FT flat-bottomed type wing build approach, the main changes being replacing the curved leading edge with a straight leading edge.

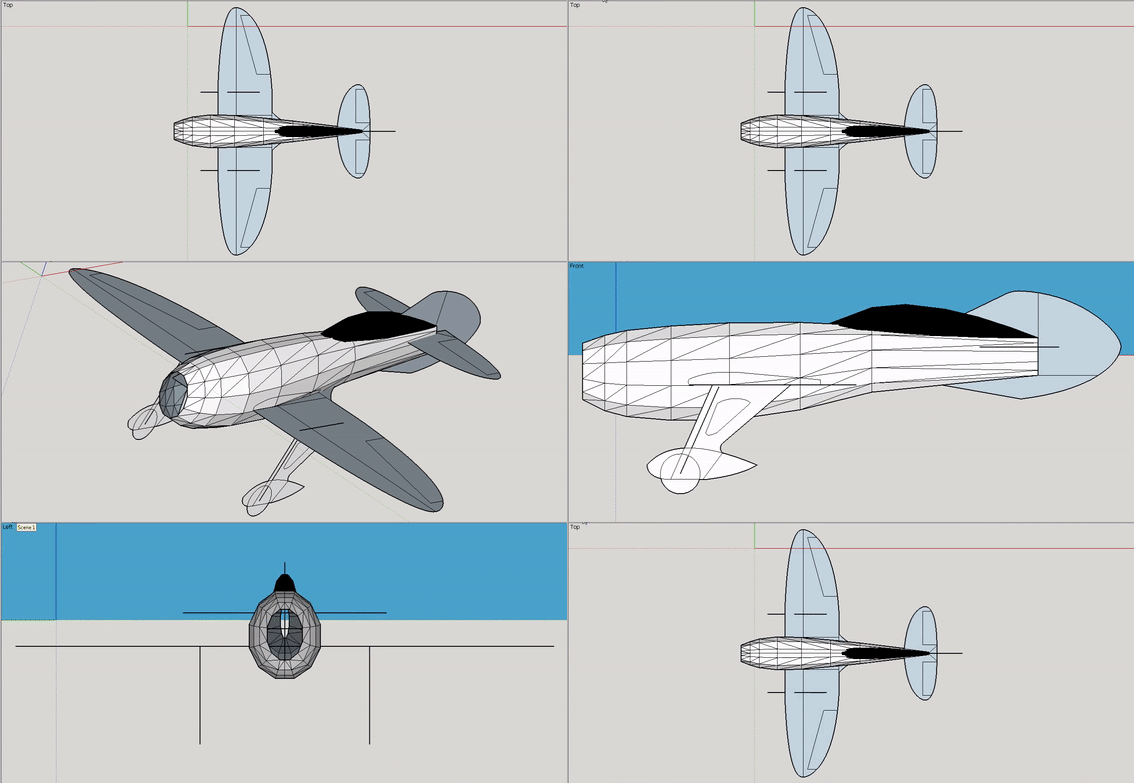
I brought the flat panels together in three dimensional space, divided the fuse up into reasonably sized sections, and planked the fuse. I also added the landing gear shapes but I probably won't build these, at least initially. The canopy was added as well as a motor mount.
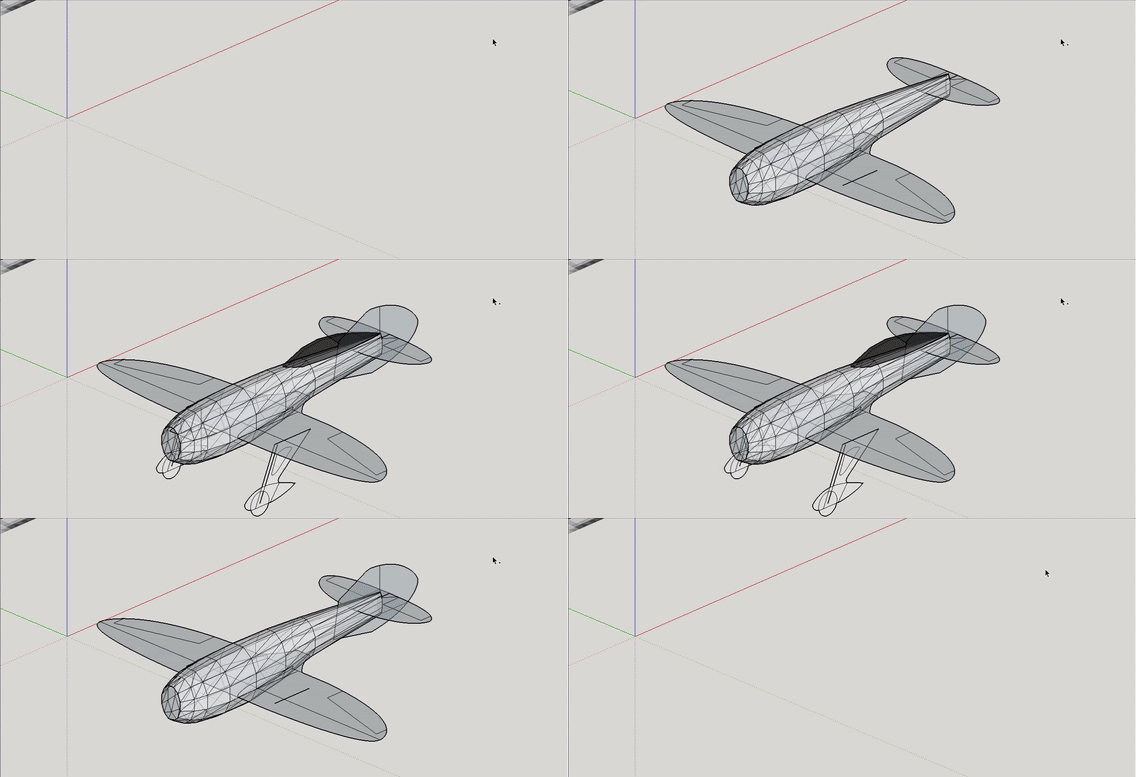
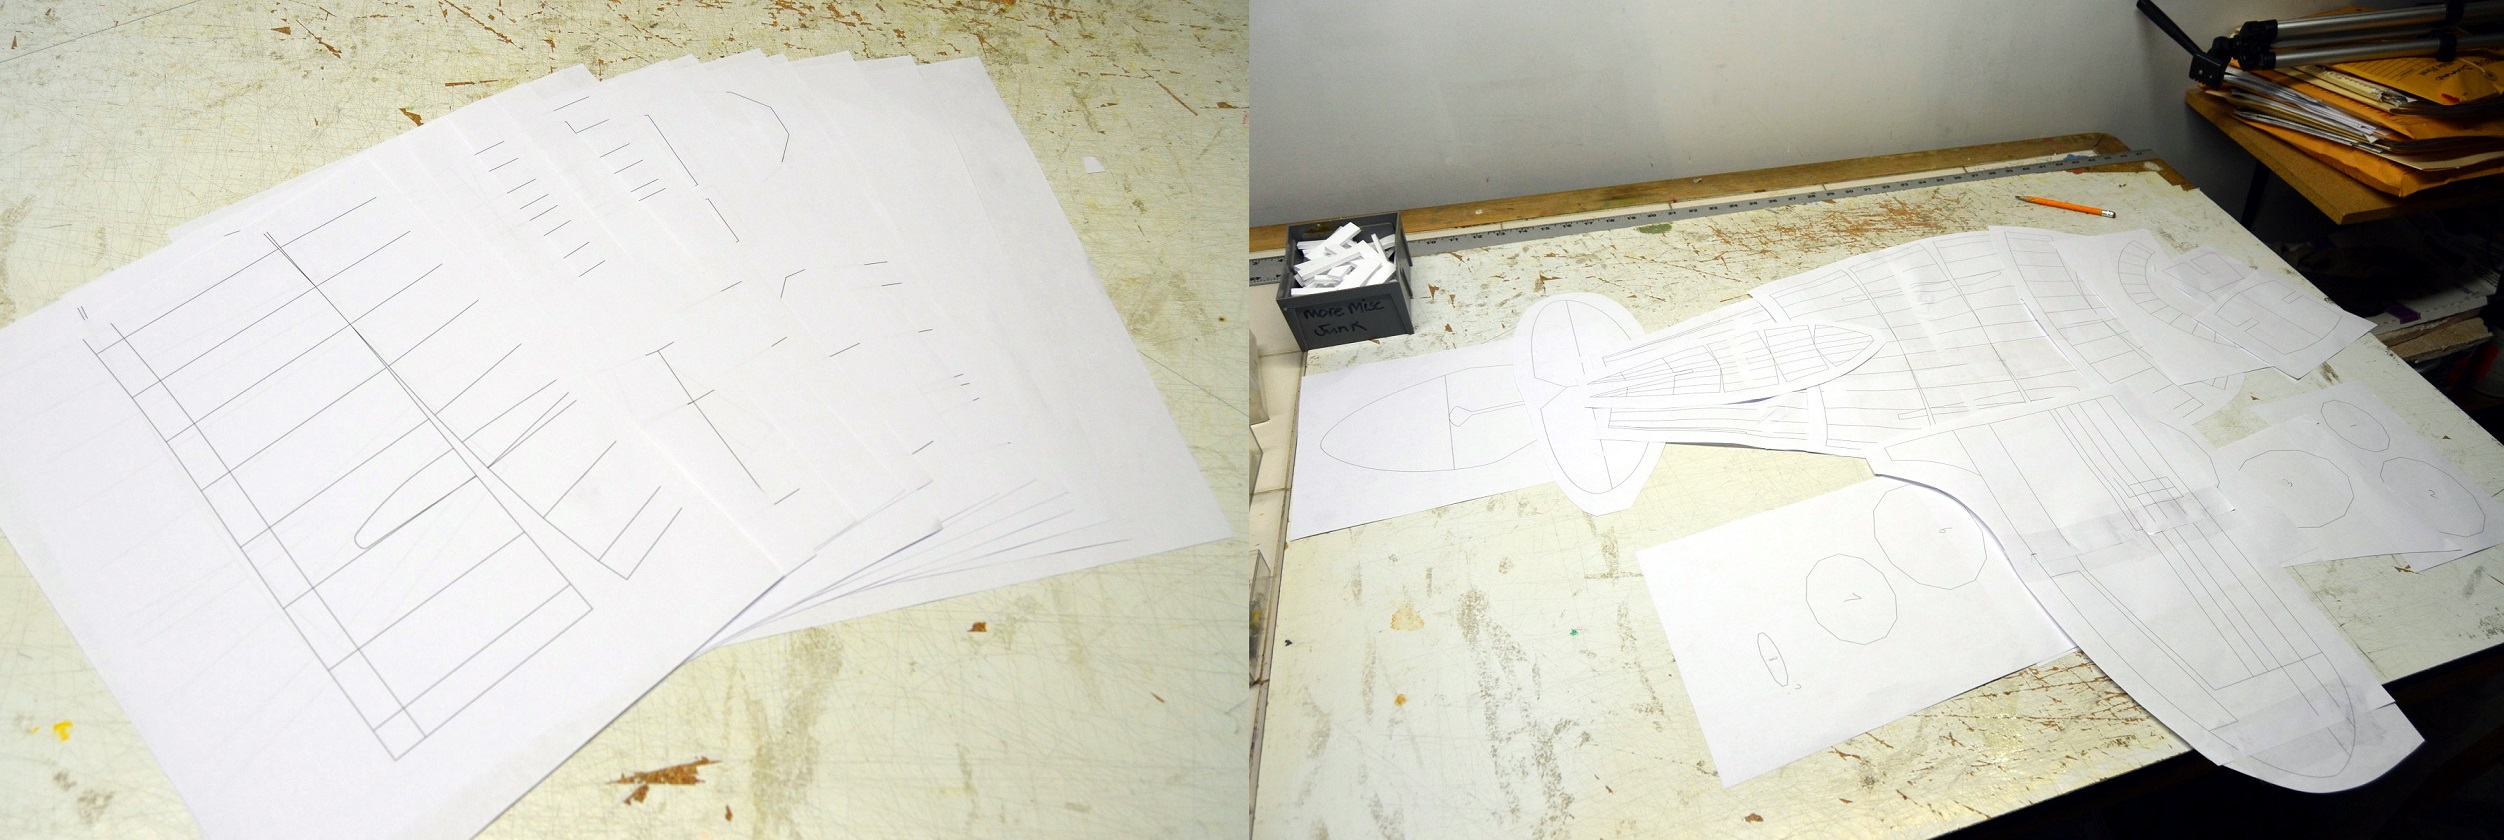
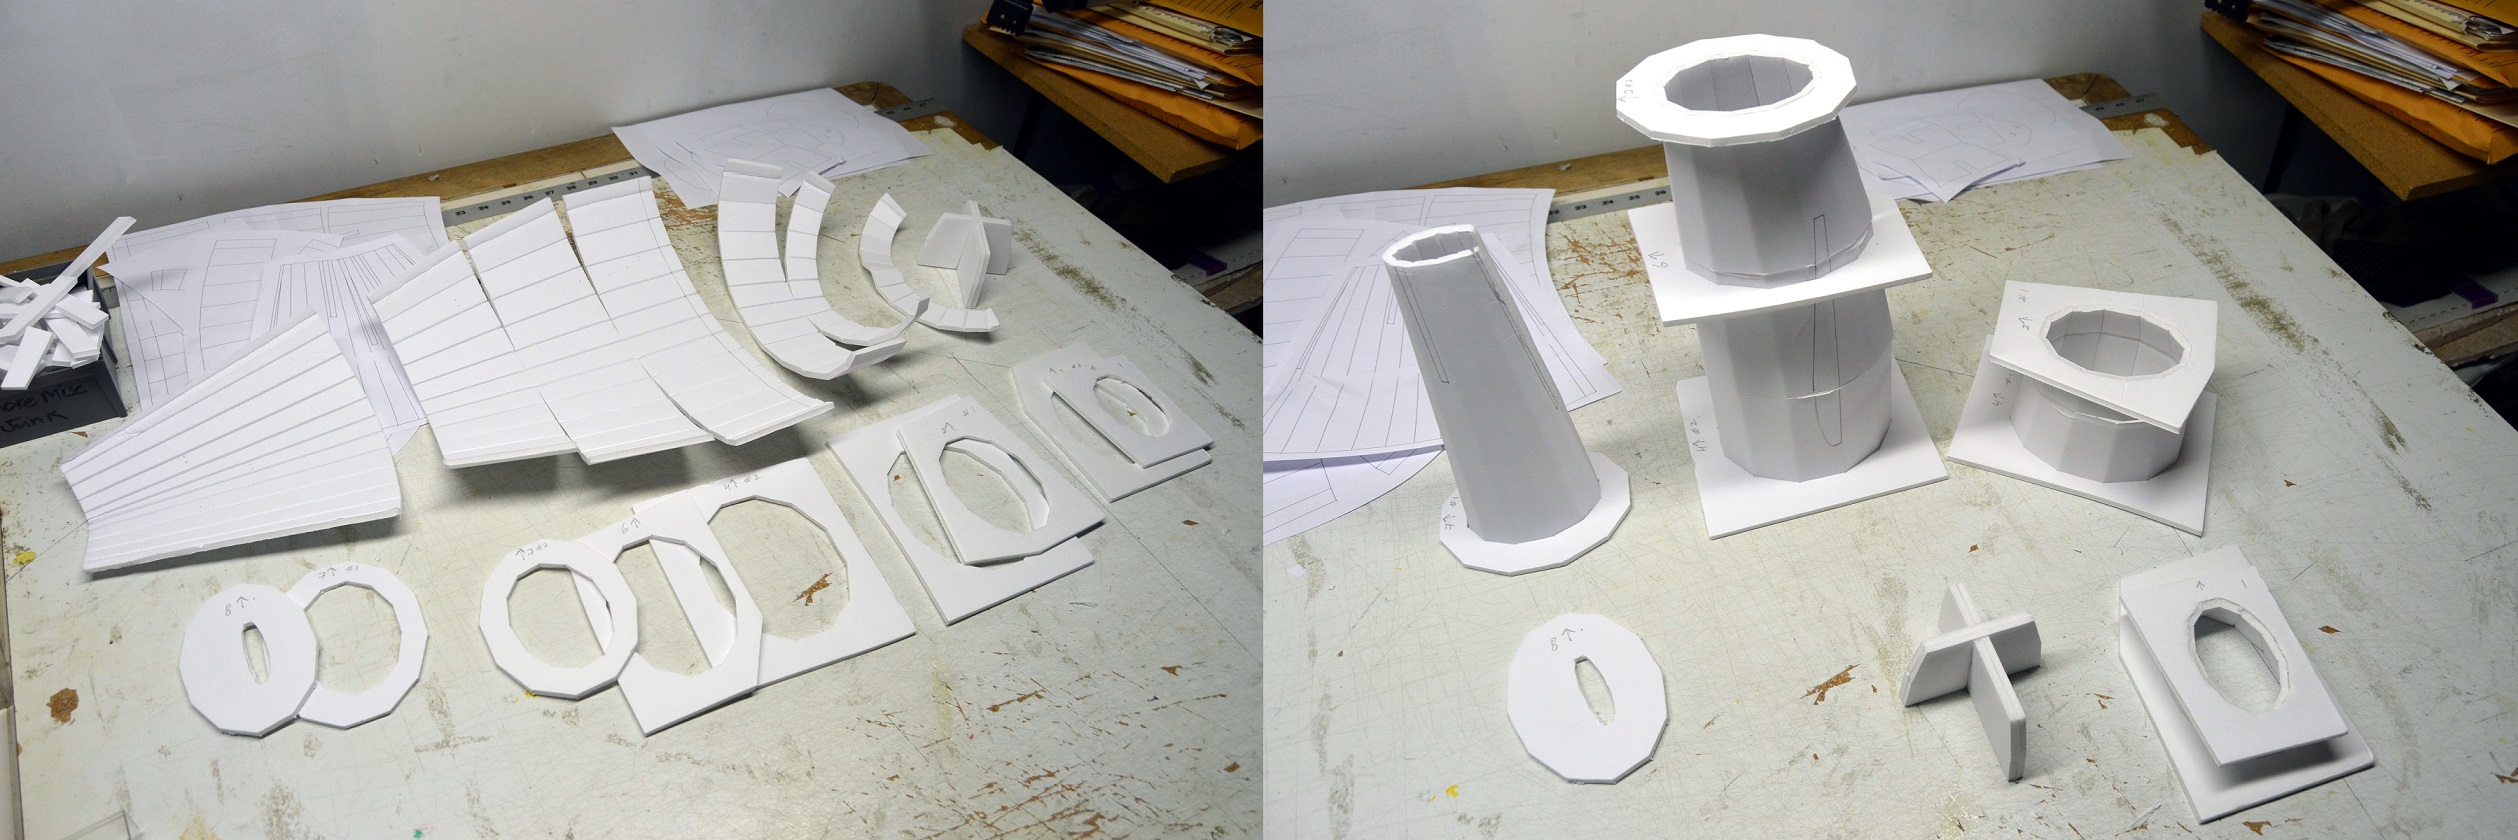
Final plane looks pretty good. I'm not sure that it fully captures the R3 shape but I'll have a better idea once I convert this to foamboard. The parts were unfolded into plans and are now ready for printing.
I am going to use a Power 15 motor from E-Flite which is ~550 watts and a 9x9 prop. This is the same power setup I used on @rockyboy 's Caudron 460. The wingspan is only 30 inches so I am pushing the wing loading into the high teens in order to make her as fast as possible with the chosen power setup.
EDIT: Update 18th December 2018
Plans are now added to this post. Zipped file includes the Sketchup Model, .DXF and DoubleCAD XT .2CD files, Full PDF plans and decals in PDF format which were used for the following build:
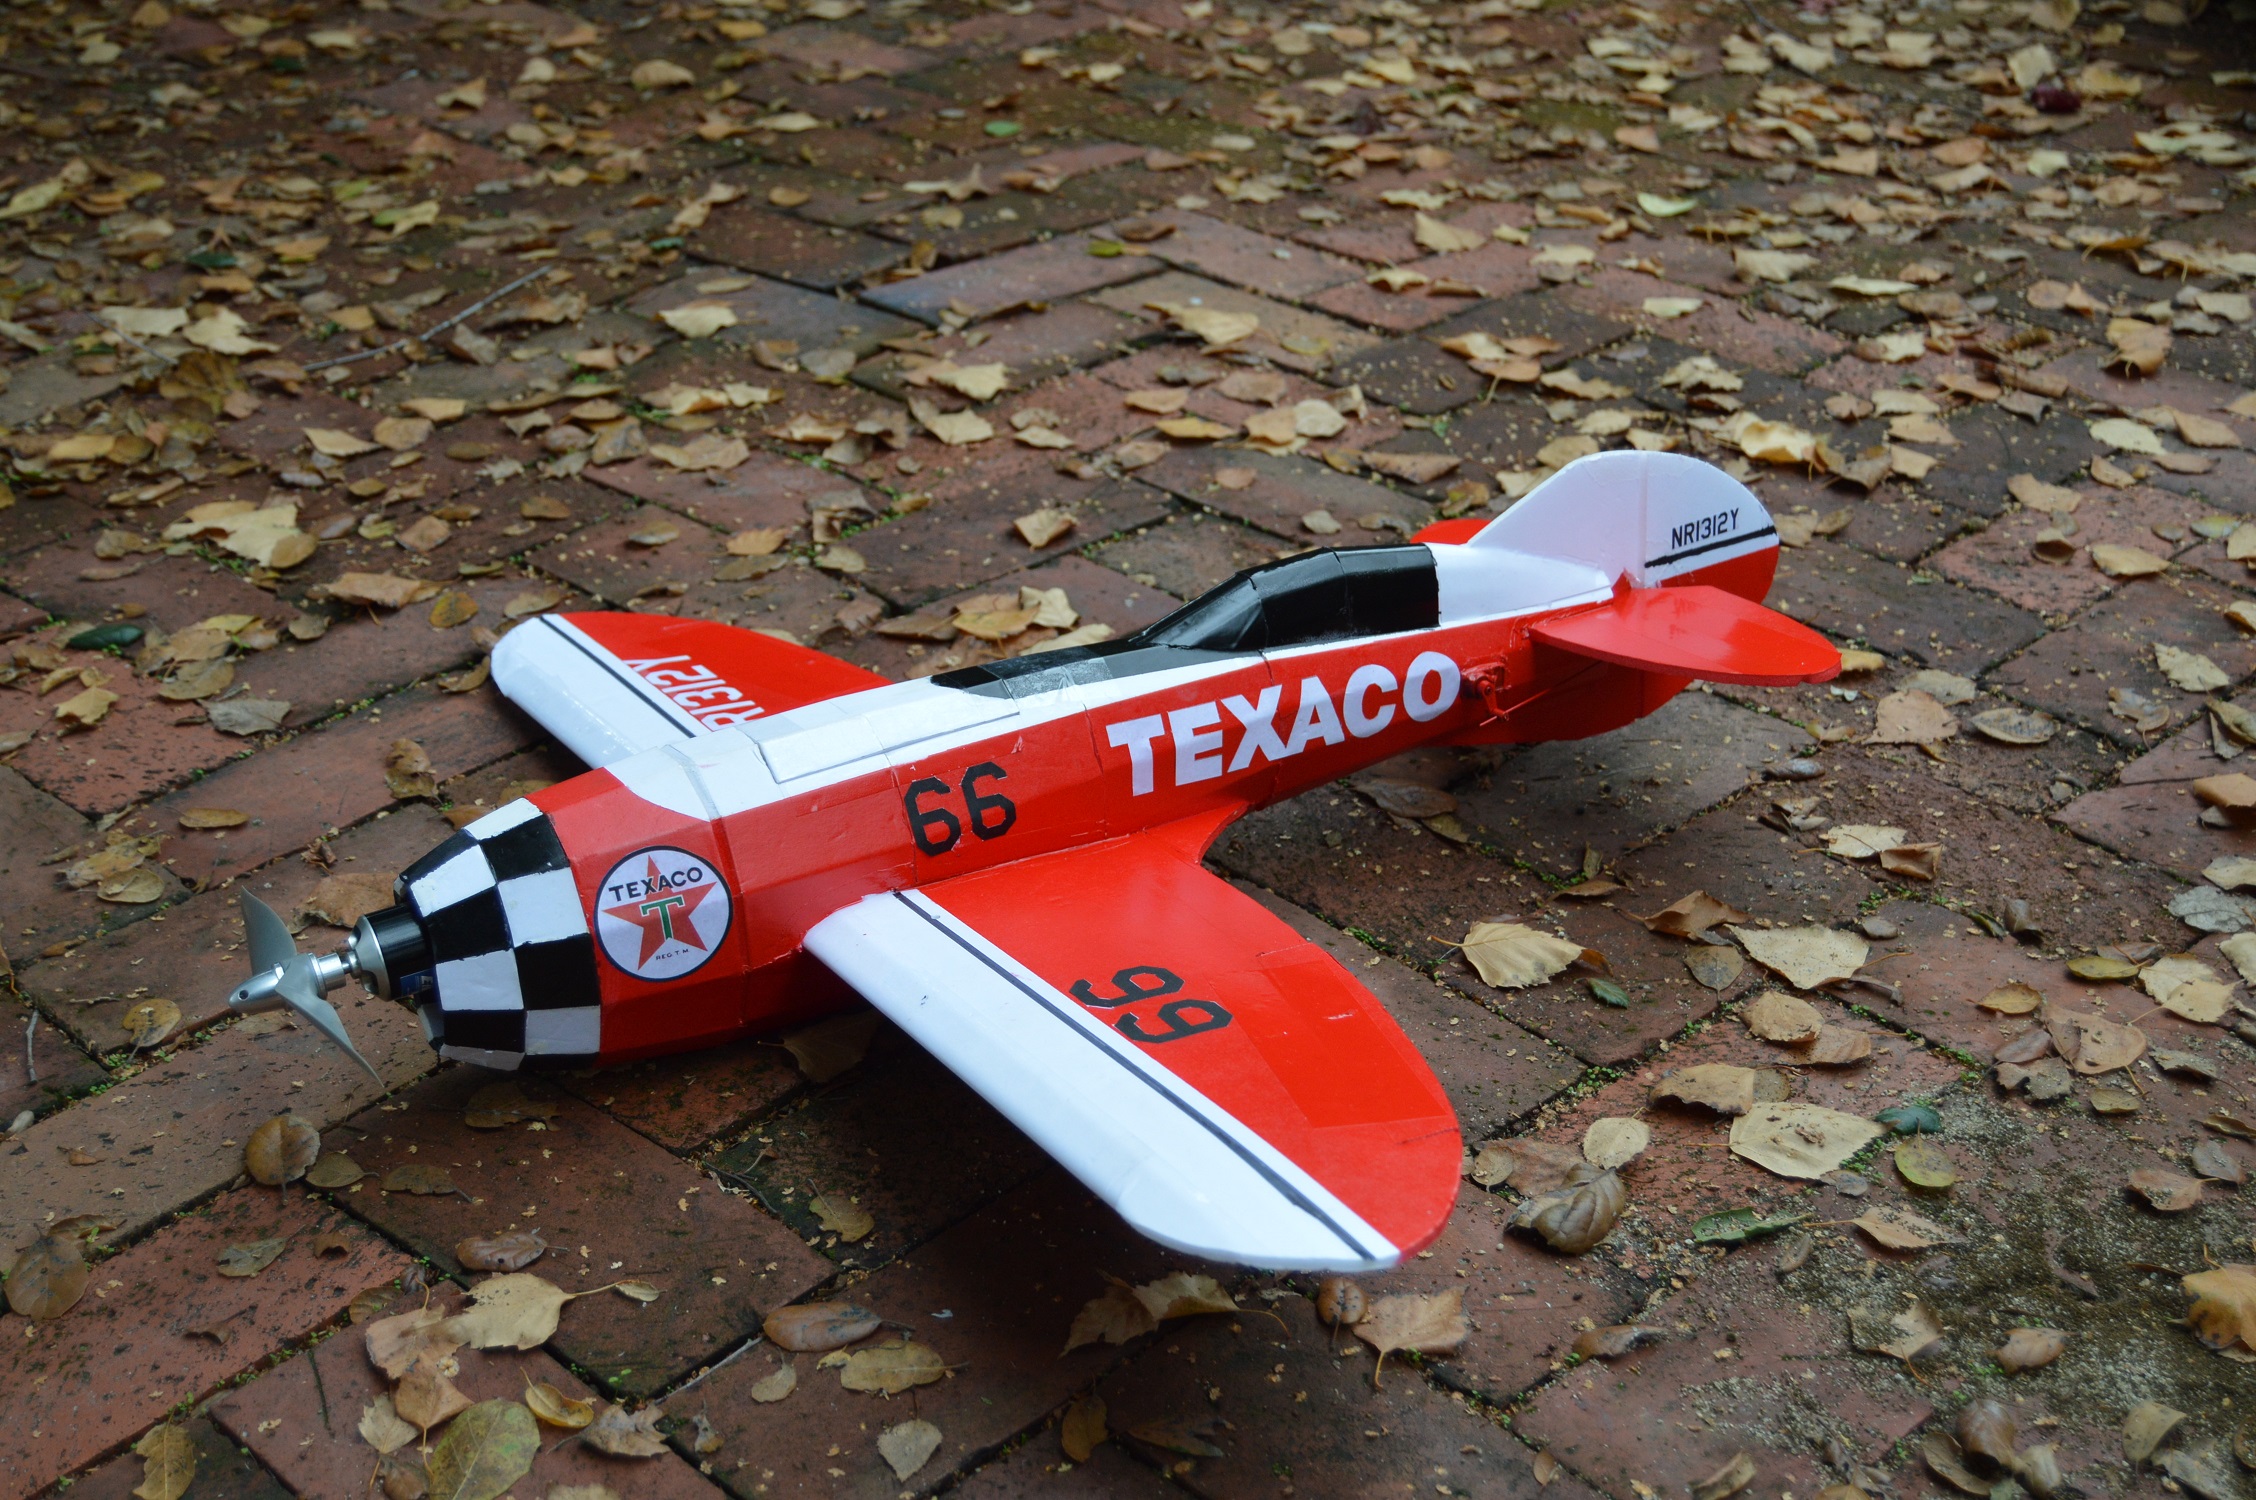
This model has been flown with the following setups:
NTM 2826 1200Kv / 9 x 6 prop / 1600mAh 3S - all up weight 18 oz, approx 200 watts
E-Flite Power 15 950Kv / 9 x 9 prop / 2200mAh 4S - all up weight 28oz, approx 550 watts
First heard the name of this plane during the "We tried to fly it" video of the Bull Rider. Josh mentioned a "GBR3" plane and it took me a little time on Google to recognize that he actually said "Gee Bee R3"
The "Gee Bees" were racers designed and built in the late 1920s and early 1930s by Granville Brothers Aircraft and appeared unique as massive engines to which someone had bolted on two stubby wings. They never designed an R3 however - its a fictional plane. The R3 was designed by Mirco Pecorari and ultimately became an RC model (although I believe there is / was some legal issues between Mirco and the company that brought out the original RC models). There are allegedly plans to build this as a full scale plane but I am not sure what the status of that project is.
Design
While looking for a three view, I found a really nice set of plans by Peter Marshal which are freely available at AeroFred. They are in PDF format, so I took screen captures of the various pages and imported the images into Sketchup. With these images I could draw out the profile view, half of the plan view, tailfeathers and wings. There was also a nice selection of fuselage cross section pieces that I could use to fill out the 3D fuselage shape in Sketchup.

I modified the wing to fit an FT flat-bottomed type wing build approach, the main changes being replacing the curved leading edge with a straight leading edge.

I brought the flat panels together in three dimensional space, divided the fuse up into reasonably sized sections, and planked the fuse. I also added the landing gear shapes but I probably won't build these, at least initially. The canopy was added as well as a motor mount.

Final plane looks pretty good. I'm not sure that it fully captures the R3 shape but I'll have a better idea once I convert this to foamboard. The parts were unfolded into plans and are now ready for printing.

I am going to use a Power 15 motor from E-Flite which is ~550 watts and a 9x9 prop. This is the same power setup I used on @rockyboy 's Caudron 460. The wingspan is only 30 inches so I am pushing the wing loading into the high teens in order to make her as fast as possible with the chosen power setup.
EDIT: Update 18th December 2018
Plans are now added to this post. Zipped file includes the Sketchup Model, .DXF and DoubleCAD XT .2CD files, Full PDF plans and decals in PDF format which were used for the following build:

This model has been flown with the following setups:
NTM 2826 1200Kv / 9 x 6 prop / 1600mAh 3S - all up weight 18 oz, approx 200 watts
E-Flite Power 15 950Kv / 9 x 9 prop / 2200mAh 4S - all up weight 28oz, approx 550 watts
Attachments
Last edited:


