LAZY J
New member
Hi all!
Thought I would share my recently completed build of a 3 channel modification based on the FT Simple Storch - this one has come about due to the need of something nice and simple to introduce my 10 year old nephew to the art of aeromodelling.
The general goal here was a simple three channel trainer (RET) that was not too small/twitchy and that was a nice easy build with perhaps a few mods to make it both lighter and more durable. Looking at the FT simple Storch the idea was set and the build got underway.
To be clear this really is not a build log as such and most of the mods were using the TLAR (that looks about right) method so no plans but I am more than willing to take measurements or answer any questions from anyone who may want to recreate something similar.
First of all the plan was printed off and we got to work with my young nephew taping the plans together...

Jumping forward to the airframe completed with a few notes.
Unusual for me in that I gave in to the quick and easy hot glue gun. Using the bare minimum to hold the airframe components together I found that a lightweight airframe is definitely still possible (688 gram/24 oz final AUW).
I deviated from the plans in a few areas as noted on the picture below. Main differences being the lack of ailerons, the addition of a decent amount of dihedral and the removal of the internal paper on the rear half of the fuse and wing (found to be a necessity if a lighter battery is going to be used). Of interest is the paper is removed after sanding of all required bevels as per my usual method noted here on my incomplete/soon to be completed modified Baby Blender : https://forum.flitetest.com/index.php?threads/lazy-js-modified-baby-blender-build.39022/
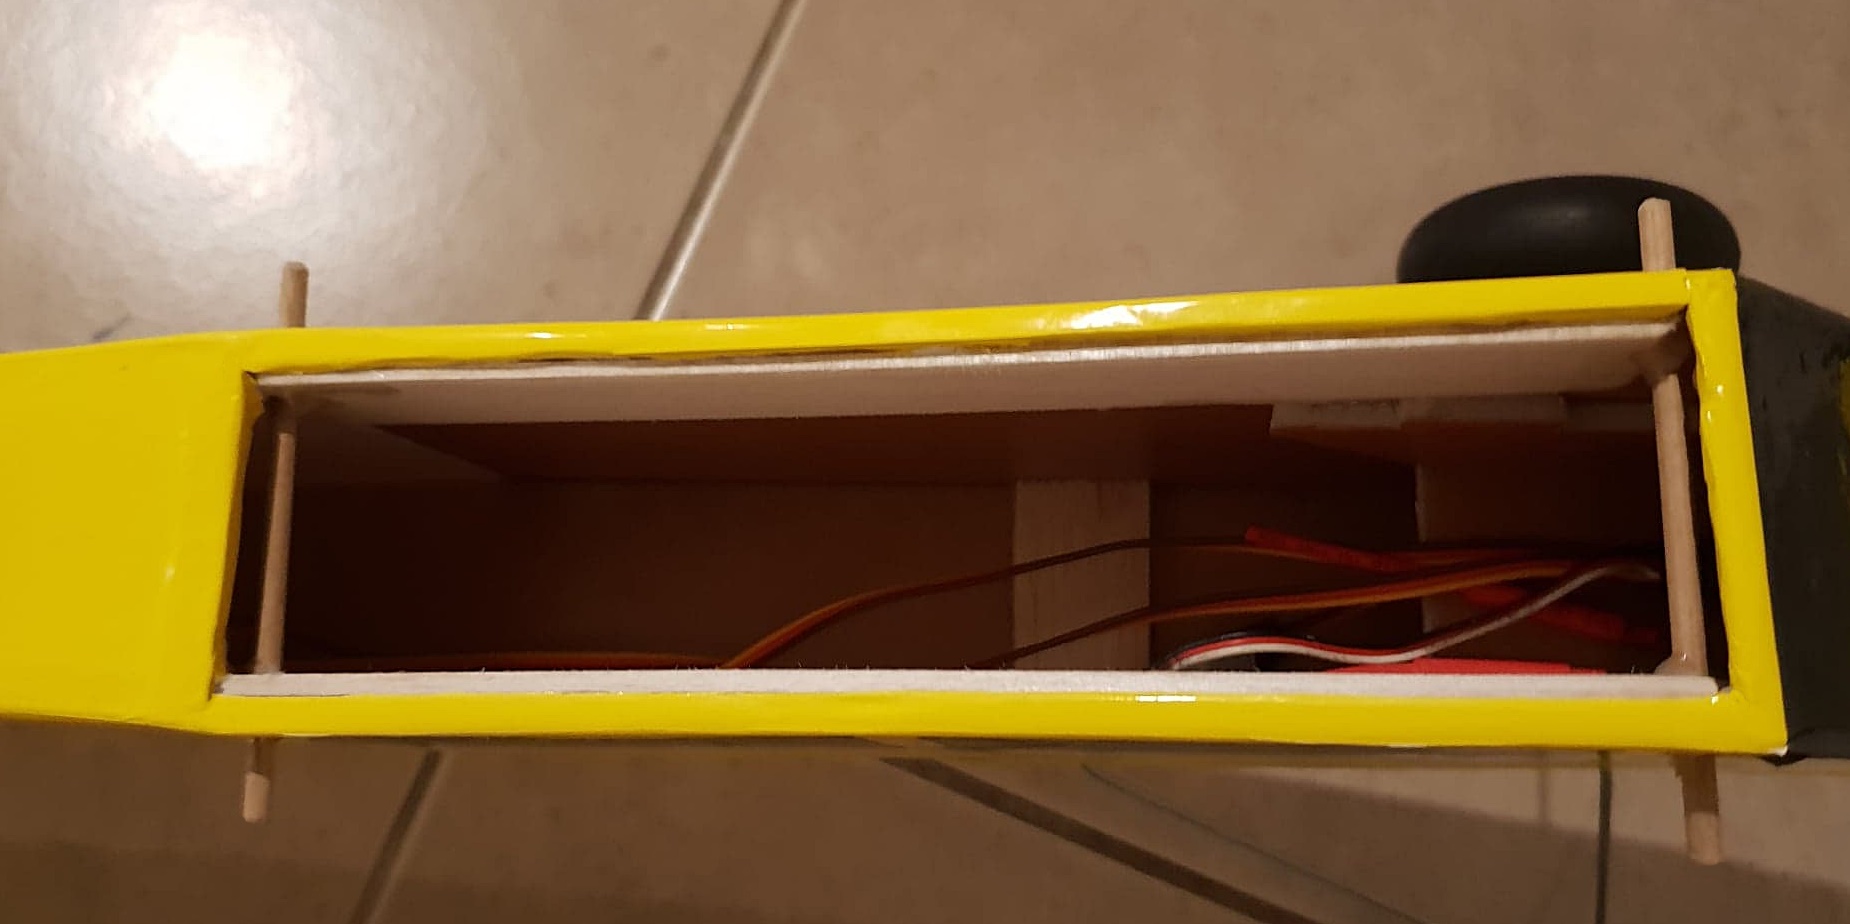
I also moved to a simpler and stronger non scale undercarriage layout with mounting points being two layers of balsa layered at 90 degrees. The first layer being cut level with the outer fuse skin with the grain running 90 degrees to the undercarriage wires to avoid splitting of the material and the next layer recessed internally with the grain running across the fuse for some strength. The undercarriage is then held on by 4 small flat clamps cut from popsicle sticks and secured into the mounting blocks by servo screws. To this a nice big pair of 3.5" tyres were added.
A useful (and cheap) tip to add to the above is the use of automotive crimp style electrical connectors for wheel collets. I generally use the ring style connectors by first cutting/pulling away the coloured insulation, snip off the ring and then slide them onto the undercarriage wire inside and outside of the tyre. A small dab of glue and a quick crimp with the pliers make sure they won't come off on their own.
The control surfaces were then cut from the vertical and horizontal surfaces without the scale counterbalances with RTV silicone used as a hinge. This is a super simple, strong and reliable hinging method I picked up from slope combat. Basic method is to lay electrical tape along the hinge after covering/painting, feed in a small bead of silicone and then wipe away the excess with your finger leaving to dry overnight. If applied too thick you can score the surface with a razor to increase the flexibility of the join and if the tape pulls some of the silicone away the procedure can be repeated. If there are just small gaps/holes more silicone can be dabbed in the gaps with a finger.

Next on the list of things worth mentioning would be the changes made to the fuselage.
Not too much to mention here with it for the most part being built as per the plan. I removed the paper from the inside of the rear fuselage half but with the likely abuse that this airframe will likely see decided to leave the front half untouched. Those with a model or two under their belt may consider removing this for a further reduction in weight although the servos would likely have to be moved way forward to compensate avoiding the need to use lead in the nose. I removed the standard wing saddle and instead added two 5mm balsa sidings instead - in hindsight these should have been made a bit longer to completely encompass the wing dowels but currently do seem to provide enough strength as is.

Further mods to the fuselage revolved around the engine pod and battery mounting.
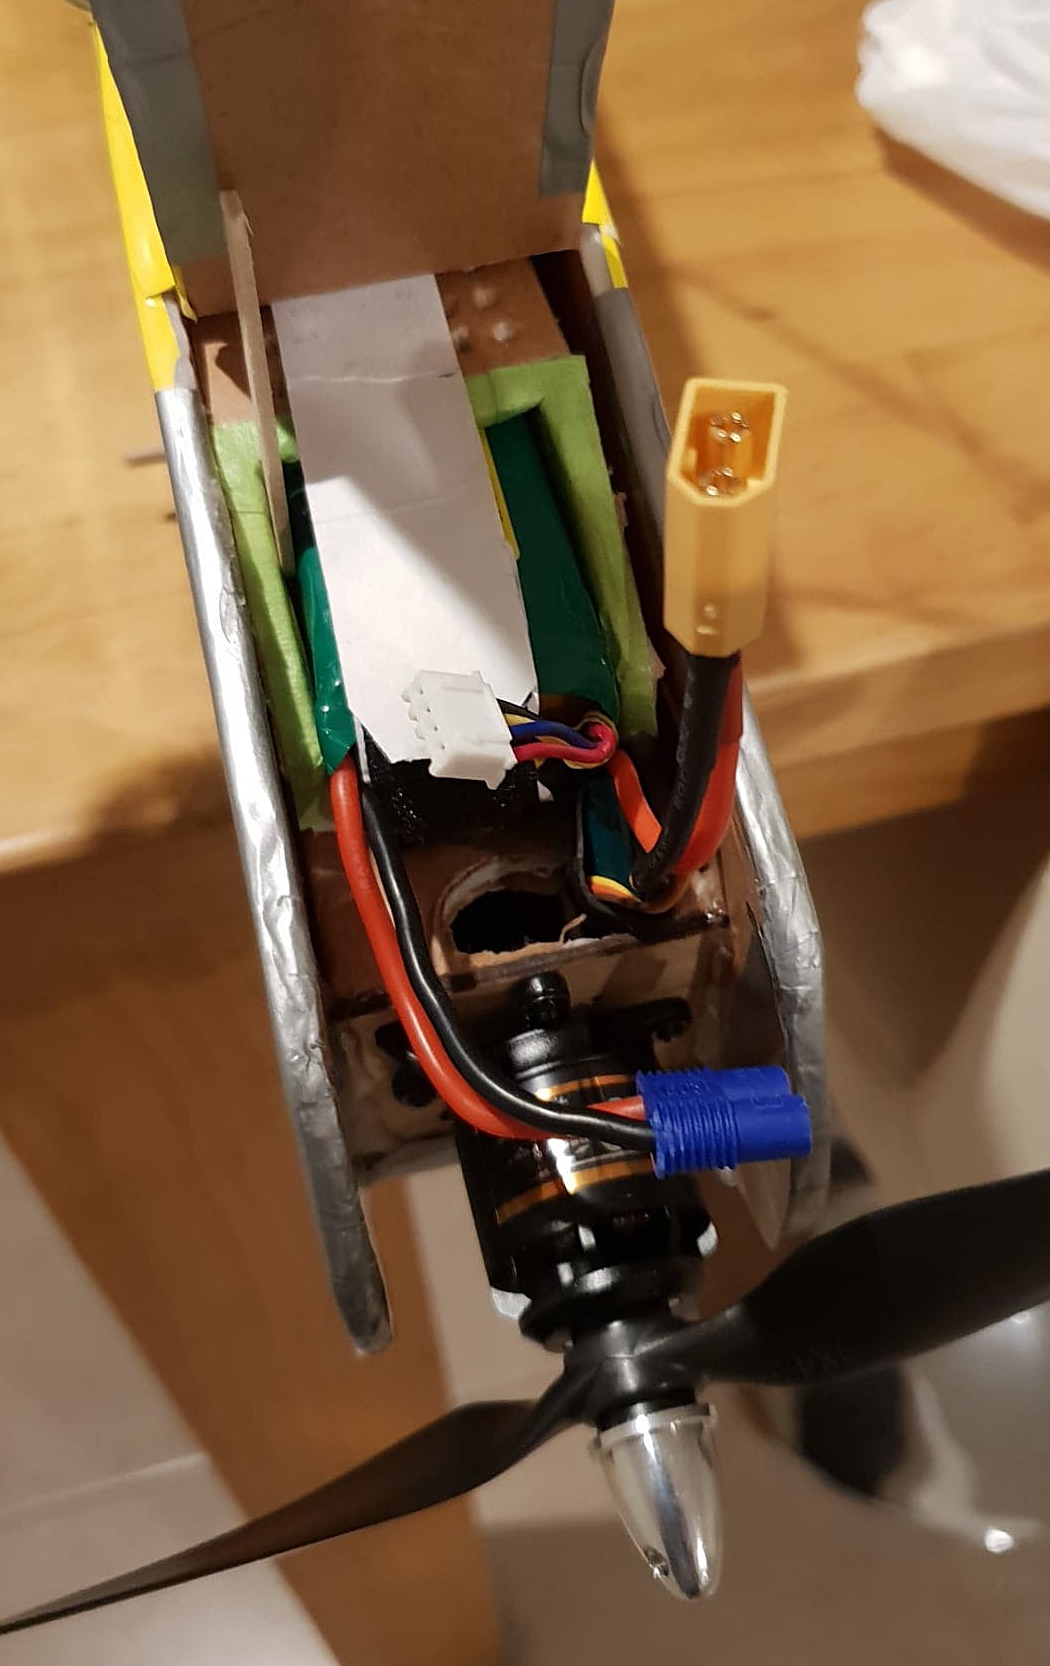
The pod was made non removable and no reinforcing tape was used. This was then simply glued together and mounted solid to the airframe with an additional healthy bead of hot glue along the front edge of the plywood firewall. A simple battery box to fit the 1300mah lipo as far forward as possible while allowing a hatch to close was made and mounted. The speed controller was then fitted vertically through a slot in the motor pod as far forward as possible. The hatch is just a simple foam board piece hinged with film and held close by a small strip of tape. So far even with the somewhat limited airflow things have remained reasonably cool and all seems to work well.

Onto the wing and obviously the biggest deviation from the plans.
This was to be a 3 channel aircraft so ailerons were dropped and I avoided the faceted style aerofoil typical to FT builds instead choosing to go with a more rounded and typical flat bottomed section. This is super easy to achieve by cutting the lower surface long enough to protrude past the upper surface. A 30 degree bevel was then sanded into both surfaces of the leading edge (as per my Baby Blender build mentioned above) and a 30 degree bevel sanded into the bottom surface of the trailing edge. The internal paper was then removed and a 5mm balsa spar glued onto the lower surface at the 30% (ish) mark. Once done the leading edge and spar are fed a bead of hot glue and the upper surface folded over (no scoring of the surface needed). Once set the trailing edge was then glued down and finally trimmed to be flush with upper surface.
In hindsight and for future builds I would likely consider reducing the leading edge bevels to 15 degrees and adding 3 - 4 leading edge ribs per wing to further improve the aerofoil section.
Next the wing tip was propped up to give a dihedral angle that would give a good balance between handling and stability and a flat sanding block used to sand in the angle required on both panels. Finally a length of 1" bidirectional tape was run along the bottom of the join and the two panels glued together using hot glue.

Making her look pretty was next.
Hobbyking yellow film, silver and black sign writers vinyl, chequered automotive race tape and black pinstriping were used.
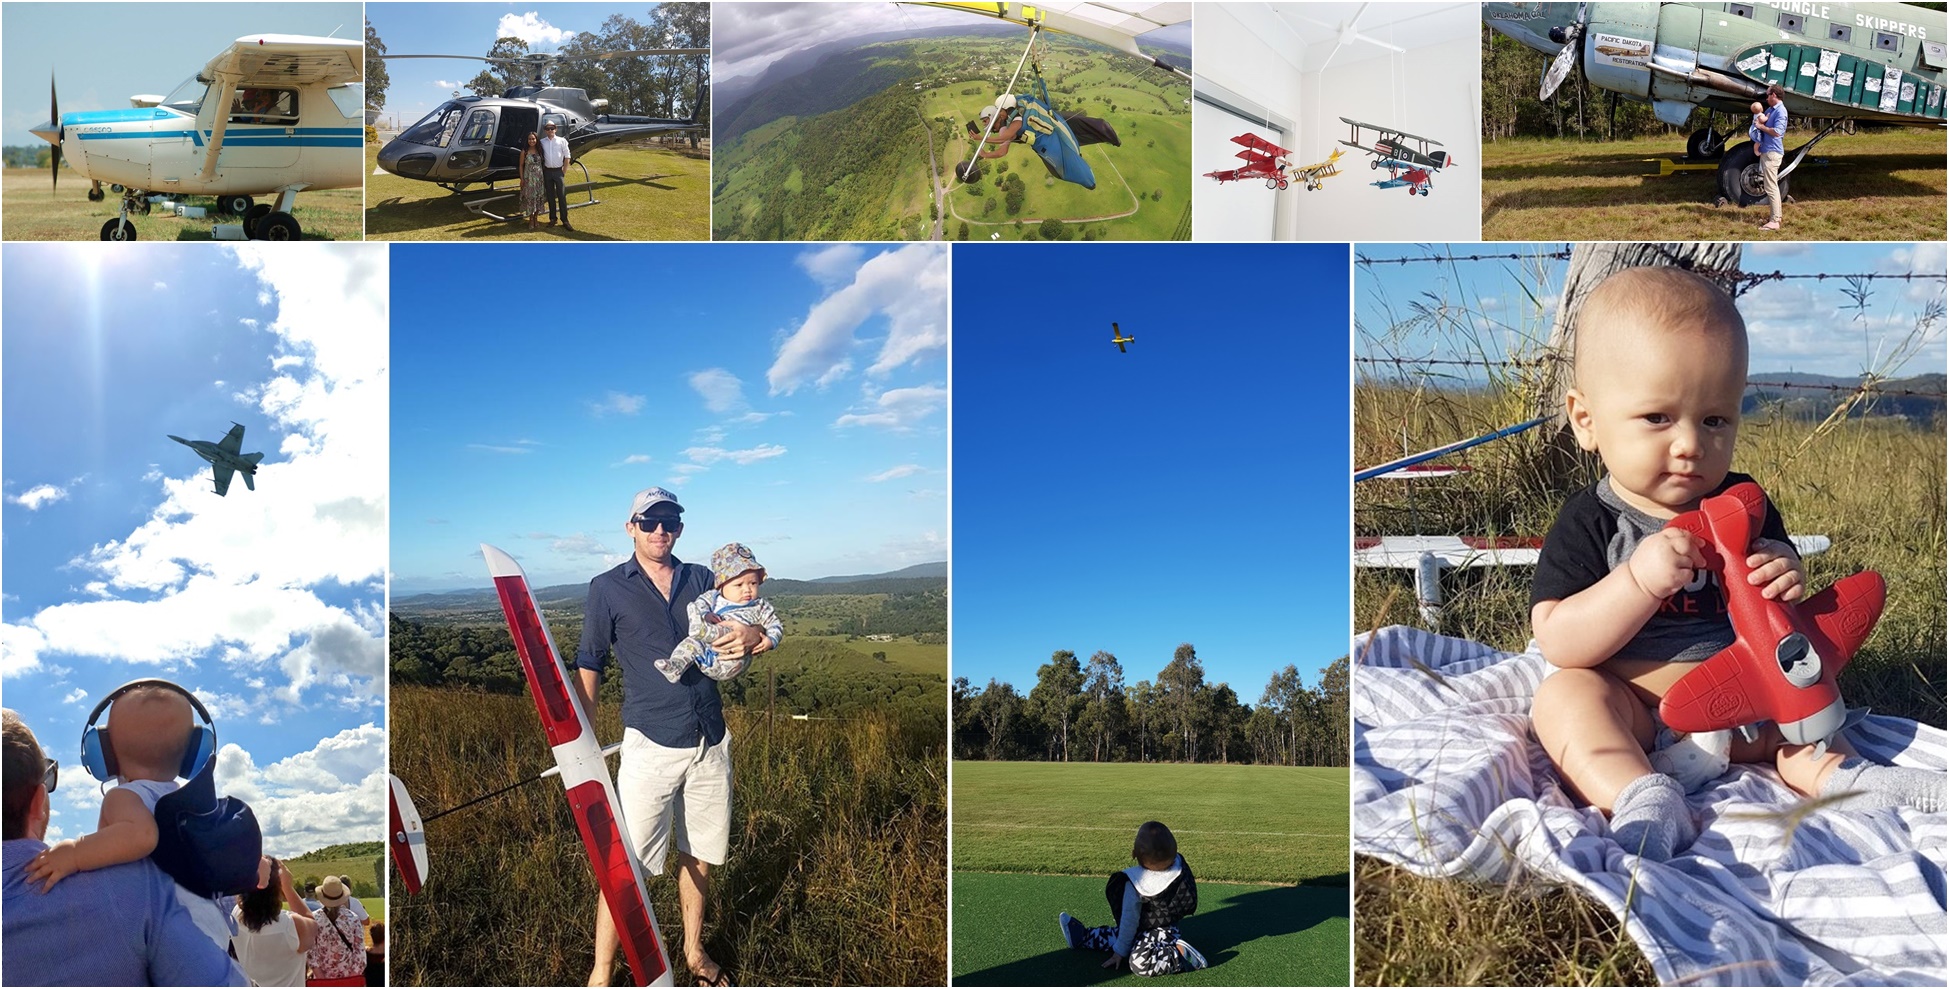
...and here is the crew - myself, my nephew the trainee pilot (wants to fly fullsize and hang gliders like his uncle someday) and my 8 month year old baby boy (already showing advanced signs of aeronautical sickness) hard at work well past all our bedtimes!

For power the Flitetest 'C' size power pack was used (an excellent and no fuss way of powering your plane) with a small 1300mah 3 cell lipo supplying the juice to further help reduce our AUW.
Final weight came in at 688 grams (minus battery) even with the somewhat heavy tyres, the use of hot glue and choice of covering. Being on the lighter side allows the use of the lighter 1300mah battery and makes for a great slow flying trainer with some pretty peppy performance when the throttle is given a nudge
On that note with the use of lighter glues, lighter wheels, more internal paper removal and maybe strategically place lightening holes in the wing and fuse an AUW well under 600 grams would be more then possible... something I am very tempted to try if I ever get to the bottom of my current list of builds! lol.
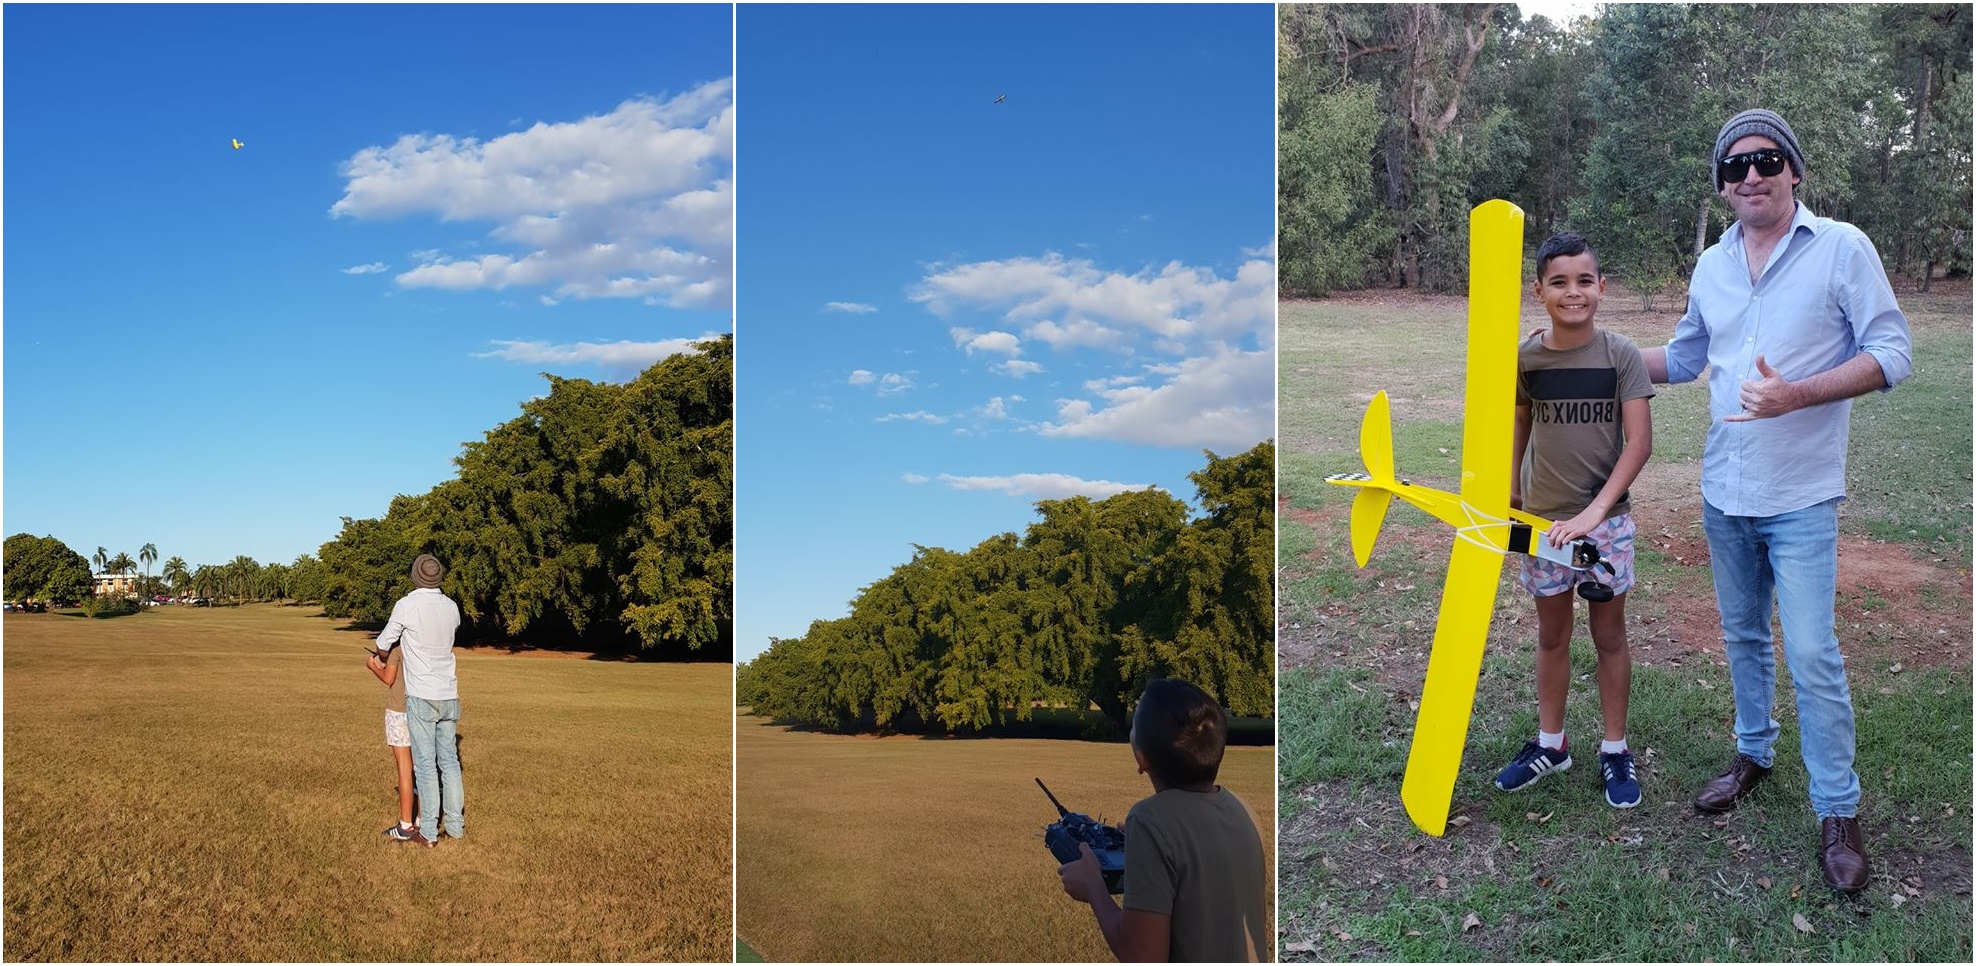
And finally some beauty shots pre maiden


And a final parting shot of a very proud and happy nephew...

And that guys about wraps it up!
So far she has seen three sorties and is an absolute gem... flight videos to follow
Thought I would share my recently completed build of a 3 channel modification based on the FT Simple Storch - this one has come about due to the need of something nice and simple to introduce my 10 year old nephew to the art of aeromodelling.
The general goal here was a simple three channel trainer (RET) that was not too small/twitchy and that was a nice easy build with perhaps a few mods to make it both lighter and more durable. Looking at the FT simple Storch the idea was set and the build got underway.
To be clear this really is not a build log as such and most of the mods were using the TLAR (that looks about right) method so no plans but I am more than willing to take measurements or answer any questions from anyone who may want to recreate something similar.
First of all the plan was printed off and we got to work with my young nephew taping the plans together...

Jumping forward to the airframe completed with a few notes.
Unusual for me in that I gave in to the quick and easy hot glue gun. Using the bare minimum to hold the airframe components together I found that a lightweight airframe is definitely still possible (688 gram/24 oz final AUW).
I deviated from the plans in a few areas as noted on the picture below. Main differences being the lack of ailerons, the addition of a decent amount of dihedral and the removal of the internal paper on the rear half of the fuse and wing (found to be a necessity if a lighter battery is going to be used). Of interest is the paper is removed after sanding of all required bevels as per my usual method noted here on my incomplete/soon to be completed modified Baby Blender : https://forum.flitetest.com/index.php?threads/lazy-js-modified-baby-blender-build.39022/
I also moved to a simpler and stronger non scale undercarriage layout with mounting points being two layers of balsa layered at 90 degrees. The first layer being cut level with the outer fuse skin with the grain running 90 degrees to the undercarriage wires to avoid splitting of the material and the next layer recessed internally with the grain running across the fuse for some strength. The undercarriage is then held on by 4 small flat clamps cut from popsicle sticks and secured into the mounting blocks by servo screws. To this a nice big pair of 3.5" tyres were added.
A useful (and cheap) tip to add to the above is the use of automotive crimp style electrical connectors for wheel collets. I generally use the ring style connectors by first cutting/pulling away the coloured insulation, snip off the ring and then slide them onto the undercarriage wire inside and outside of the tyre. A small dab of glue and a quick crimp with the pliers make sure they won't come off on their own.
The control surfaces were then cut from the vertical and horizontal surfaces without the scale counterbalances with RTV silicone used as a hinge. This is a super simple, strong and reliable hinging method I picked up from slope combat. Basic method is to lay electrical tape along the hinge after covering/painting, feed in a small bead of silicone and then wipe away the excess with your finger leaving to dry overnight. If applied too thick you can score the surface with a razor to increase the flexibility of the join and if the tape pulls some of the silicone away the procedure can be repeated. If there are just small gaps/holes more silicone can be dabbed in the gaps with a finger.

Next on the list of things worth mentioning would be the changes made to the fuselage.
Not too much to mention here with it for the most part being built as per the plan. I removed the paper from the inside of the rear fuselage half but with the likely abuse that this airframe will likely see decided to leave the front half untouched. Those with a model or two under their belt may consider removing this for a further reduction in weight although the servos would likely have to be moved way forward to compensate avoiding the need to use lead in the nose. I removed the standard wing saddle and instead added two 5mm balsa sidings instead - in hindsight these should have been made a bit longer to completely encompass the wing dowels but currently do seem to provide enough strength as is.

Further mods to the fuselage revolved around the engine pod and battery mounting.
The pod was made non removable and no reinforcing tape was used. This was then simply glued together and mounted solid to the airframe with an additional healthy bead of hot glue along the front edge of the plywood firewall. A simple battery box to fit the 1300mah lipo as far forward as possible while allowing a hatch to close was made and mounted. The speed controller was then fitted vertically through a slot in the motor pod as far forward as possible. The hatch is just a simple foam board piece hinged with film and held close by a small strip of tape. So far even with the somewhat limited airflow things have remained reasonably cool and all seems to work well.

Onto the wing and obviously the biggest deviation from the plans.
This was to be a 3 channel aircraft so ailerons were dropped and I avoided the faceted style aerofoil typical to FT builds instead choosing to go with a more rounded and typical flat bottomed section. This is super easy to achieve by cutting the lower surface long enough to protrude past the upper surface. A 30 degree bevel was then sanded into both surfaces of the leading edge (as per my Baby Blender build mentioned above) and a 30 degree bevel sanded into the bottom surface of the trailing edge. The internal paper was then removed and a 5mm balsa spar glued onto the lower surface at the 30% (ish) mark. Once done the leading edge and spar are fed a bead of hot glue and the upper surface folded over (no scoring of the surface needed). Once set the trailing edge was then glued down and finally trimmed to be flush with upper surface.
In hindsight and for future builds I would likely consider reducing the leading edge bevels to 15 degrees and adding 3 - 4 leading edge ribs per wing to further improve the aerofoil section.
Next the wing tip was propped up to give a dihedral angle that would give a good balance between handling and stability and a flat sanding block used to sand in the angle required on both panels. Finally a length of 1" bidirectional tape was run along the bottom of the join and the two panels glued together using hot glue.

Making her look pretty was next.
Hobbyking yellow film, silver and black sign writers vinyl, chequered automotive race tape and black pinstriping were used.
...and here is the crew - myself, my nephew the trainee pilot (wants to fly fullsize and hang gliders like his uncle someday) and my 8 month year old baby boy (already showing advanced signs of aeronautical sickness) hard at work well past all our bedtimes!

For power the Flitetest 'C' size power pack was used (an excellent and no fuss way of powering your plane) with a small 1300mah 3 cell lipo supplying the juice to further help reduce our AUW.
Final weight came in at 688 grams (minus battery) even with the somewhat heavy tyres, the use of hot glue and choice of covering. Being on the lighter side allows the use of the lighter 1300mah battery and makes for a great slow flying trainer with some pretty peppy performance when the throttle is given a nudge
On that note with the use of lighter glues, lighter wheels, more internal paper removal and maybe strategically place lightening holes in the wing and fuse an AUW well under 600 grams would be more then possible... something I am very tempted to try if I ever get to the bottom of my current list of builds! lol.
And finally some beauty shots pre maiden


And a final parting shot of a very proud and happy nephew...

And that guys about wraps it up!
So far she has seen three sorties and is an absolute gem... flight videos to follow


