nnCorsair - 2200mm BUILD

BridgeInspector

Flite Test Groupie
Maybe melt down fishing sinkers into a nose cone shape?
sku137968-001.jpg

Or glue some into a plastic nose cone?
image060.jpg
 

willsonman

Builder Extraordinare
Mentor
If I have to use lead (which I try to always avoid), I use lead shot from a gun store. I figure out how much I need using ziploc baggies. Then I empty the shot into a small paper cup and squirt in some gorilla glue. Mix it all around with a BBQ skewer and grab a glove. You can then use this stuff like a putty and conform the ballast into corners and such. Inside front lip of a cowl is the perfect place to use as little ballast as possible.
 

wilmracer

I build things that fly (sometimes)
Mentor
I would definitely look at willsonman's approach for securing the weight. TBH I know there are some folks who use weighted spinners but I would shy away from that myself. You're increasing the rotational resistance on the motor and the P-factor by increasing the rotational mass. This thing is stupid lightweight as it is and even if Nic crams in 2-3lbs of lead shot in the nose it will still be a featherweight. Just make sure the weight is somewhere secure and cannot fall off/shift.
 

Fyathyrio

Member
Four 3300 3S packs not only equals 13,200mah 3S but 6600mah 6S if you run them in both parallel and series. Battery weight always works better than lead weight.
 

nerdnic

nerdnic.com
Mentor
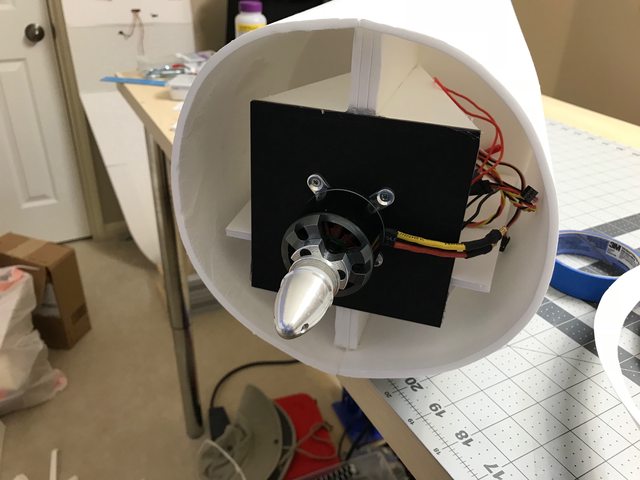
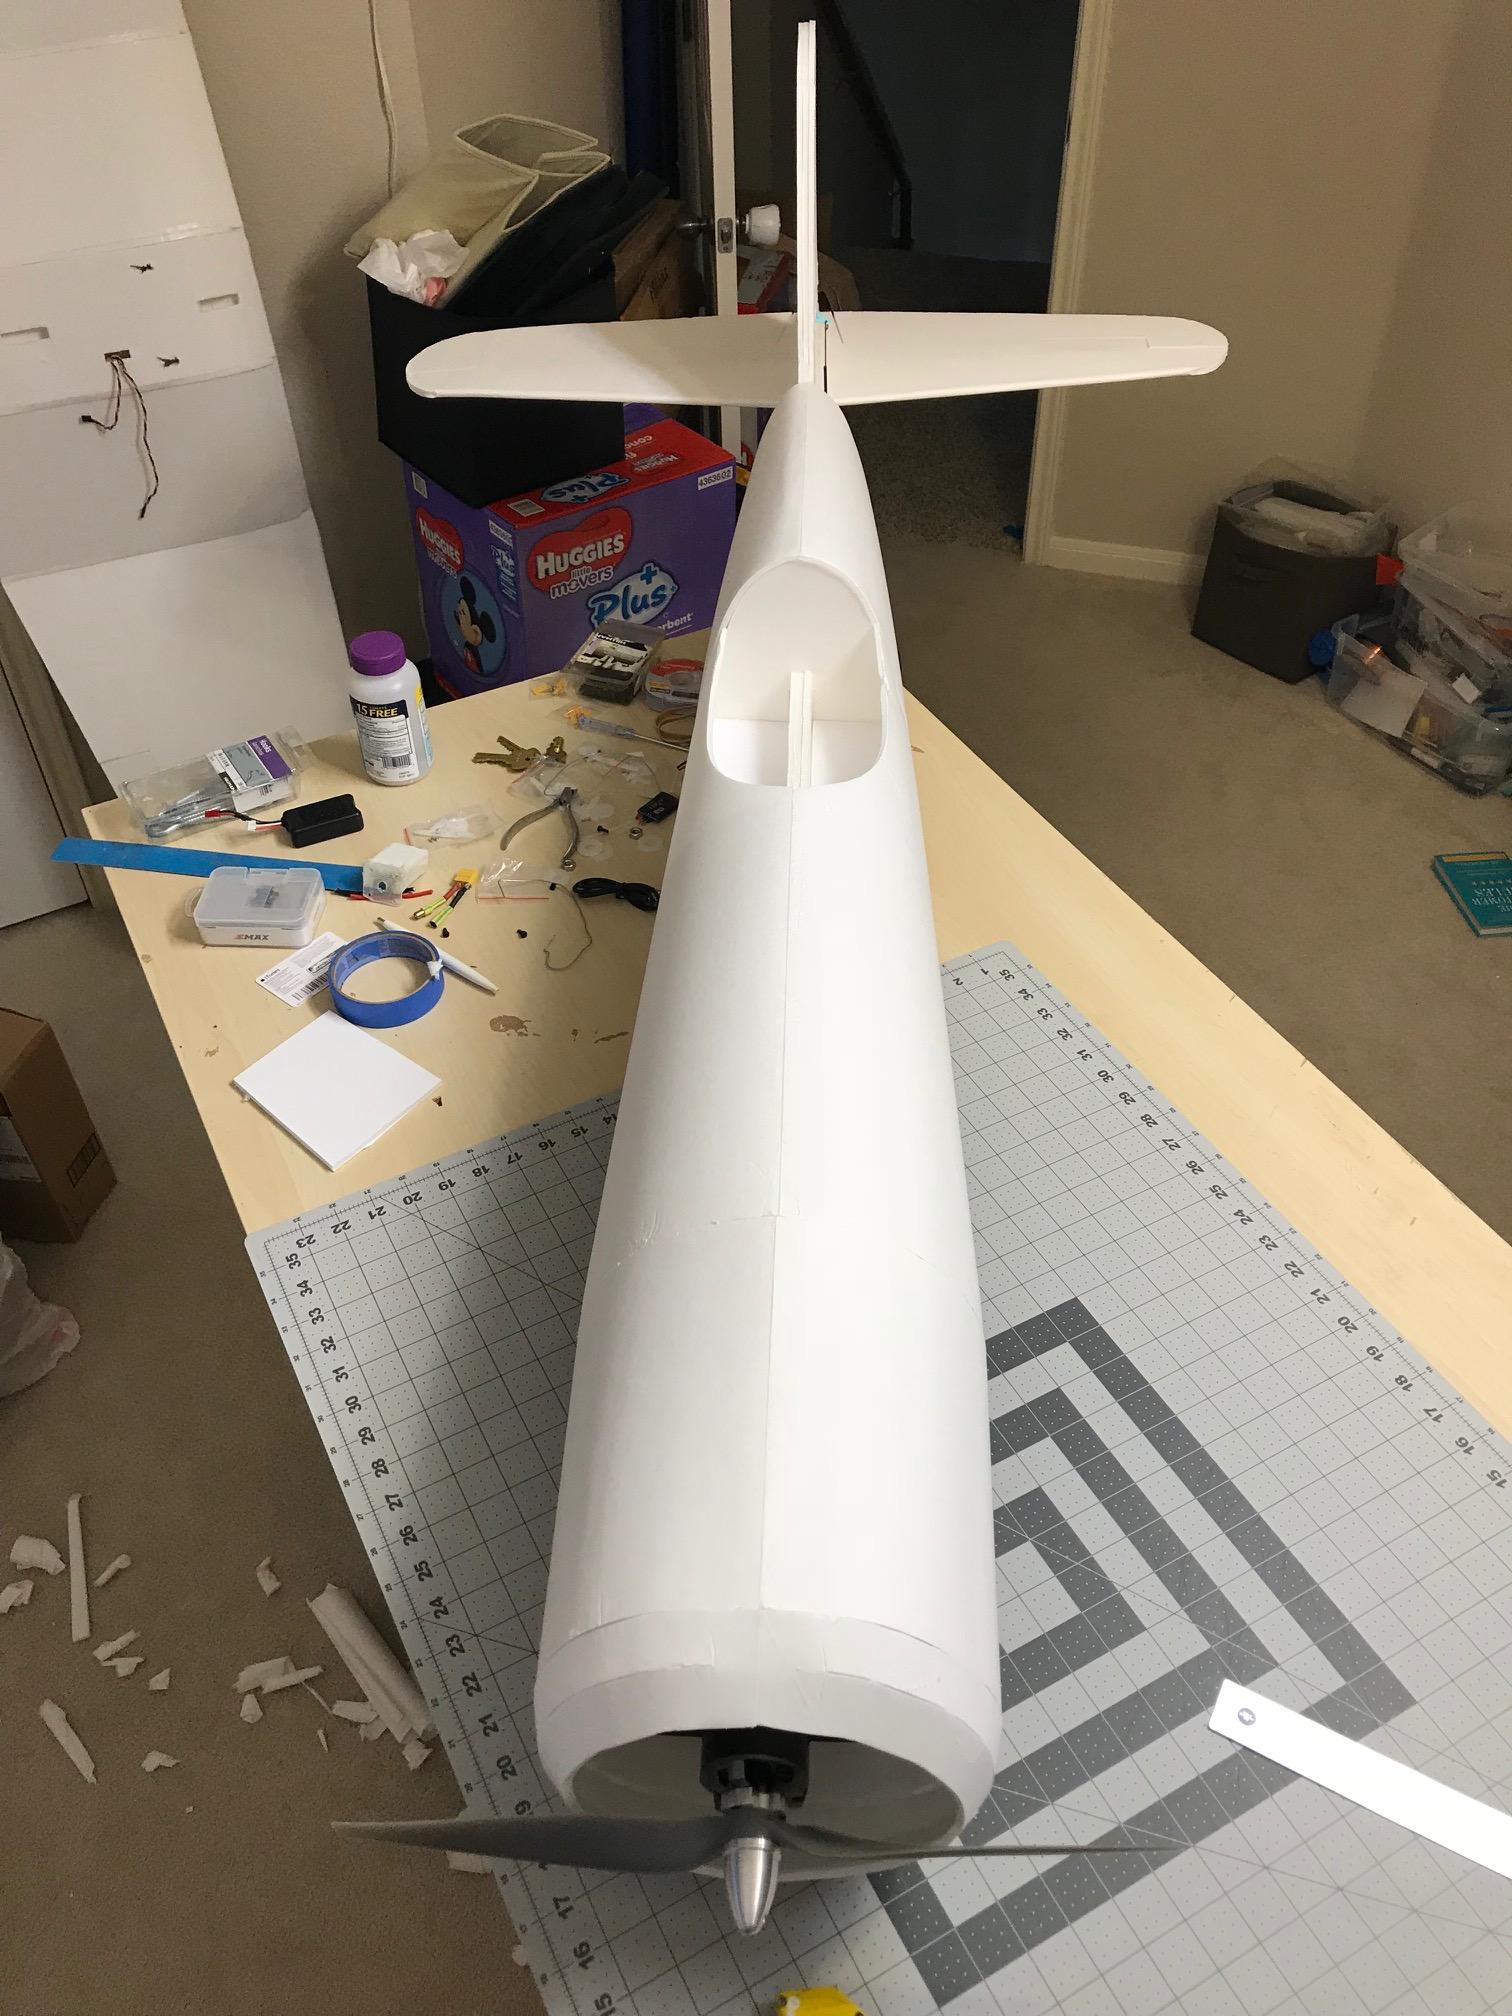
I'm gonna try to make it balance with just battery weight. I'll soon know if that is possible..

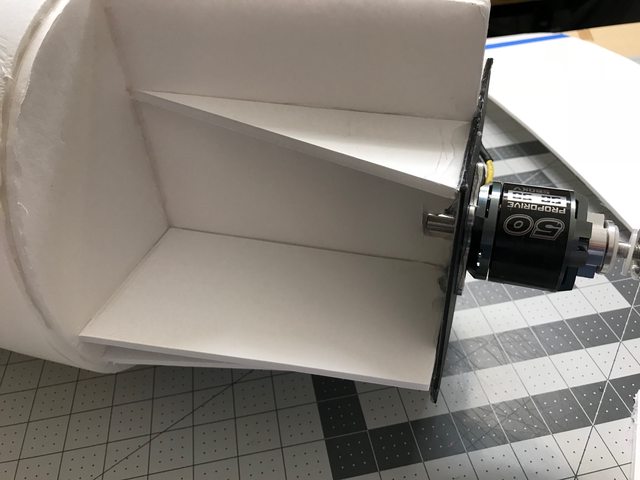
Added 1 more layer of bracing to the motor mount. This piece will also act as the battery shelf.

qpyiexAl.jpg


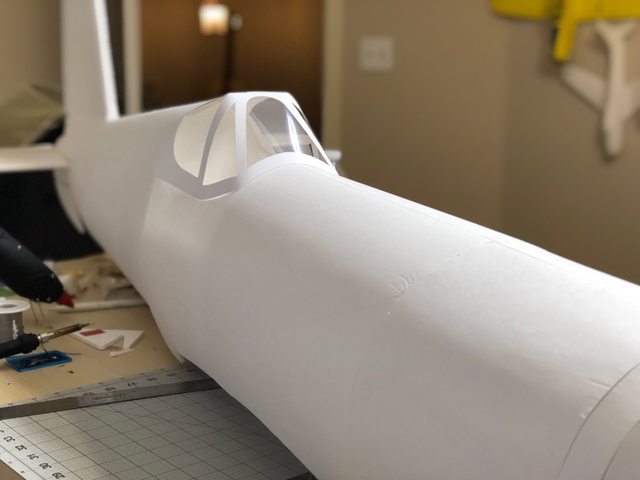
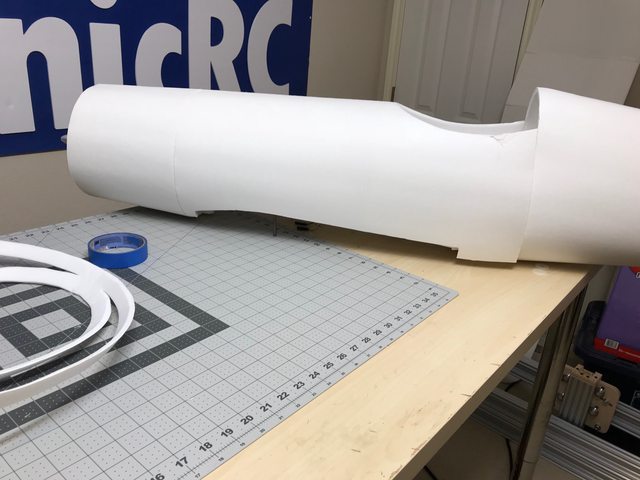
Wrapped the next layer of the nose.

NhvbHzrl.jpg


dyUDj6Ql.jpg


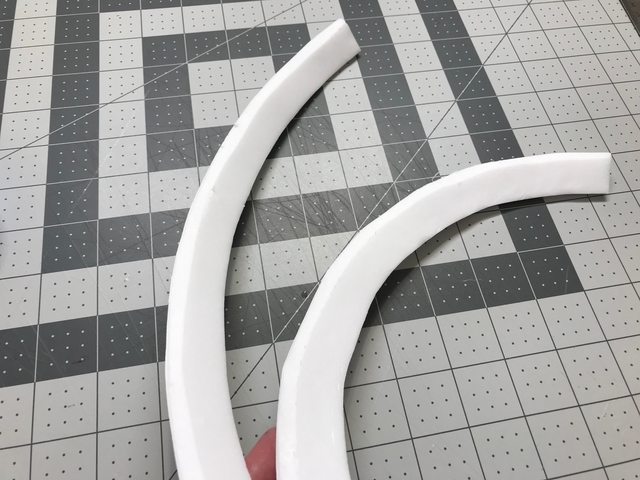
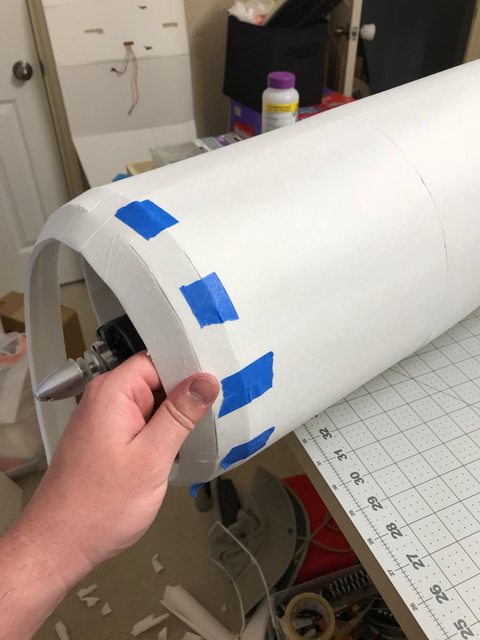
For the last bit of the nose I need to make it look as rounded as possible. I'm using some thin strips of foam with some bevels on the inside.

zmV4TbZl.jpg


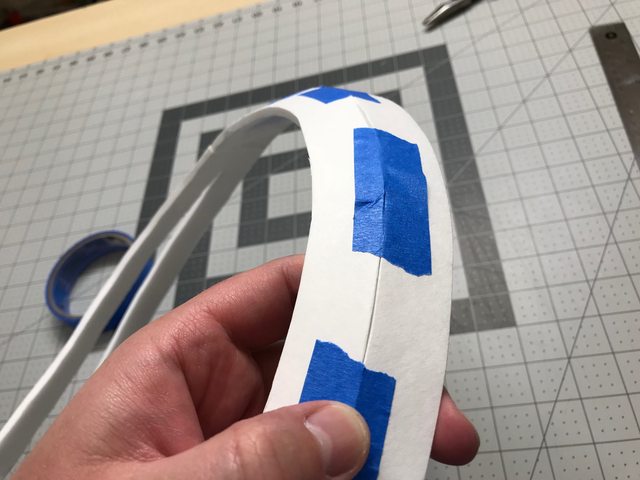
The pieces get bent and taped together to make a slight curve.

ERY47Grl.jpg


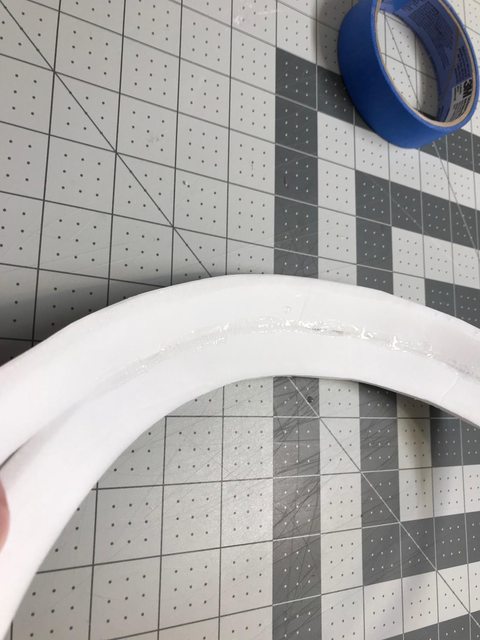
The tape holds the shape so I can lay down some hot glue.

C8hc1xql.jpg


VuTC66sl.jpg


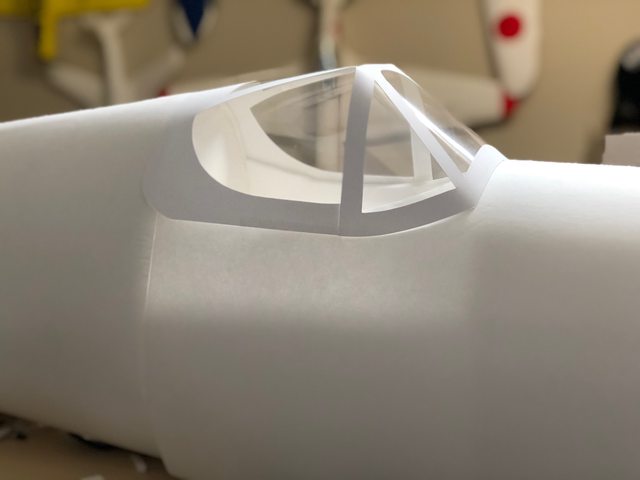
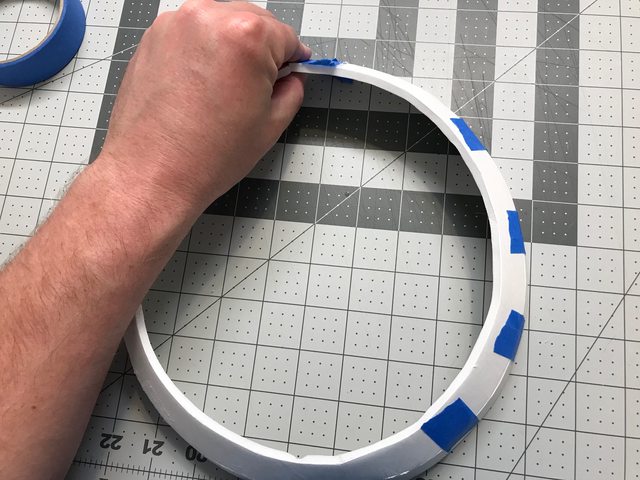
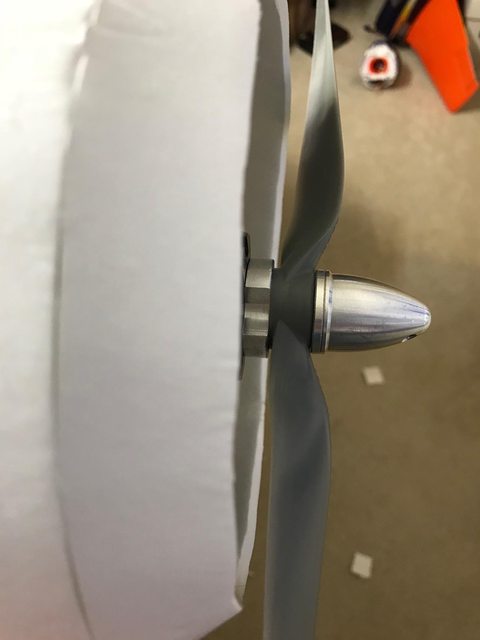
Once the curved piece dried I attached it to the fuse using the same tape method.

fOb0hjLl.jpg


Was a little tricky to attach, but it came out really good I think.

pVrfSCAl.jpg


2f5YLOsl.jpg


yN8uTXE.jpg


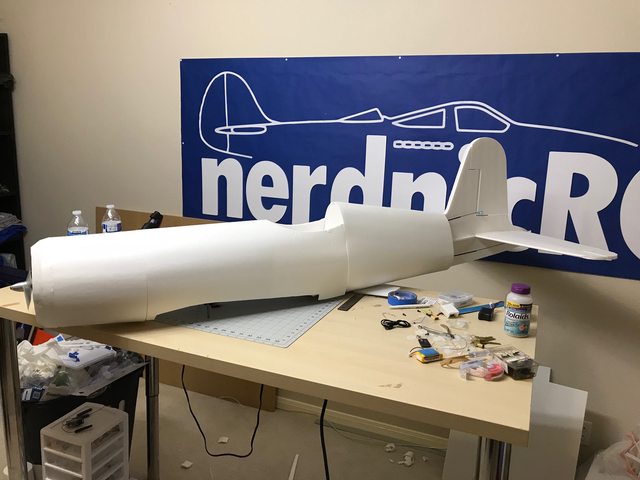
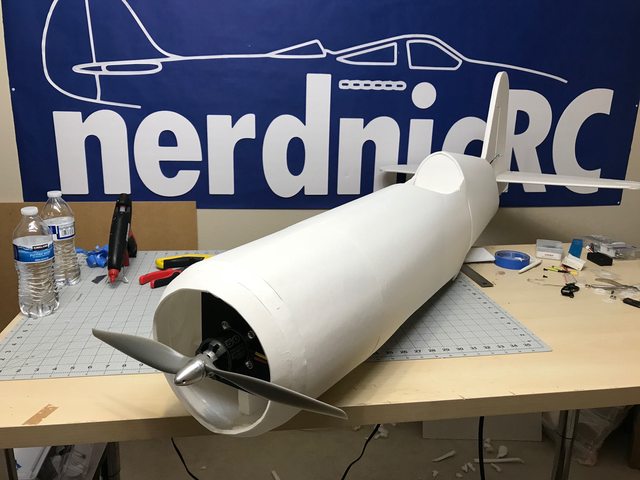
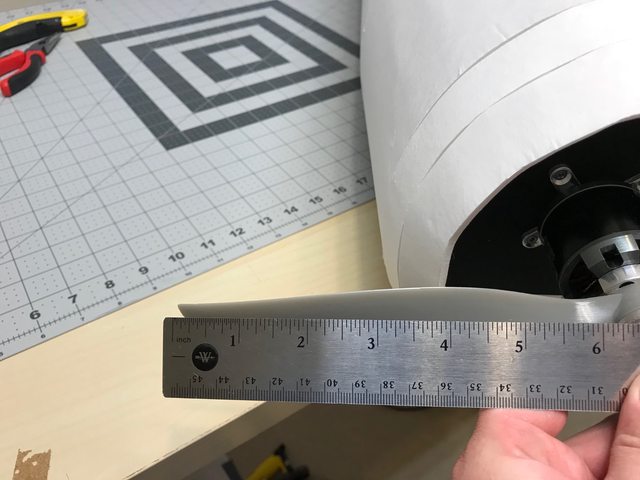
Prop clearance came out PERFECT.

FsqJa46l.jpg


5Db29MGl.jpg


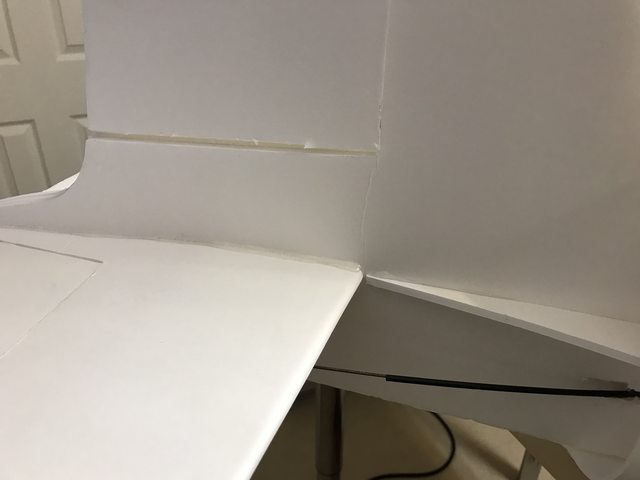
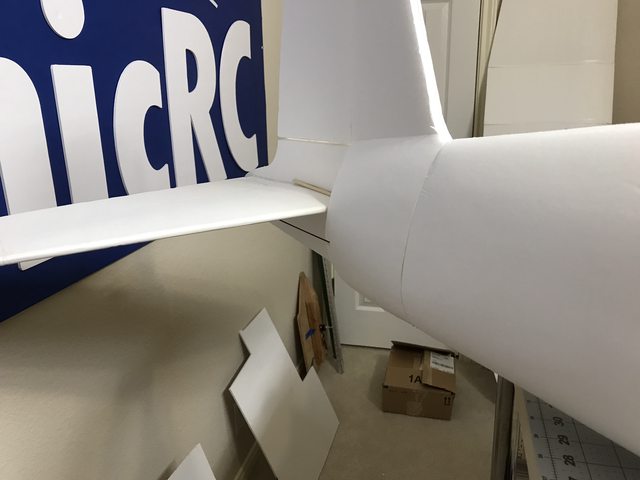
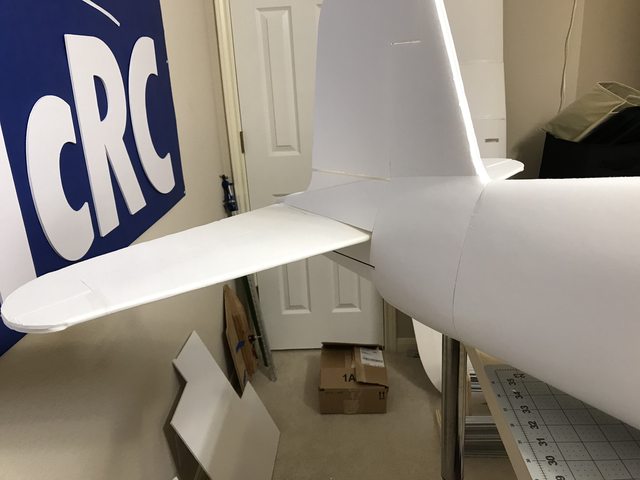
Next up is the last bit of fuse skin on the tail.
 

Mid7night

Jetman
Mentor
That thing is just freekin' massive, and I LOVE IT! :D

Looks like it could use a bigger prop tho... just to my scale eyes ...I'm sure you have enough thrust :p
 

nerdnic

nerdnic.com
Mentor
My son got a little too excited and knocked over the fuse. The hstab hit the ground and tweaked the fuse right under the rudder hinge line.

B7pLqQ0l.jpg


I added some BBQ skewers to stiffen it up and that worked really well. You can see it here along with the next tail panel installed. I cut a little notch to allow the push rode to glide smoothly.

ffn5rdVl.jpg


The last top piece had to be adjusted quite a bit, but it went on clean.

YDBUhcel.jpg
 

nerdnic

nerdnic.com
Mentor
Not yet. I still having to finish closing up the back fuse and cut the battery hatch. I have next week off so I plan to spend some time finishing it up.

Any updates I will definitely post to this thread, so you won't missing anything :)