FF2017 Int. Racers: Crosby CR-4

HilldaFlyer

Well-known member
Got off work earlier today than I have in the past two weeks... grabbed the bag, put on the coat and took me 2.5 hours to finally get out of the building at 6:30... :(

Wild few weeks with long hours... However, I will have time this Saturday to build while listening to general conference.

I'm going to put together another set of wings that are slightly larger than Penguin flappers.
The fuselage balances right on the wing with motor and tail installed, so I may end up putting the battery hatch above the wing.

TzGBbHKG_NSLeB4DP2AJ0WdzTtNWoRwY1YfvtuCTTAyT2UbdStjhNSG57o6HC9EZXqrewqwPF84t0qXm1dGv0gmTOxJ00_l5l92Gwxq1PwxSqa9k0Jg412CiMf0Q3f8G9uSungcu
 

HilldaFlyer

Well-known member
Crosby CR4 1/6 scale FT Style

[h=1]Wings[/h]
IaTzH2yVY59NAWhuW82O-jKigaotZmkRcDqMsQwD4vTUSjito00z7l1tF6T2ZUVcukvbHYFtPuvlW5DJviP9NjhtBZOi5VmRvDjt55vj-fWRfHuZNDT_R1GTUUMvbGk0G_21d44G

It is time to join the top wing panels with the bottom. Connect the two wing panels with masking tape.

cpskrf6sNaAQwZKaAR9sVDM2e11FkrEaspjtBbK2JjA67HF4YesYBEUWeckvHXFkq-6qpqhEat-NsdsM_VUs8v_EfPA9OvMnGNjien439V0Otp9noTTV_ysIeuQoMAoS3nEN9Vz-

Fold the top wing panel over the spars and cut a hole for the flap control rods.

XEwzSugxZGYcI4tPJ_NAL37oK4OmkTd5gD4Rk8wMAeDBULLnPesg0L87IpGiZZeTasNn1hPNecwEm1icTvKDMiOT1l88ef0AJfHB4qzYbcZK-5XuImao5zdsMPgV-bJy33EuruXu

Run a bead of Gorilla glue along the leading edge seam, along the spars and smear evenly along the tapered trailing edge (do not glue the flap to the top wing panel). You can’t see this but I put a piece of wax paper between the flap and the top panel near the aileron to prevent the expanding glue form tacking it down.
 

HilldaFlyer

Well-known member
Crosby CR4 1/6 scale FT Style

[h=1]Wing Joiner[/h]
jxOkHtR5FxrKq1LCLnxBTFejZ6m01Ir_6LDCWxC_9THLCj_O1nQ0aSf_tldpMUidoFVeXrt9C8epQnu8wBRf3liZNUZG06fB0IMU3emSJpCT-oJ_3Touy0GZZs29B7d3DvnNDVmv

Cut out the tab holes in the top wing panel for the wing joiner.

aasf5vBgGpK6UwSDT6FZhRY8mv5zO9PKMv2qUjs0wGWgOSRKUZ7itQCHkJj3opT-SjYkHOd7hEd7r2Ls94pbY1XHaculH8xDhxMFqPYm4JWHlDmaAmfA21znbUkOBCU2un78zP1m

Fit the wing joiner to the tab holes.

xhu4ZEvw76nzvCvFRez_9oO4iMDqAR9Rt7I36sEgC6MIkUarYpSw5xGKb0rp201dhaYjHH-XriVLv-KsXAlDWAIQJdiu0oy8HgK_R-fQw8RsezbzAidS9Ozo2Y6oQeBh58VhFsxY

It is ready to be glued in place at a later time, after the servo leads are run.

C8nIuY4geeWQ32AsyZGz7fBlXG3JH-kH1b2lhG3D8ZjlaeOWQBtO2rsvfdDxs2141kpK2H-xmD0QycrRObl3cJK3wEkraiIGVSNxYAsHx8CS4khdmPTSOPgzwU_5mWxemI4iASVG

Oh, it fits so nice! The fuselage needs a trim to fit the wing…

AT-66lSntZZP-L31DAh0VS07PR7dGrx5oCRYqQ_944FvuaElZw9C7me1F2jzkr1Cq9VkKVLuzFL_KdEOs3_2_lcHEZgaIVc-fE0QznLO6QmV6bq2t7WE6GF-g569op4WTsh3iK7C

Lay the wing joiner on the fuselage and trim.

b13Sv1Tlb_-7wo8HbfDGb-t0MT-4I_mAfQ9klEWFksYEPgaaQyNxqvs0_AG4xrC8AfKnAcsi7S4sWgXr0jOwwwVOtjTWGuSphgMYrqWWpmhfzYGuJEGOF4_gR8vWlXX24hhsc3tF

I cut these a little too deep, so the wing isn’t flush… oops! Nonetheless, it’s ready for the wing.
 

HilldaFlyer

Well-known member
[h=1]Ailerons[/h]
0yihMkbYyglNzMtMlNlb8bR8zAjrvz9lD1KYGEM0MvsG0ZFanEBA1SEnmQliUW2OKnksMY9D7nwuxa_2e1rS5FY6yfmSnSQjMP5Uh6HtZffr8ALO8PSWoH5NS3fnsTYglbbjmDrr

Cut the ailerons out from the wing panels.

rKd4hceW-vHtETgLA3JDsC0TSGKrwPddHP4y4wbevKd51BxdYNqg9xhJgnmMFjl59szMqUlopKpMj5UXx4RaiM-kclPw5xA8H9yKLsvYR1sz_zJumoFfjoU1YBD2Vffq4AP0O1QH

The top and wing panel will be slightly gapped.

OHDPF3V61TpbBNriRJIk6OJ6AVgCtQxWuC2gTSH1FpHn2CDQ5HwQthNeevJDi86c4LA2AFRqCVyhIzcJur10I5m2OG6PNjZL2OzpTMW_6_TwoguM1VJA1lrrgd9yX17C7pLokUfL

Run a bead of Grorilla glue in the gap and hold it shut with clips. I used tongue depressors to keep the clips from denting the foam.

Hluxzv1EV-ZmqijWmhylDrFXGIFGfCwdI6J5_zNISi1pLKNoNPjIvj33iCjy2P1IqbyiqzvPPlq_geeT3yJLnJ7OF5NRATi-6H71sH7VCuHW65iYO60tywwcidABUBdnkdSTnnwY

The Gorilla glue will expand out of the joint. It needs to be sanded down flat.

9K88gNX_AGgxR15JQXNuq4CnkymAHdHNN3Dt6OpUDBvIPm_F_E4DZEINF0UVXw7tykOwxG9spGW59sYzTp2TrhyUL_c_3hwZ_3ysSQY1FNdJLKmdPpZhV6LneOIYzYyiv3c9KoS1

For these ailerons, I’m going to use plastic pinned hinges. The slot for the hinge needs to be cut into the glue between the wing panels. Gorilla glue is tough stuff, so use a sharp knife and press the point into the slot.
DQxZYr01KAQspfMblCpMFEUu4ShqLZujUh6oczYbkBiEe36iQO54ejlCwAO3wZnGNjSmN1H7bIU6U5LbEQTaKZ2zr2ByxnQlXYb6JOvu5K-lT-LMxUZc3itABfhGIyITt3BC7_gn


V9_210sAw7VnZlHbfy5xLLeYm2adyx_cf_PPg9d9dxnCqPrTCL6eXFptVa8DW3_5X5BB4ITVXl3zEv596Cqaa7IgMcqcmZHu__BuPeCJKido0ulNkJcCoyRgqkgy1JMI6QhmnBgD

Sand a 45 degree bevel on the front of the aileron control surface. Cut slots in the aileron control surfaces just like the wing panel. Use epoxy to glue the plastic pin hinges to the wing and aileron.


HilldaFlyer

Well-known member
If you followed the build of the first Crosby… it ended in disaster. I think it liked flying inverted and pulling up in an inverted orientation equals smacking into the ground. In the build thus far, I designed the wings to scale. Looking at the fuselage with the wings on just smacks similarities to a penguin - you know the flightless bird. Since the wings are removable, I made some extended wings about 11 cm longer with the same root. I don’t know if this will help, but it should. The idea was to have two wings that fit the same fuselage. The scale wings look so short.

Fs74fAYSxu8koAAsgXLp1UvoRMSYHVnXt4yDXn-MZfOZBb3C12Ptr7SFtw2FQ9KCl5qmwCJfkg3gYo0TGM3m9ZiFltu67JQm1ZG_G5Vloc2ERCJNlPM2ECspW3gKzPfNYxbtHlpJ

Cut out the wing panels.
Zjv68WmIgmuRRPXvfcGDu5v2L3QaNuX-rQUyzZrXNxN-pHpwmnMTYPbSfUZ580FLDx18-zKRiU3JnRoNBV45IYzq2Z6Kg23tf2S5kh6TA0wyN21euWGkt6n0uXqudEJH5F5nX4vY

Make the carbon fiber spars just like for the scale wings.

[h=1]Hot Wire Tapper Cutting[/h]Here is where I deviated a bit from the previous wing build. I really like the tapered trailing edge, but I hate the amount of foam dust, chunks and particles that get all over the place and stick to everything because of the static charge. I thought that I could build a little hot wire bow to cut the taper, so I did.


wyo_3zcQOm-F13CUVCAYxW8kCP_qMLKd827WSslrQkPIh2u_Uzp4-53G_vpF9qAnfIK3_cW2u20QuWb-zH924g_yfu_ZcUnPPZTfLGqbhBJMu5alqjnoI5WBV5OxXNYqEYES_TO1

I made a very simple prototype by cutting a “U” out of some ¼” plywood. I drilled a small hole in next to the “U”, inserted the wire lead and screwed a servo screw into the hole. Then I wrapped the nichrome wire around the screw and screwed it in all the way.

Foe5ydPk-dXHezUq_a_B51iOhUkjmL6SWF8-ZcO0eUqntrRePWFtcYPNXpjRFm77-Dw_ltER3Wu9ZCvi5SKCd73LdZlXhw7Xv4I2U1_XcR_OAJng7DbJiED-VEinX42O6tbxKMBv

The backside was done the same way. I know that most bows are designed with springs or arms with flex so that the wire stays taut when it gets hot. I just wanted to see how this simple prototype works before I do something more complicated/deluxe.

IQ5ZlgAE0KLNjbPL22vUQUkZNAmtUUMtOunCf14UTU3ZpC8dmw1KGlmIdiHyAjWQvZH-scpCYDavoU9DaAubRJzSxN6lptY9NWvr7RINfDtefTGUPM2C3Qy8aWxuwaf4cmu0kodS

The design is simple… to cut a taper, use the paper on the foam or a piece of tape to keep the hot wire from melting the foam (on the left represented by the blue line) and the edge of the table to the right. The taper shape and depth can be adjusted by moving the foam closer to or further from the edge of the table and/or by moving the tape closer to or further from the edge of the foam.

GqCbqxyB6ZicirkQOMNVLFfgsKt6zqHbXeUMhcwrKiYDLK4oQ28enDIVELAIprdeCOiPHsUxC2IhT3oAJ3giXknUYBMMCMPDjuiioq5BtQ61ayy5nsjdlNFq2A7nzMcOWpZePT5O

Pushing the hot wire onto the edge of the table and paper left on the foam, the wire was straight between those two points.

WWLf0t49uDr8XyPkdgzB08DmFktda_QGw8om-oupNEURHbyp8OkAxWM8YARKd1jhNzRuVDKuBWUqAx_2FXsDfKNhHV13092zbQEUjs3i4XgrIUi4iLXK3zBIMRAGMzomDu5yYGiD

The results were no less than completely satisfying. Straight taper, no sanding, quick, no dust, no static particles sticking to everything… wonderful.

1Mhd6U-zzM3UF5l_lY5MKSDACkpmq7ht97Qb0aVCI5KiSUiyDX1oaDORm9DO_hjZ8xmw_6FGI2PSqHpSY9xEUbrXX8EojVhy_iHSEWAs_uiK4hQidJcBbp98qmTqK-NQ9JBt8TFX

I still sanded the tips of the wings… Hmmm going to think about how I can get the hot wire do to this part.

qxOEUIcTpLcAxReXkFbMIdAXDOz3esGwfA3lebFaGNONNinfBDF8-DLV67izhgtj-kTX0i_uX7fza9A8vLqyO3rPe4wbszXURvHakXCRhgIdVJt2yuT2ErTbRus15zLV61JbBStr

The bottom wing panels were joined with masking tape, the joined opened and Gorilla glue applied to the joint.

AJ8nMxhHGgKSZ6b818I2NF_FI0AAnsK3iEzsbIqBa7x-720fzw4i0vDVkNPAb2AwA4fnG96zz760TX3Kbtqkpmf39UA4edsBq6edDNndCvqyIRxTHrKVNvP5XvApiAqv78JT9GL0

I added a little dihedral by letting the joint cure while lifting one wing.
The rest of this wing was done just like the scale wing above.


HilldaFlyer

Well-known member
Love the little hot wire bow - that works great!
Yeah, It did work great. I've since built another version with a tensioner arm so the wire stays more taunt when heated. I made it just because I was so tired of the foam bits/shavings. With static they cling to everything making the work area a clean mess.
 

rockyboy

Skill Collector
Mentor
I really need to make one of these up too - I'm tired of wavy control surface bevels. :black_eyed:

If I lay a metal straight edge along the foam where I want the top of the bevel, I should get much better results than my caffeine addled hands usually provide..
 

HilldaFlyer

Well-known member
1guht01Ox1SOApjDze0bkty3GgNAK3-zuW5-naUVjA0epcaZe1rjDxiy5bO2xRoU02UM7MSvnbOtfaXdVV6pyUthjxEXtC0Tg-mhxb1J87PWFKV9DnMX1r3AfW16mdAk8bVNKja9

Added some really simple landing gear to the longer wings and left the short ones wheeless.

I was looking at the motor and it just isn’t big enough for this size of plane. So I upgraded…

YniTgYKDesTdodF1Qa_d76X6qduUQktfRPipZBlbclxzTa0EpdQVEZB5-eFDA_jGUgWzproRrBFWmubQ6EZ8mZ2IQfdAN9-HctZLSHijJqCNpDPumQS24T1iEA--_G7NRPEaUNy-

NTM 35-36 1800 kv. I didn’t have an 80A ESC, so it got 100A. According to my thrust testing this puts out 3.25 lb thrust on 60 A spinning 7x6 prop. Hopefully that will get it in the air. And since I’m probably not going to win any races with this on… at least it will crash in spectacular fashion.

vEZr6cnTsMCPMAqv7LS08MXEgW5l6pBUyoc8oESXoNXtm6QWhb3Lc_8TgRAnHoEkgWj8BmUeTBmjoEYymjzmSDV99tUMjMdJviScJT_mS8_lBagO9SZjrxuP9b8d0cjHVHvBs_xx

Balanced on what calculated to be CG. Turned out the 4S 3300 mA battery will be buried in the wing joiner.

g540mmB_wxeJRvgB8dctTin6PwPnscqMxX8Bkj9aFUeFwfbsidegqQHQxarVIoO8XgVSrAH1eSW3lwEXIMTm59jq1tZt-i8WUAcIpPMUj4VT-EcYdt_2vwWVObjeNRI49R-_2hpr

Here it is with both wings. I still have to make a cowling of some sort because the motor looks pretty naked.


micro_builder

Active member
When deciding what I was going to build next, it came down to the Crosby or the Caudron...pleased with my decision, but this thread my prompt me to do the Crosby too...these classic racers just have the nicest lines. Great build man!

Nick
 

HilldaFlyer

Well-known member
Yes! Do a Crosby next!! And post those pictures! :)
extended quote "because David didn't post enough pictures" (Just kidding :p)

When deciding what I was going to build next, it came down to the Crosby or the Caudron...pleased with my decision, but this thread my prompt me to do the Crosby too...these classic racers just have the nicest lines. Great build man!

Nick
Thanks Nick. I liked the sleekness of the Crosby too. It is hard to capture with the foam board, So, when are you going to start with my plans or just do your own? I can post what I have at this point. And... when you start your Crosby build, drop a post in this thread so the three people reading this can jump to yours. I'll follow and I'd love to help if I can. I didn't realize how dinky the wings were on the Crosby until I built it. I keep referring it to a penguin because the wings are so short. "Anything can fly if you get it going fast enough..." quote of the day.
 

micro_builder

Active member
extended quote "because David didn't post enough pictures" (Just kidding :p)


Thanks Nick. I liked the sleekness of the Crosby too. It is hard to capture with the foam board, So, when are you going to start with my plans or just do your own? I can post what I have at this point. And... when you start your Crosby build, drop a post in this thread so the three people reading this can jump to yours. I'll follow and I'd love to help if I can. I didn't realize how dinky the wings were on the Crosby until I built it. I keep referring it to a penguin because the wings are so short. "Anything can fly if you get it going fast enough..." quote of the day.

I used to be really bad about starting too many projects at once, so I'm forcing myself to do just one or two at a time now, and I've already hit my max, so a Crosby will have to wait a bit longer on the build queue.
I'll certainly let you know when it gets started, or rather, if its gets started, I get distracted with other ideas quite easily! The wings are indeed a funny shape, the Caudron is similar, wide chord, tiny tips, mustve been the thing to do back then...kinda makes me a bit wary about tip stalls, but that just means you gotta keep going fast and land straight, and thats a good thing. Ideas on when you'll be able to give it a maiden? Looking forward to seeing how she goes, but by the looks of it, it'll be a very nice flight.


Yes! Do a Crosby next!! And post those pictures! :)

Will be posting the pics of my progress so far on the Caudron build shortly, though not sure if I should post it in the balsa builders forum, or micro forum...18" span, so micro, but balsa too...tough decisions these days lol

Nick
 

rockyboy

Skill Collector
Mentor
Wherever you post it, make sure to cross link it back here - so everyone inspired by David's work can follow right through to yours! :)
 

HilldaFlyer

Well-known member
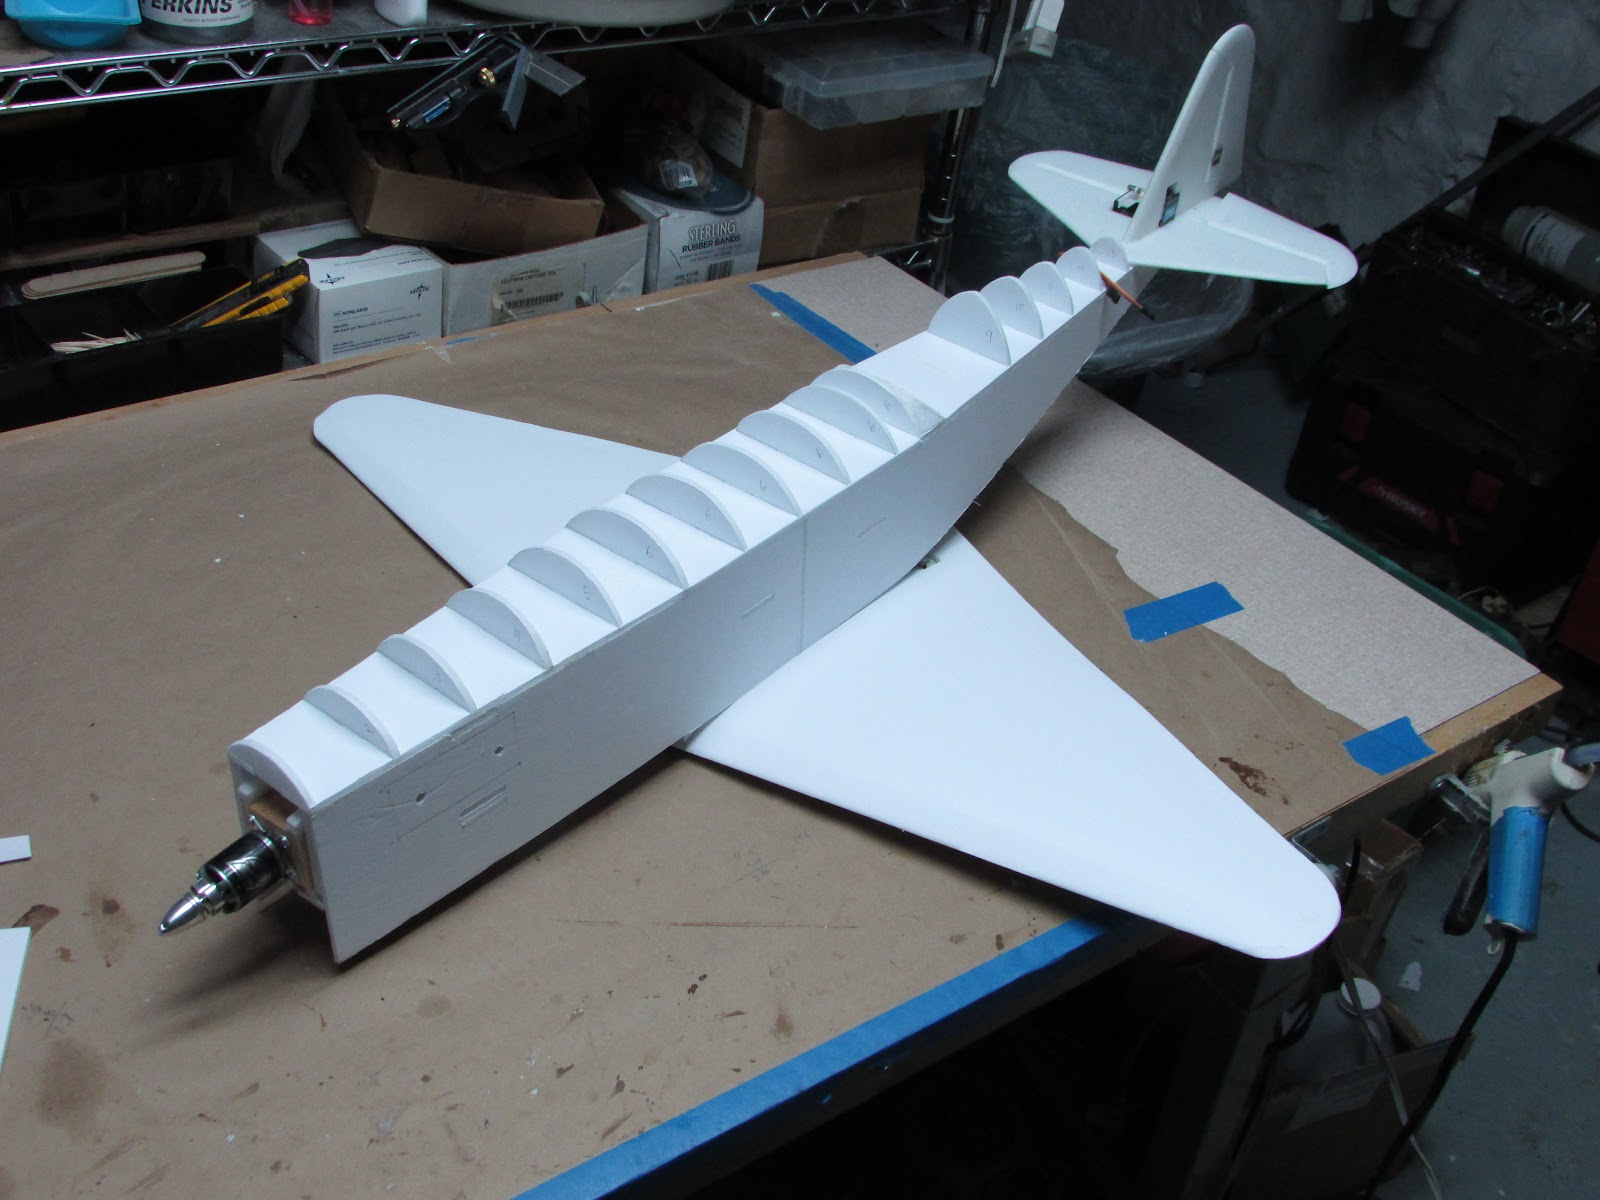
MAIDEN - MAIDEN - MAIDEN

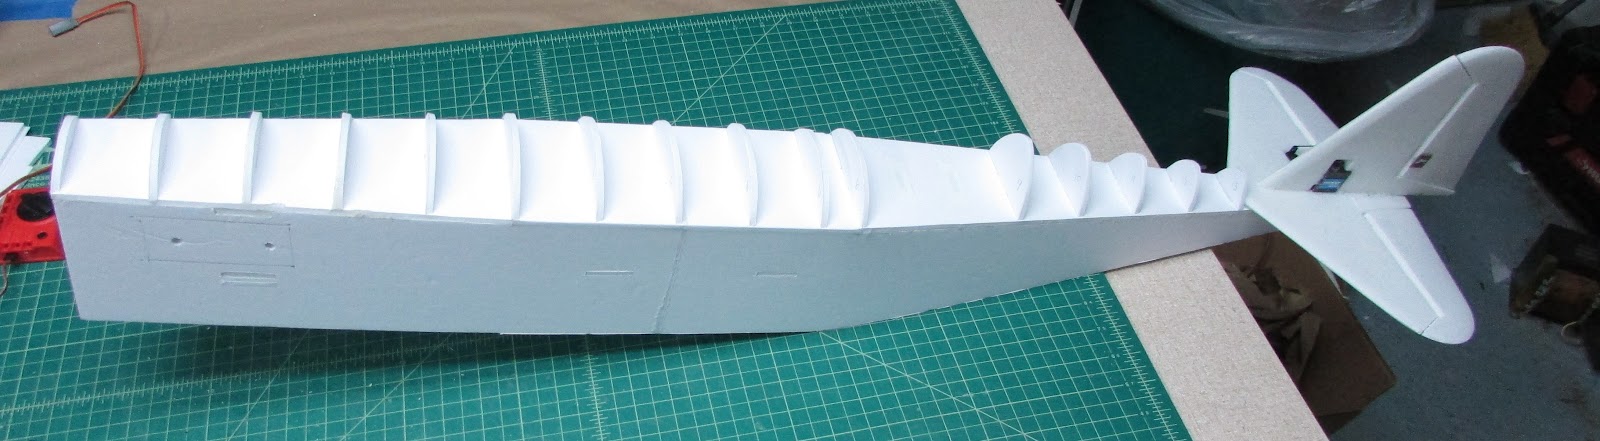
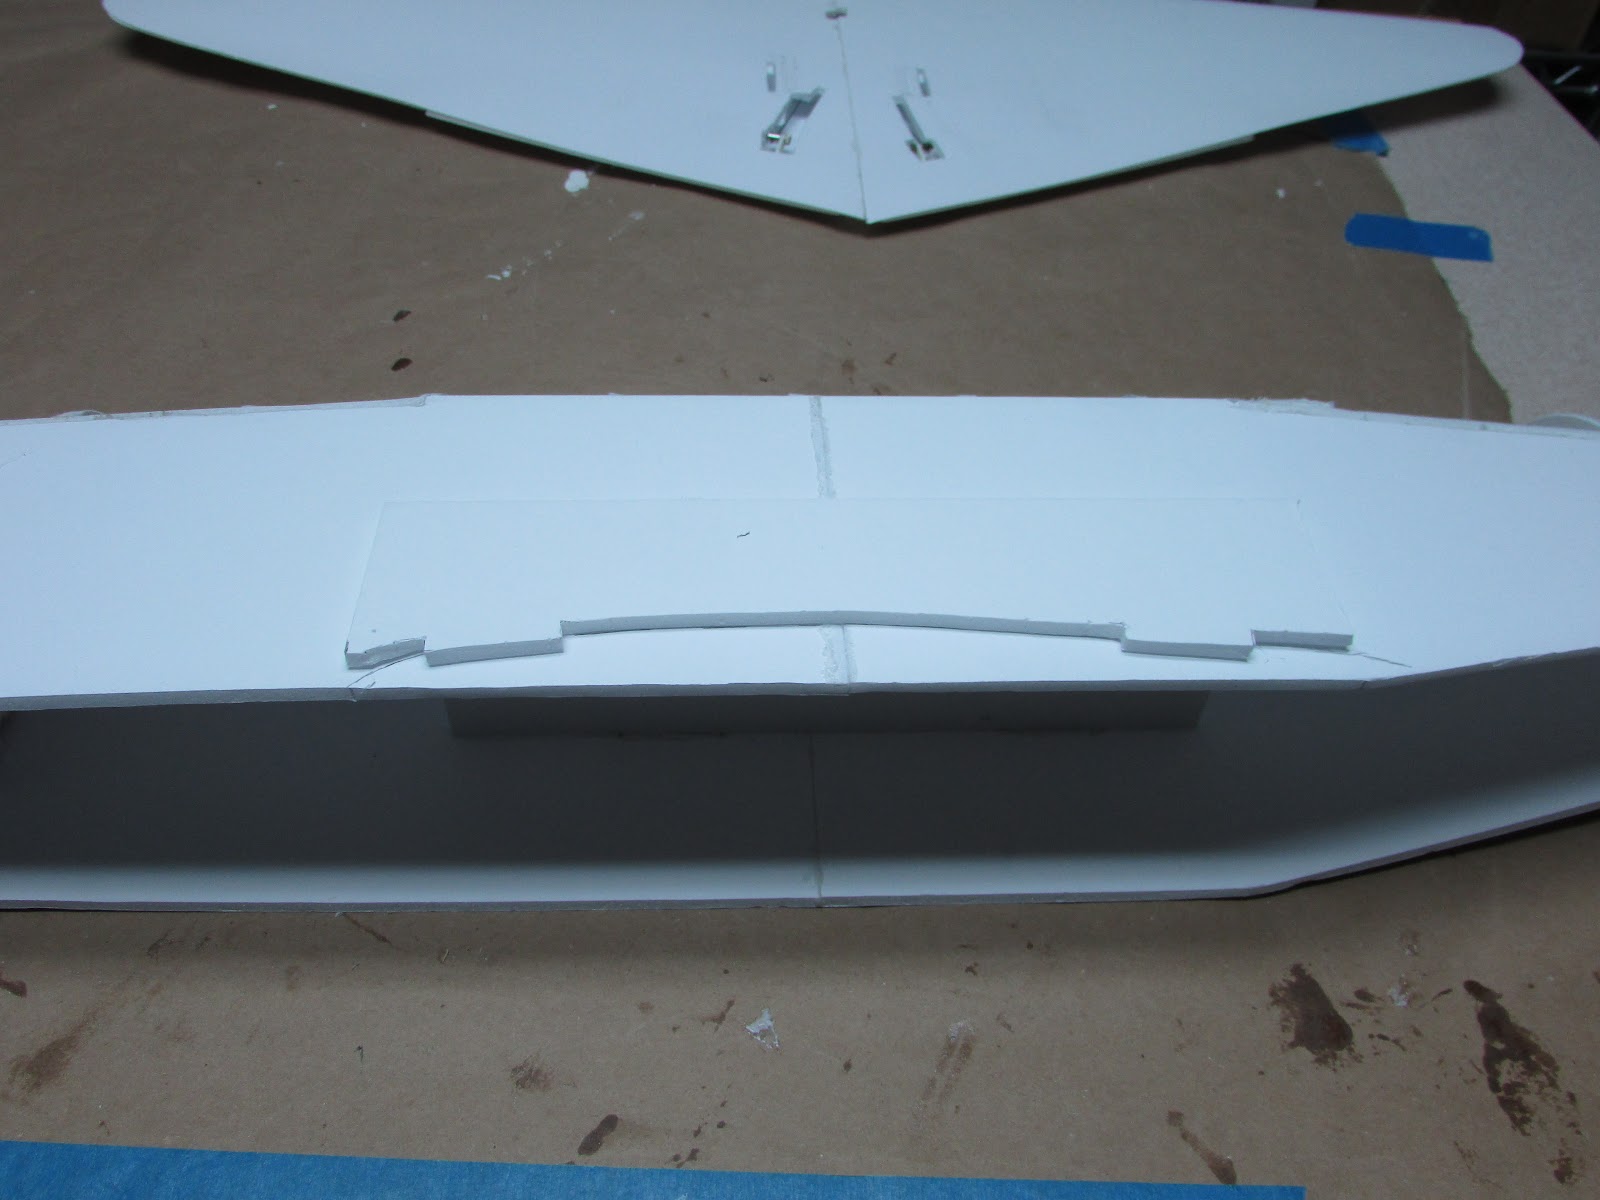
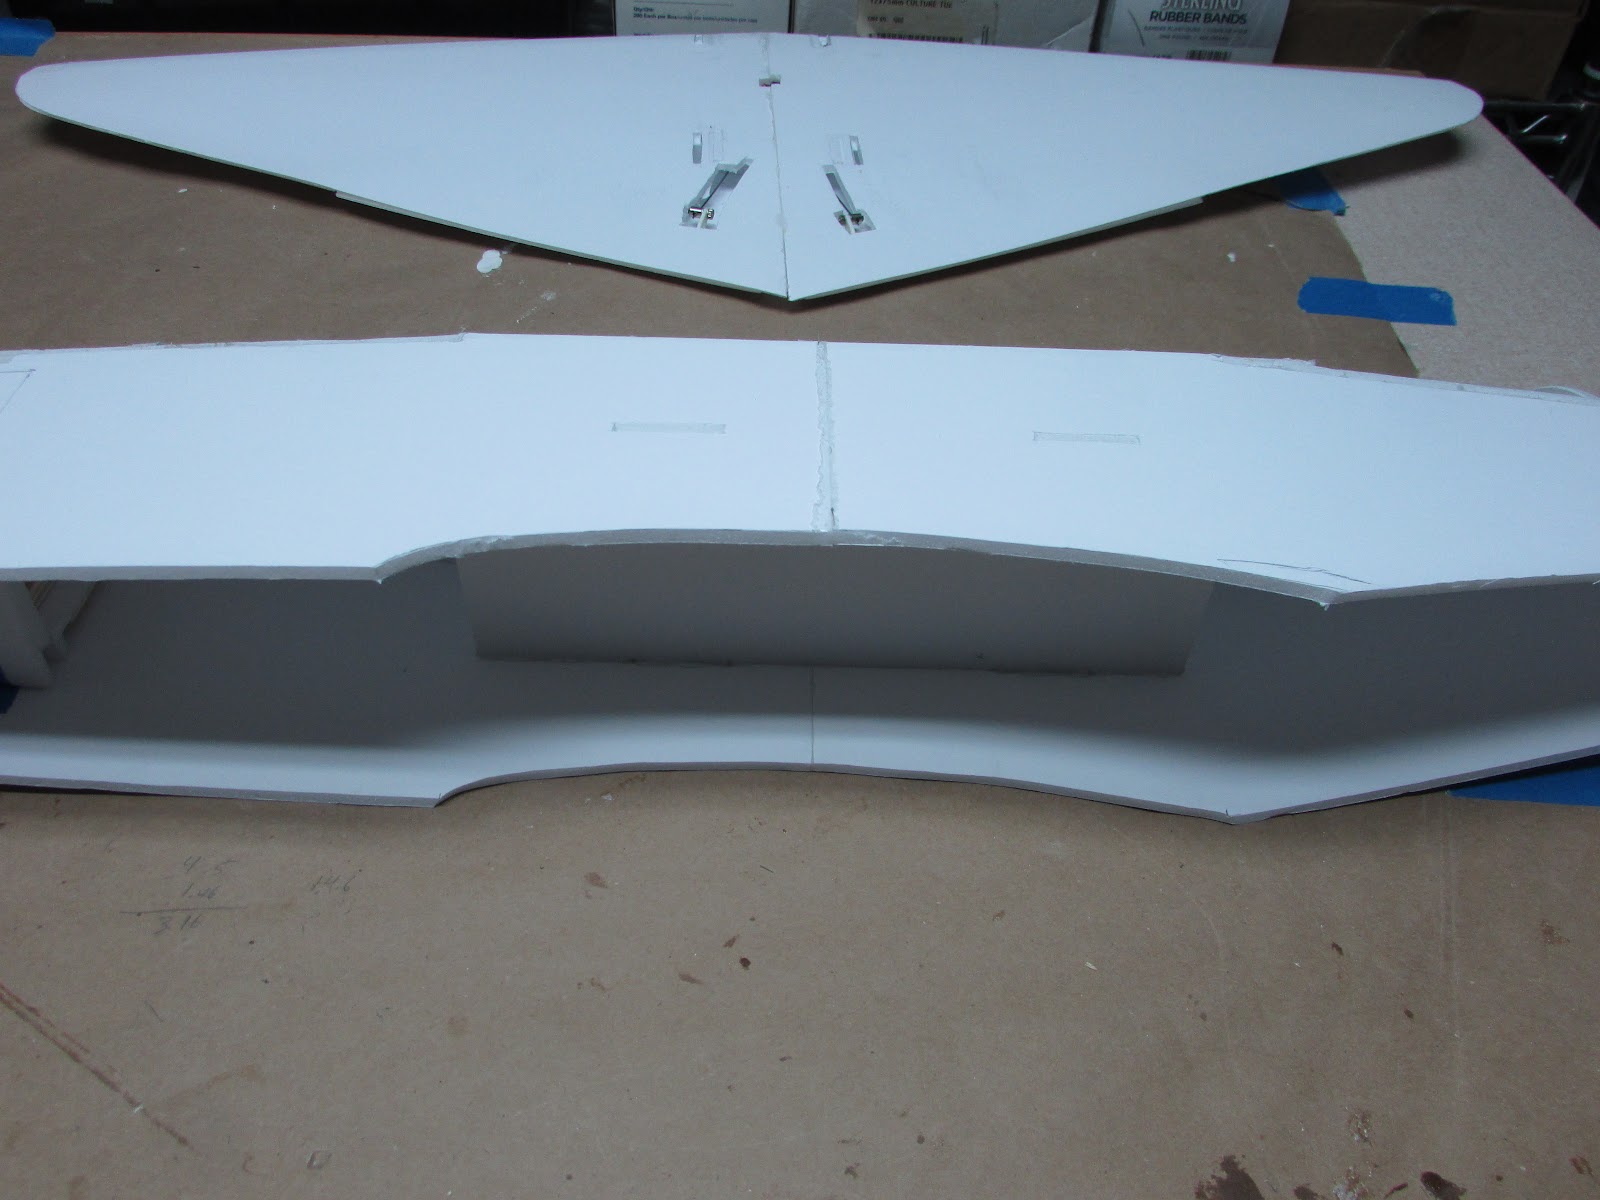
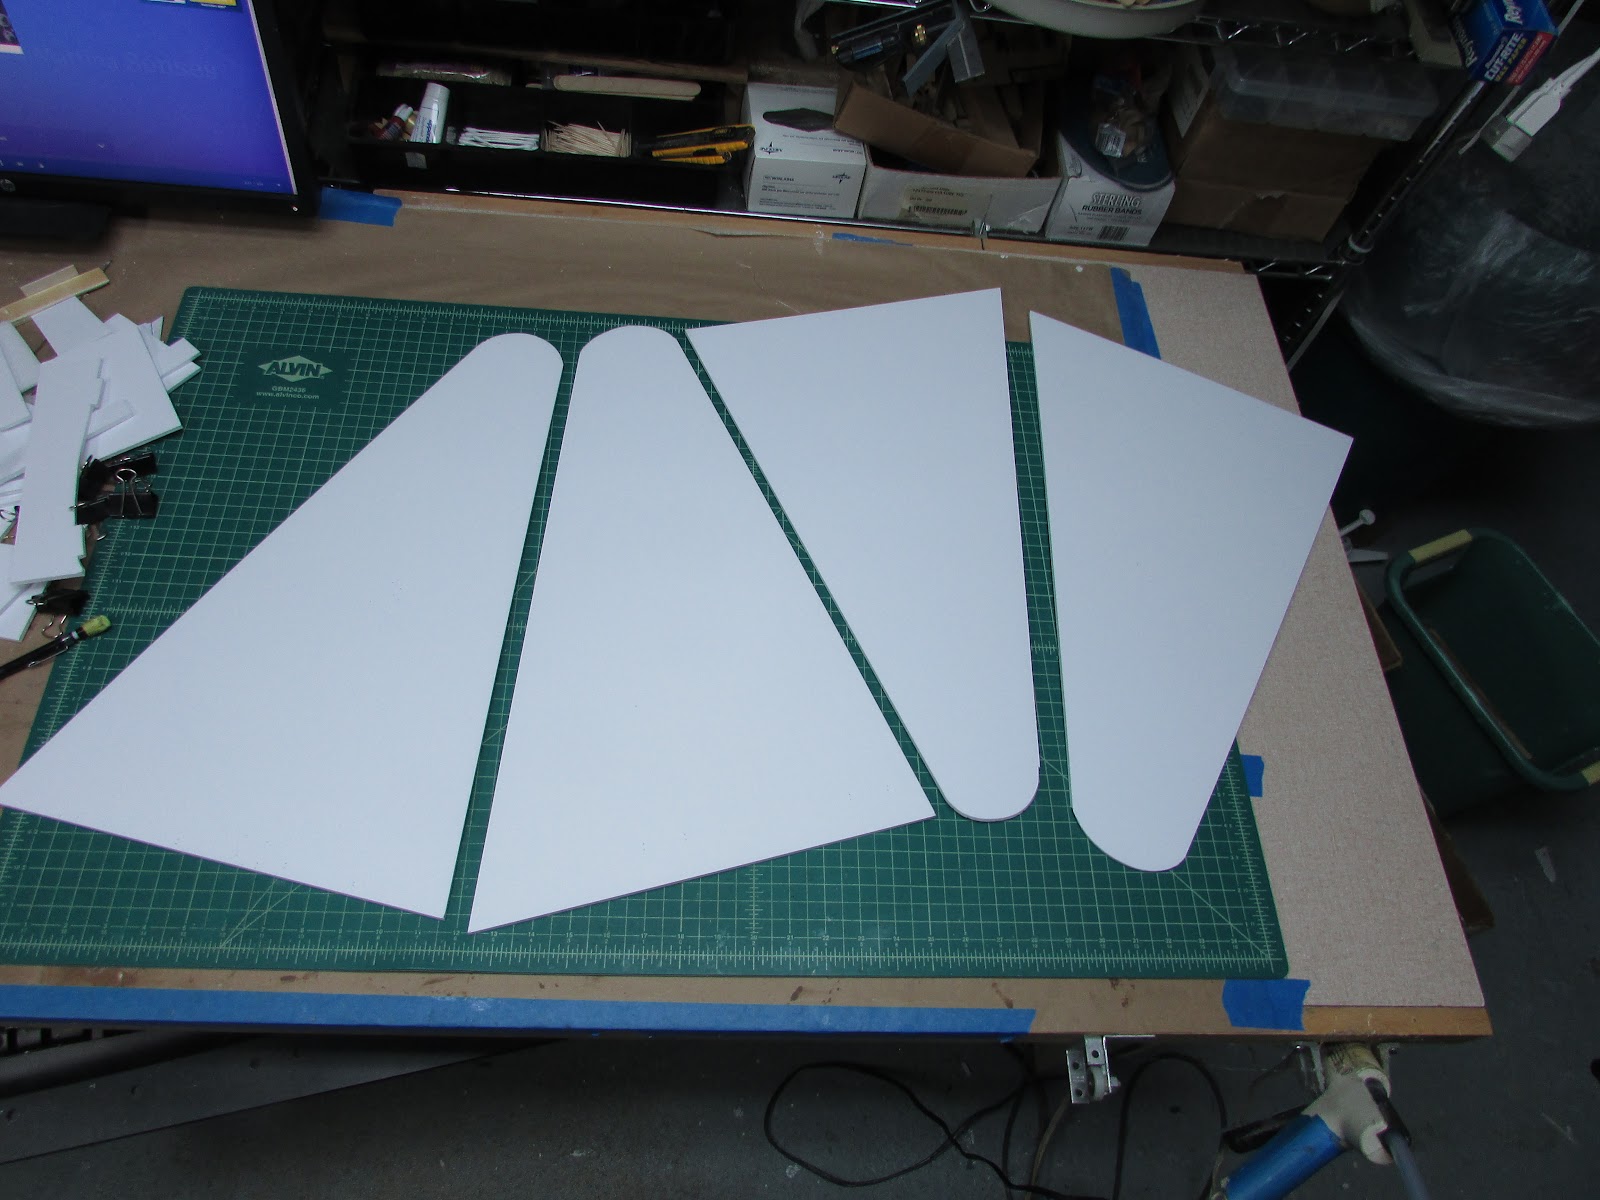
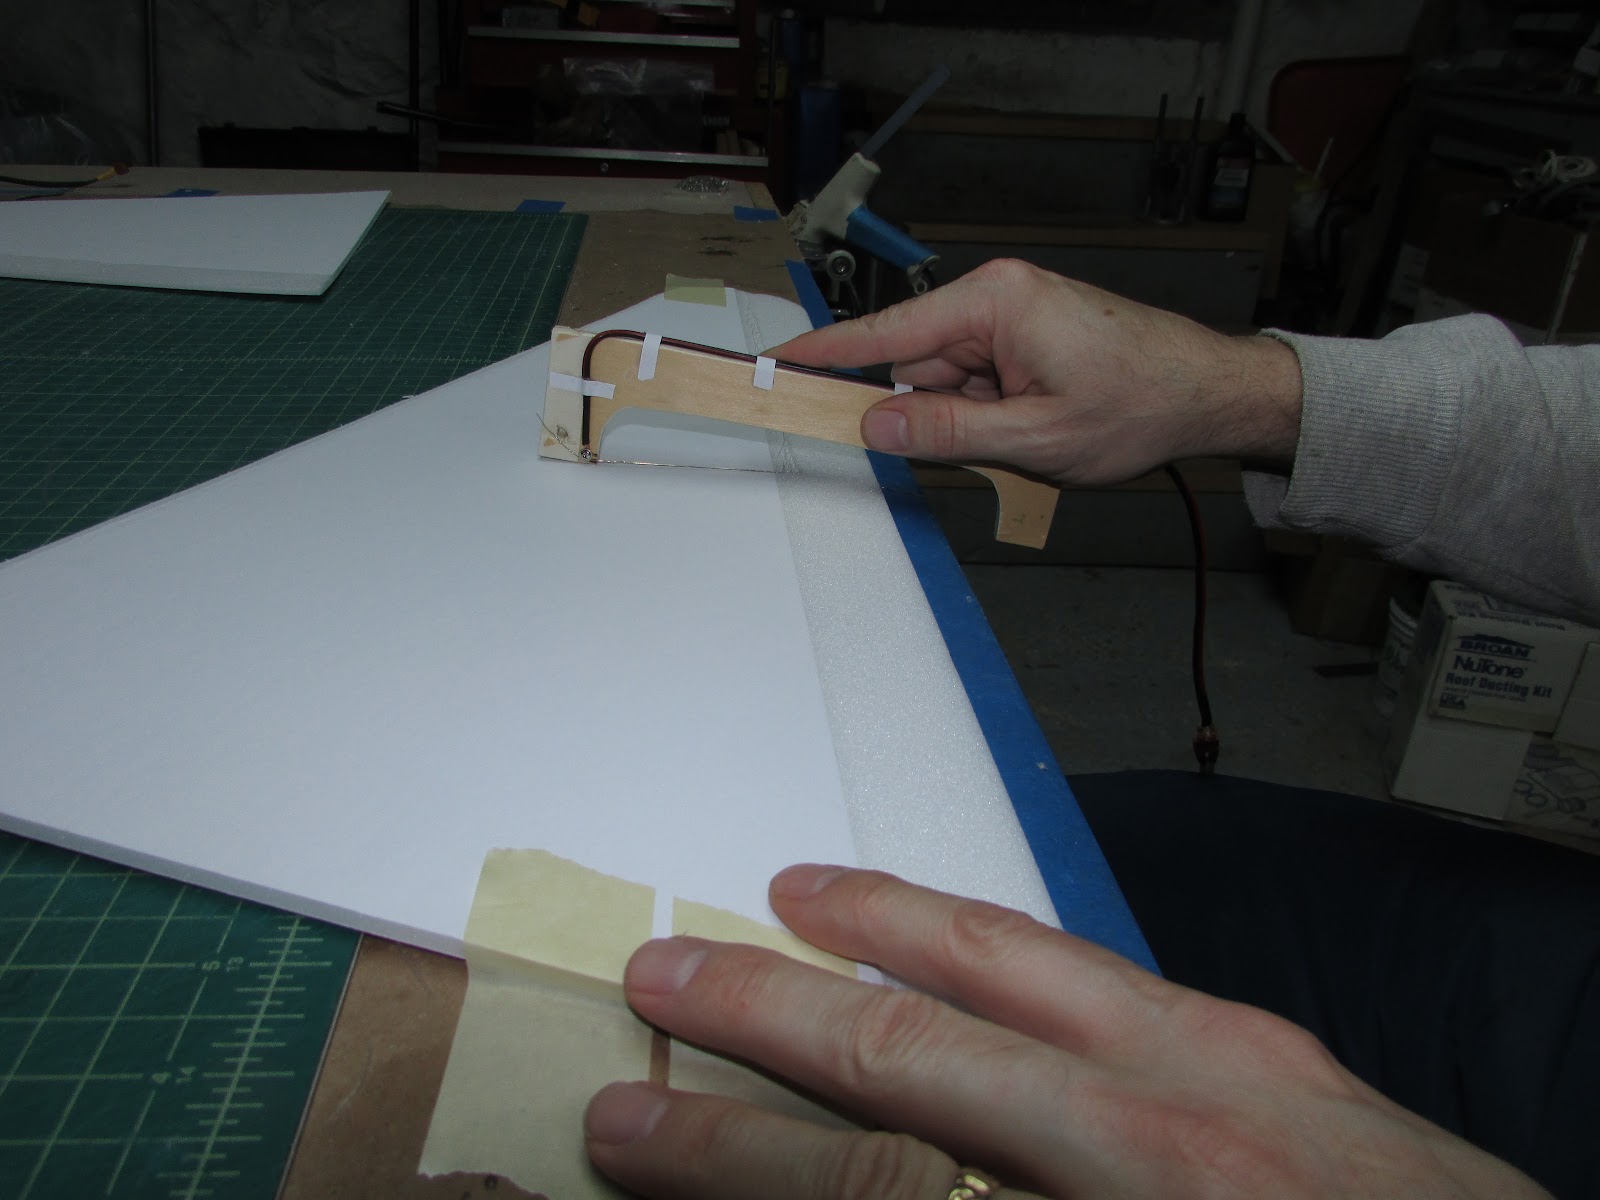
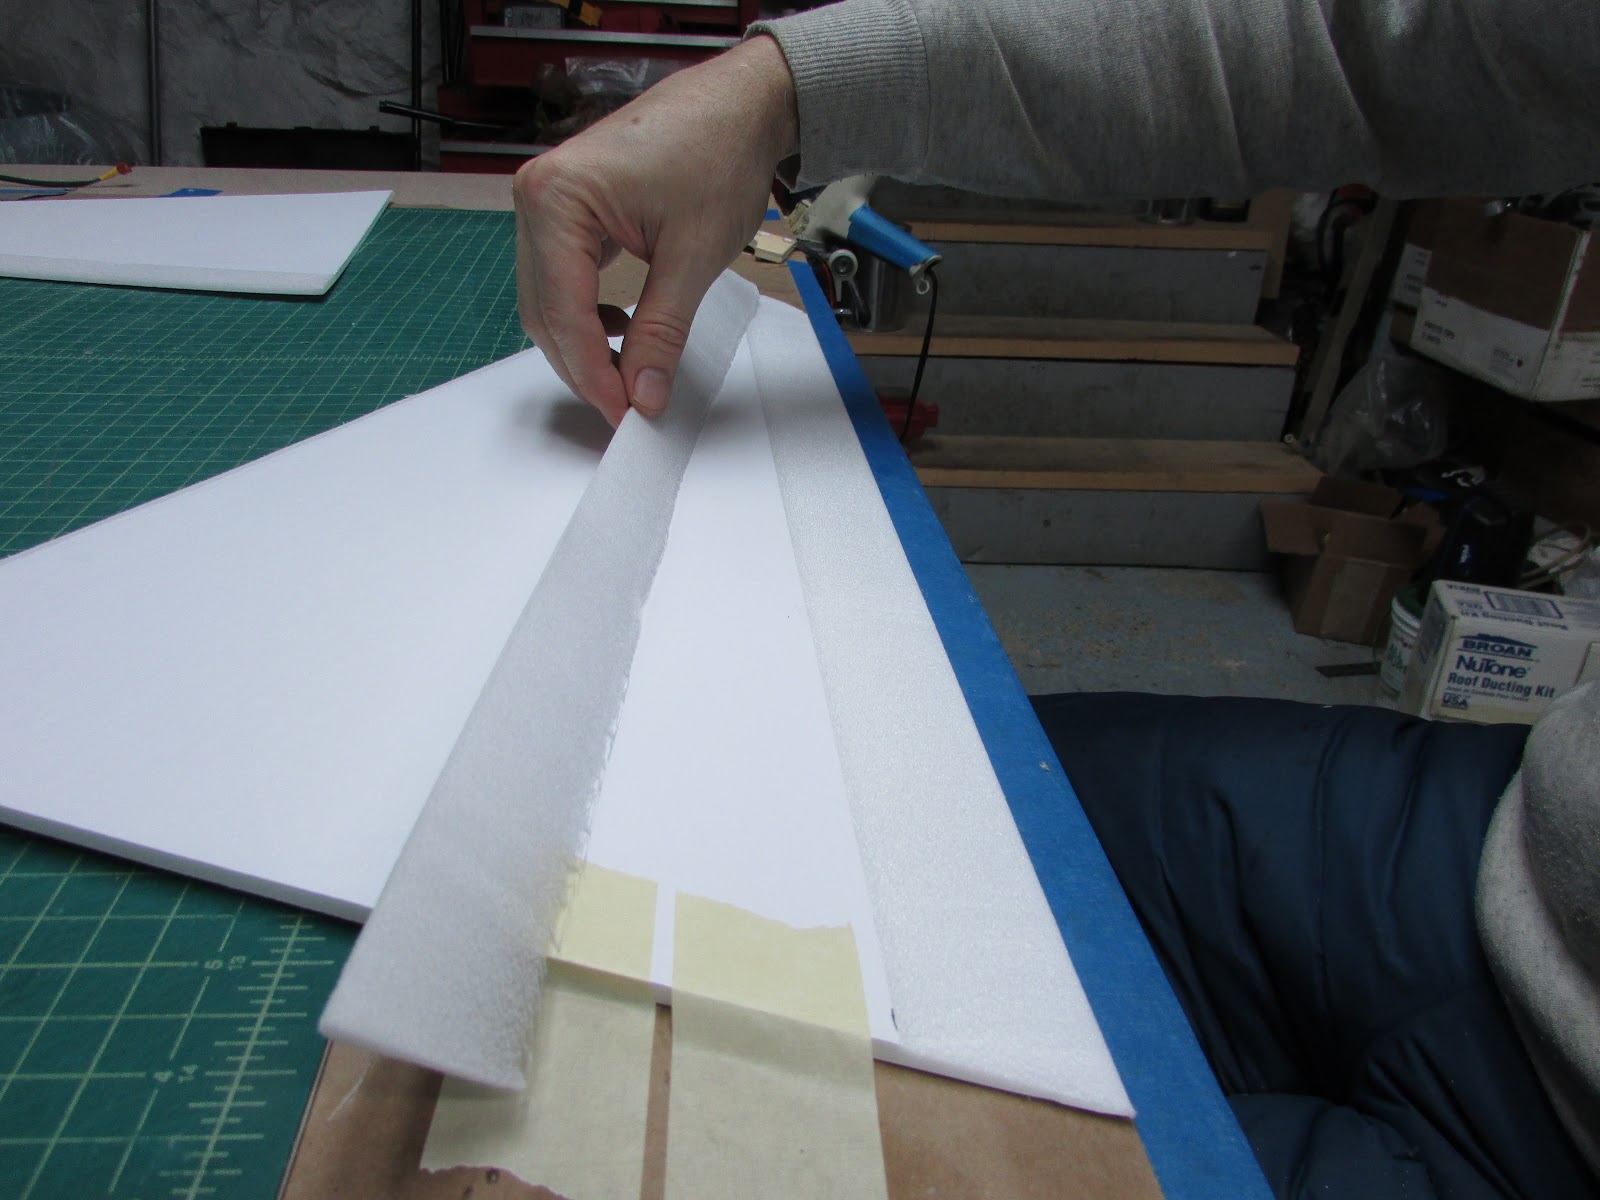
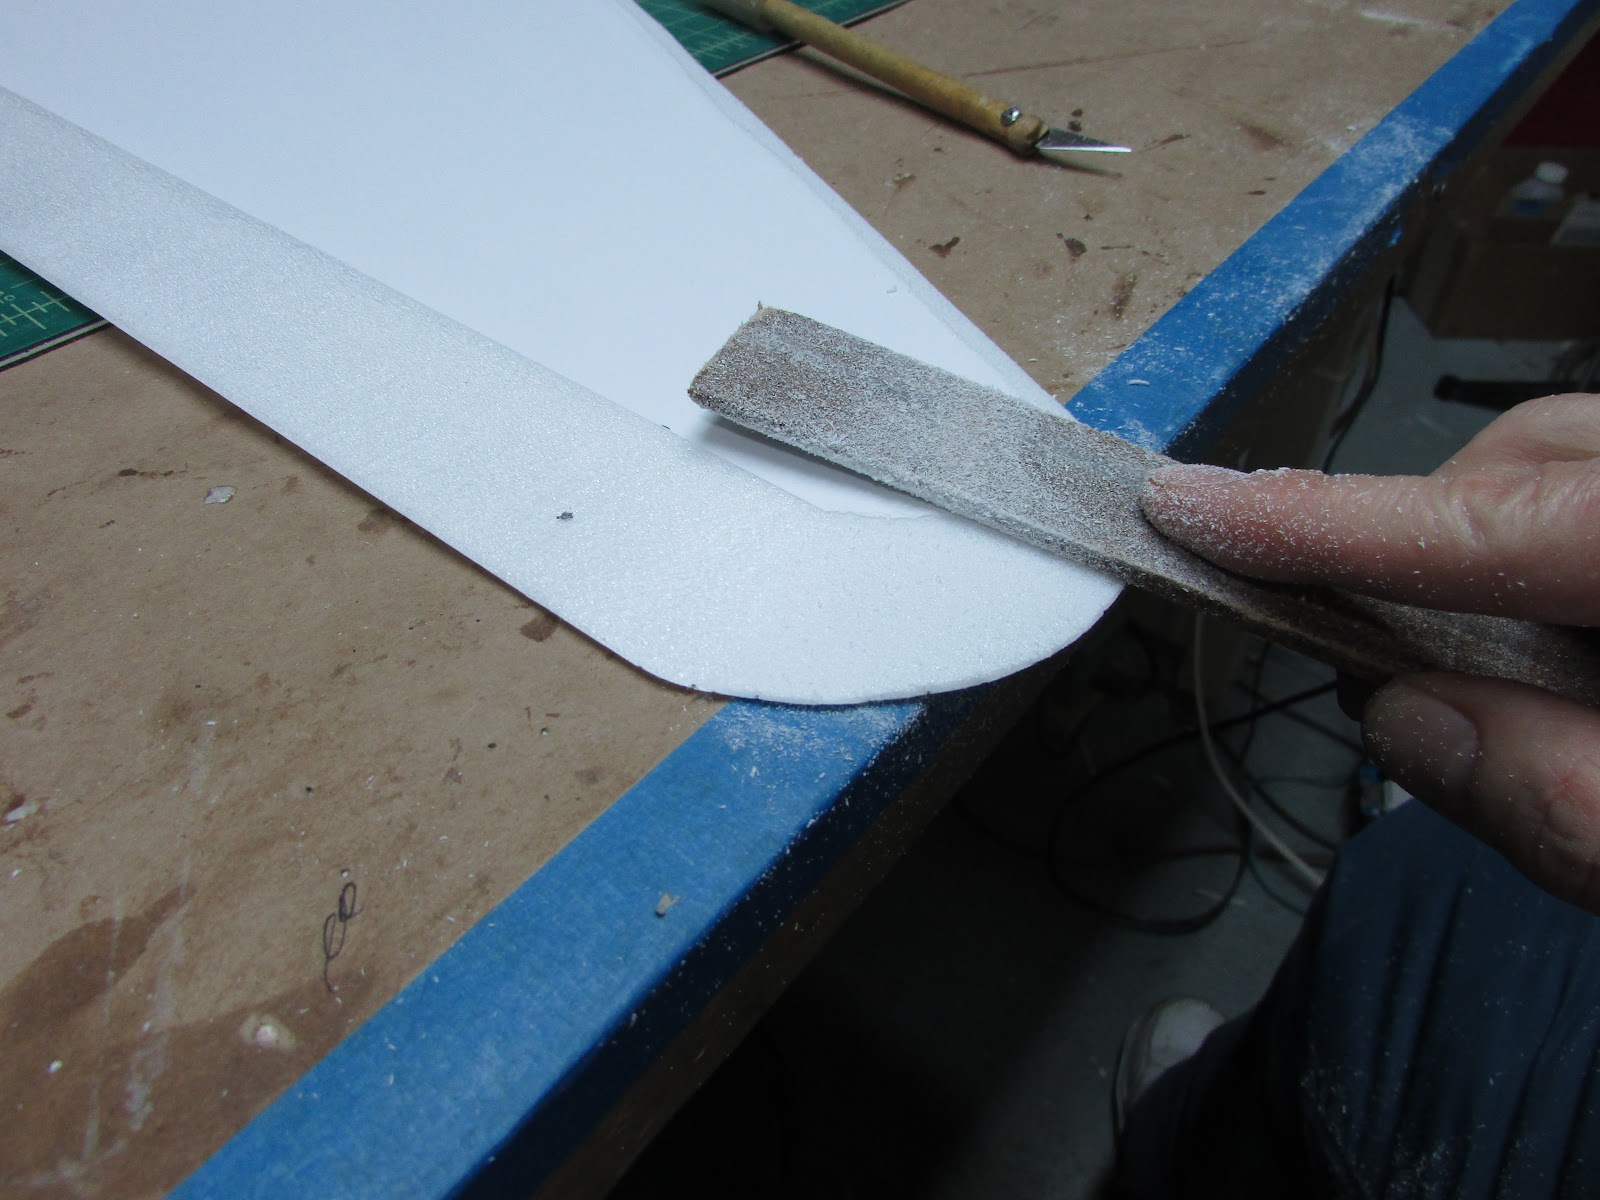
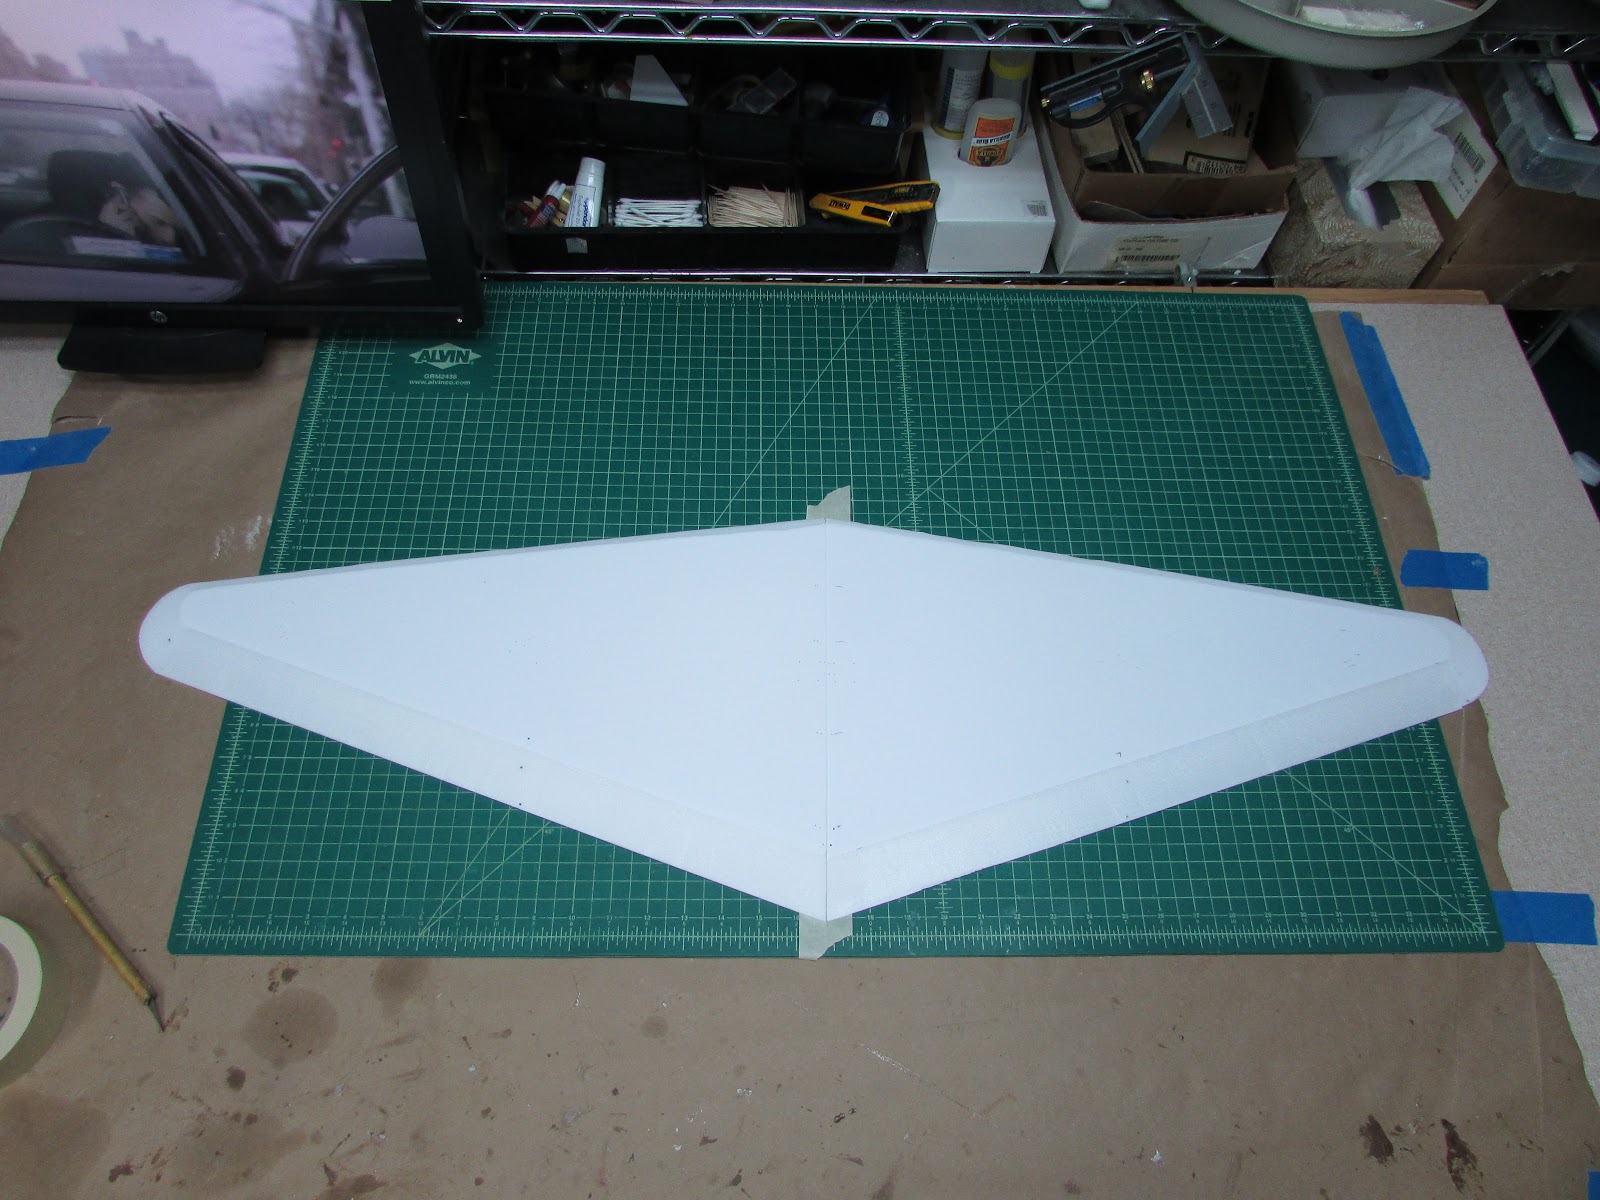
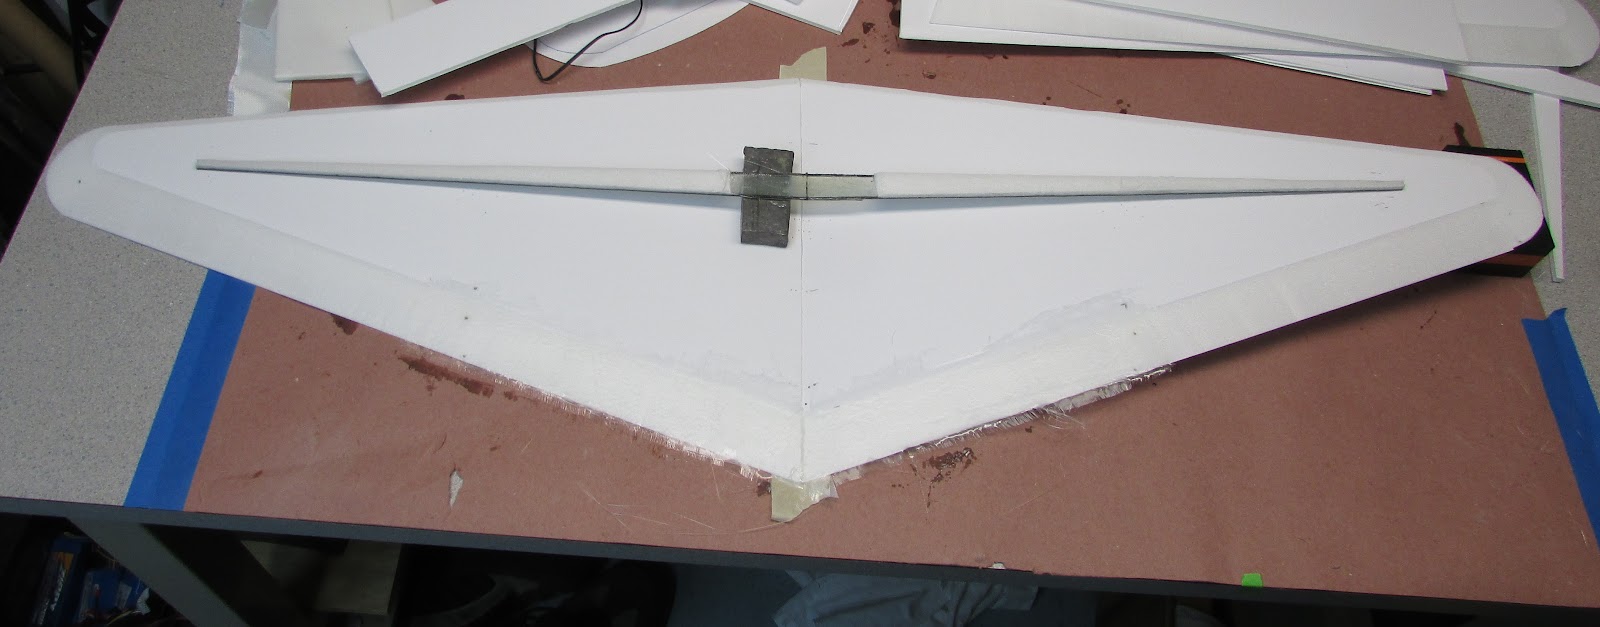
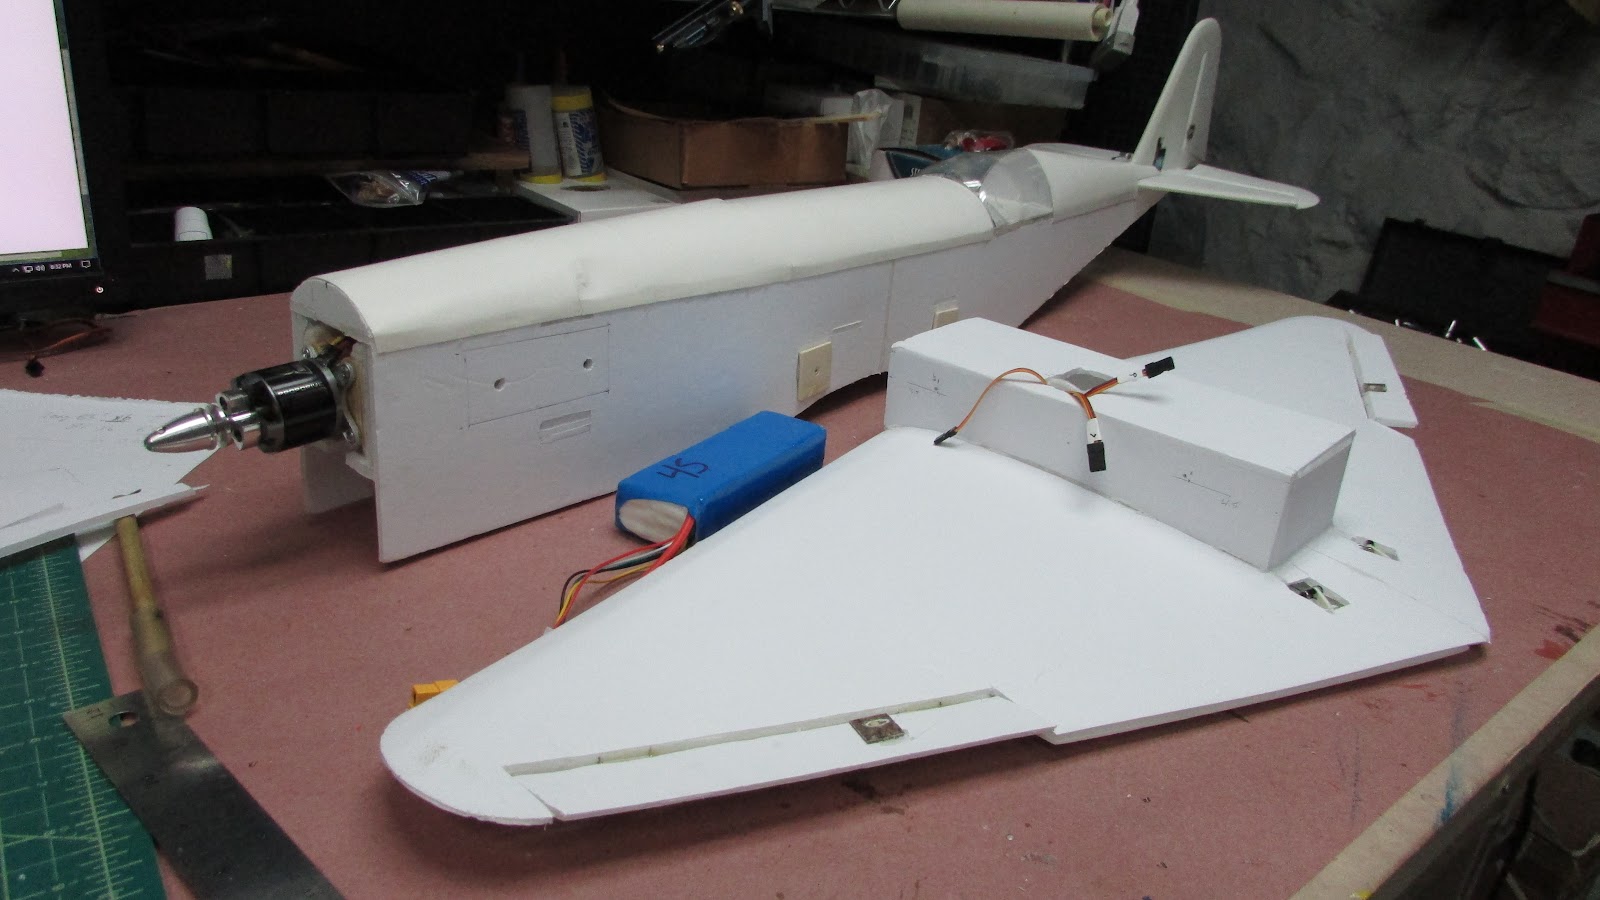
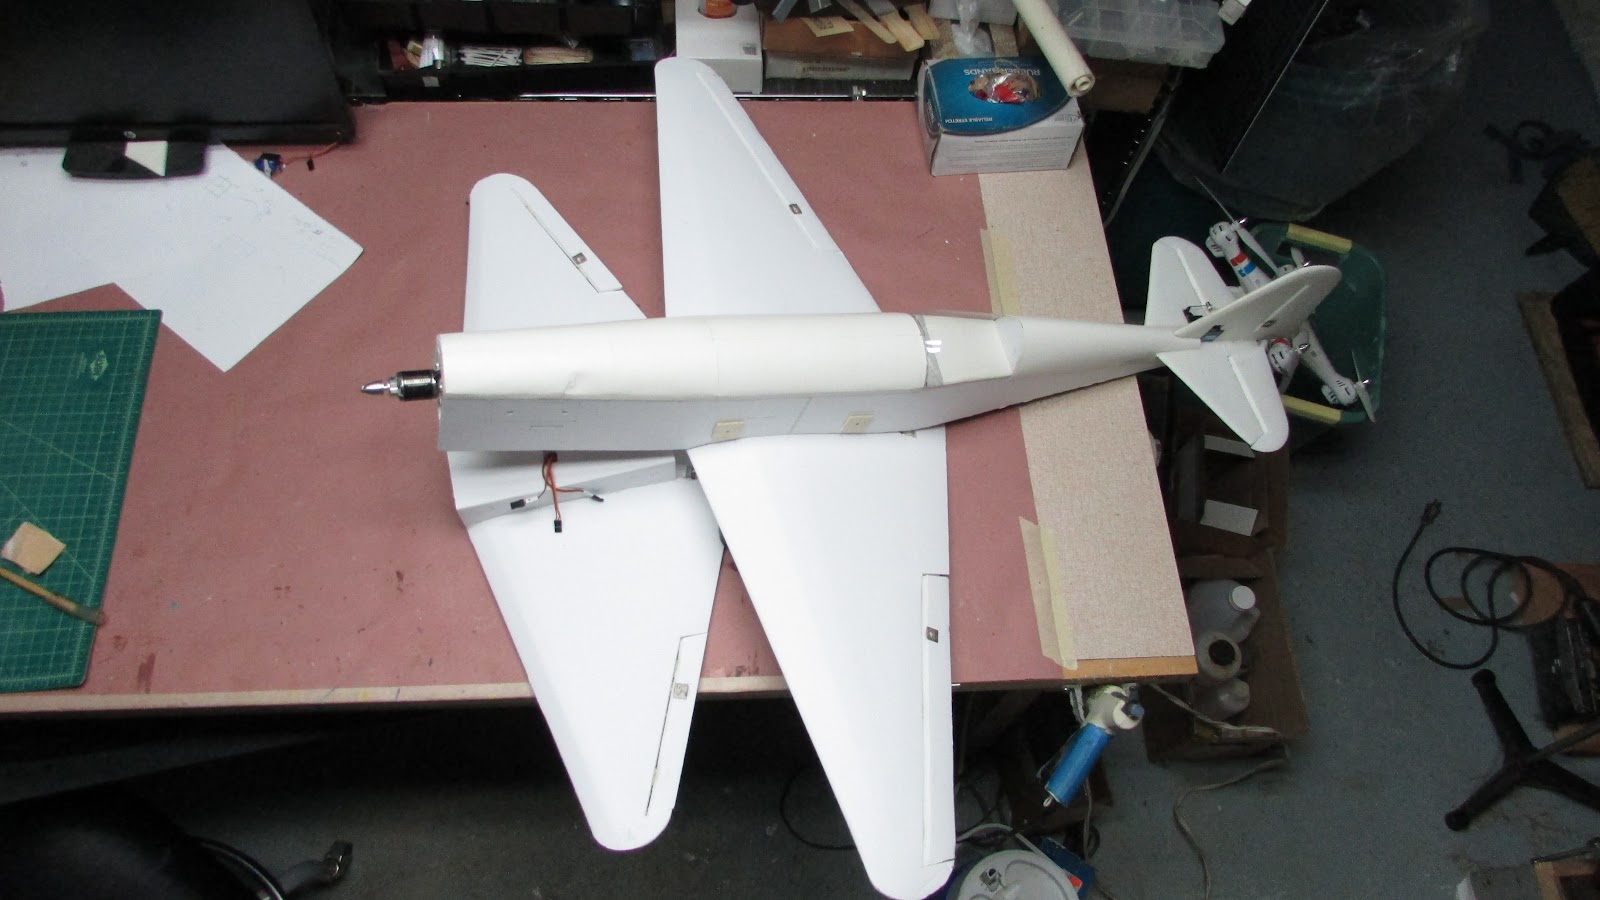
Last night I finished installing the battery, screwing on the longer wings and connecting the Rx. Looks pretty complete, except for the belly covering that will come after everything is air-worthy.

I got up at 5 am (regular time) looked out the window and what did I see - calm and overcast - perfect for a maiden. Lumbered downstairs, started a battery charging, took shower, got dressed, ate breakfast on the deck overlooking the lake and calm horizon, brushed teeth, grabbed keys and lunch, grabbed flight case and plane, drove to the field... put on capcam, set up field cam tripod, prep plane... took deep breath.

Maiden - Maiden - Maiden

So, now I'm at work, and hour afterward with feet wet from the dew, writing this so you know some awesome news, that 
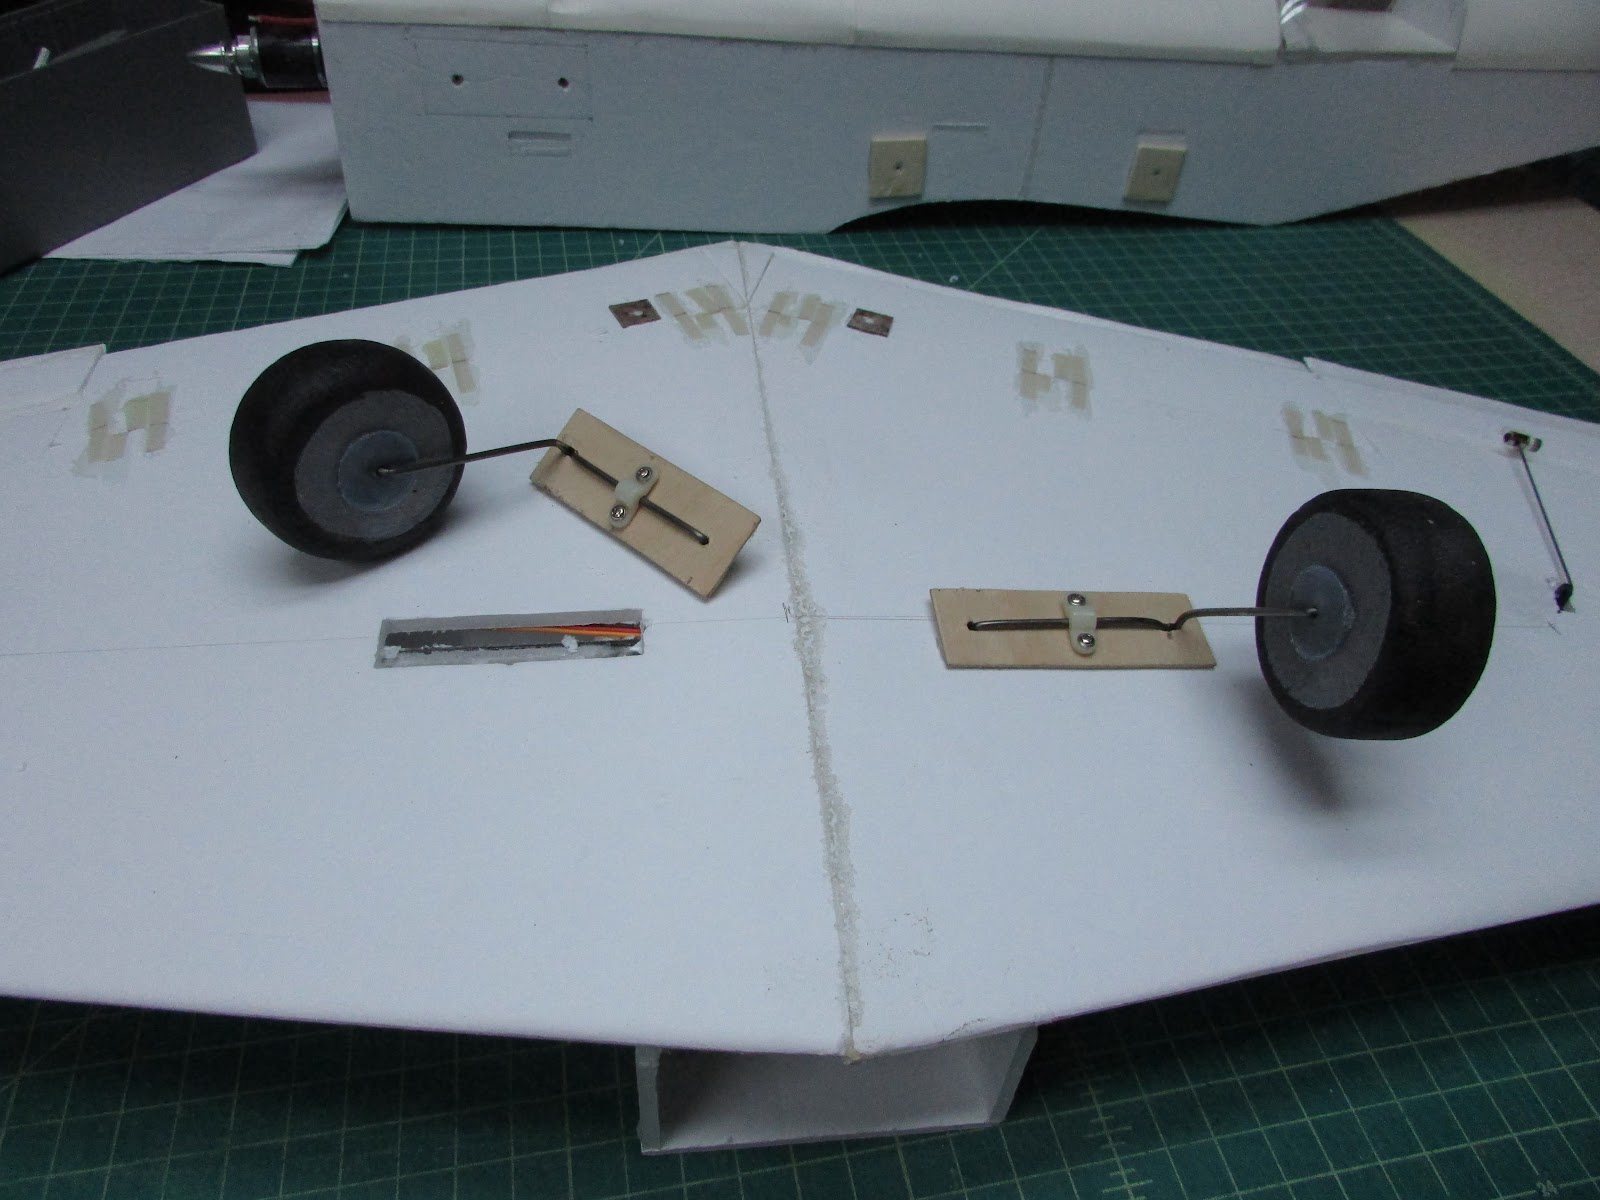
it flew (probably about 10 meters). I don't know about you, but when things don't go perfect my brain freezes a bit, I just lost my nerve and let it go down. I'll post a video very soon which may add to my recollection... One initial problem is that the wheels aren't large enough to roll over the lumpy grass and the plane is so balanced that any thrust causes the propeller to cut grass/dirt. I think this can be overcome by moving the landing gear forward a bit. Once the plane got rolling it seemed to go pretty OK - except for the left turn tendency.
I would like everyone's insight/comments/training why a plane turns left at the very first of throttling up and then seems to go straighter when airflow hits the tail. Should I add right thrust to the motor?

In short, the plane took off 70 to 80 degrees left from initial nose direction. Taking off the side of the runway is not new to me, but since it was started heading the wrong direction, I backed off the throttle --- just at the moment it got air born. I couldn't recover fast enough and it took a tumble in the tall grass off the edge of the runway.

CRASH

Damage Report
I'm very happy to report that the damage is minimal, broken propeller and mud/grass on the underside of the wing - so it will fly again. The good news to me is that it was very smooth takeoff, meaning it didn't seem to have any really strikingly bad tenancies - like nose up or roll uncontrollably - at least I couldn't tell from the short flight so the video will be instructive and illuminating. I thought it was very graceful for the flight it had, so there is HOPE!

Plans for tonight

  • Post Video
  • Contemplate moving landing gear forward and making wheels larger.
  • Review video - look for tendencies after wheels up.
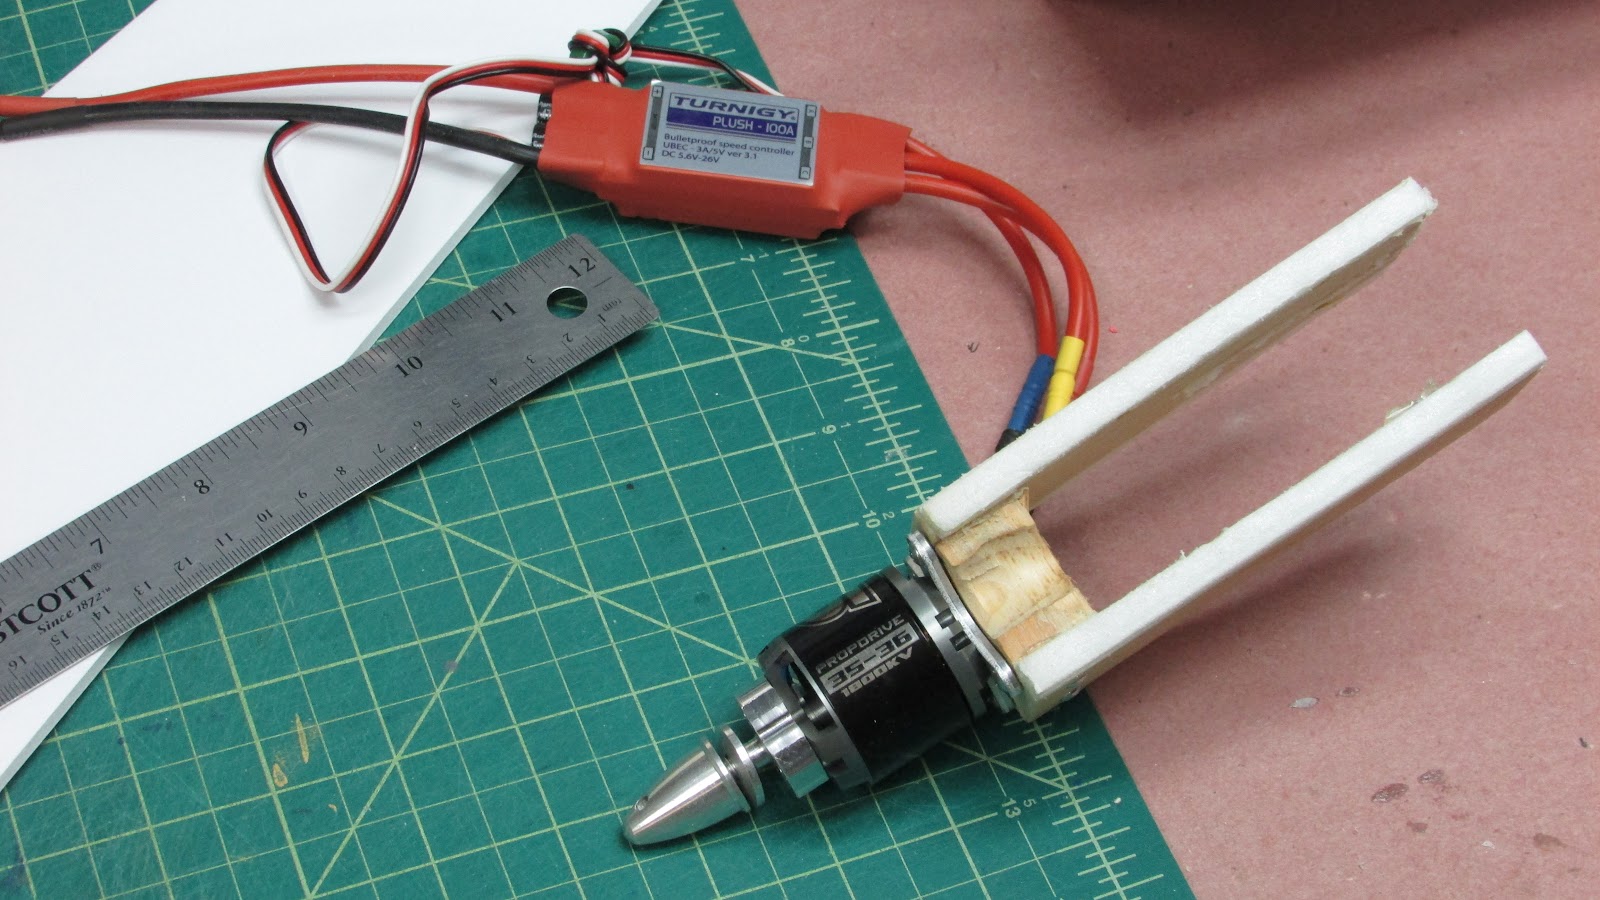
  • Add some right thrust to motor (unless I get some feedback saying this is not what I should do)
  • Design some decals for the tail.
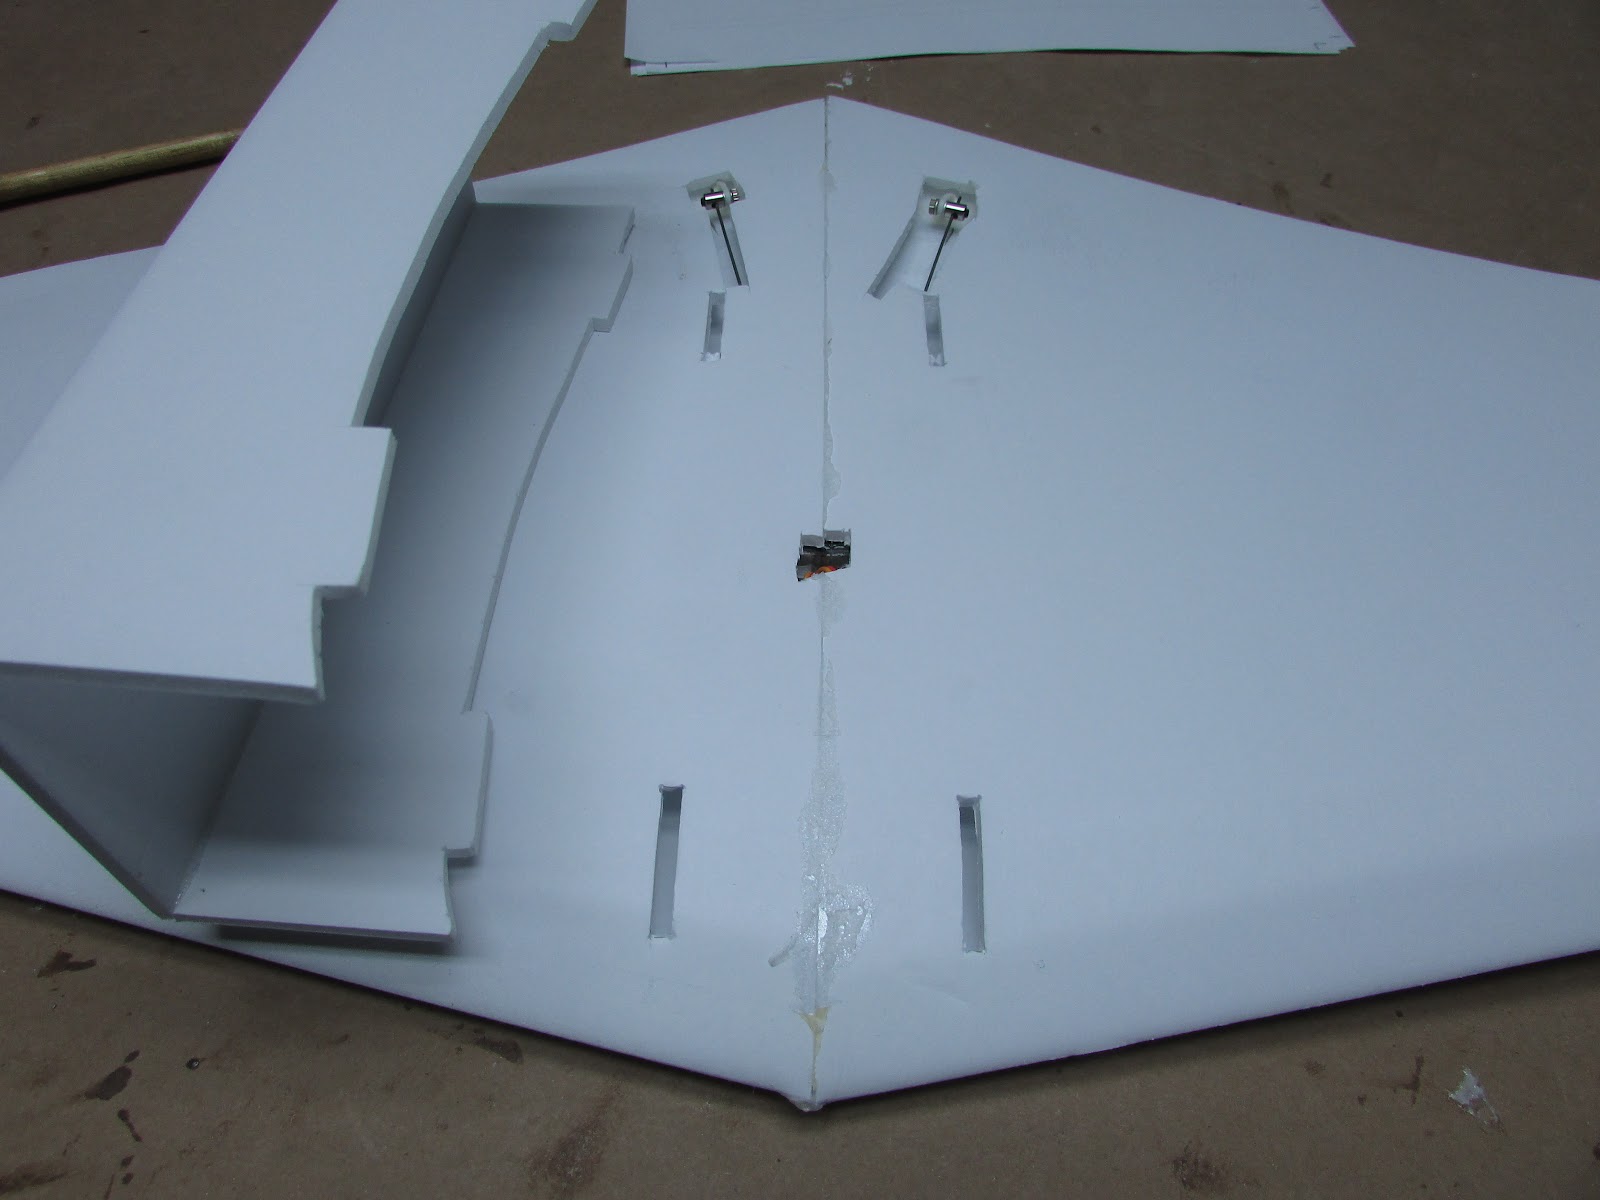
  • Install rear belly plate.
  • Design front belly plate battery hatch.
  • Paint wings blue - if the paper starts to peel, I'll be peeling it and glassing.