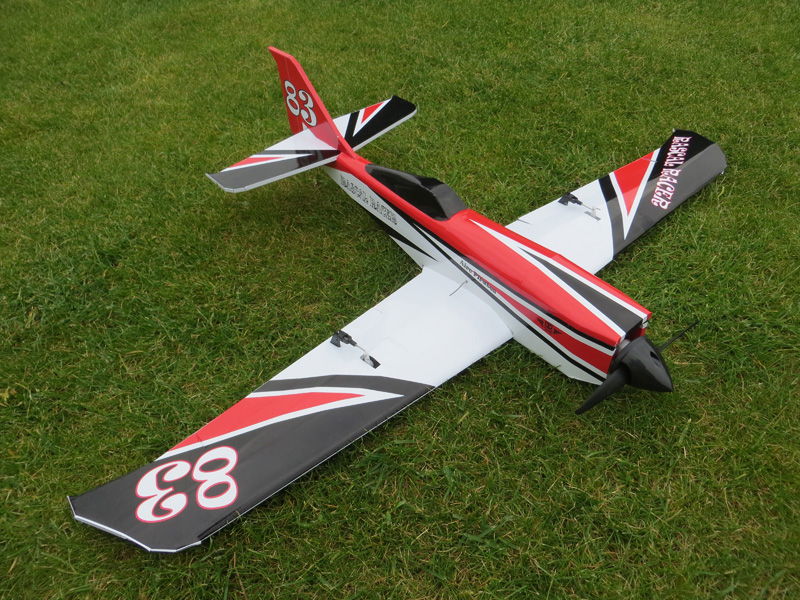
AP Rascal Racer (700 mm | 27.56 in)

TeckDsgn

Junior Member
Could i use the 9g servo with the basic setup to? i dont have any 5g servos and i have a whole box of 9g ones just laying around.
 

AircPirateNinsei

airc-pirates.com
This is a question of the CG. It should not be a problem for the aileron servos, because they are very close to the CG. But the elevator servo definitely is a problem.

Motor, ESC and battery are much lighter in the Basic Setup than in the Speed Setup! The elevator servo must be placed further forward. I don´t think that there will be enough place for the receiver and the battery!

Which other electronic parts do you use (Motor, ESC, Battery, Receiver) and what is the weight of each part?
 

rockyboy

Skill Collector
Mentor
The weekend is coming up and the build plan and the sticker sheets of the AP Rascal Racer are now available for download!

Look here: http://airc-pirates.com/en_US/rr-download/:cool:

Very cool! I'm all downloaded and printed out, foam is in the workshop and I have electronics to cover it, but I have two more builds to finish in front of this one. I will definitely post pictures and vids as I get it rolling though. At first blush, the plans look very well designed - bravo! :applause:
 

JohnRambozo

Posted a thousand or more times
AircPirateNinsei

What are your thoughts on a slightly larger version with a power 10 motor?

What wingspan?

I'd really love to see this built around the size of the FT Spitfire. I'll probably scale one up eventually. I got a lot going on right now, including building a Rascal Racer as intended.
 

AircPirateNinsei

airc-pirates.com
AircPirateNinsei

What are your thoughts on a slightly larger version with a power 10 motor?

What wingspan?

I think you need at least 1400mm (55.12 in) wingspan for a power 10 motor, because it´s a heavy motor (122 g | 4.3 oz). And this motor has only 1100KV with large 10x5 to 12x6 electric props.

I think the larger version should have 1.000 mm (39.37 in) wingspan. The NTM Prop Drive 28-36 2200KV / 696W with 87g (3.07 oz) should have the perfect weight and power.

What do you think?
 

planebreaker2000

Active member
I can go for that. I have a 28-36 I have to check what Kv it is. The 39.37 ws sounds good to me. I have one build to finish up then I will start this one.
 

AircPirateNinsei

airc-pirates.com
Build plan updated to V1.1:
part 11 - horizontal stabilizer: changed the linetype of the elevator from cut to scorecut (was a mistake in V1.0)
 

HCMAClub

Junior Member
i'm currently building this one. it is probably the 4-5th dtfb plane i have built. i've scratch built from balsa and had a blast as well.

Questions.

1. is the wing bottom supposed to be flat when complete?
2. would like a few pics of the wing assembly
3. would it be better to make the 2 inner spars full length to cross both wing halves?
4. wing could be done out of a single piece, is there a reason not to? or am i looking at things wrong.
 

AircPirateNinsei

airc-pirates.com
Questions.

1. is the wing bottom supposed to be flat when complete?
2. would like a few pics of the wing assembly
3. would it be better to make the 2 inner spars full length to cross both wing halves?
4. wing could be done out of a single piece, is there a reason not to? or am i looking at things wrong.

Hello HCMAClub

1. No, the wing has a V-shape of 15 mm of grade on every side. At first stick the rafters on and build every wing part for itself. Then stick together parts 1 and 2 at their underside. To produce the V-shape use part 6 on one side of the wing when sticking the top sides of parts 1 and 2 together. This is also well shown in the build-videos of the FT Duster or FT Mini Scout.

2. Unfortunately, I don't have any pictures of the assembly.

3. It doesn't matter - The V-shape folds the parts.

4. Yes, the wing could be done out of a single piece. One then doesn't have to stick part 1 and 2 together at the underside of the wing then - similiar to the wing of the FT Duster.
 

rockyboy

Skill Collector
Mentor
I got everything sliced up on the laser this weekend, and will start on assembly this week. :)

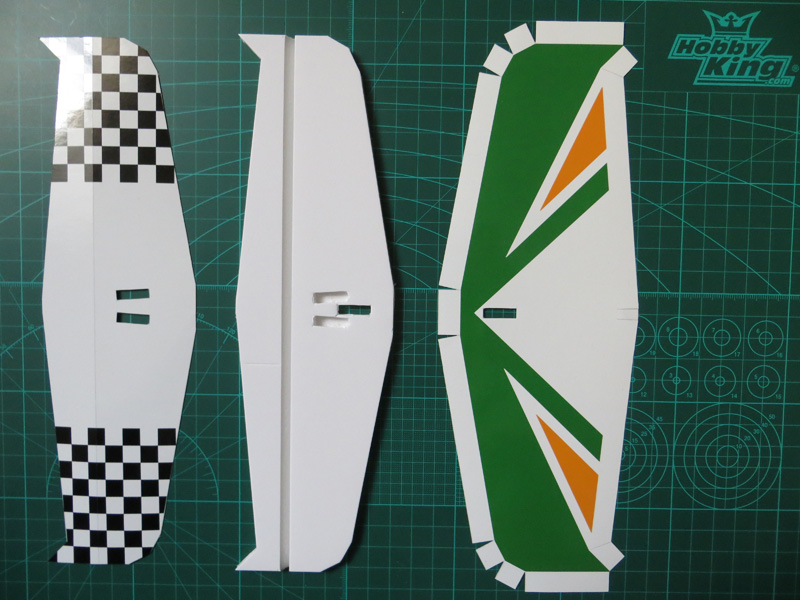
Question about the decals from a process perspective - do you typically pull the DTFB paper off, glue on the decal, and then fold and glue the plane up? Or do you like to add them at the end over the existing paper? I've seen people do both ways, and I usually do the first, but curious how you've been making these particular models.

Thanks,
 

AircPirateNinsei

airc-pirates.com
I got everything sliced up on the laser this weekend, and will start on assembly this week. :)

Question about the decals from a process perspective - do you typically pull the DTFB paper off, glue on the decal, and then fold and glue the plane up? Or do you like to add them at the end over the existing paper? I've seen people do both ways, and I usually do the first, but curious how you've been making these particular models.

Thanks,
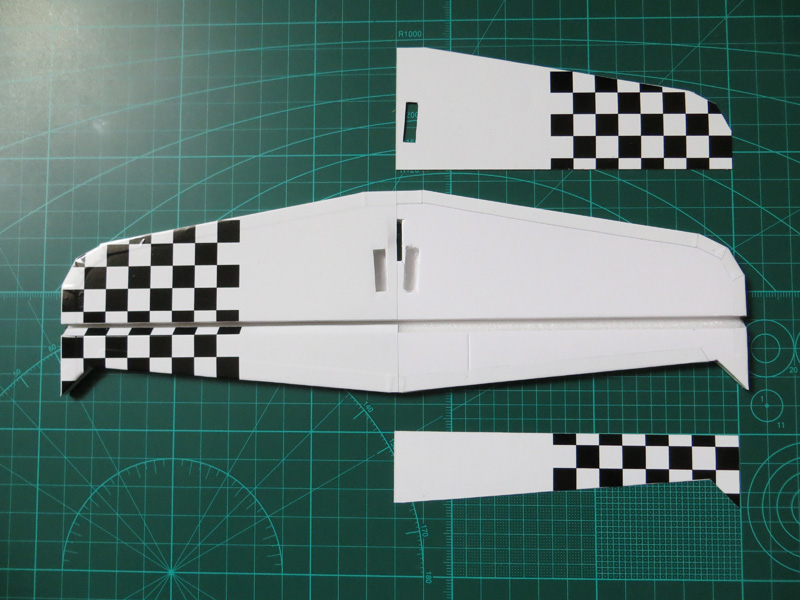
I added the decals at the end over the existing paper (without the canopy - i glued this part later on the battery hatch)!
The additional weight of my Stickers is 19g (0.0067 oz).

First i wanted to create a paper replacement kit, but then i decided to create sticker sets. Stickers can be placed more easily than a paper replacement kit. I have tested it.

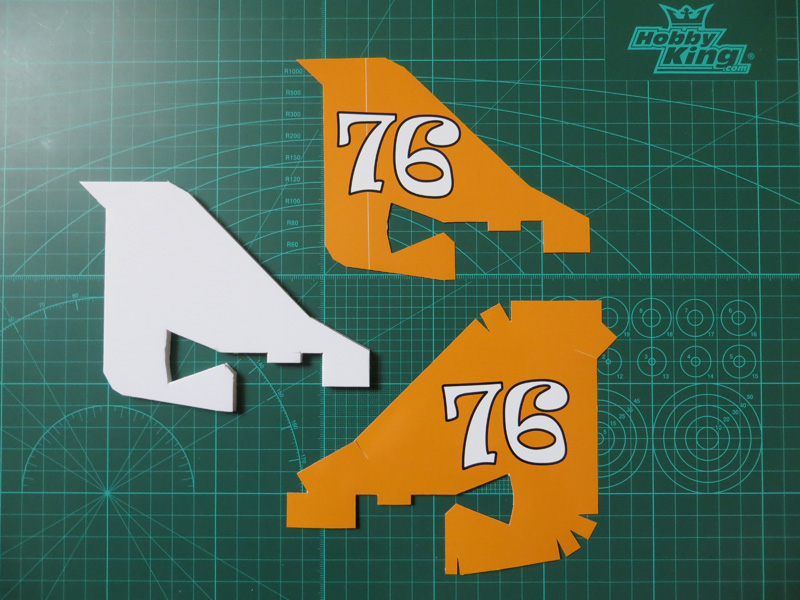
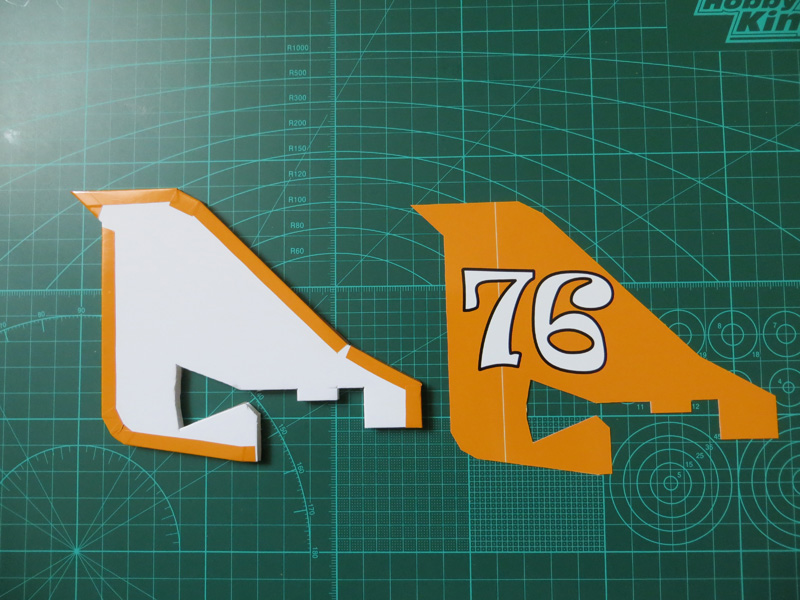
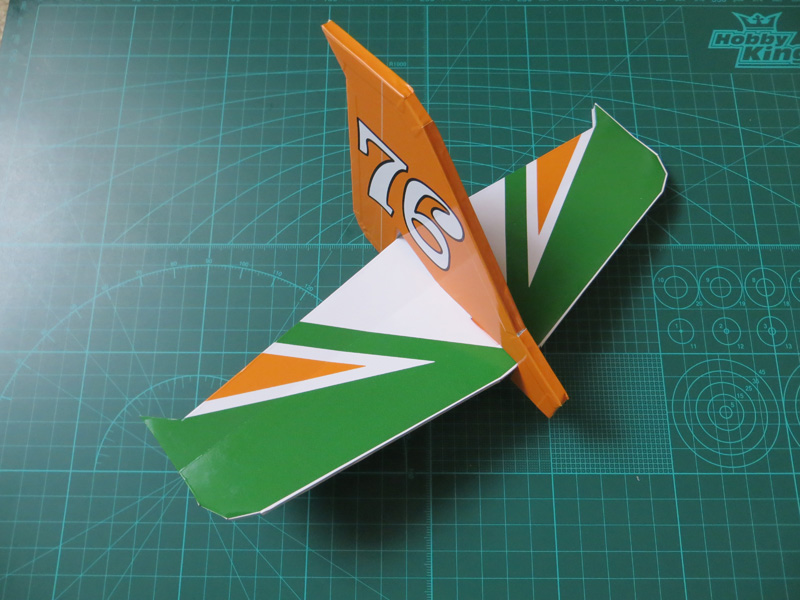
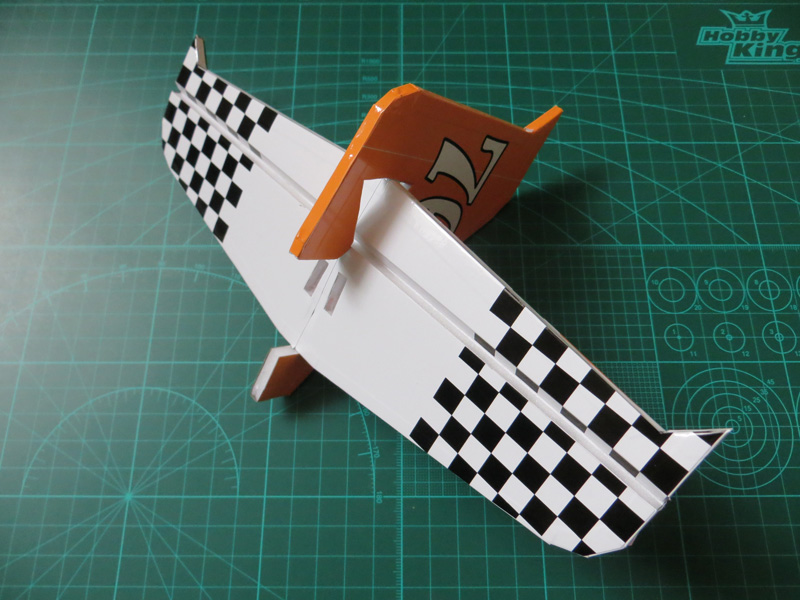
I created a paper replacement kit as a covering kit and it was even more difficult to align them on the cutting edge of each part! Here are some pictures:

rr_prk_01.jpg


rr_prk_02.jpg


rr_prk_03.jpg


rr_prk_04.jpg


rr_prk_05.jpg


rr_prk_06.jpg


I built one plane with a (test-)covering kit and all the parts from the crashed Funfighter - a birthday present for my brother:

rr_prk_00.jpg


It was not easy, but the result was awesome and my brother was very happy about that! :)
 

rockyboy

Skill Collector
Mentor
#83 looks very pretty!

I got the wings assembled and gluing together with the dihedral angle last night, the fuse is mostly assembled, and the hatch foam parts are together. Using white gorilla glue for the first time on this build - it's a whole lot lighter, but messy if the wrong amount comes out. On the other hand, the foaming action is great if the hole in the foam board is bigger than the wooden part (like the hooks). A little extra WGG and it locked it in tight!

For another new technique, I'm going with a sewn hinge on the elevator. My horizontal stabilizer must have had a little warp to it cause the elevator had some resistance after I cut the bevel. And I know the score cut was straight since it was done with a laser. So I'm trying this: http://flitetest.com/articles/improve-your-hinges-by-goin-ol-school
 

rockyboy

Skill Collector
Mentor
Assembly complete, all ready for a maiden when both weather and family schedule let me get back out to the field again!

Here's the sewn hinges technique I used on the elevator.
IMAG2456.jpg

A tight figure eight with 30lb fishing line is very solid.
IMAG2457.jpg

Just three spots and the elevator moves very smoothly with no binding.
IMAG2458.jpg

Almost done!
IMAG2459.jpg

The sitckers look very sharp
IMAG2461.jpg

All ready for maiden!
IMAG2462.jpg