First Balsa Build: Willy Nillies JR. Skylark

Lilbanks96

Junior Member
Screwed up and broke a piece of the sheeting but I think once it’s covered it will be alright.

Done for the night.
 

Attachments

  • CD0927B0-FC59-4243-A44C-842BE94B73FC.jpeg
    CD0927B0-FC59-4243-A44C-842BE94B73FC.jpeg
    1.5 MB · Views: 0

Lilbanks96

Junior Member
Haha yeah I figured I couldn’t be the only one. Doug I am really loving the build experience. It’s amazing the confidence I have as I fit and glue pieces now.
Thanks for developing these awesome kits!
 

speedbirdted

Legendary member
Hey, we've all done that before. Acetone will work wonders to soften up the glue so you can pull the wing apart and assemble it in the correct fashion :p
 

TooJung2Die

Master member
Been there done that. :eek: The first wing half was so much fun you can't wait to do it again ... exactly the same! Second the acetone and nail polish remover contains acetone if you need some quick.
 

Willy Nillies

Elite member
Haha yeah I figured I couldn’t be the only one. Doug I am really loving the build experience. It’s amazing the confidence I have as I fit and glue pieces now.
Thanks for developing these awesome kits!

Thank you! That's always great to hear! :) Just wait till you fly it! :)

Sincerely
Doug and Becky
WillyNillies.com
 

Lilbanks96

Junior Member
Got some good progress tonight.
Wing is constructed and glued together. I know the geometry is slightly off but hey it’s my first of many builds. There is room for improvement!

I also started covering the fuse. Imperfect like everything on this build but I love the contrast of white and green. I think it will look pretty sharp 20 feet in the air ;)

Thanks for the support everyone. Hoping to finish her up next week!
 

Attachments

  • 235B0F21-006C-4A46-9407-D81007A4D0B3.jpeg
    235B0F21-006C-4A46-9407-D81007A4D0B3.jpeg
    2 MB · Views: 0
  • 6E64CDFB-D72C-423D-B410-B9E8831E75E2.jpeg
    6E64CDFB-D72C-423D-B410-B9E8831E75E2.jpeg
    1.2 MB · Views: 0

speedbirdted

Legendary member
That looks much less bad than my first balsa build I ever did for sure.

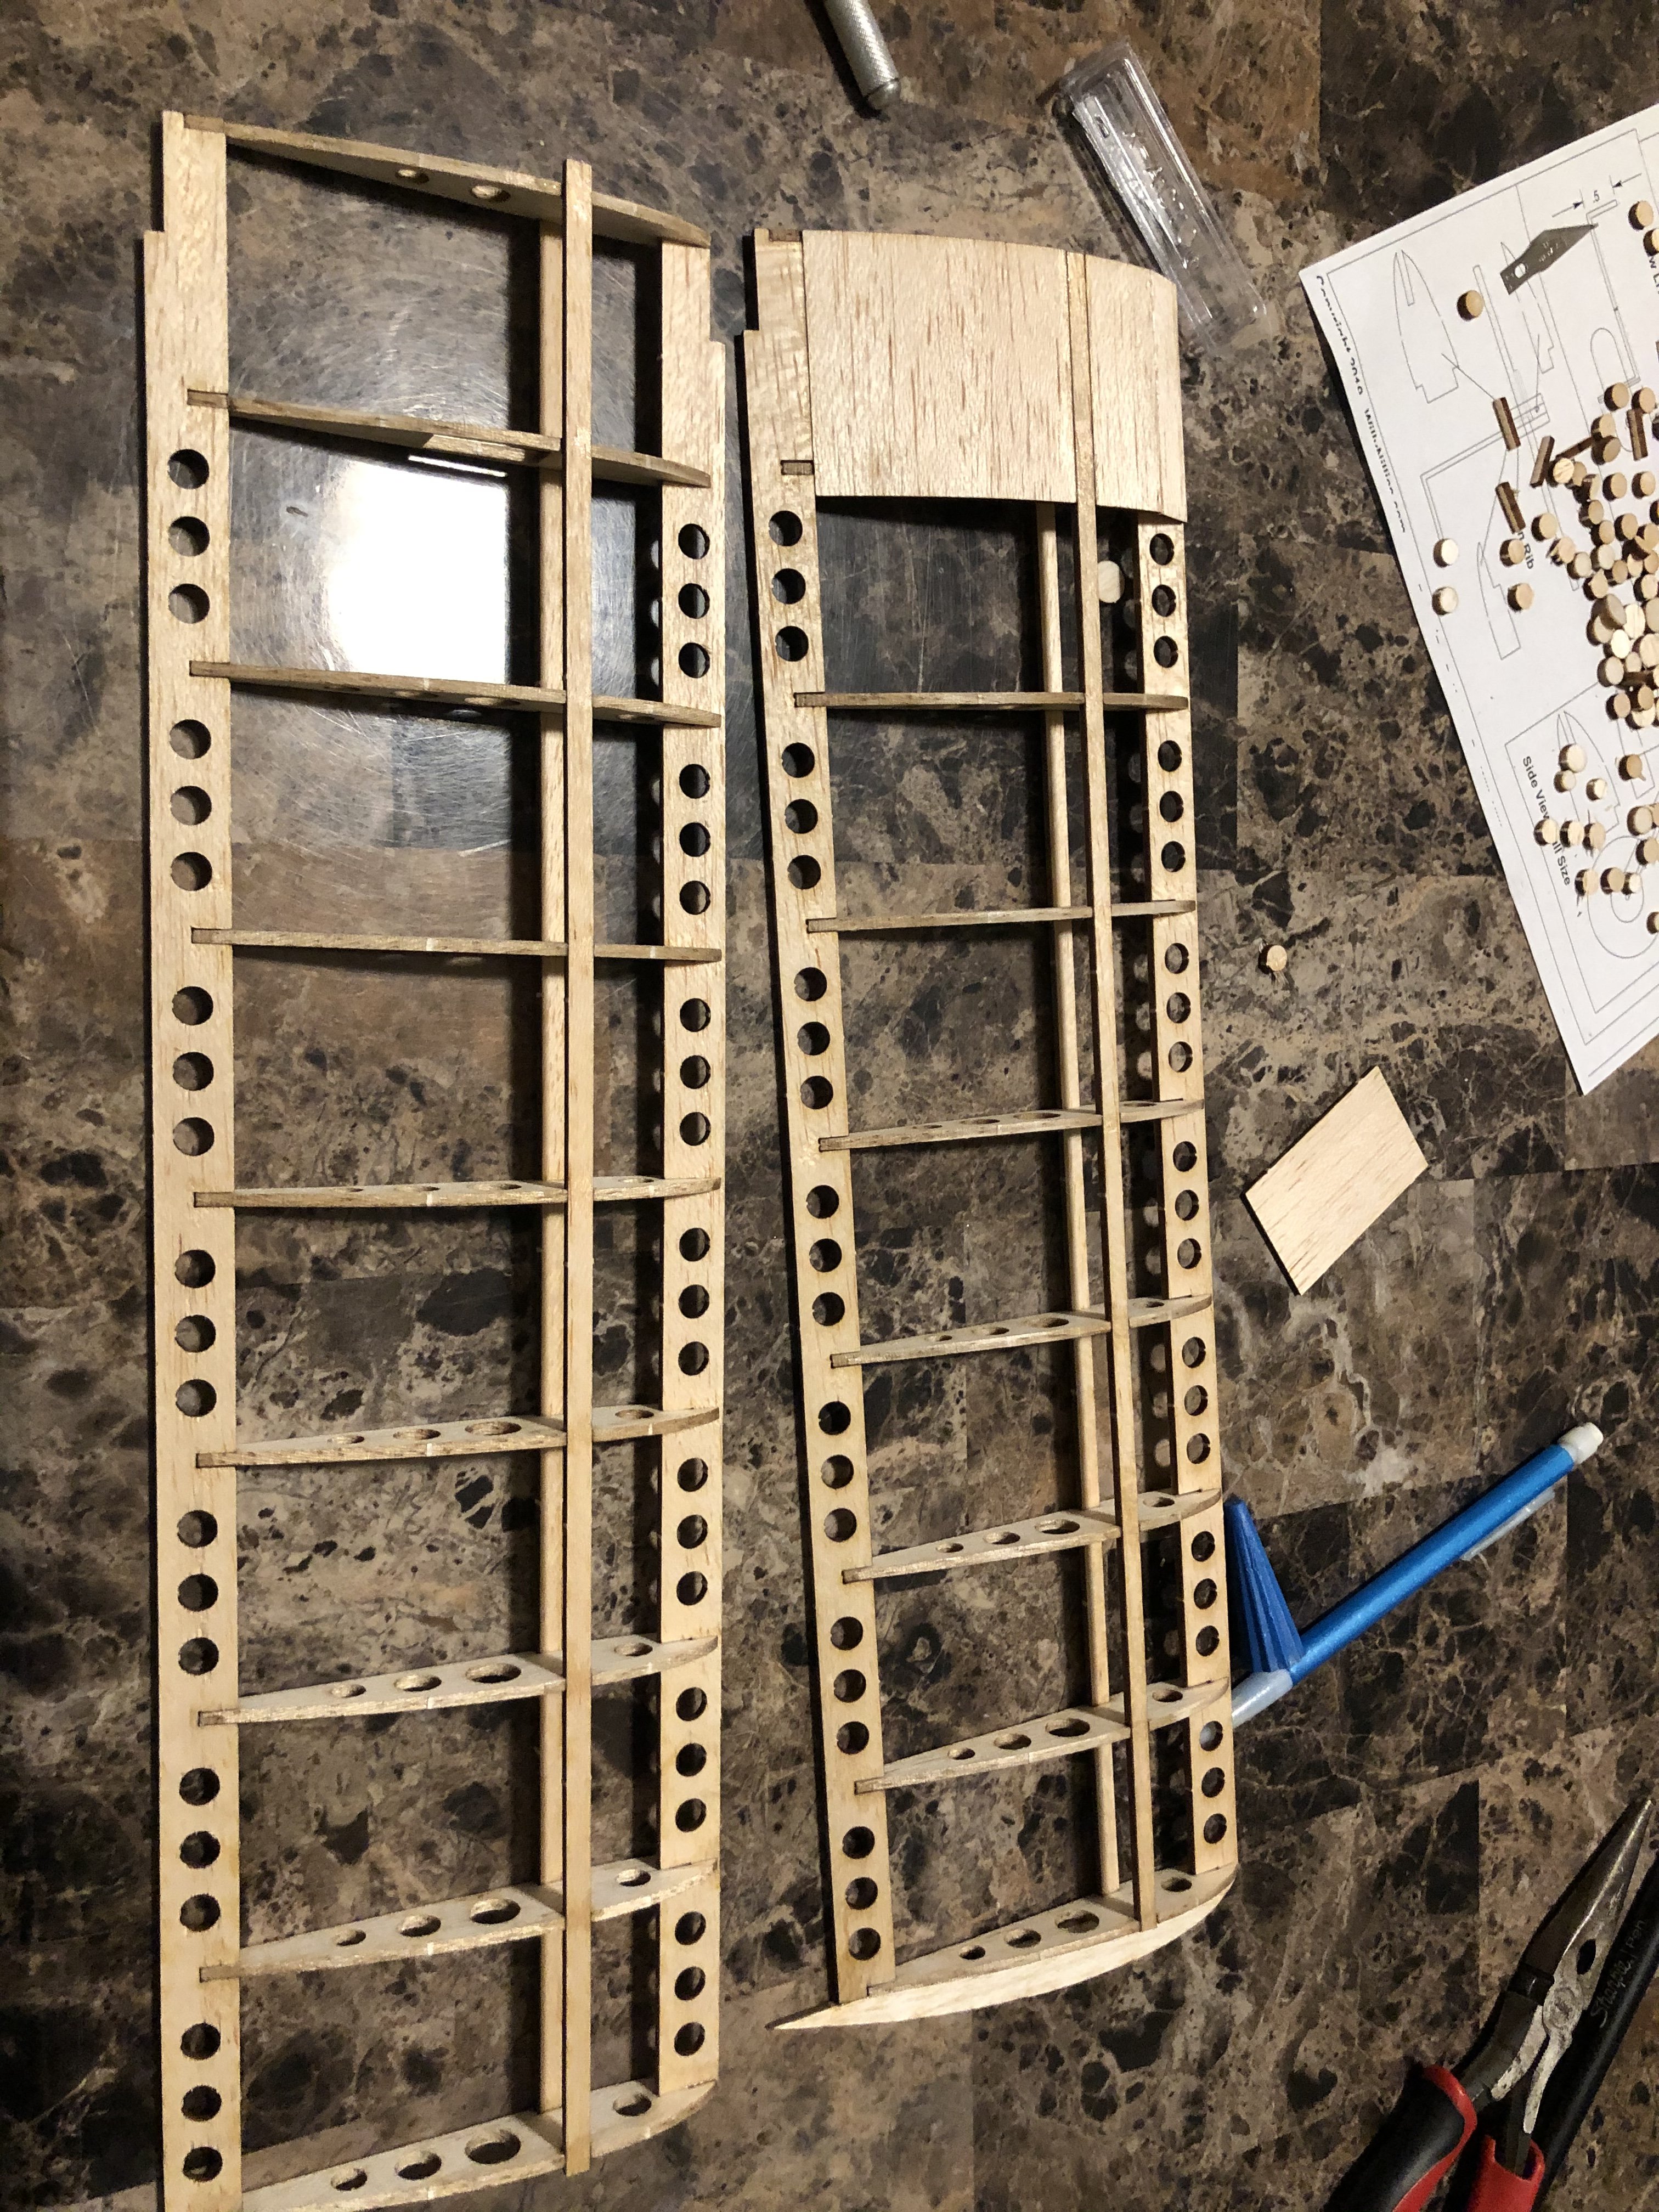
I believe the Skylark kit, like the eaglet, has little supports that fit in the holes in the fuselage sides. They go next to the supports for the fuselage stringers that are placed about at the midpoint of each hole. Here's a really early photo of my eaglet with one of the pieces installed in the rear hole:

P_20200306_030211.jpg


I'm pretty sure they don't really do much of anything structurally, they're just there to help the covering look nicer.
 

Lilbanks96

Junior Member
Hey could I get a picture of the main landing gear mounted in the Skylark or something similar. I’m having trouble understanding the diagram PDF. Thanks!
 

Turbojoe

Elite member
Hey could I get a picture of the main landing gear mounted in the Skylark or something similar. I’m having trouble understanding the diagram PDF. Thanks!

Unfortunately I didn't take any pictures of my gear being assembled. Basically you will have two split half ribs that hold the gear wire in place against the main rib and it's sandwiched with a complete outer half rib. The .500" bend at the top of the gear will rest against the leading edge. I'd suggest soaking all of the balsa pieces with thin CA after assembly just to harden them a bit. I hope it makes some sense. I'll include an assembled picture of mine but likely won't show you much.

Joe
IMG_0008.JPG
IMG_0010.JPG
 

Lilbanks96

Junior Member
UPDATE:

I am getting so close. Sadly no time for progress pictures.

I have finished:
Covering fuse
Covering E and R
Covering wing
Glueing tail and connecting E and R to servos

What’s left?
Covering ailerons
Connecting aileron servos
CG check
Maiden flight!

I’ll keep you updated with pictures and video when I finish!