Tench745
Master member
Yep, tissue covering and printer paper for the front turtledeck.Whoa...too coolWhacha used for covering? Tissue? If so, nice job

Yep, tissue covering and printer paper for the front turtledeck.Whoa...too cool
That Jenny is amazing - fabulous work! Due to the 1/6 size I need my wings to be removable, so I can’t use that particular technique. But you’re the second person to suggest elastic cord - I’m thinking that might be the best bet. Thanks for the input!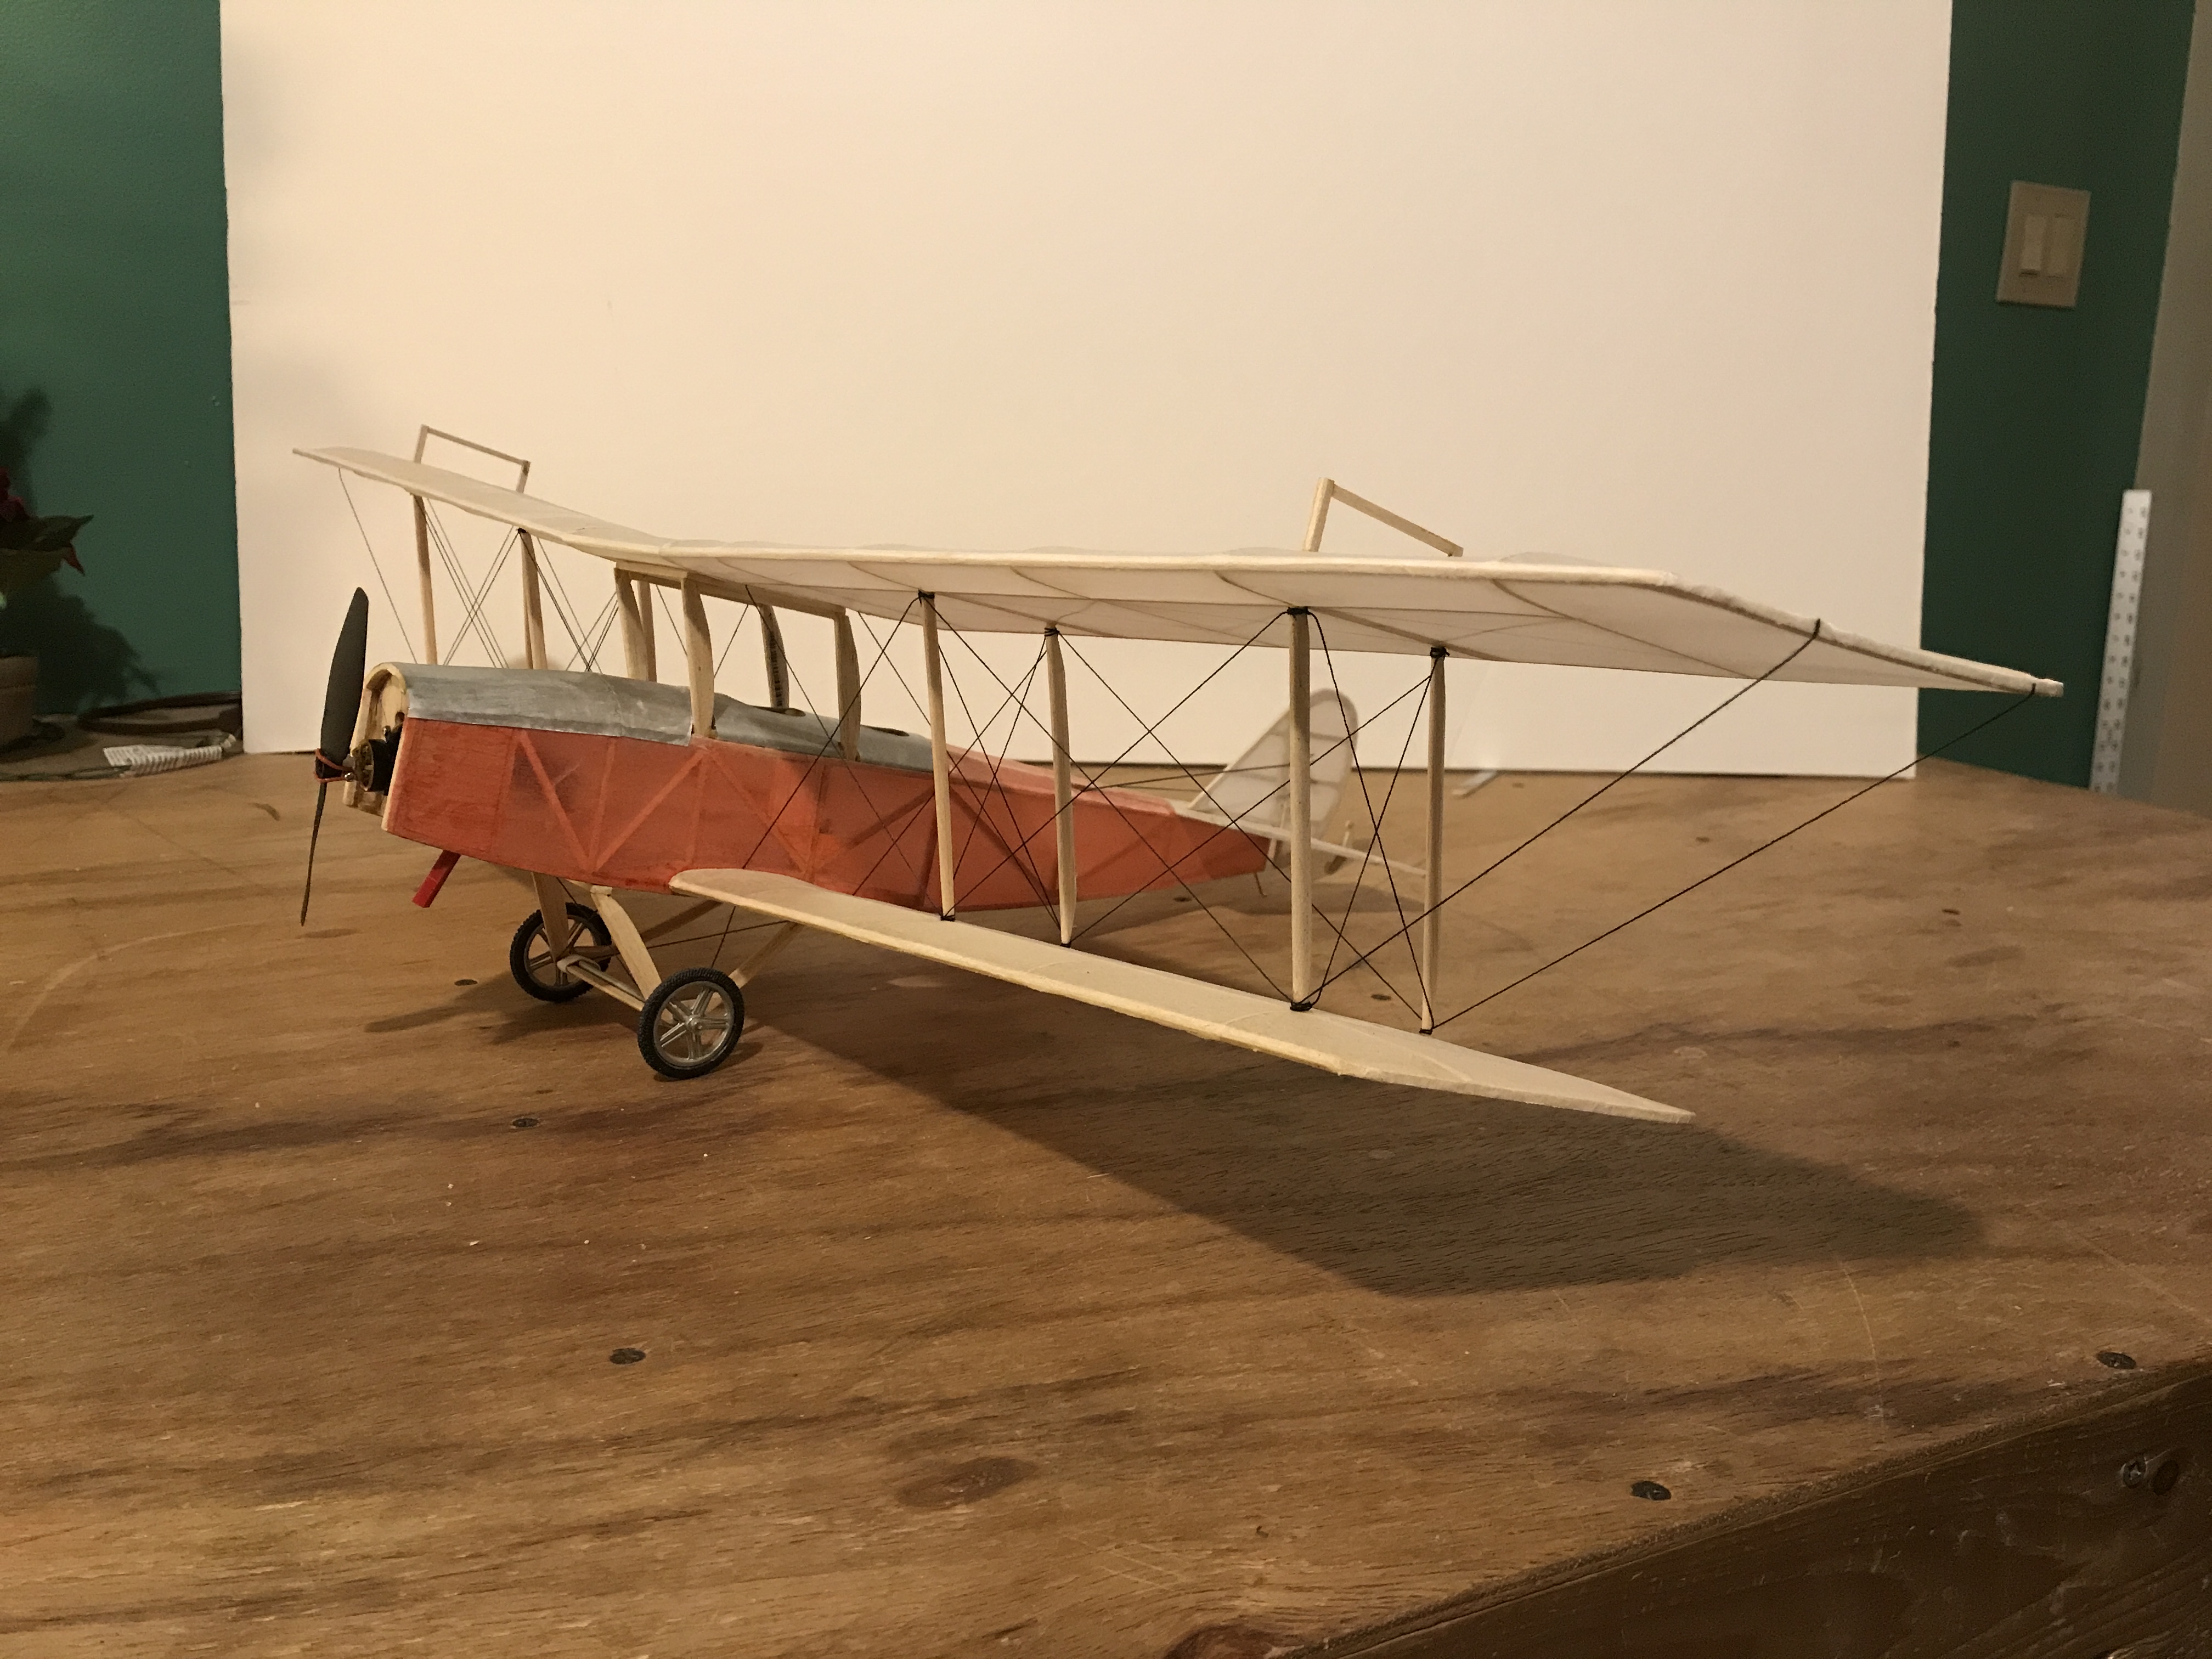
I just did flying wires on my little balsa Jenny with some black thread. Tied a clove hitch around each strut end and then hit it with a little CA glue.
Haven't flown it yet, but it was simple enough to do anyway. As long as you have solid struts it should work ok. If you had foam struts the thread would probably cut into them pretty quickly.
I've also seen elastic cord run through holes drilled in plywood struts. Your specific materials and size will affect which choices work for you.
That Jenny is amazing - fabulous work! Due to the 1/6 size I need my wings to be removable, so I can’t use that particular technique. But you’re the second person to suggest elastic cord - I’m thinking that might be the best bet. Thanks for the input!
.jpg")
That Jenny is amazing - fabulous work! Due to the 1/6 size I need my wings to be removable, so I can’t use that particular technique. But you’re the second person to suggest elastic cord - I’m thinking that might be the best bet. Thanks for the input!
That’s a great looking model!You could put a small hook at each mount location you want to be removeable. Then tie a small loop on the end of the elastic "wire". The wires can stay attached to one wing and then you just hook them onto the other wing when you assemble the model. This is basically what I did on an Eindecker I built years ago. The upper wires stayed with the one-piece wing. The lower wires had a loop that went over a hook on the landing gear.
View attachment 217392
Thank you.That Jenny is amazing - fabulous work! Due to the 1/6 size I need my wings to be removable, so I can’t use that particular technique. But you’re the second person to suggest elastic cord - I’m thinking that might be the best bet. Thanks for the input!
![IMG_1980[1].JPG](https://ftforumx2.s3.amazonaws.com/2022/01/400960_14117b82a7b9d093983ddb4dea4d0b46.jpg "IMG_1980[1].JPG")
Now that's a clever idea. I might even try that!Thank you.
On the Jenny the wings actually are removable. Each side is only rigged to itself and the wings just slide into a joiner in the fuselage.
View attachment 217411
I'm thinking of making an Ilya Muromets off of this 3-view, but I might have to scale it down to 1:12 since I don't want to lug a 16ft plane all the way to Ohio.
Nerdykid 1:12th IIya MurometsFor this reason I did consider having a stab at designing some 3d printed hubs (PLA) and tires (TPU) unless someone has already done it. Anyway would be interested to know what other have used for wheels/tires.
yep, trying to figure out how to make that top wing right nowIs that an official entry?
I'm thinking of making an Ilya Muromets off of this 3-view, but I might have to scale it down to 1:12 since I don't want to lug a 16ft plane all the way to Ohio.
View attachment 217516

Thanks for the link to that hub/tire as it was just what I was looking for. Also sign me up with my current build of a 1/9th scale Bristol M1C and if it works I may scale it to 1/6 at a later stage - still a little rough at the moment but making progress.https://www.thingiverse.com/thing:4979934 Used by @willsonman with success on his 1:6th build. I know he used the Dubros on his 1:4 scale and might have some insight into when Dubro would have them available again.
So... Are you in with the Bristol M1(c)? And if so, 1:9th or 1:6th?

Thanks for the feedback on those vintage wheels. I'll definitely print those hubs and for tires I'll try using the LW-TPU that I have used on my 3d printed plane builds.So, Dubro vintage wheels as well as Robart wheels are a hard item to get right now. The issue is the rubber. Both companies use the same source and both are having the same supply issues right now. I can absolutely say with authority that the 3D printed wheels Carl linked to work very well and will be a great addition to models. If you cannot get the tires printed, you can always use the rubber tube/hose thing. Find a length of tube that is sufficiently round to match the wheel up but also long enough to wrap all the way around. Then find a short segment that can be inserted INTO the tube that will be used as a tire and you can use CA to glue the small tube to the inside of one and and then join the two ends together like a tire around the hub. I've used this before with great success in the past. Also, glue the tire/tube to the hub for the side loads when landings are not quite so perfect.

A few questions:
1. Should I use an under cambered airfoil which is what the original had or a more clark y -ish Airfoil?
2. the origional specs for the plane call for a CG that's behind the neutral point, on the TE of the wings, should I just do a standard CG (about 1/4 back from LE), or should I use the old specs?
3. finally do you guys think 4 of these will be enough (I'll figure out props later)?
I'm currently figuring out how to 3d print that front cockpit shape, so that's probably the next big thing I'll be working on. It's just starting to sink in for me how big this is going to be. I've also attached the plans for the wing that I've got so far. (yeah, I know it's kinda janky)
2. the origional specs for the plane call for a CG that's behind the neutral point, on the TE of the wings, should I just do a standard CG (about 1/4 back from LE), or should I use the old specs?


