Nu-Bee ARC

rockyboy

Skill Collector
Mentor
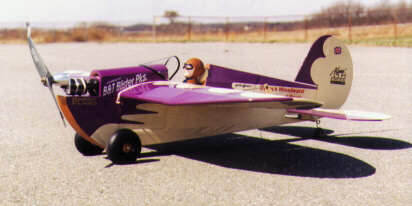
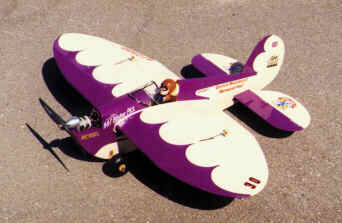
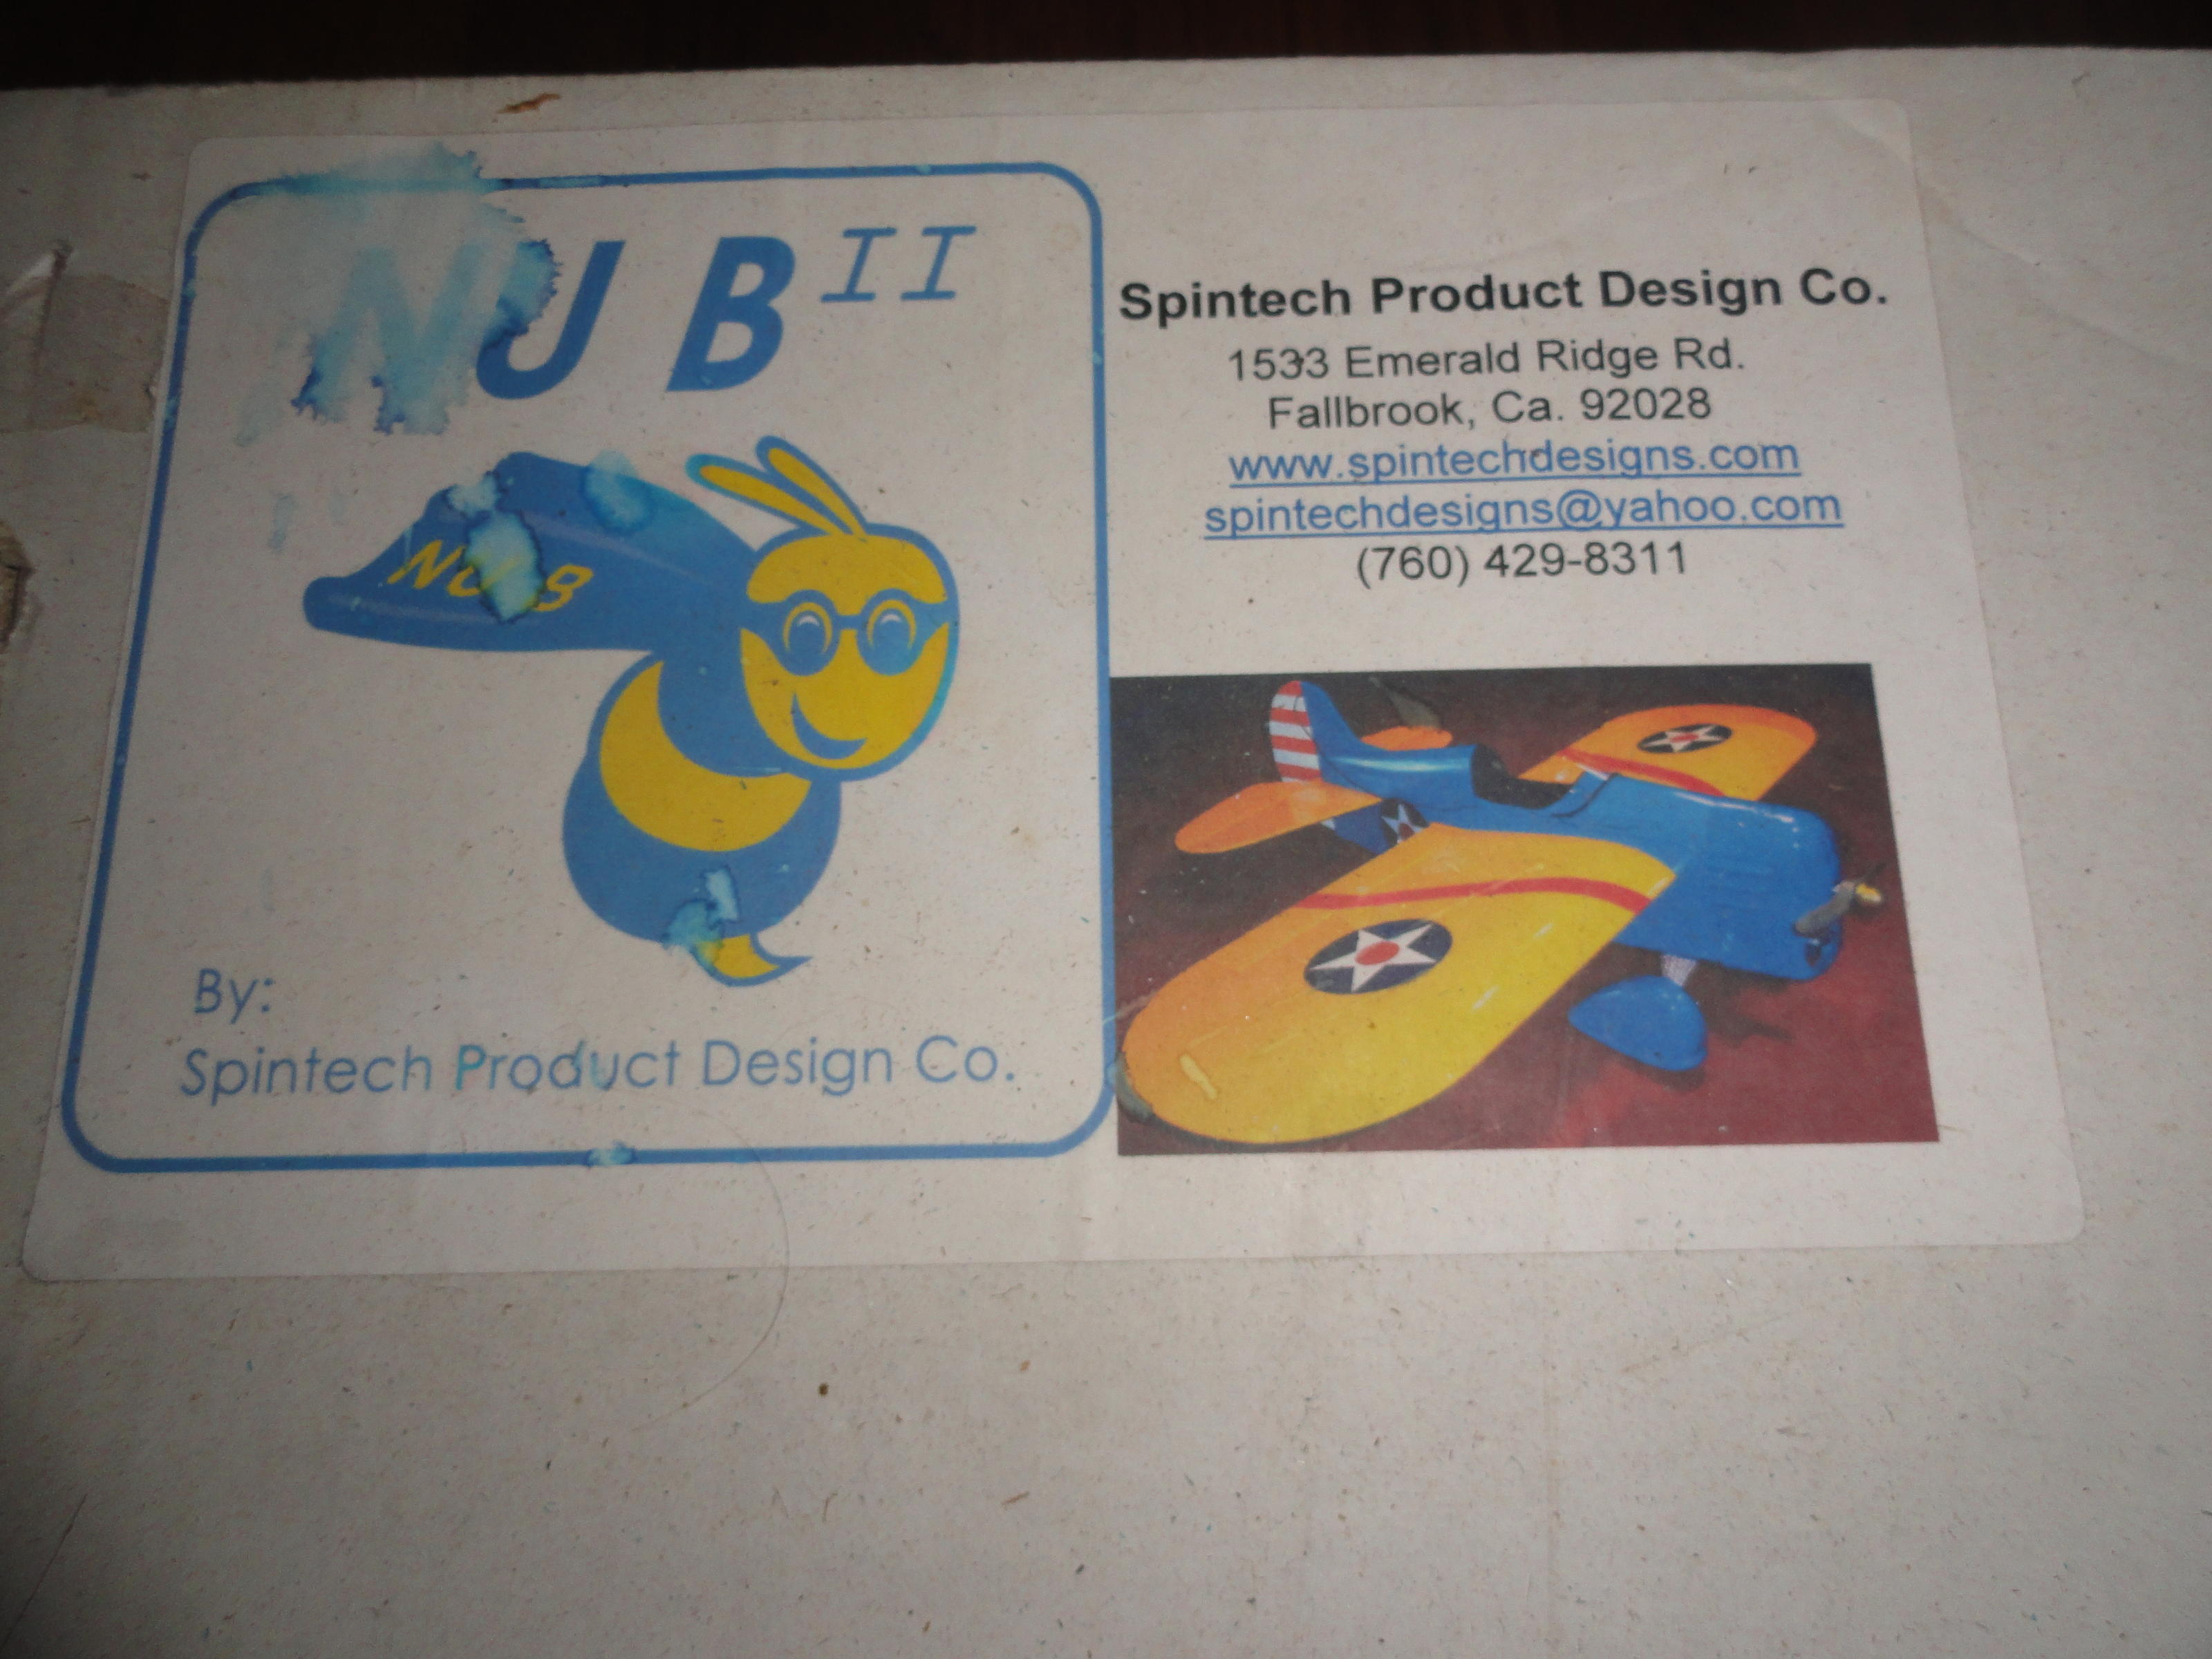
I love the cartoonish Clancy Aviation designs, and found this balsa Nu-Bee2 designed by Adrian Page as a take on the Clancy Speedy Bee. This kit was distributed as an Almost Ready to Cover (ARC) by a company no longer in the RC planes business. With a bare balsa frame ready for a few modifications I'm thinking I'll have this in the air sometime soon!

Here's a link to the plans and article for the Nu-Bee from the Radio Control Modeler January 2000 issue.

https://www.rcgroups.com/forums/showthread.php?2962850-Don-Dewey-Memorial-Radio-Control-Modeler-(RCM)-Plans-Collection/page32#post39844103
a9825006-200-DSC04525.jpg


IMG_20190806_165417-1024x768.jpg


So first up is doing some servo hatches rather than letting them stick directly out of the wing.
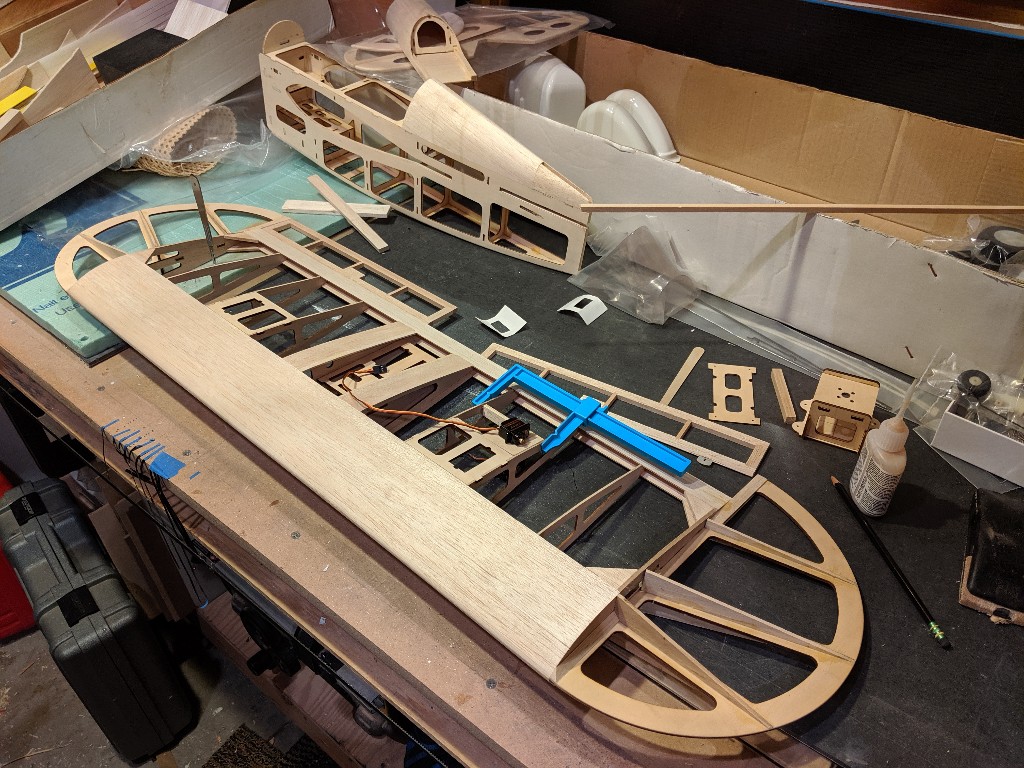
IMG_20190806_220254-1024x768.jpg


[Edit: How about a sneak peak of the finished project? :D]

IMG_20190922_075625-1024x768.jpg
 
Last edited:

jaredstrees

Well-known member
Very nice! I always look forward to seeing your builds, learned a lot from them. This should be a pretty cool quick project, most of your work is already done!
 

Joker 53150

Mmmmmmm, balsa.
Mentor
I had the Hobby King balsa kit version of this plane a few years back. Mine had CoG issues on the first flight, but after sorting it out the plane flew well - until it ran full speed into a curb... :(
 

rockyboy

Skill Collector
Mentor
I love the Lazy Bee. Is this the speedy version of that slow flier?

Yep! The Lazy Bee is pretty famous for resisting rolls and practically refusing to fly inverted. The shoulder wing Speedy Bee fills that performance gap and is supposed to be highly acrobatic - as well as goofy looking ! :D I haven't found a "one-stop shop" for the history of the Bee's - but it's been lots of fun digging around and learning about all the crazy Bee variants and the Bee Keeper's that took over the hobby about 20 years ago :D

I had the Hobby King balsa kit version of this plane a few years back. Mine had CoG issues on the first flight, but after sorting it out the plane flew well - until it ran full speed into a curb... :(

It's very short-coupled, so I'm a little apprehensive about getting the CG right too - not going to be a lot of wiggle room on that. I'll make a point of avoiding curbs too! :p
 

rockyboy

Skill Collector
Mentor
There is a funny step in the instructions of gluing on a tab in the rear middle of the wing - I guess they didn't do it at the factory due to the risk of breaking off in shipping. I pinned it with a couple little bits of control rod wire before adding the glue to keep it aligned. Once it's installed it will be glued to the fuselage and solid, but I don't want to break it off when covering. Since the wing is a slide through the fuselage style, the wingtips make a long hole in the fuselage that this tab fills up. Can also see the almost completed servo hatch rails installed in both sides just behind the original servo mount trays.

IMG_20190807_223142-1024x768.jpg


After cutting slots in the servo hatches for the horn to go through, I clamped the servos in place and glued on the mounting brackets.

IMG_20190807_193801-1024x768.jpg


Servo hatches sitting in place and rails completed. Need to drill the screw holes and harden them with CA to complete these.
IMG_20190807_225211-1024x768.jpg


And I noticed I've got kit serial number 43 - she has a race number now! :D

IMG_20190807_230634-1024x768.jpg


I also need to pull down the covering stash and see what looks good. I'm thinking of doing the classic Gee Bee inspired racing scallops with a big race number in a circle on the top of one wing to help differentiate it from the bottom. I like the idea of a white or cream base with a bold color for the trim, but need to see what's in the pile.

Not sure if I want to paint on the scallops, try to overlay the covering, or do a single layer of covering that's ironed together before applying.

side.jpg
frqtr.jpg
inflt2..JPG
 
Last edited:

rockyboy

Skill Collector
Mentor
Made a little more progress last night, but not on the covering side of things :D

First, I had to just put all the parts together to see how she looks. Pretty goofy, right? :p

IMG_20190808_214103-1024x768.jpg


Doing that I discovered a broken horizontal stabilizer tip. So far this frame has held up very well to being 18+ years old and having at least two owners. Simple to glue back together.

IMG_20190808_224726-1024x768.jpg

Next I cut out the recommended section of wing sheeting inside the fuselage and started test fitting some batteries...

I was hoping for a 3s2200 on this, but it just won't make it inside without cutting the upper wing spar - which I don't want to do.
IMG_20190808_224449-1024x768.jpg

A 3s1800 fits down inside just fine, but I can see myself having an "oopsie" moment in the field trying to deal with a velcro strap and busting the upper wing spar as mentioned before.
IMG_20190808_224322-1024x768.jpg

Which brings me to this configuration - dual 3s1300 batteries stacked side by side just in front of the CG. Would wire up as a 3s2600 and give some pretty great flight times :D We'll see how she wants to balance like this, but I think this is a winner.
IMG_20190808_224257-1024x768.jpg

With the battery plan sorted out, it was time to think about the power system. There is a suggested weight in the specs of 48 ounces (3 pounds or 1360 grams) and a 300 to 350 watt power recommendation.
IMG_20190808_231737-1024x768.jpg

After digging around the pile of "I just can't pass up that sale price" motors, I found this Emax GT2815/06 that has a max thrust of 1800 grams with a 13x6.5 prop on a 3s battery. Still need to see if I can get a prop that tall into place, but I think this will work out nicely. Motor specs added here so I can find them later too!

IMG_20190808_234129-1024x768.jpg
66P-170-GT2815-01.jpg


Slopped some epoxy on the motor mount box and called it a night.

IMG_20190808_225312-1024x768.jpg
 
Last edited:

rockyboy

Skill Collector
Mentor
Drilled, screwed, and soaked the threads in CA to finish the servo hatches.
IMG_20190809_210337-1024x768.jpg

Cut the cowl to size and glued in thin plywood supports on the sides.
IMG_20190809_205255-1024x768.jpg

Installed the motor box blind nuts with epoxy and made sure everything lines up on the thrust line properly.
IMG_20190809_173215-1024x768.jpg

And last for the night I cut out all the CA hinges and replaced them with pinned ones. Not a fan of the CA hinges most days, and these seemed really stiff. I just didn't want the aileron servos fighting the extra resistance.
IMG_20190809_234209-1024x768.jpg

I'm going to try pinning the hinges on this build thanks to @Joker 53150 's advice on how to do it, so stay tuned to see if I can pull this off :D
 

Joker 53150

Mmmmmmm, balsa.
Mentor
Nice work! What is "pinning the hinges"?

You take a regular flat hinge (not a CA hinge) and install it. When it's in place you drill a hole through the surface and through the hinge as well. A small hardwood dowel or toothpick is then glued into the hole you drilled. It makes it darn near impossible for a hinge to accidentally come out.
 

rockyboy

Skill Collector
Mentor
@rockyboy - what a beauty!

check out the similarities here with the big lazy bee!

Oh yeah - Adrian Page had permission from Andy Clancy to do the Nu-Bee design in the "Bee" style, and he in turn authorized the Nu-Bee2 kits to be made by Spintech. Sadly all three of them are out of the active RC kit business now.

And I love Woodfield's glider videos! I really want to go visit him and check out his workshop - so many beautiful gliders!
 

rockyboy

Skill Collector
Mentor
Not much shop time in the last couple days, but I did notice when fitting up the ailerons there was a really big gap that didn't need to be there on the end. So I'm adding an 1/8" layer of balsa on the end to close it up a little.

IMG_20190811_104707-1024x768.jpg

And here's my run at hinge pinning. Steps as follows:

  1. cut hinge slots
  2. apply thin strip of covering material to edge of control surface
  3. slide hinge into control surface
  4. drill through control surface and hinge
  5. add glue to hole and insert round toothpick

IMG_20190811_155146-1024x768.jpg


And while I did use Superphatic on these pins, and I'm confident it will hold the toothpick and balsa together, I'm thinking I might want to use CA for the rest of them to provide a little extra bite between the hinge and the balsa. But that requires a lot of attention to make sure I don't glue the hinge locked.

Next steps:
  1. trim toothpicks
  2. apply thin strip of covering to trailing edge surface
  3. slide hinged control surface into trailing edge
  4. drill holes
  5. add glue and toothpick
Doing this will mean the control surfaces are now permanently installed (since these hinges don't have removable pins) so I'll need to think through the rest of the plane assembly and covering steps very carefully. For example, I think I want to finish covering the fuselage before doing the final install of the horizontal stabilizer, just so it's easier to handle, etc.
 
Last edited:

rockyboy

Skill Collector
Mentor
I also just found some more on the history of this kit. :D

Here's a link to where I found the plans and article for the Nu-Bee from the Radio Control Modeler January 2000 issue. (Files attached in the thread here too for posterity.)

https://www.rcgroups.com/forums/sho...er-(RCM)-Plans-Collection/page32#post39844103

In the build article Adrian talks about covering the tail surfaces and wing before gluing into place too, so I'm not crazy! :D
 

Attachments

  • Newbee_RCM-1277_Article.pdf
    2.1 MB · Views: 0
  • Newbee_RCM-1277_Plan_BB.pdf
    1.4 MB · Views: 0
  • RCM v37n01 Cover, TOC & Editorial.pdf
    1.8 MB · Views: 0

rockyboy

Skill Collector
Mentor
And pinning the rudder to the vertical stabilizer..
IMG_20190814_142143-1024x768.jpg

And pinning the elevator...
IMG_20190814_173339-1024x768.jpg

And pinning the elevator to the horizontal stabilizer and starting the ailerons...
IMG_20190814_223921-1024x768.jpg

I'm liking this a lot more than dealing with oiling the hinges and trying to get epoxy deep into the hinge slot without oozing out all over the place. No chance of frozen hinges and a guarantee of a secure mounting. :D
 
Last edited:

Piotrsko

Master member
FWIW: back in the dark ages, we used sewing pins with the sharp ends cut off. Flush cutting takes a bit of pre thought, but if you assemble after you cover, not so bad. Easy to swap funky hinges and I have some used hinges that are maybe 45 years old with many pin holes
 

rockyboy

Skill Collector
Mentor
FWIW: back in the dark ages, we used sewing pins with the sharp ends cut off. Flush cutting takes a bit of pre thought, but if you assemble after you cover, not so bad. Easy to swap funky hinges and I have some used hinges that are maybe 45 years old with many pin holes

Intersting - leaves much a smaller blemish when done after covering that way. I hadn't run across that technique before - thanks for sharing it! :D