Just wanted to share my latest build that is almost ready for maiden. This is my 2nd spitfire. The first one was a speedbuild kit and met its end due to a flock of geese and me freezing up on the sticks when I lost my depth perception.
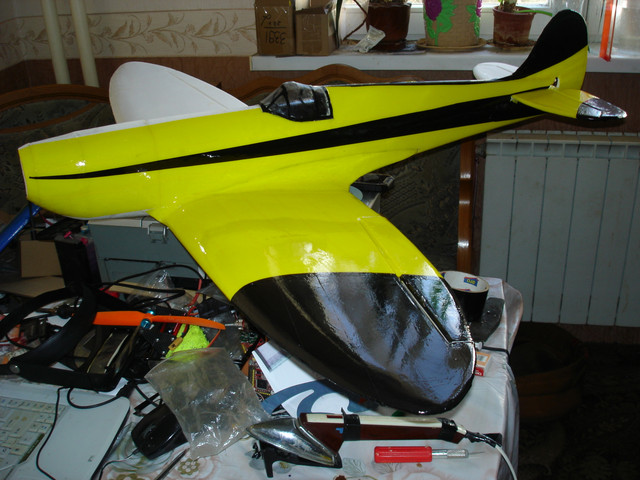
I came up with a different battery compartment hatch idea that allows for airflow in and out of the battery area, directly below the ESC. I also added reinforcement in areas where I saw material damage on my first spitfire after dozens of flights and a few rough landings. I'm running the bigger 2814 motor, a 50A ESC, and 2700 to 3000 maH 4S so I made the power pod with 1/8" plywood. The CG worked out perfectly with the bigger motor and battery. Empty weight is 944g.
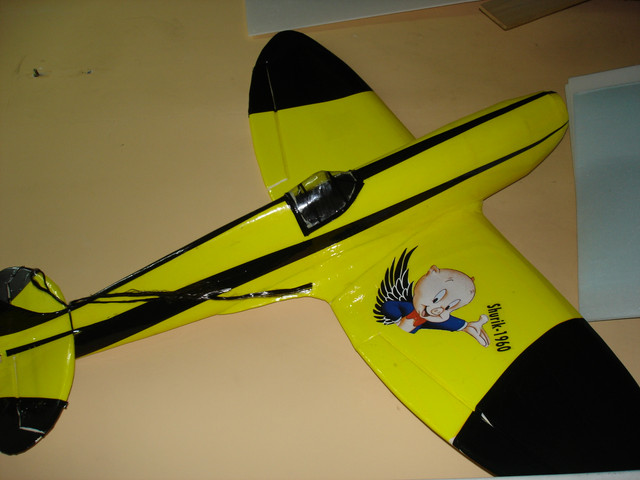
Normally, I would maiden before all the cosmetics, but the weather has been brutal here in central PA so I have plenty of time to work on it. All that's left to do is wrap the bottom and decals with clear gorilla tape. The decals are cut from 3M # 471 vinyl marking tape.


")
