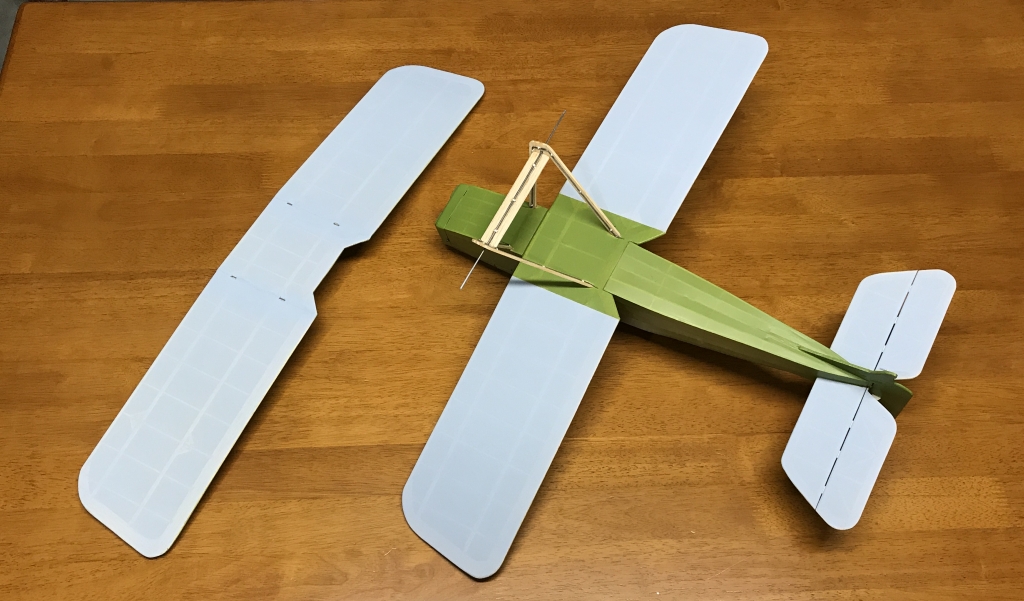
Guillows SE5a Kit 202 Rubber Power to RC Conversion

TooJung2Die

Master member
It's GREEN!

I had to clean off the paint and start over twice with this new paint. It kept beading up even after cleaning the film with alcohol and acetone. By the way, it seems you can clean this film with anything and it won't hurt it. I finally got the paint thinned to the consistency needed to go down evenly using glass cleaner and rubbing alcohol.

Second coat, still wet.
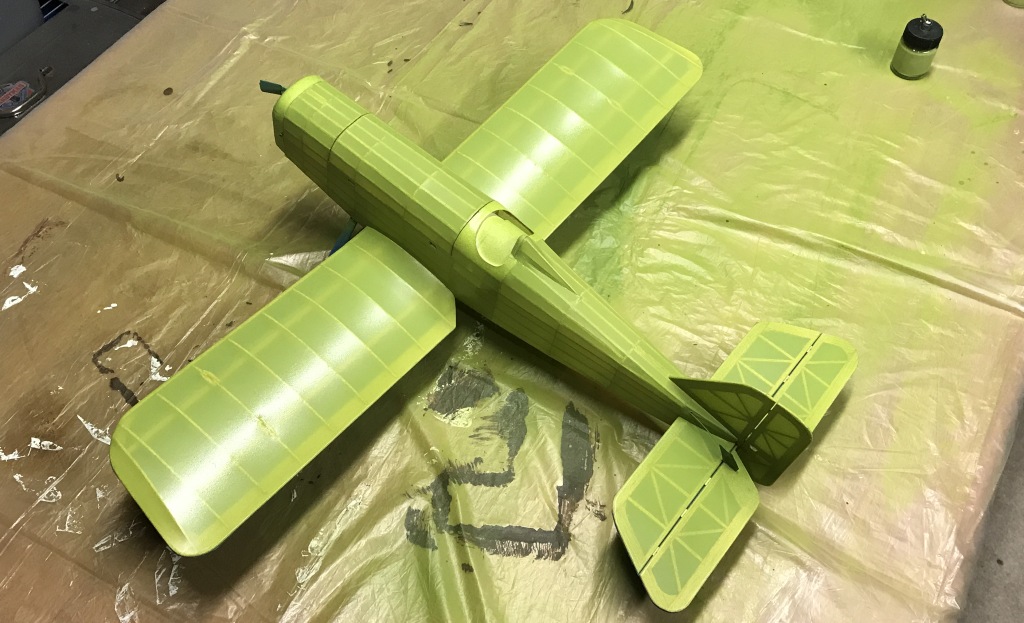
IMG_0492.JPG


After four very light coats of very thin paint.
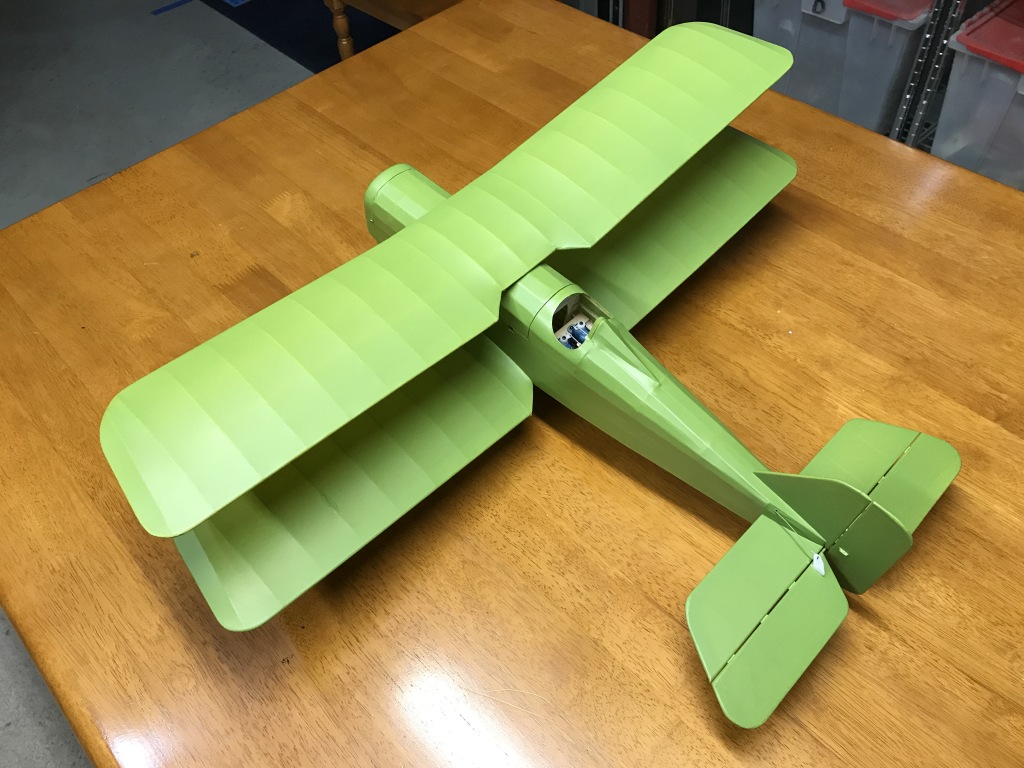
IMG_0493.JPG


The plan was to paint the bottom a light blueish gray. The wife says leave it clear so the skeleton shows. Decisions...
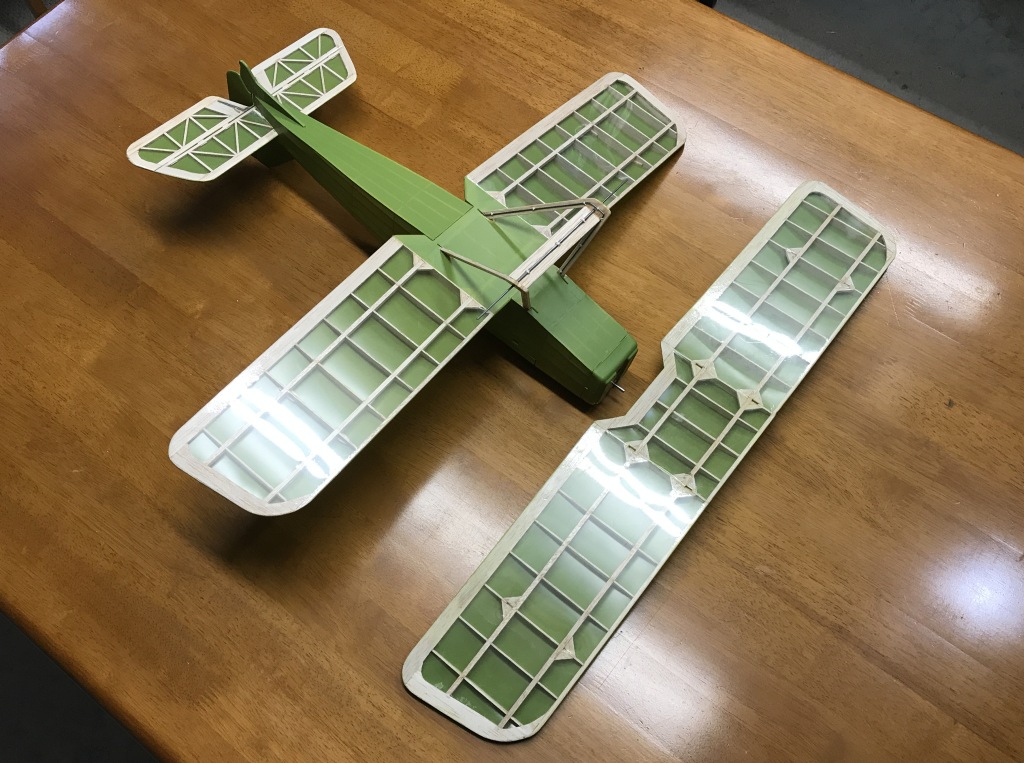
IMG_0495.JPG


You can speed up the time between coats to nothing with a hair dryer or heat gun set to low. Still have lots more to do. I'm really enjoying this. :) Glad I got back to balsa.
jon
 
Last edited:

TooJung2Die

Master member
For an SE5 a full paint-job would be my choice. :)
I love the skeleton look! :D

I love the skeleton look too. The last airplane, "Contest Commercial", was a total bare-bones cover job. This time I'm going to agree with Joker. The SE5a won't be a full blown scale build but closer to real is better.

IMG_0496.jpg


I accidentally discovered an advantage to using the heat gun to dry the paint. I kept the gun on low and at least foot from the paint. Loose areas and wavy spots became more visible after the paint was applied and the warm air was blowing on it. All you have to do is move the gun closer to the spot in question and shrink the film a bit more. It didn't adversely affect the paint at all and the covering job was made tighter and smoother. (y)
 
Last edited:

TooJung2Die

Master member
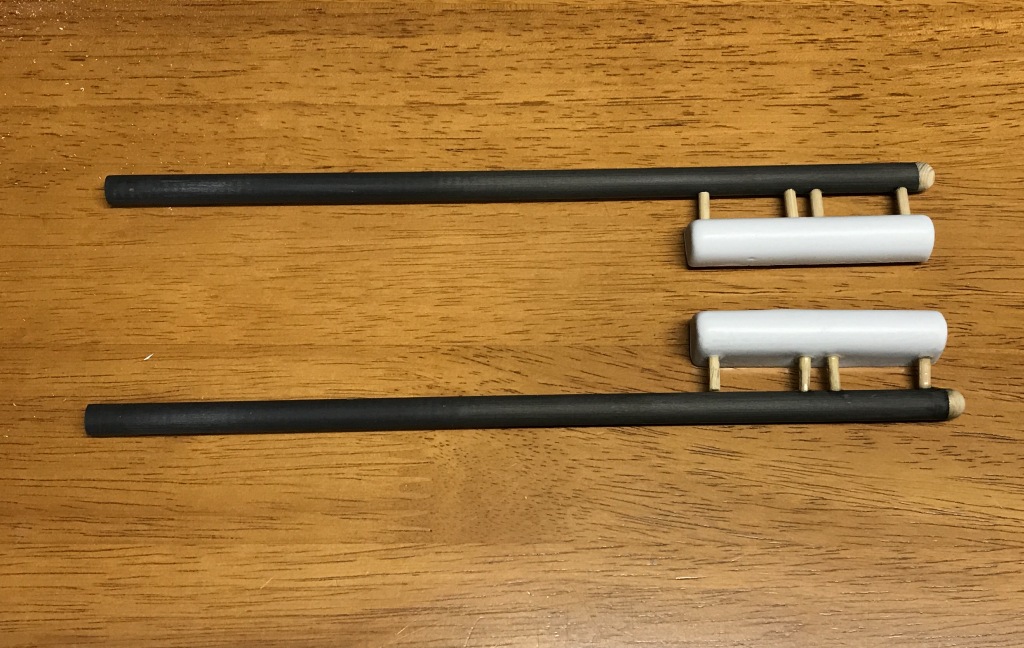
This one of those bits that's harder than it looks and takes longer than expected. You get two vacuum formed valve covers and an outline sketch with the instructions, "Make it look like this". :rolleyes: Using some CF tubing, bamboo skewers and a couple of chunks of wood you have something that'll look like the prominent engine and exhaust of the SE5a. It'll look the part after it's painted.

IMG_0503.JPG
 

TooJung2Die

Master member
You probably could leave the manifolds off on an airplane built primarily for flying but they add a lot to the scale look.

IMG_0509.JPG


The manifolds had to be cut because they extended onto the top hatch of the fuselage.

IMG_0510.JPG


jon
 
Last edited:

TooJung2Die

Master member
Top wing is on!

Sometimes the simplest ideas are the best. The wing jig is a good example. I never would've fit all eight struts this easily without it. The top wing is aligned exactly according to the plan.

IMG_0520.JPG


Coming up next... Details, details.
jon
 
Last edited:

TooJung2Die

Master member
It's getting closer to the finish line. Still have the decals and rigging to do. With all the electronics and a 850 mAh 2s battery on board it weighs 8.6 oz. That's better than expected. If it will balance with a 450 mAh battery it will be under 8 oz.

IMG_0522.JPG

IMG_0523.JPG


Close inspection revealed a slight twist to the top wing. A couple of minutes with the heat gun and it's straight.

jon
 

Brett_N

Well-known member
That's a great looking plane you built yourself there. I'm surprised to hear of issues with a Guillows kit - I just started the mini-Stuka and the laser cutting is damn near perfect on that one!

I'm doing a couple of the mini's as "practice" and I'm going to dive into the Fokker Tri-plane (not sure who makes that kit) and then the big Guillows Stuka. Totally bummed no one makes a foamy Stuka anymore :cry::cry::cry:
 

TooJung2Die

Master member
That's a great looking plane you built yourself there. I'm surprised to hear of issues with a Guillows kit.

This is a very old kit I picked up on eBay. It's die-cut balsa (or die-crushed if you prefer) from the days long before laser cutting. :) Does Guillows even produce die-cut kits anymore? I hope not. The prices have increased compared to what I bought as a boy. I could buy a Guillows kit like this for mowing a lawn or two.

I sure hope you do a build log of your balsa builds here! I always learn a trick or two from watching someone else's builds.

jon
 

TooJung2Die

Master member
The electronics are all sorted out. A block of white packing foam was carved to fit snug inside the fuselage. A pocket was then cut into the block to hold a 850 mAh 2s battery nice and snug. The 10A ESC is kinda stuffed in the space behind the motor. The 3 channel Rx is held in place behind the battery with a chunk of soft pink packing foam.

IMG_0529.JPG


The CG is on the front spar of the bottom wing as shown in the plans. The 1806 motor is swinging a 6x4 prop. That should be way more thrust than needed.
jon
 
Last edited:

Brett_N

Well-known member
Now you're making me want to get the mini stuka flying.

And mines one of the $15 mini kits - it was laser cut.
 

TooJung2Die

Master member
Now you're making me want to get the mini stuka flying.
Flying any WWII warbird scares me. Flying a mini-warbird Stuka would be terrifying. I guess what I'm really saying is... You gotta do it! :D

Thanks everyone for the kind compliments. It's appreciated but it's not finished! There are lots of things to do. There are a lot of decals. I haven't done a waterslide decal in decades and I think these decals are the same age as the last ones.

Then there is the rigging to figure out. The guy wires will not be just for looks. These wings are too flexible for powered flight and the landing gear can always use more strength. I'm not too worried about flying this once it's in the air. Landing it gently in one piece is my weakest skill. :oops:

Has anyone used Eze Dope? I'm going to use it as a final coat over the paint and decals. It's supposed to be thinned with water and brushed on. I wonder if it would go on better with an airbrush if it was thinned out more?
 
Last edited: