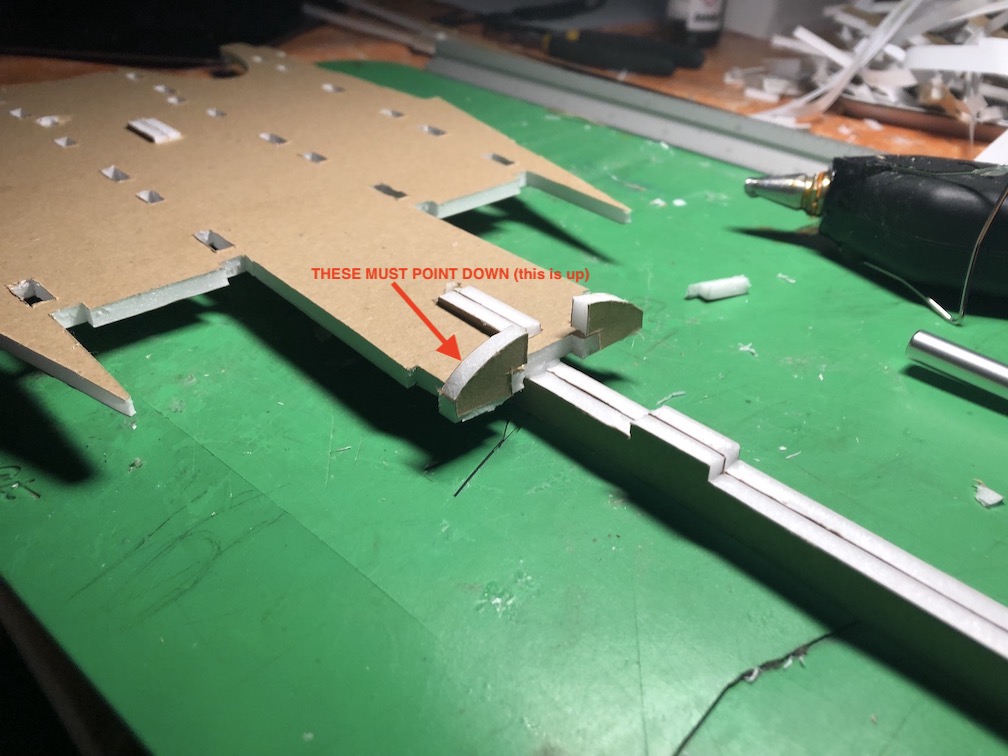
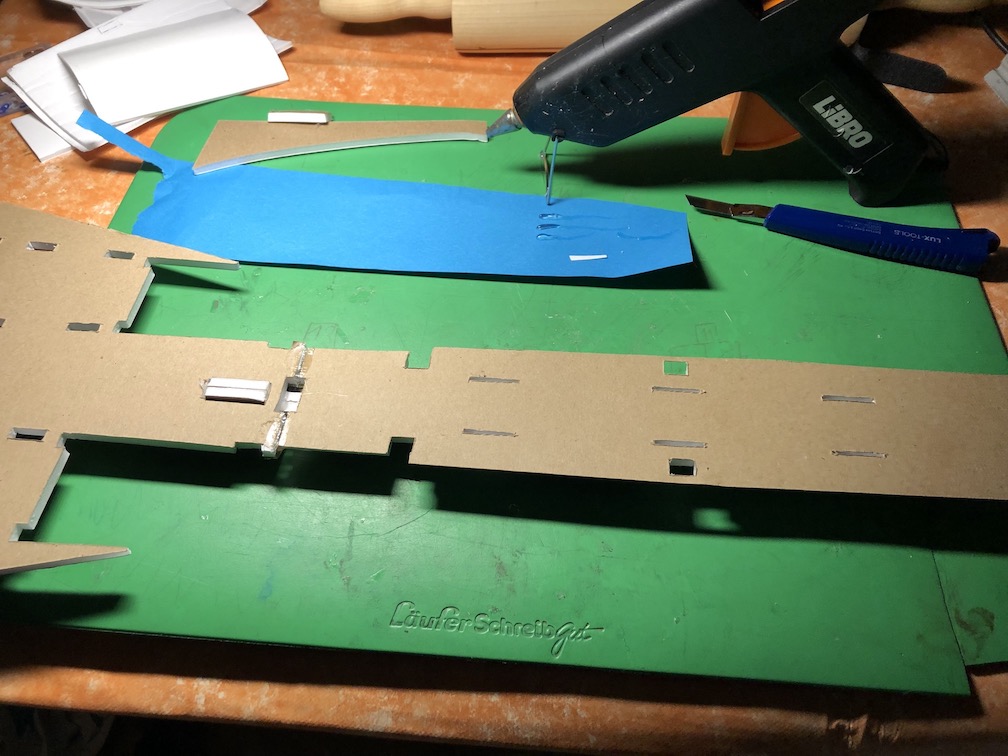
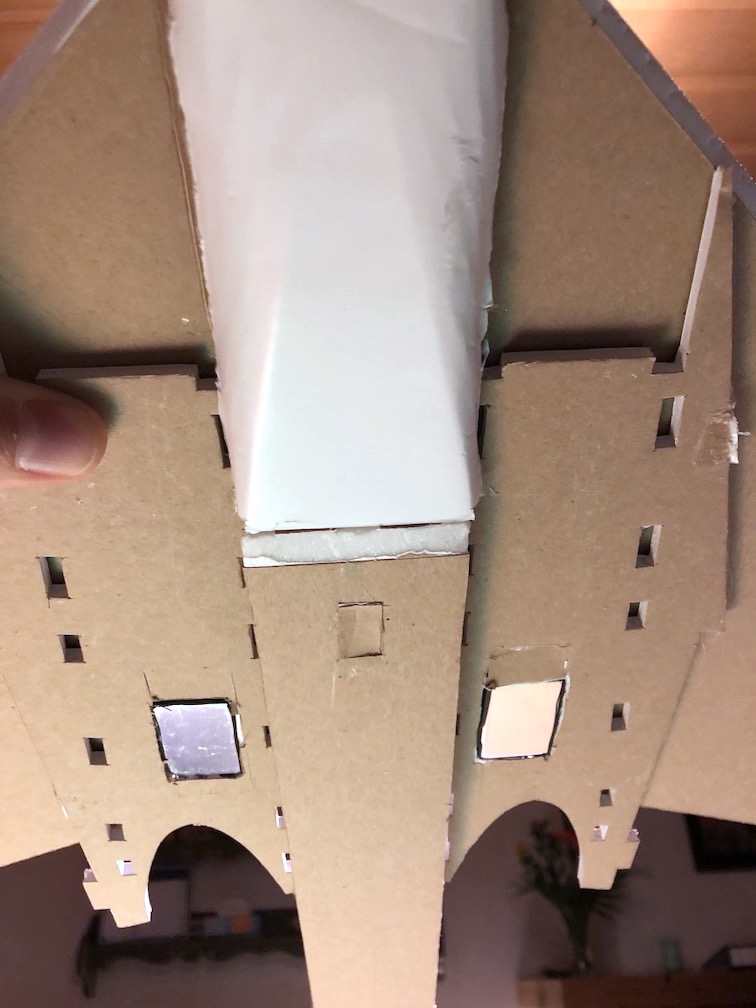
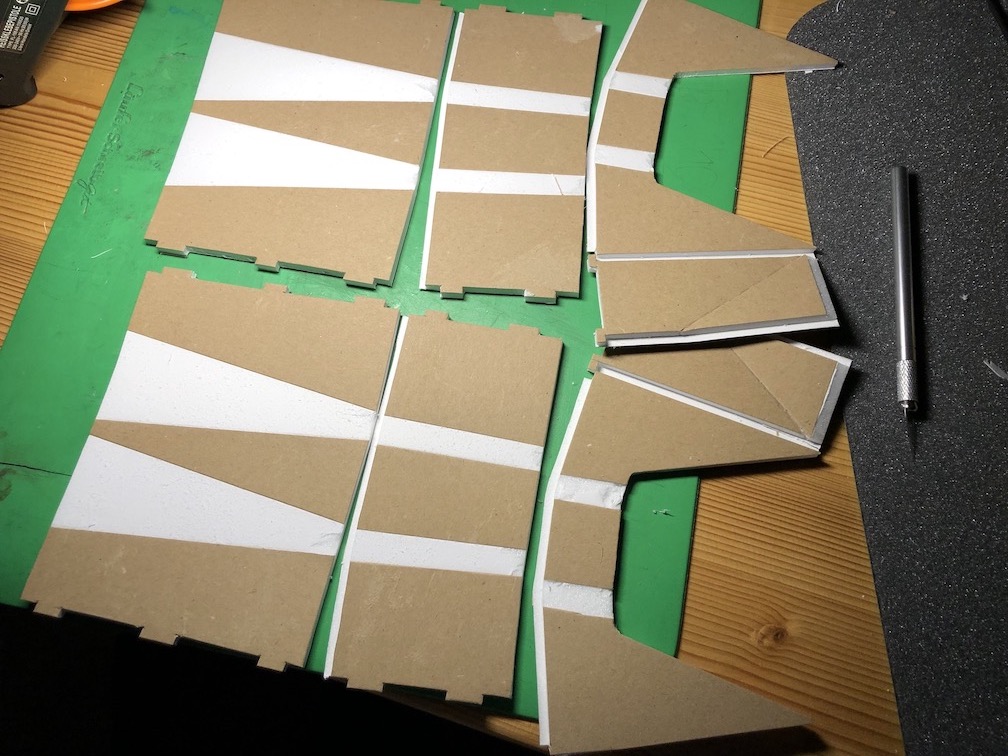
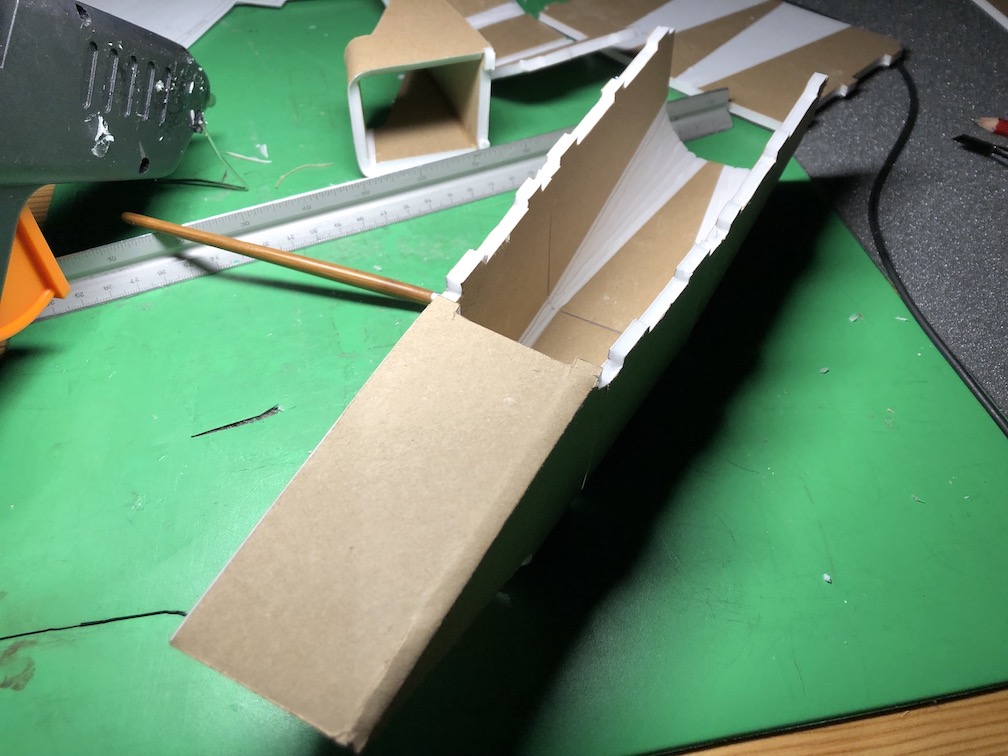
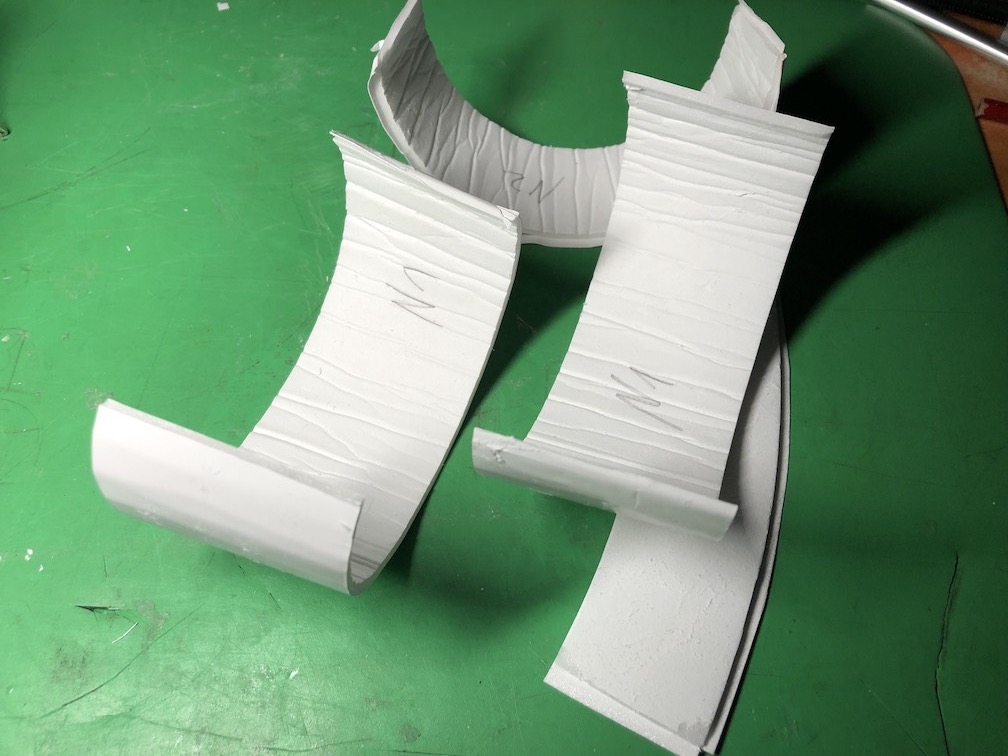
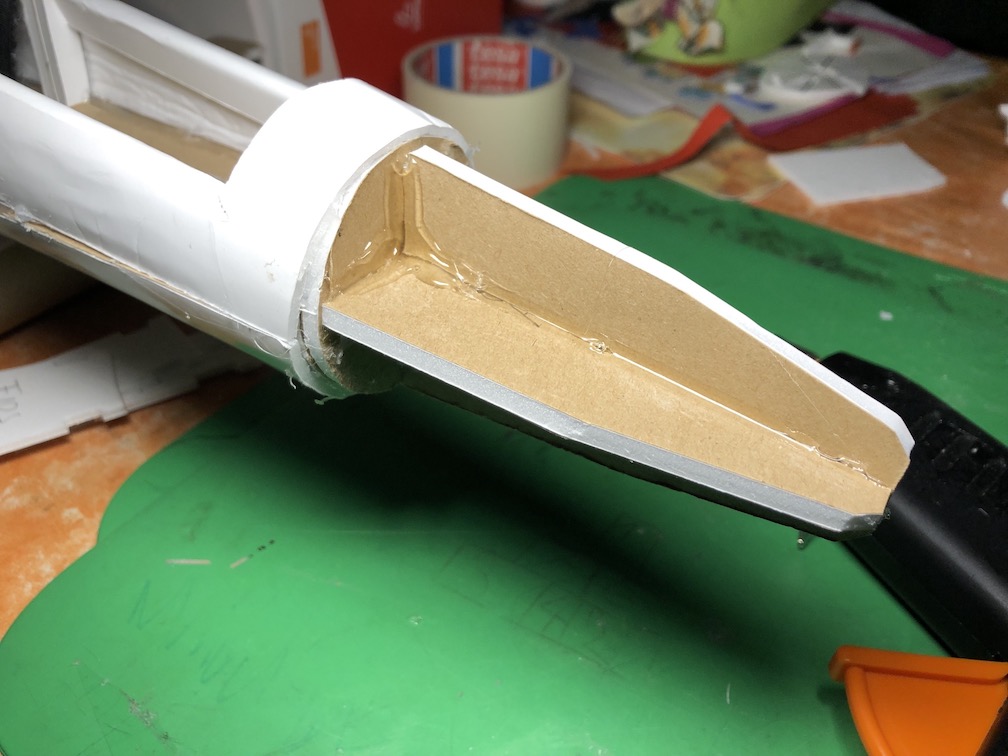
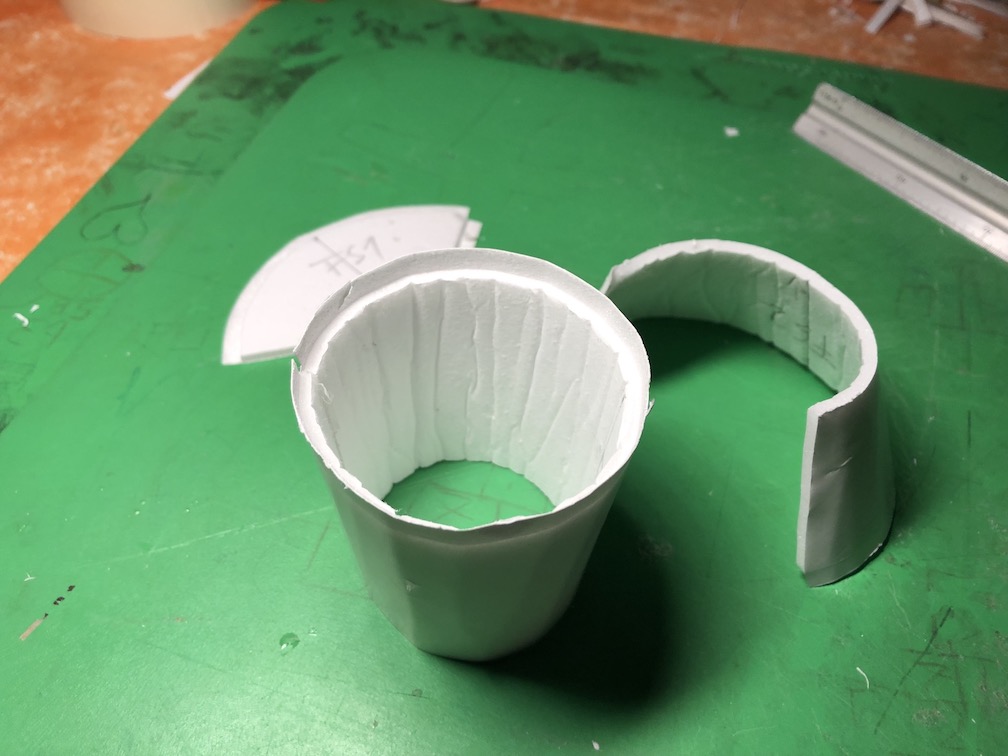
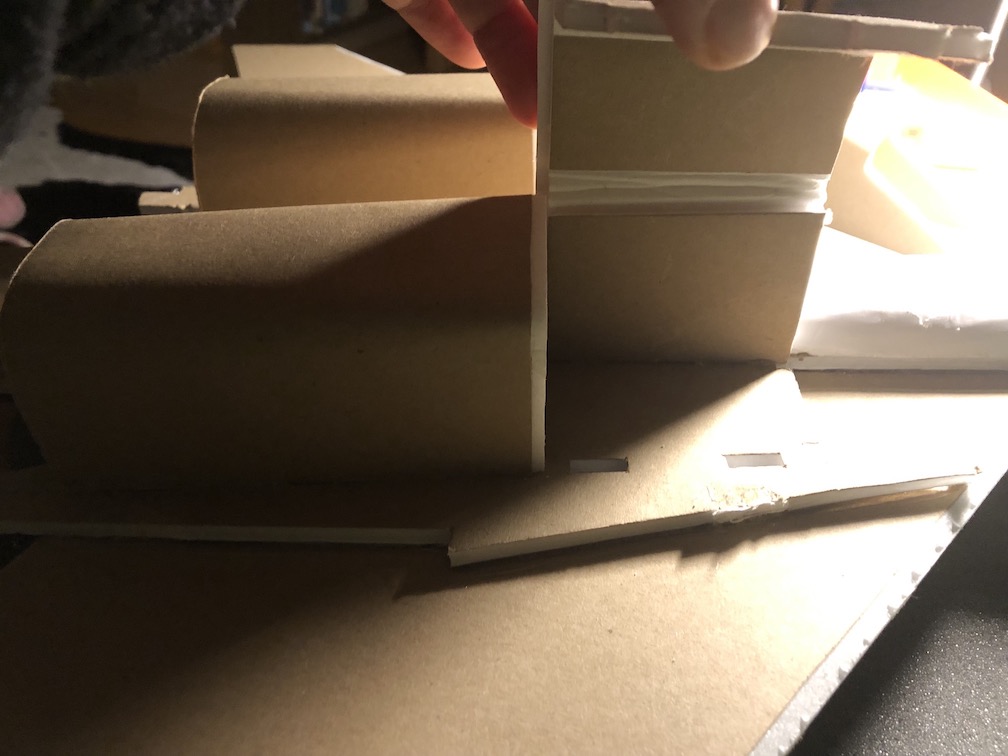
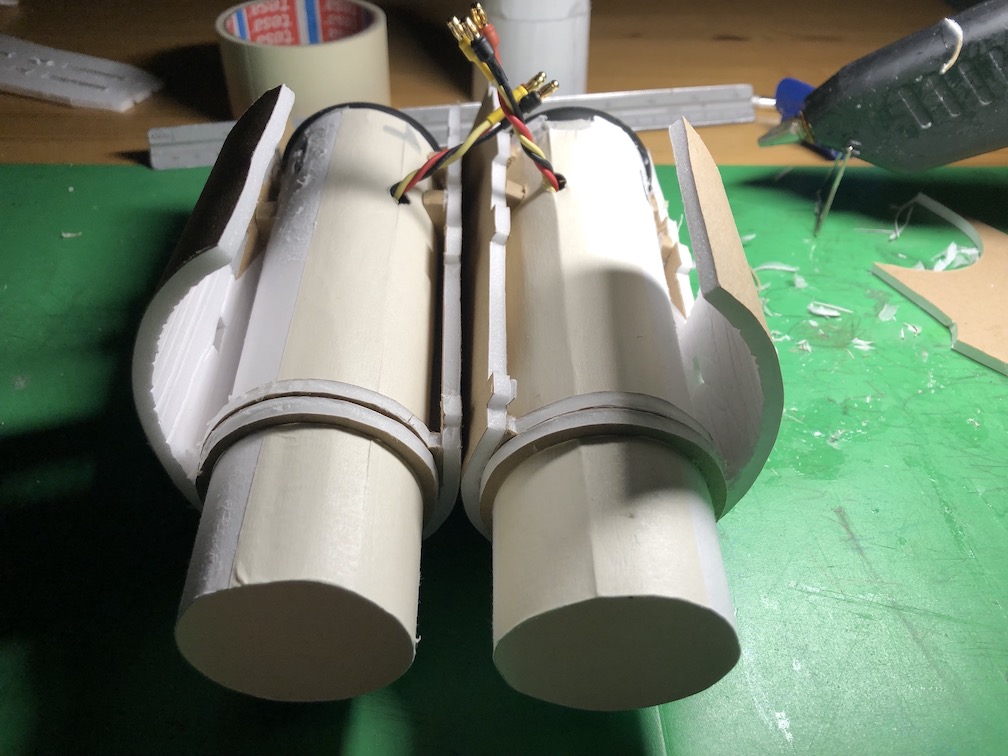
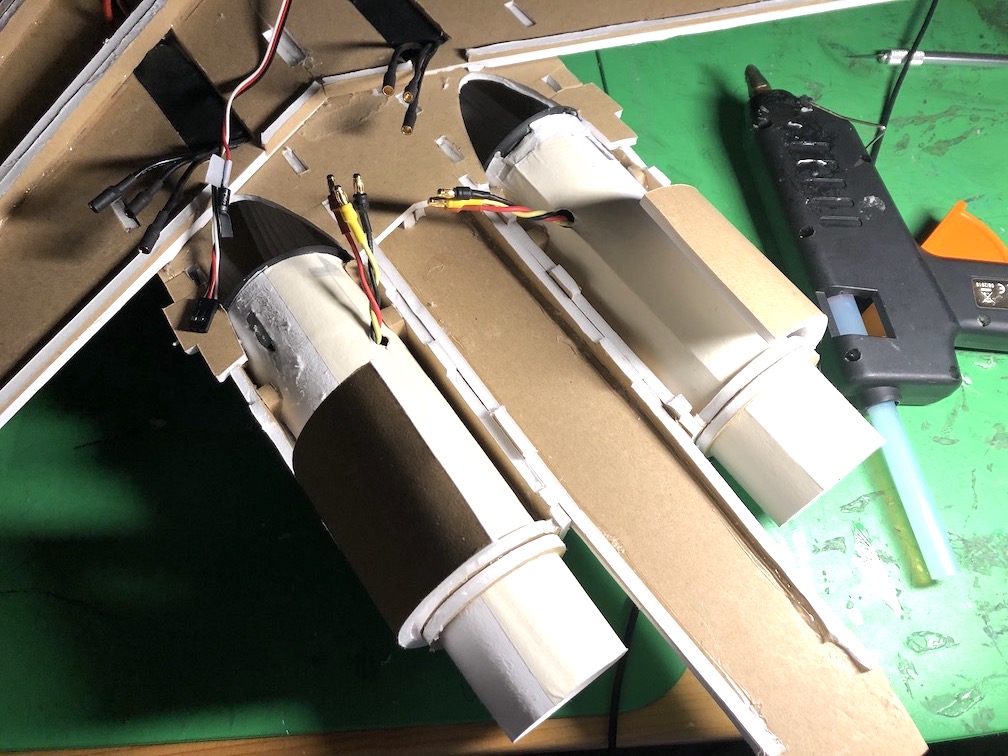
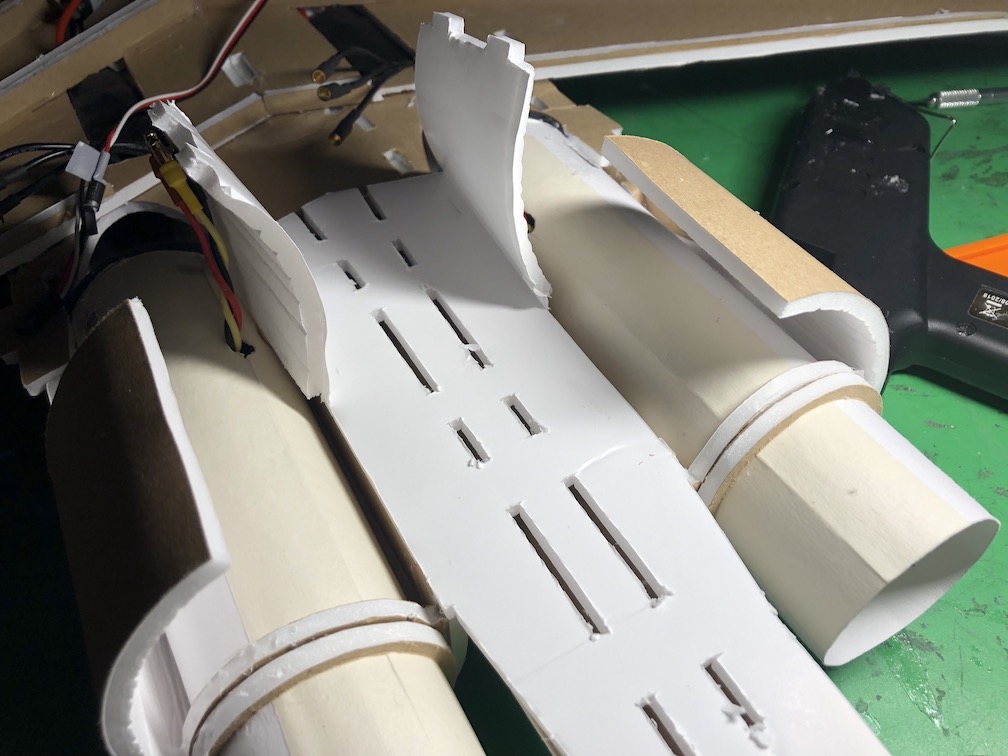
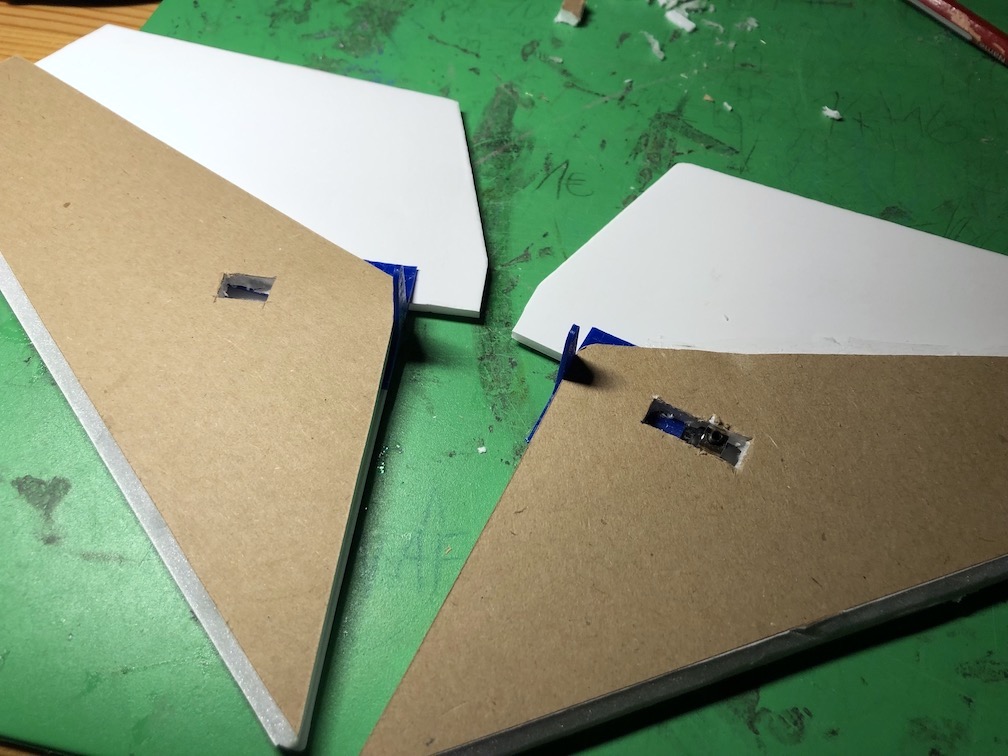
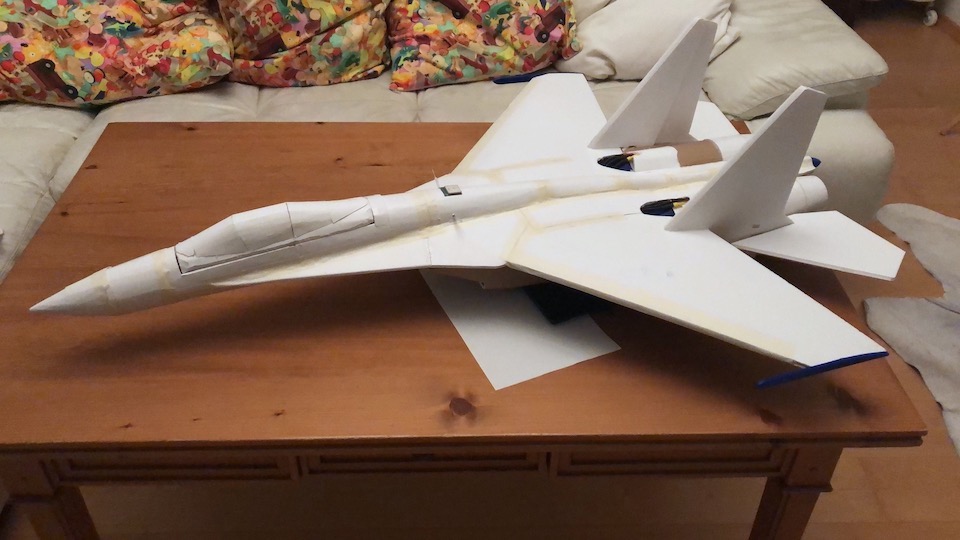
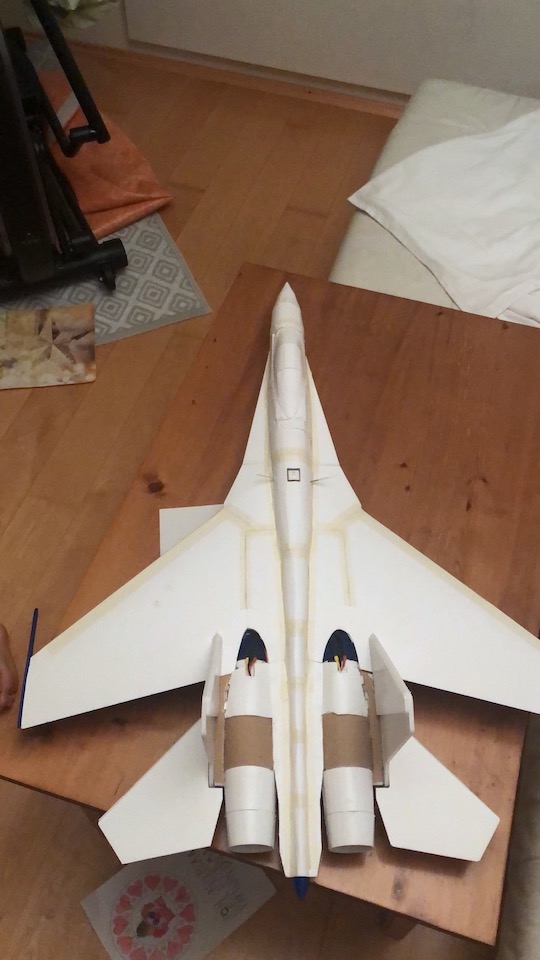
What an awesome jet  I spotted this thread a while back and started building one. I should have probably have posted some pictures along the way as I was working on it as it's taken me a while. Definitely one of the more time consuming and challenging foam board planes I've built. I think I struggled most with the final steps of gluing on the vertical stabilizers and getting the elevons on reasonably level and symmetrical, but after much thinking and staring and test fitting time I eventually went for it and it turned out okay.
Anyway, took it out for a maiden flight today, got someone else to launch it for me and wow does it fly well! I have the FT Viggen and the FT X-29 both in EDF as well and they always feel quite mad and on the edge to fly, but this is so calm and smooth compared to those, an absolute pussy cat I was being fairly careful and just did a few rolls, and climb outs, but it was very well behaved.
Part of the maiden:
2nd flight landing:
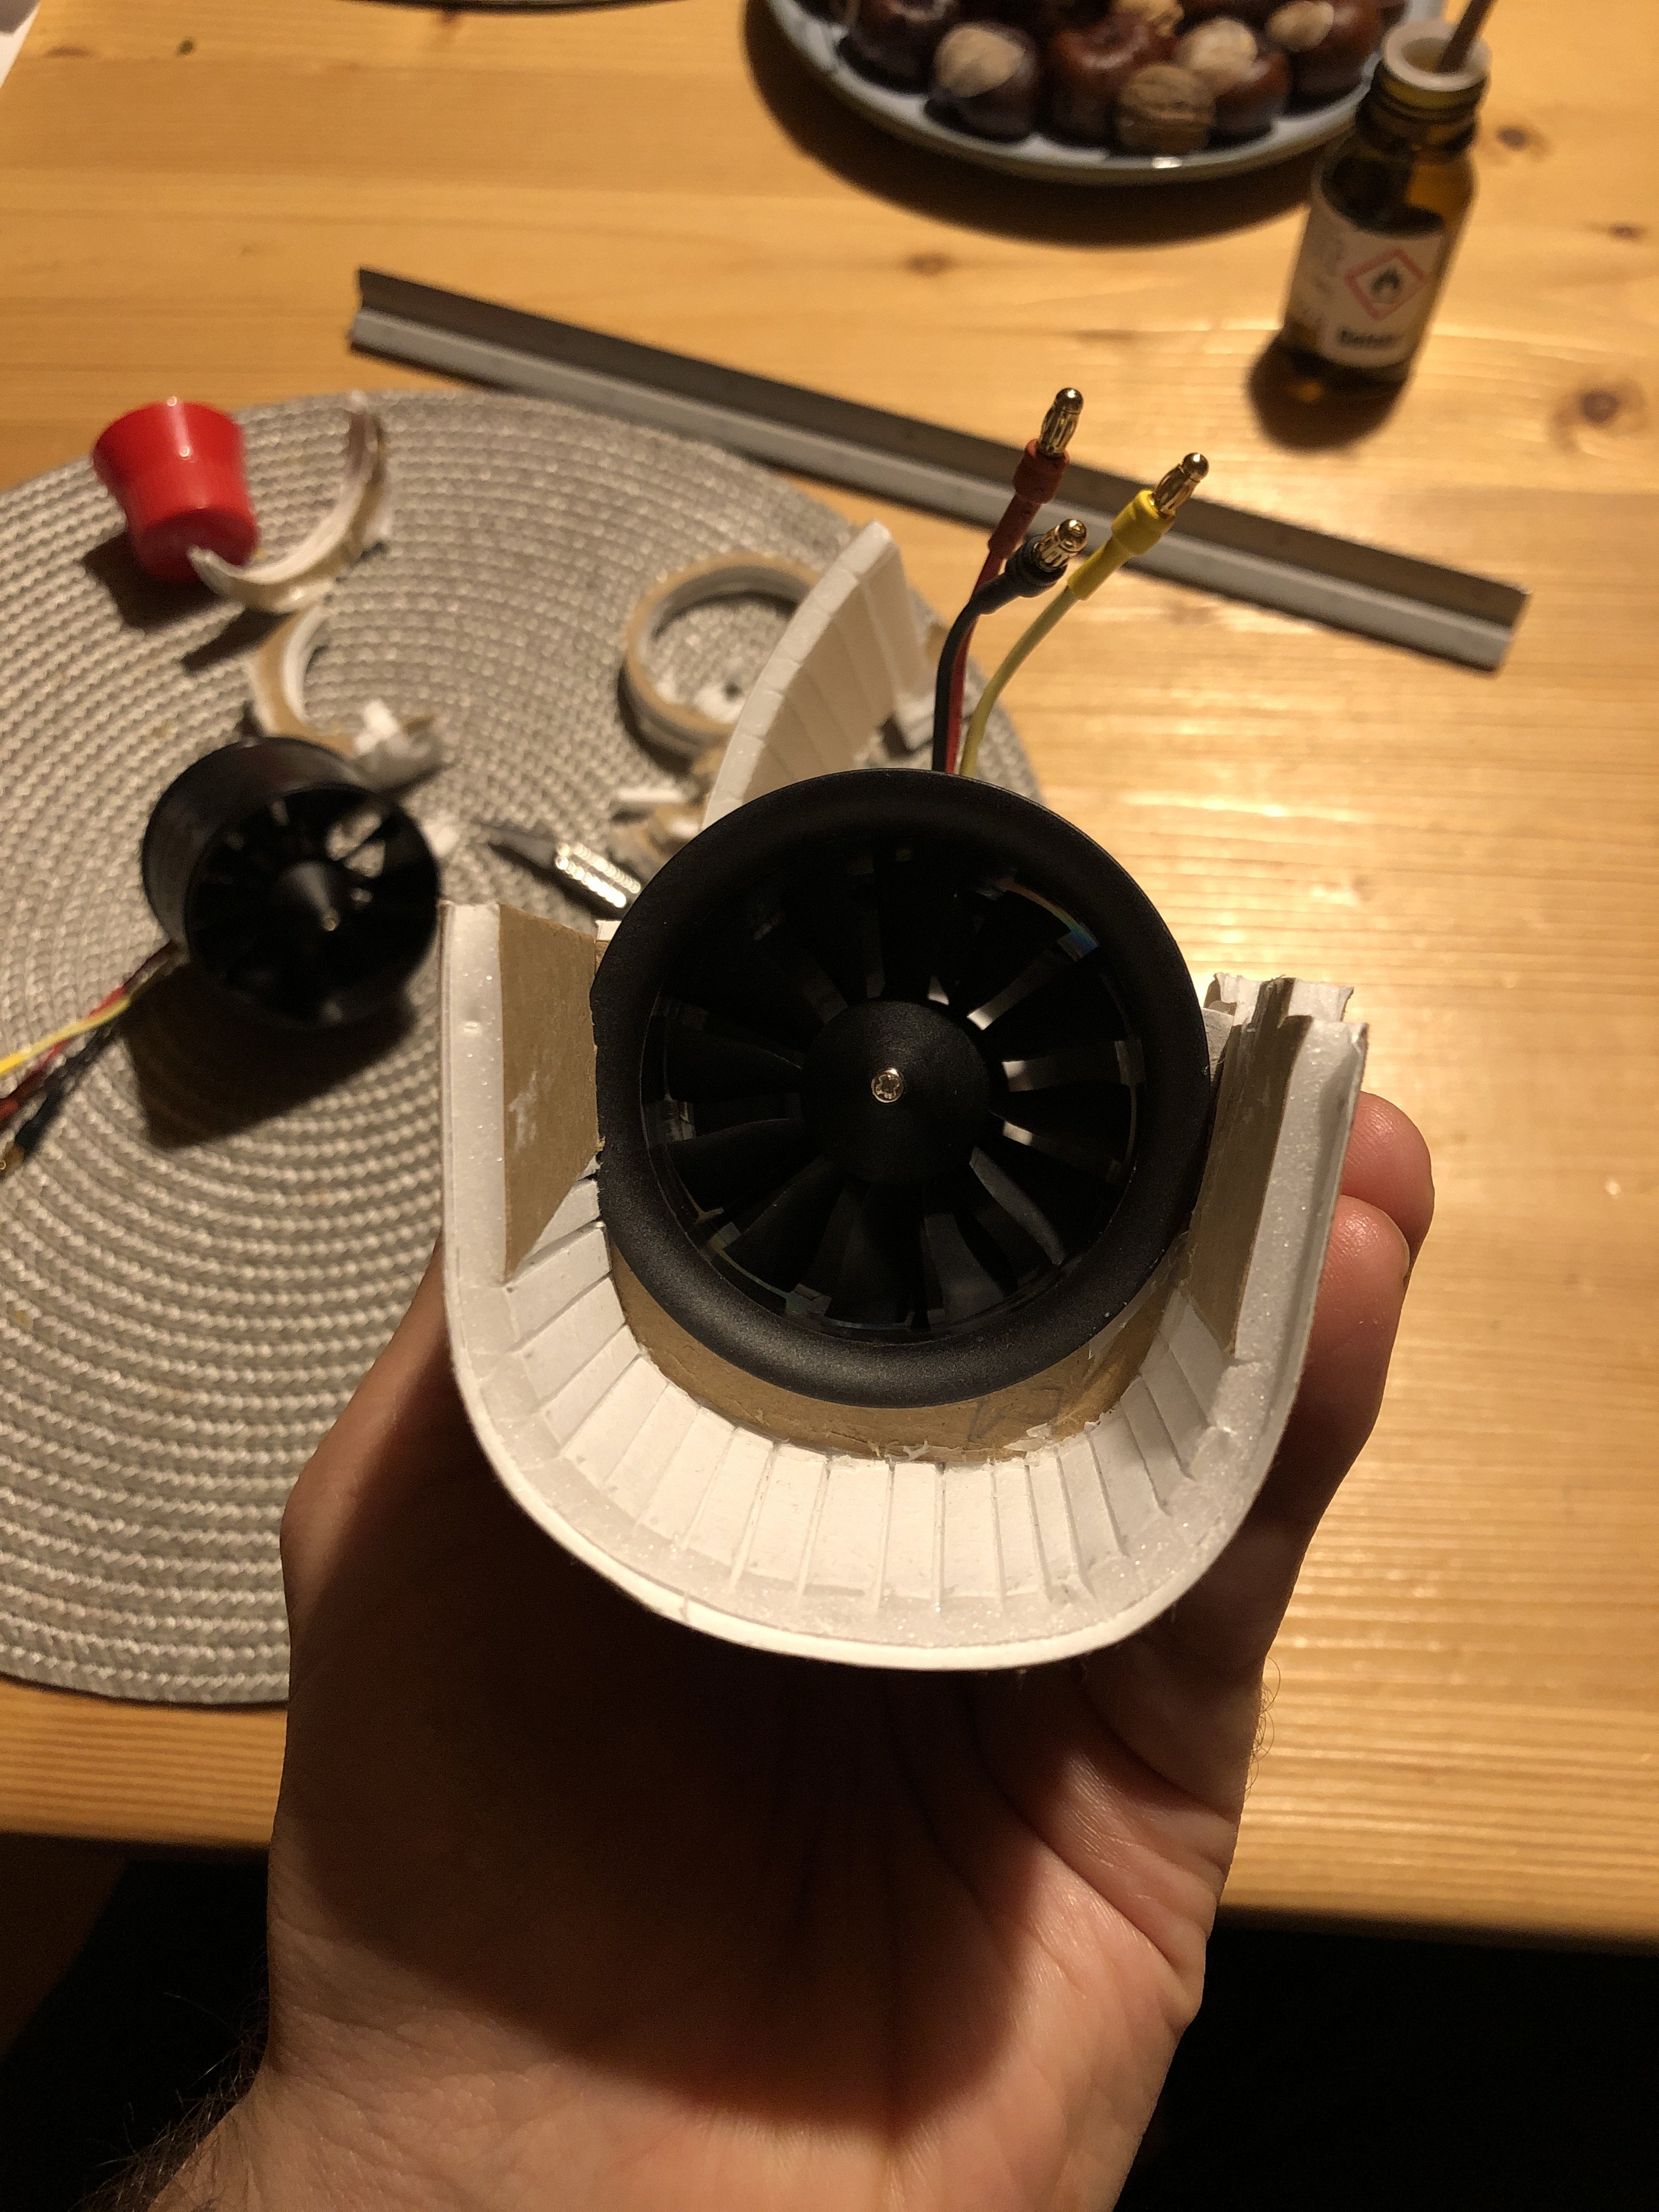
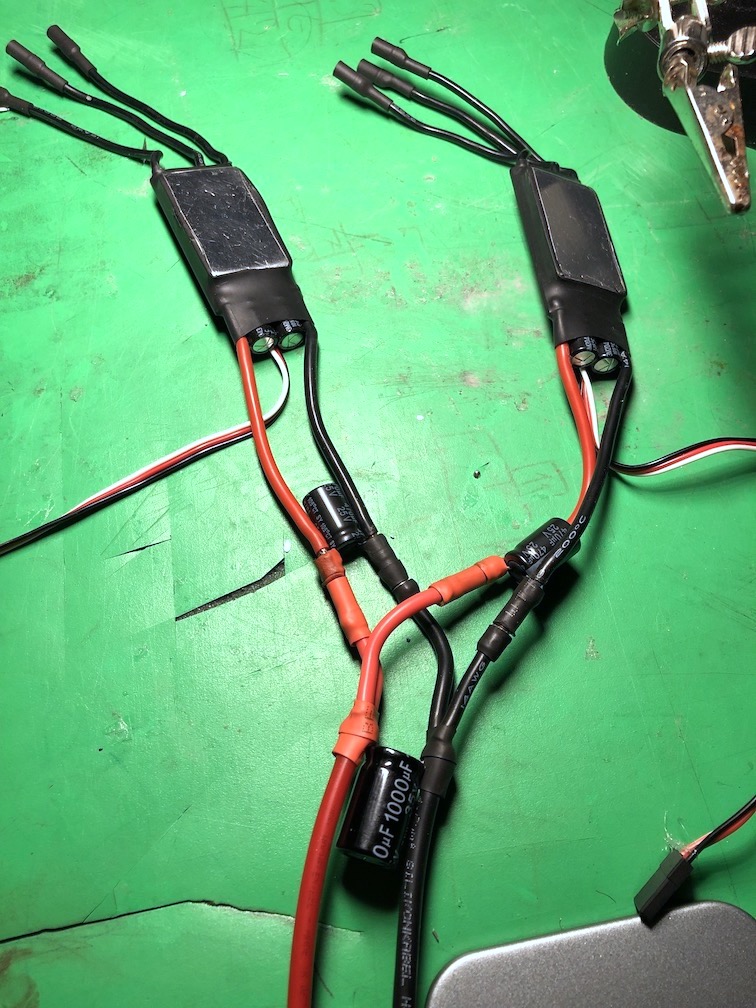
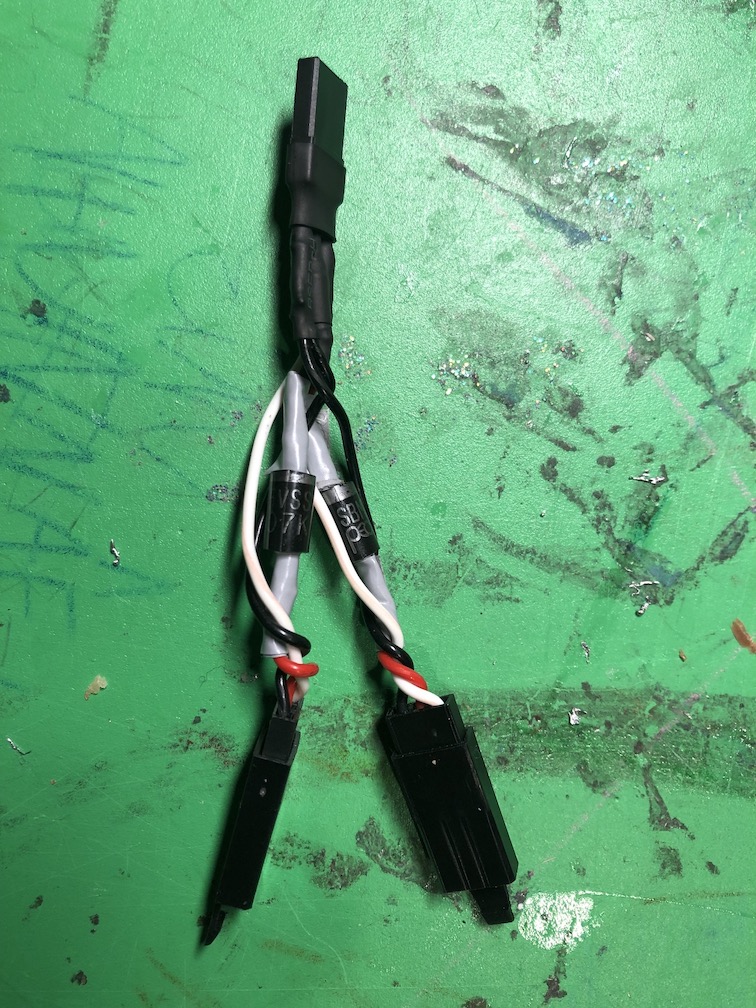
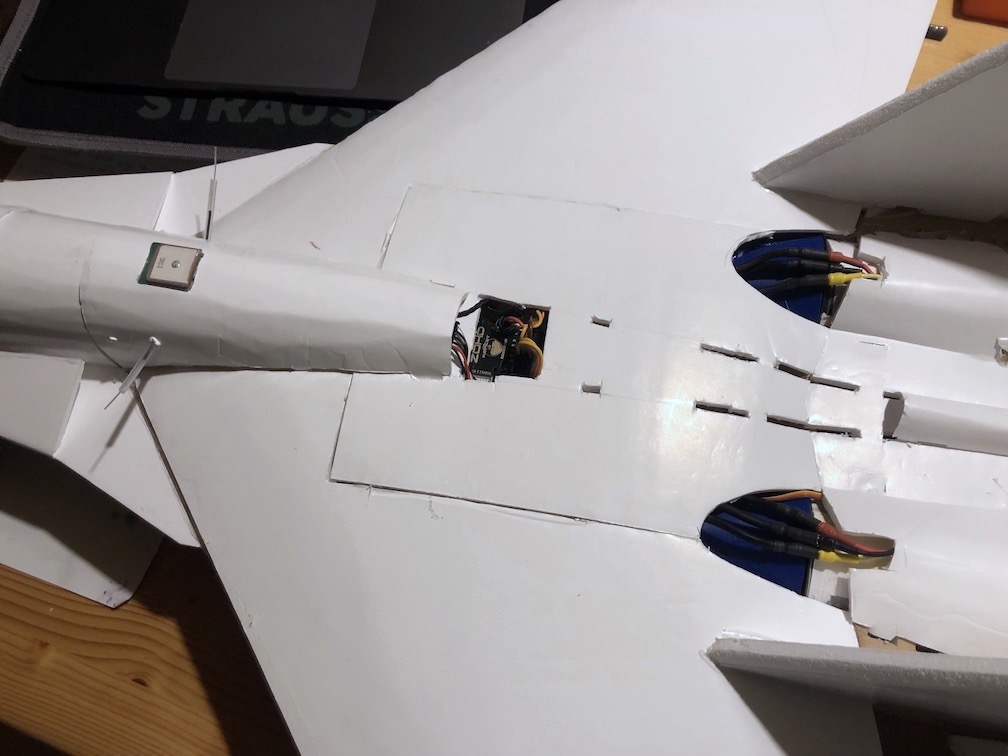
For the electronics I used these; all from Banggood (but they took quite a while to turn up!)
The watt meter says:
Next task is sort out a paint job now I know it flies well
Many thanks for making the plans available and I'll report back if I get anywhere with 6S.


I spotted this thread a while back and started building one. I should have probably have posted some pictures along the way as I was working on it as it's taken me a while. Definitely one of the more time consuming and challenging foam board planes I've built. I think I struggled most with the final steps of gluing on the vertical stabilizers and getting the elevons on reasonably level and symmetrical, but after much thinking and staring and test fitting time I eventually went for it and it turned out okay.Anyway, took it out for a maiden flight today, got someone else to launch it for me and wow does it fly well! I have the FT Viggen and the FT X-29 both in EDF as well and they always feel quite mad and on the edge to fly, but this is so calm and smooth compared to those, an absolute pussy cat
I was being fairly careful and just did a few rolls, and climb outs, but it was very well behaved.Part of the maiden:
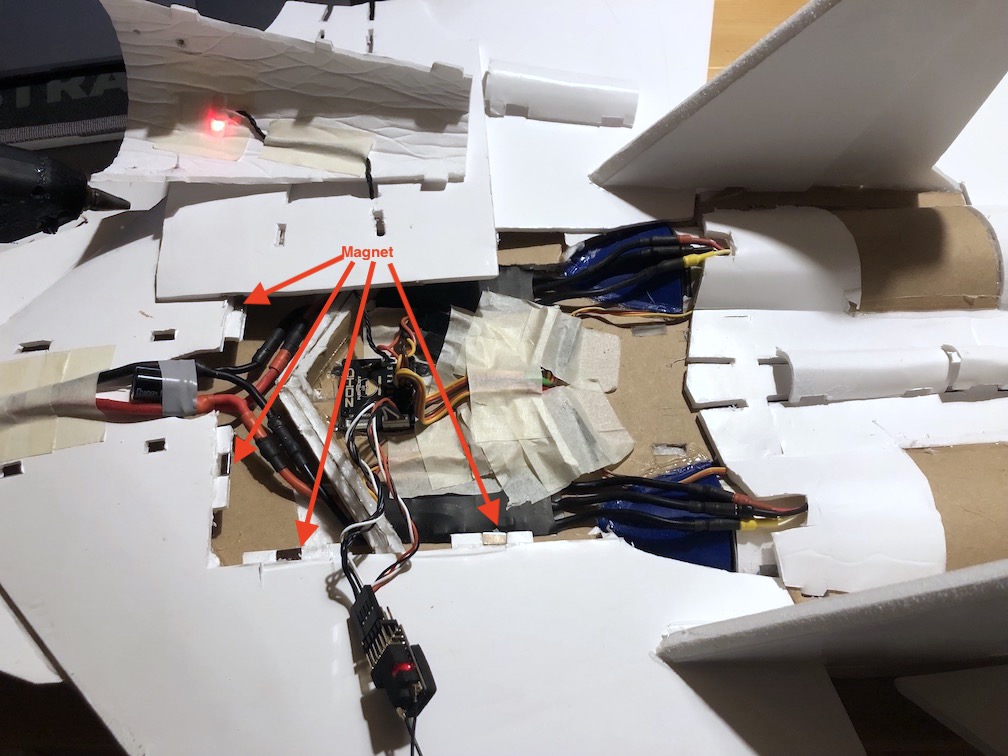
For the electronics I used these; all from Banggood (but they took quite a while to turn up!)
- Freewing 70mm EDF Ducted Fan 12 blades 6S E7217 with 2300KV Motor for 70 EDF RC Airplane - CCW + CW
- Hobbywing Skywalker 2-6S 80A UBEC Brushless ESC With 5V/5A BEC
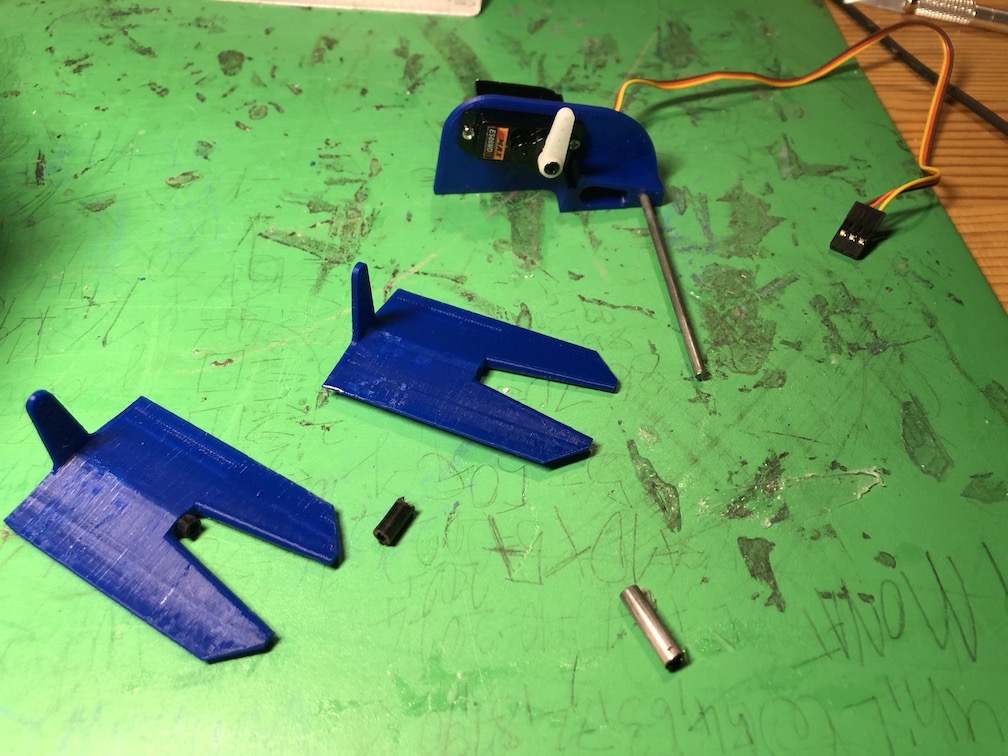
- EMAX ES09MD Digital Servo
The watt meter says:
- 36A at 50% throttle => 5.5mins flight time (60(m/h) * 3.3(Ah) / 36A)
- 76A at 100% throttle => 2.6mins flight time (60(m/h) * 3.3(Ah) / 76A)
- 1135Wp (peak watts) => 258W/lb (which is supposedly "sporty")
Next task is sort out a paint job now I know it flies well
Many thanks for making the plans available and I'll report back if I get anywhere with 6S.