Lovin the Willy Nillies

MZ250Ben

Active member
I grabbed 4 of these kits recently based on reading here and elsewhere. Just finished the second, these kits are such a breeze that one could practically toss the parts in the air and an assembled frame would land on the table. This is without instructions even! Can't wait to dig into the next two. I "bashed" these a little, but that's builders right, especially given the deliberate lack of instructions. They do have a part name sheet which is especially helpful.
20250406_165814.jpg
20250331_181101.jpg
20250323_164653.jpg
 

MZ250Ben

Active member
looks cool! I'm gonna have to try a balsa kit sometime.......
It's immensely satisfying and similar to sheet foam in many ways...except the covering part. The heat shrink covering is excellent these days, but that wasn't always the case. I used a butter knife set under a travel iron, can't believe how well that works. The knife stays effectively hot for well over a minute! Covering them was a lot easier than I remember it being 3 decades ago. Maybe I'm just more patient, but I sure don't feel like it.
 

MZ250Ben

Active member
Shoestring 150 and Wee Willy "Raw" ready to fly. I tried a 5 channel rx from Buzzard for the Shoestring, it weighs like 2 grams, uses JR pins AND has Rssi plus battery voltage telemetry. It's smaller than a postage stamp! Next up is "Gentle Lady," then Skylark 250.
20250408_164721.jpg
20250408_171654.jpg
 

AIRFORGE

Make It Fly!
Moderator
Shoestring 150 and Wee Willy "Raw" ready to fly. I tried a 5 channel rx from Buzzard for the Shoestring, it weighs like 2 grams, uses JR pins AND has Rssi plus battery voltage telemetry. It's smaller than a postage stamp! Next up is "Gentle Lady," then Skylark 250.
View attachment 249997 View attachment 249998
Nice! I love the Gentle lady! I've had 2 of the originals. Looking forward to your opinion of this one.
 

MZ250Ben

Active member
Gentle Lady so far...there was no parts name map with this one, but it's pretty intuitive, so this was an easy fuselage. These 3.7g servos from buzzard seem very well made and are lightning quick, they are my new go-to for peanuts. Buddy Rc had 4ch 2g radiomaster rx on sale for like 10 bucks, so I'm forgoing telemetry for value on this one. On to the wings!
 

Attachments

  • 20250411_183848.jpg
    20250411_183848.jpg
    1.6 MB · Views: 0

MZ250Ben

Active member
The fun part is figuring what is what and why. I haven't been stumped YET, these kits are pretty intuitive. I'm doing detached wingtips, so the little pucks from the glue holes in the mating rib make handy alignment "pegs." Not sure if that was intentional on their part, but works out perfectly. And a surplus FT firewall with beveled corners makes a handy square.
20250412_185029.jpg
20250412_185612.jpg
20250412_185044.jpg
 

MZ250Ben

Active member
Much progress on the wing here, though I've been hung fire for a tidy and effective way to attach and detach the wing tips. The spar is sufficiently strong, but too narrow to run a screw or pin through to retain it. So after much pondering while sanding laser burn off parts, I arrived at this solution: Reinforce the mating ribs with ply, bend a "staple" of piano wire just a tad narrower than the thickness then notch the ply to host the staple with a mini hacksaw blade. This way I could sneak up on the ideal thickness with gentle swipes of the saw blade. I bent both staples identically so they are interchangeable THEN adjusted the slots. The fit is snug and feels very secure. I will probably put a square of scotch tape on it when flying, but I doubt it will come loose in any case.
20250415_175851.jpg
20250415_175925.jpg
20250415_175943.jpg


The wind here is terrible today after an absolutely glorious Saturday that was calm enough to fly peanuts at high noon. I actually flew the Wee Willy at noon over a local apple orchard. She flew wonderfully, but this was not my first attempt; for balance, that plane needs to ride 2-3 degrees nose down on the spar or it's tip stall city. My advice with this or any lofty, heavy dihedral slow flyer is start nose heavy and back it off on subsequent flights as needed. If you start level or tail heavy, there possibly will not be any subsequent flights, but you may eventually get your nose weight via repair glue. I can't wait to get this one wrapped up! Of course there is a cat.
20250415_180314.jpg
 

Houndpup Rc

Master member
Much progress on the wing here, though I've been hung fire for a tidy and effective way to attach and detach the wing tips. The spar is sufficiently strong, but too narrow to run a screw or pin through to retain it. So after much pondering while sanding laser burn off parts, I arrived at this solution: Reinforce the mating ribs with ply, bend a "staple" of piano wire just a tad narrower than the thickness then notch the ply to host the staple with a mini hacksaw blade. This way I could sneak up on the ideal thickness with gentle swipes of the saw blade. I bent both staples identically so they are interchangeable THEN adjusted the slots. The fit is snug and feels very secure. I will probably put a square of scotch tape on it when flying, but I doubt it will come loose in any case. View attachment 250095 View attachment 250096 View attachment 250098

The wind here is terrible today after an absolutely glorious Saturday that was calm enough to fly peanuts at high noon. I actually flew the Wee Willy at noon over a local apple orchard. She flew wonderfully, but this was not my first attempt; for balance, that plane needs to ride 2-3 degrees nose down on the spar or it's tip stall city. My advice with this or any lofty, heavy dihedral slow flyer is start nose heavy and back it off on subsequent flights as needed. If you start level or tail heavy, there possibly will not be any subsequent flights, but you may eventually get your nose weight via repair glue. I can't wait to get this one wrapped up! Of course there is a cat. View attachment 250102
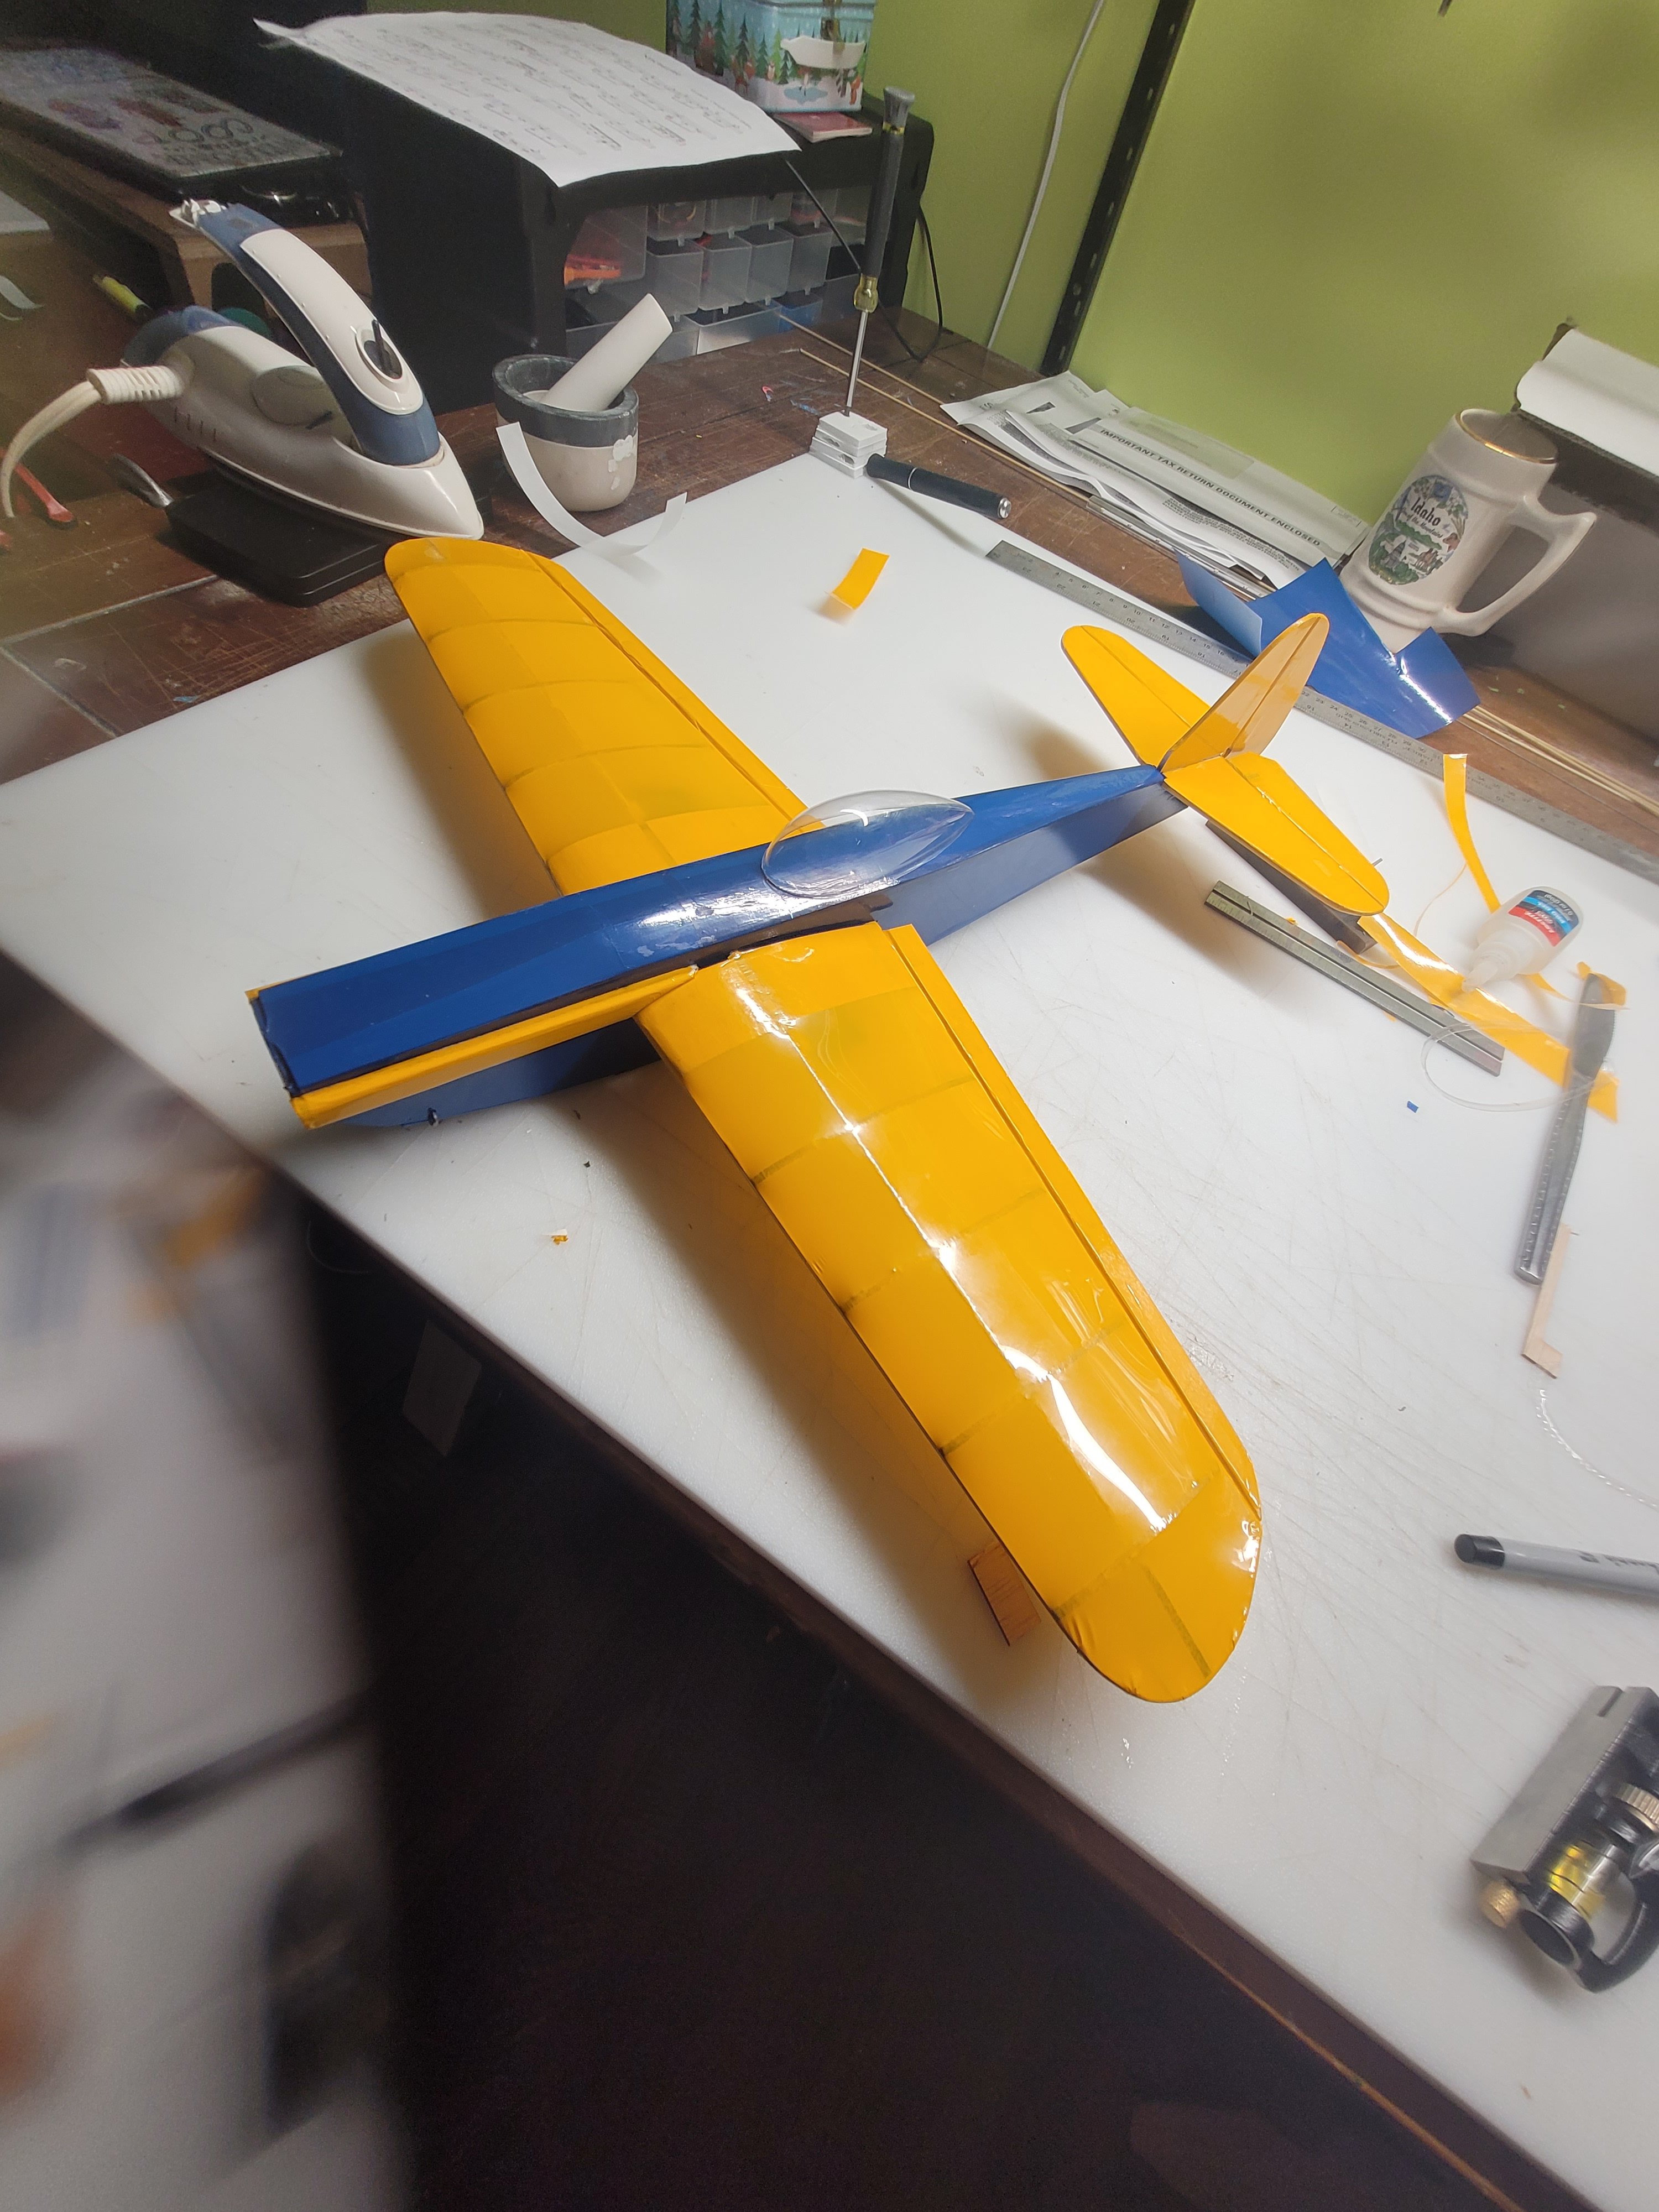
Looking great!
I know! Saturday was awesome for flying! Today......Not so much.....But tomorrow is looking like it could be good here.
 

Piotrsko

Master member
Holding clips made of music wire kinda need to be installed from the bottom. Wing flex in normal flight will expand the clip tips slightly and they come loose at inopportune moments. Might also want to box the spars at the junction to spread the loads better.
 

MZ250Ben

Active member
Holding clips made of music wire kinda need to be installed from the bottom. Wing flex in normal flight will expand the clip tips slightly and they come loose at inopportune moments. Might also want to box the spars at the junction to spread the loads better.
The kit includes a few sections to web the spar, I doubled up at the root, might as well do the whole thing, really, The give plenty of extra sheeting stock, I'm still using the surplus from 2 kits ago! Today it occurred to to to maybe bend an elbow in the staple to hold it more securely. OR maybe insert it from the bottom and retain it with a screw/washer? My last plane like this had a center split wing, and I'll never forget the day it snapped midair 🤣 Poor thing had 8 AA nicads and weighed a ton. Not made to do sudden pull ups...
 

LitterBug

Techno Nut
Moderator
That's AWESOME! Glad you are enjoying the kits! It's been awhile since we stopped by this forum. :)

Sincerely,
Doug (and Becky)
WillyNillies.com
@Willy Nillies I've been trying really hard not to buy all of your kits. Ther is a HUGE gap in the balsa and 250 markets right now and I LOVE what products you have on the web site. One thing that would be nice to see would be more pusher setups. FPV looking through the prop is not ideal. Looking forward to building some kits soon! Have the Ace GLH 250 and Gentle Lady 250 on order. Planning on going powered and FPV on the Lady.

Cheers!
LitterBug
 

LitterBug

Techno Nut
Moderator
Much progress on the wing here, though I've been hung fire for a tidy and effective way to attach and detach the wing tips. The spar is sufficiently strong, but too narrow to run a screw or pin through to retain it. So after much pondering while sanding laser burn off parts, I arrived at this solution: Reinforce the mating ribs with ply, bend a "staple" of piano wire just a tad narrower than the thickness then notch the ply to host the staple with a mini hacksaw blade. This way I could sneak up on the ideal thickness with gentle swipes of the saw blade. I bent both staples identically so they are interchangeable THEN adjusted the slots. The fit is snug and feels very secure. I will probably put a square of scotch tape on it when flying, but I doubt it will come loose in any case. View attachment 250095 View attachment 250096 View attachment 250098

The wind here is terrible today after an absolutely glorious Saturday that was calm enough to fly peanuts at high noon. I actually flew the Wee Willy at noon over a local apple orchard. She flew wonderfully, but this was not my first attempt; for balance, that plane needs to ride 2-3 degrees nose down on the spar or it's tip stall city. My advice with this or any lofty, heavy dihedral slow flyer is start nose heavy and back it off on subsequent flights as needed. If you start level or tail heavy, there possibly will not be any subsequent flights, but you may eventually get your nose weight via repair glue. I can't wait to get this one wrapped up! Of course there is a cat. View attachment 250102
Was there a pusher power option on the Gentle Lady? Thought I saw one online that mounted in the center above the wing. I plan to do FPV...

 
Last edited:

Piotrsko

Master member
If you make the wing 2 piece, you can add a power pylon at the center easey peasey. Or in my case a lot of [€¢%¥&©]

Sometimes it's hard to make a multi piece wing strong enough without a structural engineering masters degree