FTFC20 Bellanca Aircruiser C-27A by Matagami Designs

Matagami Designs

Master member
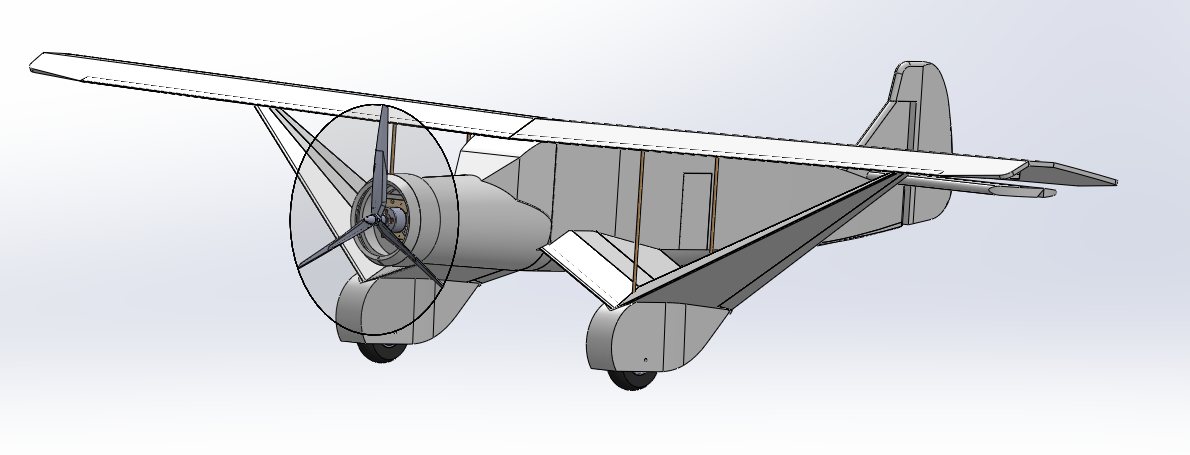
@rockyboy Here is the build thread for my FTFC20 submission for the Bellanca Aircruiser C-27A.

004.jpg


458.jpg


I became interested in this plane a few weeks ago when i visited the USAF museum and took a quick picture of a small model on display which caught my eye because of the way the landing gear struts were hidden inside a streamlined airfoil section. I only recently found out what make this plane was since at the time i was trying to make my way through the museum with my family.


20190803_143353.jpg


Attachments

  • Bellanca_C-27A_Aircruiser_oz458.pdf
    544.1 KB · Views: 0
  • Bellanca_C-27A_Aircruiser_oz458_article.pdf
    786.9 KB · Views: 0

Vimana89

Legendary member
What a good looking design, nice straight wing with classic 30's lines, but with a totally unique twist. I like the way you set the foam board version up, the folds and lines that are FT style actually kind of accentuate the original look perfectly(y). Even cooler that it was a real plane.
 

Matagami Designs

Master member
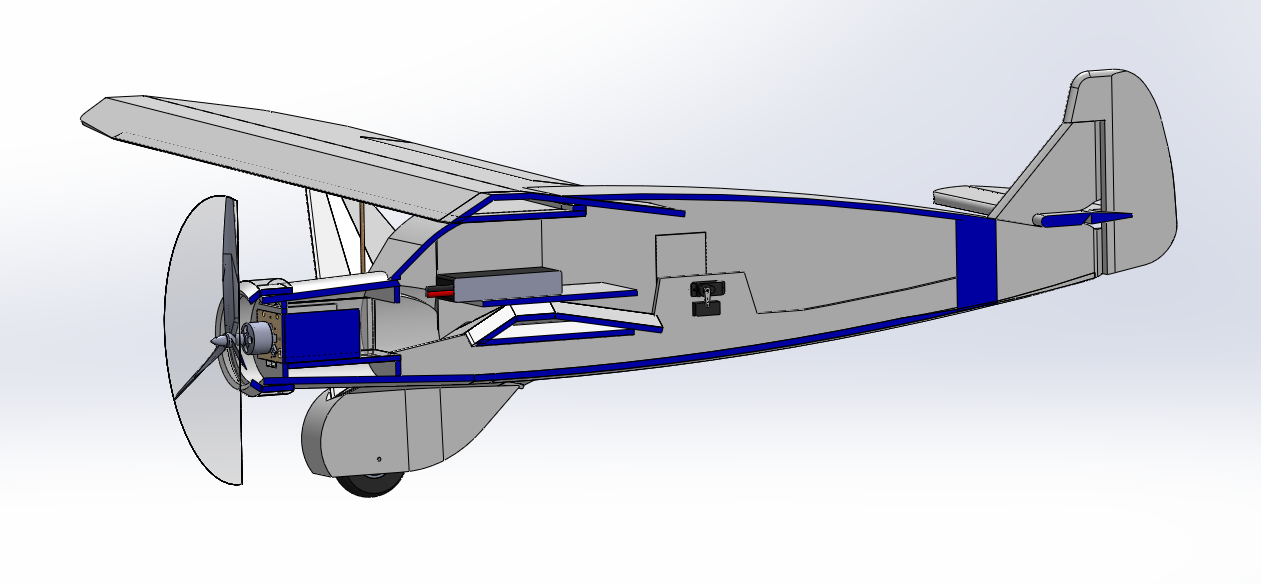
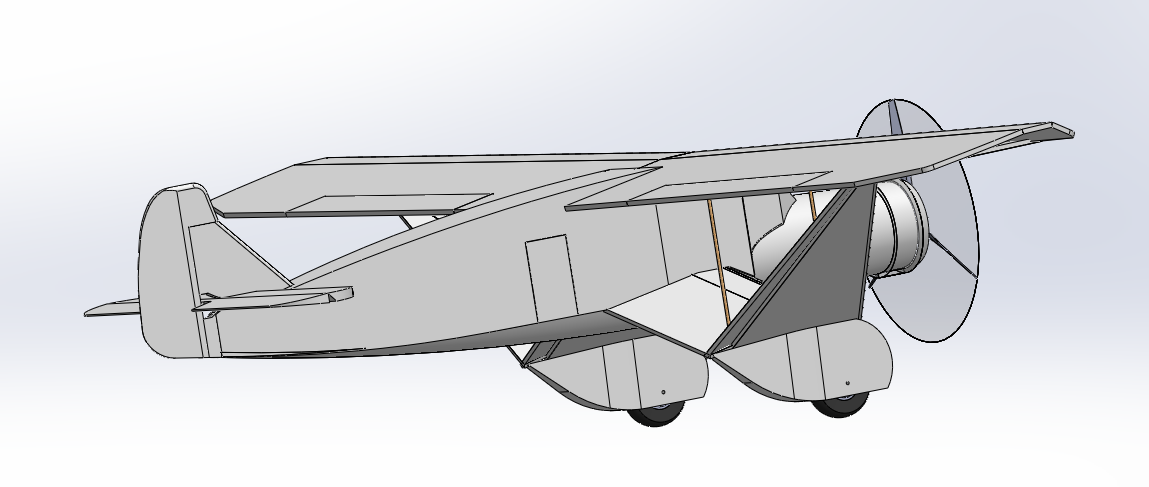
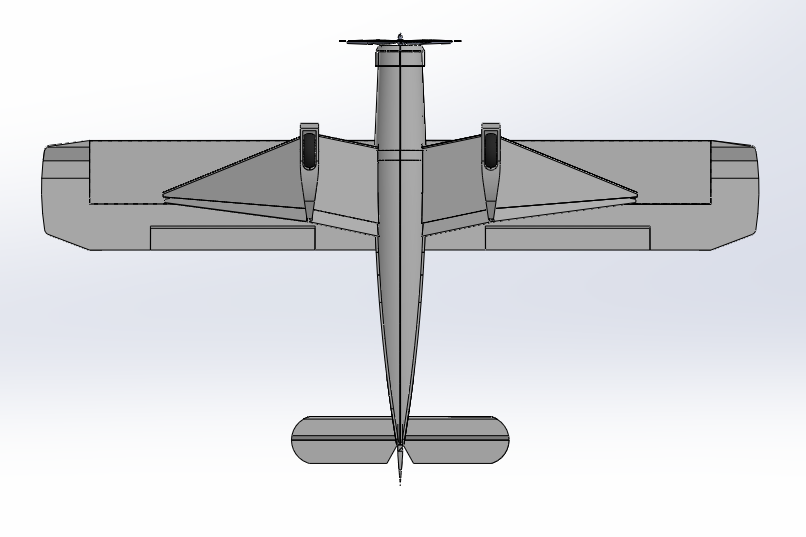
So i feel i am getting closer to converting my CAD to plans but at the same time feel i may have made things a bit too complex for the sake of keeping a scale looking fuselage. This will likely be a more challenging build since the fuse is broken up into so many pieces and has a couple of curvy pieces.

I think the process would be to build from the bottom up. The lower curve of the fuse, flying wheel strut, and tail spar section would glue to the upper more boxy section. Then add the nose section. Install tail assembly and run push rods. Tail servos would be accessible via tiny hatches (the doors). Slide the wing into the fuse and add the windshield which will act as the main hatch for battery access.

Should i take a step back and make it less challenging and more of a fold-up design or continue with what i have?


82620191023.PNG
section.PNG
82620191037.PNG
82620191038.PNG
 

OliverW

Legendary member
So i feel i am getting closer to converting my CAD to plans but at the same time feel i may have made things a bit too complex for the sake of keeping a scale looking fuselage. This will likely be a more challenging build since the fuse is broken up into so many pieces and has a couple of curvy pieces.

I think the process would be to build from the bottom up. The lower curve of the fuse, flying wheel strut, and tail spar section would glue to the upper more boxy section. Then add the nose section. Install tail assembly and run push rods. Tail servos would be accessible via tiny hatches (the doors). Slide the wing into the fuse and add the windshield which will act as the main hatch for battery access.

Should i take a step back and make it less challenging and more of a fold-up design or continue with what i have?


View attachment 140753 View attachment 140754 View attachment 140755 View attachment 140756
Continue with what you have!
 

PoorManRC

Master member
I would integrate SOME fold up steps.... While keeping it as true as you can! 😉
VERY Unique and Beautiful Aircraft!!! Definitely not the norm...

So, you said "Windshield". Do you mean an actual CLEAR Windshield, with maybe Interior Details?

I ask because I'm very much into that level of detail....
IMG_20190815_024756.jpg

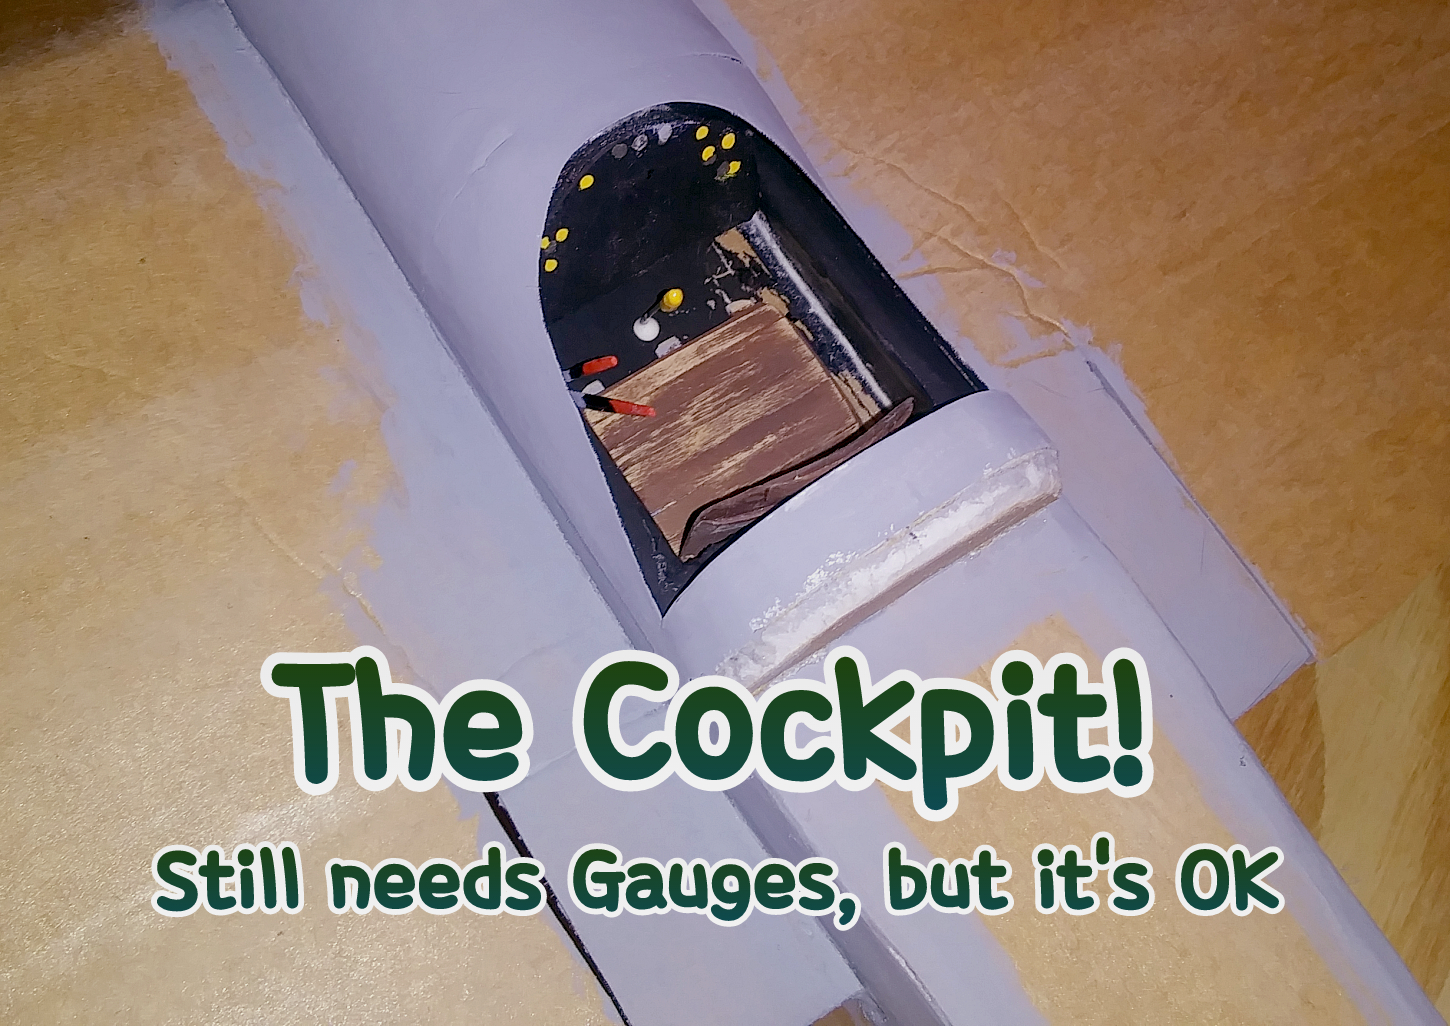
This is from my Scout Thread...... Just a rudimentary basic WWI type Cockpit. Believe it or not, everything you see in there weighs LESS than one Gram!

Just haven't figured out the Windshield yet...
That's why I asked about yours. I'm always fishing for ideas!! 💡
Also being into RC Crawlers, I've got LOTS of scrap Clear Lexan pieces. But it's NOT that light. 😖

NOT wanting to Threadjack! I have found your Builds so far EXTREMELY creative to DARING (this one!).
I'm interested in following the entire process... But I'm still digging for thoughts about Details! 😉
 

jpot1

Elite member
Really jealous of your CAD skills! My suggestion would be to build a simplified version first. You have a lot going on with this model with the gull wings, wheel attachment and curved nose. Use v1 as the opportunity to figure out major design items, battery placement, and CG. Then make it polished. Take it from one that has experienced building a design only to have to hack into it to move the battery to get to what I thought the CG should be and then to fly it and crash miserably as it was tail heavy.
 

Matagami Designs

Master member
I would integrate SOME fold up steps.... While keeping it as true as you can! 😉
VERY Unique and Beautiful Aircraft!!! Definitely not the norm...

So, you said "Windshield". Do you mean an actual CLEAR Windshield, with maybe Interior Details?

I ask because I'm very much into that level of detail....
View attachment 140758
This is from my Scout Thread...... Just a rudimentary basic WWI type Cockpit. Believe it or not, everything you see in there weighs LESS than one Gram!

Just haven't figured out the Windshield yet...
That's why I asked about yours. I'm always fishing for ideas!! 💡
Also being into RC Crawlers, I've got LOTS of scrap Clear Lexan pieces. But it's NOT that light. 😖

NOT wanting to Threadjack! I have found your Builds so far EXTREMELY creative to DARING (this one!).
I'm interested in following the entire process... But I'm still digging for thoughts about Details! 😉

I was only referring to the foam part which represents the windshield. If your looking for a scale way to do a windscreen my best example is what I had on the spitfire canopy. Basically a cardstock frame with a laminate to give it the glass look.
20190827_081820.jpg
 

kilroy07

Legendary member
I second the notion of building a version (Alpha) just to work it out. I used my alpha for glide tests and working out where major components would go and some idea of what worked and what was a bit sketchy.
 

Matagami Designs

Master member
So after taking a step back to evaluate the design (and measuring how big my cars trunk is (55" :rolleyes:)) i scaled back 85%. Now its a wingspan of 50". I also took the time to figure out how to make the fuse more in the FT style and i think it came out quite nicely. I still need to figure out how to stuff the battery into the nose to put the CG in the right spot and how to access it through a hatch but the alpha version is just about ready to go.

082820191043.PNG
82820191045.PNG


Time to start building already. :p
 

kilroy07

Legendary member
Yea, I bet the CG will be a challenge might have to extend the nose a bit... (or put a big honking motor up there!) 😉
 

Matagami Designs

Master member
The prints came out a little small (98%) but i think they will be fine. Got new glue, foam, servos and a big 3 blade prop. Probably a little too big at this point.. but it is finally time to actually start this build. :)

20190831_174108.jpg